


I used to slap makeup on in whatever order felt convenient that morning. Foundation first, then powder, maybe some blush if I remembered. By lunch, everything had shifted into a patchy mess. Turns out there’s actually a method to this madness — and when I started following the right sequence, my makeup finally stayed put all day.
The game-changer wasn’t any fancy product. It was simply understanding that each layer needs to prep the next one. Miss a step or do them backwards, and you’re building on an unstable foundation.
Your Step-by-Step Application Roadmap
Before You Start
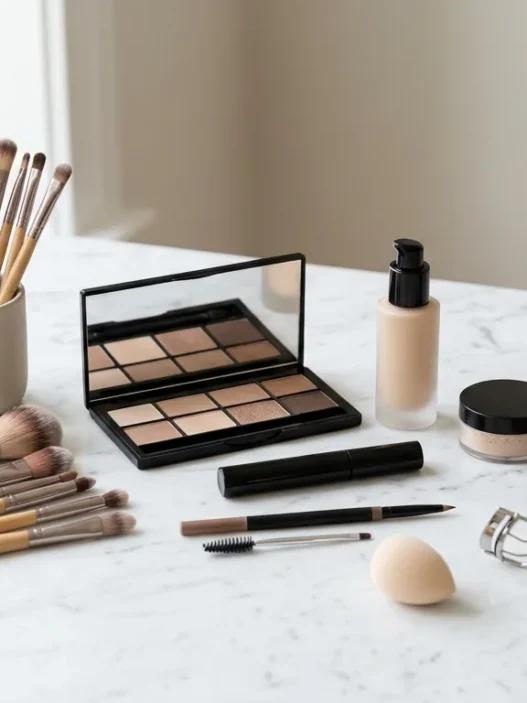
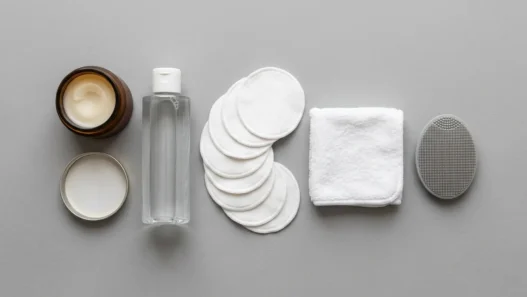
Having everything within arm’s reach makes this whole process so much smoother. I learned this the hard way after fumbling around for my setting spray while my concealer was still wet.
Here’s what you’ll need lined up:
- Cleanser and moisturizer
- Primer (face and eye)
- Foundation or tinted moisturizer
- Concealer
- Powder (setting or finishing)
- Blush, bronzer, or contour
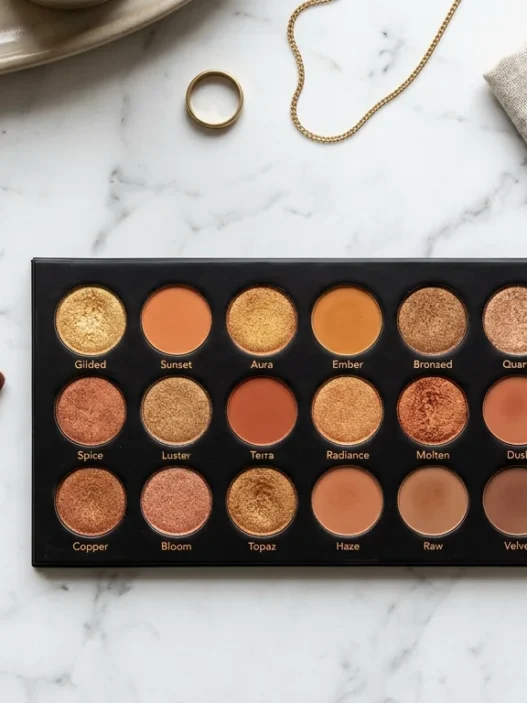
- Eyeshadow palette
- Eyeliner and mascara
- Lip color
- Setting spray
- Your usual brushes and sponges
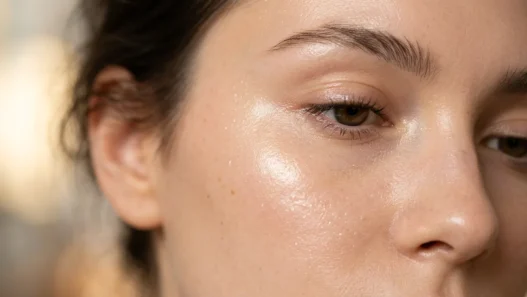
Clean skin is everything. I skip this step when I’m running late, and I always regret it. Even if you washed your face last night, a quick splash of water or gentle cleanser removes overnight oil buildup that can make products slide around.
Moisturizer needs at least two minutes to sink in before primer. I used to rush this part and wonder why everything felt slippery and refused to blend properly.
The Base Layer
This is where most people mess up the order, myself included for years. Primer always comes first, and I mean always. It creates that grippy surface that helps everything else stick.
Apply primer in thin layers — a pea-sized amount covers my whole face. I focus on areas where makeup typically fades first: around my nose, under my eyes, and on my forehead. Pat it in gently rather than rubbing.
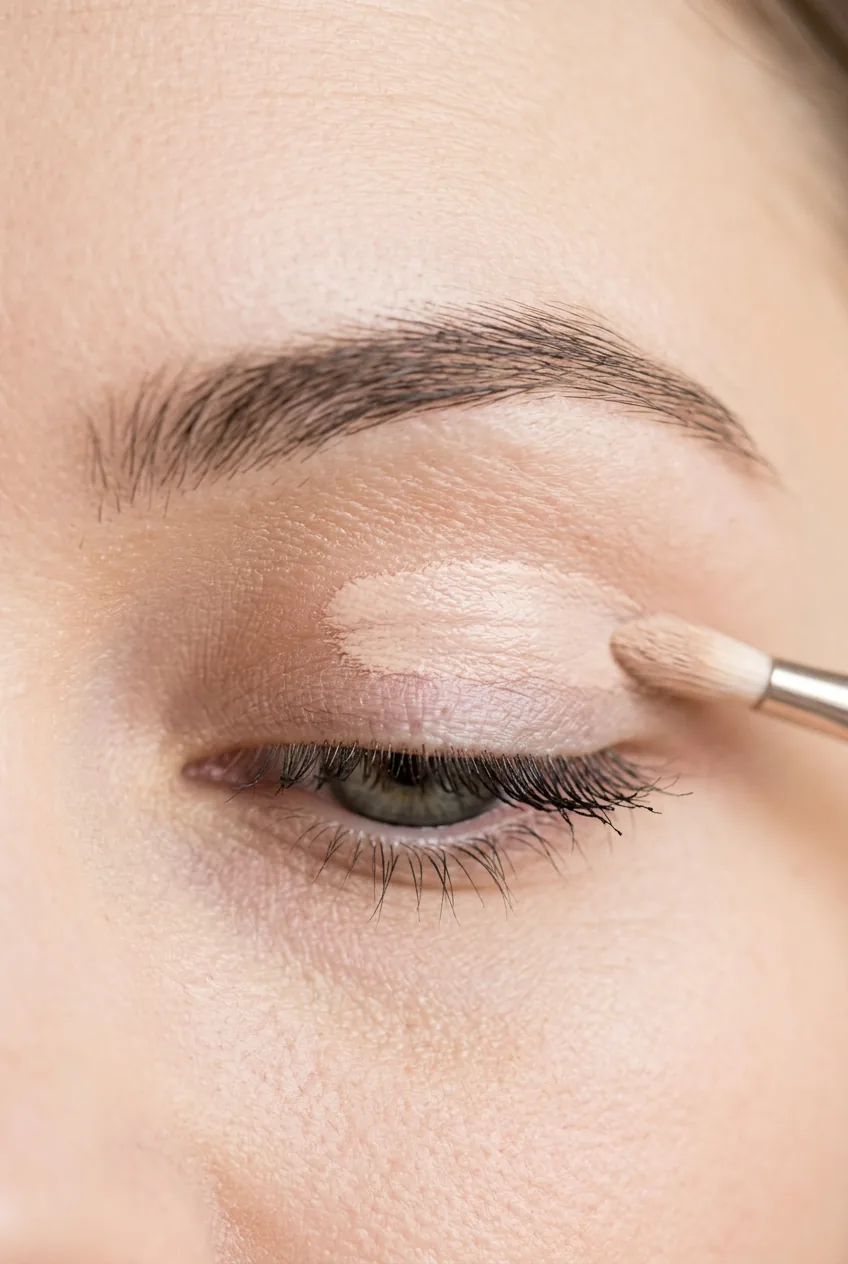
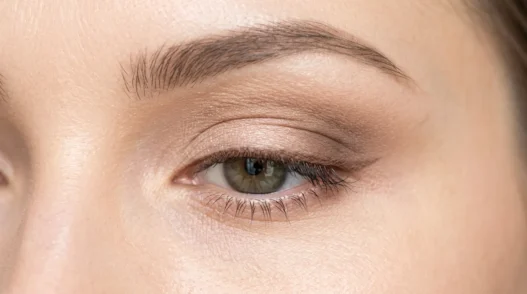
Eye primer goes on next, before any face makeup touches your lids. This prevents eyeshadow from creasing and makes colors pop more. I dab it from lash line to brow bone, then blend with my ring finger.
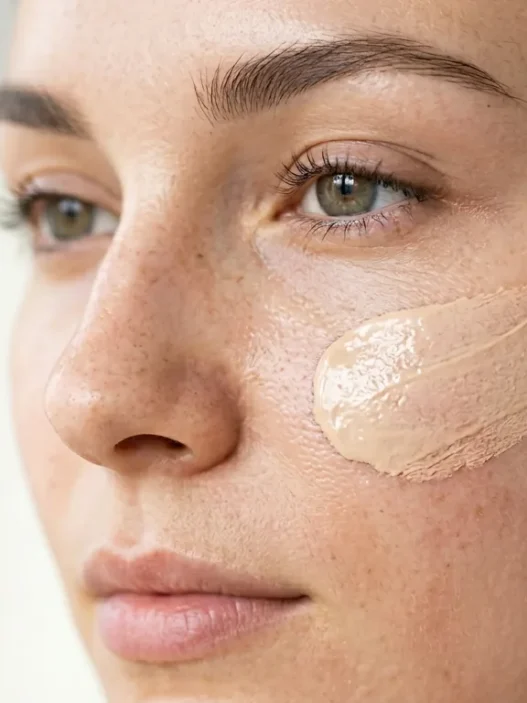
Foundation comes after primers have set for about 30 seconds. I start in the center of my face and work outward, using a damp beauty sponge to blend. The key is building coverage gradually — one thin layer, let it settle, then add more if needed.
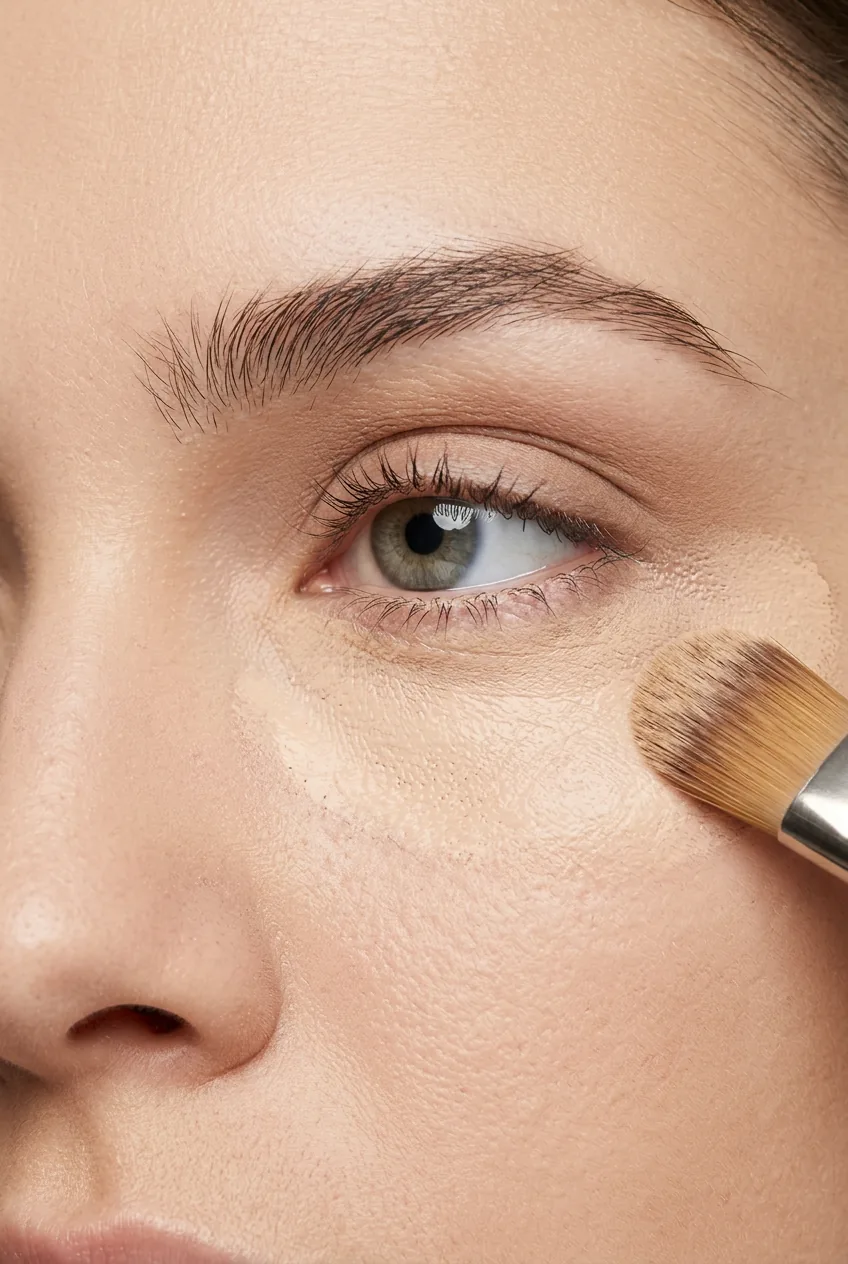
Concealer goes on after foundation, not before. This was a revelation for me. Foundation often covers more than you think, so you might need less concealer than expected. I apply it only where I actually need extra coverage, then blend the edges seamlessly into the foundation.
I used to put concealer on before foundation, thinking it would give me more coverage. Instead, I was just wiping most of it off with my foundation application. Now I use half as much concealer and get better results.
The Colour Layer
Now comes the fun part — adding color and dimension. But there’s still a hierarchy here that makes everything look more polished and last longer.
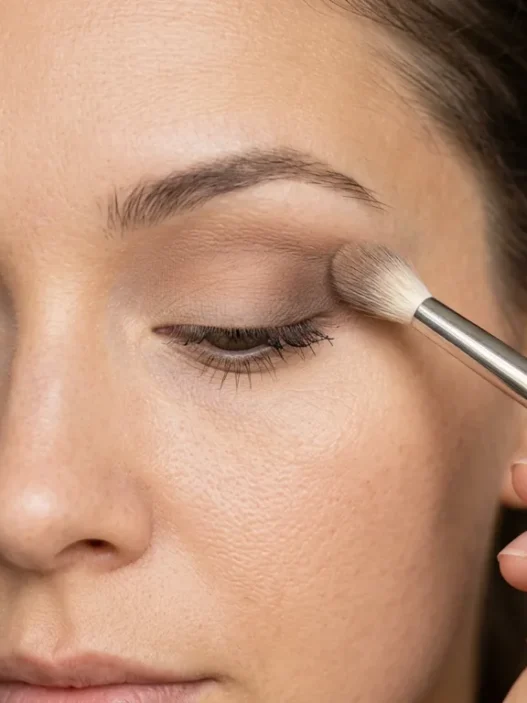
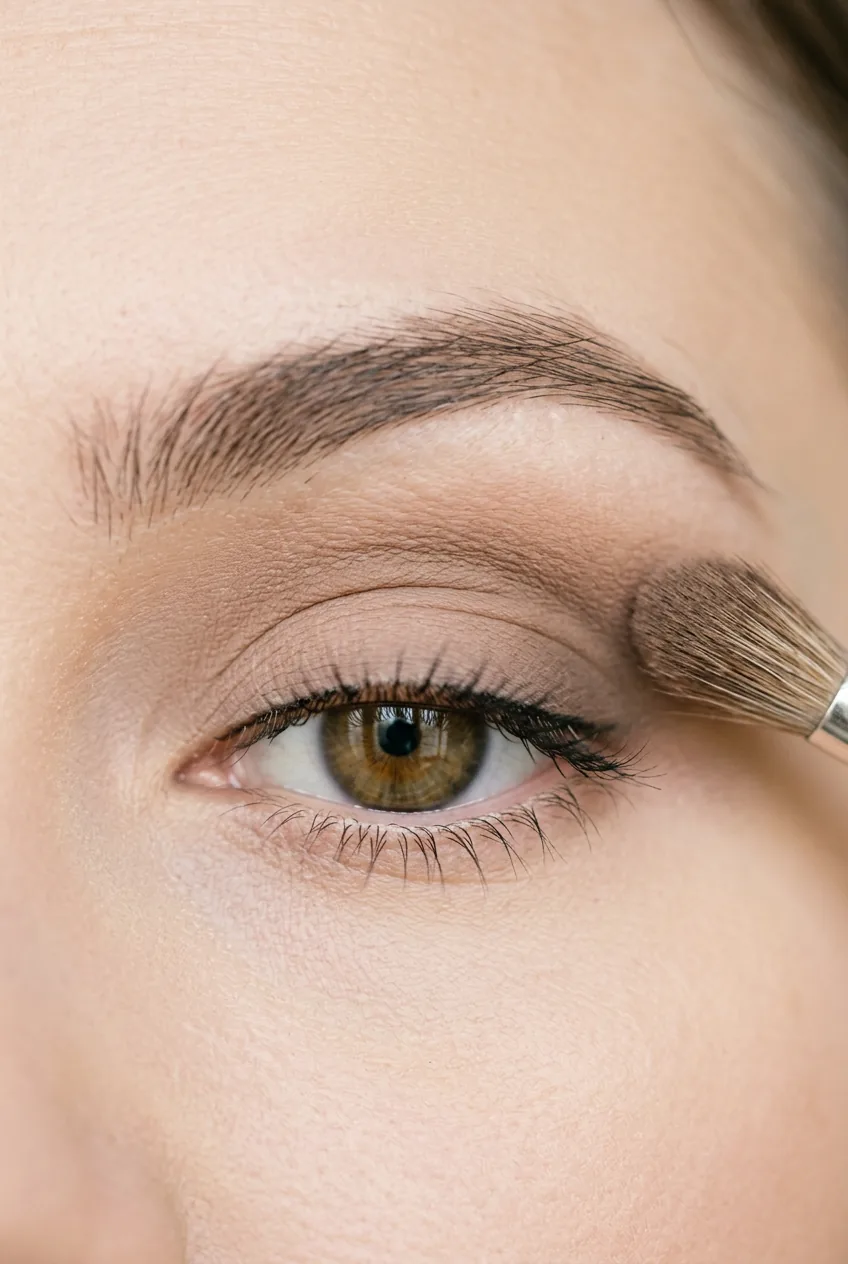
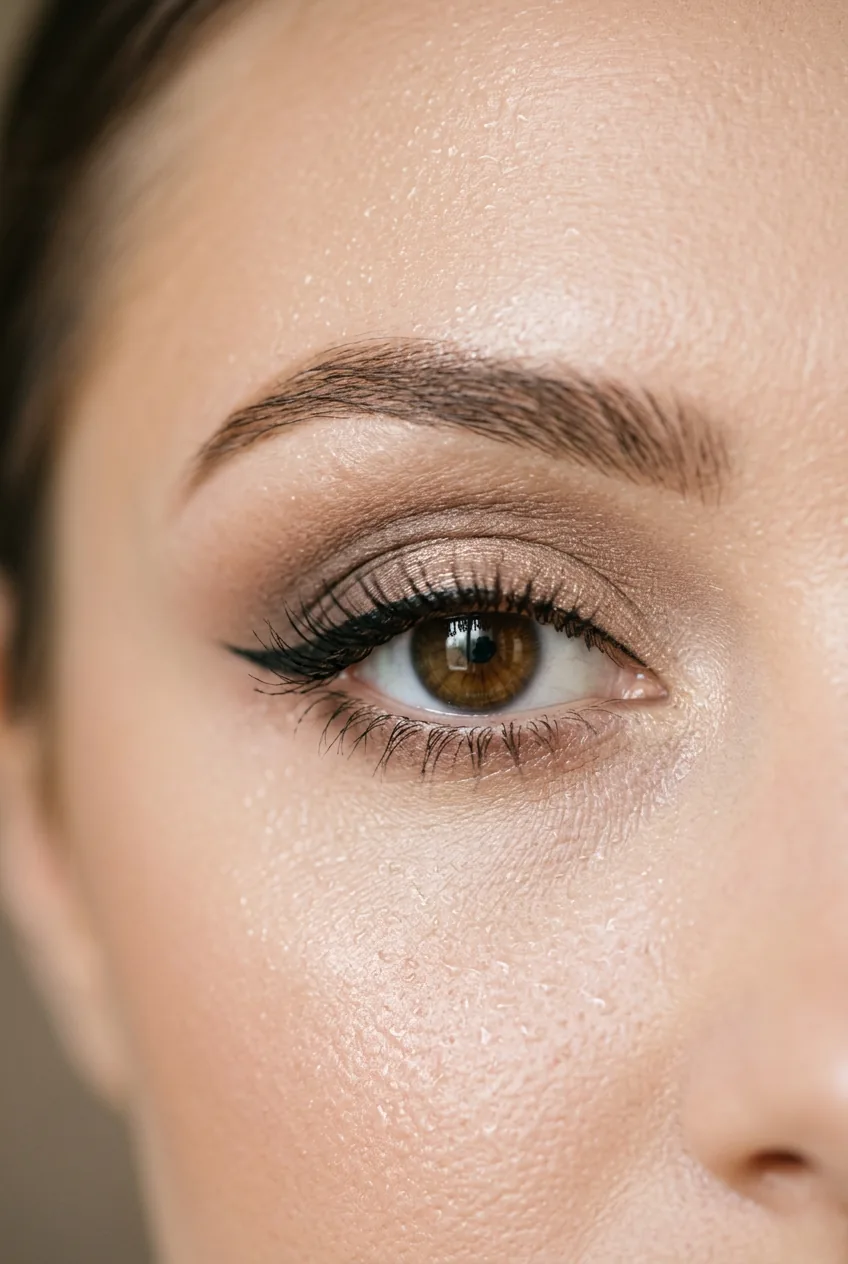
Start with your eyes. Eyeshadow can create fallout that lands on your foundation, so it’s easier to clean up now rather than after you’ve applied blush and bronzer. I begin with transition shades in the crease, then build up to darker or more intense colors.
Eyeliner and mascara come after eyeshadow. This order prevents smudging and lets you see exactly where to place the liner for the most flattering effect. I always curl my lashes before mascara — doing it after just clumps everything together.
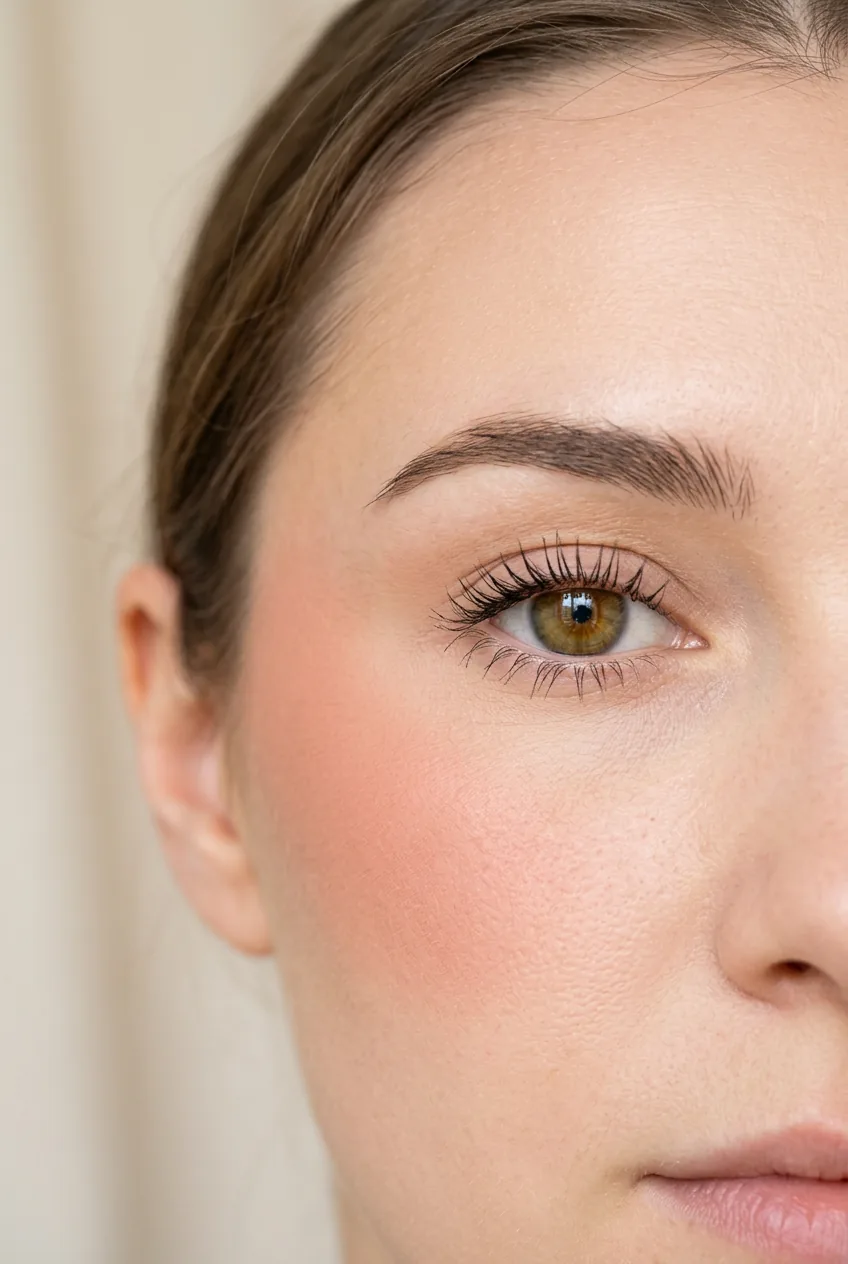
Face colors go on next: bronzer first for warmth, then blush for that healthy flush. I apply bronzer where the sun naturally hits — forehead, cheeks, nose, and chin. Blush goes on the apples of my cheeks and blends upward toward my temples.
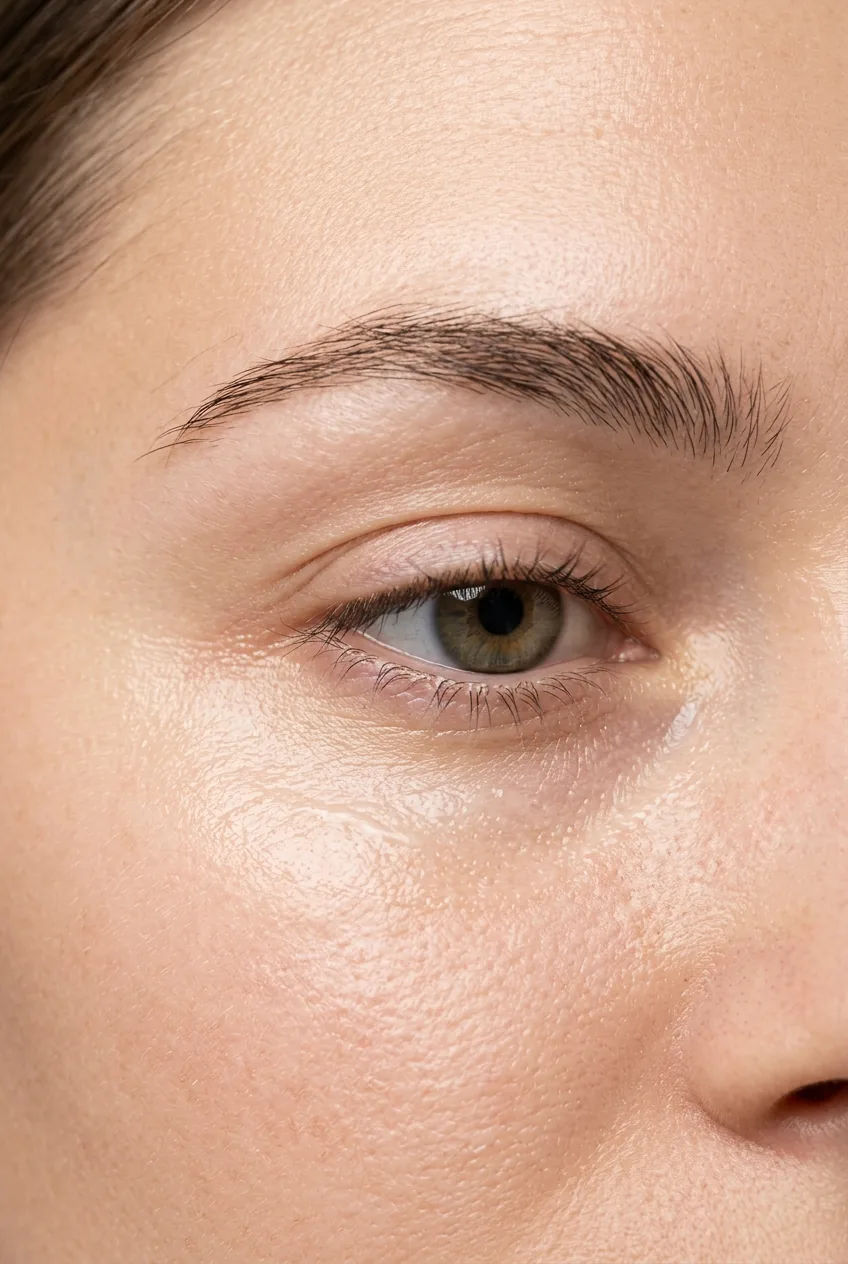
Highlighter is the final face color step. Less is definitely more here. I focus on the high points: tops of cheekbones, bridge of my nose, inner corners of my eyes, and just above my cupid’s bow.
For those interested in more advanced techniques, check out these Halloween makeup looks that teach technique — they break down complex color application in really helpful ways.
Watch This Technique in Motion
The Lock-In Layer
This step separates makeup that lasts two hours from makeup that lasts all day. Setting everything properly is non-negotiable if you want your look to survive real life.
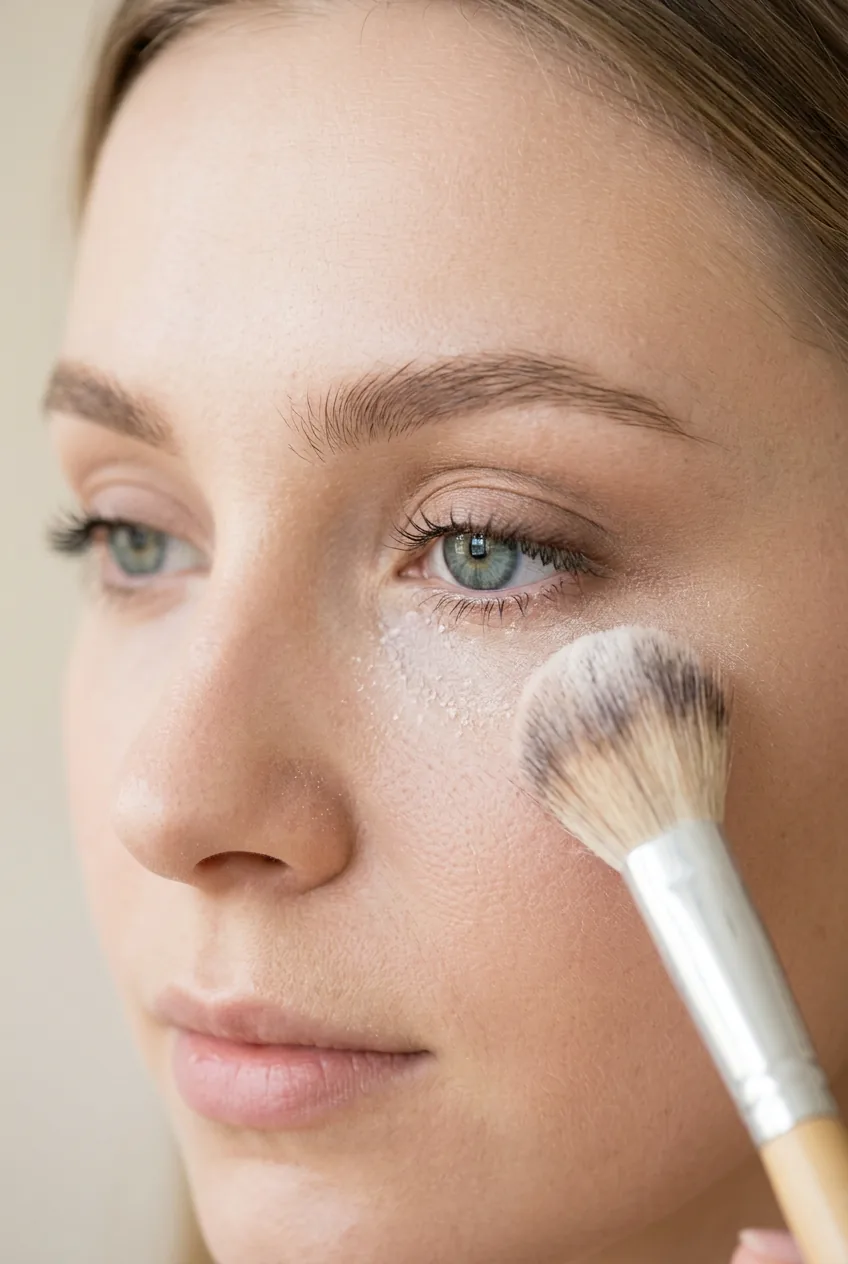
Powder comes before lip color, which feels backwards but makes total sense. I use a light dusting of translucent powder over everything except where I applied highlighter — powder dulls that glow you just created.
Now for lips. I line them first with a pencil that matches my lipstick, then fill in with color. This creates a base that prevents feathering and makes the color last longer through eating and drinking.
Setting spray is the final insurance policy. Hold the bottle about arm’s length away and mist your face evenly. Don’t spray directly onto your eyes — I learned that lesson the hard way and spent ten minutes with watery, stinging eyes.
The setting spray technique I use involves spraying in an X pattern across my face, then one horizontal line across the middle. Let it air dry completely — no touching or blotting.
The Final Check
This is where you catch any mistakes before heading out the door. Good lighting is essential — I keep a small mirror by my window for this exact purpose.
Check for harsh lines where different products meet. Blush that stops abruptly at your hairline, foundation that doesn’t blend into your neck, concealer that’s too light — these are all fixable now but obvious once you’re in natural light.
Look at your makeup from different angles. Turn your head side to side, tilt your chin up and down. Sometimes what looks perfect straight-on has issues in profile.
Do the tissue test for longevity. Gently press a tissue against your T-zone. If it picks up a lot of product, you need more setting powder or spray.
For beginners who want to master the basics first, this beginner’s guide to eyeliner breaks down one of the trickiest skills step by step.
Quick Reference Checklist
- ✓ Clean skin + moisturizer (wait 2 minutes)
- ✓ Face primer
- ✓ Eye primer
- ✓ Foundation
- ✓ Concealer
- ✓ Eyeshadow
- ✓ Eyeliner + mascara
- ✓ Bronzer
- ✓ Blush
- ✓ Highlighter
- ✓ Setting powder (avoid highlighted areas)
- ✓ Lip liner + lipstick
- ✓ Setting spray
- ✓ Final check in natural light
Print this list and tape it to your mirror if you need to. I’m not even kidding — I did this for the first month until the order became automatic.
What People Usually Ask
Can I skip the primer if I’m in a hurry?
Honestly, primer makes such a difference in how long everything lasts that I’d rather skip something else. If you’re really pressed for time, use a moisturizer with built-in primer or a tinted moisturizer instead of separate foundation.
What if I mess up the eyeshadow and get fallout everywhere?
Keep a fluffy brush handy to sweep away fallout before it sets into your foundation. Or do your eye makeup first, then clean up with micellar water before applying face products. Both methods work.
How long should I wait between each step?
Most products need 30-60 seconds to set properly. Use this time to clean your brushes or organize your next products. Rushing between steps is usually where things go wrong.
Is setting spray really necessary for everyday looks?
If you want your makeup to look the same at 6 PM as it did at 8 AM, yes. Setting spray is especially crucial if you live somewhere humid or have oily skin. Even dry skin benefits from the extra staying power.
Following this sequence has completely changed how my makeup looks and feels throughout the day. Everything blends better, lasts longer, and looks more professional. The order really does matter — each step sets up the next one for success.