






I used to think makeup tutorials were just pretty videos that looked impossible to recreate. My attempts always turned into muddy messes or took forever because I kept going back to fix mistakes. Then I realized I needed an actual system — not just copying what someone else did, but understanding the logic behind each step.
This 7-step method became my foundation for every single look. Whether I’m doing a natural daytime face or full glam for dinner, these steps stay the same. The products might change, but the order never does.
Time estimate: 15-20 minutes once you get the hang of it
What You’ll Need
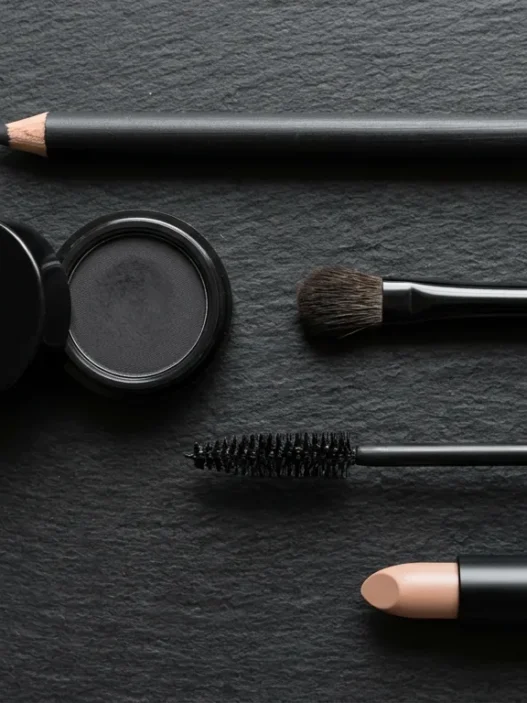
I’m not going to overwhelm you with a massive product list. These are the actual essentials that make this method work:
- Face primer (silicone-based or water-based — match your foundation)
- Foundation or tinted moisturizer
- Concealer (one shade lighter than your skin)
- Setting powder (translucent works for everyone)
- Neutral eyeshadow palette
- Eyeliner (brown or black pencil for beginners)
- Mascara
- Blush in a flattering shade
- Lip color (anything from balm to lipstick)
- Beauty blender or foundation brush
- Small eyeshadow brush
- Fluffy blending brush
Don’t have everything? Start with what you have. I’ve done this method with just concealer, mascara, and lip balm when I was traveling.
Step 1: Prime Your Canvas
Think of primer like the base coat before painting a wall. I apply it to clean, moisturized skin and wait about 30 seconds before moving on. The trick is using just enough — about a pea-sized amount for your whole face.
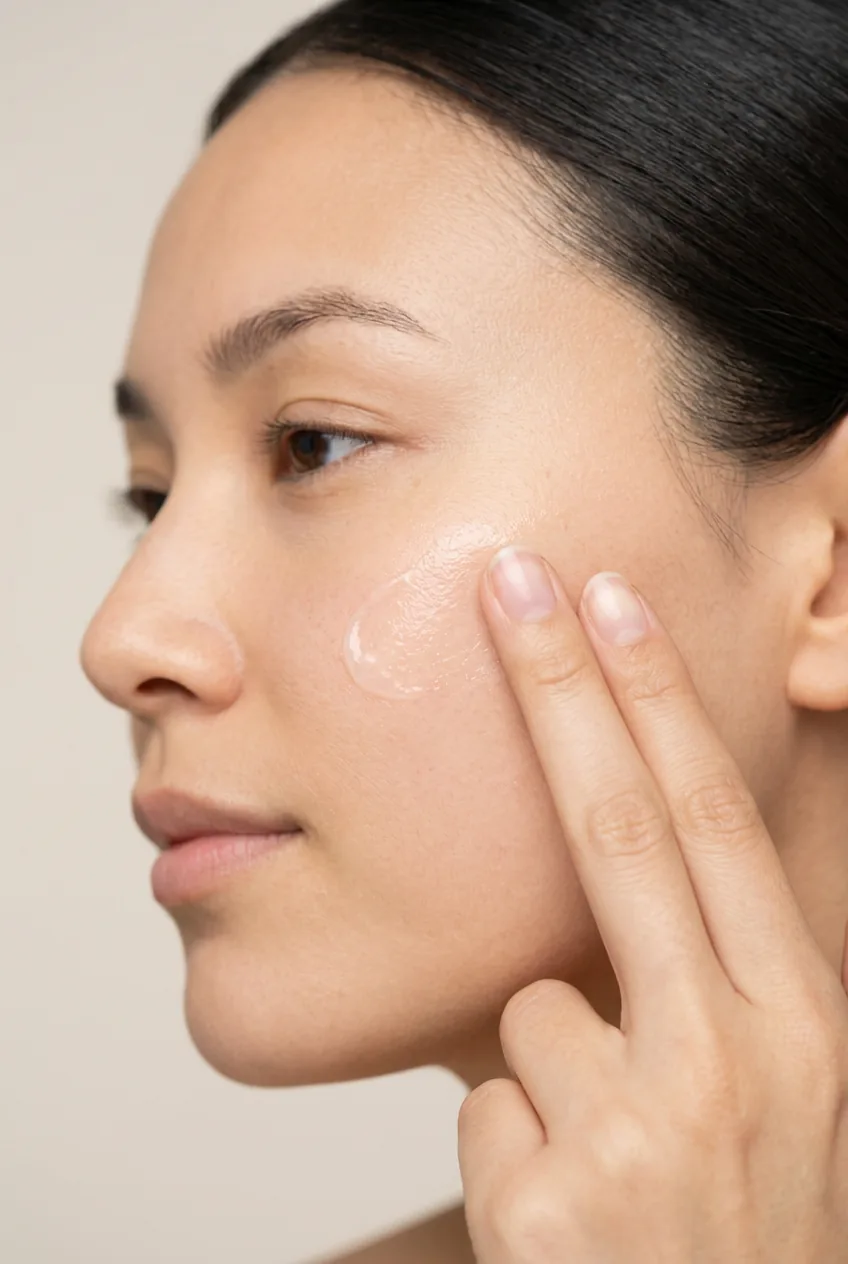
Focus on your T-zone, under-eye area, and anywhere your makeup tends to fade first. I pat it in with my fingers rather than rubbing, which keeps it from pilling up. This step alone makes everything else go on smoother and last longer.
Step 2: Perfect Your Base
Foundation goes on after primer has set. I start in the center of my face and blend outward — forehead, nose, cheeks, then chin. The key is building coverage gradually instead of slapping it all on at once.
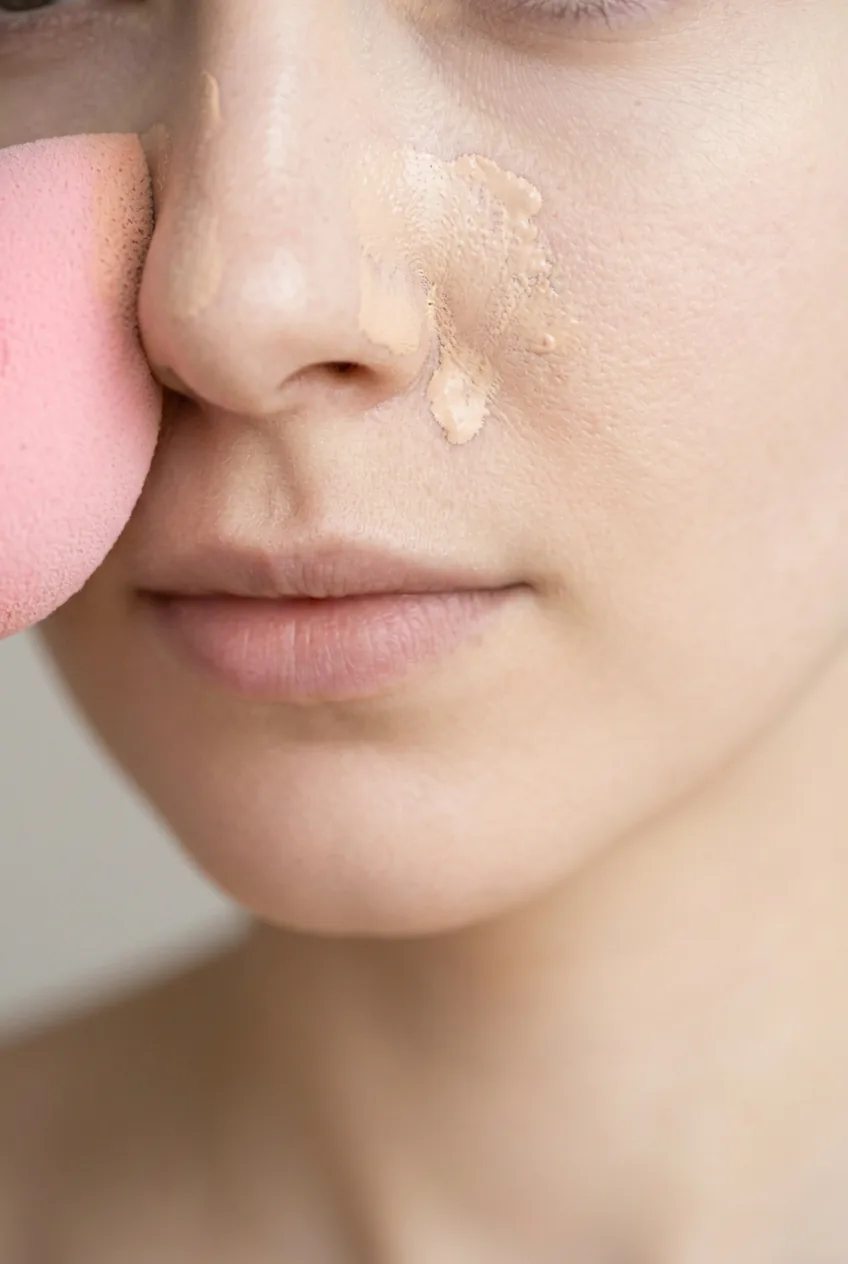
For concealer, I apply it in an upside-down triangle under each eye and blend upward. Then I spot-conceal any blemishes or redness. The blending techniques I learned from makeup artists made the biggest difference in how natural my base looks.
Step 3: Set the Foundation
Setting powder prevents everything from sliding around throughout the day. I focus on the areas that get oily first — usually my T-zone and under-eye concealer. A light dusting is all you need.
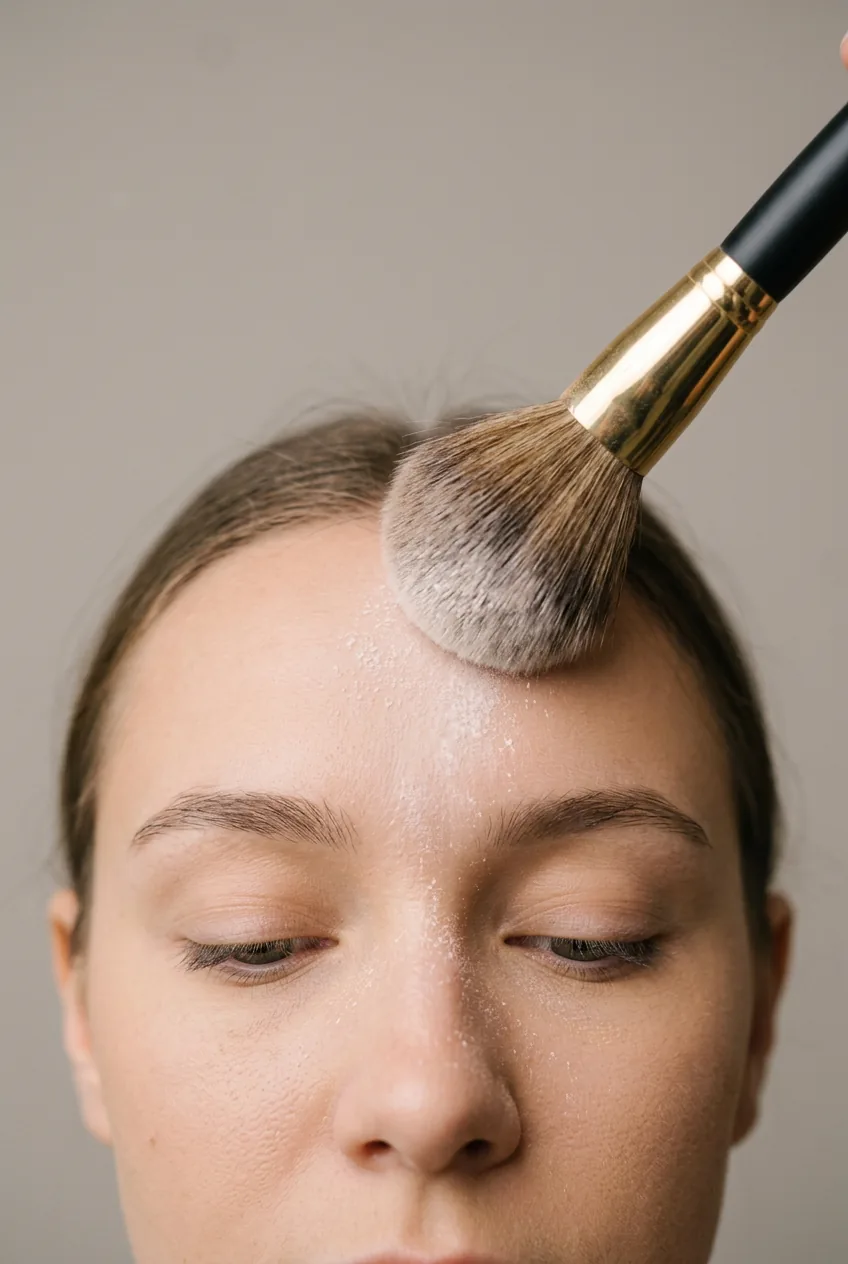
I use a fluffy brush and tap off excess powder before applying. Press rather than sweep to avoid disturbing the foundation underneath. This step is especially crucial if you’re planning to add blush and bronzer later.
Step 4: Define Your Eyes
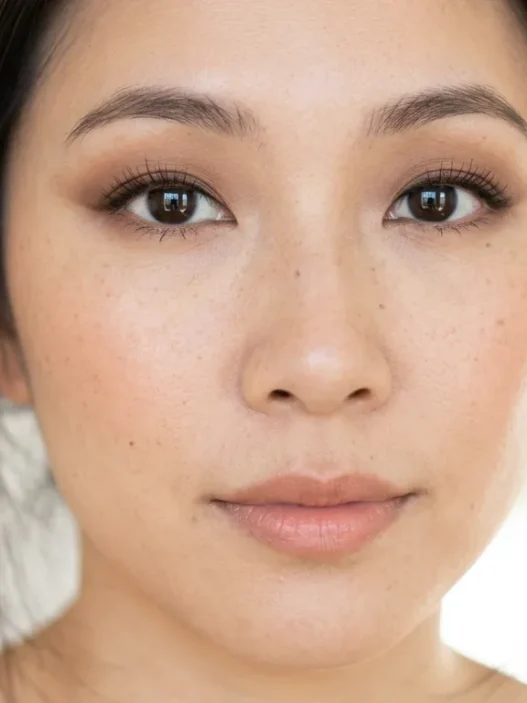
Eyes are where this method really shines. I start with a neutral shade that’s just slightly deeper than my skin tone across the entire lid. Then I take a slightly darker shade and focus it on the outer corner and crease.
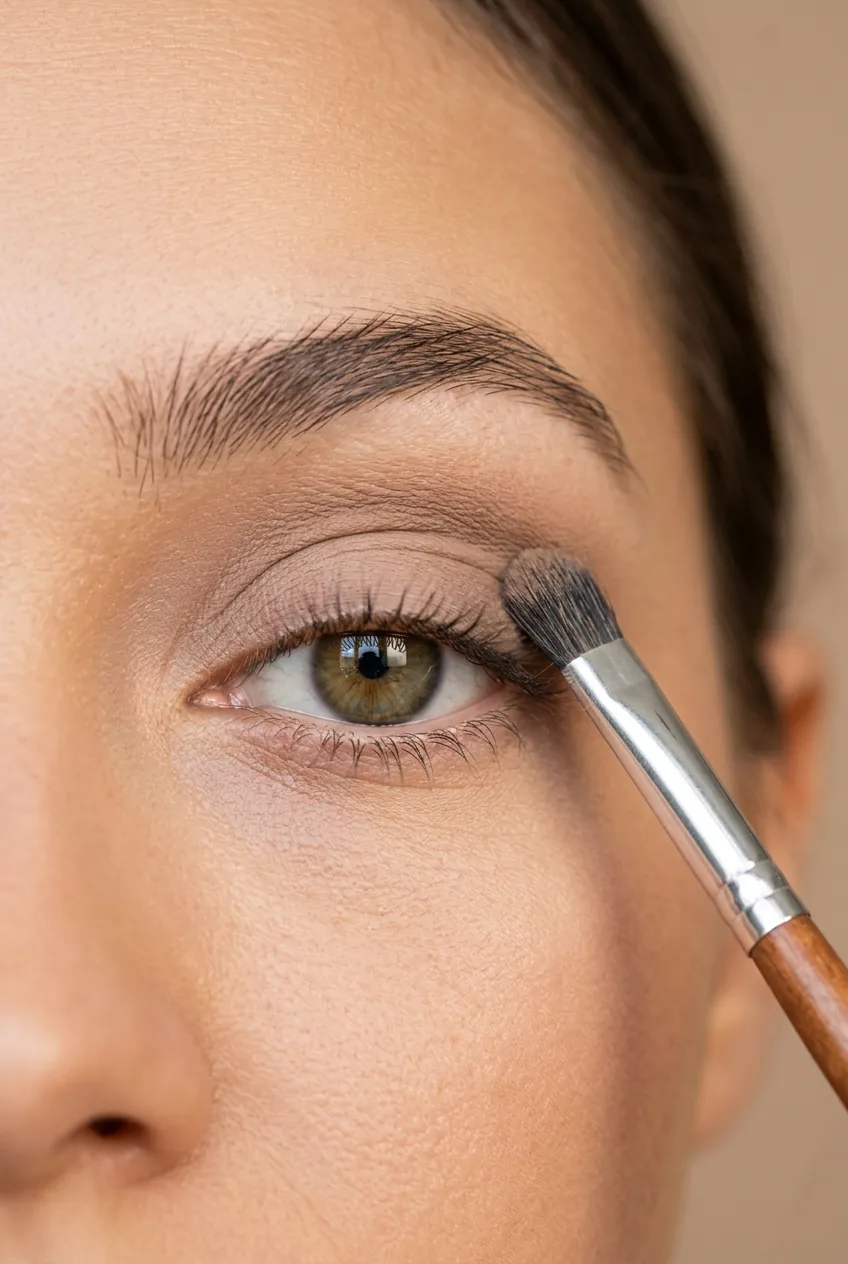
The mistake I made for years was trying to blend too many colors at once. Now I stick to two or three shades max, and the difference is incredible. Less really is more when you’re learning.
Eyeliner comes next — I keep it thin and close to the lash line. Brown liner looks more natural for everyday wear. Finish with one or two coats of mascara, focusing on separation rather than thick, clumpy lashes.
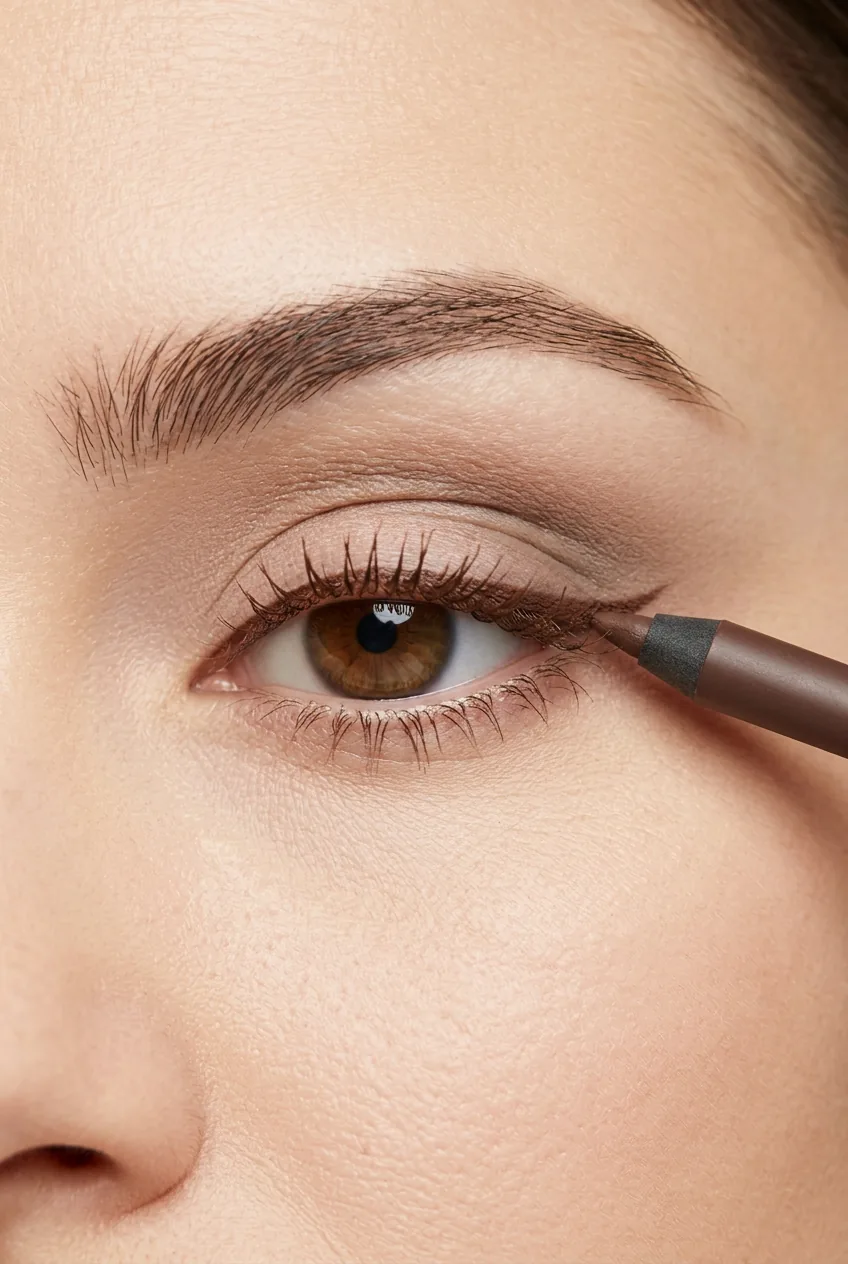
This approach to eye makeup keeps everything proportional and wearable. You can always build up the intensity later once you master the basics.
Watch the Blending Technique Live
Step 5: Add Dimension
This is where your face comes back to life after foundation. I apply blush to the apples of my cheeks and blend it up toward my temples. The goal is a natural flush that looks like it’s coming from within.
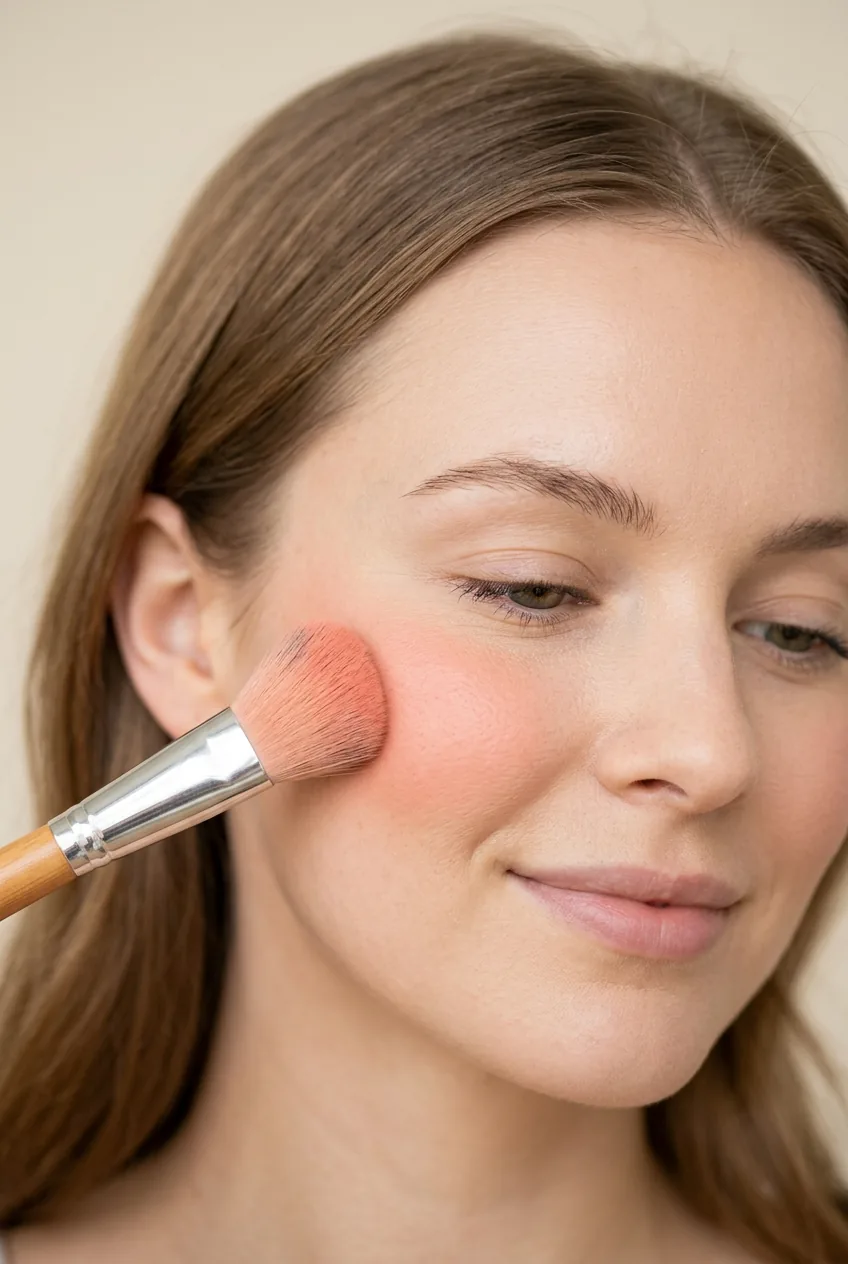
If you want to contour, keep it subtle. A light bronzer in the hollows of your cheeks and along your hairline adds gentle definition. I learned this from watching natural makeup tutorials that focus on enhancement rather than dramatic transformation.
Step 6: Bring Color to Life
Lip color ties everything together. I choose shades that complement the overall look — nude or berry tones for everyday, brighter colors for special occasions. The key is finding colors that enhance your natural lip tone rather than fighting against it.
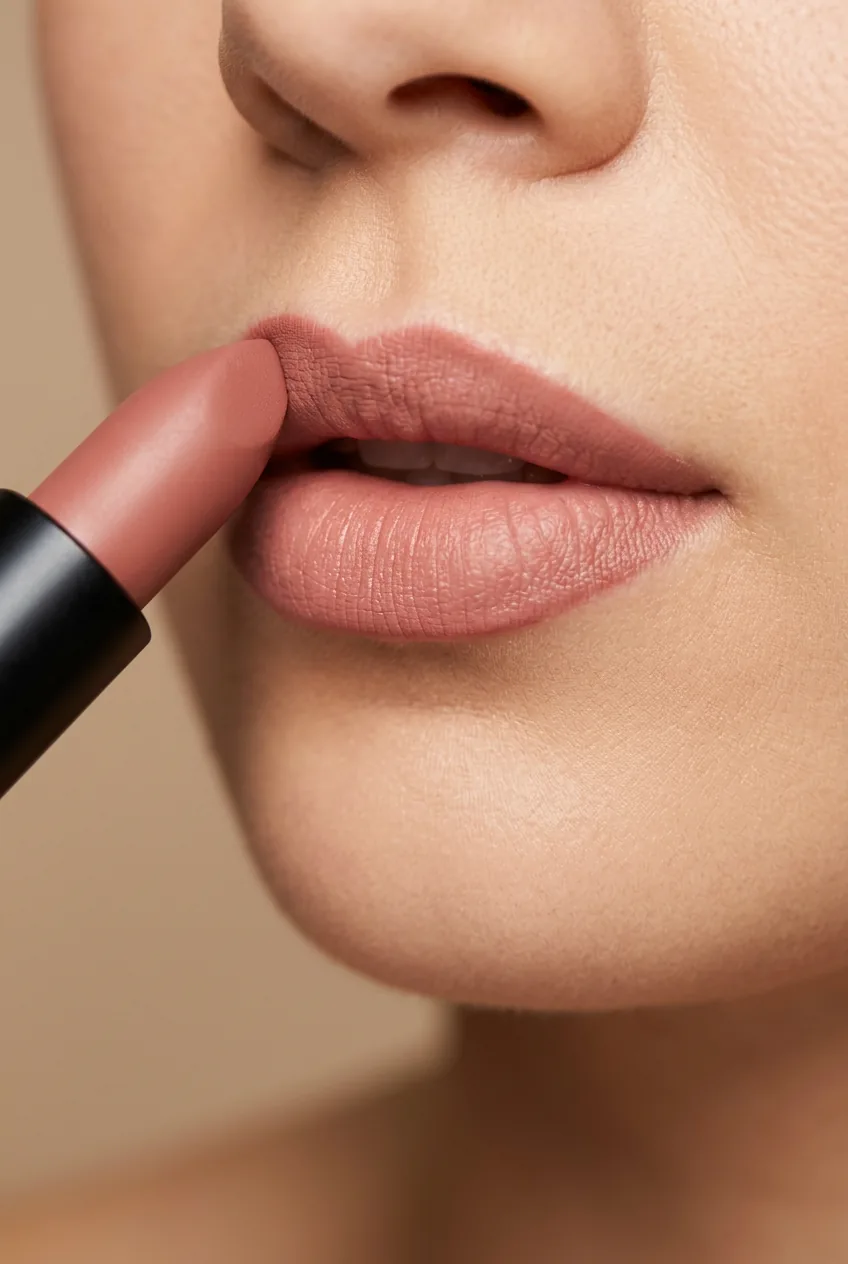
Don’t skip lip prep. I lightly exfoliate and moisturize first, which makes any lip product go on smoother and last longer. Even just a tinted balm makes a huge difference in pulling the whole look together.
Step 7: Lock It All In
The final step is setting spray, which I mist lightly over my entire face from about eight inches away. This melts everything together and gives you that airbrushed finish that looks professionally done.
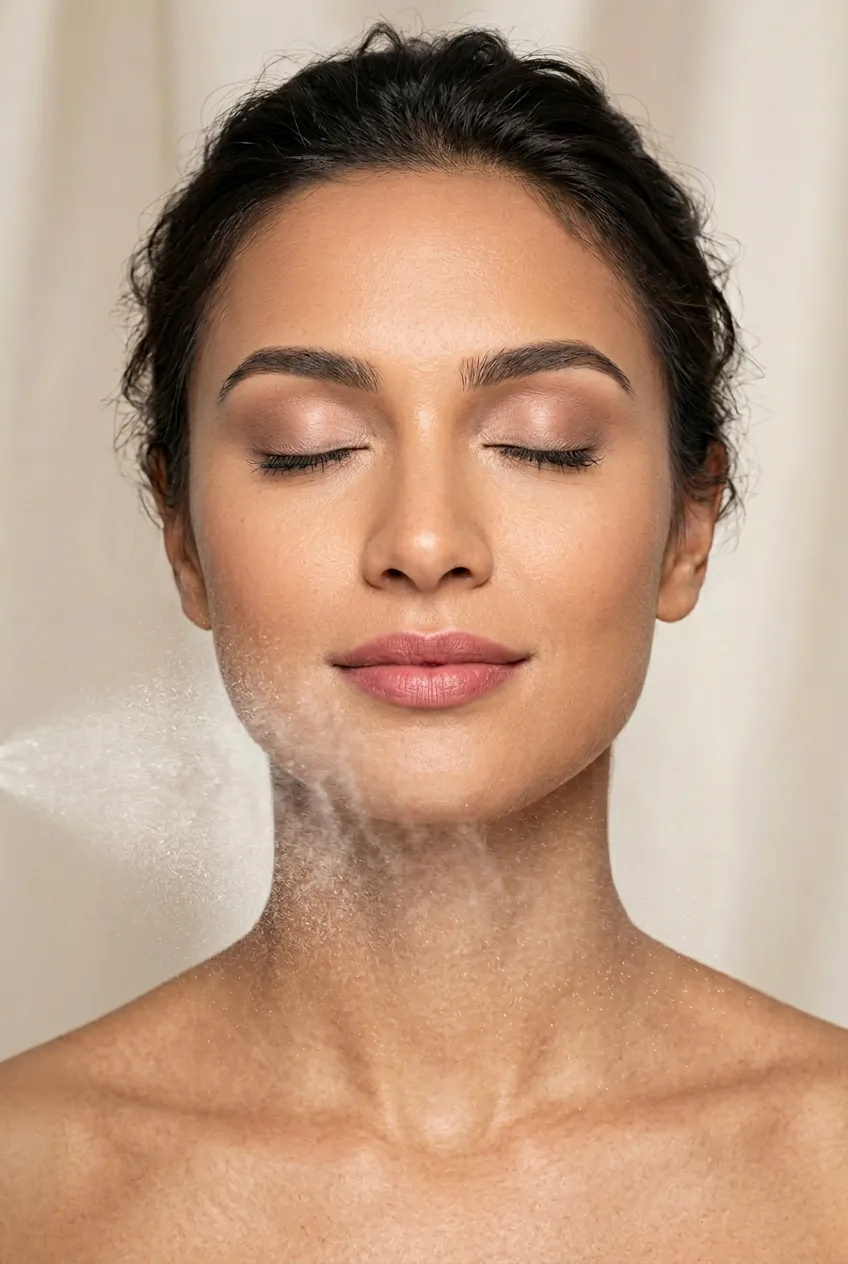
Let it air dry completely — don’t touch your face for about a minute. That’s when you know you’ve successfully completed a makeup tutorial that will actually last through your day.
Questions I Get About This Method
Can I skip the primer if I’m in a hurry?
You can, but your makeup won’t last as long or look as smooth. If you’re really pressed for time, at least use a primer on your T-zone and under-eyes where makeup fades first.
What if I don’t have all the brushes?
Clean fingers work for blending foundation and cream products. A single fluffy eyeshadow brush can handle most eye looks if you clean it between shades. Start with what you have and build your collection gradually.
How do I know which foundation shade to choose?
Test shades on your jawline in natural light, not your hand or wrist. The right shade should disappear into your skin. When in doubt, go slightly lighter rather than darker — you can always add bronzer for warmth.
Why does my eyeshadow look muddy when I blend?
You’re probably using too many colors or blending with a dirty brush. Stick to 2-3 shades maximum and clean your brush between applications. The beginner’s approach to eye makeup focuses on placement over complicated color combinations.
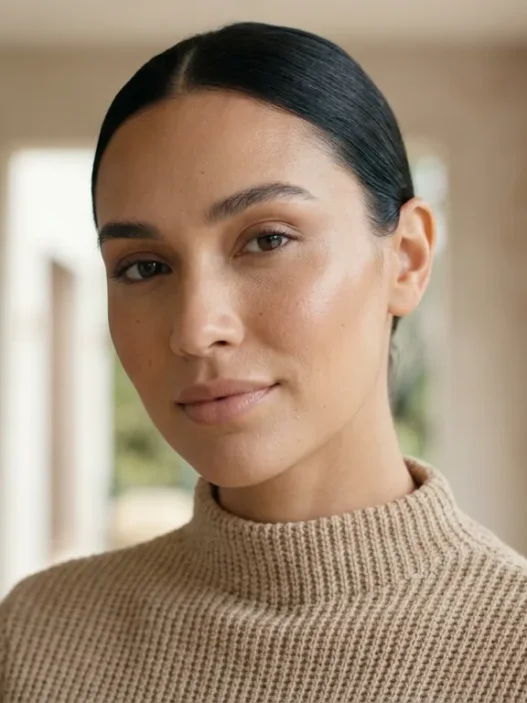
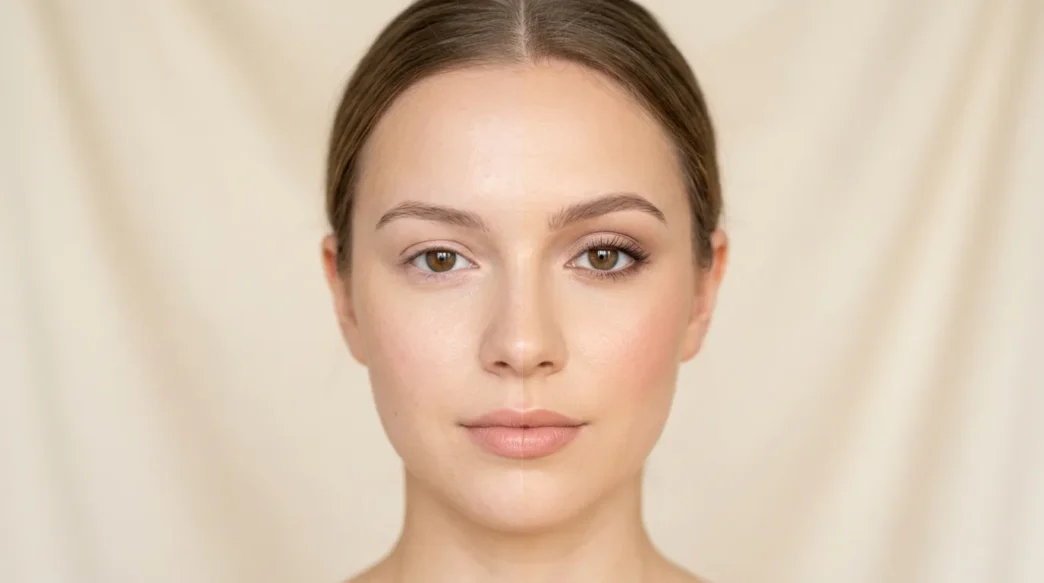
This method has become second nature to me now. My makeup looks polished but never overdone, and I can complete the whole routine in under 20 minutes. The best part? Once you understand these steps, you can adapt them for any look — from creative Halloween makeup to simple everyday beauty. The foundation stays the same; only the intensity changes.