


I used to wonder why my eye makeup always looked muddy compared to the tutorials I followed. Same eyeshadow palette, same steps, totally different results. Then I realized I was fighting my tools instead of working with them. The difference between good eye makeup and great eye makeup? It’s not the shadows — it’s what you put them on with.
What You’ll Need
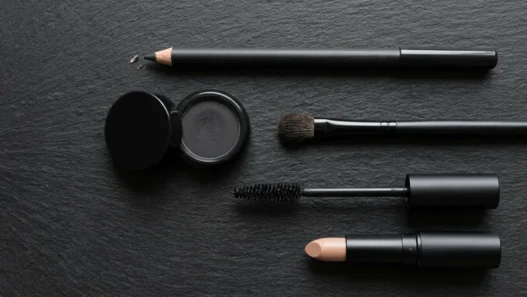
Here’s what sits on my vanity for any eye look:
- One fluffy blending brush (the hero of every look)
- Flat shader brush for packing color
- Small detail brush for precise work
- Makeup sponge or beauty blender
- Good magnifying mirror
- Brush cleaning spray
- Your eyeshadow palette of choice
The Brush That Does the Heavy Lifting
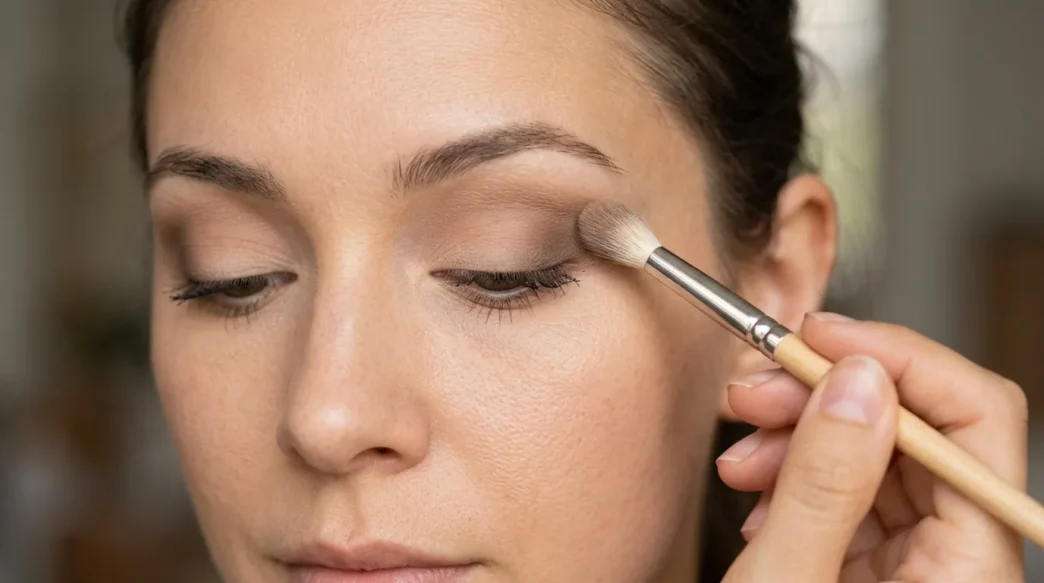
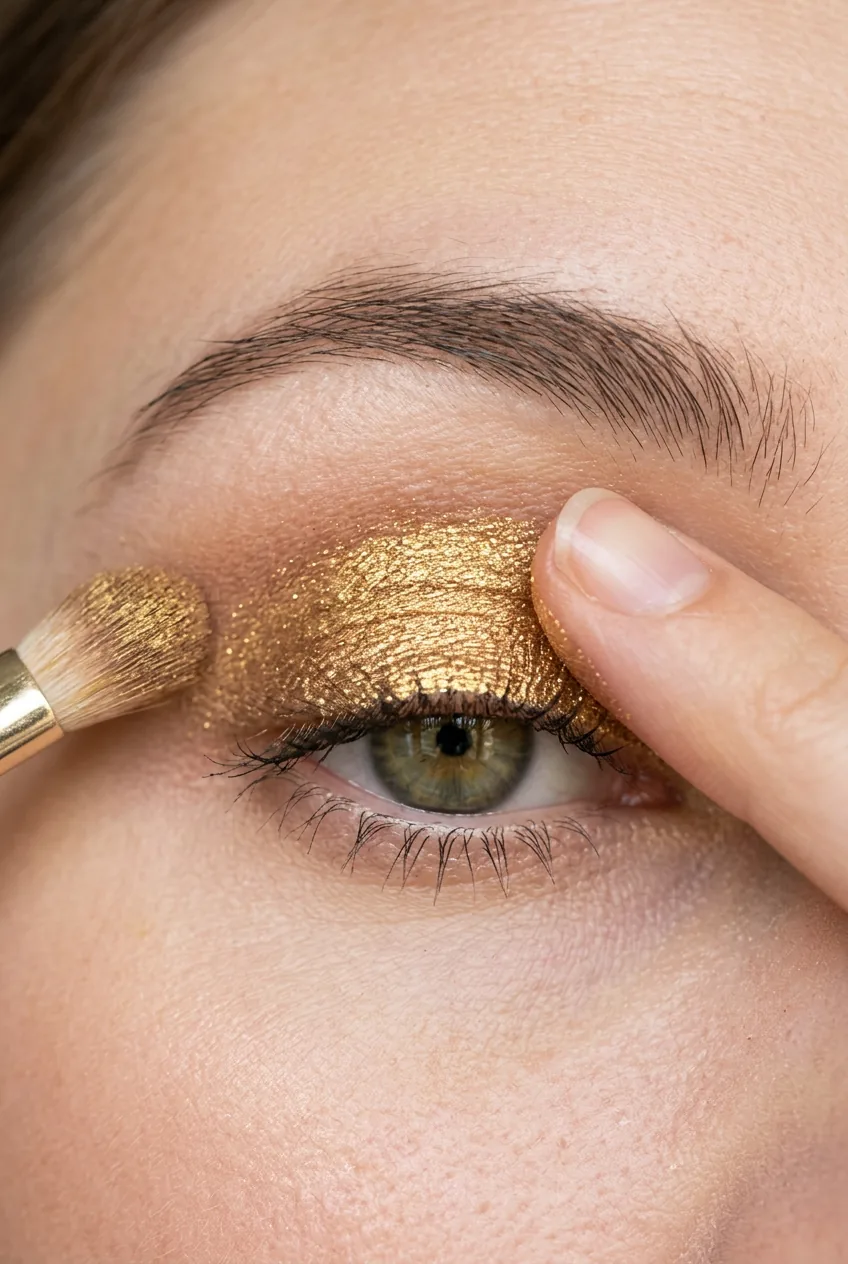
Every eye makeup technique I’ve learned comes back to this one truth: the fluffy blending brush is your best friend. Not the tiny one that comes in the palette. Not the dense shader. The big, soft, fluffy one that feels like a cloud.
I hold mine like a pencil, but looser. Grip it about halfway up the ferrule — not at the very end where you lose control, not down by the bristles where you’ll press too hard. Think of it like holding a paintbrush when you want to make gentle, sweeping strokes.
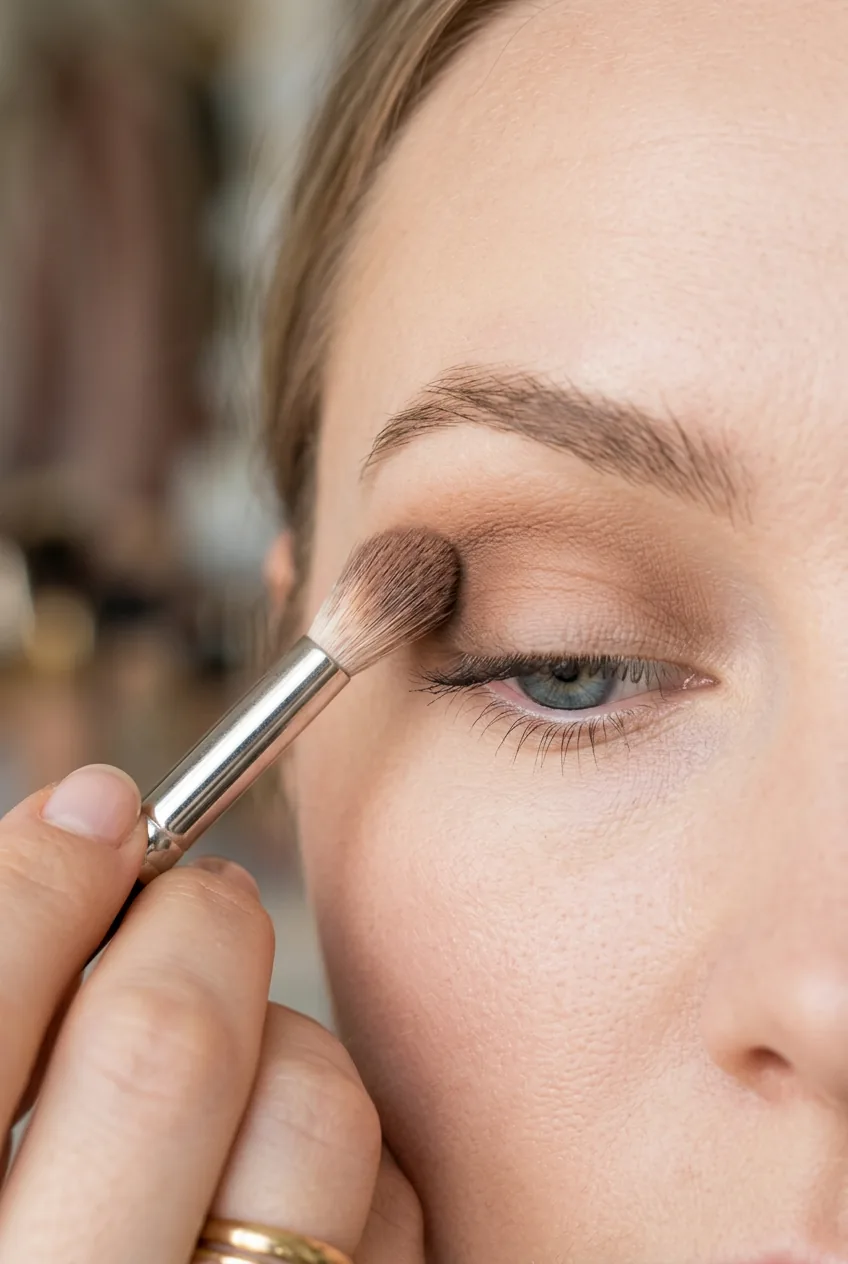
The magic happens in the motion. Instead of pressing and dragging, I use a windshield wiper motion in the crease. Light pressure — just enough contact to pick up color and move it around. When I press too hard, the shadow gets patchy and the blend looks harsh.
Start with barely any color on the brush. Blending techniques work best when you build gradually. I tap off excess shadow, then work in small circles to diffuse any hard edges. The goal isn’t to pack on color — it’s to create that seamless gradient.
I used to think more pressure meant better blending. Wrong. I was basically scrubbing my eyelids and wondering why everything looked muddy. Light pressure changed everything.
See the Technique in Action
When to Use a Sponge Instead
Sometimes brushes aren’t the answer. I reach for my damp beauty sponge when I need to clean up mistakes or soften edges that got too intense. The sponge doesn’t add more color — it removes just enough to fix what went wrong.
Here’s my technique: dampen the sponge until it’s moist but not dripping. Gently bounce it over areas where the shadow looks too harsh or patchy. The key word is bounce — never drag or swipe, which just moves the product around instead of blending it.
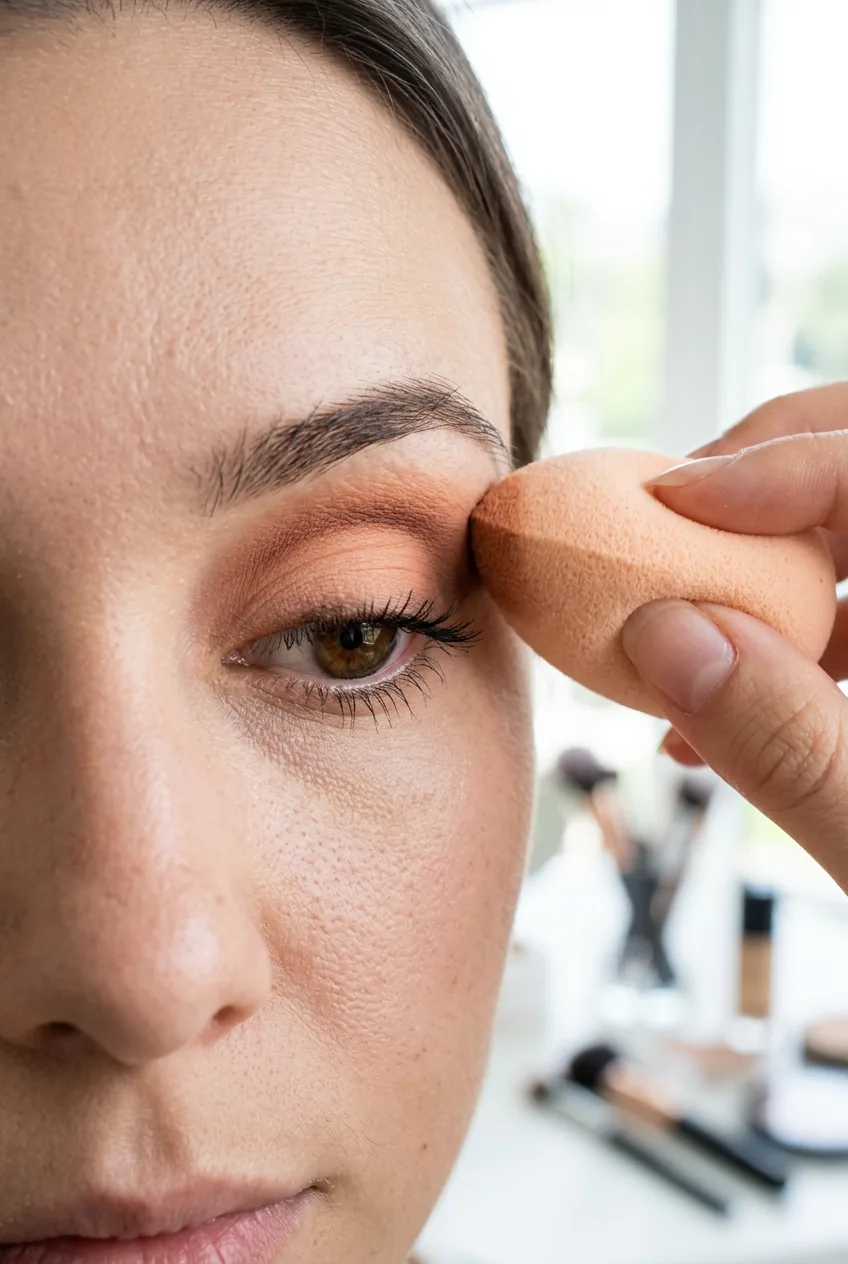
I also use the pointed tip of my sponge for precision work. When I’ve applied too much shadow under my lower lash line, a few gentle taps with the sponge tip removes just the right amount. It’s like having an eraser for makeup.
One trick that saves me constantly: if shimmer eyeshadow goes on too intense, I lightly press a clean, dry sponge over it. This tones down the sparkle without removing all the color. Much better than starting over.
Fingers vs Tools
Your fingers are tools too, and honestly, sometimes they’re the best ones. I use my ring finger (the gentlest) for applying concealer around my eyes and blending cream shadows. The warmth of your skin helps cream products melt and blend naturally.
For packing on metallic or shimmer shadows, I skip the brush entirely. My finger picks up way more pigment and presses it exactly where I want it. Brushes can actually brush away the shimmer particles, but your finger creates that foil-like intensity.
But fingers have limits. I never use them for blending matte shadows in the crease — that’s where brushes shine. And for precise lines or detailed work around the lower lash line, brushes give me control that fingers just can’t match.
The rule I follow: cream products and metallics = fingers. Matte powders and precision work = brushes. There are exceptions, but this covers 90% of situations. When I follow this simple rule, my eyeliner application and shadow work both improve dramatically.
Keeping Your Tools Working
Dirty brushes ruin everything. I learned this the hard way when my “brown” eyeshadow kept coming out gray because my brush was contaminated with yesterday’s black shadow. Now I spray my brushes with brush cleaner between every color change.
For quick cleaning during application, I spray the brush, then gently swirl it on a clean towel. This removes enough residue to prevent muddy colors without soaking the bristles. I save the deep cleaning for after I’m completely done.
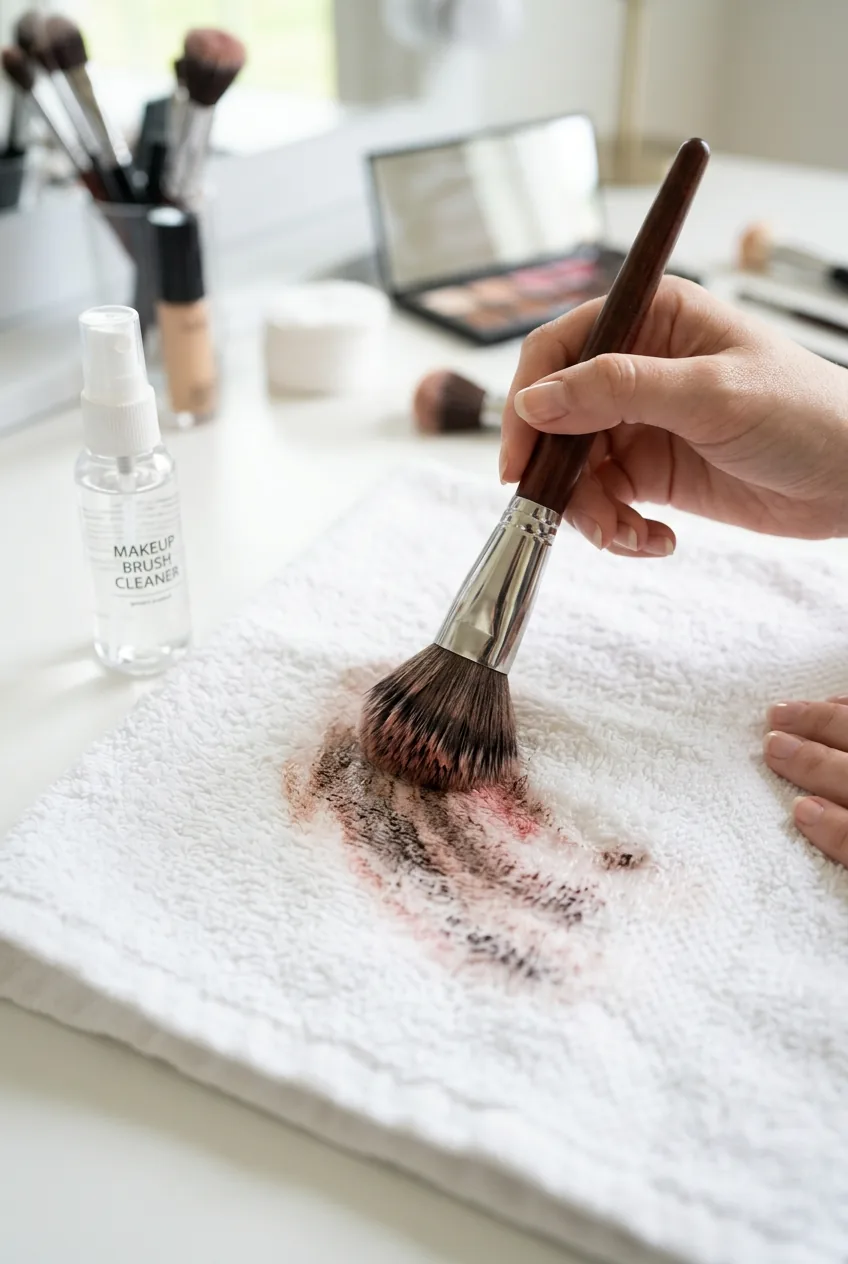
My brushes last so much longer since I started this routine. Clean tools pick up color better, blend more smoothly, and don’t carry bacteria that could cause breakouts. Proper brush care isn’t just about hygiene — it’s about getting better results.
One thing that surprised me: storing brushes upright in a cup instead of flat in a drawer keeps them in much better shape. The bristles don’t get crushed, and they dry properly after cleaning.
The Compact Mirror Game-Changer
This might sound obvious, but the right mirror transforms your whole experience. I used to do my eye makeup in my bathroom mirror, squinting and leaning forward. Now I use a compact mirror with 10x magnification, and I can actually see what I’m doing.
The magnification lets me see where shadows need more blending and catch mistakes before they become disasters. But here’s the key: I check my work in a regular mirror too. What looks perfect under magnification sometimes needs adjustment at normal viewing distance.

Good lighting matters just as much as the mirror itself. I position myself facing a window when possible, or use a ring light if I’m doing makeup at night. Overhead bathroom lighting casts shadows that make it impossible to see what you’re really doing.
When I follow proper makeup application order with good tools and lighting, even complex looks become manageable. The technique stays the same — the tools just make it possible to execute properly.
Building Your Perfect Kit
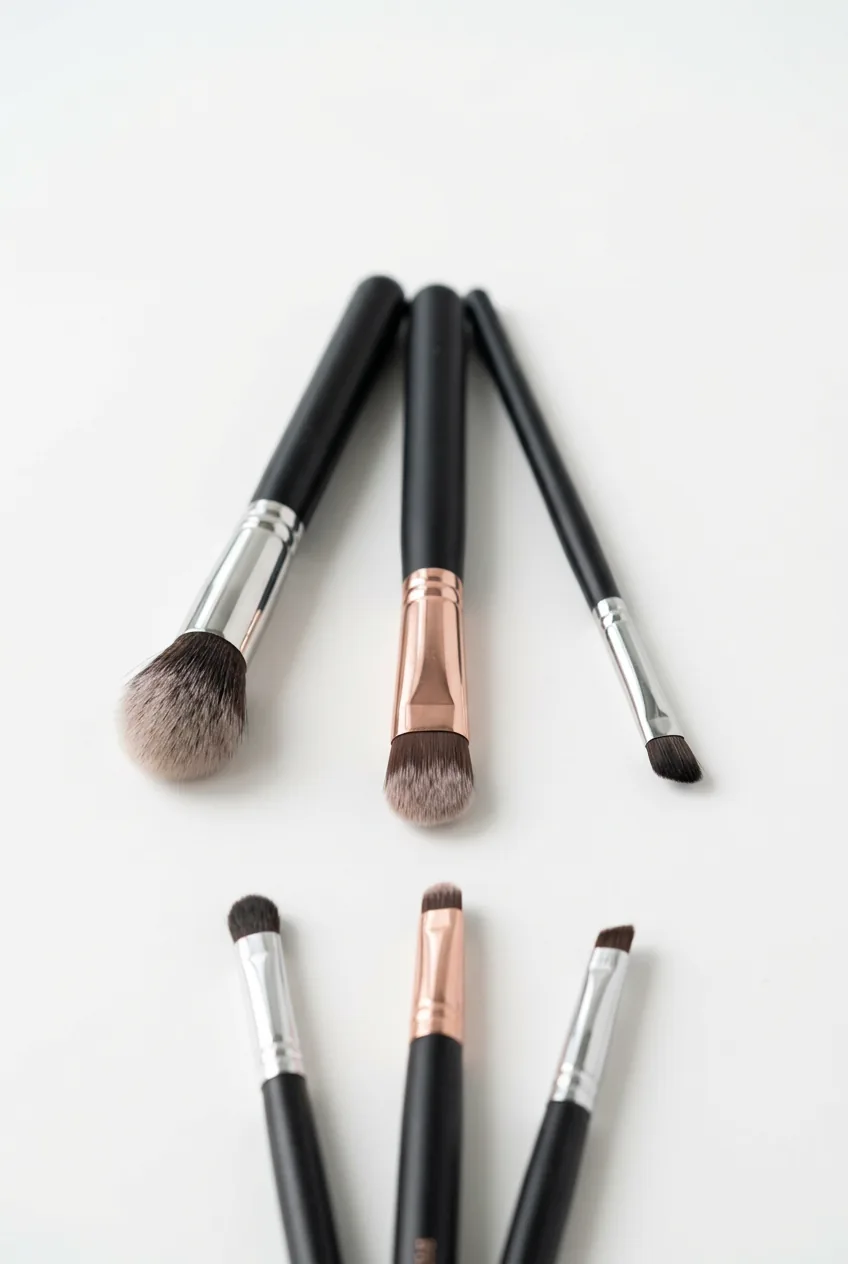
You don’t need fifty brushes to create gorgeous eye looks. I use the same three brushes for 95% of my eye makeup: one fluffy blender, one flat shader, and one small detail brush. Everything else is nice to have, but these three handle any look I want to create.
Quality matters more than quantity. One good fluffy brush that maintains its shape beats five cheap ones that shed and lose their form after a few uses. I’ve learned that investing in a few excellent tools serves me better than collecting every brush that looks interesting.
My current favorites have been with me for over two years and still perform like new. Quality brush recommendations make such a difference in the final result that they pay for themselves in better makeup looks.
When I started applying the techniques I learned from comprehensive makeup tutorials with the right tools, everything clicked. The same motions that used to create muddy messes now produce smooth, blended looks.
Questions I Get About This
Do expensive brushes really make a difference?
Yes, but you don’t need to break the bank. The difference between a $5 brush and a $25 brush is huge. The difference between a $25 brush and a $50 brush is much smaller. Focus on getting one really good fluffy blending brush first.
How often should I clean my brushes?
I spot-clean between colors during application and do a deep clean once a week. If you’re breaking out around your eyes, increase the deep cleaning frequency. Bacteria buildup is real and it affects your skin.
Can I use the same brush for different eyeshadow colors?
Absolutely, if you clean between colors. I use one fluffy brush for an entire look — just spray and wipe clean when switching from light to dark shades. The key is removing enough residue to prevent muddy mixing.
What’s the biggest mistake people make with eye makeup tools?
Using too much pressure with blending brushes. Everyone thinks more pressure equals better blending, but it actually creates patchiness and harsh lines. Light, repeated motions work so much better than pressing hard.
Now when I catch my reflection throughout the day, my eye makeup still looks intentional instead of accidentally smudged. The right tools don’t just make application easier — they make the results last longer too. And honestly, that’s worth every minute I spent figuring out which brush does what.