
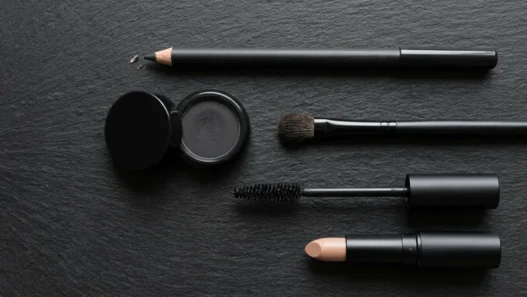




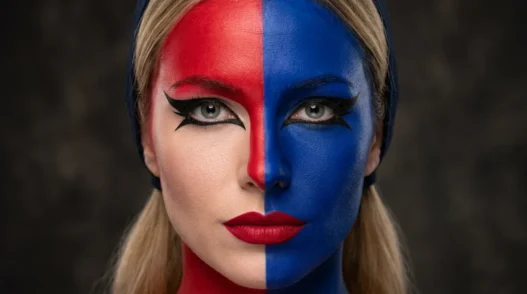
I became a little obsessed with Harley Quinn makeup after a Halloween party where mine completely melted off by 9 PM. The reds bled, the whites caked, and the graphic liner turned into something abstract. Not the good kind. I came home and spent the next three weekends figuring out exactly what order everything needs to go on — because with a look this bold, sequence is everything. This checklist is what I wish I’d had that night.
Your Harley Quinn Makeup Order — At a Glance
Before You Start
Harley Quinn makeup is one of those looks where the prep work is almost as important as the colour. Skip it and you’ll be reapplying red pigment every two hours. Promise. The base you lay down in this phase decides whether your half-and-half face stays sharp for eight hours or starts migrating by the second drink.
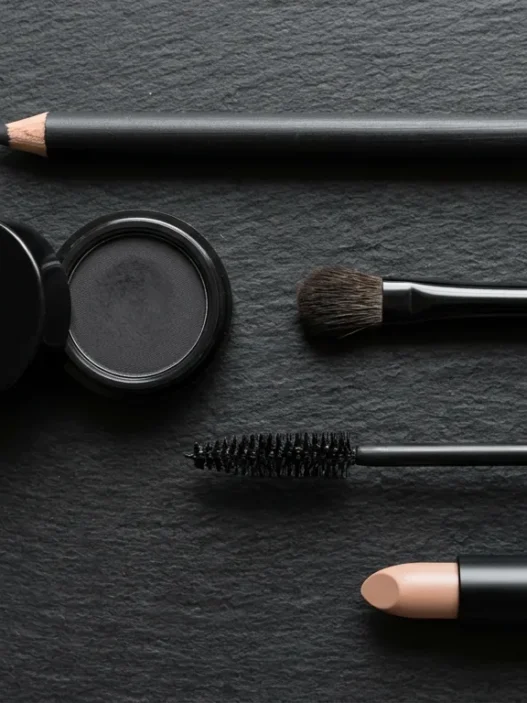
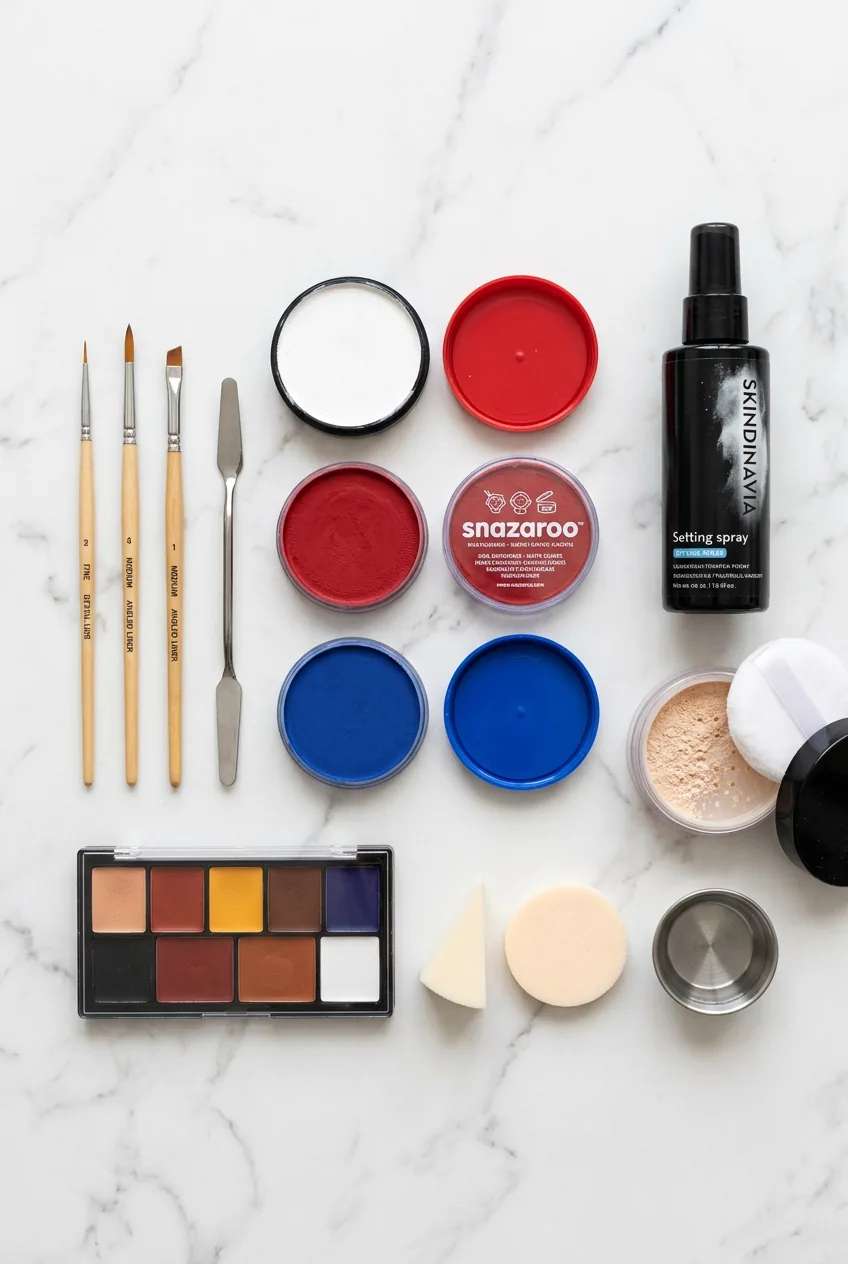
Here’s everything you’ll need before you touch a single brush to your face.
- Hydrating primer (not mattifying — too much mattifier makes bright pigments look chalky)
- Full-coverage foundation — one or two shades lighter than your skin if you want that Harley pallor
- White face paint or white theatrical cream (NYX or Mehron both work)
- Red and blue cream or liquid face paint — I use Snazaroo for the cheek patches
- Bright red lip colour — a stain first, then a bullet on top
- Black liquid liner with a fine tip
- Setting spray (long-wear formula — this is non-negotiable)
- A flat concealer brush and a pointed liner brush
- Two clean beauty sponges
- Translucent setting powder
- Mascara and a pair of dramatic lashes if you’re going the extra mile
One thing I want to flag before we even get into it: if you’re doing this for a festival or a full evening event, check out some of the bold themed baddie makeup looks for festivals and events for inspiration on how to adapt the intensity to your venue. A club needs different staying power than a photoshoot.
The Base Layer
This is where so many Harley Quinn makeup attempts go wrong. People jump straight to the red and blue patches and wonder why the colour looks muddy. Your skin’s natural tone fights those pigments if there’s nothing neutralising it underneath.
Start with your hydrating primer all over the face. Let it sit for a full two minutes — go make a coffee, seriously. Then apply a light layer of your full-coverage foundation, blending it smooth. You want an even, almost blank canvas here. If you’re going for the classic Harley pallor, mix a tiny drop of white face paint into your foundation before applying. Just a tiny drop. Too much and it gets grey and weird.
Once your foundation is set, apply a very thin layer of white cream all over the face using a damp sponge in patting motions. Don’t drag — dragging pulls up the foundation underneath. The white is purely there to amp the vibrancy of the red and blue coming next. Think of it as a colour-boosting underlayer, not a mask. You still want your features to read through it.
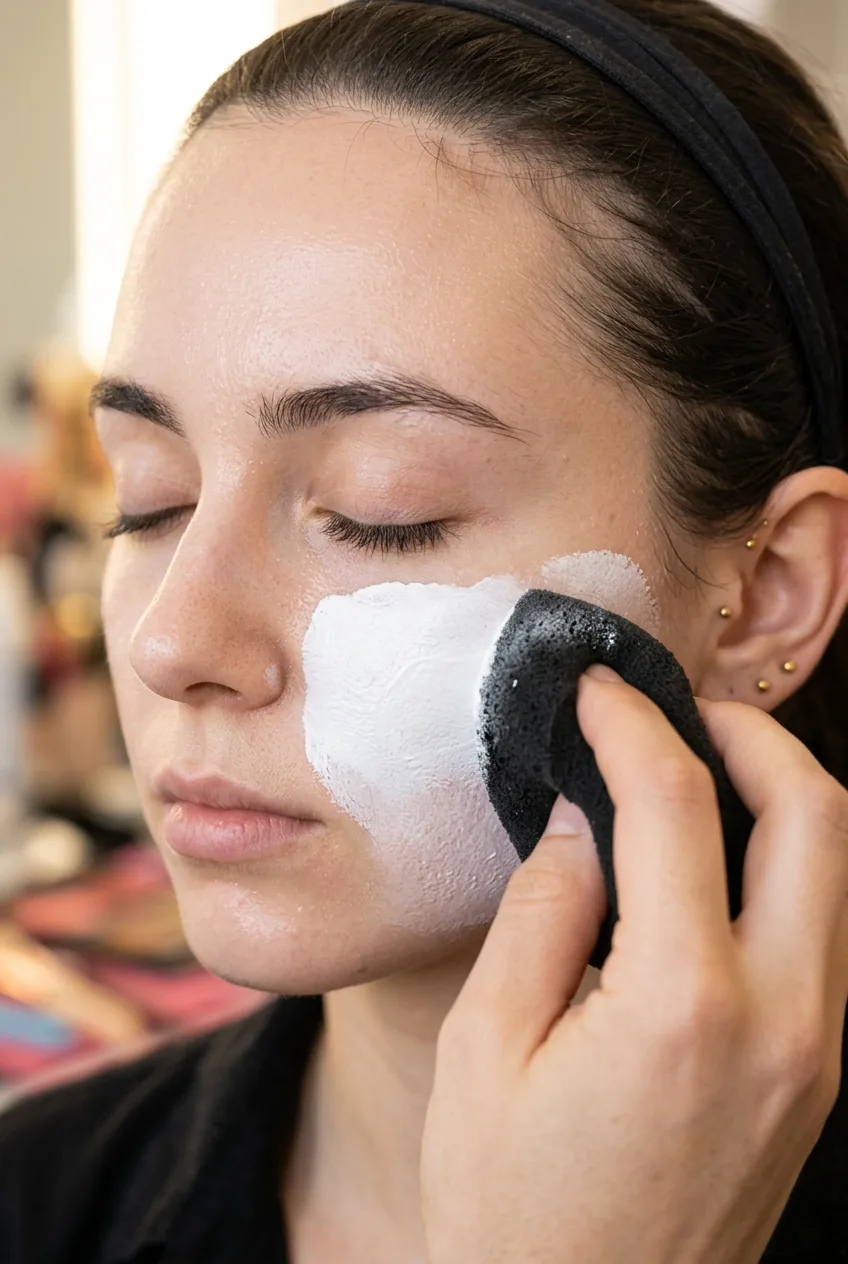
The mistake I made: I applied white theatrical paint directly to bare skin the first time, no primer, no foundation underneath. It cracked within an hour and looked genuinely awful — like a sad crumbling statue. Foundation first creates a flexible, moisturised layer that the cream paint can grip without cracking. Do not skip this.
Dust a light veil of translucent powder over the white using a fluffy brush. This is your in-between-step set — it stops the white from smearing when you apply the coloured patches next. Don’t skip this powder moment. I learned that the hard way when my red half migrated into the white and created a pinkish horror zone around my nose.
The Colour Layer
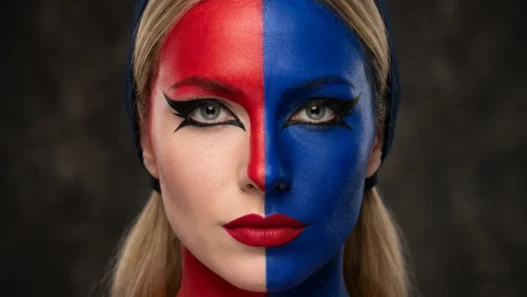
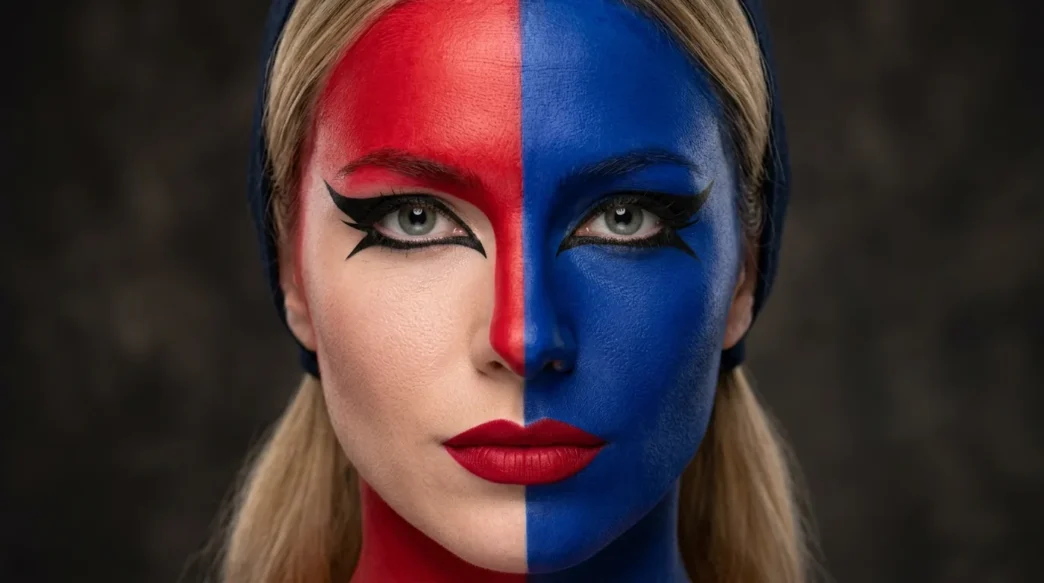
This is the fun part. Also the most technically demanding part. The classic Harley Quinn makeup look splits the face diagonally — red on one side, blue on the other. The exact placement is down to personal preference, but traditionally: right cheek, right eye, right side of the chin in red; left side in blue.
Use a flat-edged brush to create the split line first. I draw it in lightly with a white eyeliner pencil as a guide before I go in with colour — it helps me keep the diagonal consistent. Then, using a damp sponge, pat the red cream paint onto the right half. Build in thin layers, not one thick coat. Three thin layers give you an even, saturated result without texture.
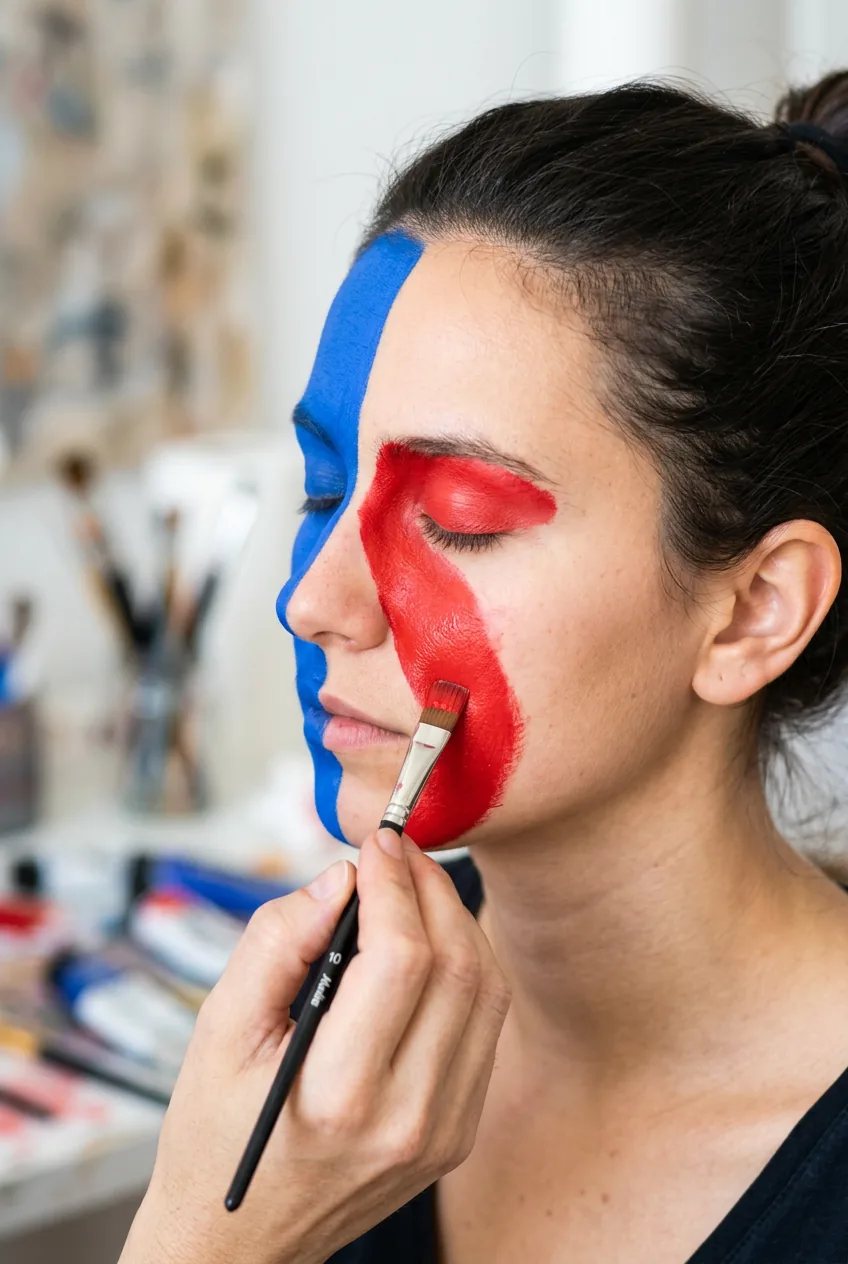
Repeat with blue on the left side. The edge where they meet in the centre — that transition line — is everything. I use a clean, slightly damp brush to neaten it while both colours are still just barely tacky. Once they dry fully, it’s much harder to correct. Work fast at the join.
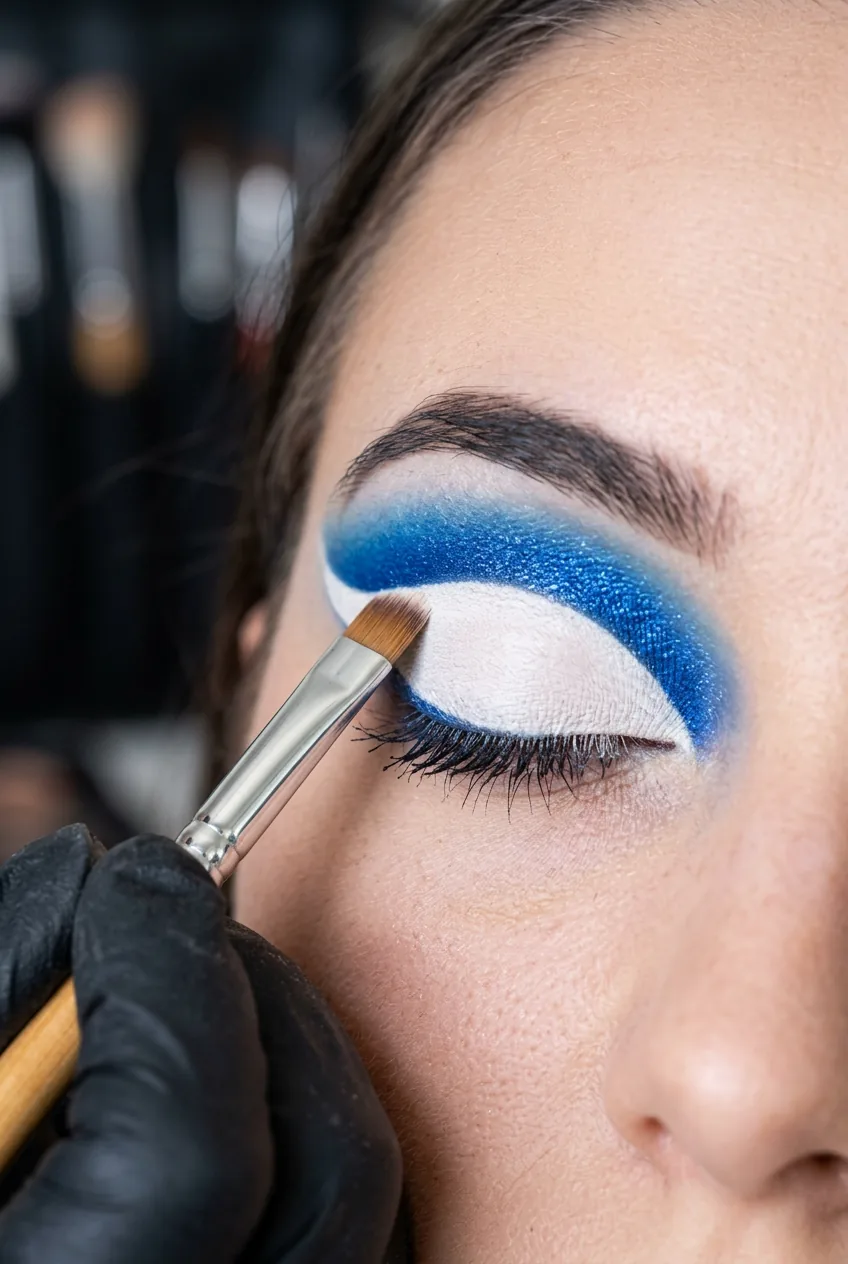
For the eyes, you’re essentially doing a graphic liner look with a strong smudged lower lash line in matching colour. On the red side, use a fine brush to apply red shadow or face paint close to the lower lash line. On the blue side, repeat with blue. Then — and this is the bit that elevates everything — apply black liquid liner to the upper lash lines on both eyes, winging it out slightly for that sharp comic-book feel. If you want to really commit, a dramatic flick and graphic eyeliner techniques can give you that extra editorial edge that pushes it from costume to full character.
The eyeshadow itself doesn’t need to be complicated. A shimmer or metallic wash on the lid in either red-toned copper or blue-toned silver (matching each side) reads beautifully and keeps the eyes from looking flat. Blend minimally — this is not the look for soft romantic blending. Sharp edges are your friend here. If you love the graphic element, the broader world of mastering baddie makeup tutorials has a lot to say about how to use colour-blocking as a power technique.
Now the lips. Apply a red lip stain first — this buys you serious staying power underneath the bullet. Let it dry for 30 seconds, then go in with your red lipstick on top, lining just outside the natural lip line slightly for that exaggerated cartoon effect. You don’t need to overline dramatically, just enough that the lip reads bold even from across a room. Blot once, then apply a second coat. That double-coat method keeps the red from feathering into the skin around your mouth.
Watching the Colour Split Come Together
The Lock-In Layer
Everything you just did can walk right off your face if you skip this phase. Setting a theatrical makeup look is different from setting everyday foundation. You’re dealing with cream and water-activated paints that need to be fully locked before you go anywhere near warmth, humidity, or accidental face-touching.
First: a generous layer of translucent powder, pressed (not swept) into the skin. Press the powder in with a velvet puff or the flat of a powder brush. Pressing compresses the cream layers underneath and creates a seal. Sweeping just moves product around.
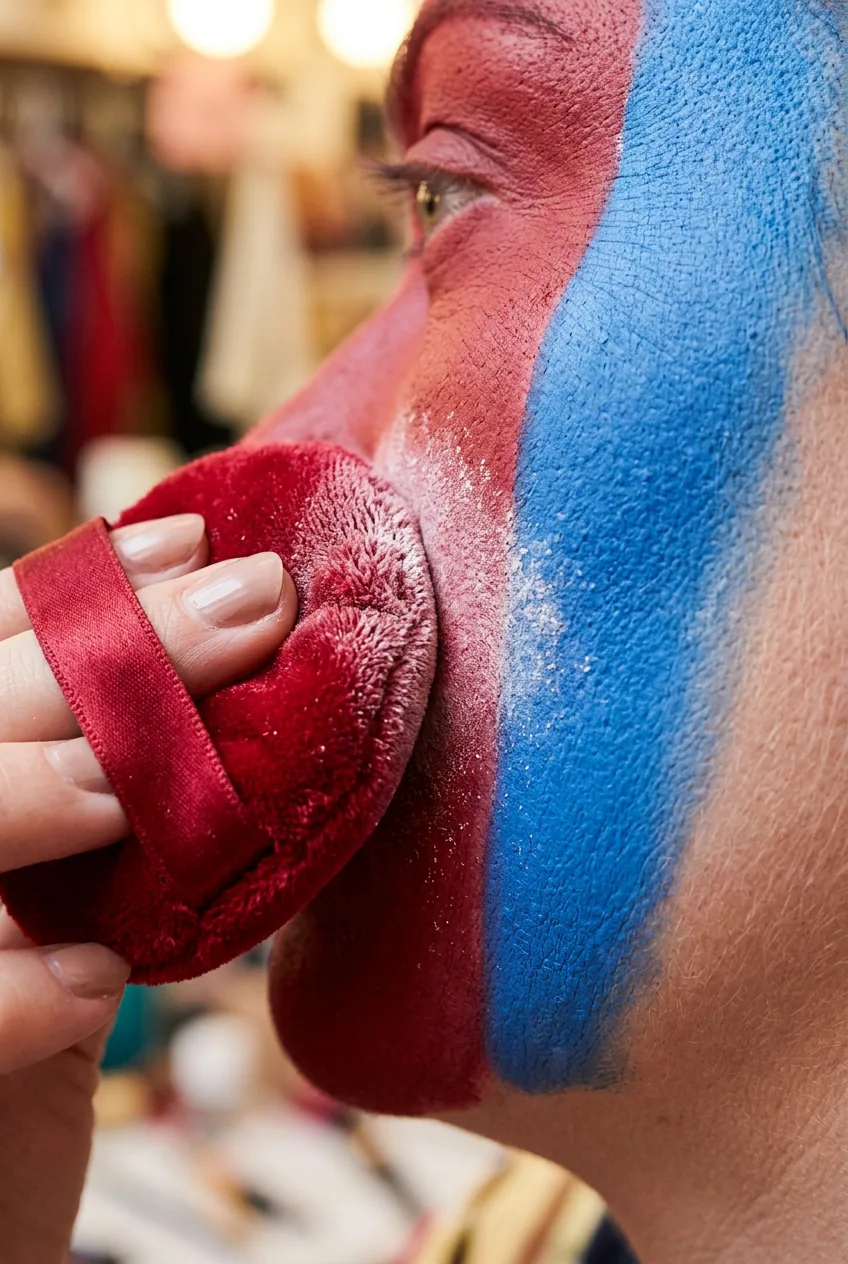
Wait 60 seconds. Then — this is the key — hold your setting spray about 30cm from your face and mist in an X and then a T pattern. Don’t fan your face afterward. Let it air dry completely. This reactivates the powder slightly and melds everything together into one cohesive film rather than separate layers that can peel apart.
If you’re heading somewhere very warm or you know you’ll be dancing for hours, do a second mist of setting spray after 10 minutes. Double setting sounds excessive but the results are genuinely shocking — I wore a locked-in Harley Quinn look through a three-hour outdoor event in summer and the split line was still crisp at the end of the night. The face paint setting techniques matter enormously at this stage, so don’t reach for just any spray. Look for one designed for theatrical or long-wear use.
Now touch up any liner that softened during the setting process. The liner always needs a little love after setting spray — it can slightly blunt the sharpness. Go back in with your fine liner and re-crisp any flicked edges or the centre split line if needed. This is also the moment to add any details like diamonds under the eye or jester symbols if you’re going full character.
The Final Check
Step back from the mirror. Literally step back — about 1.5 metres. This is how you catch the things that are invisible up close. Uneven split lines, one eyebrow that read different from the other, a lip that’s slightly more lined on one side. Distance reveals everything.
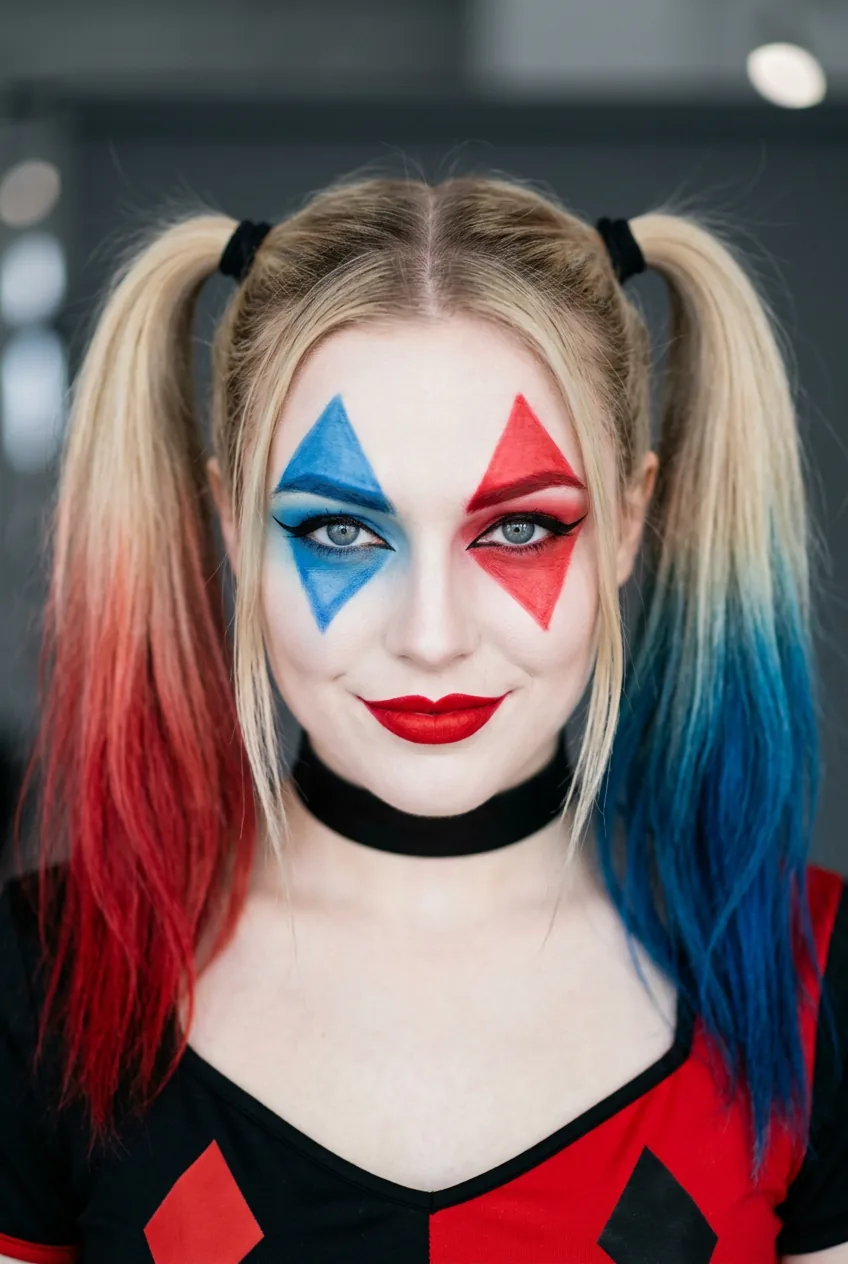
Here’s my quick printable-style final check — run through it before you leave the mirror:
- White base is evenly distributed — no yellow skin peeking through at the hairline
- Red and blue patches are equal in saturation — one side shouldn’t look more intense than the other
- The centre split line is clean and consistent from forehead to chin
- Lower lash line colour matches the correct side (red right, blue left — or your chosen split)
- Liner wings are equal in length and angle
- Lips are even — check the cupid’s bow especially
- Any detail elements (diamonds, diamonds, jester diamonds) are symmetrical
- Setting spray has fully dried — no tackiness when you lightly touch your cheek
- Touch-up kit is packed: a small setting spray, red lipstick, fine liner, concealer
She’s wearing her version in the photo above and you can see exactly how the split line reads at social distance — clean, graphic, unmistakable. That’s the target. Not just for Halloween either. The theatrical makeup space in 2026 has genuinely exploded for festival seasons, themed events, and cosplay competitions, and looks like this deserve the same longevity investment as any serious dark feminine makeup technique. Treat the set phase like a professional would and it will hold.
If you want to explore adjacent character-inspired looks that use similar graphic techniques, the clown makeup makeover step-by-step is surprisingly useful for understanding how to work with white cream bases and bold colour placements in a structured way. And honestly? The overlap between those theatrical looks and something like the goth makeup moment happening right now in 2026 beauty culture is bigger than people realise — they all share that same commitment to intentional contrast and sharp execution.
Questions I Get About This
Can I use regular face paint instead of theatrical cream paint?
You can, but results vary a lot. Basic craft-store face paint tends to crack faster, especially if you’re using it over a moisturised primer base. Theatrical-grade creams like Mehron or Snazaroo are specifically formulated to stay flexible on skin, which makes a meaningful difference over a long wear period. If you’re only doing this for an hour, regular face paint is fine. Full night out? Invest in the proper stuff.
How do I remove Harley Quinn makeup without destroying my skin?
Micellar water first — soak a cotton pad and hold it on an area for 20 seconds before wiping. Don’t scrub. For stubborn red pigment around the lips, a little coconut oil or a dedicated makeup balm cleanser works brilliantly. Follow with your normal double cleanse afterward, because cream paints are heavier than regular foundation and you really want your pores clear.
Does the split have to be red and blue, or can I change the colours?
Absolutely change them — the key is contrast, not the specific hues. I’ve seen stunning versions in red and black, black and white, and even purple and gold. The design logic stays the same: two high-contrast colours divided diagonally, clean edge at the centre, matching liner and eyeshadow on each side. The character is in the structure, not the exact palette.
Will this look work if I have oily skin?
Oily skin is actually one of the bigger challenges with theatrical looks because the oil migrates through cream products faster. I’d recommend a pore-minimising primer specifically designed for oily skin, and add a layer of translucent powder mid-application rather than only at the end. The double-setting-spray method I describe in the Lock-In Layer is especially important for oily skin types — don’t skip it.
My personal result using this exact checklist order: a clean split that held for over six hours, a lip that only needed one tiny touch-up, and — most importantly — no migration between the red and blue halves. That last part is the one that tripped me up for months. Getting the sequence right really is everything with this look.