


Last Halloween, I watched my friend Sarah transform into the most stunning theatrical clown I’d ever seen. Her makeup was so flawless that strangers stopped her all night asking who did it. When she told me she did it herself using techniques from circus performers, I knew I had to learn this art form. The dramatic transformation from everyday face to captivating character is honestly addictive once you get the hang of it.
Your Complete Clown Makeover Journey
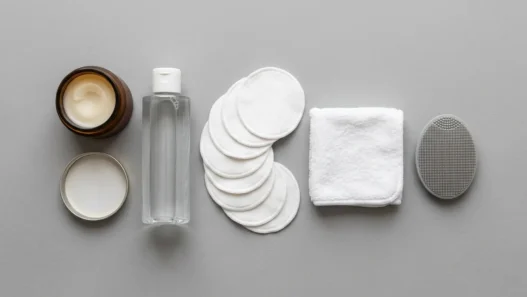
What You’ll Need for This Transformation
Before we dive into the magic, let’s gather everything. I learned the hard way that having the right tools makes the difference between amateur and professional-looking results:
- White theatrical makeup or heavy-coverage foundation (I swear by Mehron Paradise paints)
- Red lipstick or face paint (matte finish works best)
- Black eyeliner pencil and liquid liner
- Large fluffy powder brush
- Small detail brushes (at least 3 different sizes)
- Translucent setting powder
- Makeup sponges or beauty blenders
- Red cream blush or rouge
- Optional: colorful eyeshadows for extra drama
- Setting spray (trust me, you’ll need this)
The key is having enough product coverage. Regular foundation won’t cut it for this level of transformation — you need something with serious pigment payoff.
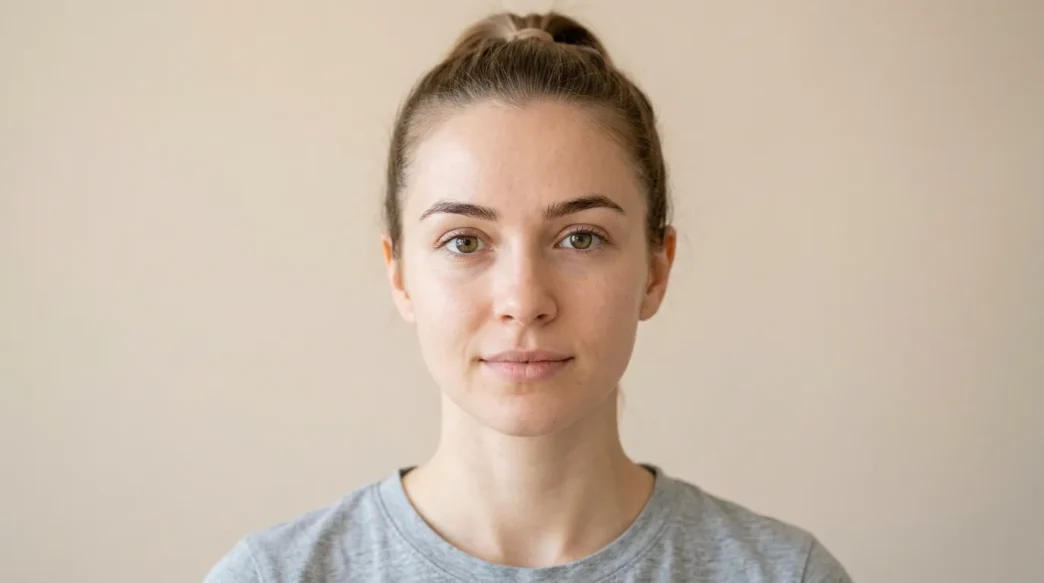
The Starting Point
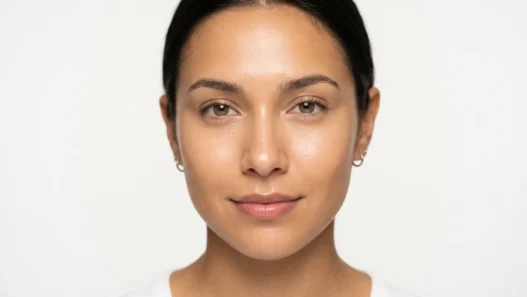
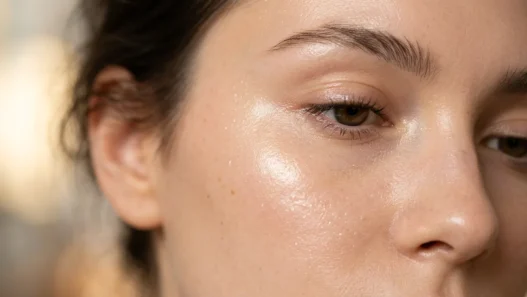
Start with a completely clean face. I mean squeaky clean — any leftover oils or moisturizer will make the white base slip and slide around. Pat your skin dry and let it sit for a few minutes before starting.
The transformation begins with understanding your natural face shape. Look in the mirror and identify where your cheekbones sit, where your eye sockets naturally create shadows, and how your lips are shaped. Clown makeup exaggerates these features, so knowing your starting point helps you decide where to place the dramatic elements.
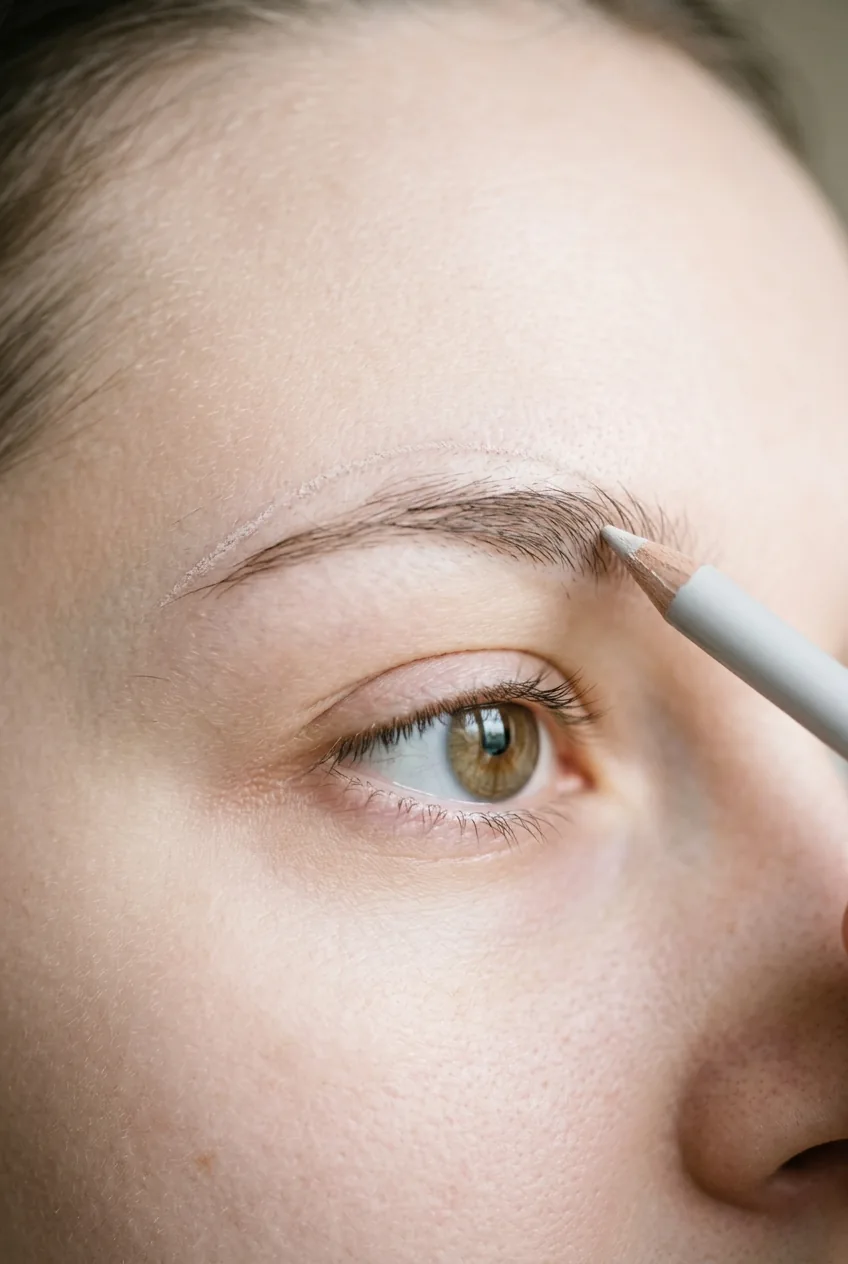
I like to start by mapping out the design lightly with a washable marker or very light pencil strokes. This might sound crazy, but professional theatrical makeup artists do this all the time. Mark where you want the exaggerated smile lines to go, where the tear drops will sit, and roughly where you’ll place any geometric elements.
Building the Base
Now comes the foundation of everything — literally. Apply your white base in thin, even layers using a damp makeup sponge. Don’t try to get full coverage in one go. Building it up gradually prevents that cakey, mask-like finish that screams “amateur.”
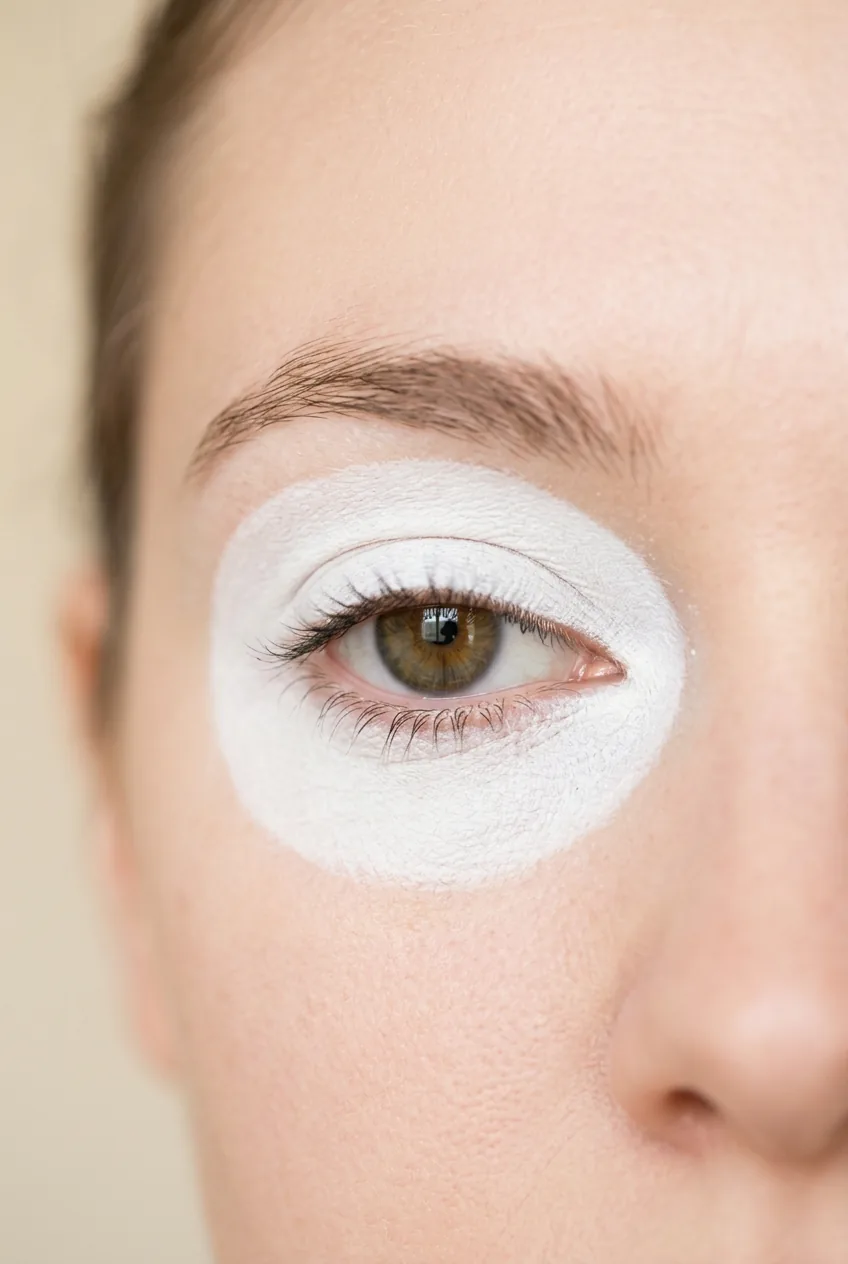
Pay special attention to blending around your hairline and jawline. The white should fade seamlessly into your natural skin tone at the edges, unless you’re going for a full-face white look. I usually leave my neck natural for everyday wearability, but blend the transition really well.
My biggest mistake the first time was rushing this step. I slapped on thick white paint thinking more was better, but it looked terrible and started cracking within an hour. Thin layers and patience are everything.
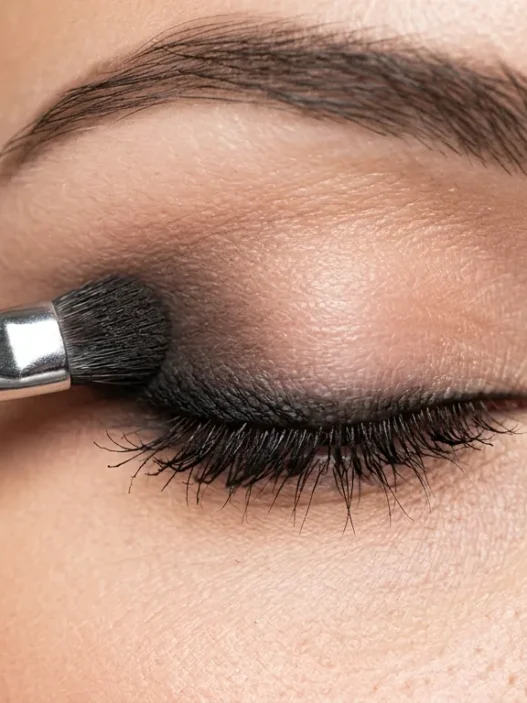
Once your base is even, set it lightly with translucent powder using a fluffy brush. Don’t go heavy here — just enough to prevent smudging when you add the details on top.
The Turning Point
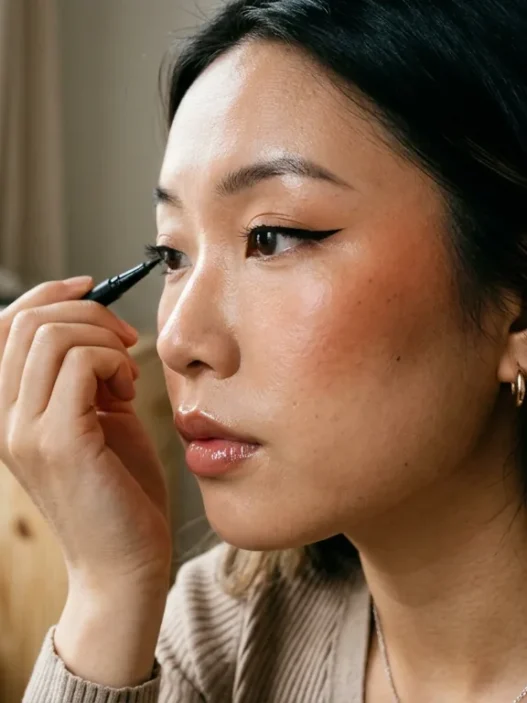
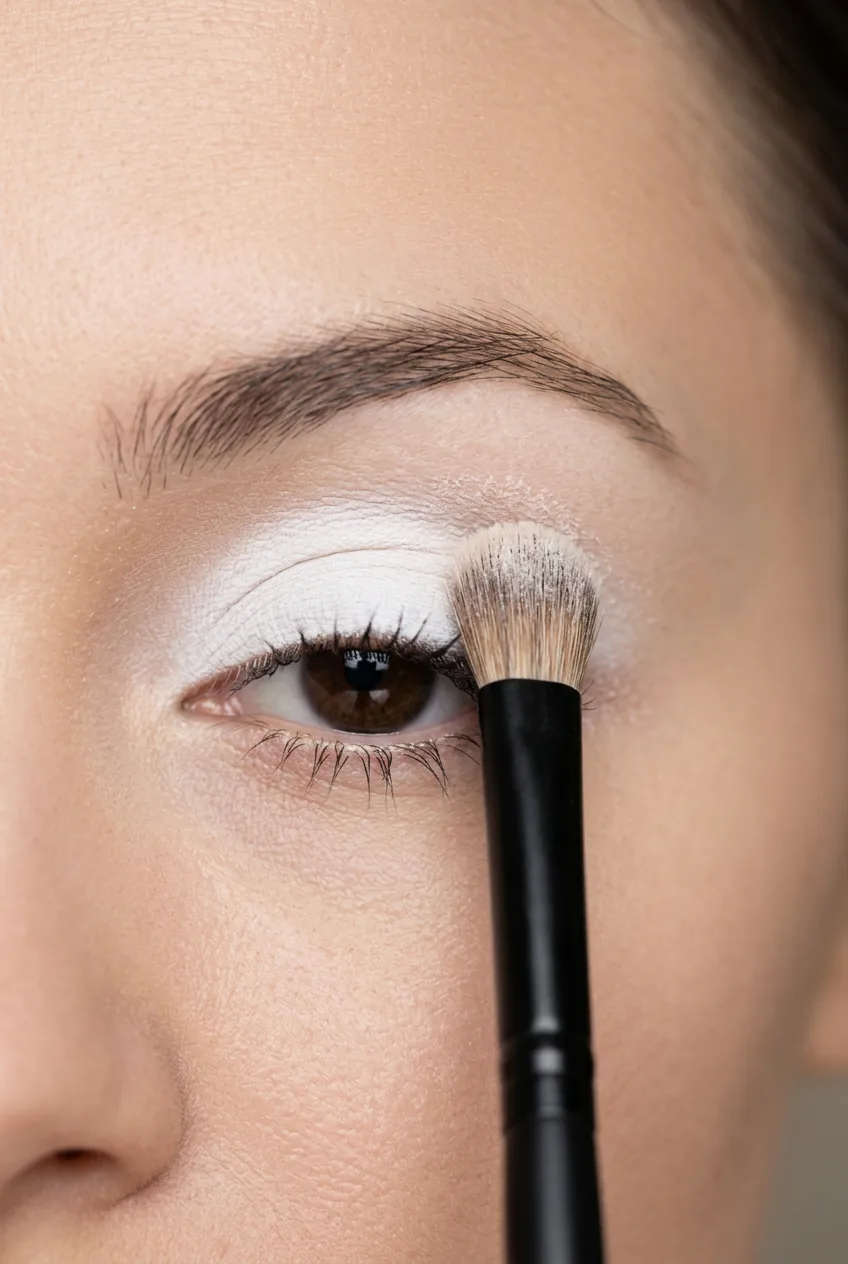
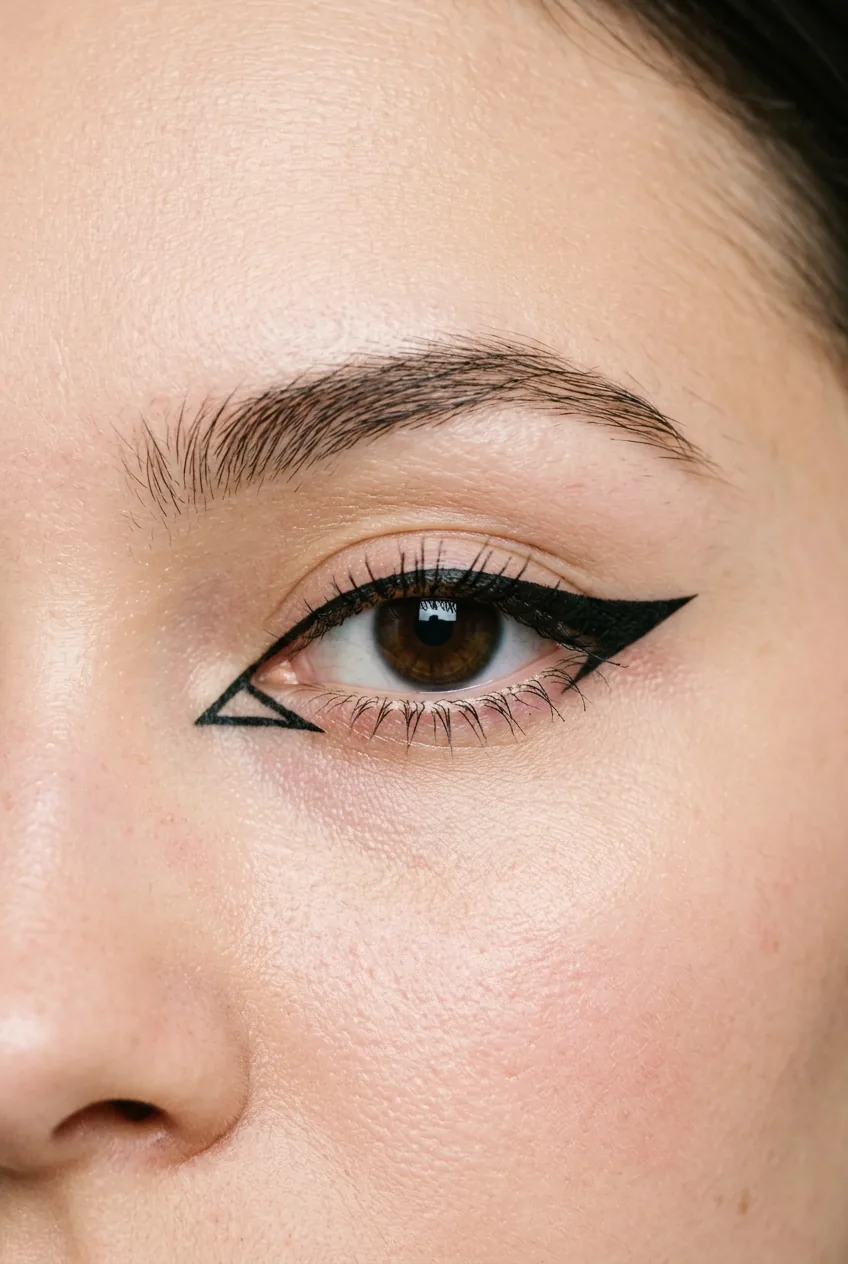
This is where your face starts becoming a character. Begin with the eyes — they’re the most dramatic element and will guide everything else. Use black liquid liner to create exaggerated shapes around your eyes. Think bigger than normal eyeliner, more geometric, more theatrical.
For a classic clown look, I create oversized triangle shapes above and below the eyes, extending past my natural eye shape. The key is symmetry — measure with your brush handle to make sure both sides match. Clown makeup follows rules of balance that make it visually striking rather than chaotic.
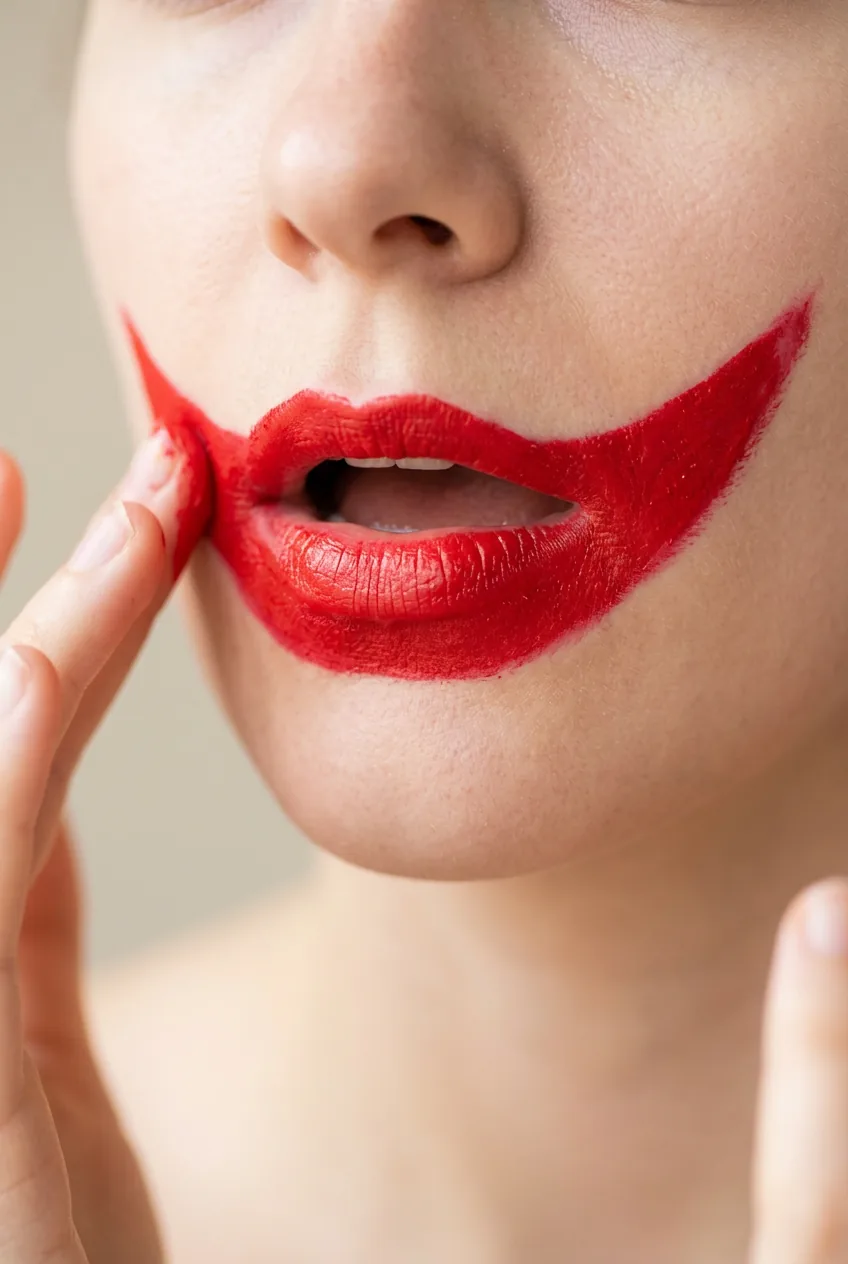
Next comes the mouth — and this is where many people get nervous. Spring makeup looks might emphasize natural lip shapes, but clown makeup throws that rulebook out the window. Use your red lipstick or face paint to create an exaggerated smile that extends beyond your natural lip line.
The classic approach is drawing the smile lines from the corners of your mouth up toward your cheekbones. Fill in this new mouth shape completely, then add a thin black outline around the entire red area to make it pop against the white base.
Professional techniques like these require practice, so don’t worry if your first attempt isn’t perfect. The beauty of this art form is that imperfections often add to the charm.
Watch the Eye Transformation Live
The Final Reveal
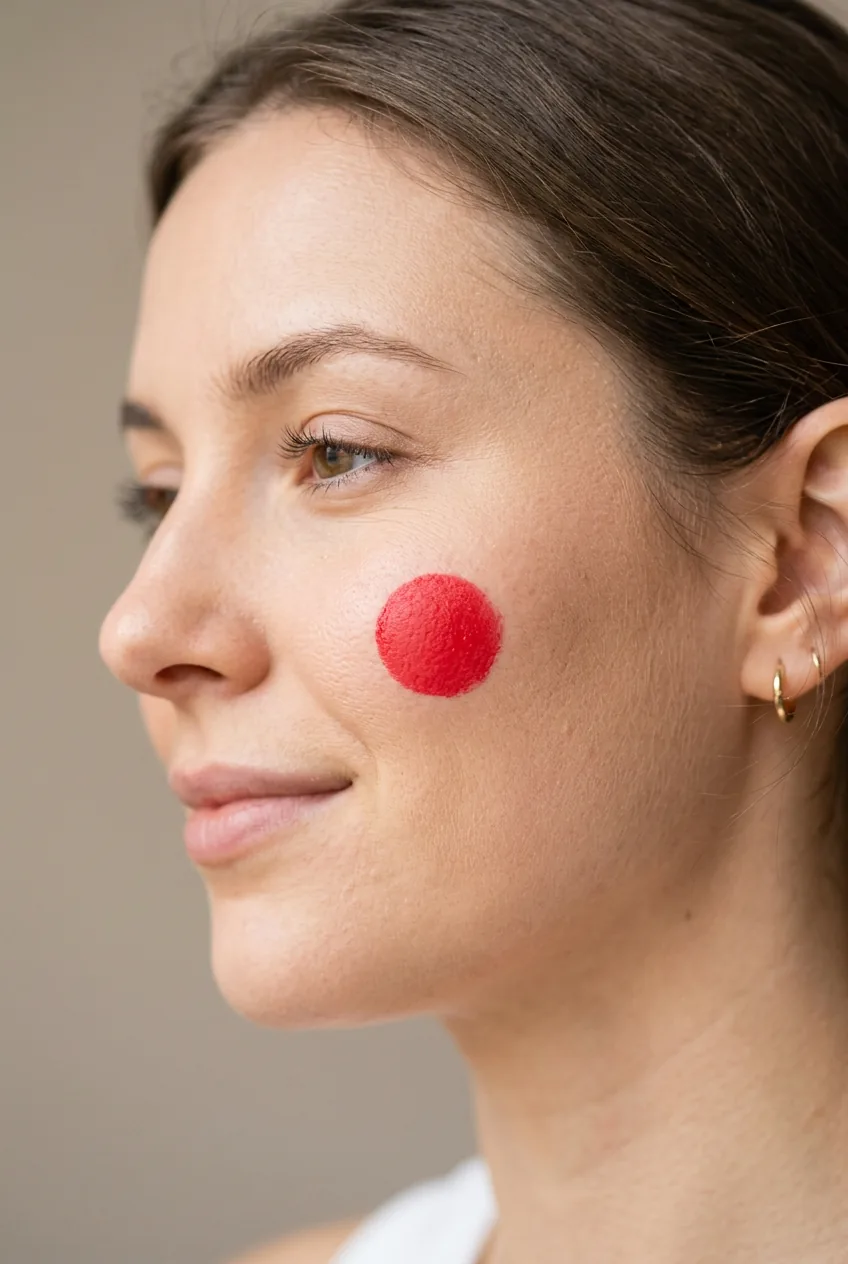
Now we add the details that bring the whole look together. Apply bright red circles to the apples of your cheeks using cream blush or face paint. These should be perfectly round and quite bold — subtlety isn’t the goal here.
Consider adding teardrops under one or both eyes using black liner. A single teardrop can add emotional depth to the character, while multiple small dots create a more whimsical effect. I personally love the single dramatic teardrop — it tells a story.
For the finishing touches, you might add small hearts, stars, or geometric shapes around the eyes or on the forehead. Keep these elements balanced — if you add something to one side, mirror it on the other or add a different but equally weighted element.
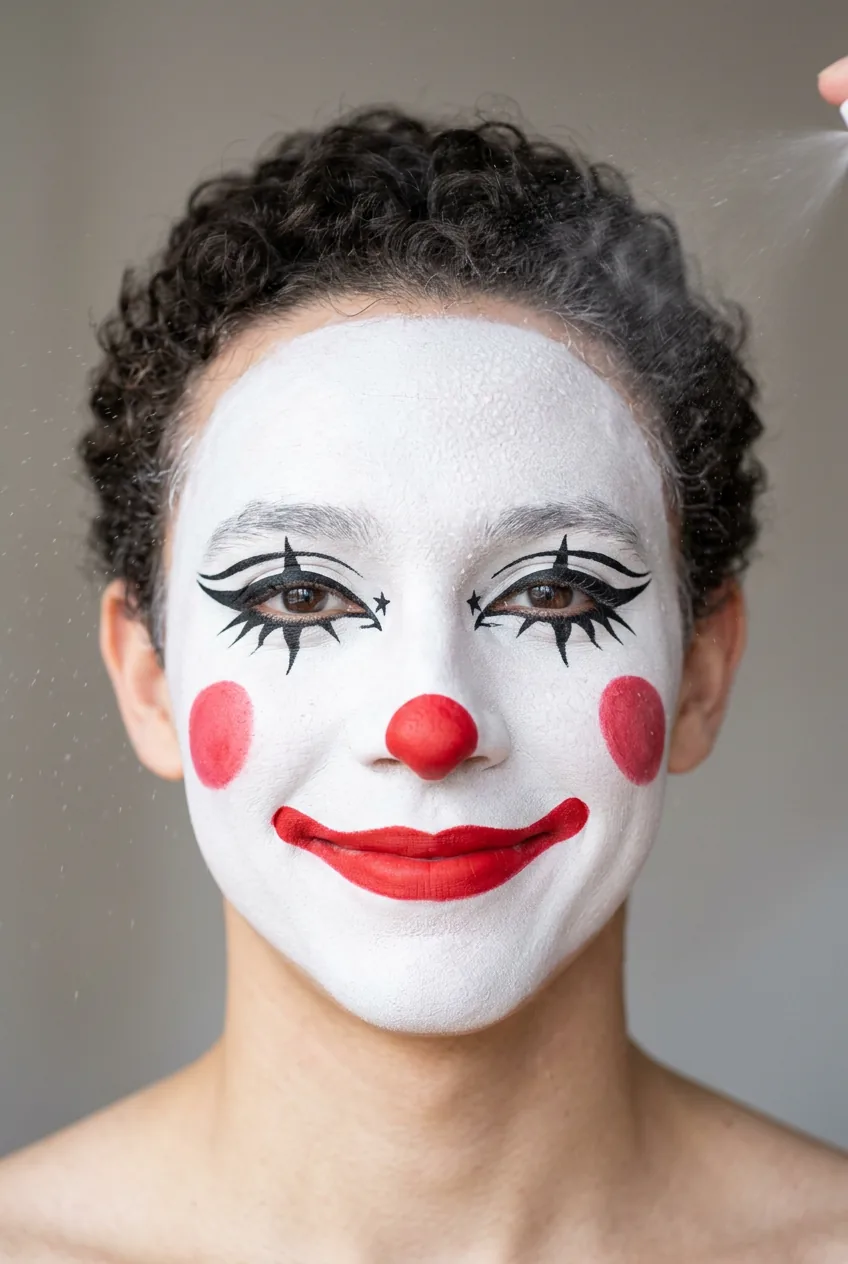
The final step is crucial: setting spray. Mist your entire face from about 8 inches away, keeping your eyes closed. This locks everything in place and prevents smudging throughout your event. Trust me, you don’t want to spend an hour on this transformation only to have it slide off during the first hug.
Questions I Get About This Look
How long does this makeup last?
With proper setting, this look easily lasts 6-8 hours. I’ve worn it to full evening events without major touch-ups needed. The white base is the most durable part, while the red elements might need slight refreshing after eating or drinking.
Is it hard to remove at the end of the night?
Theatrical makeup requires a good makeup remover, but it comes off easier than you’d think. Start with an oil-based cleanser to break down the pigments, then follow with your regular face wash. Don’t rub harshly — patience prevents skin irritation.
Can I modify this for a more subtle look?
Absolutely! Use the same techniques but scale back the coverage and size of elements. A light white base with smaller red details creates a more wearable version perfect for themed parties or festivals.
What if I mess up halfway through?
Don’t panic! Theatrical makeup is forgiving. Keep some micellar water and cotton swabs handy to clean up mistakes without disturbing the rest of your work. Small imperfections often add character to the final look.
The first time I completed this full transformation, I stared at myself in the mirror for a solid five minutes. The person looking back was completely different — bold, theatrical, almost otherworldly. It’s honestly empowering to see how makeup can create such a dramatic character change. Whether you’re preparing for Halloween, a themed party, or just want to experiment with creative makeup, this technique opens up a whole world of artistic expression. Safety considerations are important to keep in mind, especially if you plan to wear this look frequently.