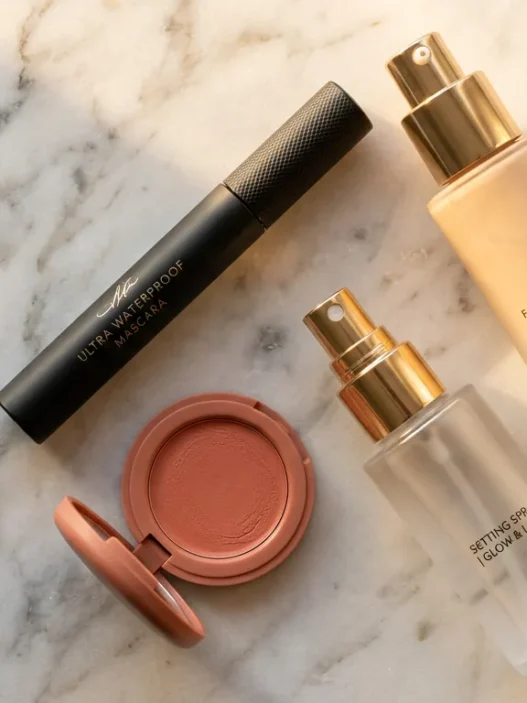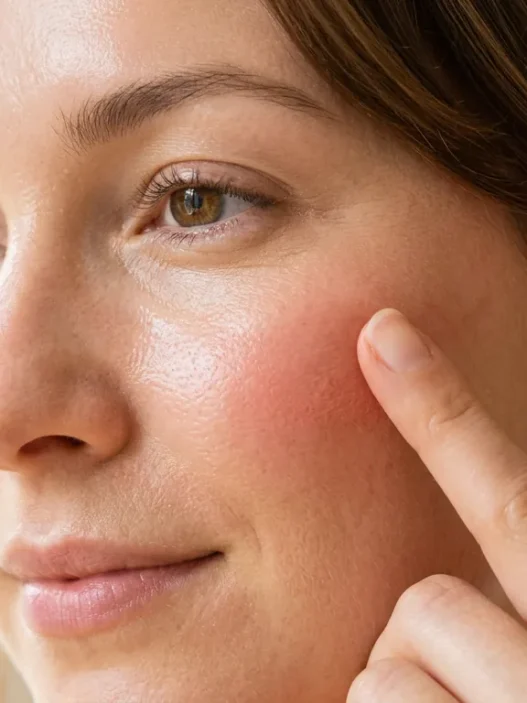






I used to be that person who fell asleep in a full face of foundation and woke up with a mascara-raccoon situation and a breakout already forming. Not cute. It took a few too many mornings of peeling dried-up lipstick off my chin to finally take makeup removal seriously — not just as a hygiene thing, but as an actual skincare ritual. This guide is everything I wish someone had told me about how to remove makeup stains properly, especially the long-wear, waterproof, transfer-proof kind that genuinely laughs at a basic wet wipe.
Why Removal Matters More Than You Think
Here’s the thing people don’t say enough: how you take your makeup off matters just as much as the products you put on. Dragging a dry cotton pad across your skin twenty times isn’t removal — it’s friction damage. And leaving even a trace of foundation overnight means your pores are working overtime while you sleep, which is exactly when your skin is supposed to be repairing itself. If you’ve ever woken up to unexpected breakouts even though you swore you took everything off, incomplete removal is almost always the culprit.
Modern makeup formulas are engineered to stay put. If you wear long-wear foundation or waterproof mascara — and honestly, understanding how to make your bridal makeup last all day is one thing, but then you have to actually undo all that staying power at night. That takes intention. A proper removal routine isn’t about being high-maintenance. It’s just about closing the loop properly so your skin doesn’t pay for your highlighter the next morning.
What You’ll Need
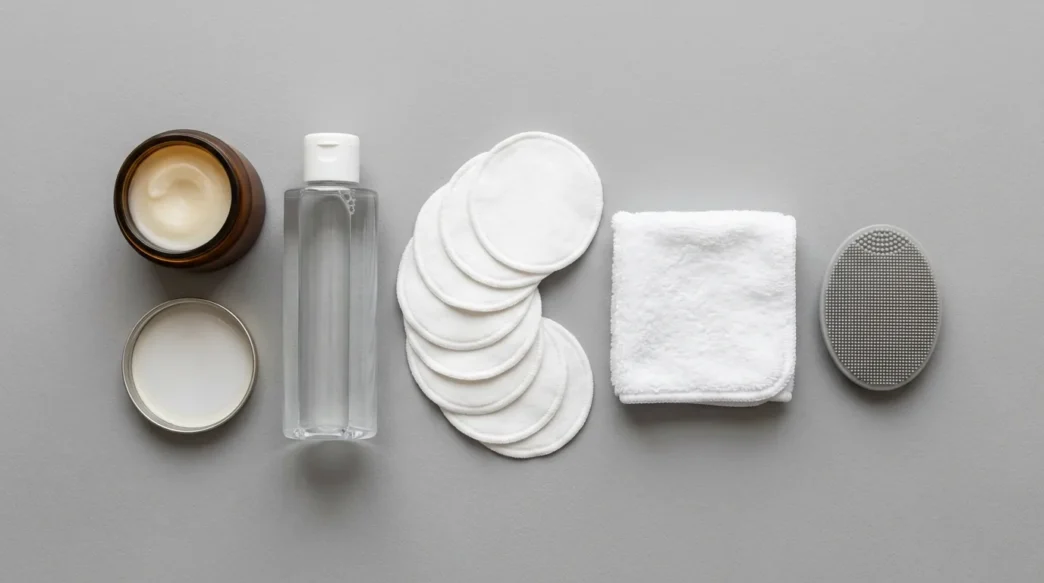
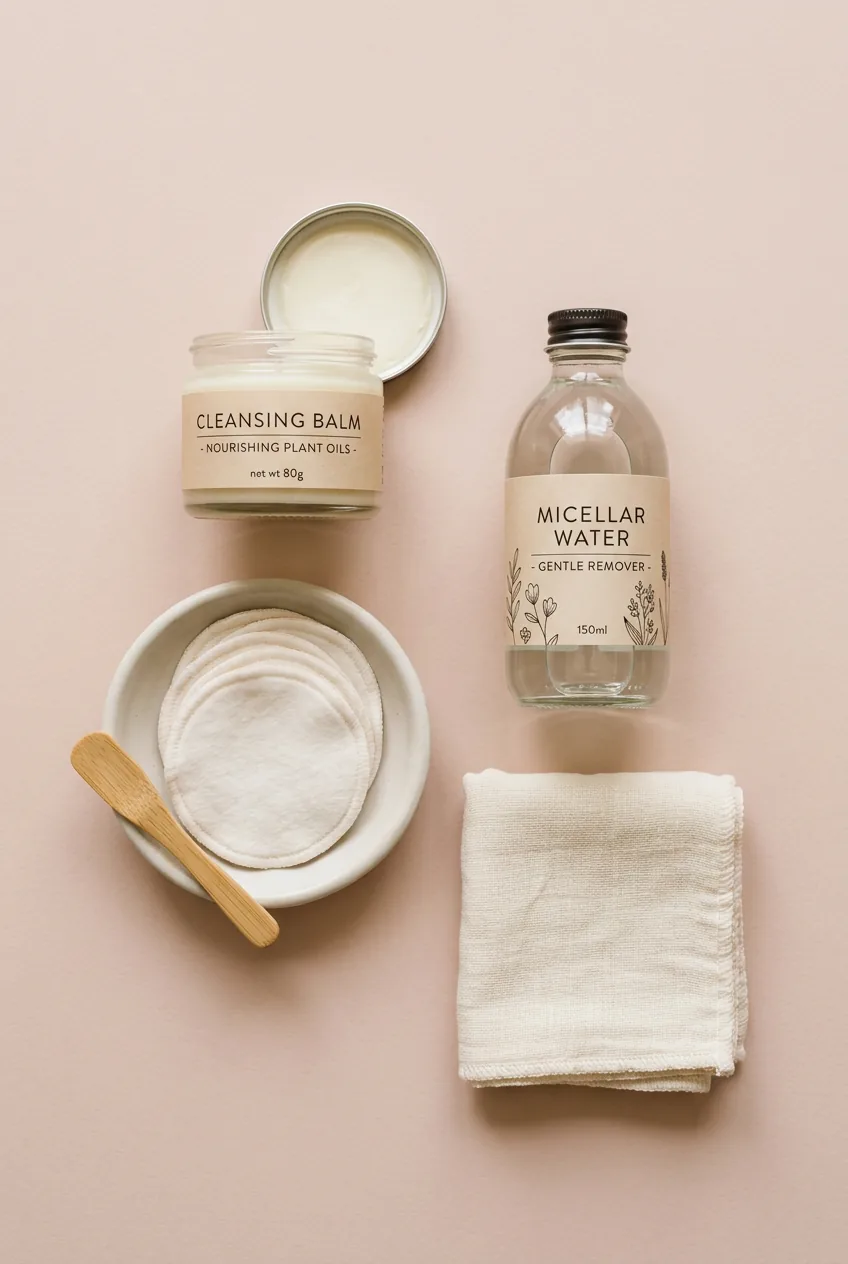
Nothing here requires a huge investment. Most of this you probably already own — you might just not be using it in the right order. Grab these before you start:
- A gentle oil-based cleansing balm or micellar cleansing oil (for the first pass)
- Reusable cotton rounds or soft microfibre cloths — not the scratchy kind, please
- A waterproof eye makeup remover — specifically formulated for the eye area
- A gentle water-based or gel facial cleanser (for double-cleansing)
- Micellar water for precision spot work on stubborn stains
- A hydrating toner or essence
- Your usual moisturiser or overnight mask
- A few clean cotton swabs for detailed eye work
Optional but genuinely helpful: a small silicone cleansing pad for massaging your cleanser in during Step 3. It makes a real difference on days when you’ve been wearing a full coverage base.
Step 1: The First Pass
Start with dry hands on a dry face. I know that sounds obvious, but a lot of people splash water on first — don’t. Your cleansing balm or cleansing oil needs to work on dry skin to properly break down the makeup sitting on top. Scoop out a small amount of balm (about the size of a large pea) and warm it between your fingers until it melts into an oil.
Then massage it gently across your face in slow, circular motions. You’ll actually see the foundation and blush start to dissolve and shift — it’s weirdly satisfying. Give it a full 30 to 60 seconds of massage time. Don’t rush this step. The oil is doing the heavy lifting, dissolving the silicones and pigments in your base makeup so they slide off rather than getting pushed into your pores.
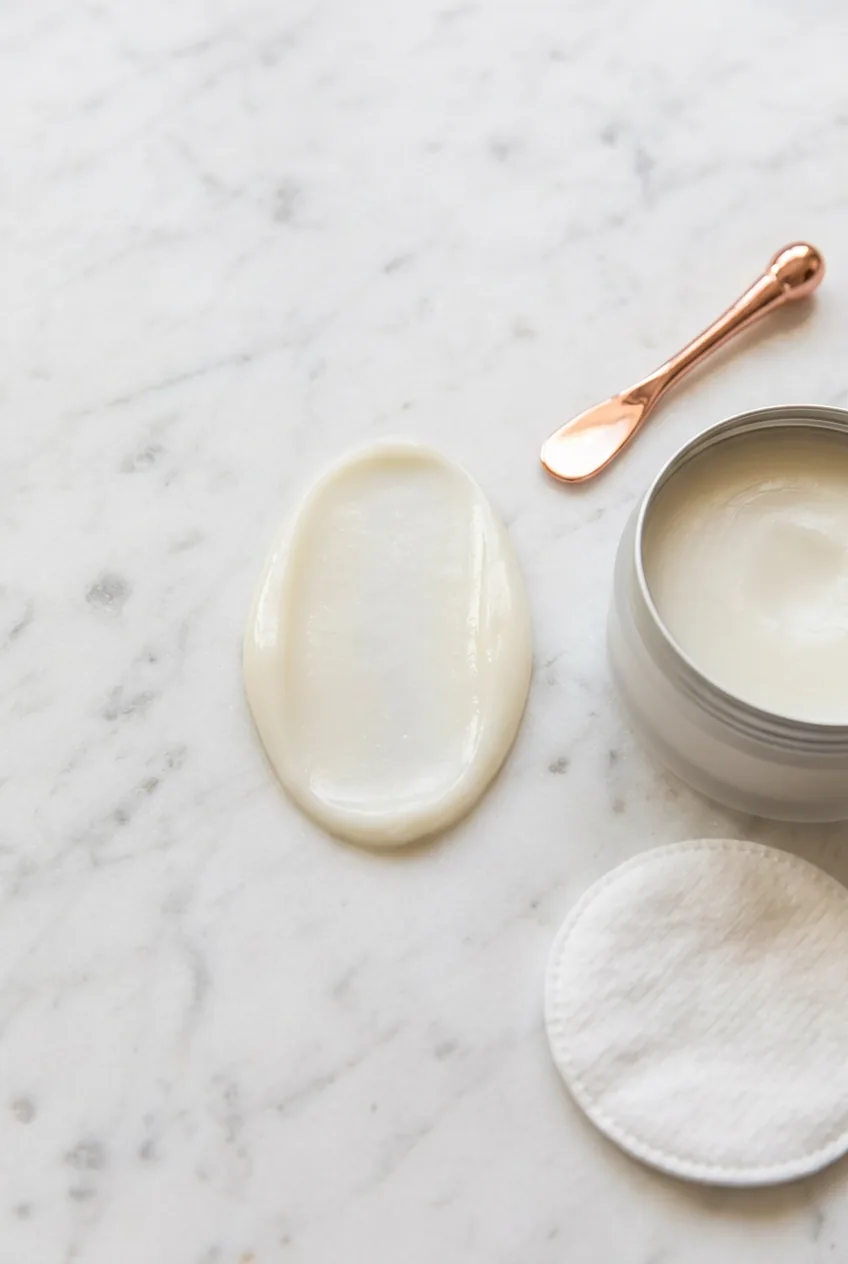
Once you’ve massaged everything, add a little warm water to your fingertips and emulsify the balm — it’ll turn milky white. Then rinse it off or wipe away with a damp microfibre cloth. Don’t scrub. Just press and lift. You should already see most of your base makeup coming off on the cloth.
Step 2: Target the Stubborn Spots
Even after a great first pass, certain spots hold on. Long-wearing lip colour is the worst offender in my experience — especially anything with a matte or transfer-proof finish. The sides of the nose are another trouble area, and if you wear setting powder heavily, you’ll often find a residue line along your hairline and jaw.
This is where micellar water earns its place. Soak a cotton round generously and press it against the stubborn area for five to ten seconds. Just hold it there. Let the micellar water do the dissolving work before you wipe. Then use a gentle swipe — not a scrub — to lift the residue. For lip colour specifically, you can also use a tiny amount of leftover balm from your fingers and massage it directly into the lip line before wiping.
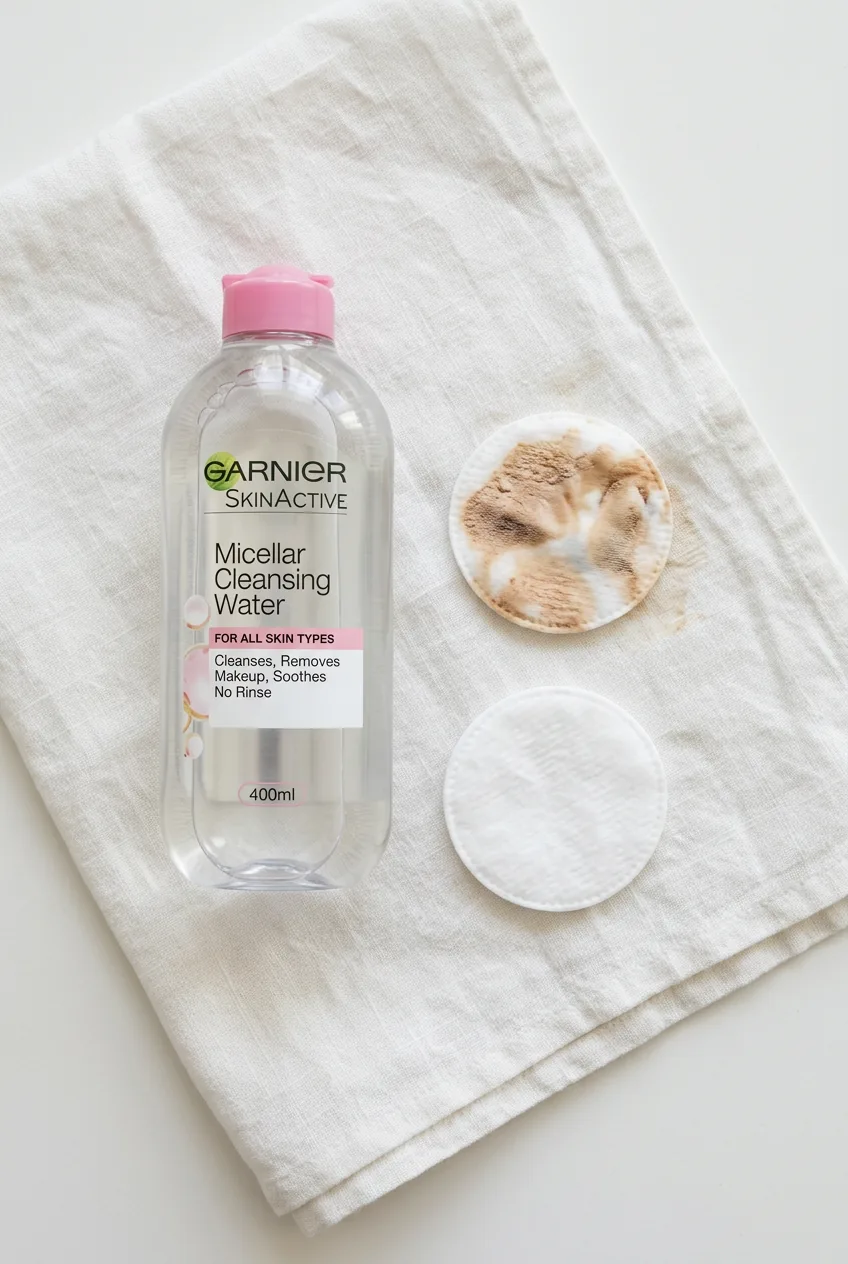
Mistake I made: I used to scrub at stubborn mascara residue on my cheekbones with a dry cotton pad. By the end I’d basically given myself a micro-exfoliation I didn’t ask for — my skin was red and irritated for hours. The fix was simple: always saturate the pad first, and always press before you wipe. Your skin isn’t a dirty pan that needs scrubbing.
Step 3: The Deep Cleanse
This is the second cleanse in the double-cleanse method, and it is non-negotiable. After the oil phase removes the bulk of your makeup, a water-based cleanser gets into the pores and removes anything that’s still lingering — sweat, pollution particles, leftover emulsified oil. Skipping this step is like rinsing a greasy pan with just oil and calling it clean.
Wet your face with lukewarm water — not hot, which strips the skin barrier — and apply your gel or cream cleanser. Massage for at least 60 seconds. I usually set a quiet timer because I always think I’ve been at it longer than I have. Pay extra attention to the T-zone, the sides of the nose, and the chin. Rinse thoroughly. The double cleansing technique is one of those habits that sounds like extra effort until you actually see the difference in your skin texture after two weeks.
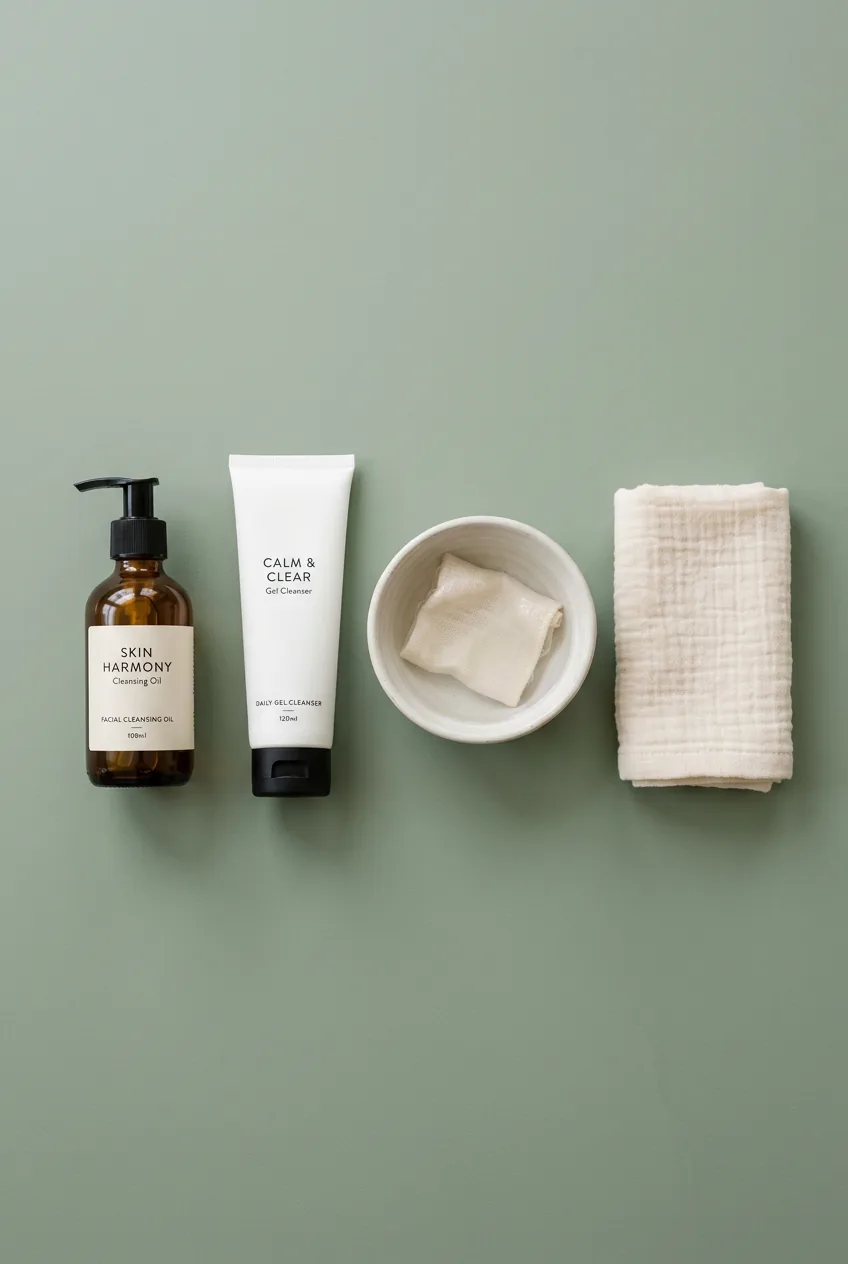
Pat — don’t rub — your face dry with a clean towel. At this point your skin should feel clean but not tight. If it feels stripped or squeaky, your cleanser might be too harsh for daily removal use. Worth switching to something more gentle for this step.
See the Double Cleanse Done Properly
Step 4: The Reset Before Bed
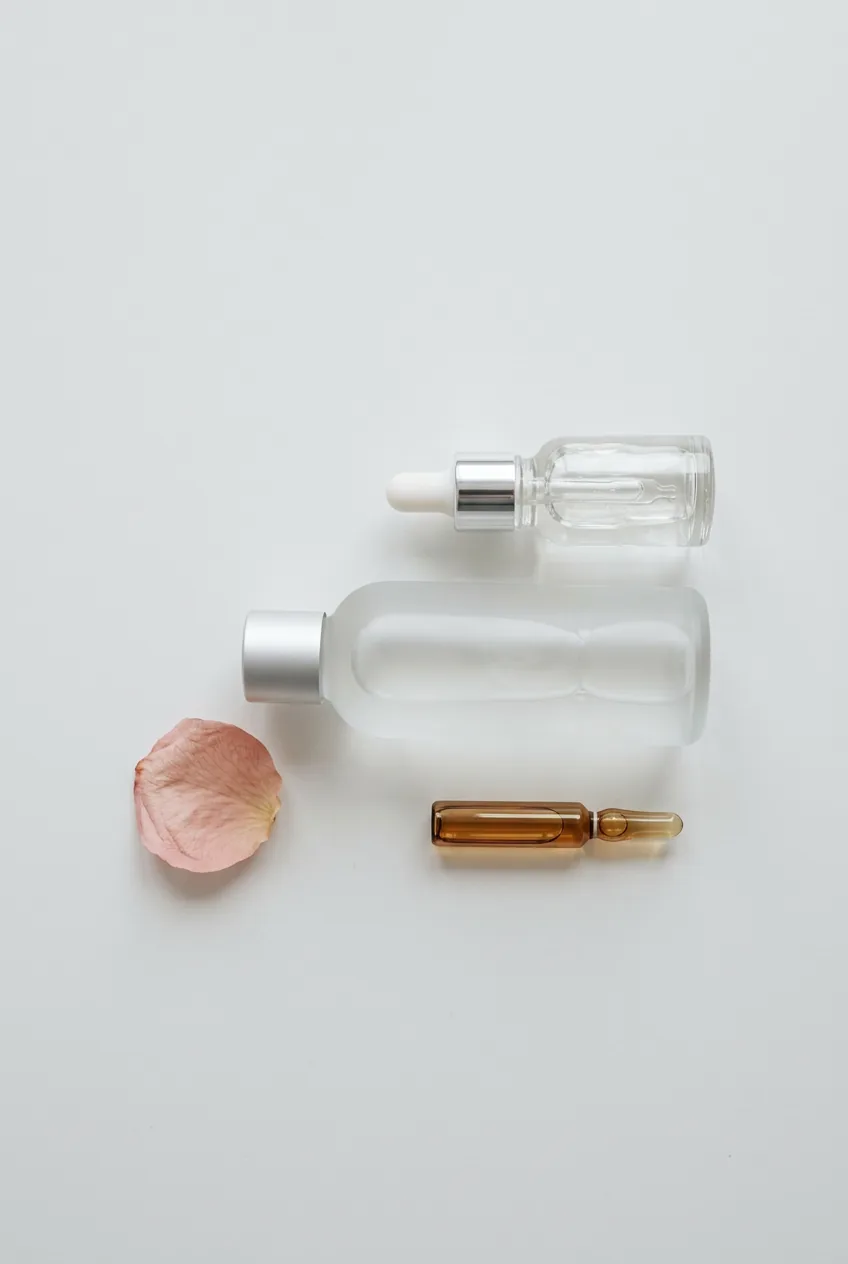
This is the step most people skip entirely, and honestly it’s the one that changed my skin the most. Right after cleansing, while your skin is still slightly damp, apply a hydrating toner or essence. Not an astringent toner — those tight, alcohol-heavy ones are not what we’re after here. Something with hyaluronic acid, centella, or glycerin.
The reason this matters so much is that cleansing — even gentle cleansing — disrupts your skin’s pH slightly. A hydrating toner brings it back into balance and preps your skin to actually absorb the moisturiser you apply next. Without this step, your moisturiser is sitting on top of a slightly off-kilter surface and doing about 40% of what it could be doing. Pour a small amount onto your palm or a cotton round and press it gently into the skin rather than wiping.
If you want to understand how a proper base routine from the morning side also sets you up better for removal at night, reading through the right order to apply makeup genuinely helps you see the full picture. What goes on in the right order comes off in the right order too.
Step 5: Eye-Area Recovery
I’ve saved eye removal as its own dedicated step because the skin around your eyes is genuinely different from the rest of your face. It’s thinner, it has fewer oil glands, and it’s far more prone to irritation and premature wrinkling if you’re rough with it. This deserves its own careful attention — not just a quick swipe during the first pass.
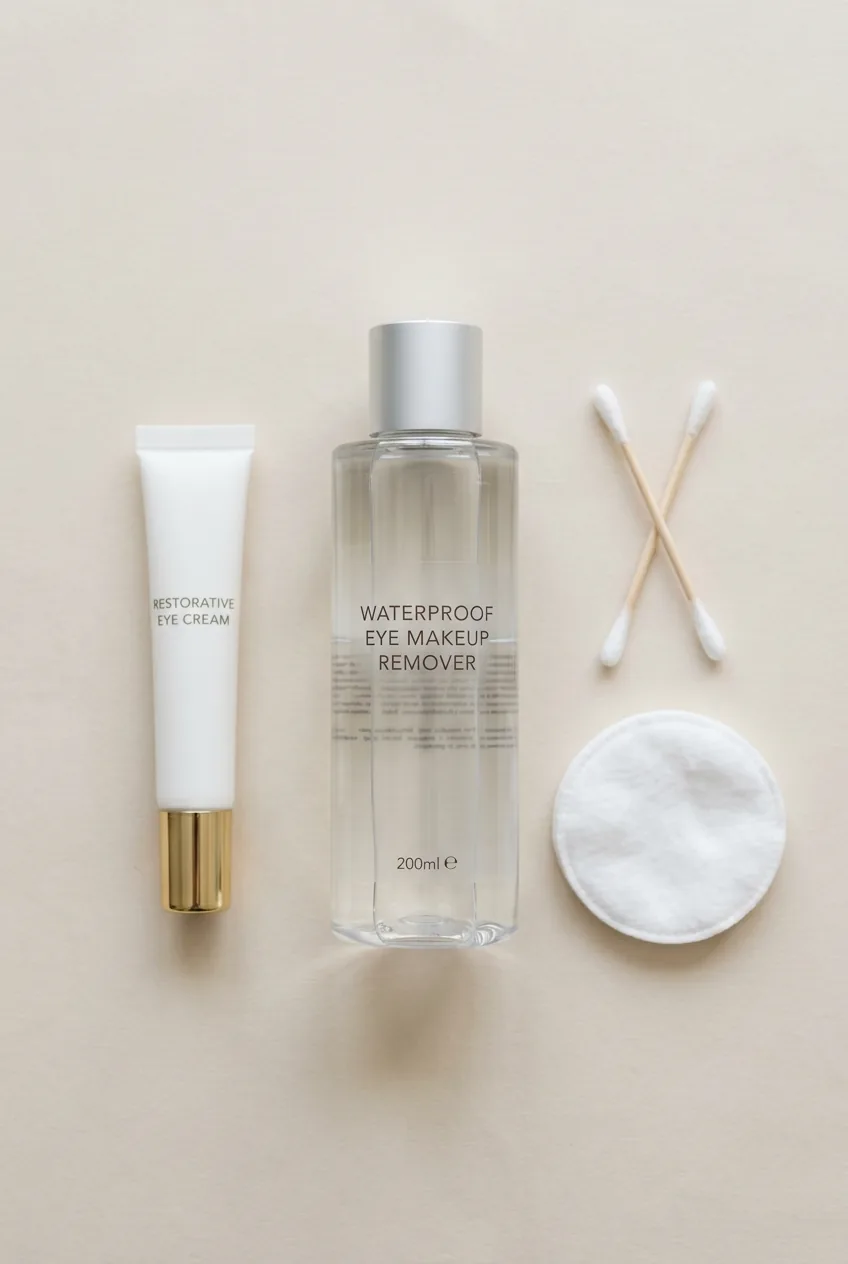
Use a proper waterproof eye makeup remover here — one formulated specifically for the eye area, not just micellar water. Soak a cotton pad generously and hold it against your closed eye for ten to fifteen full seconds. Seriously, set a mental count. The formula needs contact time to dissolve the waterproof mascara and liner. After holding, use one downward swipe — not back and forth — to lift the pigment away. For any residue at the lash line, use a cotton swab soaked in the same remover for precision work.
Gentle patting motions, never tugging. And if you’ve been curious about why your eye makeup sometimes looks patchy or flaky during the day, it’s often related to how much residue from previous applications is building up on the lash line — something I talked about in more detail when covering 5 lessons eye makeup has taught me. Proper removal is basically lesson zero.
Once the eye makeup is fully removed, dab — not rub — a tiny amount of eye cream or a plain hyaluronic serum around the orbital bone. The eye area responds really well to moisture right after cleansing when the skin is slightly primed to absorb.
Step 6: Lock It All In
The final step is the reward. Your skin is clean, balanced, and receptive — now you give it everything it needs to repair overnight. Apply your moisturiser while the toner is still slightly tacky on the skin. Use gentle pressing motions upward and outward, not downward dragging strokes.
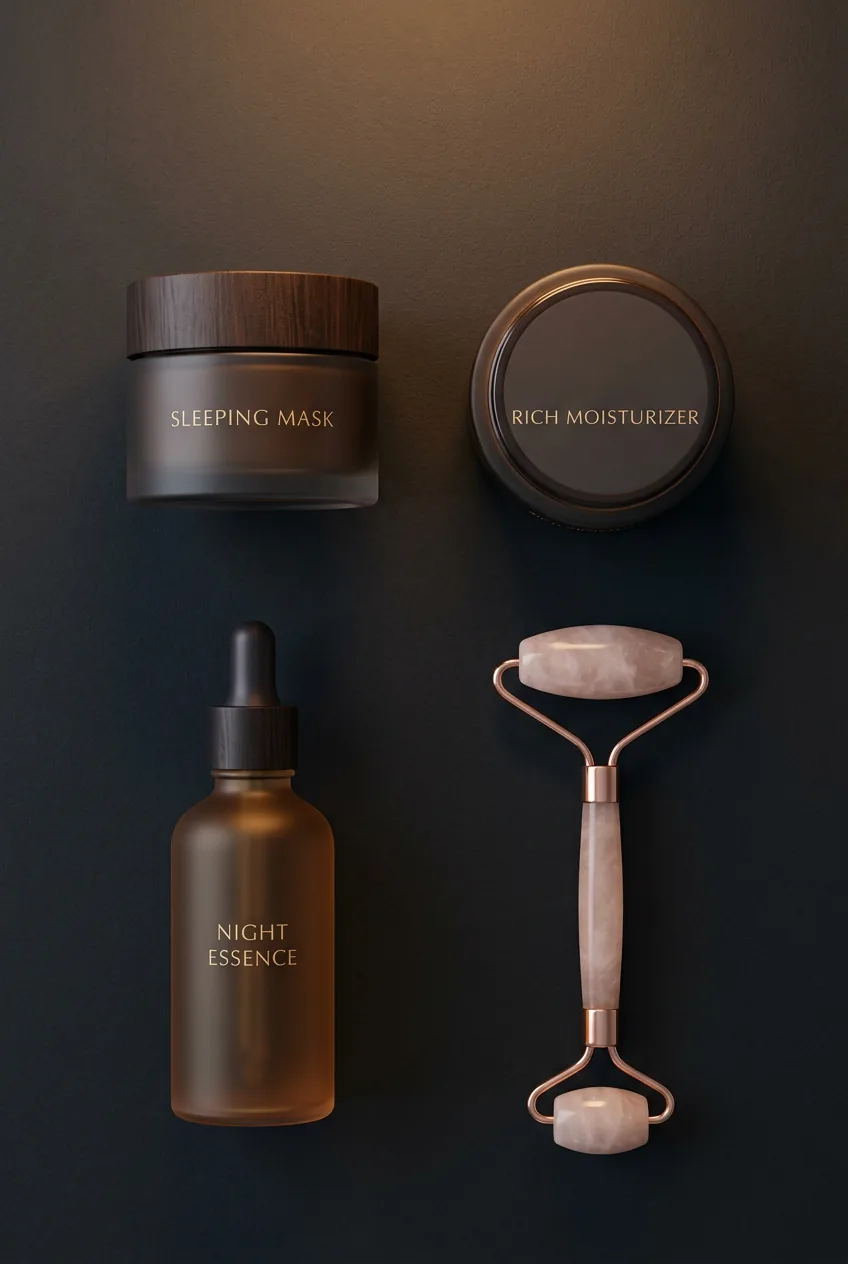
On nights when my skin feels particularly stressed — maybe I wore a really heavy full-coverage base, or the day was genuinely long — I’ll swap my regular moisturiser for a sleeping mask. These are designed to create a breathable film over the skin that seals in hydration while you sleep. The difference in morning skin texture is noticeable. The best overnight moisturisers are worth looking into if you’re not already rotating one into your routine.
And that’s genuinely it. Six steps from full face to clean, happy skin. The whole process takes me about ten to twelve minutes when I’m being properly intentional about it — less than one episode of anything. If you’re curious about building the rest of your makeup type routines with this same care, it’s worth exploring what works for your specific base products and finish preferences. Skincare-friendly application habits make end-of-day removal so much easier too — something covered brilliantly in the natural makeup without looking like you’re wearing any guide, where the whole approach leans toward formulas that sit well on skin rather than fighting it.
Questions I Get About This
Can I just use micellar water and skip the double cleanse?
For a very light, no-coverage day — maybe just tinted SPF and a bit of brow gel — micellar water alone is probably fine. But for anything with foundation, long-wear lip colour, or waterproof mascara, micellar water on its own won’t fully clear the pores. You’ll feel clean, but you won’t be as clean as you think. The double cleanse is the difference between surface removal and actual removal.
Why do I still break out even when I remove my makeup properly?
A few possibilities: your cleanser might be leaving a residue itself (some sulfate-free cleansers do this on certain skin types), you might not be rinsing thoroughly enough, or the breakouts could be caused by something other than makeup entirely — stress, diet, hormones. That said, if you’ve recently started double cleansing and the breakouts continue for more than a week or two, it’s worth looking at whether your oil-based cleanser is comedogenic for your skin type. Not all cleansing balms agree with all skin.
How do I remove makeup stains from fabric or pillowcases?
Act fast — fresh stains are always easier. For foundation on fabric, I dab (never rub) with a small amount of dish soap or a makeup stain remover stick, let it sit for a few minutes, then rinse with cold water before washing. Lipstick responds well to a tiny dab of micellar water before pre-treating. Hot water sets stains, so always go cold first. The removing foundation from fabric process is slightly different depending on the fabric, so it’s worth checking care labels before treating anything delicate.
Is it okay to use coconut oil to remove makeup?
Coconut oil does dissolve makeup effectively — it’s genuinely good at breaking down pigment and silicone-based formulas. The catch is that it’s highly comedogenic for some people, meaning it can clog pores and cause milia or breakouts, especially around the eye area. If your skin is on the oilier or acne-prone side, I’d stick to a proper formulated cleansing balm instead. If you have drier skin and have used coconut oil without issues, it can work — just always follow with a water-based cleanse.
My skin has genuinely never looked better in the morning since I committed to this routine. Not because I’m using expensive products — most of what I use is mid-range — but because I’m actually finishing what I started. Makeup is only half the equation. The other half is what you do at the end of the day to make sure your skin gets to breathe, repair, and show up for you again tomorrow.