
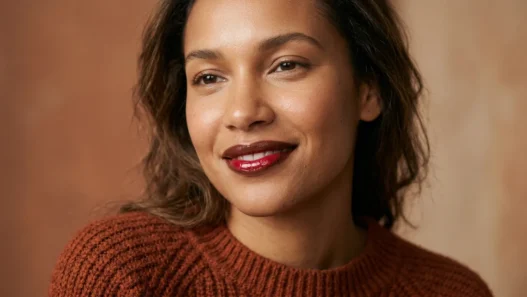



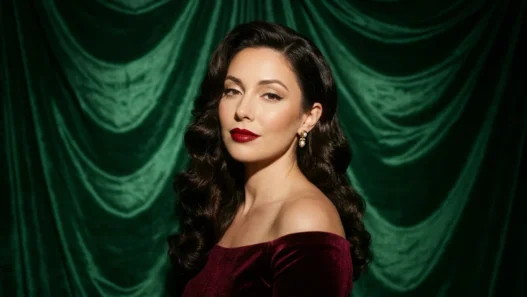
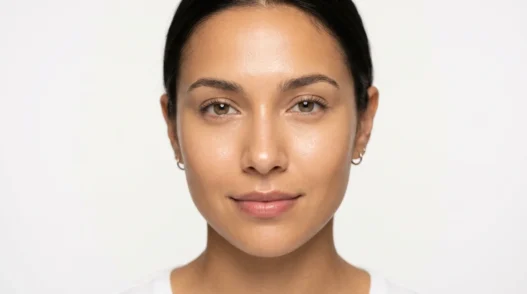
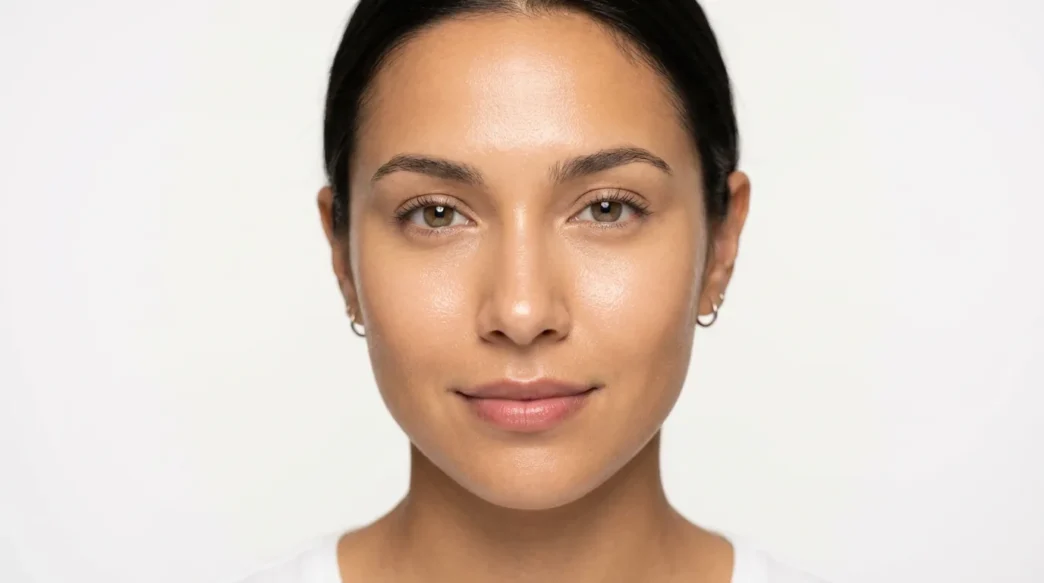
I spent years watching generic makeup tutorials that were clearly filmed with one skin tone in mind — pale, cool, and nothing like mine. My complexion runs warm olive with golden undertones, and every time I followed a “step-by-step” guide to the letter, I ended up looking either ashy or orange or just… off. So I built my own process from scratch, tested it obsessively, and this guide is the result. It’s a full-face latina makeup tutorial that works with warm, olive, medium-deep, and rich brown skin tones — not against them.
Products, Tools, and Timing
Before we get into the phases, here’s everything I use to complete this look. Budget roughly 45–60 minutes the first time. Once you’ve done it twice, you’ll get it down to 30. If you’ve ever been confused about the right order to apply makeup, this phase breakdown will make total sense — we go skin first, eyes second, cheeks third, lips last.
- Skincare base: a lightweight moisturizer with SPF and a silicone primer
- Color-corrector: peach or salmon tone to neutralize darkness (NOT lavender)
- Foundation: medium-to-full coverage with a warm or neutral undertone — I reach for shades in the W or N range, never C (cool)
- Concealer: one shade lighter than your foundation, warm undertone
- Setting powder: translucent or a finely-milled banana powder — this one matters more than you think
- Eyeshadow palette: warm neutrals + one deep burnt sienna or espresso shade
- Black or brown-black gel liner
- Brow pencil or pomade: match your natural brow color — taupe for lighter brows, deep brown for dark
- Mascara: volumizing, black
- Bronzer: a warm matte shade 2–3 tones deeper than your skin
- Blush: a terracotta, warm rose, or deep peach — skip the baby pink
- Highlighter: gold or champagne — steer clear of icy silver tones
- Lip liner + lipstick or gloss
- Setting spray
- Tools: beauty blender or damp sponge, fluffy blending brush, small flat eyeshadow brush, fan brush, contour brush, lip brush
Phase 1: Skin Prep and Base
This phase is the one people rush, and it shows. A full latina makeup look only holds up as long as the base underneath it does — and warm skin tones in particular tend to oxidize foundation over the course of a day, so what we put down first determines everything that happens after.
Start with a freshly cleansed face. Apply your moisturizer and give it a full two minutes to sink in — I’m serious, set a timer. Rushing primer on top of tacky moisturizer causes pilling, and pilling ruins foundation application. Once the moisturizer is absorbed, press a thin layer of silicone primer into the skin with clean fingertips, focusing on larger pores and any uneven texture.
Now — color correcting. This step is often skipped but it’s a game-changer specifically for olive and deeper skin tones. If you have any discoloration under the eyes or around the nose, tap a peach or salmon corrector onto those spots before foundation. Not orange. Not lavender (lavender is for yellow tones on lighter complexions, and it will make warm skin look grey). Peach corrects blue and purple undertones in darkness without ashing you out.
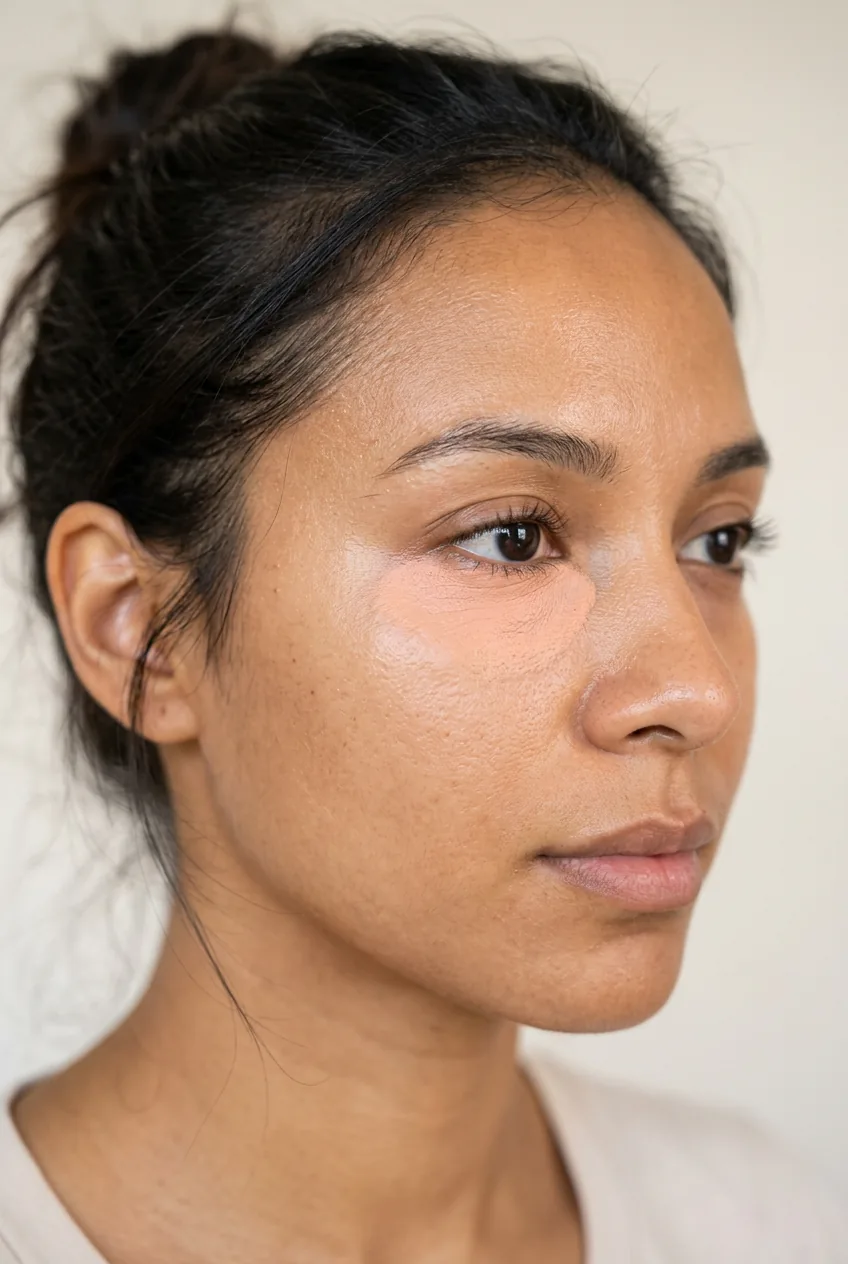
Foundation goes on next. I apply mine in thin layers with a damp beauty blender — one layer all over, then a second targeted layer where I need more coverage (usually center of the face). Patting instead of dragging is the difference between skin that looks like skin and skin that looks like a mask. Blend down the neck every single time. Do not skip this.
Concealer under the eyes goes on in a triangle shape — point facing down toward your cheek. Blend with the sponge using a pressing motion. Then set everything with a light dusting of banana or translucent powder, focused on the T-zone and under-eye area. Don’t pack it on — a thin veil is enough to lock things down without that flat, powdery look.
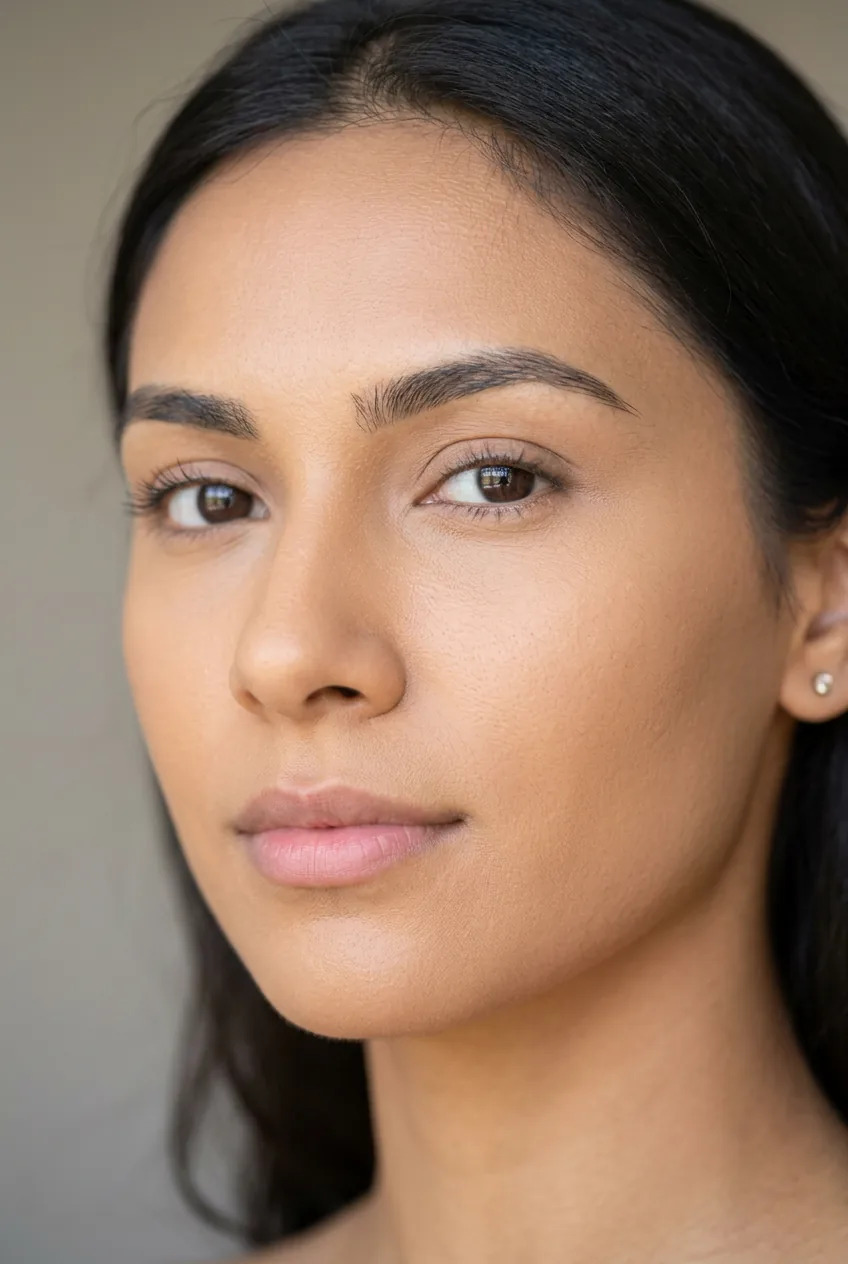
Mistake I Made: I used to set my entire face with a heavy layer of translucent powder to control shine. On my warm olive skin it looked almost grey by midday because the powder was pulling cool. Switching to a banana-tinted setting powder — just in the under-eye and T-zone areas — completely changed how my base photograph and how it held up by hour six.
Phase 2: Eyes and Brows
Eyes before cheeks and lips — always. The fallout from eyeshadow blending will dust onto your cheeks, and if you’ve already applied blush, you’ll either have to clean it up (and risk disturbing your base) or just live with muddy-looking cheekbones. Not ideal. This is why the sequencing matters so much, and honestly one of the core principles behind a solid flawless makeup tutorial method.
Start with a shadow primer or a thin layer of concealer on the eyelid. This makes the color pop significantly on deeper skin tones — without a primer, even pigmented shadows can look muted by the third hour.
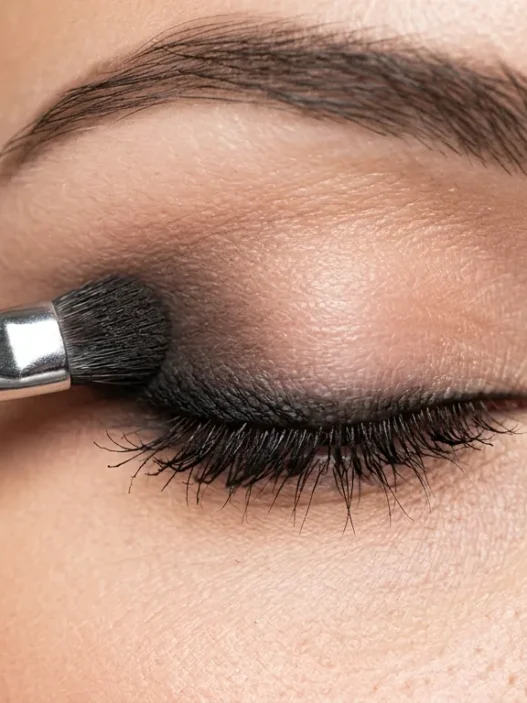
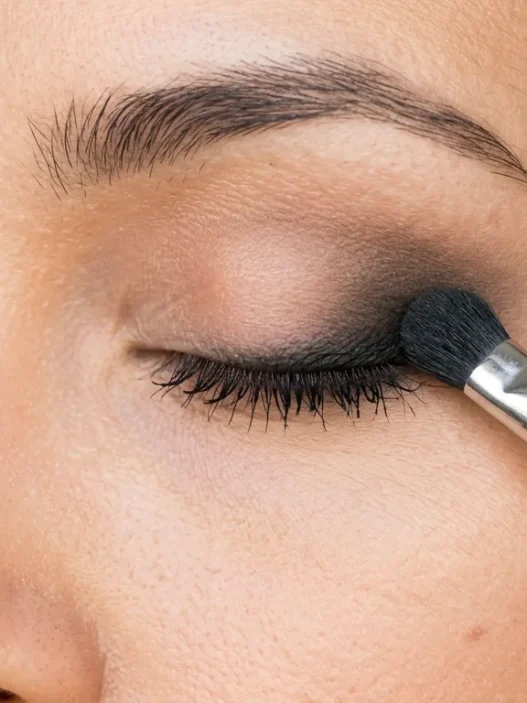
For this look, I use a warm neutral palette. Here’s how the blending goes: sweep a light champagne or warm ivory shade across the entire lid and brow bone. Then take a fluffy brush and blend a medium warm brown into the crease using small windshield-wiper motions — don’t drag, just blend. Build it gradually. Third, pack a deeper terracotta or burnt sienna shade on the outer third of the lid with a flat brush. This is where the drama lives. Finally, take your fluffy brush again and soften all the edges until there are no harsh lines.
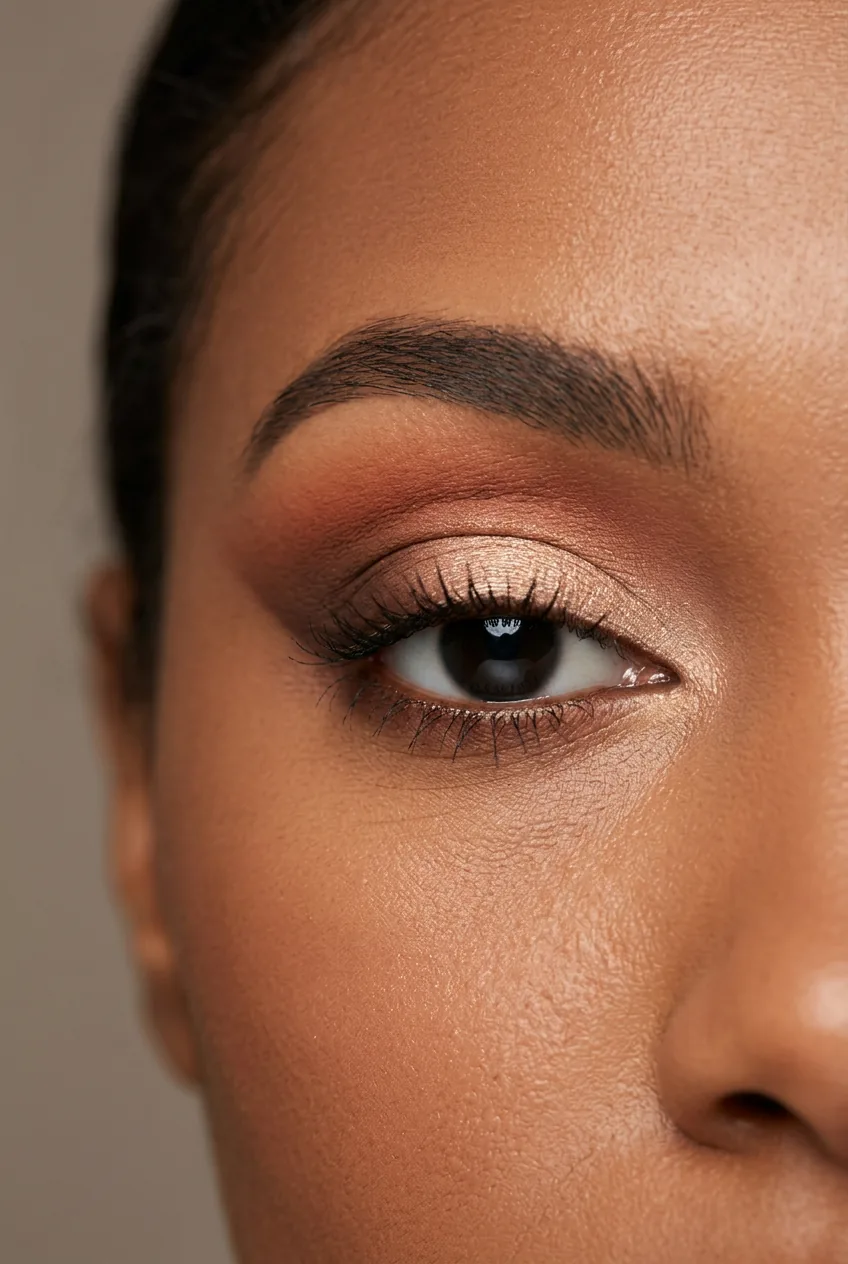
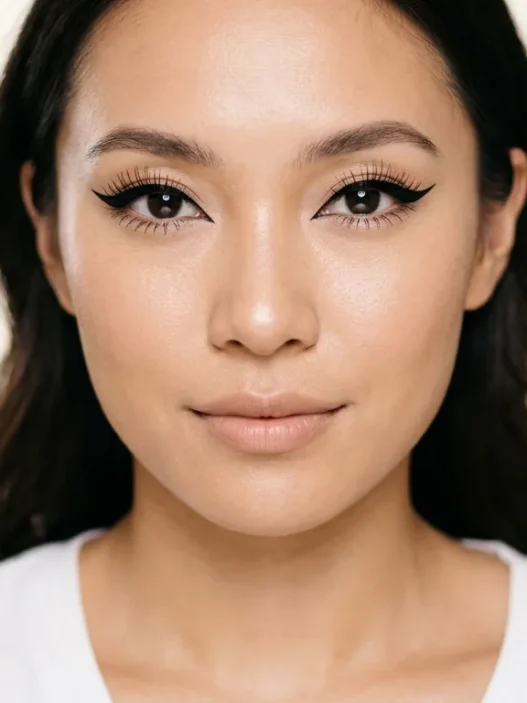
Look at her eye in the photo above — that’s the depth I’m going for in the outer corner. Notice how it’s not a hard cut, it’s a gradual fade from deep to medium to light. That’s what gives Latina glam its warmth. It’s not harsh, it’s dimensional.
Liner next. I use a gel liner applied with a small angled brush for precision. A tight-line along the upper waterline makes the lashes look instantly fuller before mascara even touches them. Then I draw a thin line across the upper lid, thickening it slightly at the outer corner. For everyday wear, I skip a wing. For nights out, I extend it into a short flick — nothing excessive.
Now brows. Full, defined brows are a huge part of this aesthetic — they frame everything. I comb mine upward, fill any sparse spots with a pencil using light feathery strokes, then set them with a clear or tinted brow gel. Don’t draw a block — draw individual hairs. The difference is enormous. You can read more about filling brows naturally if you want a more detailed breakdown of that technique.
Finish the eye phase with two coats of mascara on the upper lashes, one coat on lower. Wiggle the wand at the root and drag upward in one slow pull for maximum lift. No clumps — if you get clumps, you’re using too much product. Wait ten seconds between coats.
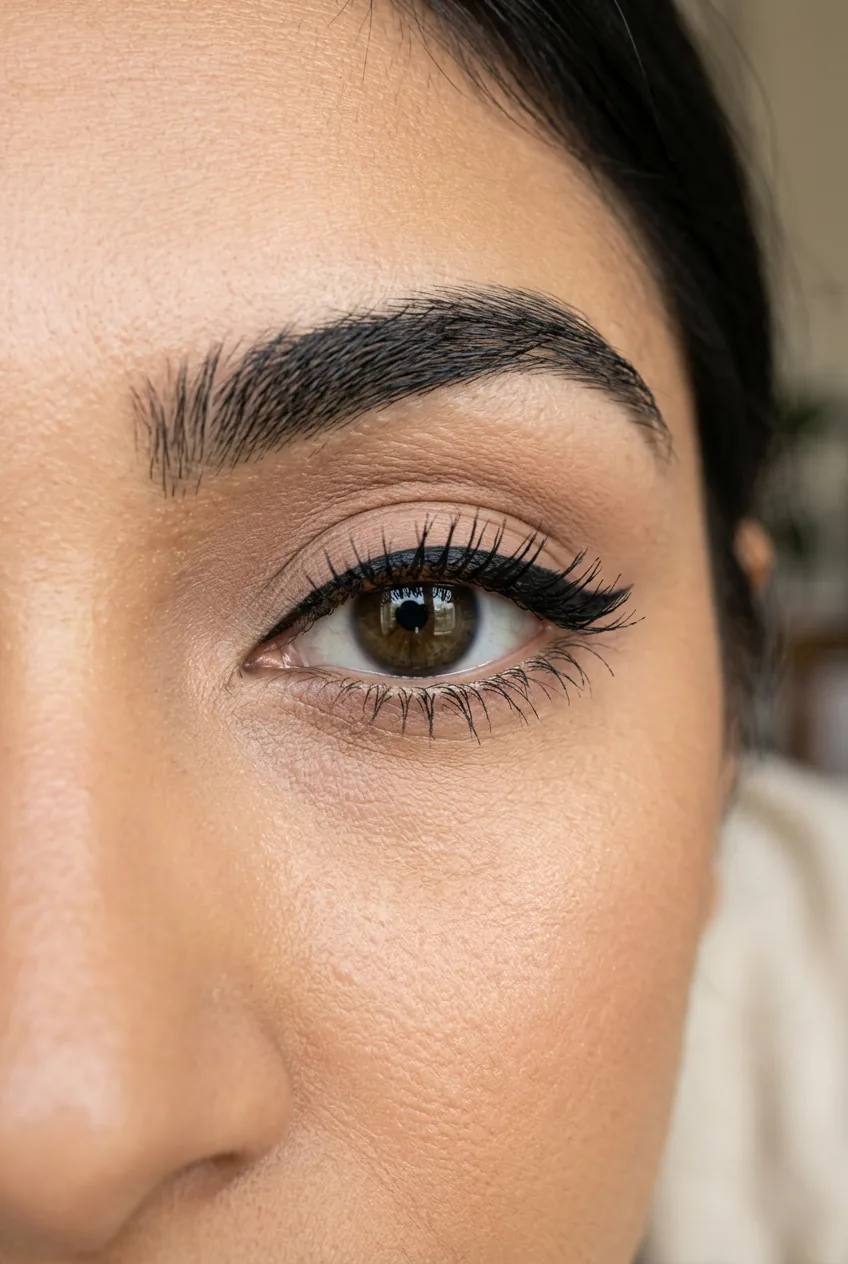
A Tutorial That Shows the Blend in Real Time
Phase 3: Cheeks and Glow
This is honestly my favorite phase. And I’d argue it’s the phase most tutorials completely botch for Latina and warm-toned women specifically. The wrong blush shade — or the wrong placement — can make a whole look fall apart.
Bronzer first. I use a warm matte bronzer and apply it in a “3” shape on each side of the face — starting at the temple, sweeping along the cheekbones, and curving down toward the jawline. A fluffy contour brush with a light hand is key. The goal here isn’t a dramatic contour — it’s warmth and dimension. Think of it as giving your face the look of having spent an afternoon in the sun. This is where the sun-kissed bronzer technique can really pay off if you want to go deeper on the method.
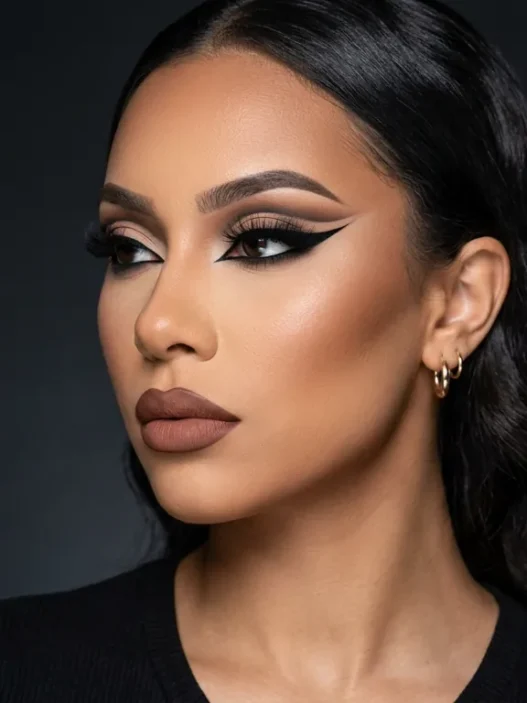
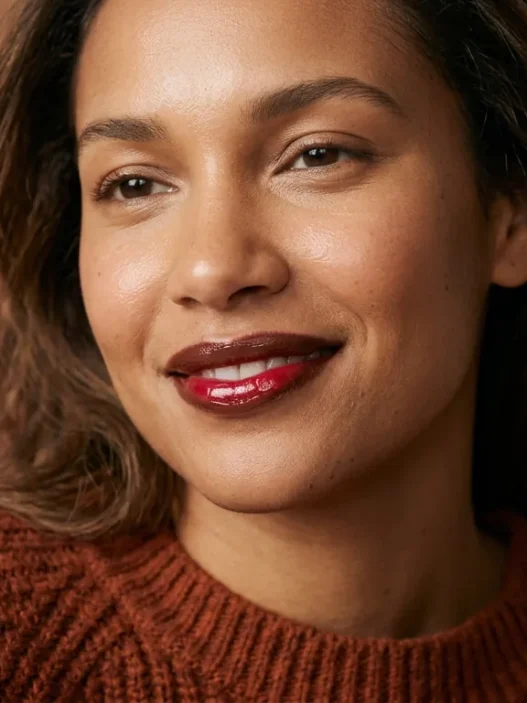
Blush goes on the apples of the cheeks and blends back toward the temples. For olive and medium-deep skin tones, I lean toward terracotta, warm peach, or deep rose — shades with brown or orange undertones. Baby pink reads muddy on warm skin, and cool mauve can veer towards bruised if over-applied. Trust the terracotta. See how it sits on her cheekbones in this reference shot — it’s glowing, not muddy, because the shade plays with the warmth of the skin instead of fighting it.
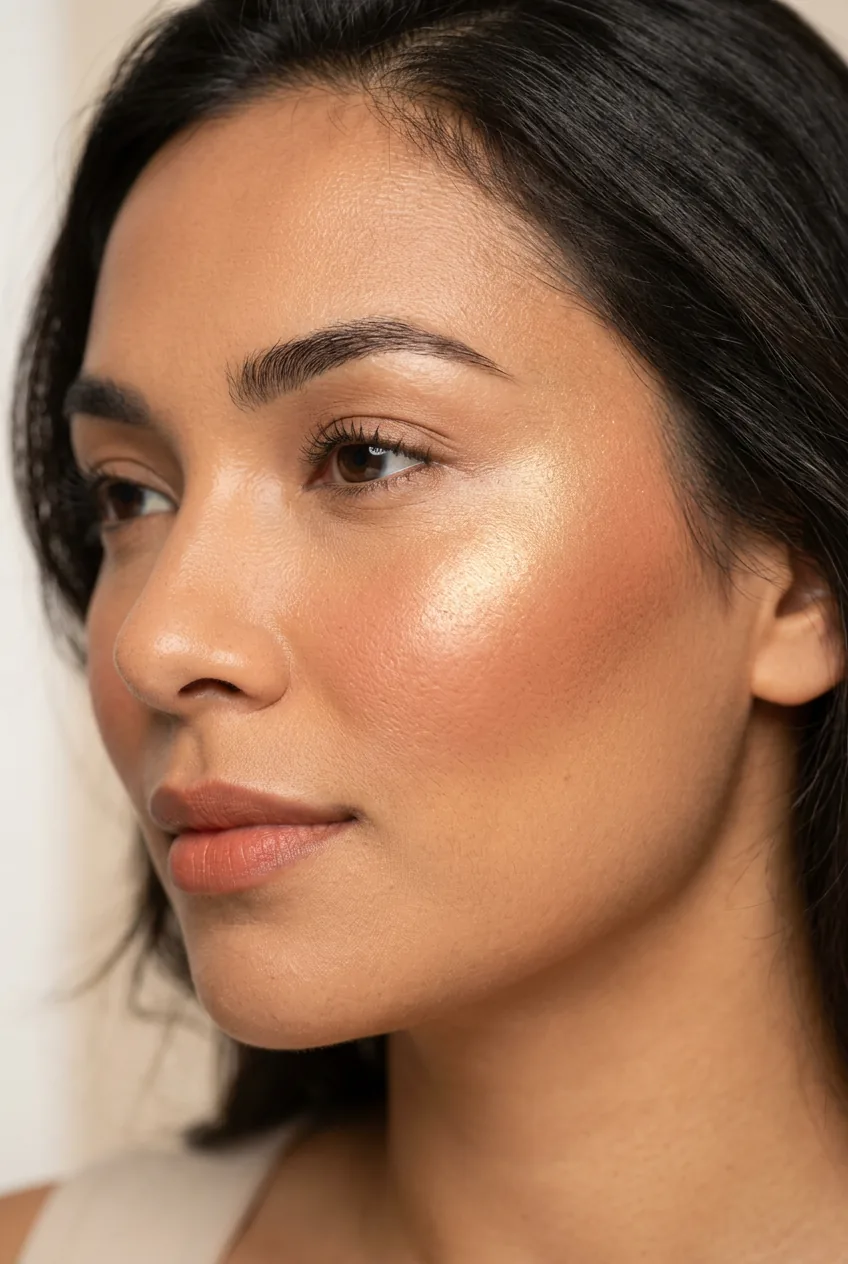
Now highlighter. Gold and champagne tones are your friends here. I apply mine to the tops of the cheekbones, the inner corners of the eyes, the tip of the nose (lightly!), and the cupid’s bow. For a more editorial Latina glam look, a touch of highlight on the center of the lid over your eyeshadow gives a gorgeous glossy dimension too.
This whole cheek phase is the part that elevates a flat-looking base into something that actually reads as a full glam look — and it’s something I cover in a lot more detail in my thoughts on the luxe soft glam makeup approach, which uses a similar bronzer-blush-highlight sandwich.
Phase 4: Lips and Lock-In
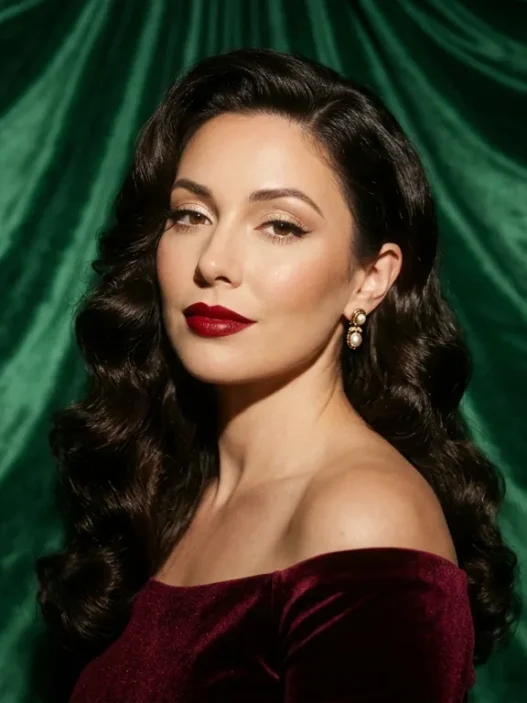
Lips are where this look gets to have a personality. Latina makeup has a history of beautiful, intentional lip moments — deep berries, warm nudes, bold reds, glossy mauves — and picking the right shade for your undertone is worth the five extra seconds of thought.
Always liner first. Line just slightly outside your natural lip line to build shape and fullness — not dramatically, just enough to give definition. For everyday I tend toward a warm nude or terracotta liner, for nights out I go deep berry or classic red. Fill in the entire lip with liner before applying product on top — this acts as a base layer that helps the color last significantly longer.
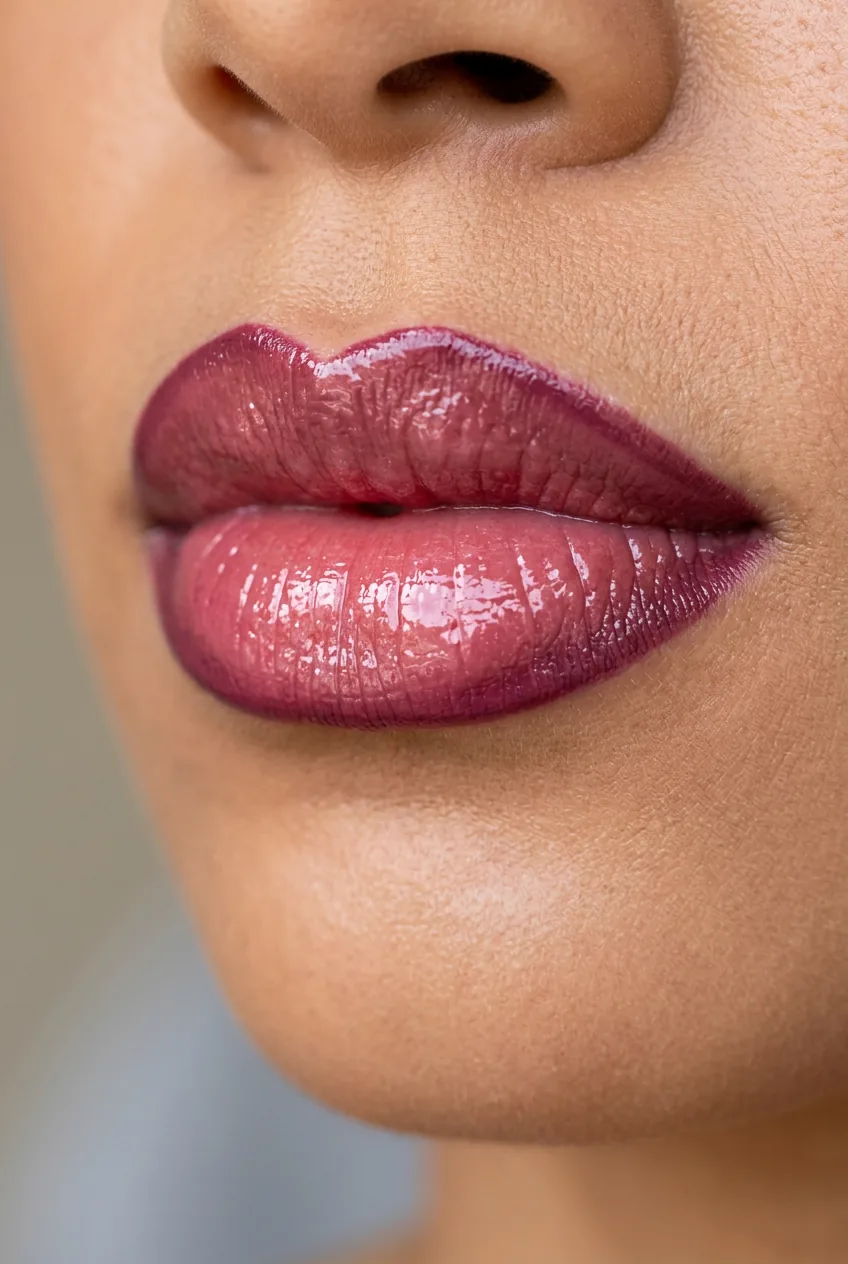
Apply your lipstick or gloss with a lip brush for precision. A brush lets you control the edges and build color more evenly than going straight from the bullet. Blot once with a tissue, then apply a second thin layer. If you’re going for a gloss finish over a liner base, that combination — matte liner as base, gloss on top — is one of the best longevity tricks I know. The liner grips to the lips, the gloss sits on top.
Now lock everything in. Hold your setting spray about 8–10 inches from your face and spritz in an “X” and then a “T” motion across your face. Two or three light passes. Don’t drench it. Let it dry for 30 seconds before touching your face. This is the step that takes a look from “beautiful right now” to “still beautiful at midnight.”
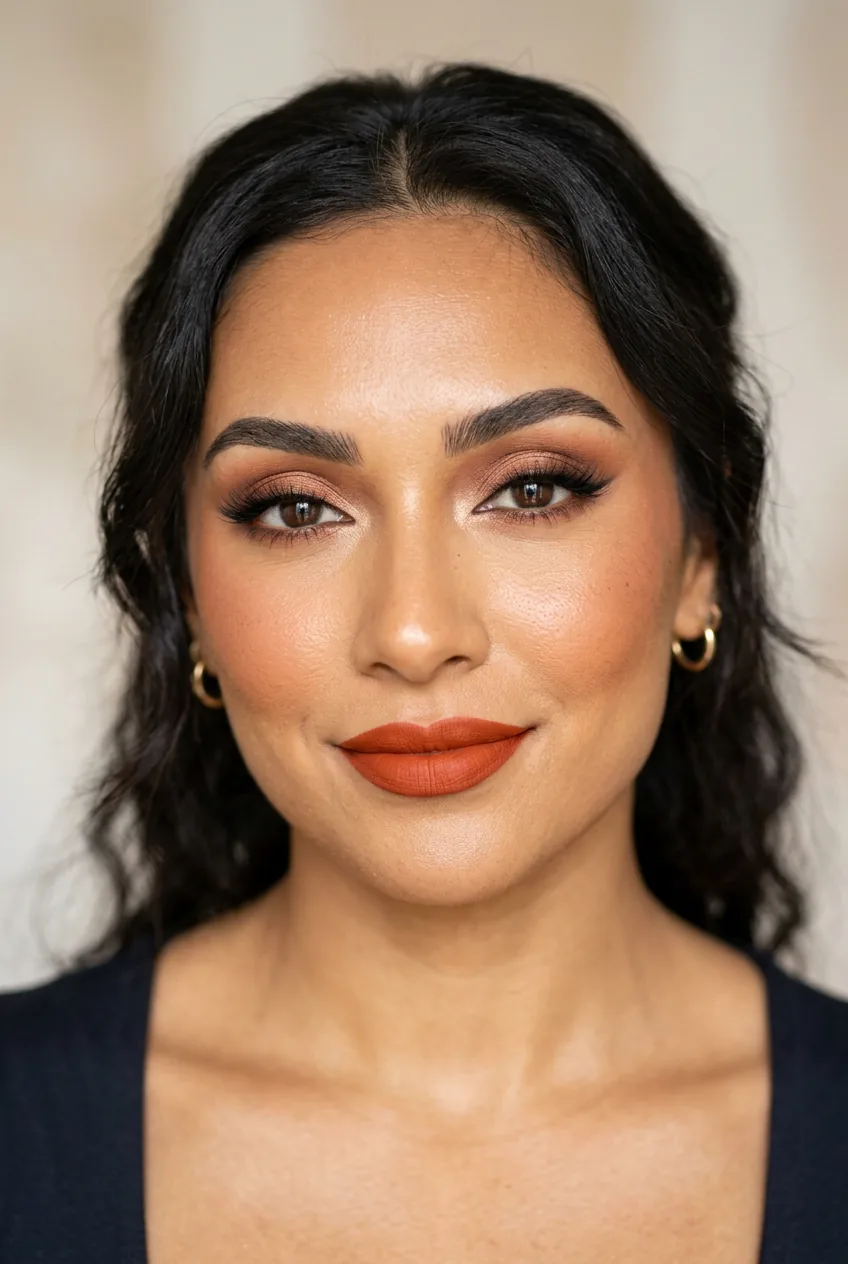
Mistake I Made: I used to skip lip liner entirely and go straight to lipstick, then wonder why my lip color bled and faded within two hours. The first time I filled in my entire lip with liner before lipstick, my color lasted almost four hours without touching up. Now I never skip it, even for a five-minute look.
And that’s it — you’re done. If you want to compare this approach to a more streamlined version of the process, the baddie makeup tutorial deep dive covers a similar full-face philosophy but with a more high-drama finish. Both approaches work; it just depends on the vibe you’re going for.
Questions I Get About This
What foundation undertone should Latina women look for?
This varies — Latina is not one skin tone, it’s a huge range. But if your skin leans olive, golden, or has any yellow warmth, look for foundations labeled W (warm) or N (neutral). Avoid anything with a C (cool) designation — it will look ashy. The best way to test is always to swatch on your jawline in natural light, not your wrist.
Can I do this look with drugstore products only?
Completely yes. The technique matters far more than the price tag. Some of my favorite bronzers and blushes are drugstore finds. The one place I’d personally invest slightly more is foundation — getting the right undertone match is easier when a brand has a wider shade range, and some drugstore lines still have gaps. But eye products, blush, highlighter? Drugstore all the way.
Why do I oxidize foundation and how do I stop it?
Oxidation happens when your skin’s natural oils interact with the foundation formula, causing it to shift darker or oranger over time. To minimize it, use a proper primer, apply foundation in thin layers (not one thick coat), and set with powder — especially in oily areas. Switching to a formula labeled “long-wear” or “oil-control” also helps significantly.
How do I make this look work for daytime without it being too heavy?
Cut the eyeshadow drama back to just two shades — the base neutral and the crease color, skip the deep outer corner. Use a tinted moisturizer or BB cream instead of full foundation. Keep the blush light and the lip a warm gloss instead of a full liner-and-lipstick combo. The phases are the same; you’re just dialing each one back by about 50%.
Is this tutorial suitable for beginners?
Yes, with one caveat: the eyeshadow blending in Phase 2 has a small learning curve. Give yourself permission to practice it on a day when you have nowhere to be. Everything else in this guide — base, cheeks, lips — is genuinely beginner-friendly. Start with Phase 1 and Phase 3 if eyes feel overwhelming, and build from there.
The first time I completed this full routine, I genuinely stared at myself in the bathroom mirror for an embarrassing amount of time. Not because I looked unrecognizable — but because I looked exactly like myself, just more. That’s the thing about getting the undertones right and the technique dialed in: it stops being about covering your face and starts being about celebrating it. This is the guide I wish existed when I started. I hope it saves you some of the trial and error I went through.