


My wedding makeup looked gorgeous in the mirror. But when I saw the photos? Complete disaster. The flash washed out my blush, my eyes disappeared, and somehow I looked like I wasn’t wearing any makeup at all. I spent months staring at those photos, wondering what went wrong. That’s when I realized the camera sees makeup completely differently than our eyes do.
After years of trial and error (and way too many practice sessions), I’ve figured out exactly how to do bridal makeup that actually shows up in photos. The secret isn’t using more makeup — it’s understanding how light, flash, and HD cameras change everything.
Your Camera-Ready Bridal Makeup Guide
- Why the Camera Sees Makeup Differently
- What You’ll Need for Photo-Ready Bridal Makeup
- Step 1: Prime for Flash Photography
- Step 2: Build Coverage That Reads on Camera
- Step 3: Set Your Base for All-Day Wear
- Step 4: Create Eye Definition That Won’t Disappear
- Step 5: Add Dimension That Photographs Well
- Step 6: Choose Lip Colors That Pop on Camera
- Step 7: Test Your Look Before the Big Day
Why the Camera Sees Makeup Differently
Here’s what nobody tells you about wedding photography. Flash photography completely changes how makeup appears. It bounces light directly back at the camera, which can create that dreaded “flashback” effect where your face looks ghostly white. Plus, HD cameras pick up every tiny detail — including makeup that looks perfectly blended to your eye but appears patchy on screen.
I learned this the hard way when my cousin’s engagement photos came back looking like she’d applied foundation with a paint roller. The issue? Her makeup artist used products with SPF, which contains zinc oxide and titanium dioxide. These ingredients reflect light like crazy under flash.
Then there’s the contrast problem. What looks like perfectly defined eyes in your bathroom mirror can completely disappear under bright wedding lights. The camera needs more contrast and definition than your eyes do to read the same level of drama.
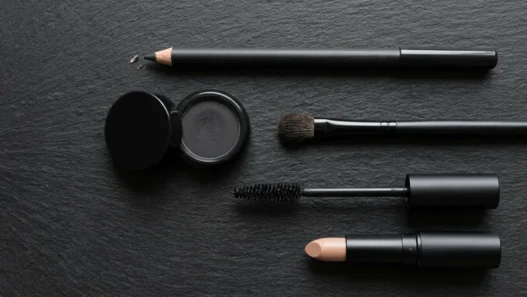
What You’ll Need for Photo-Ready Bridal Makeup
Let me save you from buying the wrong products. After testing dozens of combinations, these are the essentials that actually perform under camera conditions:
- SPF-free primer (this is non-negotiable)
- Full-coverage foundation with matte or satin finish
- Translucent setting powder without flashback
- Cream blush and contour products
- Eyeshadow palette with deeper tones than you’d normally use
- Waterproof mascara and eyeliner
- Setting spray designed for photography
- Lipstick in a shade 2 tones deeper than your usual
The key is avoiding anything with light-reflecting particles. That means no highlighters with glitter, no shimmery eyeshadows, and definitely no powder foundations with SPF.
Step 1: Prime for Flash Photography
Start with a completely clean, moisturized face. Then apply your SPF-free primer focusing on areas where your foundation tends to break down first — usually around your nose, under your eyes, and on your forehead. I use slightly more primer than normal because wedding days are long and stressful.
Pay special attention to your T-zone and any areas where you tend to get oily. The primer creates a barrier that helps your foundation stay put through tears, sweat, and countless hugs. Let it set for a full 2-3 minutes before moving to foundation.
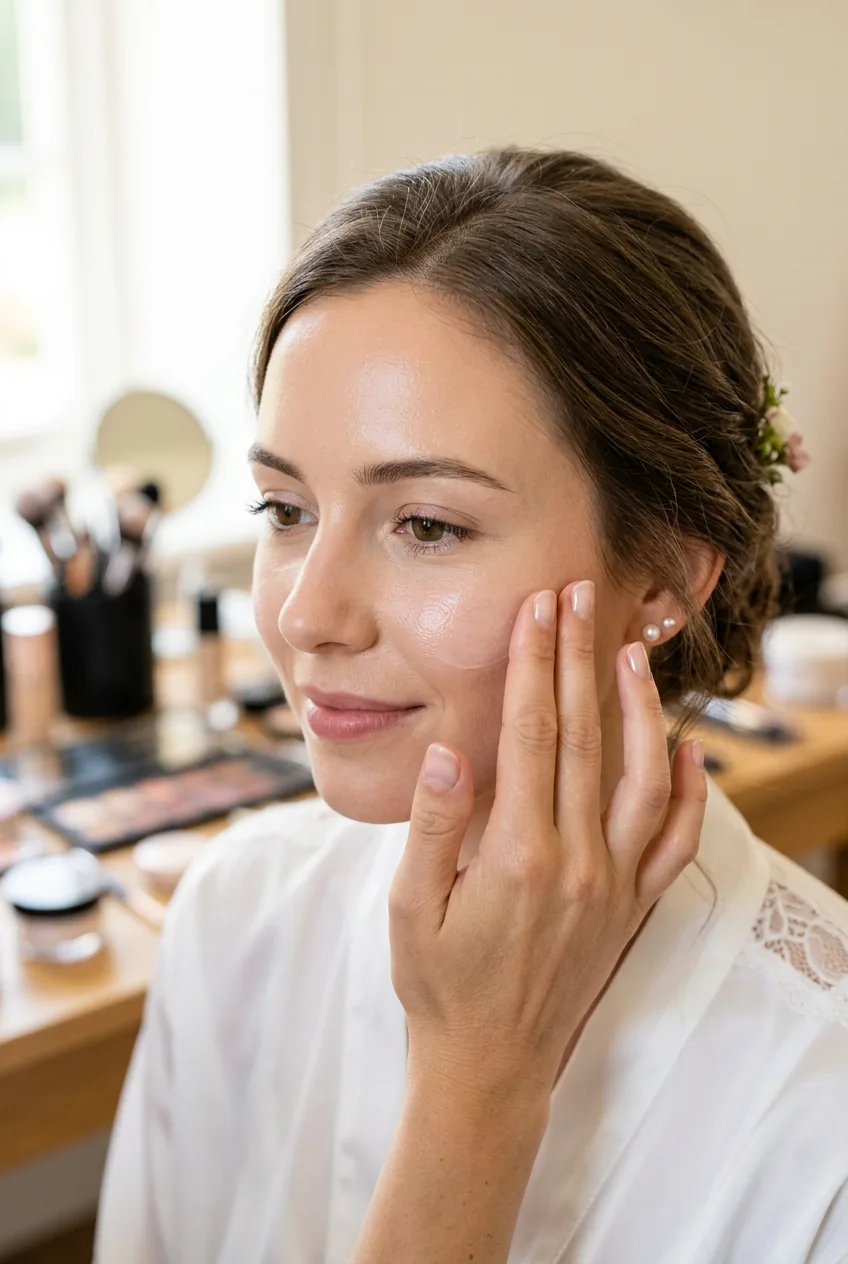
I once skipped primer because I was running late for a wedding trial. Big mistake. My foundation started sliding off by the time we got to the ceremony photos, and I spent the reception trying to touch up in bathroom mirrors.
Step 2: Build Coverage That Reads on Camera
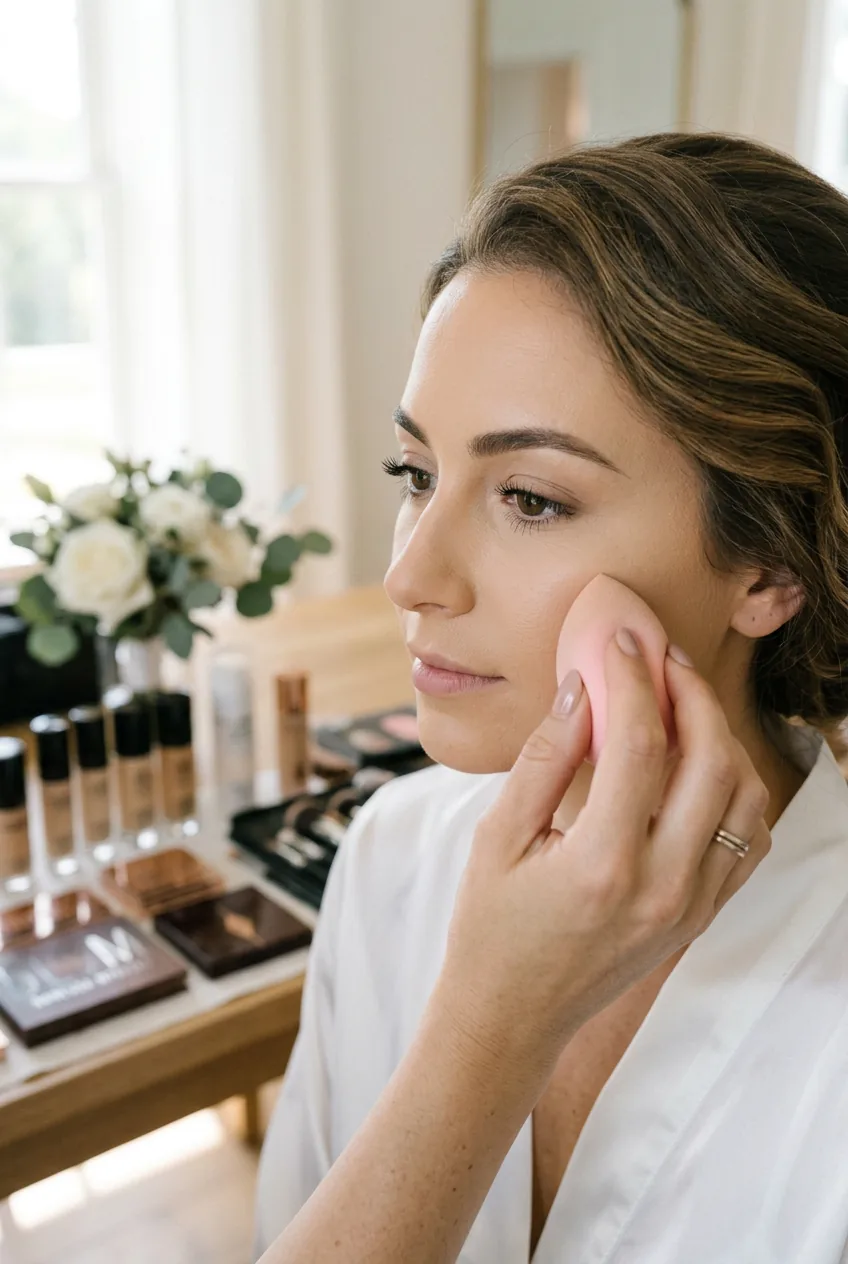
This is where makeup application gets tricky. You need more coverage than you think, but it still has to look natural in person. Start with a thin layer of foundation all over your face using a damp beauty sponge. Build coverage gradually in areas that need it — under your eyes, around your nose, over any blemishes.
The goal is evening out your skin tone completely. Cameras pick up every little variation in color that your eye would ignore. I typically use about 1.5 times the amount of foundation I’d wear for a regular day out, but I blend it really well so it doesn’t look cakey.
Don’t forget your neck and ears — they’ll be in photos too. Blend your foundation down past your jawline and onto your neck to avoid that mask-like effect where your face is a completely different color than your body.
Step 3: Set Your Base for All-Day Wear
Setting powder is crucial, but you have to choose the right one. Many powders contain silica, which can cause flashback just like SPF. Look for powders specifically labeled as “HD” or “camera-ready.” These are formulated to be invisible under flash photography.
Apply a light dusting all over your face with a large fluffy brush. Then press extra powder into areas where you tend to get oily or where makeup typically wears off first. This includes under your eyes (to prevent mascara smudging), around your nose, and on your chin.
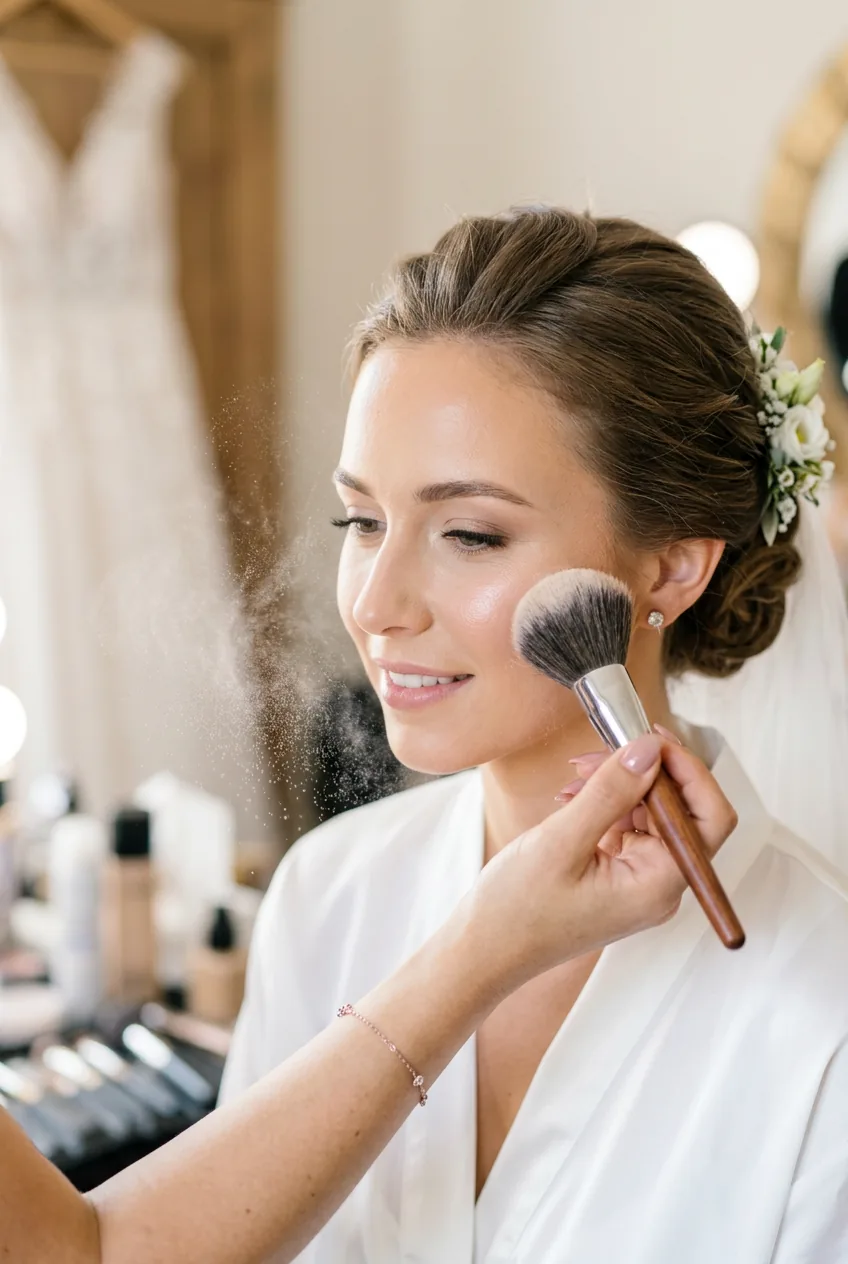
Here’s my secret: I use a slightly heavier hand with setting powder on wedding days than I normally would. The goal is longevity over perfection, because you’re going to be photographed for 8+ hours straight.
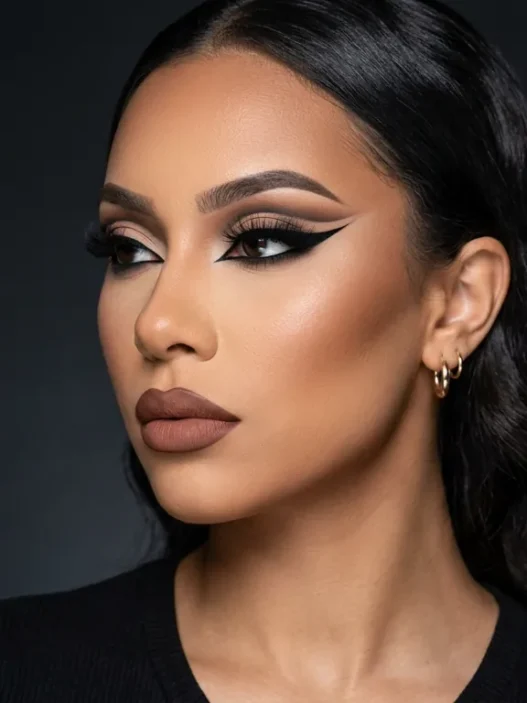
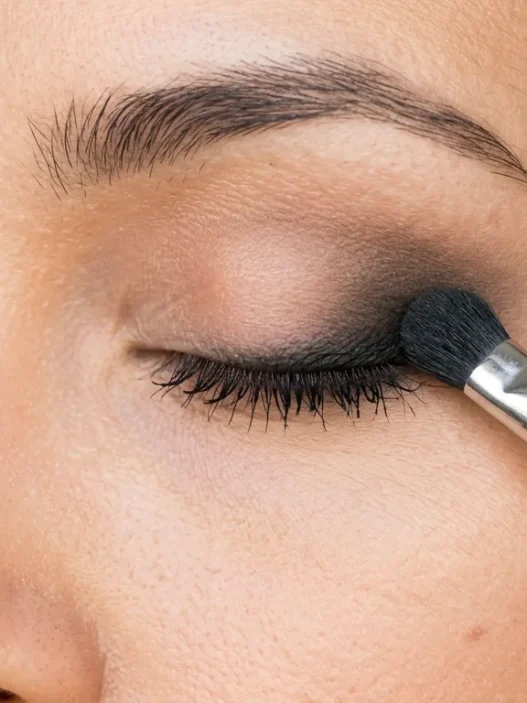
Step 4: Create Eye Definition That Won’t Disappear
This step makes or breaks your entire look. Eyes that look perfectly defined in person can completely vanish under camera lights. You need to go deeper and more dramatic than feels natural. Start with a neutral transition shade that’s one shade deeper than you’d normally use.
Apply a medium-toned shade across your entire lid, then use a deeper color in your crease. The key is building up the intensity gradually. What looks like “too much” in your bathroom mirror will probably look just right in photos. Eye makeup techniques that work for everyday looks need to be amped up for camera work.
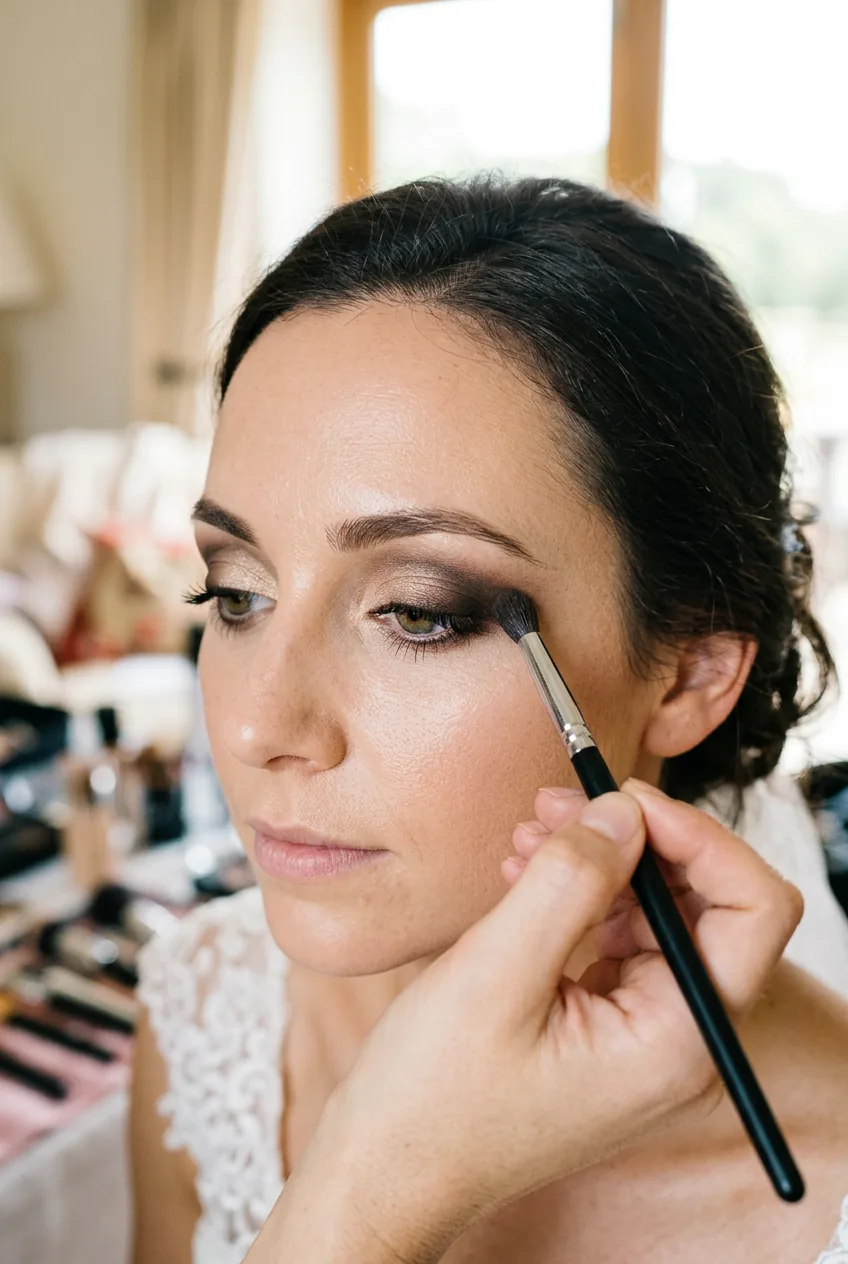
For eyeliner, go with a waterproof formula and make the line slightly thicker than usual. Tightline your upper waterline too — this creates definition that reads beautifully on camera without looking overdone in person. Finish with 2-3 coats of waterproof mascara, focusing on separation rather than volume.
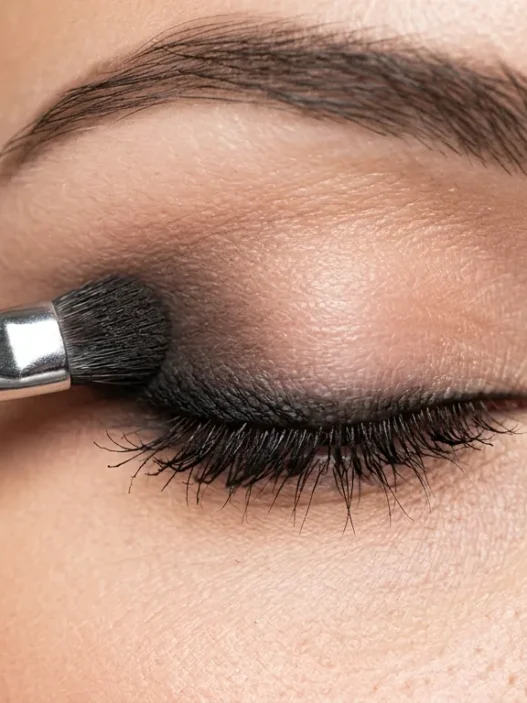
Step 5: Add Dimension That Photographs Well
Contouring for photos is an art form. You need enough contrast to show up on camera, but not so much that you look like you’re wearing stage makeup in person. I prefer cream products because they blend more naturally and don’t create that harsh line that powder can sometimes give.
Apply contour under your cheekbones, along your temples, and lightly along your jawline. The key is blending really well — harsh lines will show up as exactly that in photos. For blush, choose cream formulas in deeper tones than you’d normally wear. The camera washes out color, so what looks vibrant in person will appear natural in photos.
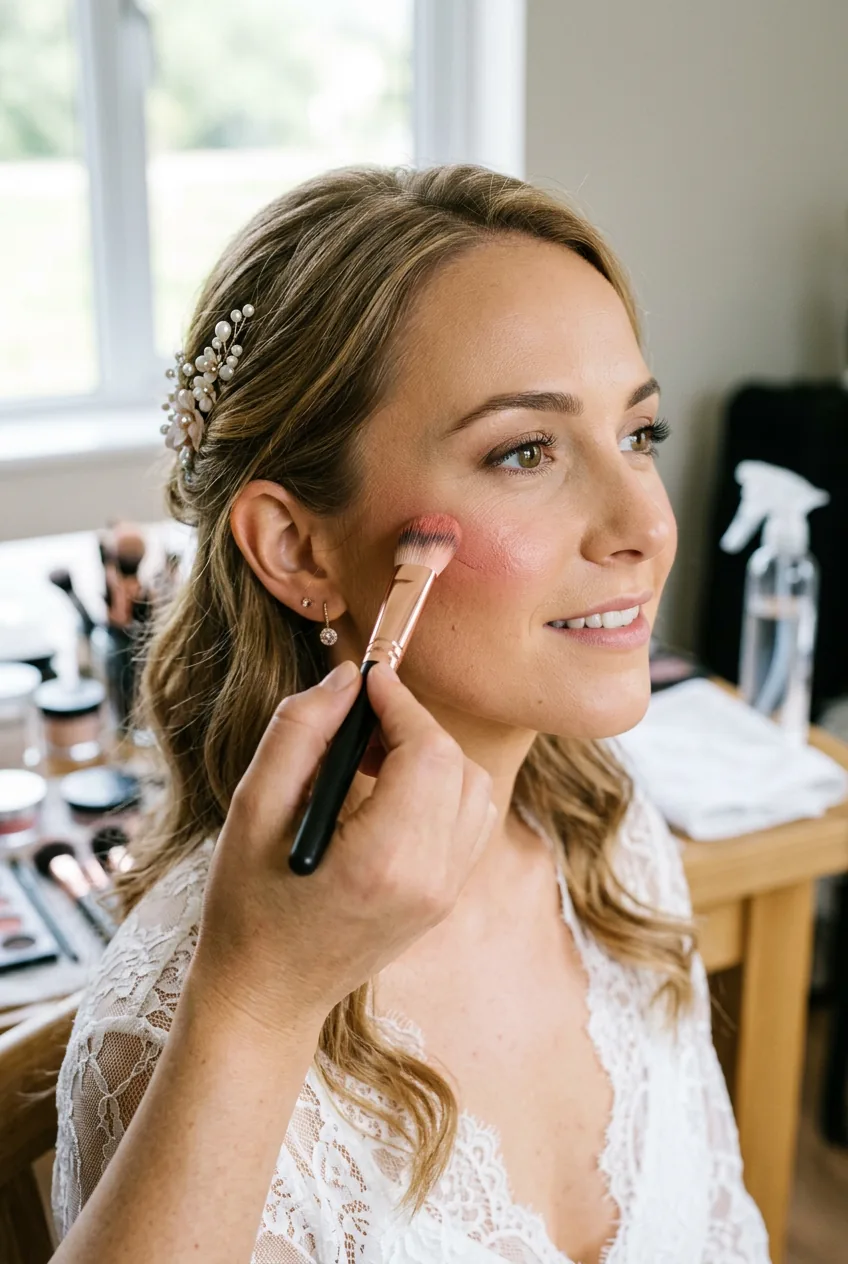
Skip highlighter entirely or use the most subtle one you own. That gorgeous glow you love in Instagram photos? It often translates to weird shiny patches in wedding photography. Trust me on this one.
Step 6: Choose Lip Colors That Pop on Camera
Lip color is where most brides go wrong. Nude and neutral lips that look gorgeous in person often disappear completely in wedding photos, leaving you looking washed out. You need a color with more intensity than feels comfortable.
Choose a lipstick that’s 2-3 shades deeper than your natural lip color. If you normally wear MLBB (my lips but better) shades, go for a true rose or berry. If you usually prefer bold colors, you might need to go even deeper. Long-wearing formulas work best because you’ll be kissing, eating, and drinking throughout the day.
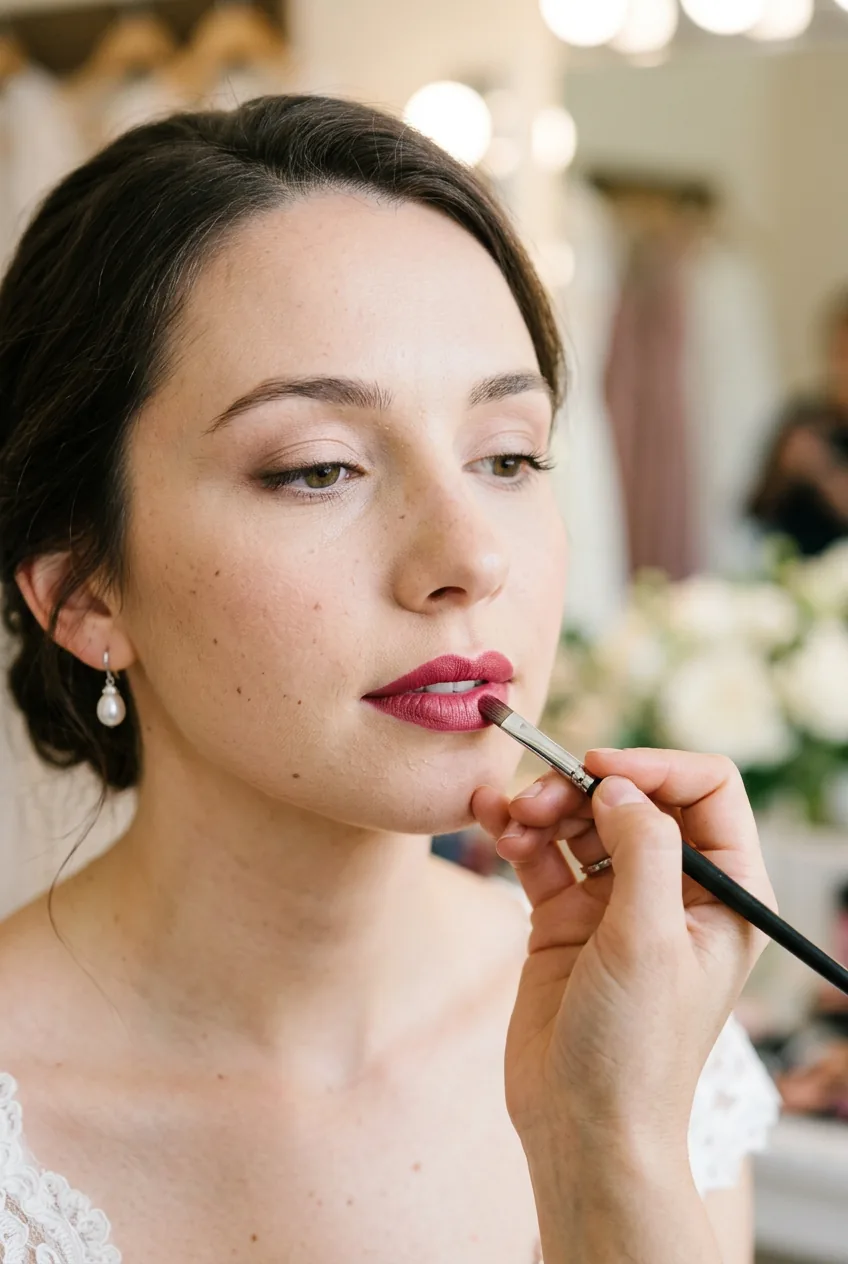
Apply lipstick with a brush for precision, then blot and reapply. This creates a stain that lasts longer than a single application. Skip gloss entirely — it can create unwanted shine and reflections in photos.
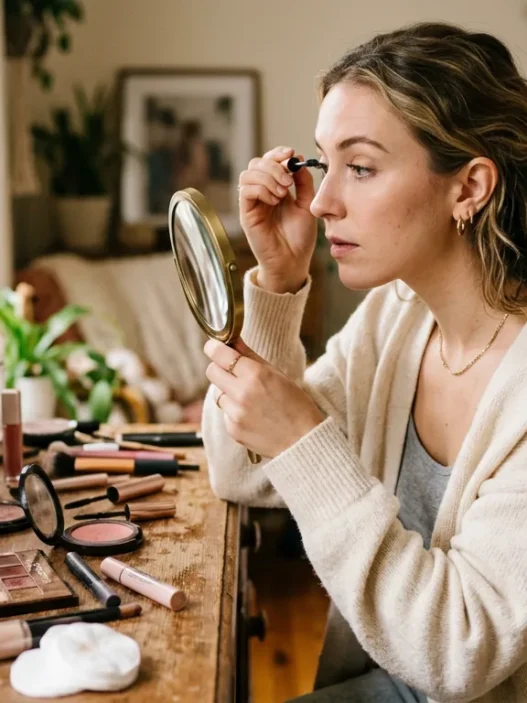
Step 7: Test Your Look Before the Big Day
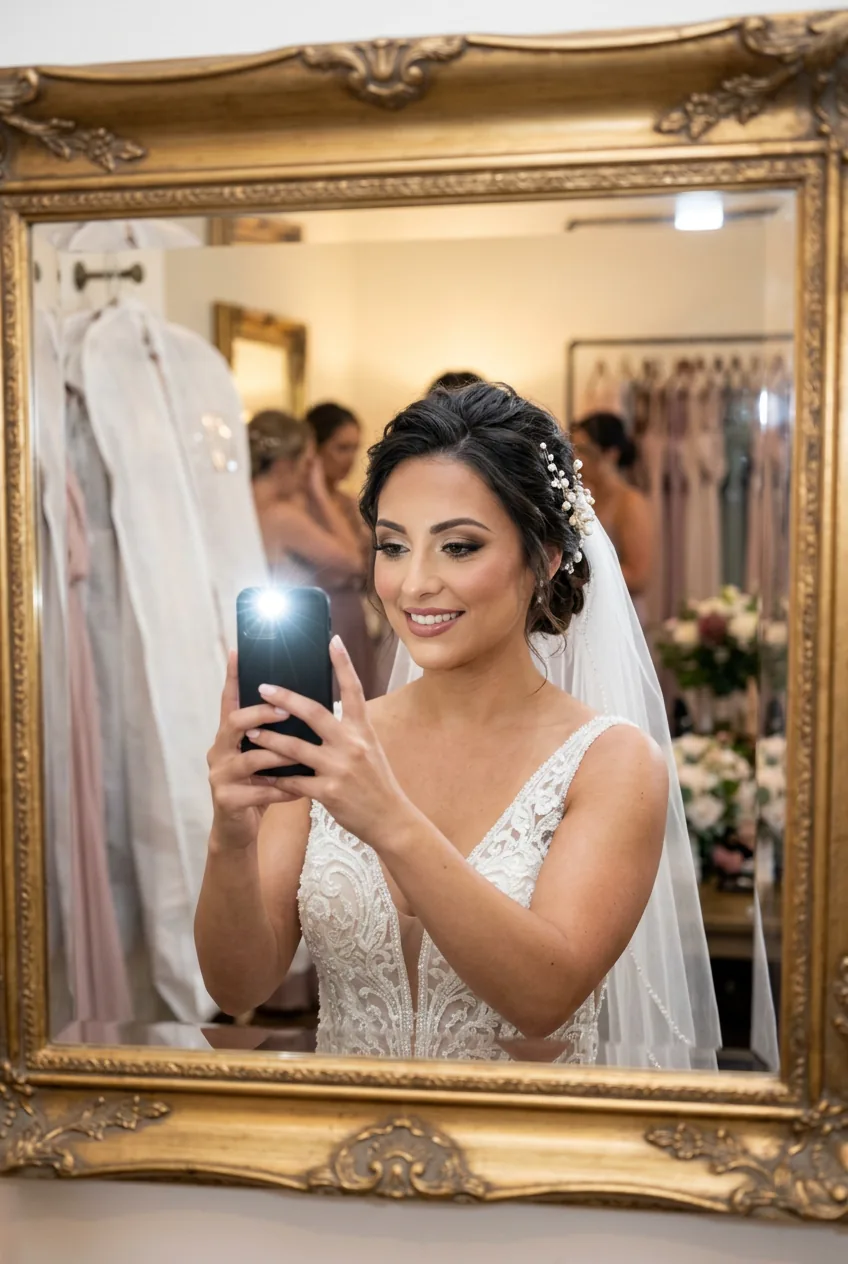
This step is absolutely crucial and way too many brides skip it. Do a complete trial run of your makeup exactly as planned, then take photos with flash in different lighting conditions. Take selfies with your phone’s flash, ask someone to photograph you with a digital camera, and test it in both indoor and outdoor lighting.
Look for any areas where your makeup disappears or creates weird reflections. Pay attention to your foundation — does it match your neck in photos? Do your eyes still have definition? Can you see your lips clearly? Make notes about what needs adjustment.
I recommend doing this test at least 2 weeks before your wedding. That gives you time to buy different products if needed or practice technique adjustments. Professional makeup trials can be worth it just for this testing aspect alone.
The photos don’t lie. If something looks off in your test shots, it’ll look off in your wedding photos too. But when you get it right? You’ll look absolutely radiant in every single picture.
See the Flash Test in Action
Quick Answers About Camera-Ready Bridal Makeup
Should I hire a professional makeup artist for my wedding?
If you’re comfortable doing your own makeup and have time to practice these camera-ready techniques, you can absolutely do it yourself. However, professional makeup artists understand lighting and photography in ways that take years to learn. They also have access to professional-grade products designed specifically for camera work.
How far in advance should I start practicing my wedding makeup?
Start practicing at least 8 weeks before your wedding. This gives you time to test products, take photos, make adjustments, and get comfortable with the routine. You want this process to feel automatic on your wedding day, not stressful.
What’s the biggest mistake brides make with wedding makeup?
Using products with SPF or light-reflecting particles that cause flashback. Even if your foundation looks perfect in natural light, it can turn you into a ghost under camera flash. Always test with actual flash photography before committing to products.
Can I use my everyday makeup routine for my wedding?
Your everyday routine needs to be intensified for camera work. Colors that look perfect for daily wear often disappear in wedding photography. You’ll need more coverage, deeper colors, and longer-wearing formulas than your typical day-to-day look.
How do I make sure my makeup lasts all day and night?
Layer your products strategically — primer, foundation, powder, then setting spray. Use waterproof formulas for anything around your eyes, and choose cream products over powder when possible because they tend to last longer. Don’t forget to pack touch-up products for later in the evening.
When I finally nailed this technique for my sister’s wedding, the difference was incredible. Every photo showed off her natural beauty instead of washing her out or making her look overdone. That’s exactly what professional makeup artists know that most of us don’t — it’s not about using more makeup, it’s about using the right makeup for the camera.