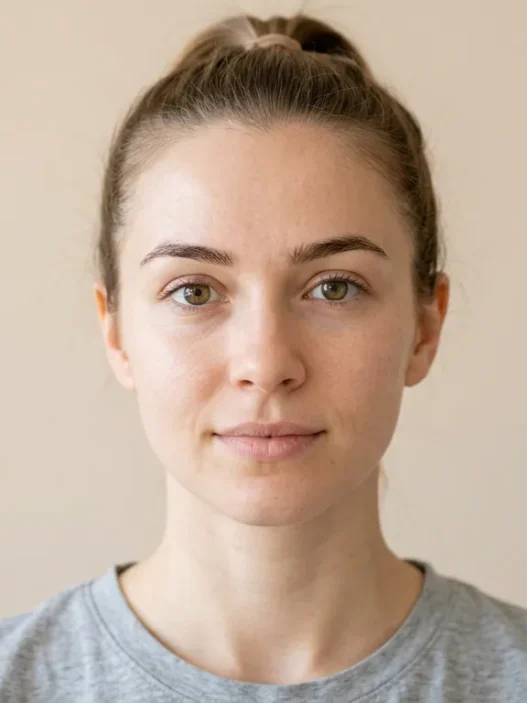

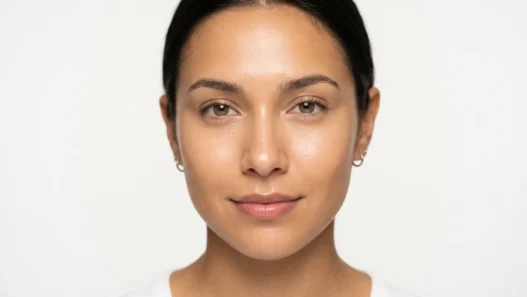


I spent months trying to nail the perfect cut crease, watching tutorial after tutorial but always ending up with muddy, uneven results. The breakthrough came when I realized I was treating it like a regular eyeshadow look instead of understanding it as a precise technique that requires specific tools, timing, and hand movements. Now it’s become my signature look for special occasions.
What You’ll Master in This Guide
Before we dive into technique, let’s talk tools. You absolutely cannot achieve a clean cut crease with the brushes that come in most eyeshadow palettes. Here’s what actually works:
- Small, flat shader brush (my favorite is the MAC 239)
- Fluffy blending brush for transitions
- Small pencil brush for precise placement
- Concealer or eyeshadow base
- Setting powder
- At least three eyeshadow shades: light, medium, and dark
- Good lighting — this technique is impossible in dim conditions
Understanding the Fundamentals
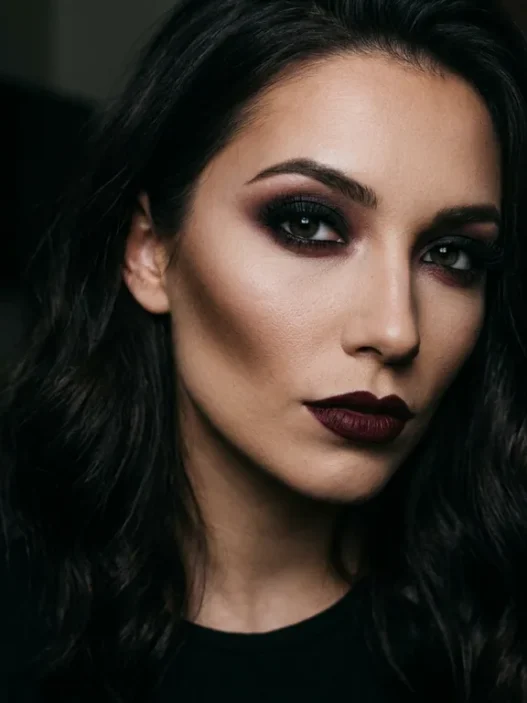
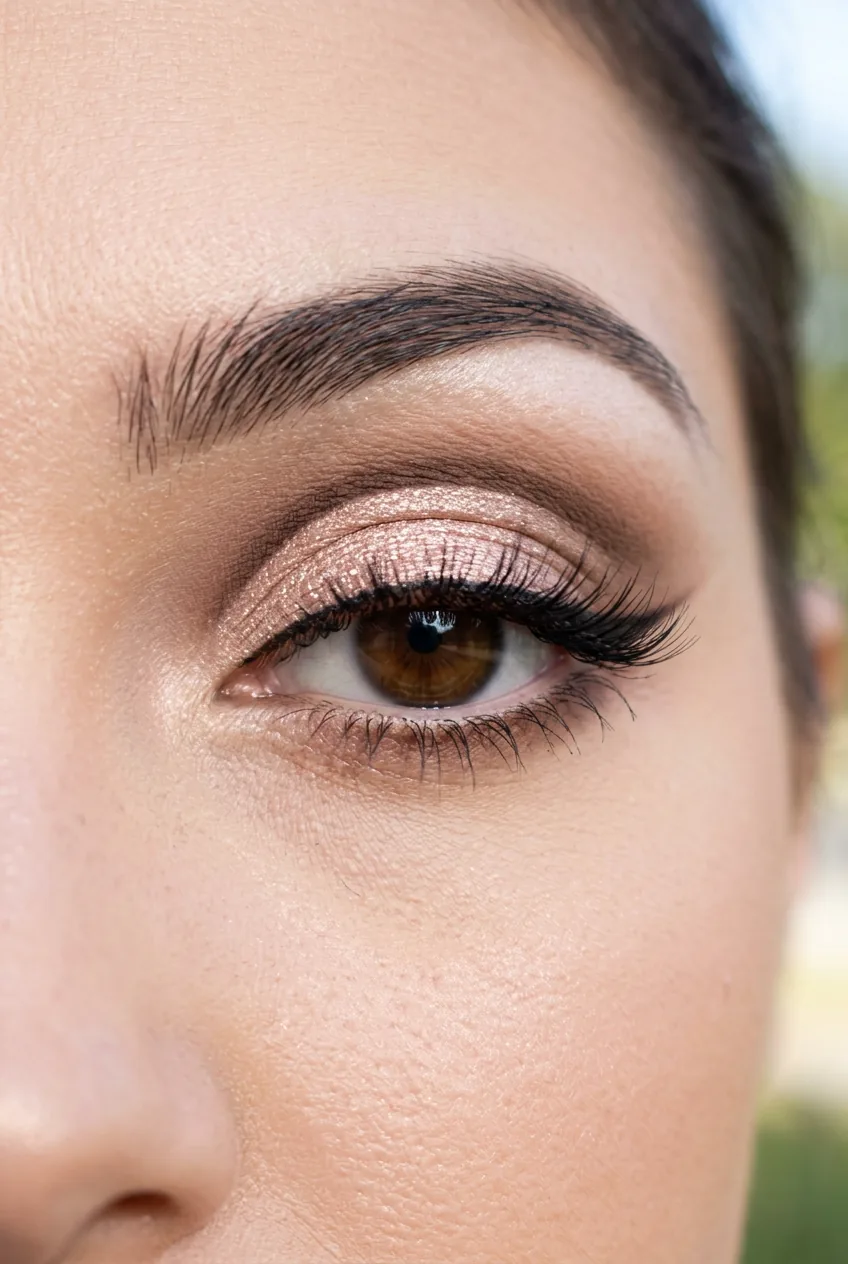
The cut crease isn’t just about creating a dramatic line — it’s about architectural precision. Think of it as drawing the shadow your eye would naturally cast if the light hit it differently. The “cut” refers to the sharp contrast between the lid space and the crease area, creating an illusion of depth and dimension.
What makes this technique challenging is that you’re working against your eye’s natural shape. Most makeup types follow the contours of your features, but cut crease eye makeup creates entirely new contours. You’re essentially painting a new eye shape on top of your existing one.

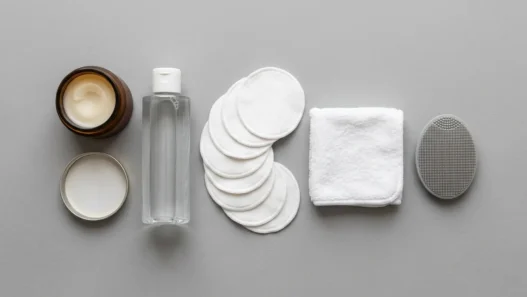
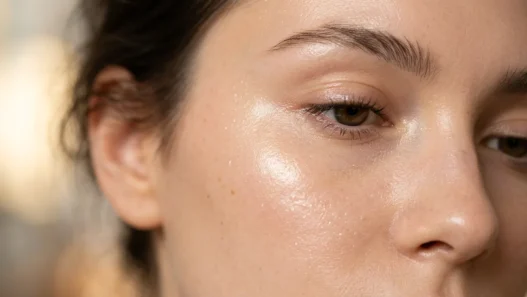
The foundation of any successful cut crease is the base preparation. I apply a thin layer of concealer across the entire eyelid, blending it out to match my skin tone perfectly. This creates a blank canvas and prevents the eyeshadow from grabbing onto any natural oils or texture. Then I set it lightly with translucent powder — not too much, just enough to eliminate stickiness.
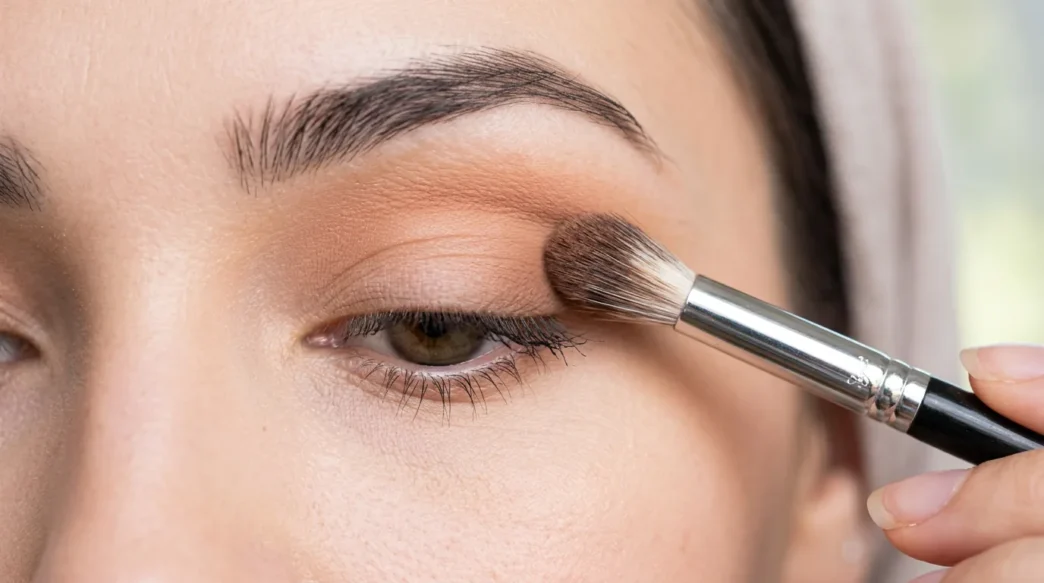
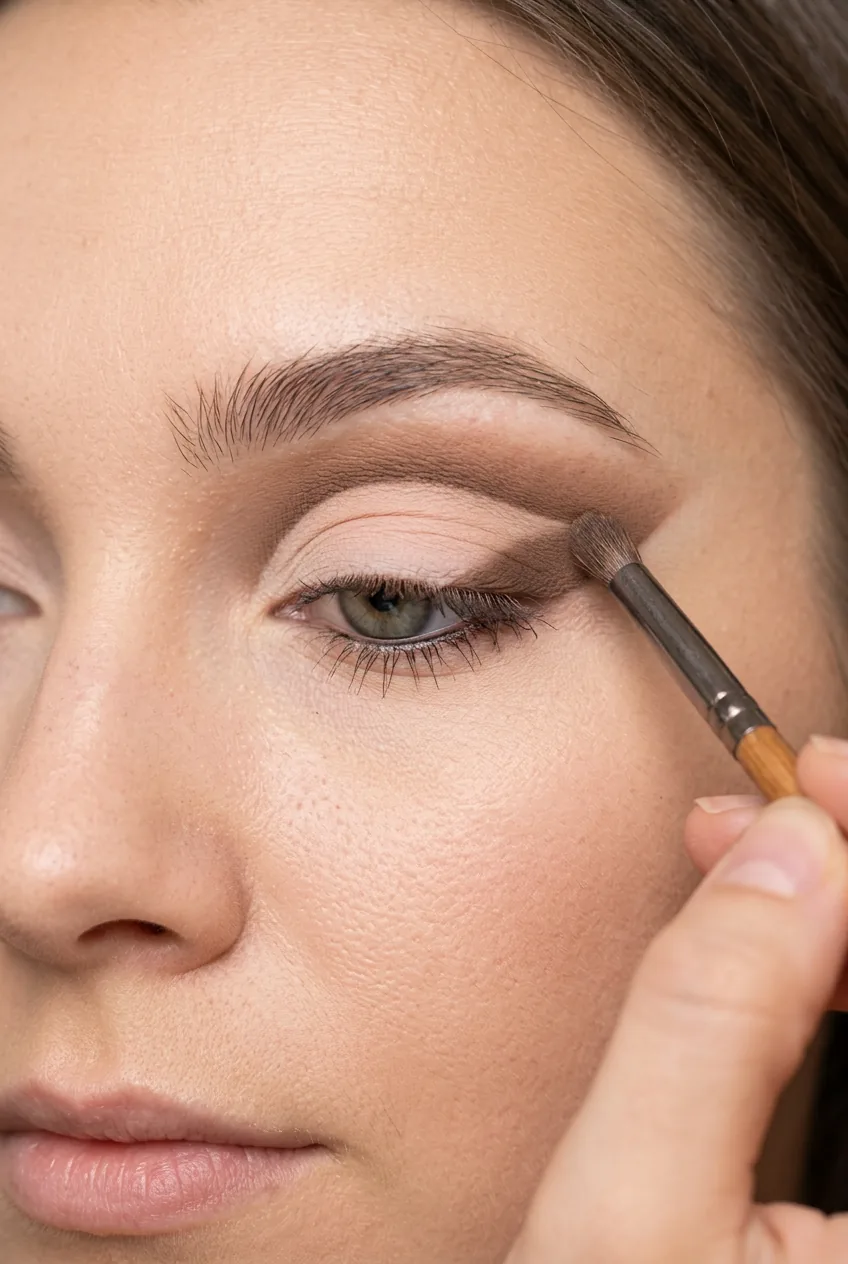
Here’s where most tutorials get it wrong: they rush to the dramatic colors. But the real magic happens in mapping out your crease line first. I use a light brown shade that’s just slightly deeper than my skin tone to sketch where the cut will go. This gives me a guideline to work with and helps me check that both eyes match before I commit to the bold colors.
The Three Variations Worth Knowing
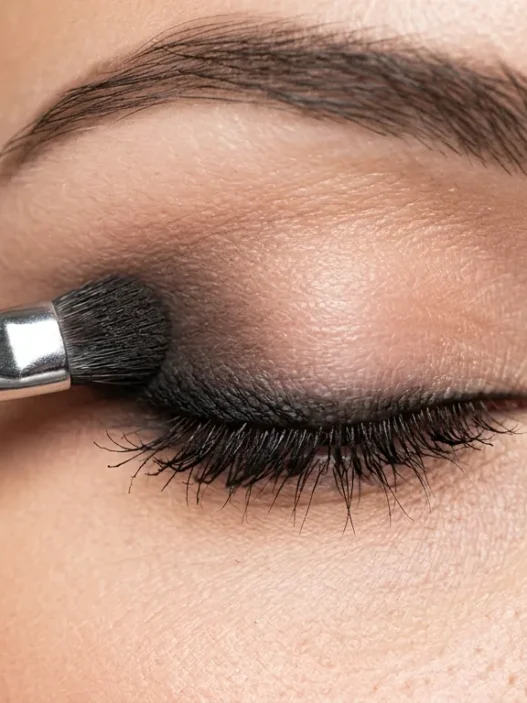
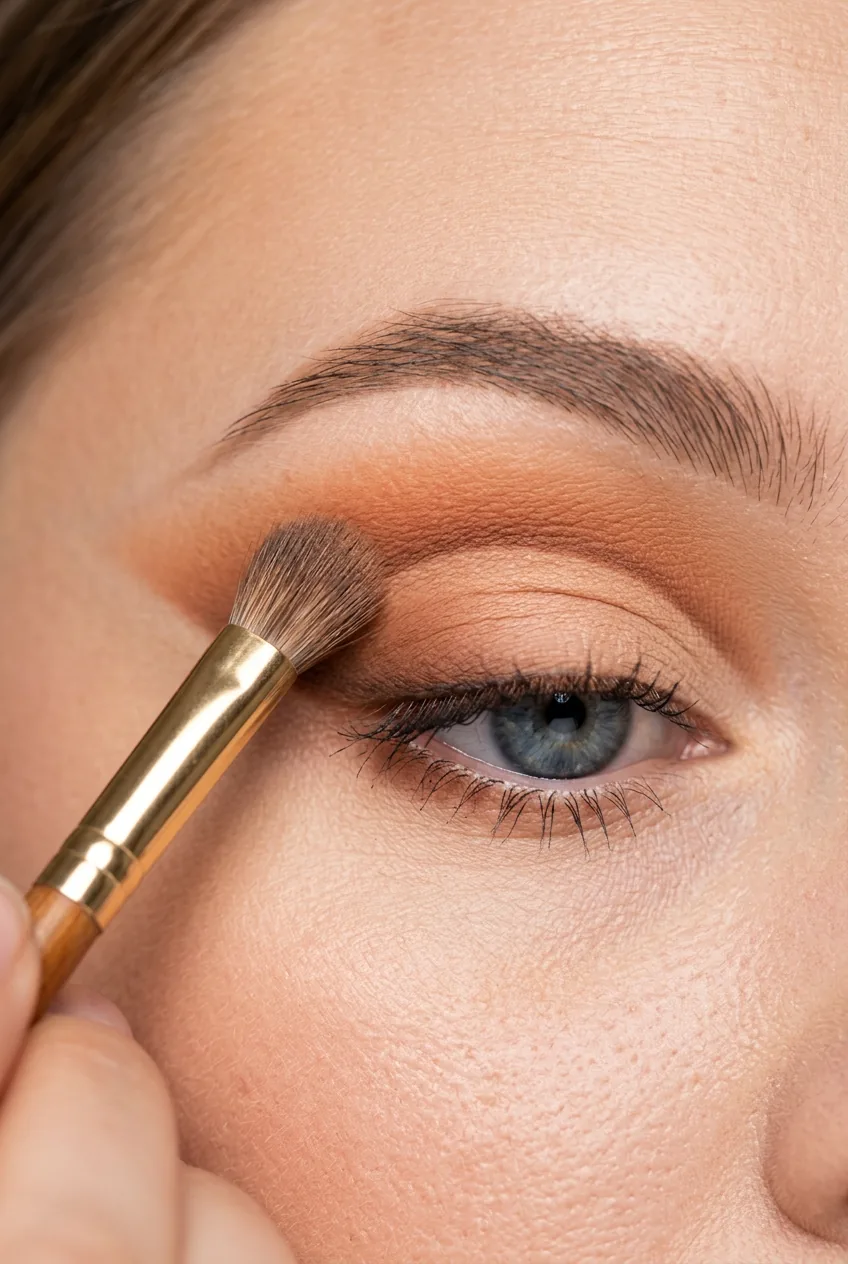
The classic cut crease follows your natural crease line but makes it more dramatic. I start by identifying the highest point of my crease when my eye is open and relaxed. Using my small shader brush, I press a medium-toned shade into the crease, building up the intensity gradually. The key is keeping the line crisp on the bottom edge while blending upward toward the brow.
For deeper-set eyes like mine, I’ve learned to place the cut slightly higher than my natural crease. This creates the illusion of more lid space and prevents the look from disappearing when my eyes are open. Hooded eye techniques can be adapted for this variation too.
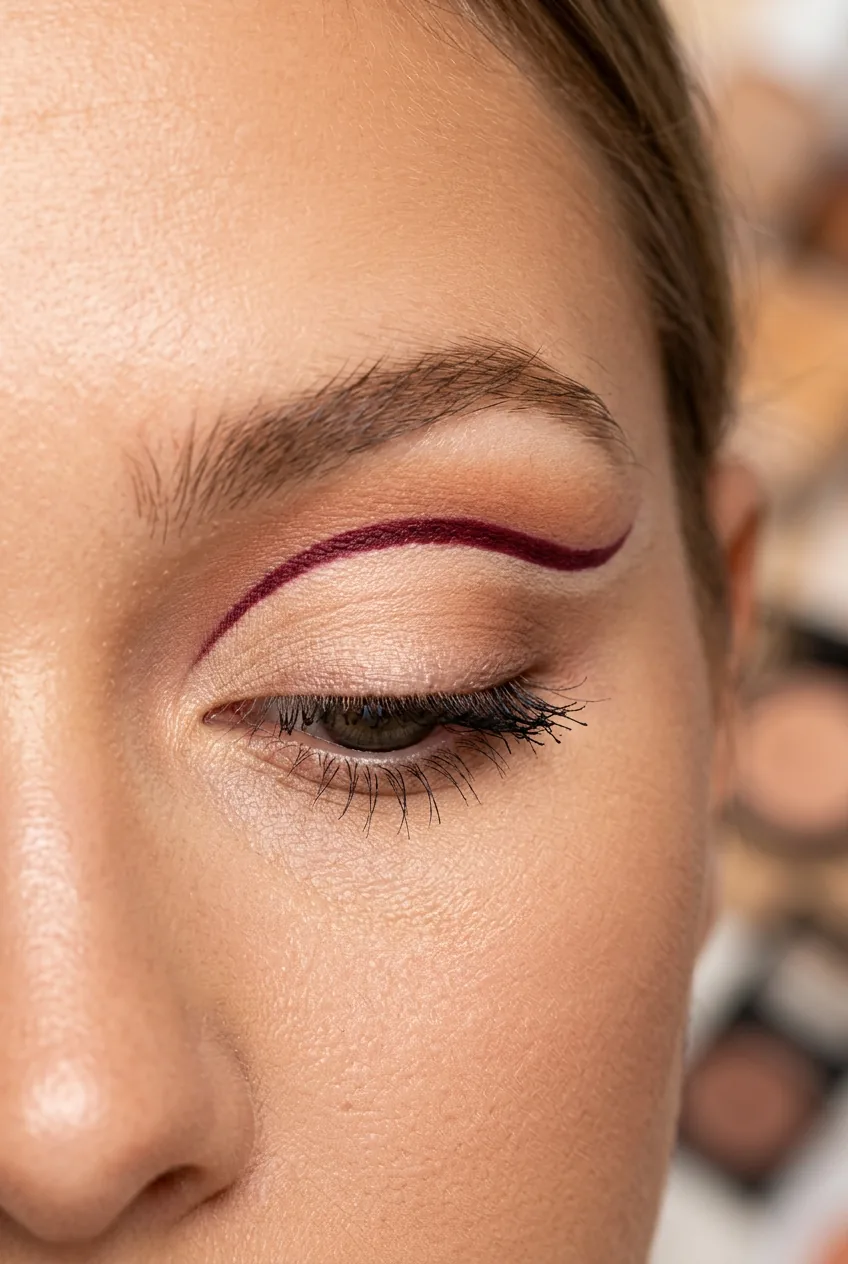
The floating cut crease is more editorial and requires serious precision. Instead of following any natural lines, you create a completely new crease line wherever you want it. I’ve found this works best when placed about halfway between the lash line and the natural crease. It’s bold, it’s modern, and it photographs beautifully.
My third go-to variation is the halo cut crease, where you create the sharp line but then blend a lighter, shimmery shade in the center of the lid. This gives you all the drama of a cut crease with a softer, more wearable finish. Perfect for summer makeup looks when you want something striking but not overwhelming.
Common Mistakes at Each Stage
The biggest error I see beginners make is trying to create the entire look in one go. Cut crease eye makeup is built in layers, and each layer needs to be perfect before you move to the next. I learned this the hard way after wasting countless expensive eyeshadows on muddy, uneven attempts.
I used to pack on the dark shade immediately, thinking more intensity would solve my problems. Instead, I ended up with harsh lines that looked painted on rather than blended. Now I build the depth slowly, checking my progress with both eyes open in natural light after each layer.
Brush pressure is everything. Too much pressure and you’ll drag the concealer base, creating patchy areas. Too little and the eyeshadow won’t adhere properly. I use a patting motion rather than sweeping, especially when laying down the initial color. This preserves the base underneath while building up pigmentation exactly where I want it.
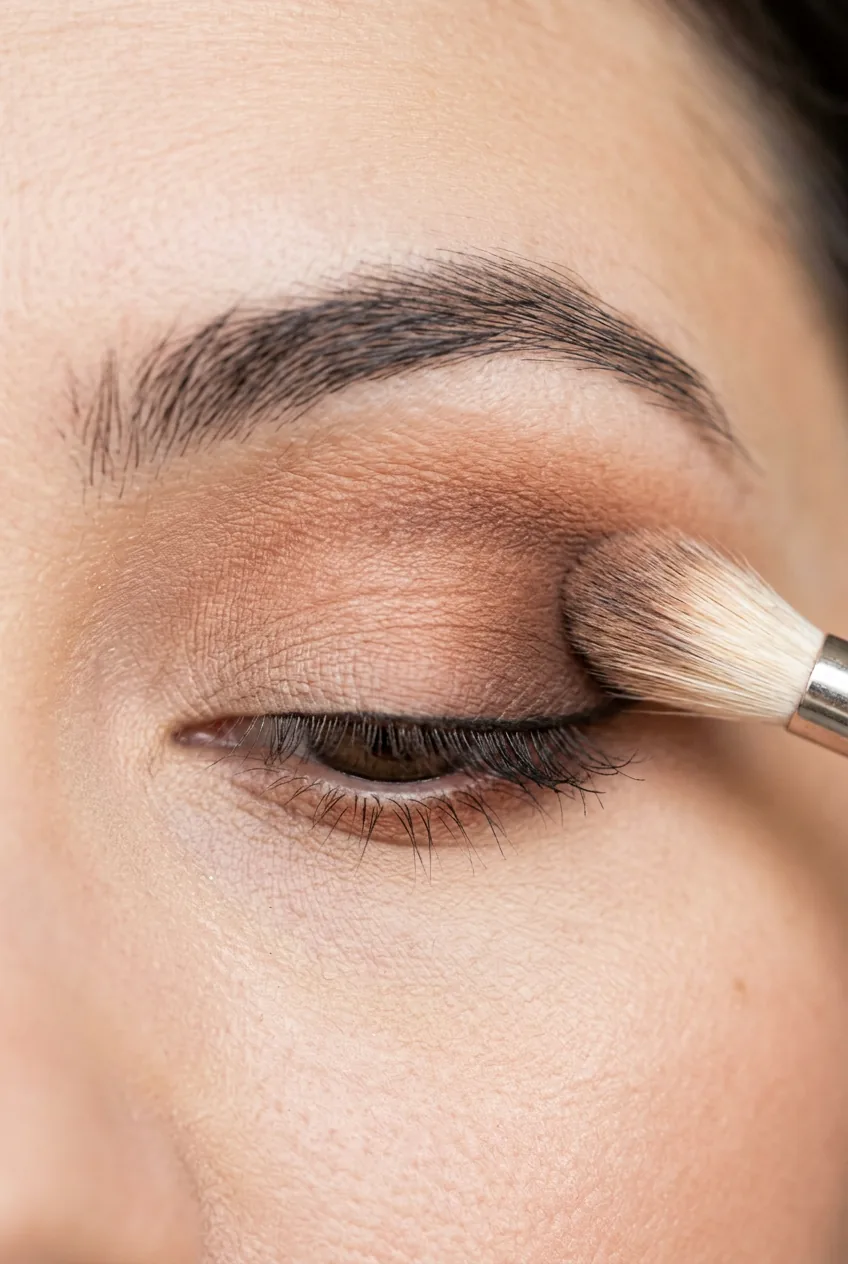
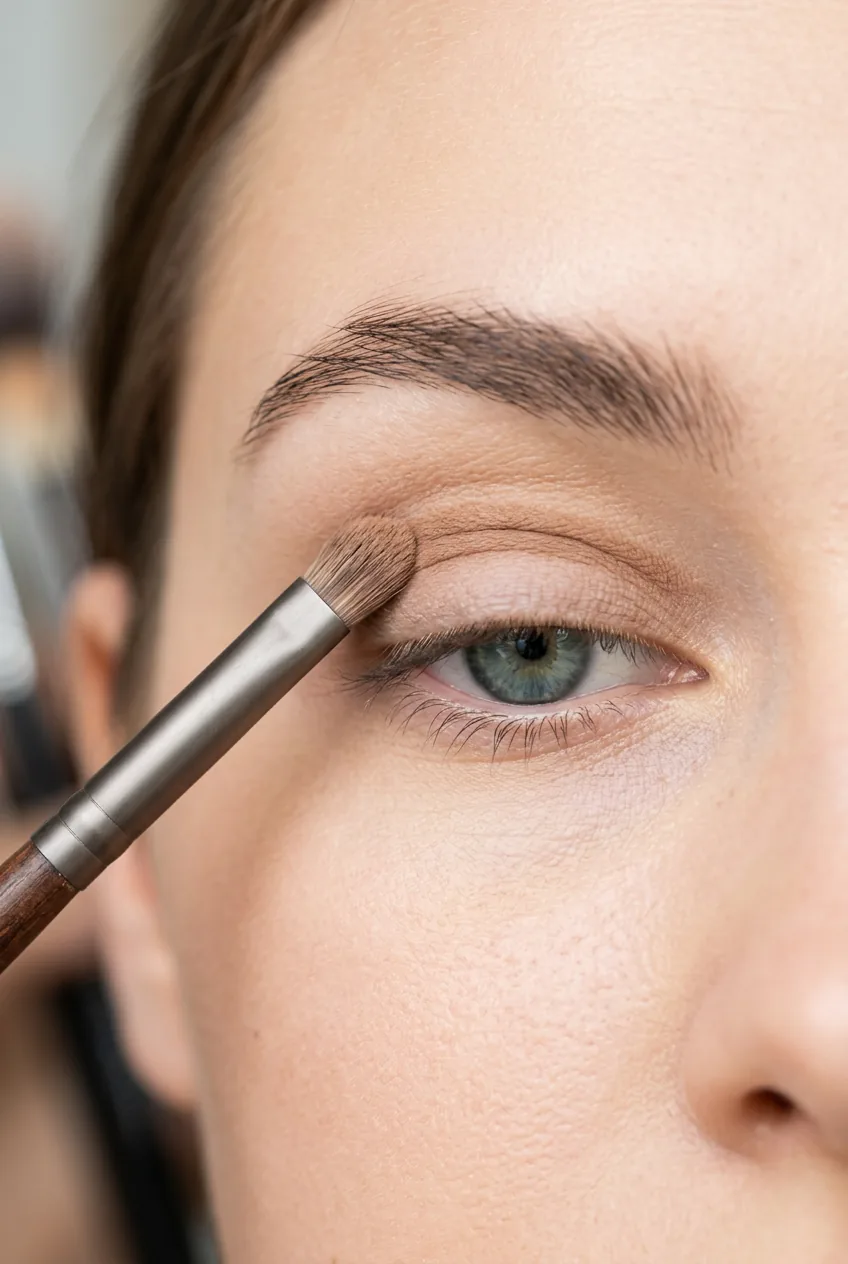
Another common pitfall is neglecting the transition area above the cut. This is where your blending skills really matter. I use a fluffy brush with a shade that’s just slightly deeper than my skin tone, working in small circular motions to create a seamless gradient. The goal is to make the cut crease look intentional, not like you forgot to blend the upper portion.
Symmetry trips up even experienced makeup artists. I’ve developed a trick where I do both eyes simultaneously — laying down the base on both, mapping the crease on both, applying the first layer of color to both. This prevents one eye from getting too far ahead of the other, which inevitably leads to mismatched results.
Watch This Technique in Real Time
Taking It Further
Once you’ve mastered the basic technique, the creative possibilities are endless. I love experimenting with unexpected color combinations — a warm coral cut with gold on the lid, or a deep purple line with silver shimmer. The contrast is what makes cut crease so striking, so don’t be afraid to push boundaries.
Texture adds another dimension to consider. Matte shades create clean, graphic lines that photograph well, while shimmers and metallics catch light differently throughout the day. I often use a matte shade for the actual cut line and add shimmer to the lid space for depth and interest.
For special events, I sometimes add graphic elements like thin lines or geometric shapes within the cut crease framework. This requires steady hands and good brushes, but the impact is incredible. The key is planning these elements before you start applying any color — trying to add them afterward rarely works.
The finishing touches make all the difference. I always add a highlight shade just under the brow bone and in the inner corner of the eye. This lifts the entire look and creates balance against the dramatic crease. A few coats of mascara or false lashes complete the transformation.
What surprised me most about mastering this technique was how it changed my approach to all eye makeup. Understanding how to manipulate light and shadow, how to create precise lines, and how to blend without muddying colors — these skills translate to every other look I create. The cut crease became my graduate school for makeup application, teaching me precision I never knew I needed.