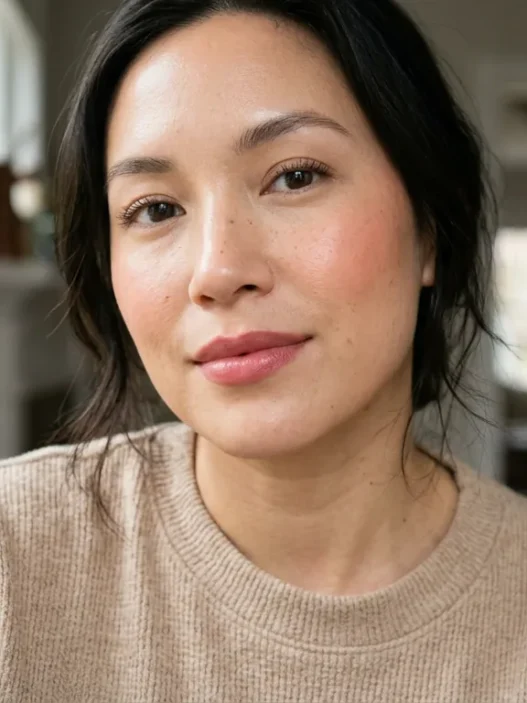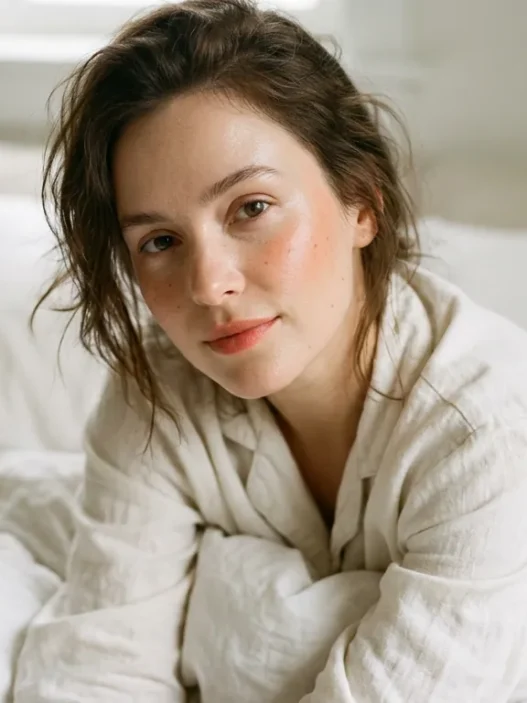




I fell down a Douyin rabbit hole at about midnight and came out the other side completely obsessed. There’s something about the way these looks are engineered — and I mean that literally — that makes them photograph perfectly. They’re not just pretty in person. They’re built for a lens. I’ve been testing, swatching, and honestly just staring at my phone screen trying to reverse-engineer what makes them so impossibly good on camera, and I’ve narrowed it down to ten looks that I keep coming back to.
1. The Glassy Skin Base
If there’s one thing that defines douyin makeup, it’s this: skin that looks like it was dipped in water. The glassy base is the foundation of almost every look from this aesthetic, and it works because of the way light behaves on camera. Matte skin goes flat. Dewy skin catches the light source and creates dimension — which means your face looks more three-dimensional on screen, not less.
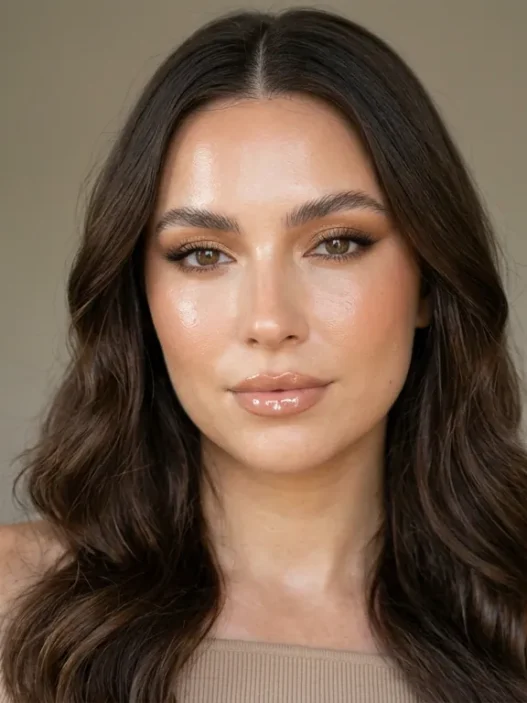
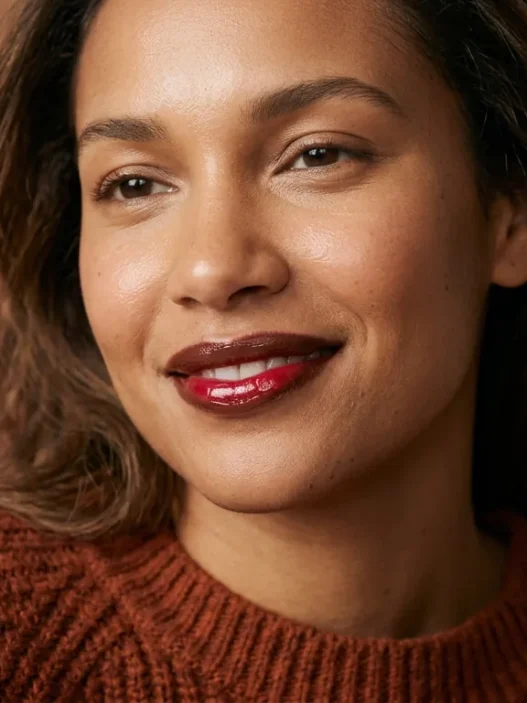
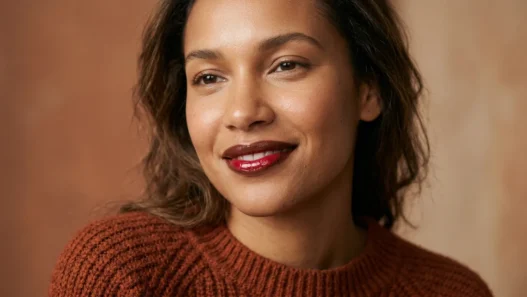
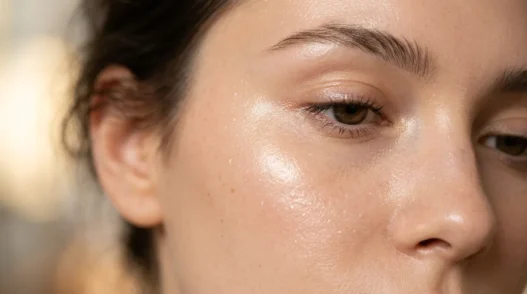
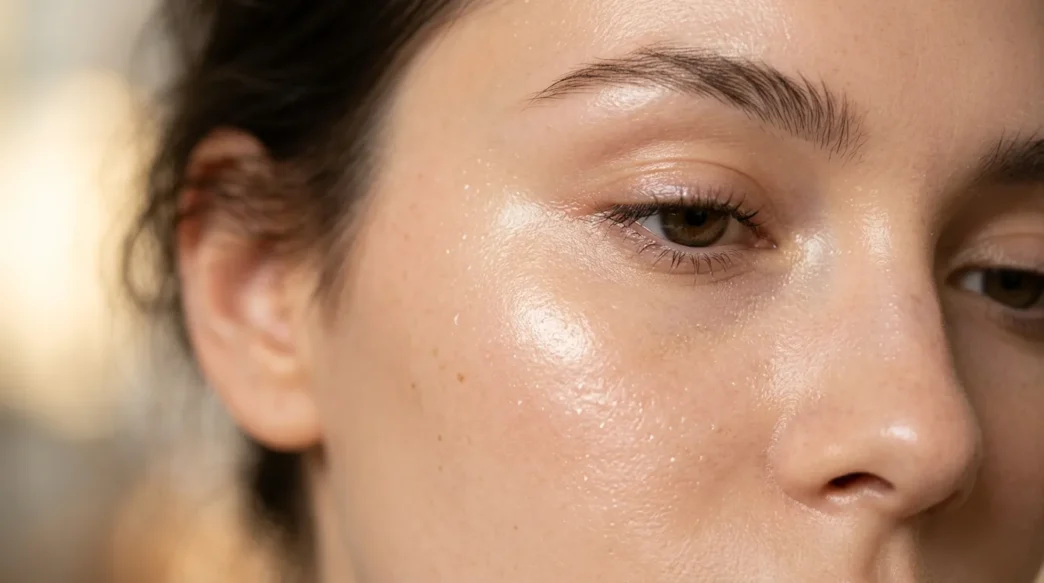
In person, this much glow can sometimes look like you’ve been running. But under ring light or natural window light? Absolute magic. I’m talking visible cheekbone highlight, a slight gleam on the nose bridge, and that plump, almost glassy forehead that no filter can fully replicate. She’s wearing it in the photo below and the way the light catches her cheekbones is exactly what I’m pointing at — that’s not glitter, that’s just skin.
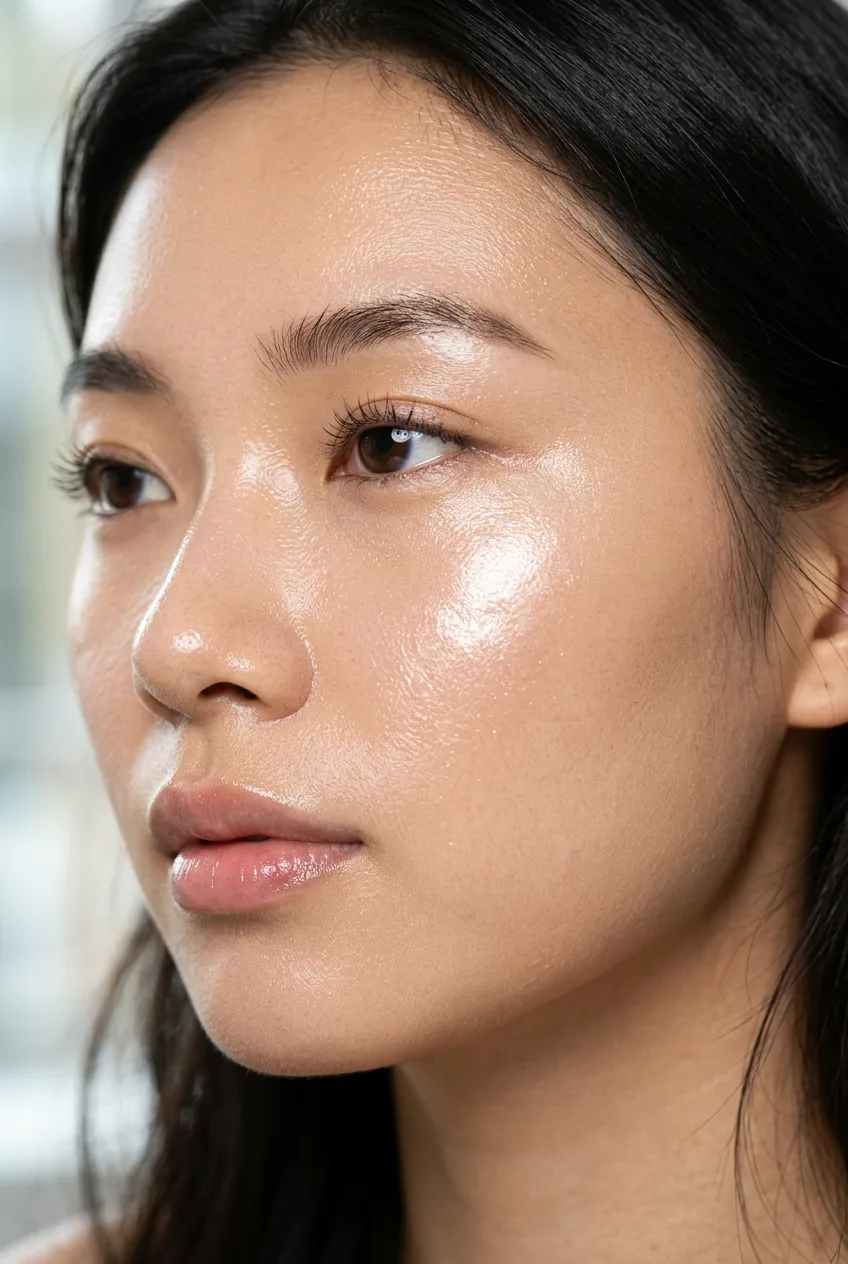
For your posting tip: shoot this look facing a window or under a warm ring light. Cool LED strips will kill the warmth and make the skin look wet in a bad way. Warm light + glassy skin = that almost 3D effect everyone is chasing right now. You can read up on dewy skin makeup techniques to understand exactly which products layer best for this finish.
2. Puppy Eye Liner
This is the liner look that genuinely changed how I think about eye makeup for photos. Instead of the classic upward flick that’s been everywhere for years, the puppy liner drags slightly downward at the outer corner — softening the eye, making it look bigger, and creating that dreamy, slightly vulnerable expression that reads so beautifully on camera.
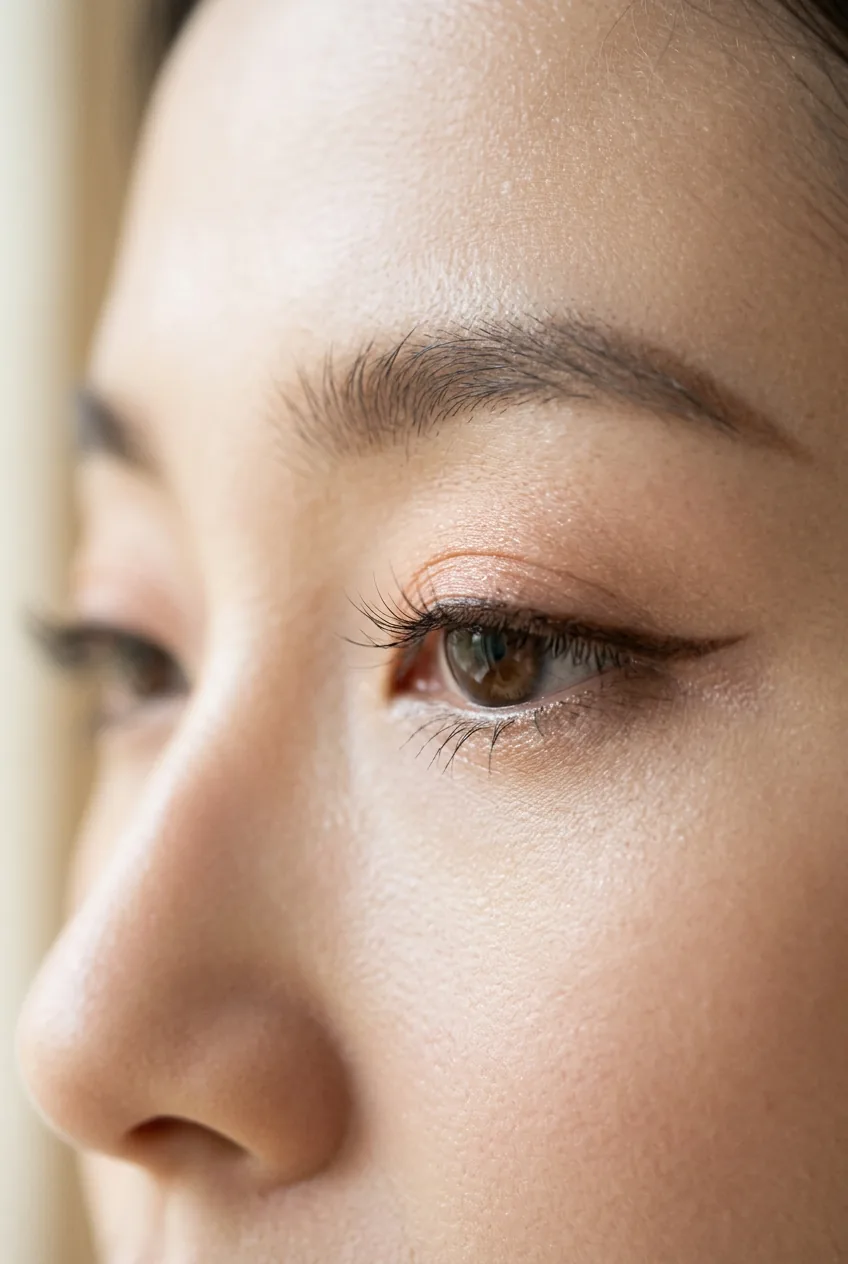
The key thing to understand is that the cat eye flick creates drama that reads well in person but can look harsh in a close-up photo. The puppy liner does the opposite — it photographs as soft and approachable. Best lighting for this one is diffused, slightly overcast natural light or a softbox. Direct flash? It can over-expose the thin liner line and the effect gets lost. Your posting tip: pair it with lower lash mascara only, no bottom liner, so the downward angle does all the work.
3. Monochrome Peach Flush
Monochrome looks in the douyin world lean heavily into soft, cohesive flush — and the peach version is probably the most camera-friendly of all of them. When you match your blush, eyeshadow, and lip color to the same peach-coral family, the face reads as one complete thought on screen. Nothing competes. It’s the difference between a photo that looks polished and one that looks like several good ideas fighting each other.
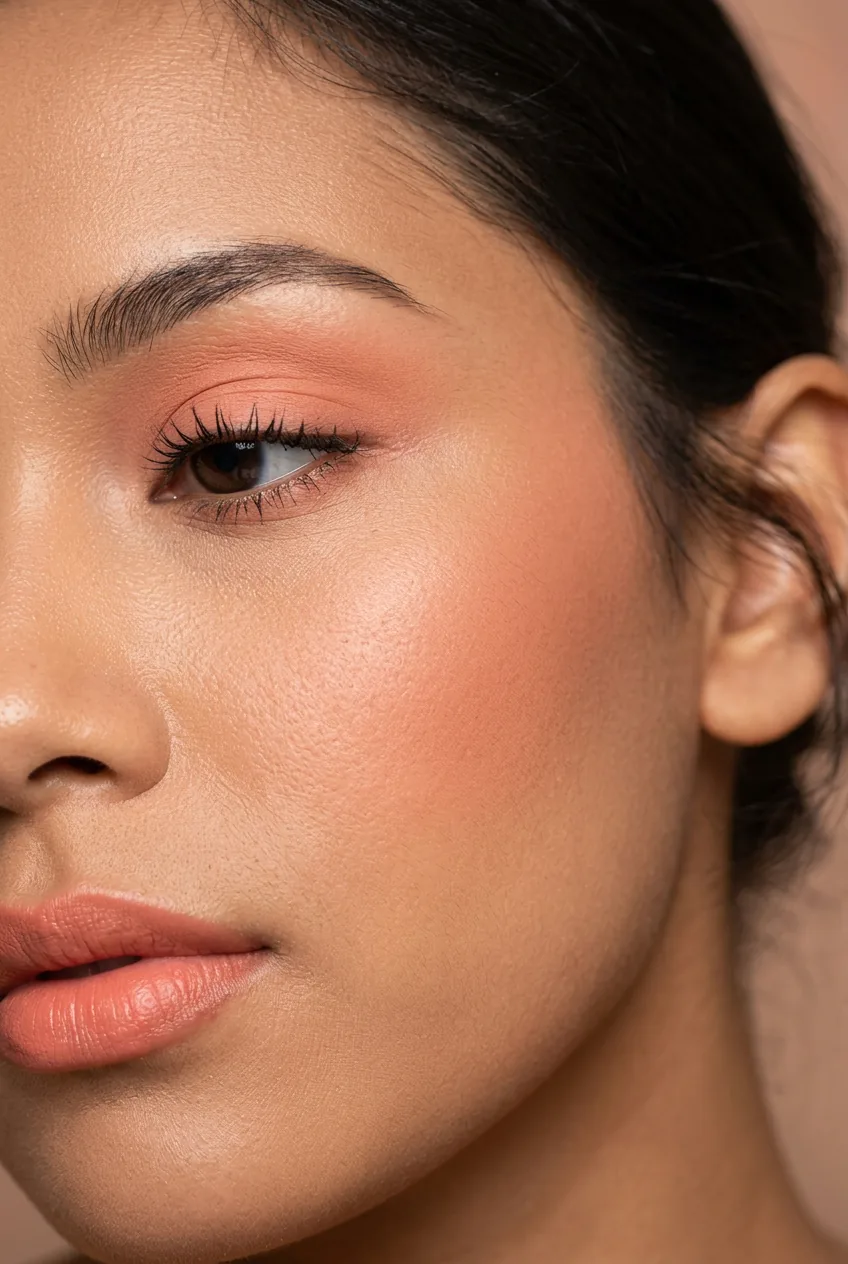
Peach tones photograph particularly well because they sit in that warm-neutral zone that holds up under both warm and cool lighting. Mauve monochrome can go gray under flash. Red monochrome can over-saturate. Peach just… cooperates. If you love this kind of cohesive color story, the whole world of monochrome makeup is absolutely worth exploring — there are so many directions it can go.
4. Wispy Feather Lashes
Here’s a truth that took me too long to learn: heavy, thick false lashes look incredible IRL and like a black wall in a photo. The camera flattens them. You lose all the dimension and you’re left with what looks like a strip of black felt.
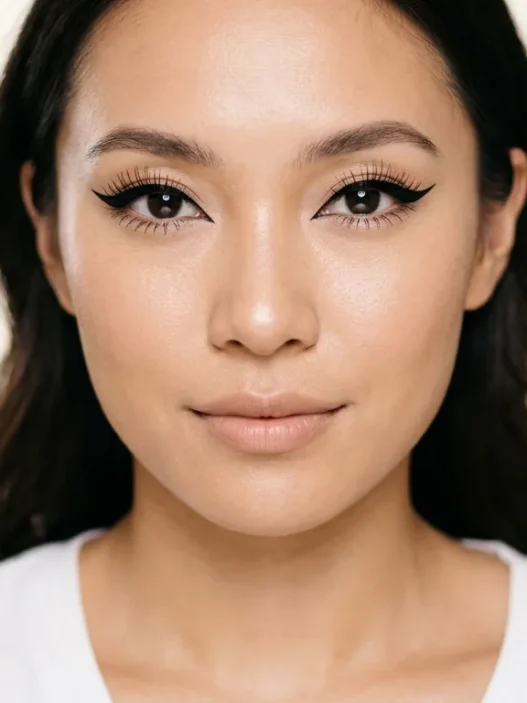
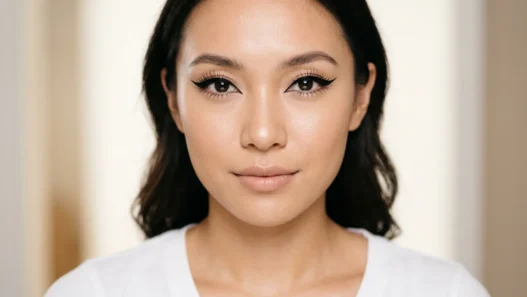
Wispy feather lashes — the kind with varying lengths and visible gaps between clusters — are built for photography in a way that thick lashes simply aren’t. The gaps create depth. The varying lengths create a fringe-like texture that the camera can actually read as individual lashes. Look at how her lashes catch the light in the photo here — you can see each wispy spike. That’s the whole point.
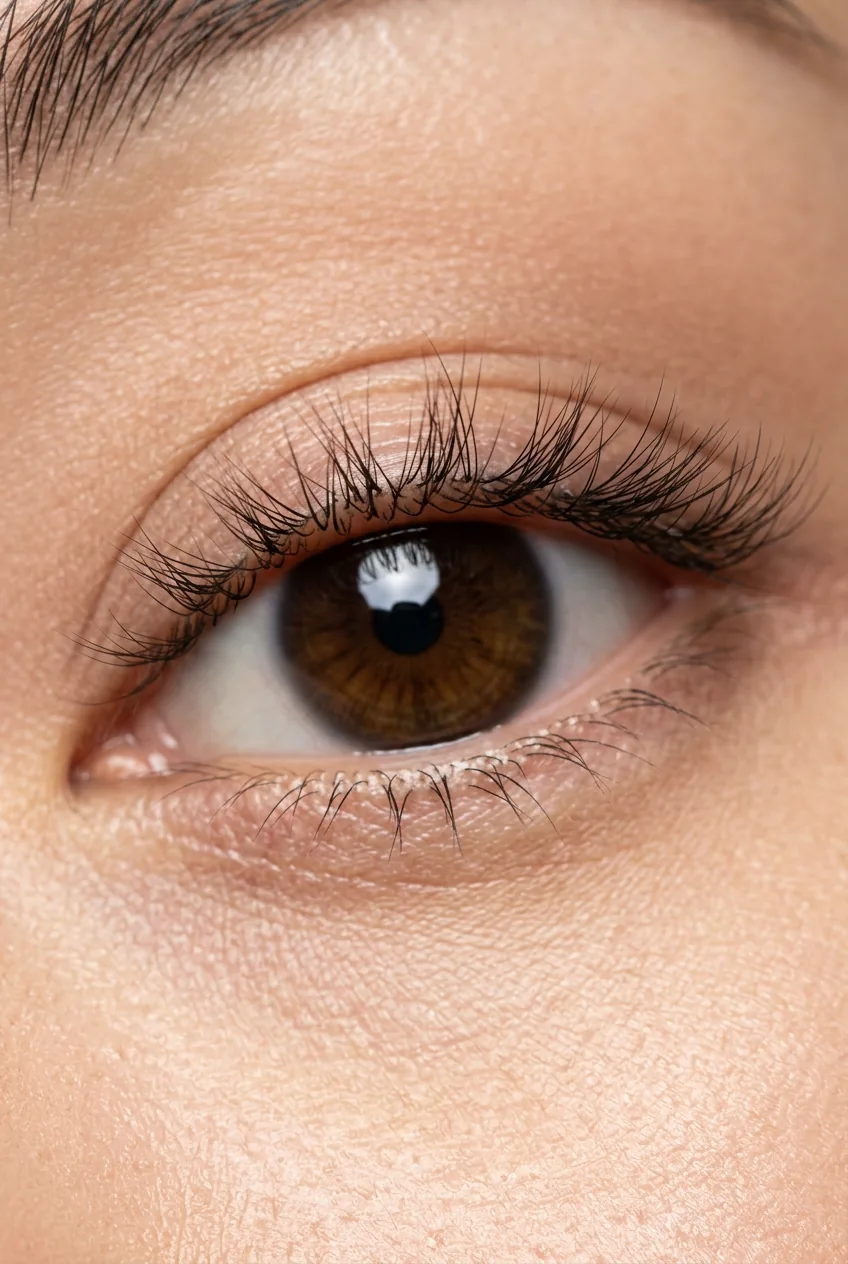
Best lighting: anything where you can see catch lights in the eyes. The lash texture shows up best when there’s a light source reflected in the iris. Posting tip: take your close-up before blinking a thousand times. The glue starts to lift at the outer corners and it shows in macro shots.
5. Soap Brows With Texture
The soap brow trend from a few years ago leveled up on Douyin into something more editorial — brushed up, yes, but with individual hairs defined rather than just a smooth laminated sweep. Think of it as the difference between a groomed brow and a brow that looks like it grew that way naturally and just happens to be perfect.
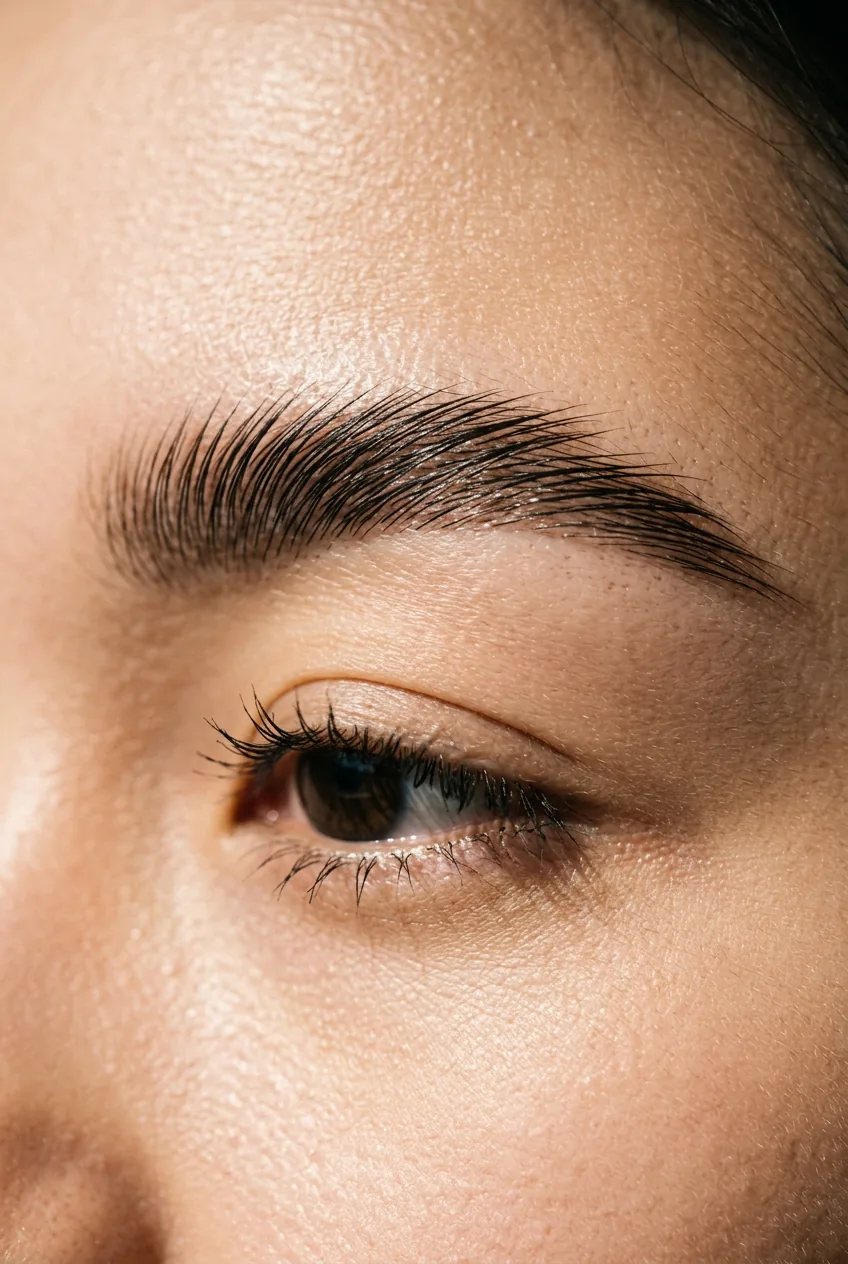
Why does it photograph so well? Because defined individual hairs create micro-texture, and texture reads as realism on screen. An over-filled or too-smooth brow can look drawn-on in a photo even when it looks lovely in person. This look benefits from bright, slightly raking light (from the side) that casts tiny shadows between each hair. That’s when the texture really pops. For your grid: film with the light coming from a 45-degree angle to really show the definition.
6. Under-Eye Blush
I know. Stay with me. The under-eye blush placement — sitting right on the lower lid and the top of the cheekbone, almost where dark circles live — is one of those looks that sounds wrong and photographs completely right.
This is my personal pick from the whole list. I was skeptical for months and then I tried it under a ring light and genuinely gasped. The way it makes eyes look awake and slightly flushed — like you just came in from cold air — is unreal on camera. It’s become my go-to for any content day.
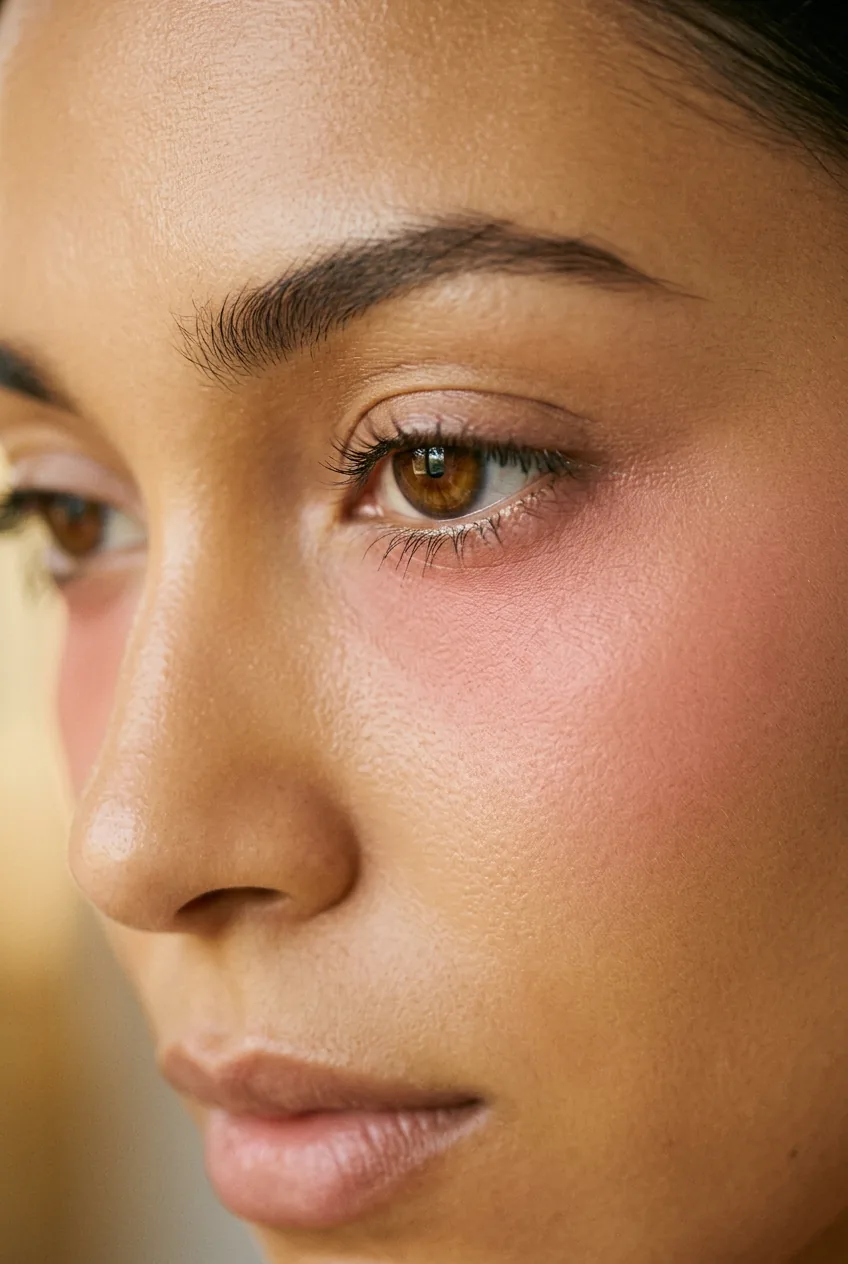
The reason it works photographically is that it adds warmth precisely where cameras tend to pick up coolness and shadow. Under the eyes is often the first area to look tired or purple-toned in photos. Blush placed there counteracts that and makes the whole face look alive. Use a matte-satin blush formula here — shimmer sits too high and creates an odd texture ring. Post in warm light, never fluorescent.
7. Cherry Red Gradient Lip
This is the lip look that owns the douyin aesthetic. A gradient lip — deeper color at the center of the mouth, sheerer toward the corners — photographs with incredible dimension because it mimics the natural light-and-shadow of lips. A full opaque red lip can look flat in a photo. The gradient version looks three-dimensional, pouty, and almost lit from within.
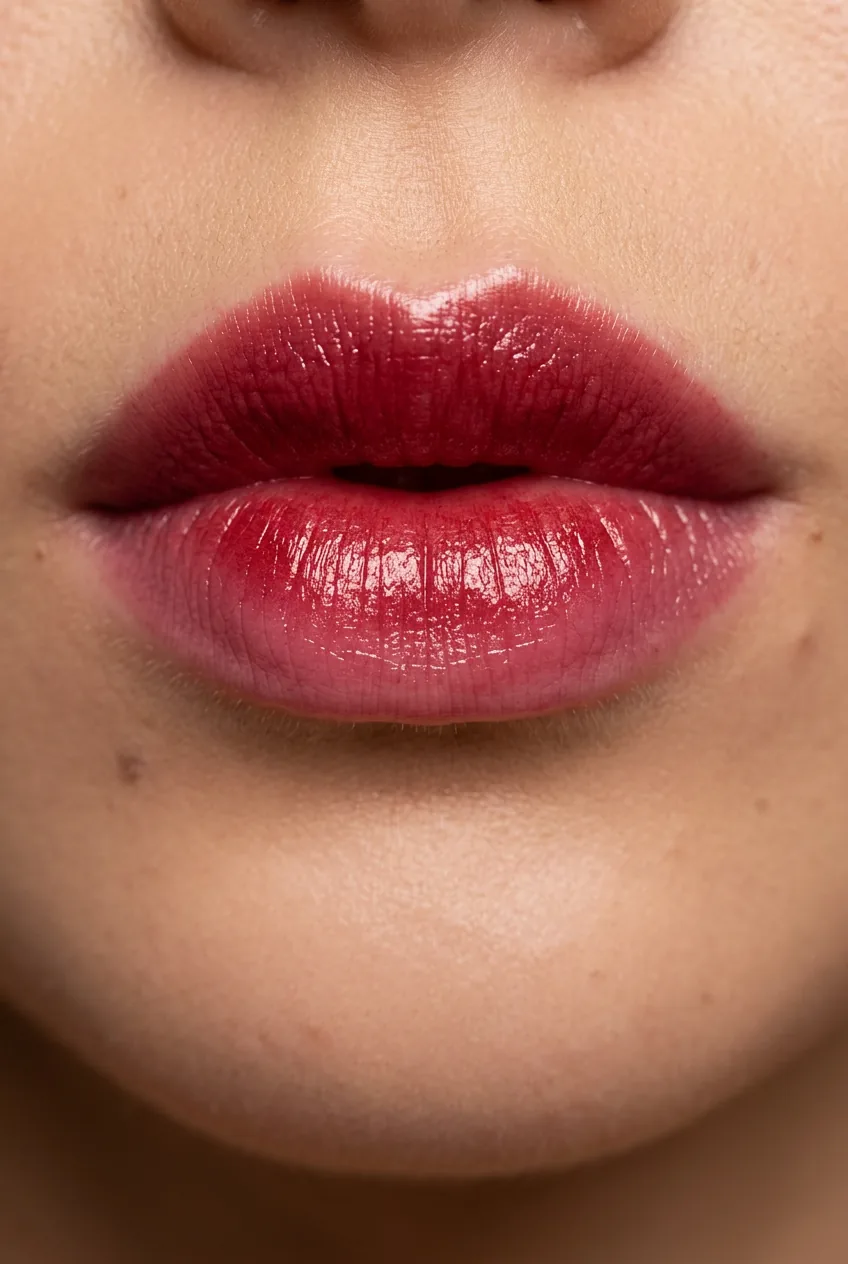
Cherry red specifically photographs well across almost all skin tones and lighting setups — it has enough saturation to pop without over-saturating under flash the way neon shades do. I’ve seen the look photographed under harsh overhead lighting and it still reads as intentional and polished. Compare that to a full-coverage nude lip, which can completely disappear in the same conditions. Posting tip: blot once after applying, then add the sheer layer. It stops migration into fine lines — super obvious in macro shots.
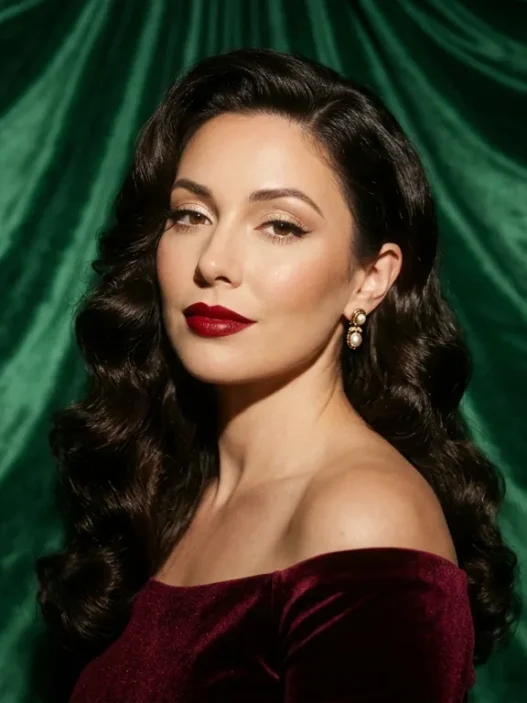
If you love deep lip color paired with a strong overall look, the guide on what MUAs know about dark feminine makeup is full of techniques that translate directly to this style.
A Tutorial That Convinced Me Immediately
8. Diffused Bronzer Glow
Hard contour is out. Soft, diffused bronzer that looks like warmth rather than shadow is very much in — and the camera absolutely agrees with this switch. Sharp contour lines that look chiseled in the mirror often photograph as dirty smudges. Diffused bronzer photographs as a sun-kissed gradient.
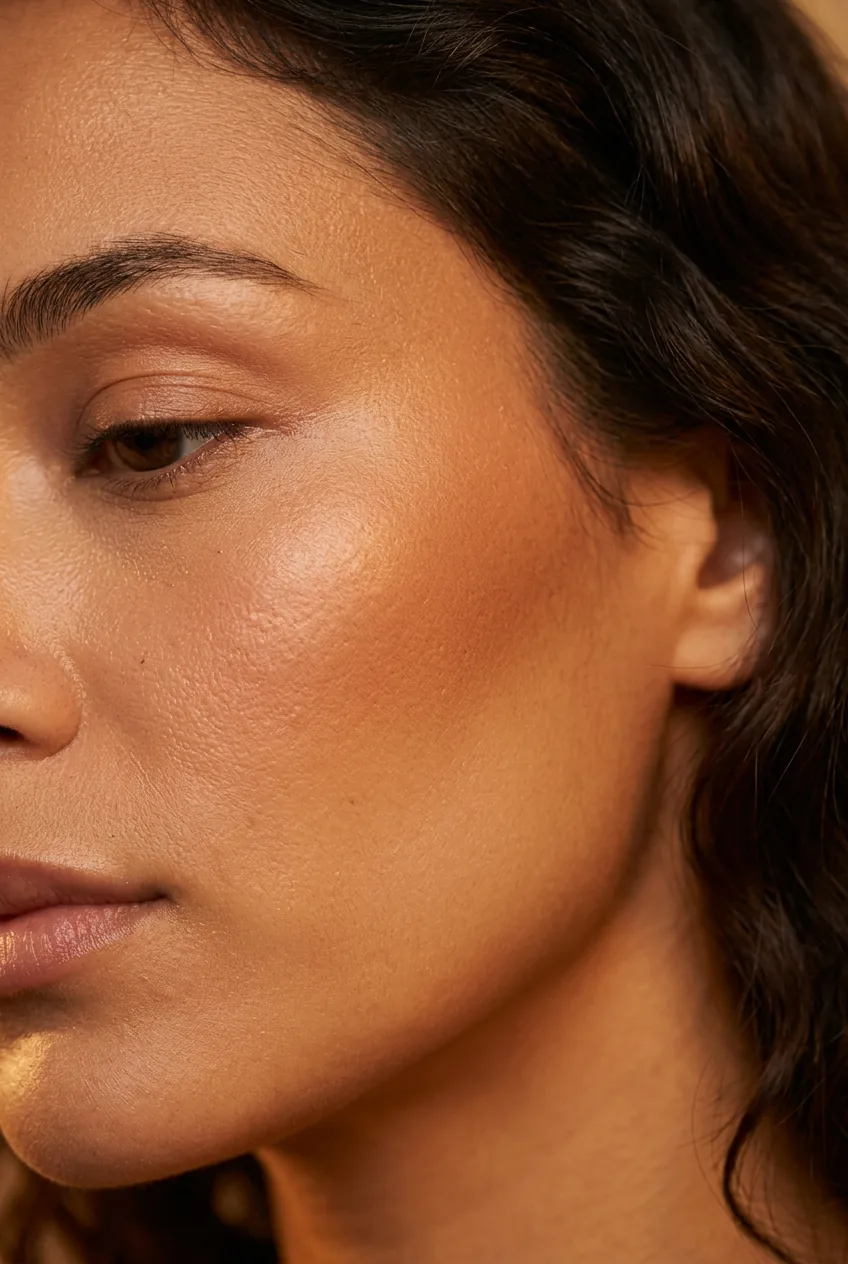
The Douyin version of this is applied heavily on the temples, the sides of the nose, and lightly under the cheekbone — creating warmth rather than sculpt. It works in any lighting because it’s reading as color, not shadow. Use a fluffy brush and build in circular motions. For content: this look is especially stunning in golden hour light or a warm amber ring light filter. It almost disappears under bright white light, so keep your light source warm.
This trending Chinese beauty approach has a lot in common with what’s happening in Korean makeup right now — both aesthetics are steering hard toward warmth, glow, and that effortlessly healthy look over definition for its own sake.
9. Straight Aegyo-sal Line
Aegyo-sal — that little puff of fat beneath the eye that makes you look youthful and slightly smiley — gets the Douyin treatment in the form of a subtle straight-line illusion drawn just below the lower lash line. Using a light peachy or ivory eyeliner or shadow, you draw a thin horizontal line that creates the illusion of that under-eye fullness without anything invasive.
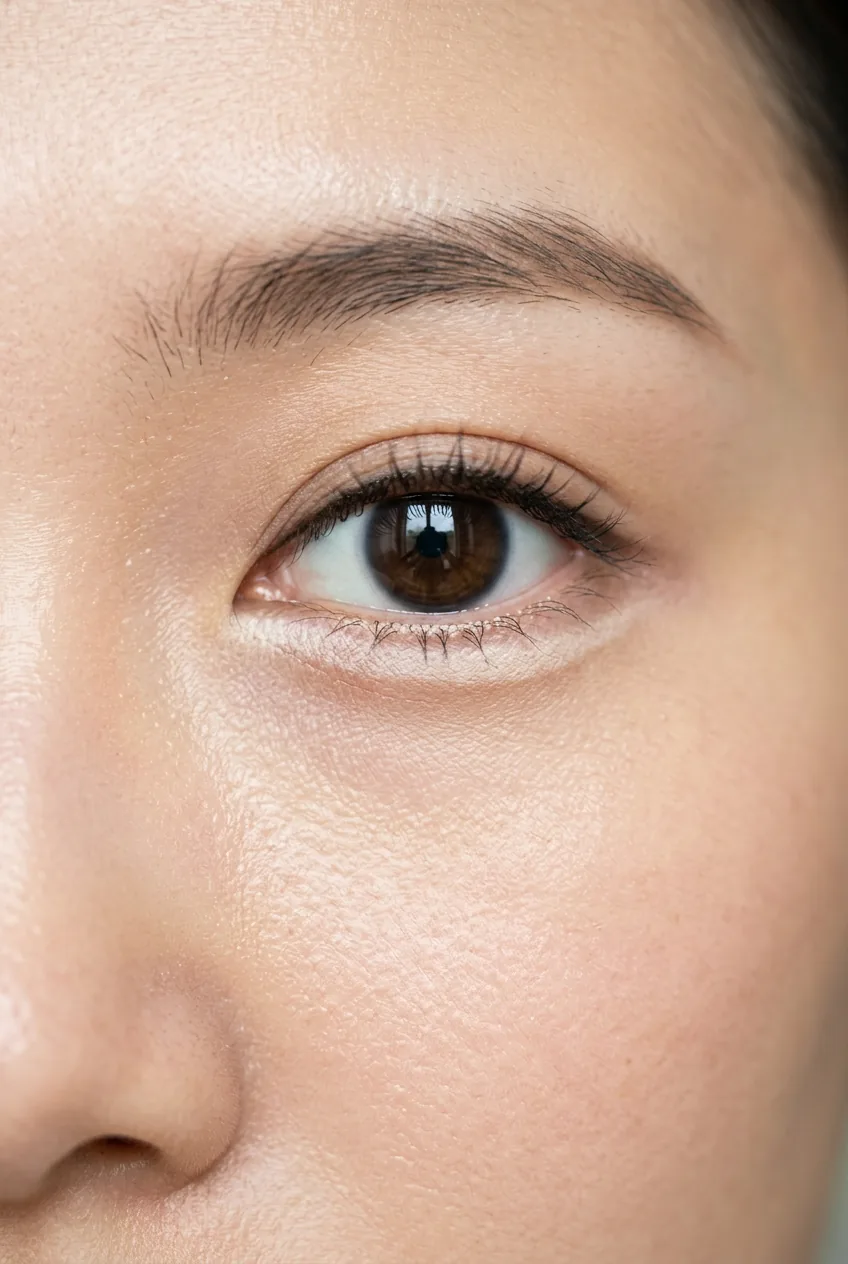
This photographs spectacularly well in close-ups because it creates micro-dimension right at eye level — the most scrutinized part of any beauty photo. The line adds a catchlight-adjacent brightness that opens the eye. It’s subtle enough that in a full-face shot it just reads as bright, wide eyes. Under macro or close-up: you can see the intentionality of it, which makes the photo look skilled rather than filtered. Best captured in soft diffused light where the delicate line isn’t washed out.
Want to explore more looks that are currently dominating feeds? The roundup of makeup looks that are everywhere right now covers several techniques that overlap beautifully with this style.
10. Inner Corner Diamond Light
Save the best for last, right? The inner corner highlight is a classic move, but the Douyin version places an almost exaggerated diamond-shaped hit of extremely fine shimmer or glitter right at the inner corner — bigger than subtle, smaller than festival. And it is made for photography.
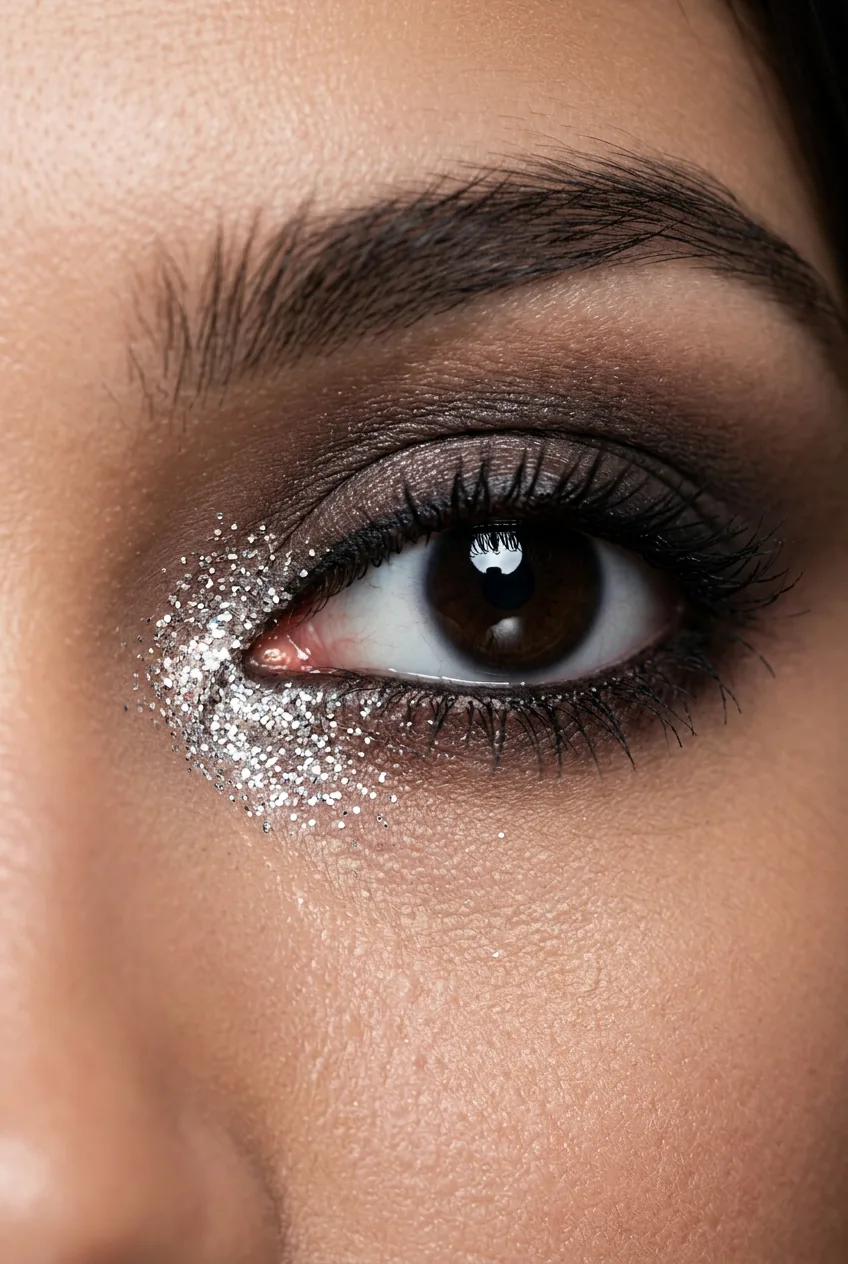
The reason it photographs so dramatically is simple physics: a concentrated reflective point catches light from almost any angle. In a static photo it creates a focal point that draws the eye directly to the eyes first. In video it catches every tiny movement. Under flash it creates a genuine sparkle that no filter can fake. She’s wearing it in the photo here and notice how the first thing you look at is the inner corner — that tiny diamond of light does all the work. Use a fine-pressed glitter or a wet-set shimmer shadow for the most intense payoff. Apply with a flat synthetic brush and a tapping motion, not a sweeping one, to keep the shape precise.
This is one of those details that bridges the gap between in-person and on-screen perfectly — it actually looks better on camera than in real life, which is exactly what this whole list is about. You can find this technique and many others browsing by makeup type if you want to drill down into specific eye techniques.
Understanding inner corner glitter application properly is the difference between a concentrated sparkle and a messy fallout situation that ruins your base.
Things People Ask Me About This
What exactly is douyin makeup and how is it different from regular K-beauty?
Douyin makeup (named after the Chinese TikTok) leans into an ultra-dewy, soft, youthful aesthetic with specific placement techniques like under-eye blush and aegyo-sal that are slightly different from K-beauty’s cleaner, more minimal approach. The camera-readiness is baked into the technique — it’s deliberately engineered for content in a way K-beauty wasn’t originally. Both are gorgeous, but they’re solving slightly different problems.
Does this style work for mature skin or is it only for younger skin?
Most of these looks actually work beautifully on mature skin — the glassy base and gradient lip are especially flattering across ages. I’d skip heavy shimmer directly on fine lines (so maybe downsize the aegyo-sal line) and lean into the bronzer glow and puppy liner instead. The dewy finish is universally photogenic, full stop.
Which of these 10 looks is best for complete beginners?
The monochrome peach flush is my answer every time. You only need one product family, the color matching does the work for you, and there’s very little that can go wrong. It’s also incredibly forgiving under different lighting conditions — which means even if your setup isn’t perfect, the photo still looks intentional.
Do I need professional lighting to make these looks photograph well?
Not at all. Natural window light (indirect, not harsh midday sun) is genuinely the best option for almost every look on this list. A basic ring light works for most of them too. The techniques themselves are designed to create glow and dimension, so they compensate for less-than-perfect lighting setups in a way that matte, flat makeup never could.
That’s the whole list — ten looks that genuinely bridge the gap between how you look in the mirror and how you look on screen. And honestly? That gap is real. It’s not just a lighting or filter issue. The techniques matter. If you’ve been frustrated that your makeup looks stunning IRL and somehow flat in photos, start with the glassy base and the under-eye blush. Those two alone will change your photos in 2026 more than any preset ever could.