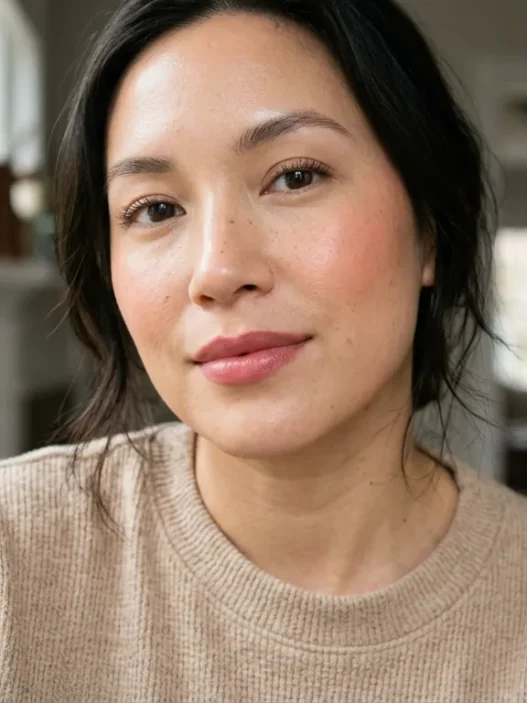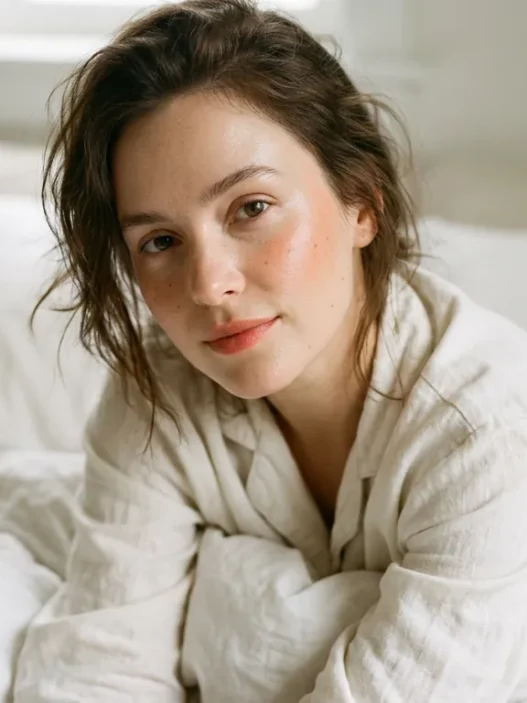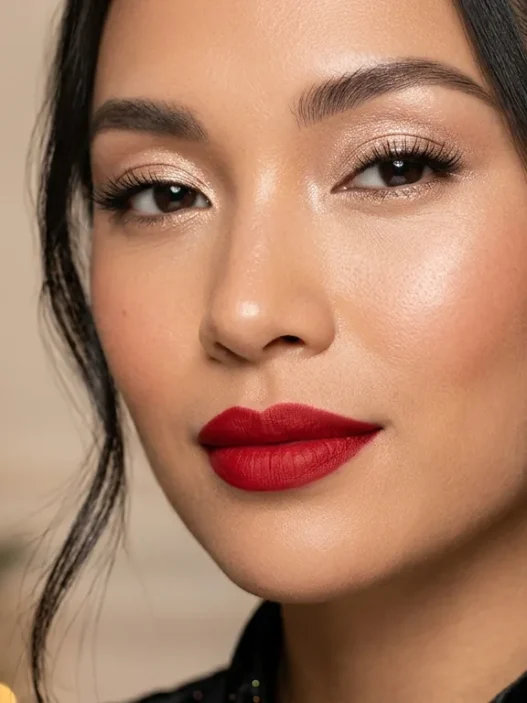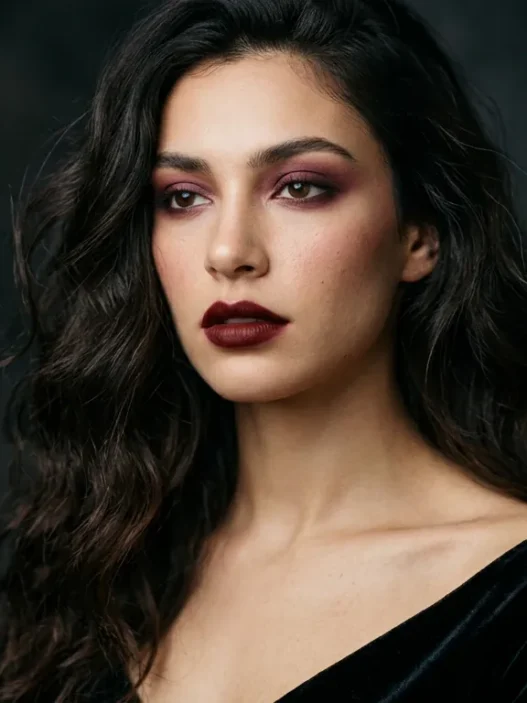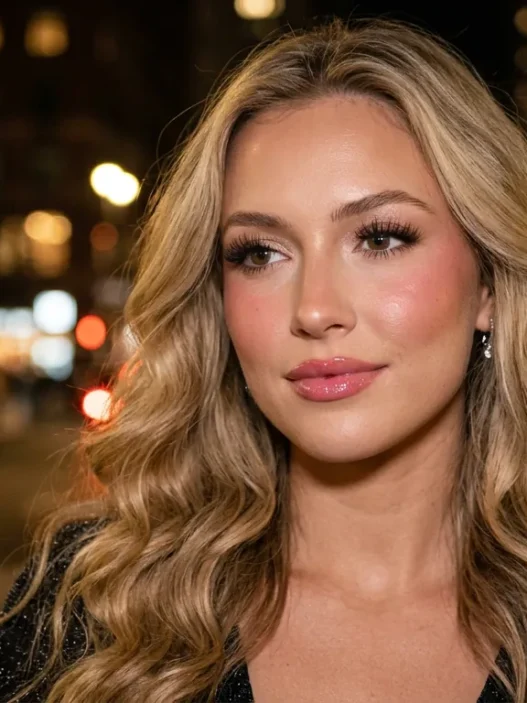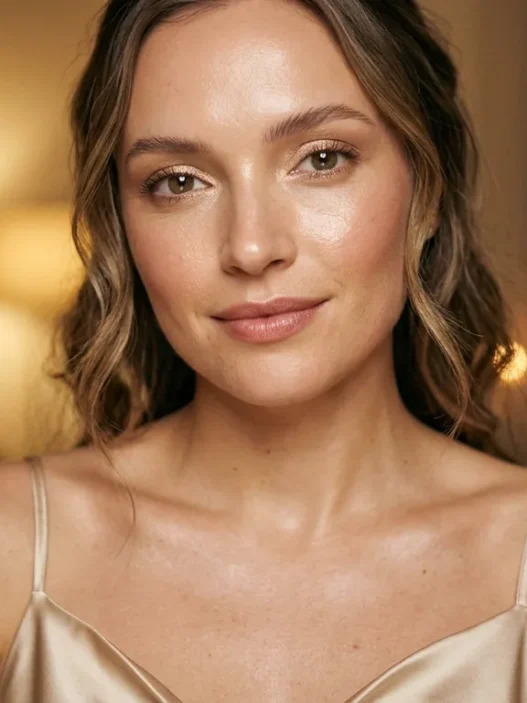




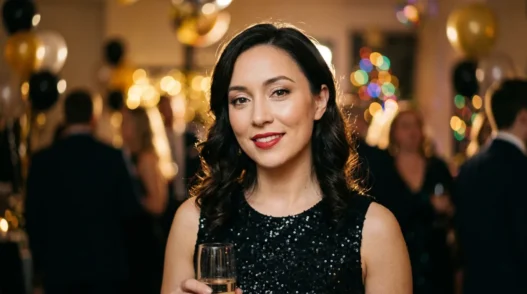
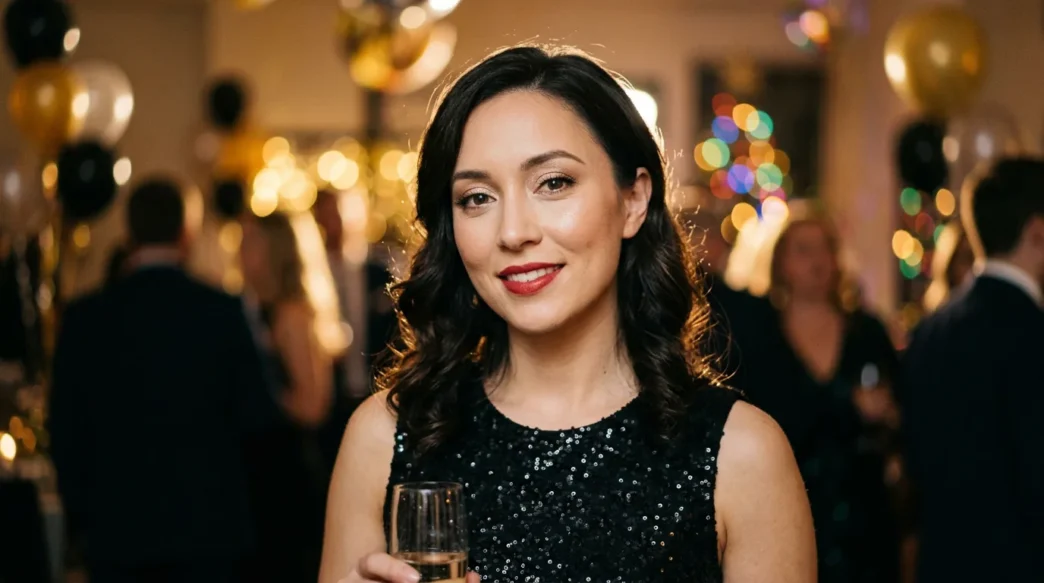
Last New Years Eve I cried at midnight. Not because of the countdown, but because my makeup completely gave up by 10:30 p.m. My foundation had separated around my nose, my shimmer eyeshadow was sitting in my crease, and my red lipstick was somehow everywhere except my lips.
This year I promised myself a different story. I wanted one makeup for New Years routine I could actually trust, something glowy and festive but also party-proof. I practiced it three times in December, wore it to a holiday dinner, and timed how it held up. Total wear time? About 25 minutes to do, and it looked fresh for seven hours.
Time estimate: 25-30 minutes. Skill level: confident beginner. Finish: luminous, champagne-glow skin with a soft-smoky eye and a long-wearing lip.
Follow My New Years Glow, Start to Finish
- What You’ll Need
- Step 1: Prep and Prime for a Long Night
- Step 2: Build Your Lit-From-Within Base
- Step 3: Add Champagne Eyes and Soft Smoke
- Step 4: Line, Curl, and Layer the Lashes
- Step 5: Warm Up Cheeks With Blush and Contour
- Step 6: Tap On Liquid Highlighter for That Wet Glow
- Step 7: Lock in a Midnight-Proof Lip and Set It All
- My Finished Midnight Look
- Questions I Always Get About New Years Eve Makeup
What You’ll Need
I keep this kit pretty tight because I do not want to be digging through a drawer at 7 p.m. with wet hair and one contact in. Everything here earns its spot, and most of it I already owned from other makeup type routines.
- Hydrating moisturizer plus a gripping, pore-blurring primer
- Radiant medium-coverage foundation and a brightening concealer
- Translucent loose powder and a mini pressed powder for touch-ups
- Champagne shimmer eyeshadow, matte warm-brown transition shade, black-brown pencil liner
- Lash curler, lengthening plus volumizing mascara (or your favorite falsies)
- Powder bronzer, rosy-nude cream blush, liquid highlighter in champagne pearl
- Long-wearing lip liner, satin red or berry lipstick, clear gloss
- Tools: damp beauty sponge, fluffy blending brush, flat shader brush, small smudge brush, clean fingertip (seriously, your best highlighter tool)
- Setting spray, the alcohol-free kind so it does not break up glow
Step 1: Prep and Prime for a Long Night
I used to skip real skin prep on party nights because I was in a rush, and that was exactly why my makeup slid off by 11. Now I treat New Years Eve like I treat a long-haul flight. Hydration first, grip second. I wash my face, pat on a light hydrating moisturizer while my skin is still a little damp, and then wait. That five-minute wait is everything. I brush my teeth, pick jewelry, let it sink in.
Then I prime in zones, not one thick layer everywhere. A pea-sized amount of gripping primer pressed into my T-zone and around my nose and chin, and a more illuminating primer on the outer cheeks and temples where I want glow to come through. If your eyelids get oily, and mine absolutely do, add the tiniest dab of eye primer too. It makes shimmer actually stay shimmery instead of melting into a line.
You can read up on why I switched to this zoned approach after learning more about long-lasting party makeup > with separate hydrating and mattifying steps before my holiday dinner test. My nose stayed smooth instead of separating, which never happened before. And if you love a cozy winter base in general, my go-to winter makeup looks all start the same way.
Step 2: Build Your Lit-From-Within Base
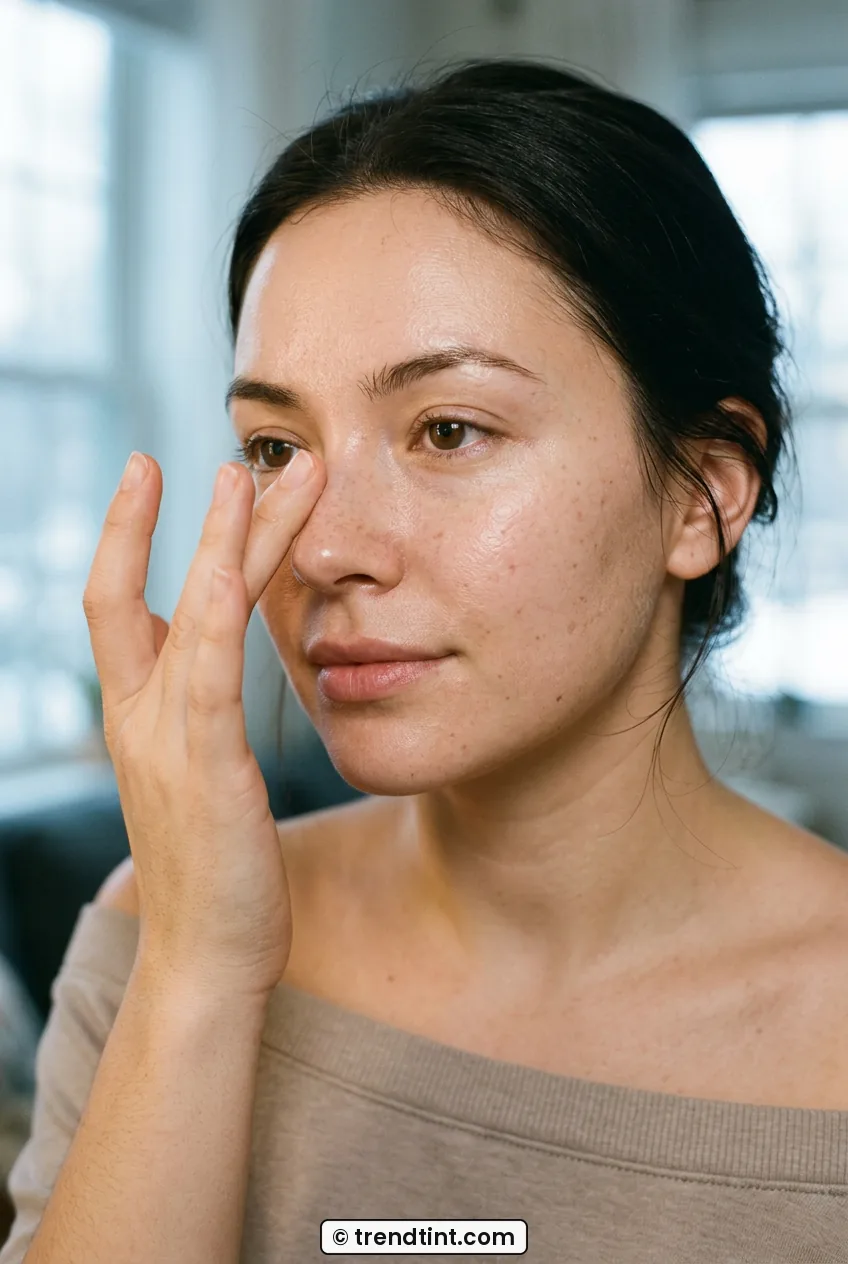
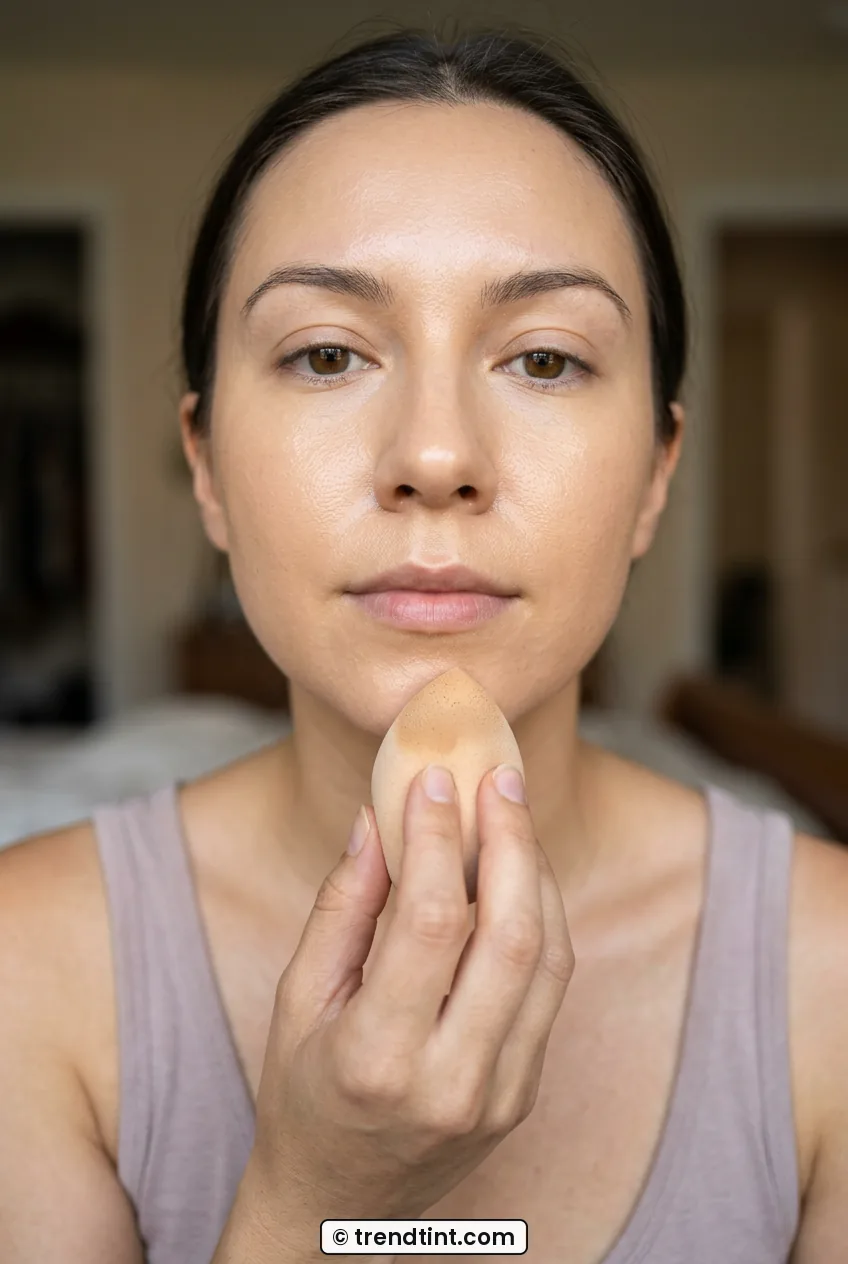
This is not a full-coverage, mask-like base. For midnight photos and candlelight, medium coverage with real skin showing through photographs so much better. I dot foundation on the center of my face only, forehead, nose, chin, around the mouth, then bounce it out with a damp sponge. I leave the perimeter lighter. It keeps me from looking flat when flash hits.
Concealer goes next, but less than you think. A small triangle under each eye, one dot on any redness, then blend with what is left on the sponge. I set only where I crease, under the eyes with a whisper of translucent powder pressed in with a puff, and a light sweep over the nose. I do not powder my cheeks yet because I want cream blush and liquid highlighter to melt in later. That order matters a lot for a dewy finish that still holds.
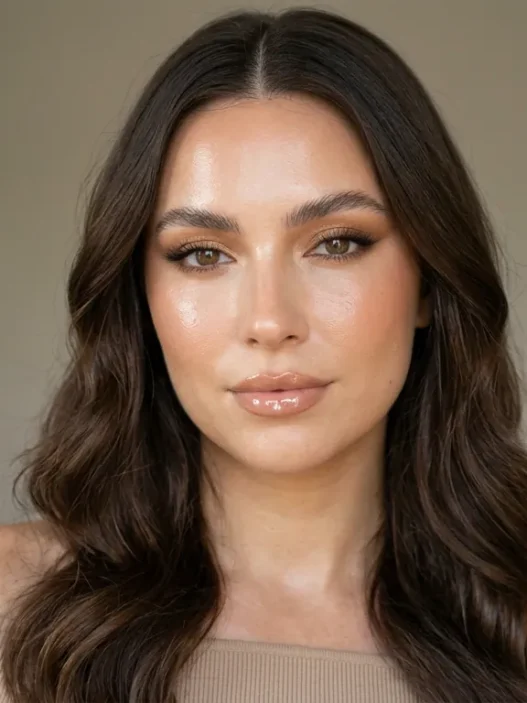
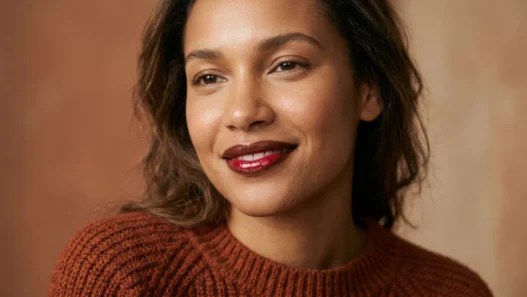
Look at how she is wearing hers in the photo below. See how her skin still looks like skin around the cheeks, but the center is even and bright? That is the sweet spot I aim for. Not airbrushed, just well-rested, like I actually slept in December, which I definitely did not.
Step 3: Add Champagne Eyes and Soft Smoke
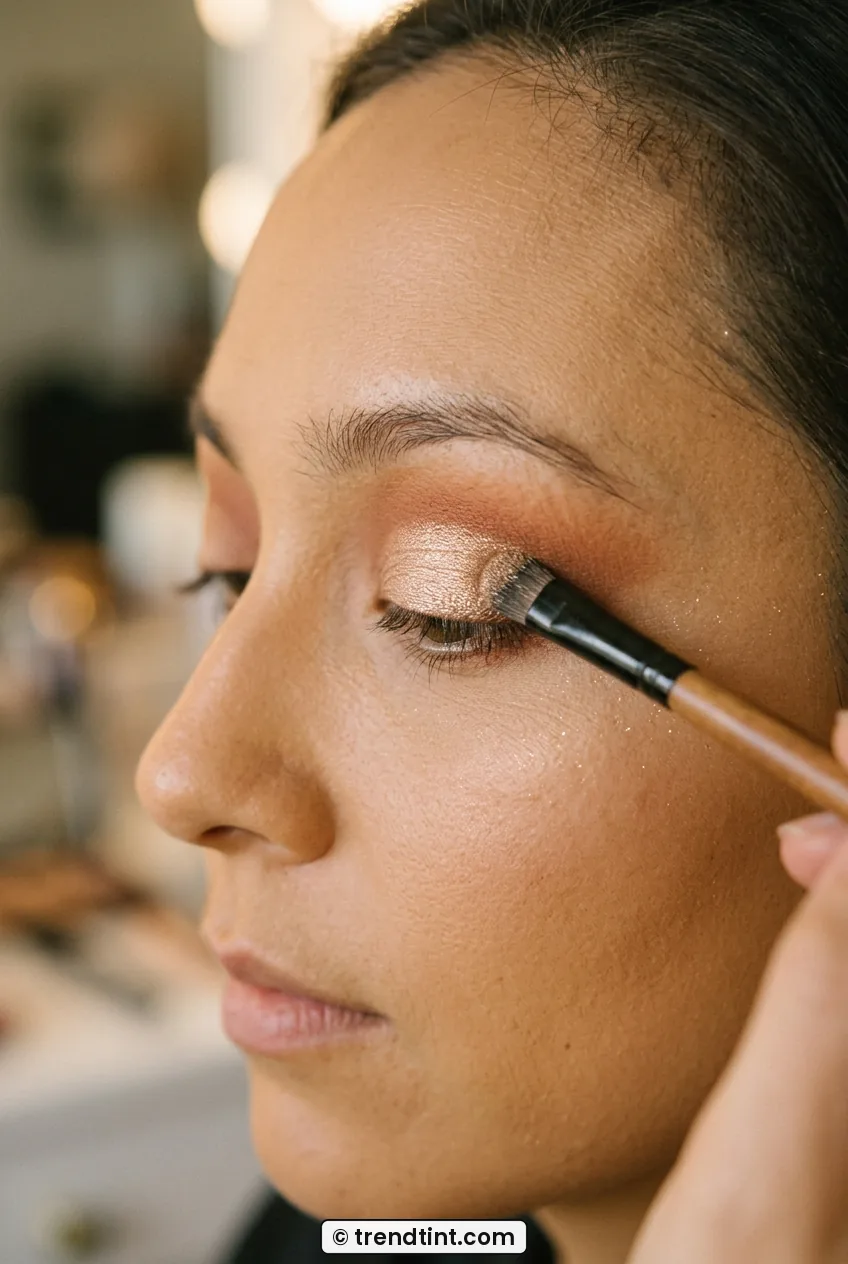
New Years eyes should sparkle, but I learned the hard way that loose glitter plus hugs at midnight equals glitter on everyone else’s blazer. My compromise is a high-shine champagne shimmer that reads festive in person and in photos without fallout. I sweep a warm matte brown through the crease with a fluffy brush first, windshield-wiper motions, just to give the shimmer something to grab onto. It takes 60 seconds and it makes the whole eye look more expensive.
Then I press the champagne shade onto the lid with a flat brush, or my fingertip if I want it more metallic. Fingertip really does pick up more pigment. I keep the inner corner bright, deepen the outer third with a little more of that warm brown, and smudge the same brown along the lower lash line. Nothing harsh, just definition so lashes look fuller later. When I tried this for my sister’s festive party makeup looks trial, this soft-smoke shape suited her hooded eyes way better than a cut crease ever did.
I also love checking champagne eyeshadow techniques > when I want to keep shimmer from disappearing. The trick that helped me most was keeping shimmer below the crease and letting the matte shade do the lifting above it.
Step 4: Line, Curl, and Layer the Lashes
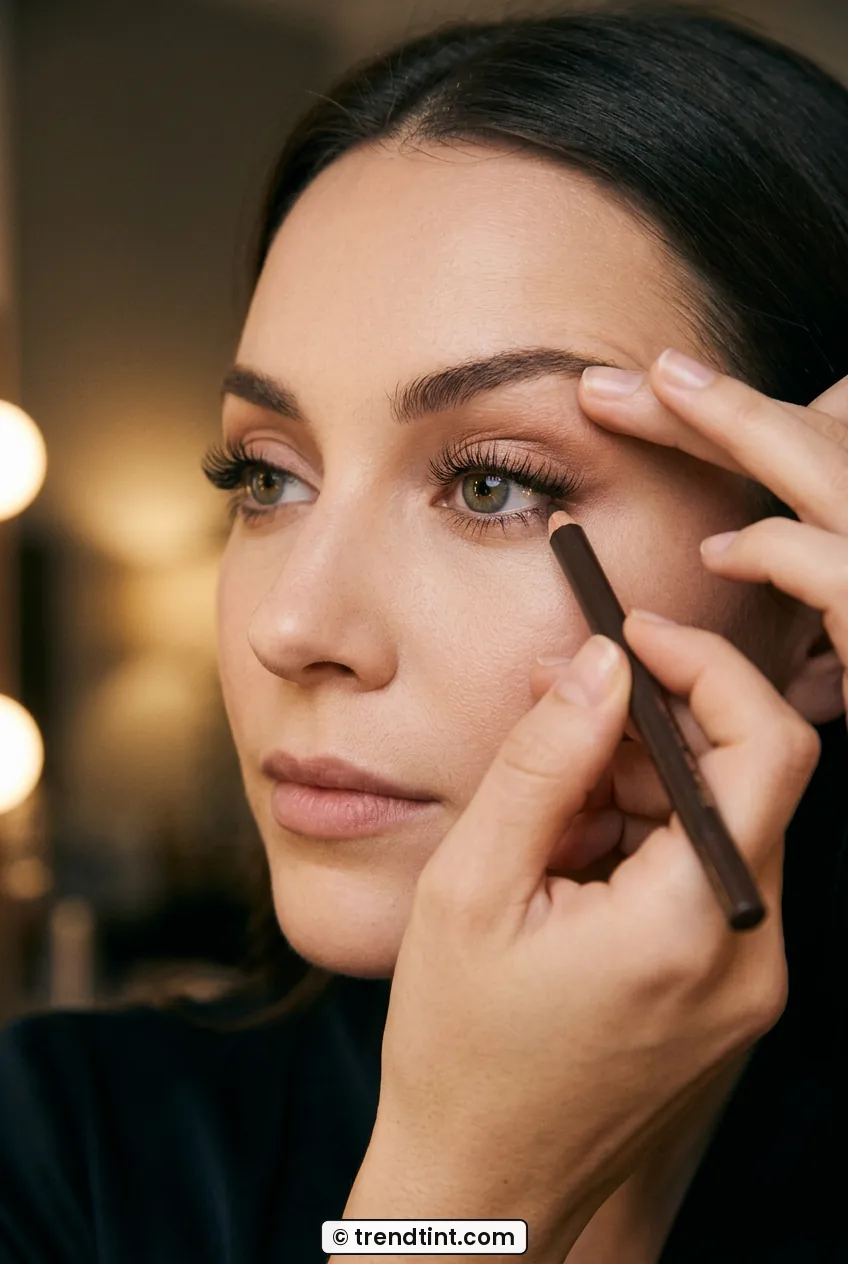
Liner is where midnight staying power lives or dies. I tightline with a black-brown pencil right into the upper waterline, little stamping motions between lashes. It gives that full-lash illusion without a thick wing that can smudge when you get teary during the countdown. Then I add a short, slightly upturned wing, but I keep it thin. Think eyeliner styles that define, not dominate.
Mascara is two coats with intention. Curl first, hold for ten seconds per eye, then one coat of lengthening mascara, let it get tacky for 30 seconds, then one coat of volumizing just at the roots. That layering keeps lashes separated but still lush. If you wear falsies, this is when to add a natural wisp, not a super-dramatic strip. I wore a wispy pair last year and they photographed beautifully without hiding all that champagne shadow work.
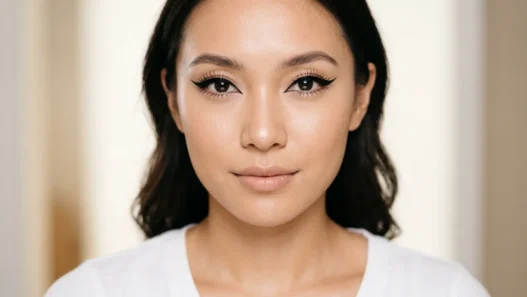
She has got a similar eye shape to mine, and honestly, I love how her liner hugs the lash line instead of sitting heavy above it. That tight, close-to-lashes line is exactly what lasts through happy tears and cold air when you step out for fireworks.
Step 5: Warm Up Cheeks With Blush and Contour
Cold weather washes me out, and indoor party lighting does not help. So I warm the face back up before highlighter. Light dusting of bronzer where the sun would hit, temples, top of forehead, under cheekbones, jawline, but blended like crazy. Then cream blush, and this order is deliberate. Bronzer first for warmth, blush second for life.
My favorite is a rosy-nude cream, tapped on the apples and swept slightly up toward the temples. Cream over that unpowdered cheek from Step 2 just melts in and looks like you came in from the cold in a good way. I use my fingers for this too. The warmth helps it blend without streaks. If you are torn between moods, I flip through my saved makeup ideas for every mood file, but for New Years I always land on rosy, not peachy. Rosy reads more midnight, more velvet dress, more champagne.
My mistake last year? I powdered my whole face, then tried to put cream blush and liquid highlighter on top. It went patchy instantly and pilled around my smile lines. Now I leave cheeks unpowdered until after creams and liquids are done, and only then do I lightly set the edges if needed. Total difference.
Step 6: Tap On Liquid Highlighter for That Wet Glow
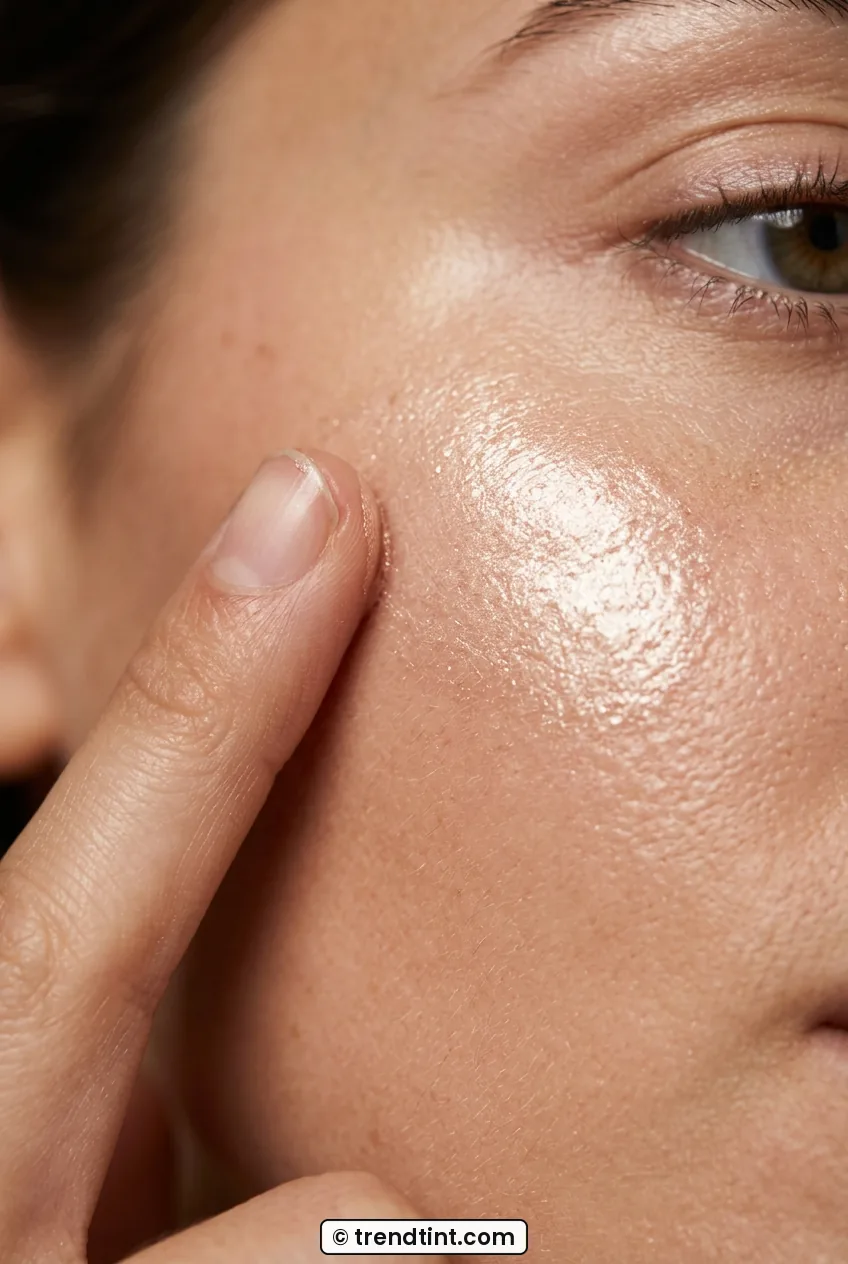
This is my favorite part, and the whole reason this makeup for New Years look feels special. Forget powder highlighter for tonight. Liquid gives that wet, lit-from-within sheen that catches candlelight when you turn your head. I put one small drop on the back of my hand, warm it with my fingertip, then tap, not swipe, onto the high point of the cheekbone.
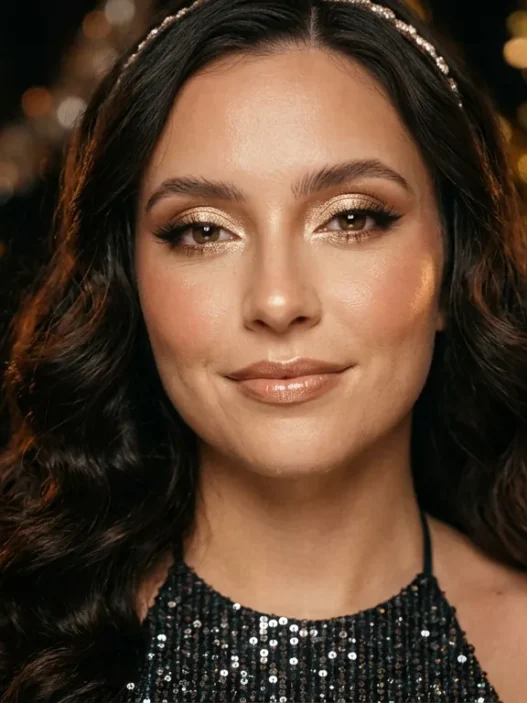
Look at how she is doing it in the close-up. That light tapping right on the top of the bone, building a small luminous pool, that is exactly the pressure I use. Two light taps per cheek, then whatever is left on my finger goes down the bridge of the nose, a dot on the cupid’s bow, and a whisper under the brow. Keep it off the tip of the nose and off the center of the forehead or you will look oily in flash photos. Side light should catch a clean stripe, not a full-face shine.
I learned the tapping motion from reading about liquid highlighter application > before a wedding, and it changed how my toasty makeup and the mood of winter looks photograph. Powder can look dusty in winter air. Liquid looks alive. If you overdo it, just bounce your damp sponge over the edge once to soften, no more product.
See the Tapping Technique Live
Step 7: Lock in a Midnight-Proof Lip and Set It All
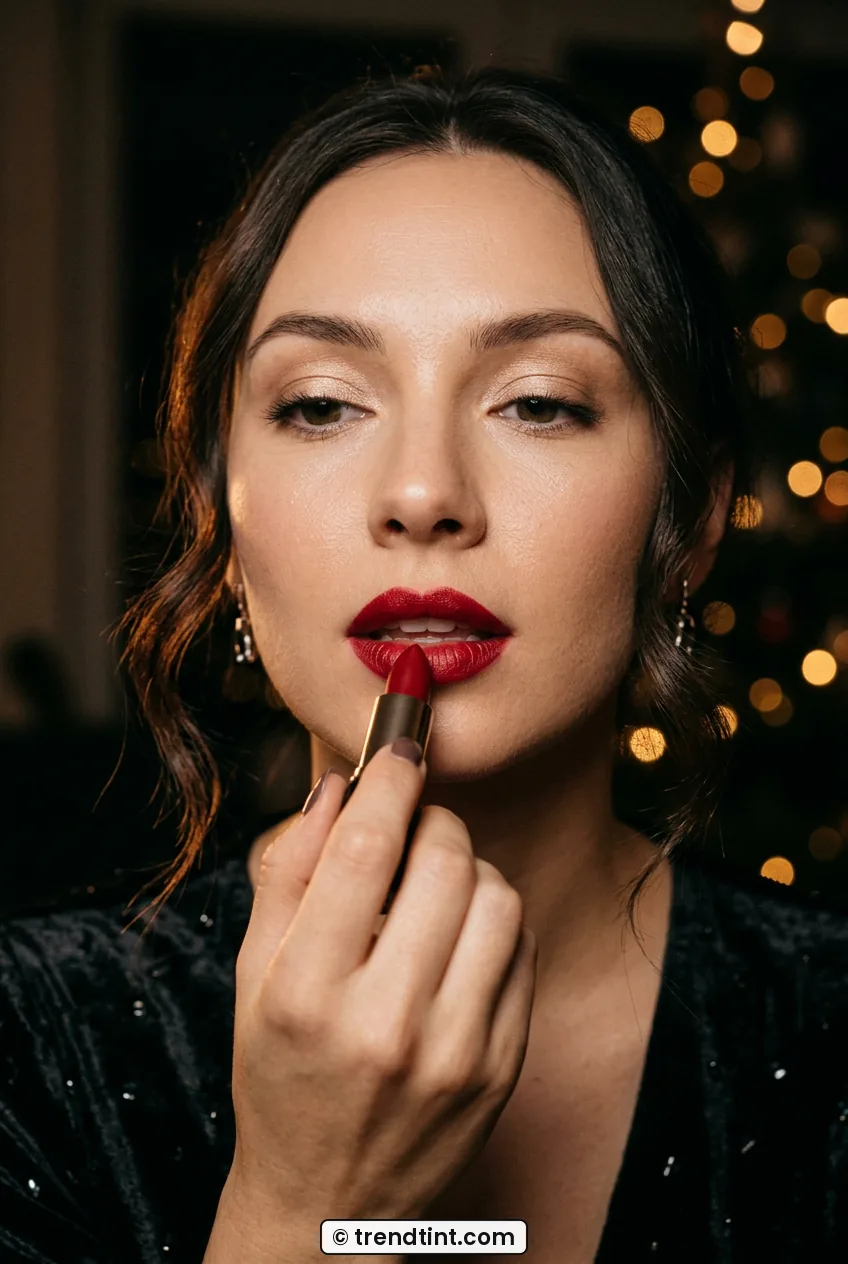
Lips have to survive talking, sipping, and that midnight kiss, so I layer. Exfoliate quickly with a damp washcloth, dab on a little balm, blot it almost all off, then line and fill lips completely with liner. That filled-in liner is your safety net. Then press lipstick on with a bullet straight from the tube for saturation, blot once on tissue, add a second light layer just in the center, and top with a dab of clear gloss only in the middle for dimension.
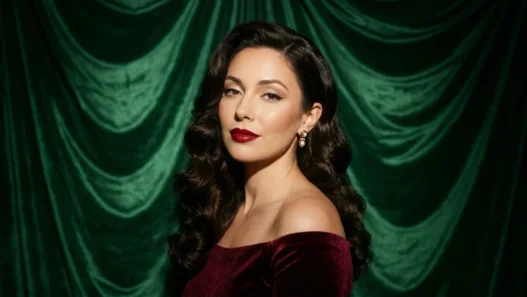
My shade for New Years is a blue-based red or a deep berry. Both make teeth look whiter in photos and they fade more gracefully than a nude if you do not get a chance to reapply. I keep the mini lipstick and pressed powder in my clutch, but honestly last time I only blotted once around 1 a.m.
Final lock: setting spray in an X and T motion, about eight inches away, then fan your face for ten seconds. If you are very oily, a light press of powder on the nose after spray, not before. It sounds backwards but it keeps glow intact while taming shine. Done. You should look glowy, not glittery, defined but still like yourself.
My Finished Midnight Look
When I wore this exact sequence to my friend’s rooftop party in December, I checked the mirror at 12:45 a.m. and actually smiled. My cheeks still had that wet-looking gleam, liner was sharp, blush was still there, and my red lip had faded to a really pretty stain instead of a ring. A stranger even asked what highlighter I was wearing, which has never happened to me before.
It lasted about seven hours with one powder blot and no full re-do. More than that, I felt like myself, just the most polished, well-lit version. And that is what I want at midnight. Not a new face, just my face ready to start 2026.
Questions I Always Get About New Years Eve Makeup
Will liquid highlighter make my oily skin look greasy in photos?
Not if you place it only on the high points and skip the center of the face. I have combination skin and I keep my nose matte, so the glow reads as intentional. A tiny amount tapped on is plenty.
Can I swap the red lip for a nude on New Years Eve?
Absolutely. Go for a warm rose-nude liner with a satin lipstick and a touch more blush to keep balance. I do nudes when I wear a sparkly dress, red when my outfit is simple black.
How do I keep shimmer eyeshadow from creasing by midnight?
Eye primer plus a matte transition shade underneath makes all the difference for me. I also press shimmer on instead of sweeping it, and I avoid putting thick concealer on the lids. Thin layers last longer.
What should I bring for touch-ups without carrying my whole bag?
Just three things live in my clutch. Blotting papers, a mini pressed powder, and my lipstick. That covers shine and color without needing brushes or a full routine in a tiny bathroom.
Let me know if you try the fingertip tap for highlighter. It felt weird the first time, but now I cannot go back to a brush for that wet glow.