




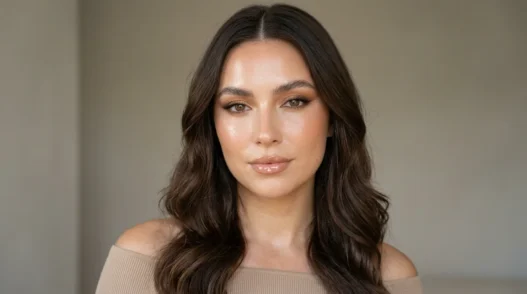
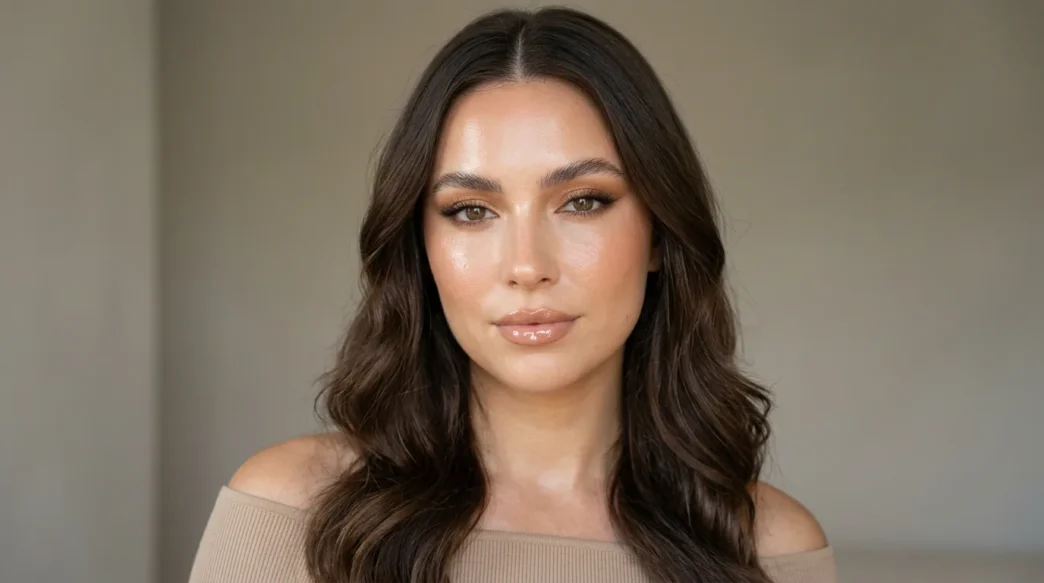
I booked a professional glam appointment last spring for my cousin’s wedding and spent the whole time staring in the mirror, trying to memorize what the artist was doing. My skin looked like wet glass in the best way, my eyes were soft but foxy, and my lips had that expensive, high-shine finish I never get at home. I asked her what foundation she used and she laughed and said it was not the foundation, it was the prep and the layering. So I went home and spent three weekends copying it with drugstore products until I got close enough that my sister thought I went back to the salon.
What You’ll Need
I love a short kit for this. Glossy glam makeup is all about skin that looks lit-from-within, so you do not need 20 powders and palettes. You need hydration, a couple of glow products, and restraint with anything matte.
- A hydrating primer or light face oil, plus moisturizer you already trust
- A sheer-to-medium skin tint or dewy foundation, one shade true to you
- Cream concealer, cream blush in a warm pink or peach, and a liquid highlighter
- A small neutral eyeshadow palette with champagne, warm brown, and soft bronze
- Brown pencil liner, lengthening mascara, and a clear brow gel
- Lip liner in a rosy nude, tinted lip balm or sheer lipstick, and a clear high-shine gloss
- Tools: damp sponge, fluffy brush, small flat eye brush, and clean fingers (my favorite tools, honestly)
Step 1: What the Pros Do That You Can Copy
When I watched my artist work, she spent almost half the appointment on skin before any color went on. She cleansed, massaged in moisturizer, then pressed a thin layer of primer only on the high points. Not all over. Just cheekbones, bridge of the nose, and forehead center. That stuck with me because I used to prime my whole face like spackle and wonder why I looked greasy by noon.
Copy this exactly: start with clean, damp-ish skin. I splash with lukewarm water, pat lightly, then while my face is still a little dewy I massage in moisturizer for a full minute. Yes, time it. That massage plumps everything up and makes the difference between flat foundation and that bouncy, glowy dewy skin finish pros get. Then take a pea-size amount of hydrating primer and press it into your cheeks and temples. Skip the nose wings and chin if you get oily there.
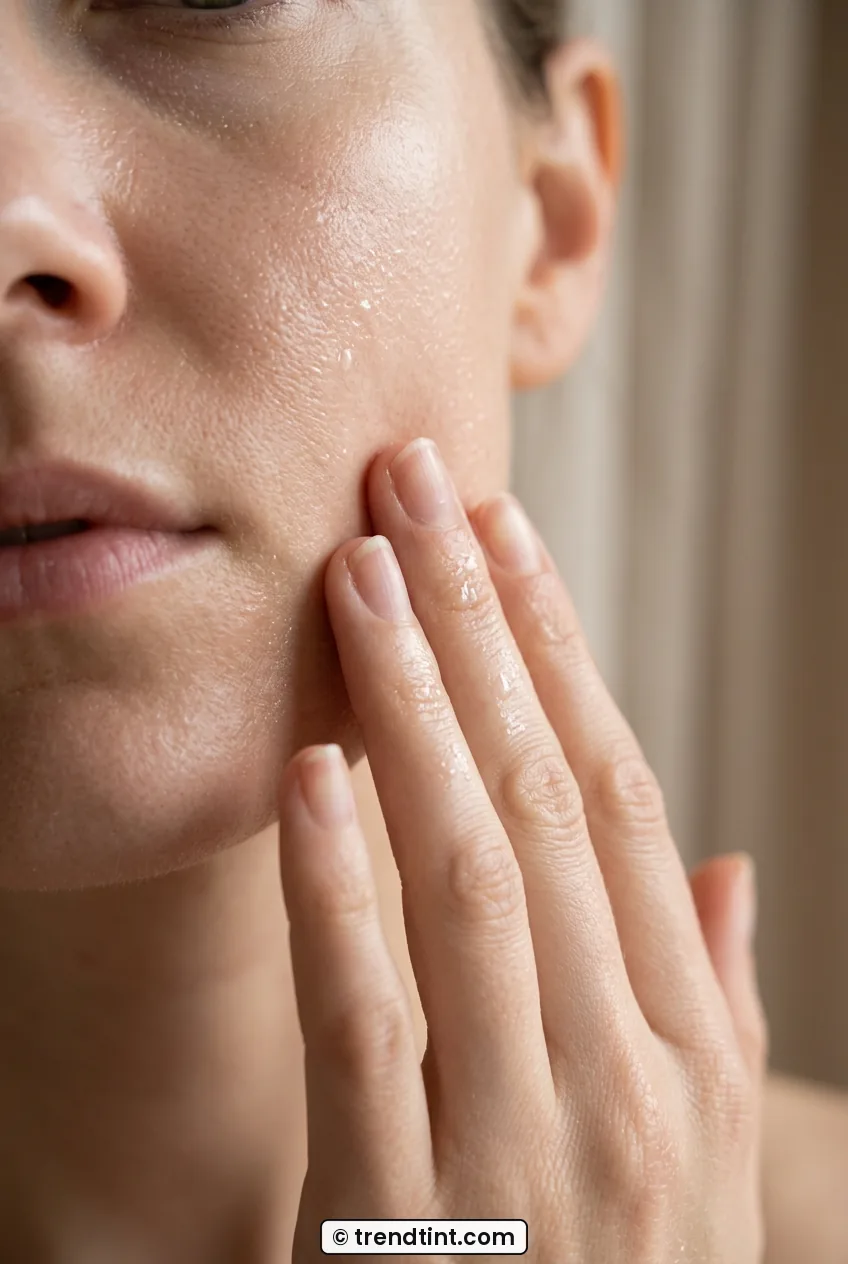
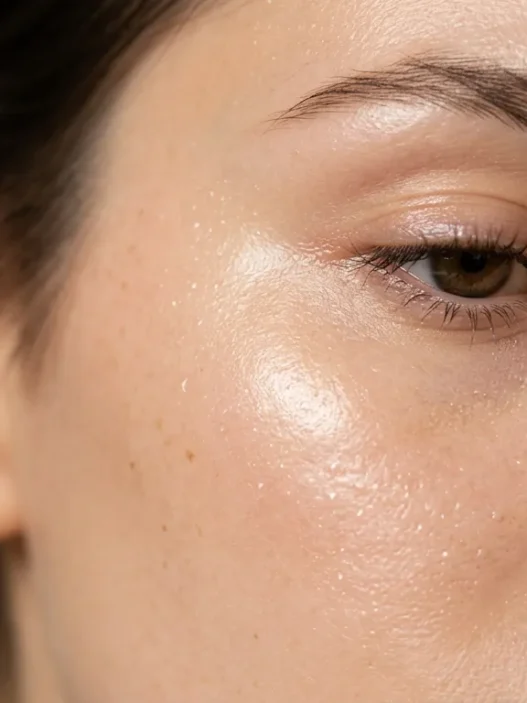
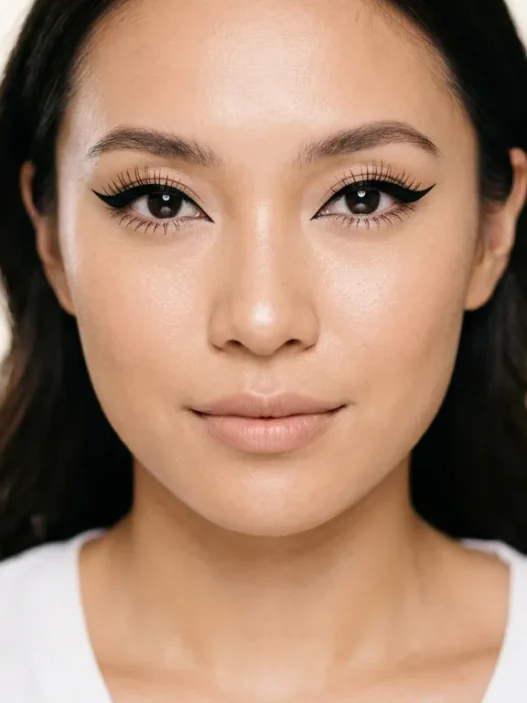
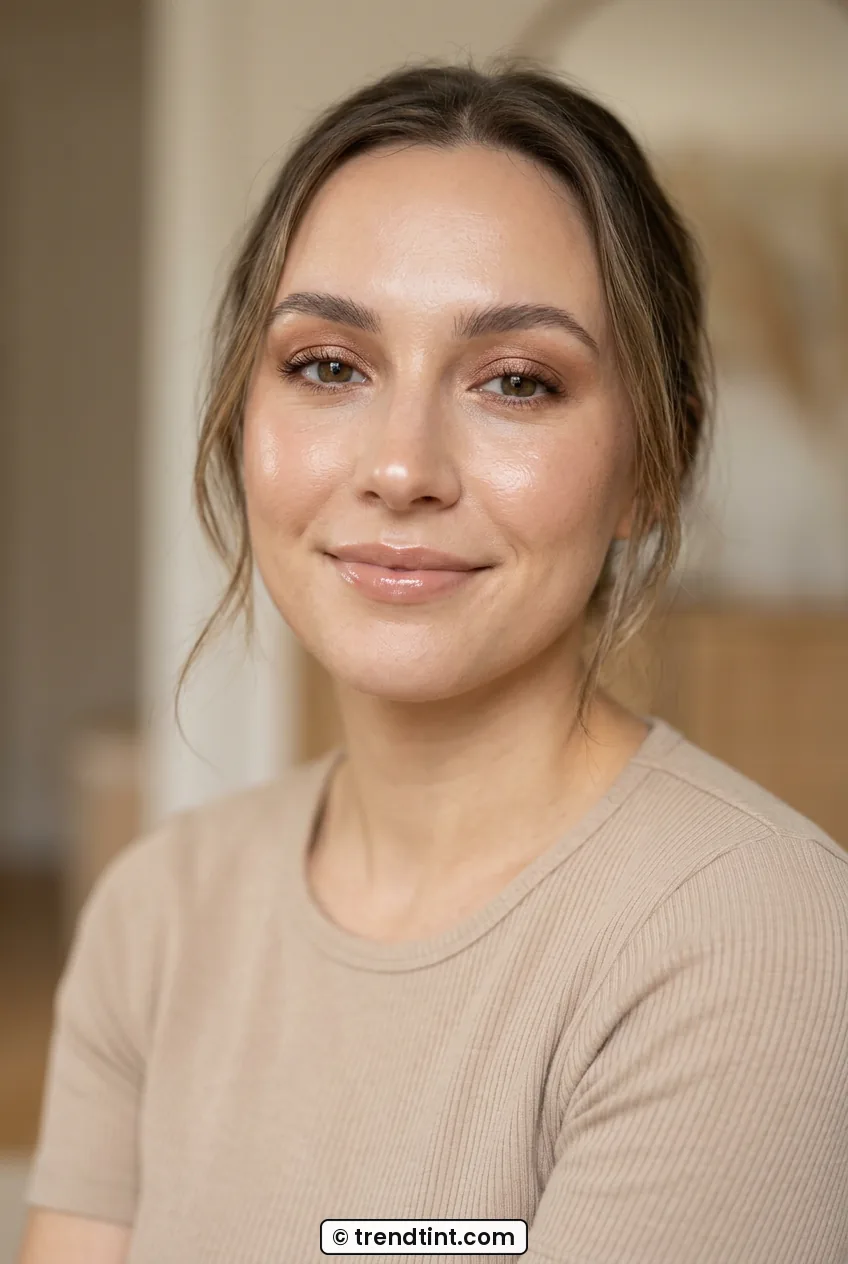
Look at how she is prepping in this close shot, that fresh, just-moisturized glow with nothing heavy on yet. That is the canvas you want. If your skin drinks it all up in two minutes, add one more thin layer of moisturizer on the cheeks only. I have combo skin and this was my light-bulb moment. Hydration where you want shine, control where you do not.
I also learned to read up on staying power from pro sources. You can learn a lot about long-wear base from reading about waterproof makeup formulas before a big event, because the same thin-layer rule applies for shine. Thin layers grip. Thick layers slide.
Step 2: The Affordable Product Swaps
This is where my budget heart gets happy. The salon used a $60 skin tint and a $45 liquid highlighter. I went home and duped it with a $14 dewy tint and a $9 liquid glow drop, and honestly? Side by side on my hand, I could barely tell. The secret is finish and placement, not price tag.
Dot your skin tint in the center of the face and blend outward with a damp sponge. Do not buff it into your hairline or jaw like paint. Leave the perimeter a little bare, it keeps the look fresh and stops that mask line. Then dab cream concealer only where you need it, for me that is inner corners and around my nose. Blend with your ring finger. The warmth melts it in better than a brush.
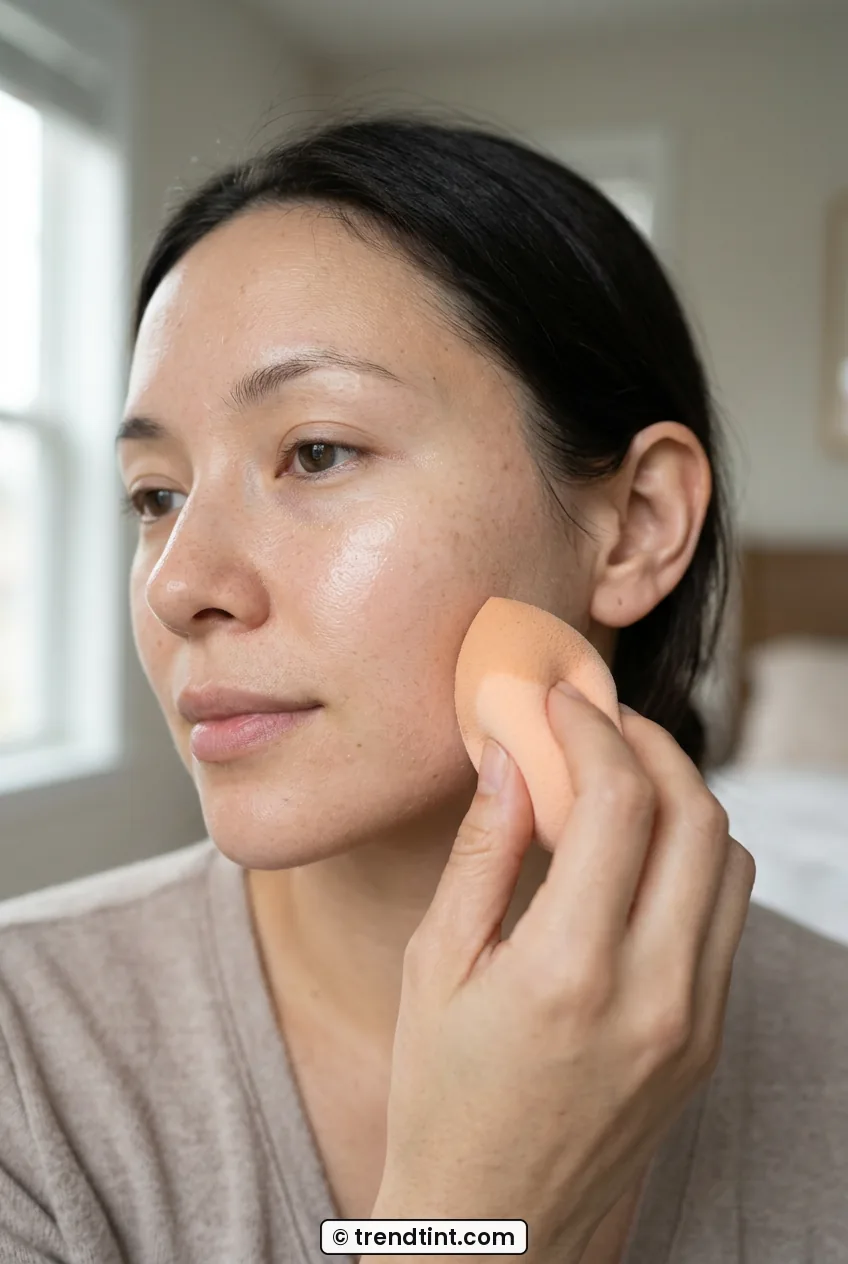
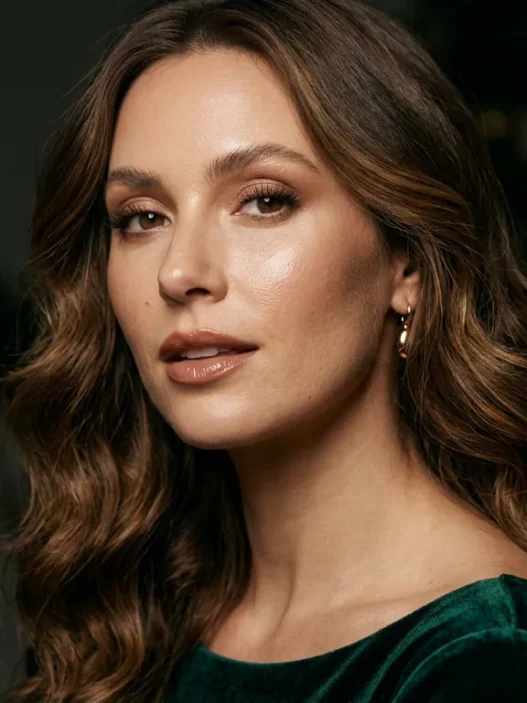
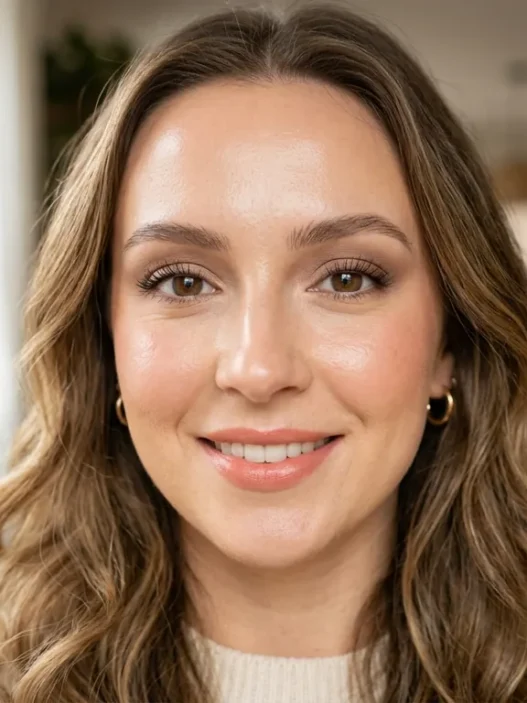
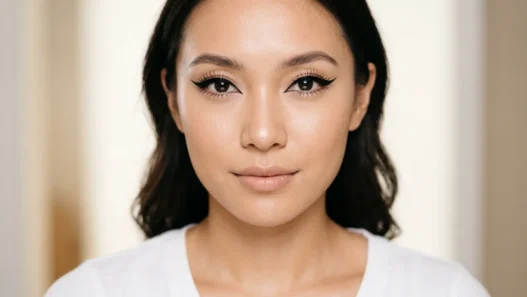
She has got that sheer, even base I am talking about, you can still see a little real skin through it. See how her nose and cheeks are not fully matte or fully wet? That middle-ground finish is perfect for glossy glam. If you want more coverage for evening, build a second whisper-thin layer on the cheeks only. Never double up on the forehead, it will crease.
My favorite swap story is highlighter. The pro mixed liquid highlighter into foundation. I tried that and looked like a disco ball, so now I do what works for real life. I mix one tiny drop into my tint on the back of my hand, or I skip mixing and just tap highlighter over the cheekbones after blush. If you love a luxe result on a low budget, this affordable luxe soft glam tutorial approach of sheering everything out changed how I shop. Less product, more glow.
My big mistake? I set my whole face with translucent powder out of habit and instantly killed all the gloss I just built. Now I powder only under the eyes with a tiny brush and leave the cheeks alone. Shine stays where I want it.
Step 3: The Technique Doing the Heavy Lifting
If there is one thing doing 80 percent of the work here, it is soft foxy eyes with a glossy lid. Not glittery, not cut-crease sharp. Just elongated, lifted, and a little wet-looking in the center. When I tried this the first time I went too dark and ended up with full evening drama. Pretty, but not this.
Here is my at-home version. Sweep a warm matte brown through the crease with a fluffy brush, extending slightly out and up toward the tail of your brow. That outward pull is what gives the foxy lift. Then pat a champagne or soft bronze shimmer on the inner two-thirds of the lid with your fingertip. Fingertip, not brush. The heat presses the shimmer flat so it looks like glass instead of sparkle. Add a thin brown pencil line tight to the upper lashes, smudge it with a small brush, and flick it just past the outer corner. No harsh wing.
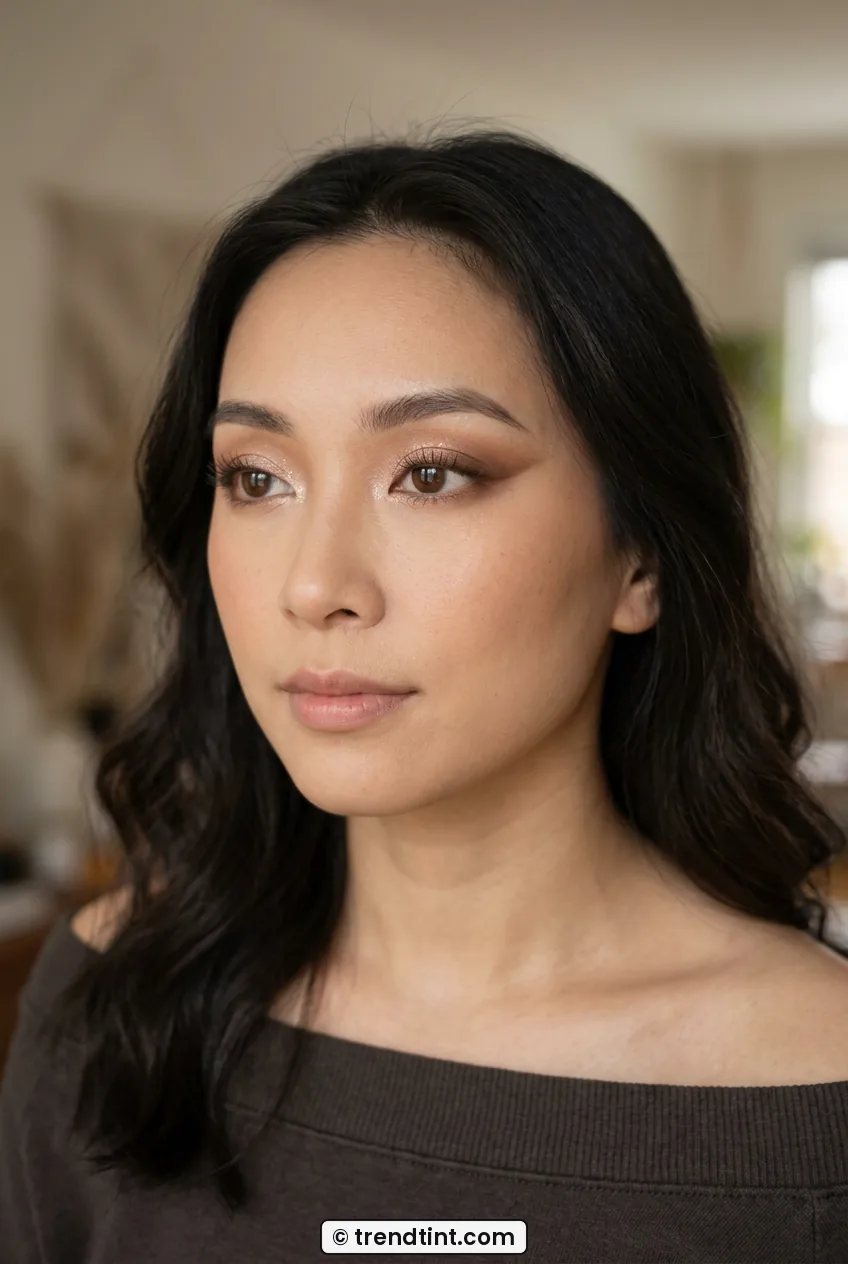
Look at her eye shape here, see how the shadow lifts outward instead of going round? That sideways blending is exactly what I mean. And the center of her lid catches the light without looking chunky. I get that by skipping glitter primer and using a dab of clear balm tapped over the shimmer. It gives a soft glam eye with shine, not fallout.
Finish with curled lashes and one coat of lengthening mascara, heavier on the outer corners. I brush my brows up with clear gel and leave them a little fluffy. Pros often clean up fallout with micellar water on a cotton bud which I picked up from reading about eyeshadow blending techniques for my own slightly hooded lids, and it helps keep the under-eye clean for the glow steps next.
Do you need false lashes? For daytime, no. For night, I add individual flares just on the outer third. It keeps the sweet, chic lift without a heavy strip weighing down the gloss.
See the Foxy Eye Blend Live
Step 4: Where Close Enough Is Fine
Blush and contour are where DIY differs from salon, and honestly, close enough is more than fine. A pro will sculpt with three cream shades and set it perfectly. At home I do a two-minute version that photographs almost the same.
Smile lightly and tap cream blush on the apples, then blend up toward the temples. That upward blend ties the cheek into the foxy eye and makes everything feel lifted. Then take liquid highlighter and press a rice-grain amount on top of the cheekbones, down the bridge, and a dot on the cupid’s bow. Press, do not swipe. Swiping moves your base. Pressing builds light.
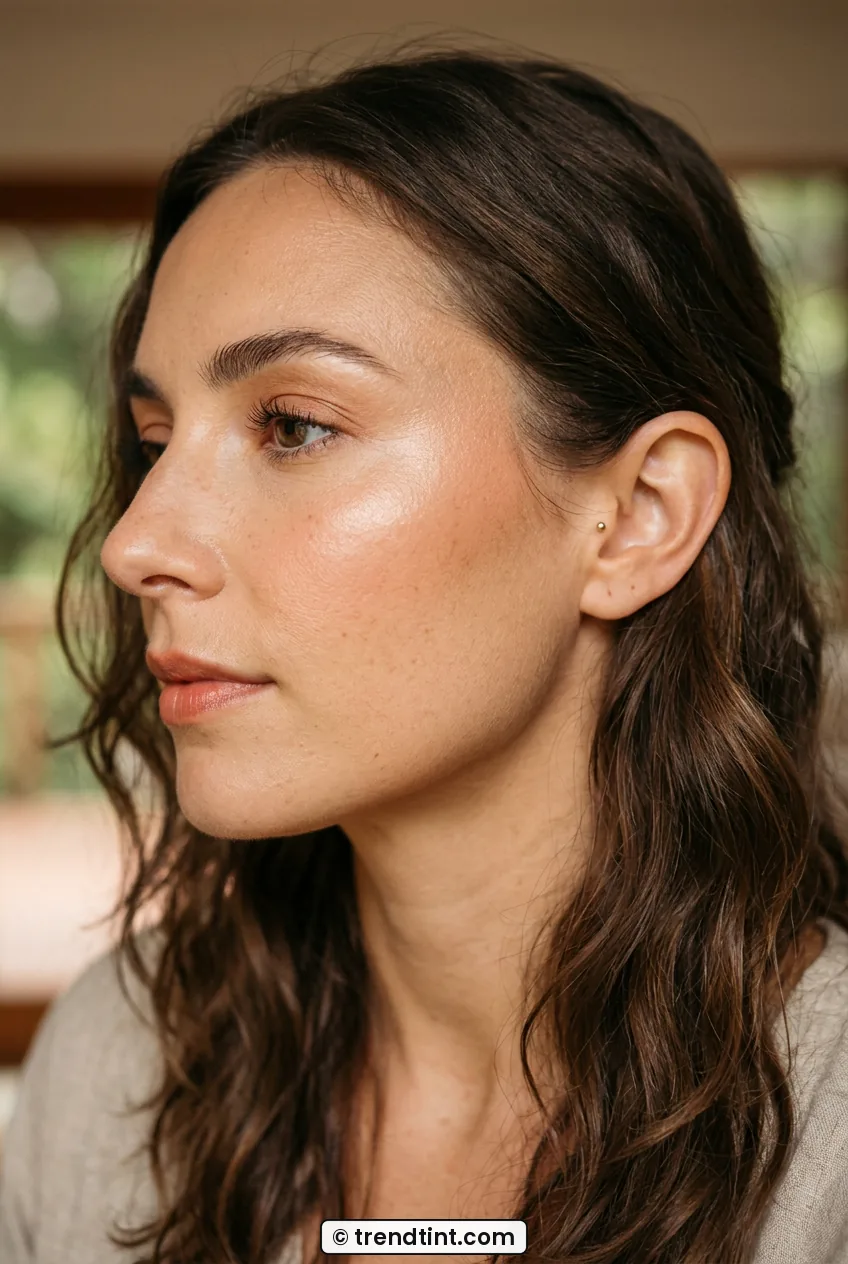
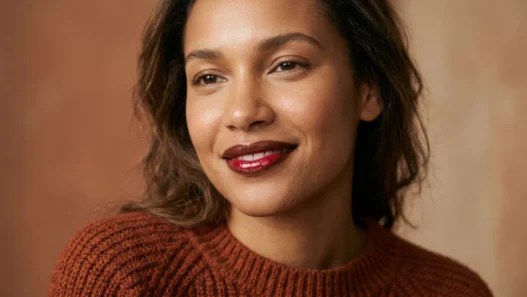
She is wearing the placement I love, blush high and glowy, not low and round. Notice how her cheek just gleams without looking oily? That is cream over sheer base with zero powder on top. If you are oily like my T-zone gets in summer, blot the forehead with one ply of tissue before highlighter. Do not add more powder, just lift the oil.
I skip heavy contour for this look. Instead I use a touch of bronzer where the sun hits, forehead edge and under cheekbones, blended really sheer. It gives warmth without stripes. The whole idea of soft glam versus full drama helped me here, and reading different takes on soft glam versus dramatic glam made me realize I prefer this middle lane for weddings and date nights. Glow first, definition second.
And can we talk about nose highlight for a sec? A thick stripe down the nose looks great in ring light and wild in daylight. I use the leftover on my finger, nothing more. That is it.
Step 5: Gloss Up Lips Like Glass
Okay, this is the step everyone asks me about. Glossy lips can go sticky and feathered in ten minutes if you skip the base. Mine used to bleed into my lip lines by the time I finished coffee. The pro lip combo was liner, blurred tint, then gloss only in the center. I copied it and now my gloss actually lasts.
Exfoliate lightly, add balm, blot. Line with a rosy-nude pencil just to define, slightly overlining only the center of the upper lip if you want fullness. Fill in with a sheer tinted lipstick or dabbed liquid blush, yes blush, blended with your finger to stain. Then take a high-shine clear gloss on a doe-foot wand and lay it down the center of the lower lip first, then press lips together. Do not coat edge to edge or it will travel.
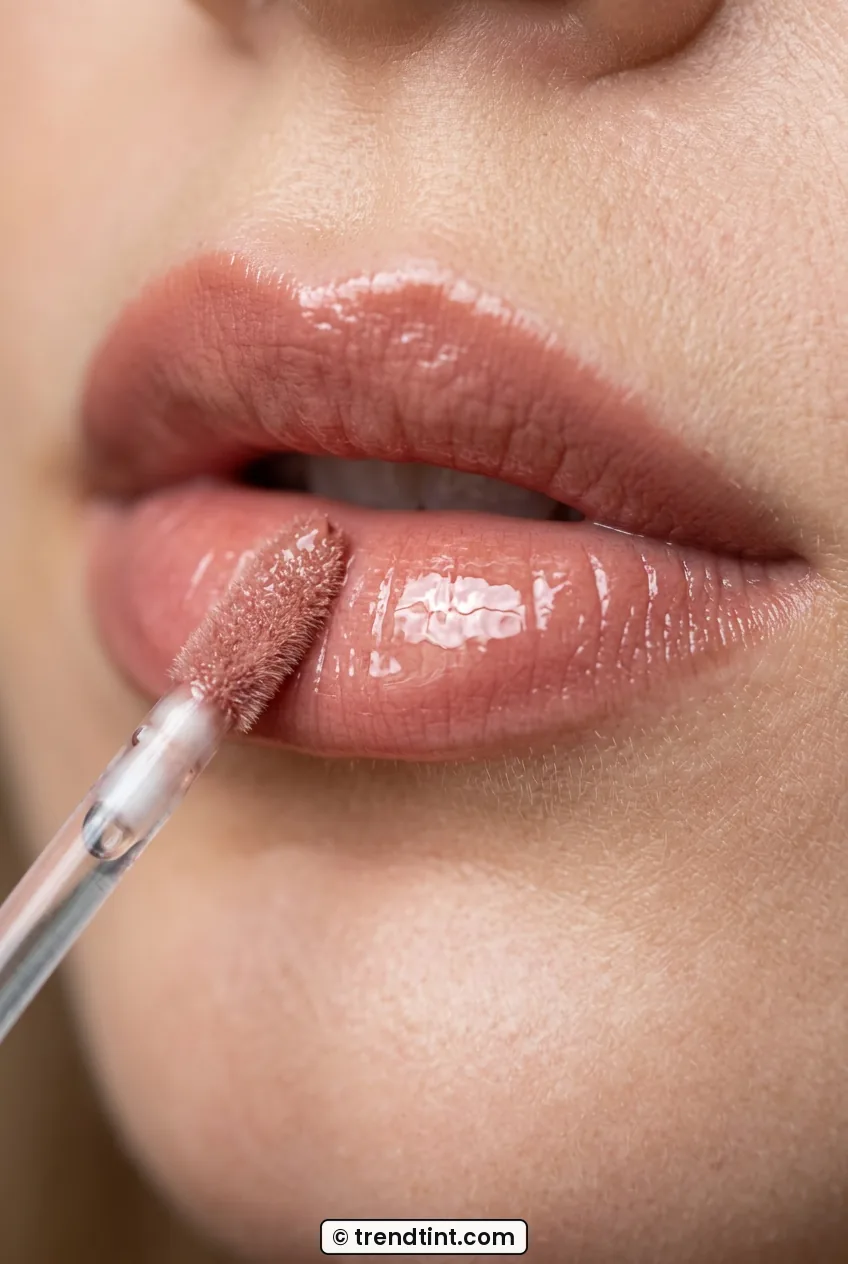
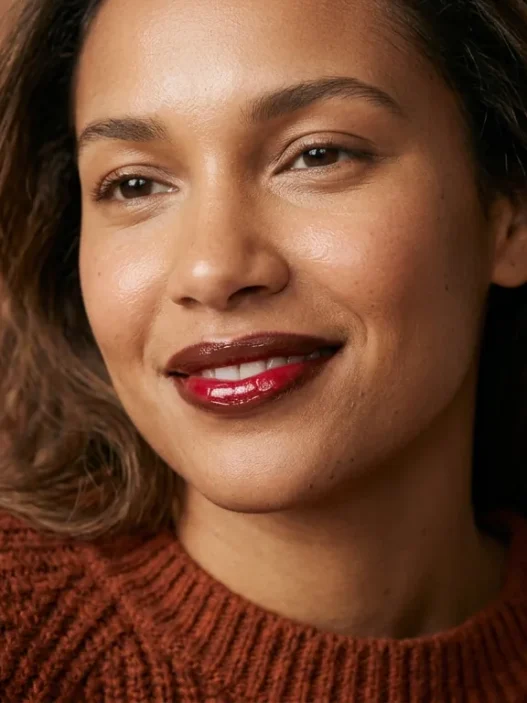
This macro shot is everything. See how the gloss wand is laying that glassy top coat right over the tinted center? That reflection-free sheen in the middle with softly defined edges is the goal. She is not overlined to oblivion, the tint does the shape and the gloss does the light.
Shade-wise, I live in warm rose and brown-pink for this. They play well with bronze eyes and keep the look soft but polished. If you love statement color, the same layering method works for bold and bright lips too, just keep the gloss clear so the tint underneath stays true. You can dig into pro tips for shine with lip gloss layering tips applied over liner, which is what finally stopped my feathering.
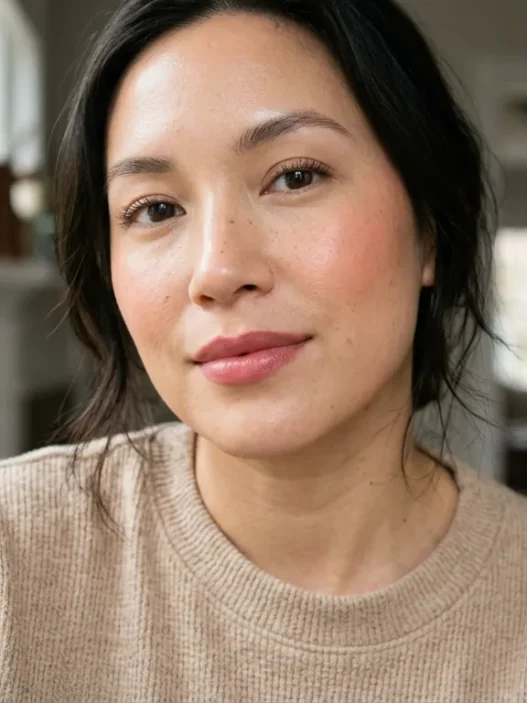
And here she is with the finished lip in normal light, plump and juicy but still soft around the edges. I keep the gloss in my bag and reapply only to the center after eating. Full re-coats get goopy fast.
Step 6: Lock In the Shine Without Killing It
Setting a glossy look feels contradictory, right? You just spent 20 minutes building shine, now you spray it to stay? But there is a way to lock the base without turning dewy into matte. Mistake I made for months was using a mattifying setting spray. It dulled everything in one spritz.
Use a dewy or luminous setting mist, held an arm’s length away, two pumps max in an X motion. Let it air dry, do not fan with your hand, it creates spots. If your under-eyes crease, take a dry sponge and tap, no extra powder. I also press a clean fingertip over the highlighter to re-melt it after spraying. It brings the wet look right back.
For nights out I add one last pro trick. A tiny dot of balm on the cheekbones over makeup, tapped with a clean finger. It looks insane in photos, like fresh, healthy, golden-hour skin. For work days I skip it. The setting spray alone holds my base for a solid eight hours, and I just blot my forehead at lunch. The cheeks stay glowy till I take it off.
I wore this full method to a rooftop dinner last month, humid air, string lights, the works. My friend leaned in and whispered, did you get your makeup done? Nope. Bathroom mirror, $40 worth of products, and the lip trick from step five. That felt better than the salon ever did.
Glossy Glam Questions From My DMs
Will glossy glam makeup work on oily skin?
Yes, you just place shine on purpose. Keep primer and a whisper of powder in the T-zone, leave glow to cheeks and lips. I blot once midday and it holds up fine.
How do I stop gloss from feathering?
Line and blot first, then keep gloss to the center third of the lips. Overfilling edge to edge is what causes bleed, especially with creamy formulas.
Can I do this with blue eyes or deeper skin tones?
Absolutely. I swap the bronze lid for soft taupe or gold depending on eye color, and deepen the blush and liner one shade. The technique stays the same, only the tones shift.
What is the one product worth spending on?
For me it is a good clear gloss that is not sticky. Base products dupe easily, but a plush, glassy gloss formula makes the whole look read expensive.
If you try it this weekend, start with skin prep and go slow. That is where the money look lives. And send me your lip photo, I am nosy like that.