


I spent an embarrassing amount of time in my teens trying to copy the heavy-lidded, smudged eye looks I saw on my favourite emo bands’ album covers — and every single time I ended up looking like I’d been crying or hadn’t slept in a week. Not the vibe. It took me years to realise the issue wasn’t the look itself, it was that nobody had ever actually broken it down for me in plain terms. So I’m writing the guide I desperately needed back then. Whether you’re into the full alternative aesthetic or just want to borrow a little of that dark, expressive energy — you can absolutely do this.
Your Roadmap to This Look
- Don’t Worry About Getting It Perfect
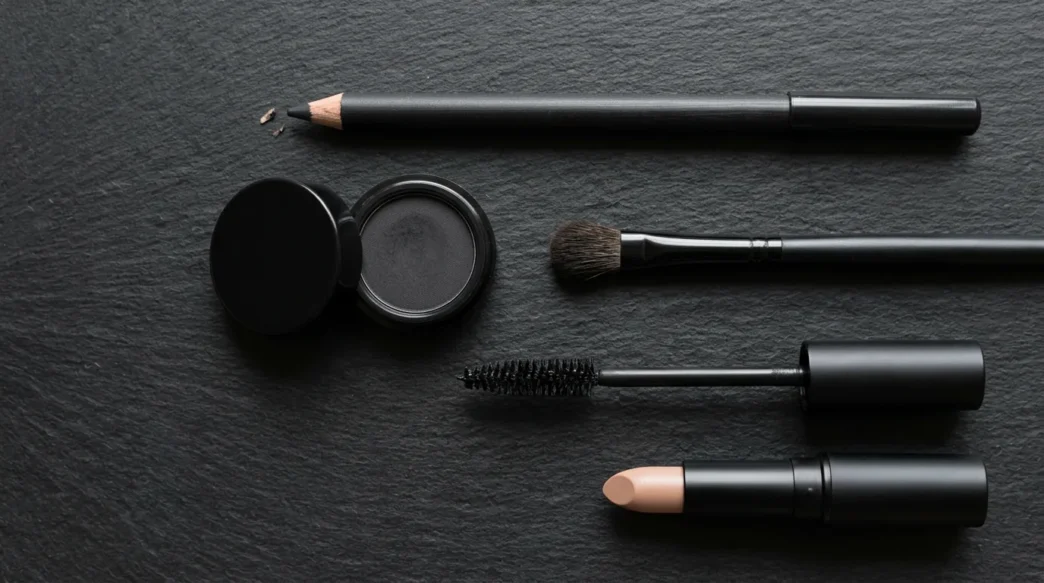
- The Few Products You Actually Need
- Step 1: Start With a Clean, Primed Eye
- Step 2: Apply Your Dark Eyeshadow Base
- Step 3: Line the Upper Lash Line
- Step 4: Smudge the Lower Lash Line
- Step 5: Build the Smoke on the Outer Corner
- Step 6: Add Mascara and Lower Lash Drama
- Step 7: Finish With Pale or Matte Lips
- It’s Okay to Wipe It Off and Retry
- Questions I Get About This
Don’t Worry About Getting It Perfect
Here’s the thing about emo makeup that nobody tells you: the slightly imperfect, smudged edges are part of the look. This isn’t a style that demands sharp precision. It actually rewards a little messiness. The whole aesthetic — heavy-lidded eyes, soft smoky edges, that brooding intensity — is built on texture and depth, not geometric perfection.
And if you’ve been drawn to this style in 2026, you’re in good company. The dark, expressive eye is having a serious cultural moment right now, riding that wave of alternative aesthetics that’s been quietly building. I wrote about the wider movement over on my piece about the goth makeup moment we’re all living through — it’s worth a read if you want context for why this look feels so relevant right now.
For now, just know that your first attempt doesn’t need to be flawless. Mine wasn’t. By attempt three, I started getting it. So let’s just begin.
The Few Products You Actually Need
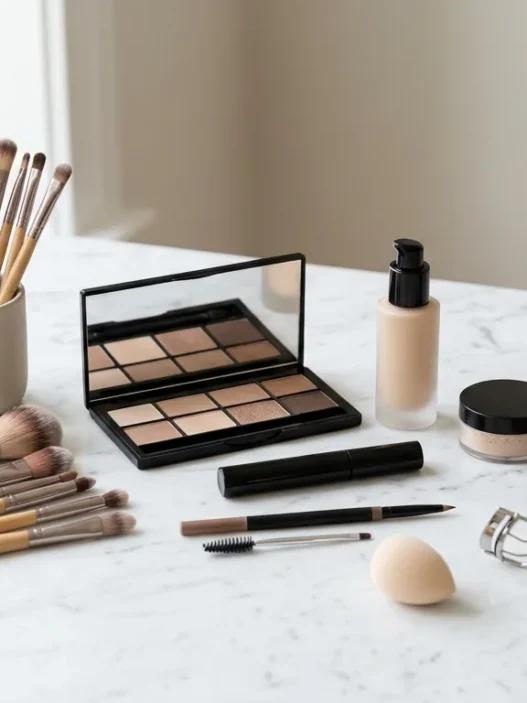
I’m keeping this list deliberately short. You don’t need a huge collection. The beauty of this aesthetic is that it’s minimal in product count, even if it looks dramatic on the eye.
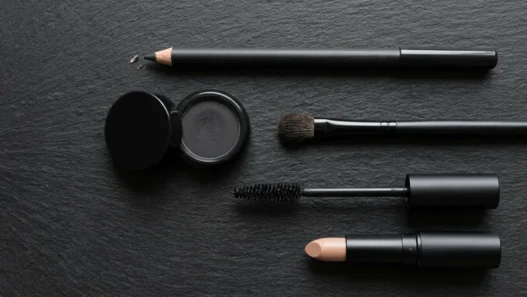
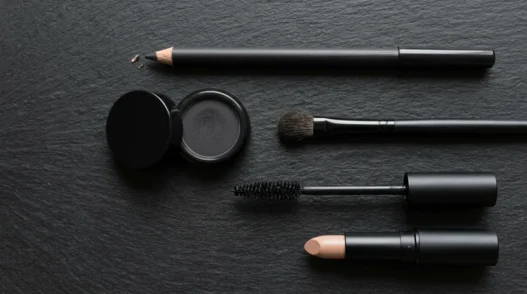
- Eye primer — any drugstore one works. NYX or e.l.f. are both great and cheap.
- Black or very dark brown kohl eyeliner pencil — a soft, creamy one. Not a felt-tip liquid liner. The pencil is everything here.
- Matte black eyeshadow — one single pan, doesn’t need to be fancy.
- A fluffy blending brush — the kind with soft, tapered bristles.
- A small smudge brush or cotton bud — for blurring the liner.
- Black mascara — volumising if you can, but any will do.
- A pale, matte lip product — think dusty pink, nude, or even a pale lavender.
- Micellar water and cotton pads — for fixing mistakes, which you will make. So will I.
That’s it. Seven things. You probably already have half of them. And if you want to explore how this kind of aesthetic overlaps with what I consider my favourite dark-leaning products, my post on my guilty-pleasure goth makeup favourites has a few more specific recommendations you might love.
Step 1: Start With a Clean, Primed Eye
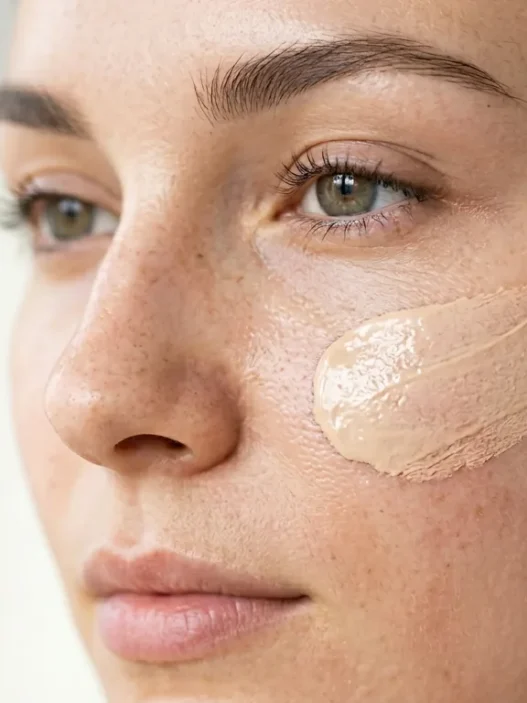
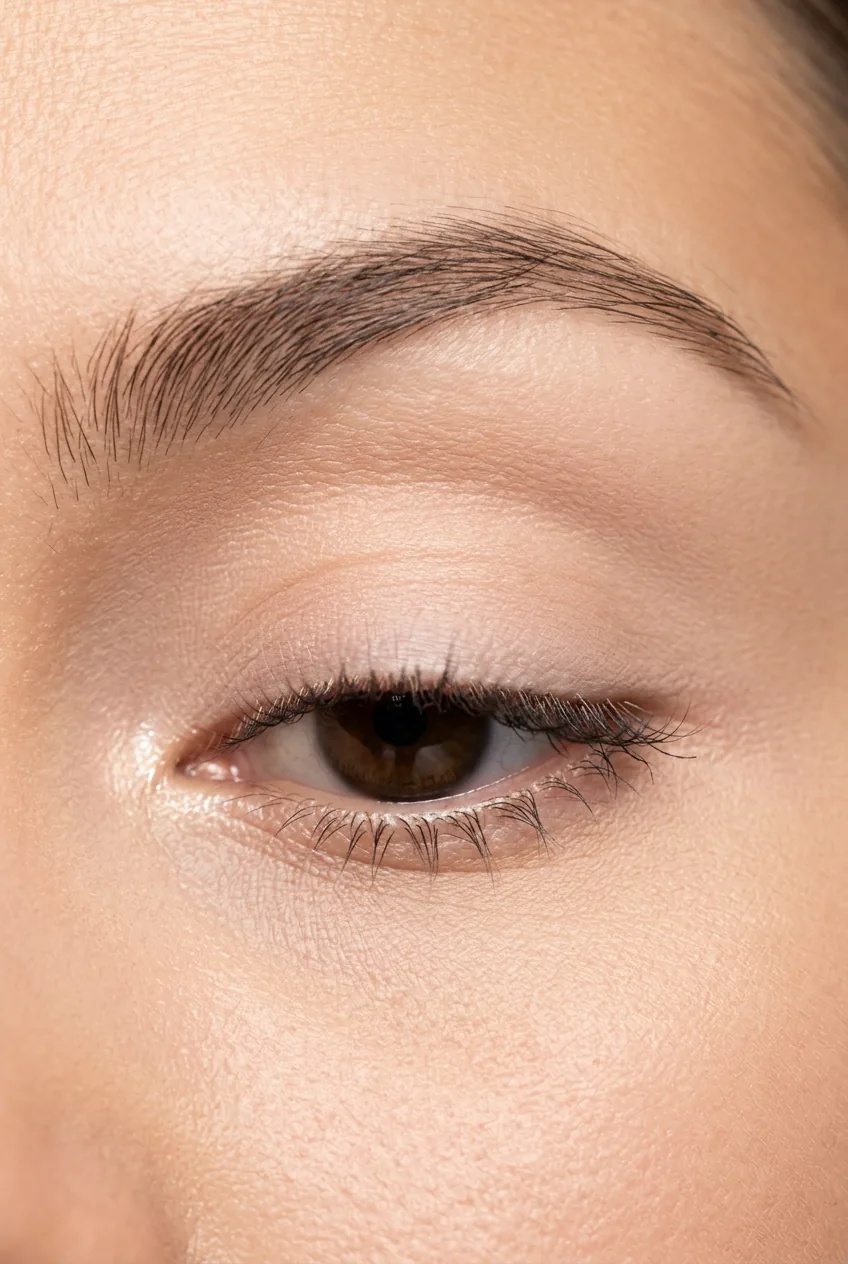
This step is the one people skip and then wonder why their liner migrates down their face by 2pm. Dark eyeshadow and kohl liner need something to grip onto, otherwise they slide. Eye primer — sometimes called an eyeshadow base — is a thin, slightly tacky product you pat onto your eyelid before anything else. It creates a surface that holds pigment in place for hours.
Use your fingertip to dab a tiny amount over your entire eyelid, from lash line to brow bone. Blend it gently until it disappears. It dries quickly — usually within thirty seconds or so. You shouldn’t be able to see it at all once it’s set.
If you genuinely don’t have primer, a thin layer of concealer can work in a pinch. Set it with a tiny bit of translucent powder and you’re close enough. But proper primer really is worth the few pounds it costs — the best budget eye primers last a surprisingly long time because you use so little each time.
Step 2: Apply Your Dark Eyeshadow Base
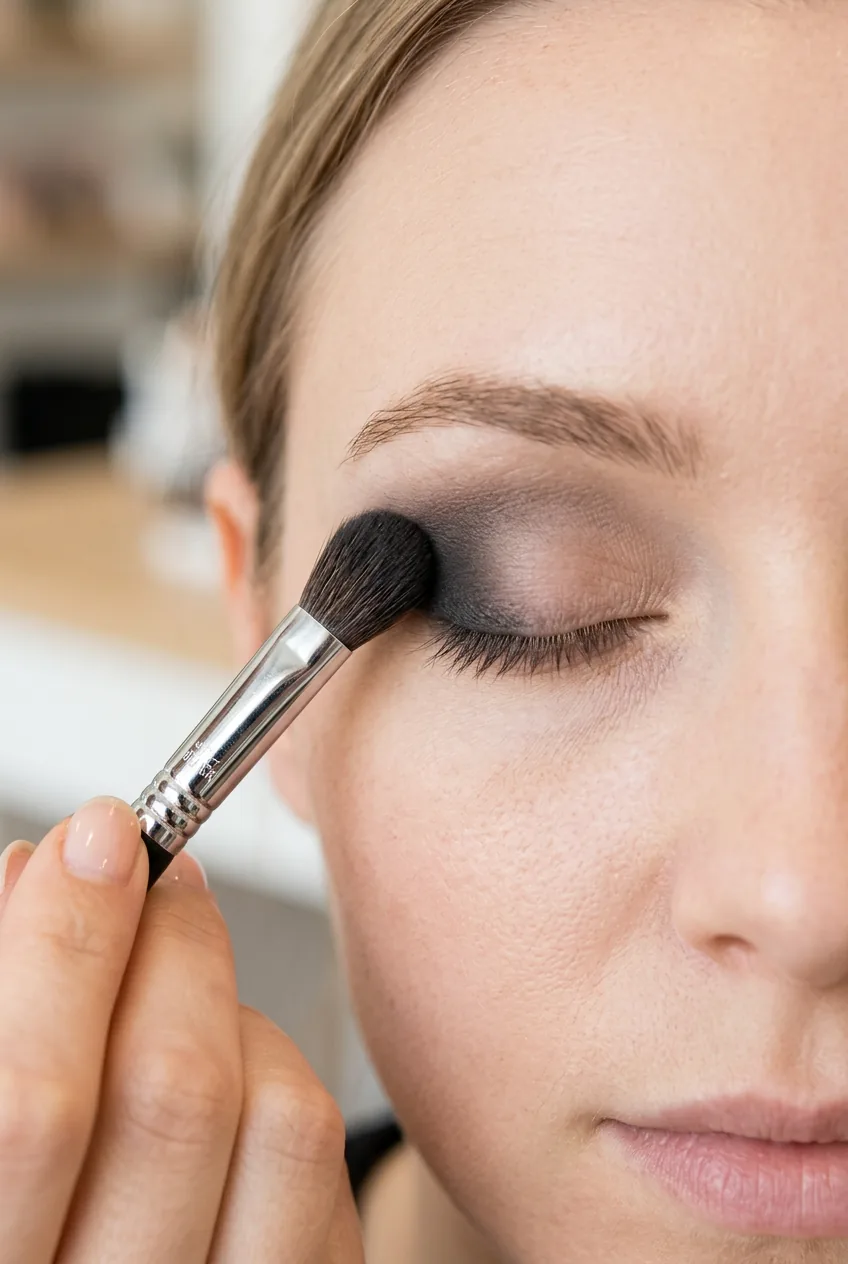
Before the liner even comes out, we’re going to lay down a soft wash of dark eyeshadow on the lid. Think of this as the foundation layer — it creates depth and makes the liner look intentional rather than harsh.
Take your fluffy blending brush and pick up a small amount of matte black eyeshadow. Tap off the excess — important, because overloaded brushes deposit too much at once and it’s hard to control. Then, with a windshield-wiper motion (literally just sweeping side to side), apply the shadow across the outer two-thirds of your eyelid. Don’t go all the way to the inner corner yet.
The edges should be soft and diffused, not sharply cut. If it looks a little patchy or lighter than you expected, that’s fine — we’ll build on it. The whole philosophy here is layers. Keep going gently rather than loading on a thick coat all at once.
Step 3: Line the Upper Lash Line
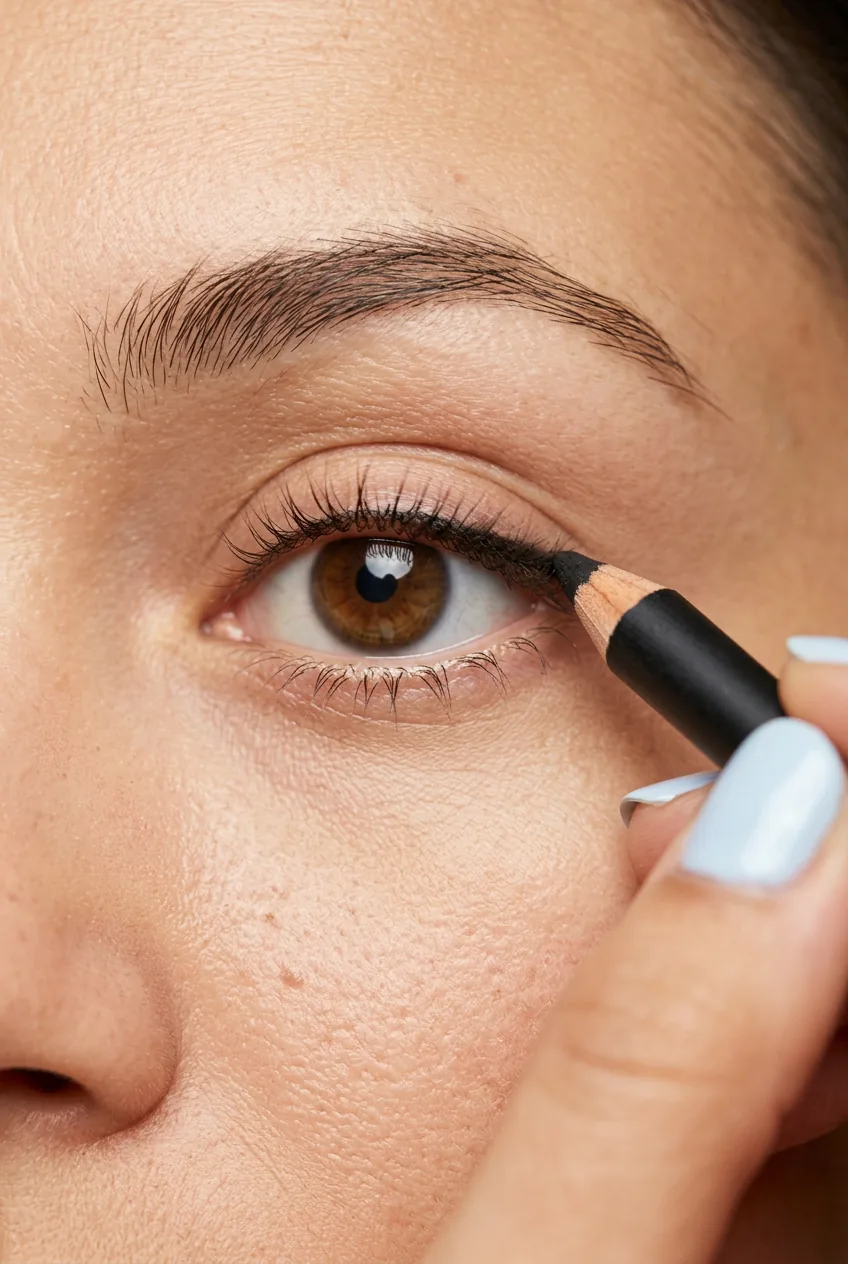
Now the kohl pencil comes in. Rest your elbow on a flat surface to steady your hand — this genuinely helps if you’re nervous about precision. Look straight into your mirror, then gently pull the outer corner of your eye slightly taut with one finger from your non-dominant hand. This flattens the lash line just enough to make tracing it much easier.
Draw small, short strokes along the upper lash line, as close to the roots of your lashes as you can get. You don’t need a single perfect line — tiny connected strokes look just as good, and are way more forgiving. Start from the inner corner and work outward.
Once it’s down, go over it a second time to thicken it slightly. For emo makeup, you want the upper line to be visible and intentional — not a hair-thin line, but not cartoonishly thick either. About 1.5 to 2mm is a good place to be for a first attempt.
Step 4: Smudge the Lower Lash Line
This is the step that most defines emo makeup. That smudged, slightly undone look under the eye is the whole thing. It’s the difference between a standard smoky eye and that moody, expressive aesthetic that feels distinctly alternative.
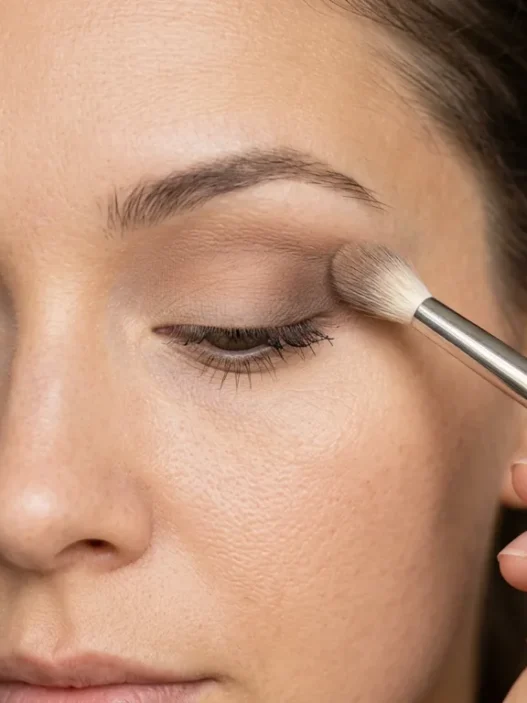
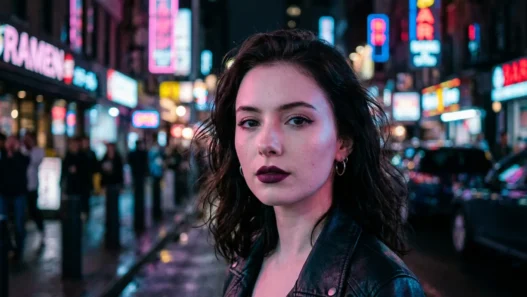
Apply your kohl pencil along the lower lash line — you can go from the outer corner all the way to the inner corner, or stop two-thirds of the way in if you want something slightly softer. Then, immediately before it dries, take your smudge brush or a cotton bud and blur it downward. Just a few millimetres. The goal is a soft, diffused shadow under the eye, not a crisp line.
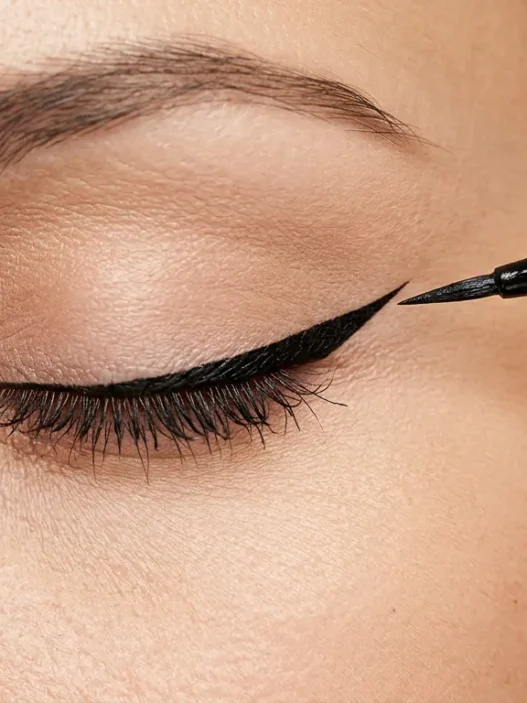
See how she’s applying this in the photo — that gentle smudging motion at the lower lash line is exactly what transforms a harsh mark into something that looks intentional and editorial. The line should be smokiest at the outer corner, fading as it moves inward.
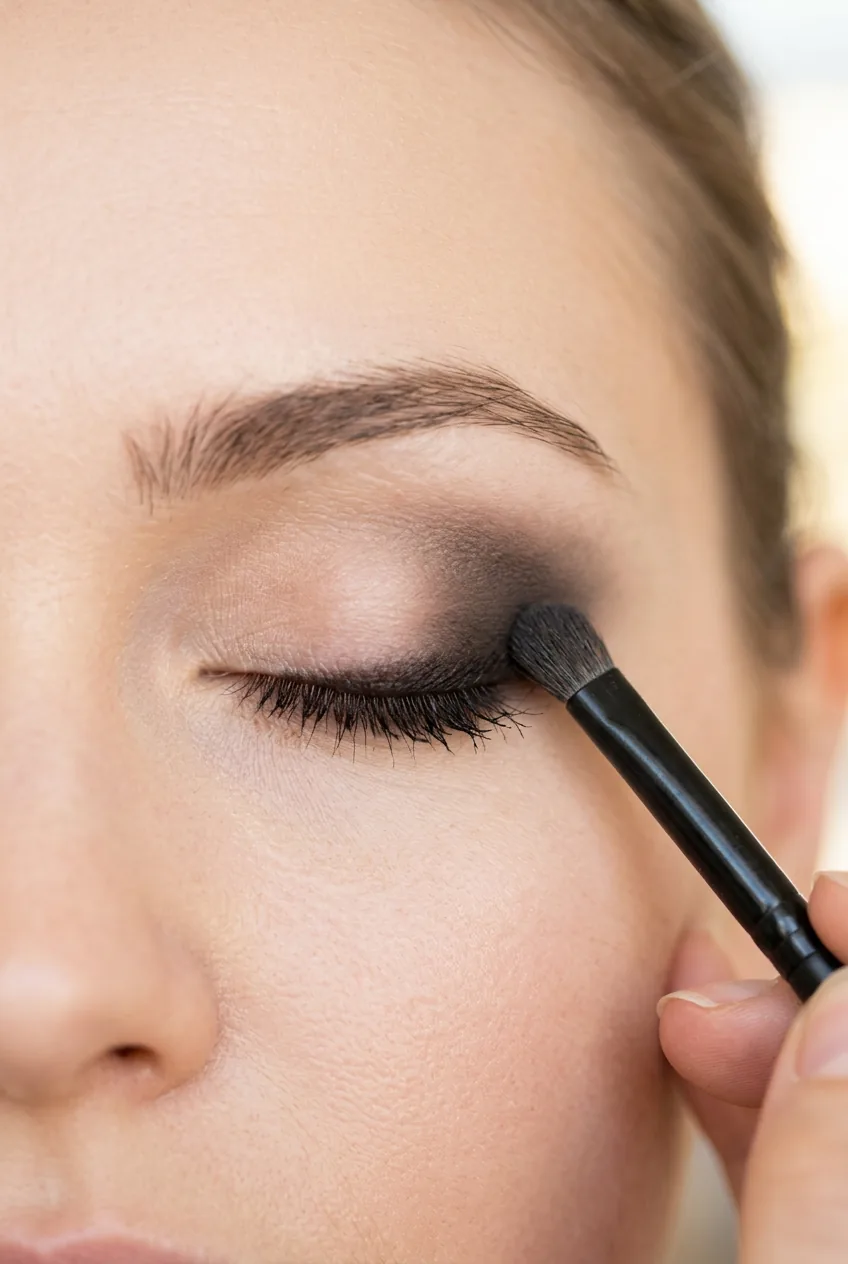
See the Smudge Technique Up Close
Step 5: Build the Smoke on the Outer Corner
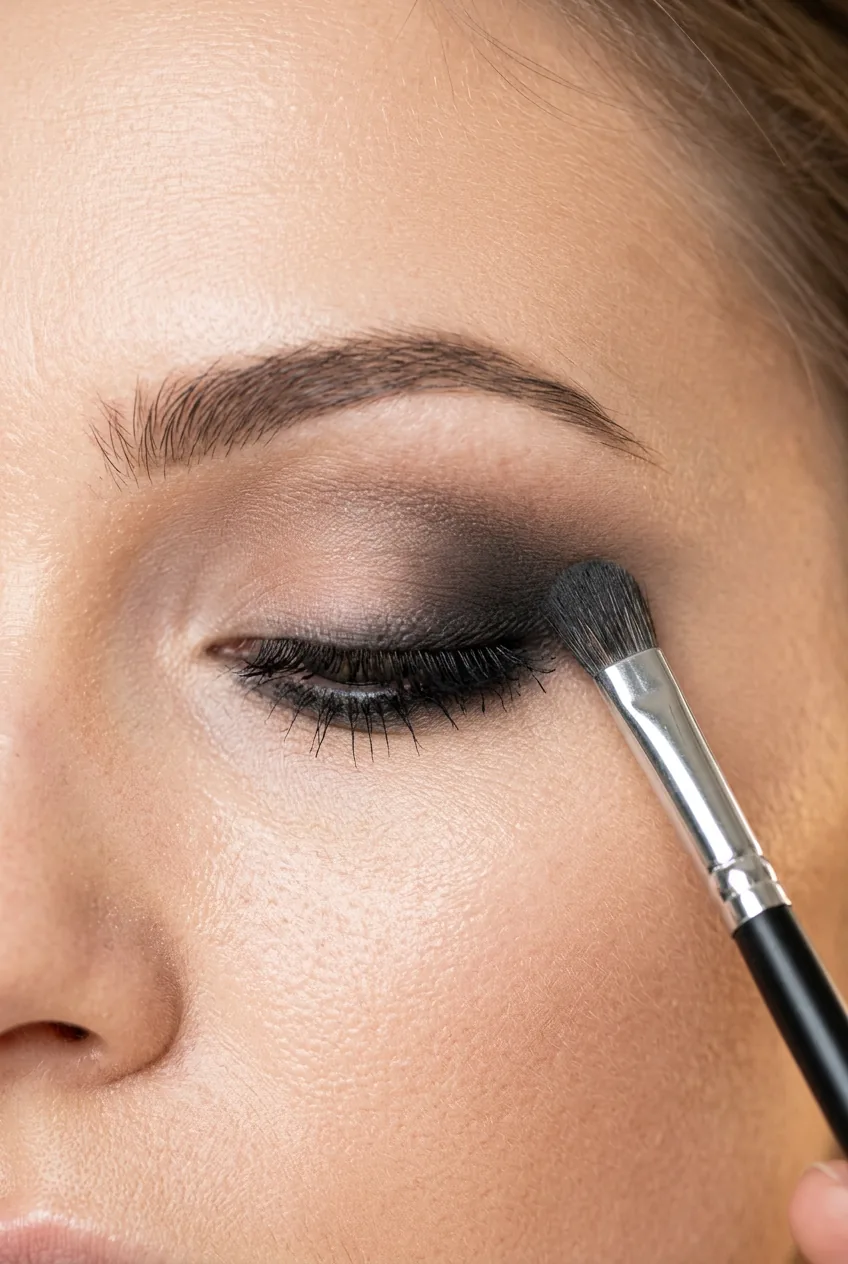
Go back to your eyeshadow now. With your blending brush, pick up a little more of that matte black and concentrate it on the outer corner of the eye — this is sometimes called the V-zone or the outer corner crease. Work it in small circular motions, layering gently. The shadow should deepen here more than anywhere else on the lid.
This is what creates the “smoke” effect — that gradient where the darkness is most intense at the outer corner and gradually fades toward the centre of the lid. If it looks too abrupt, just use a clean part of your brush (or a separate clean fluffy brush) to blend the edges until they’re soft.
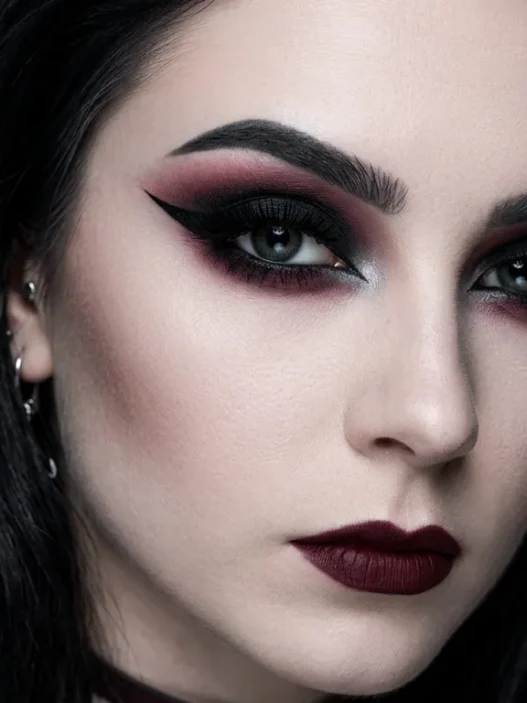
Also connect this outer corner shadow downward slightly to meet the smudged lower liner you applied in the previous step. This joins everything together and makes the eye look cohesive rather than like separate elements stuck next to each other. This kind of connected, moody eye technique is actually what links emo makeup to the wider world of dark aesthetic looks — if you’re curious where it fits in the current landscape, my piece on why grunge makeup is suddenly everywhere explains the cultural moment really well.
Step 6: Add Mascara and Lower Lash Drama
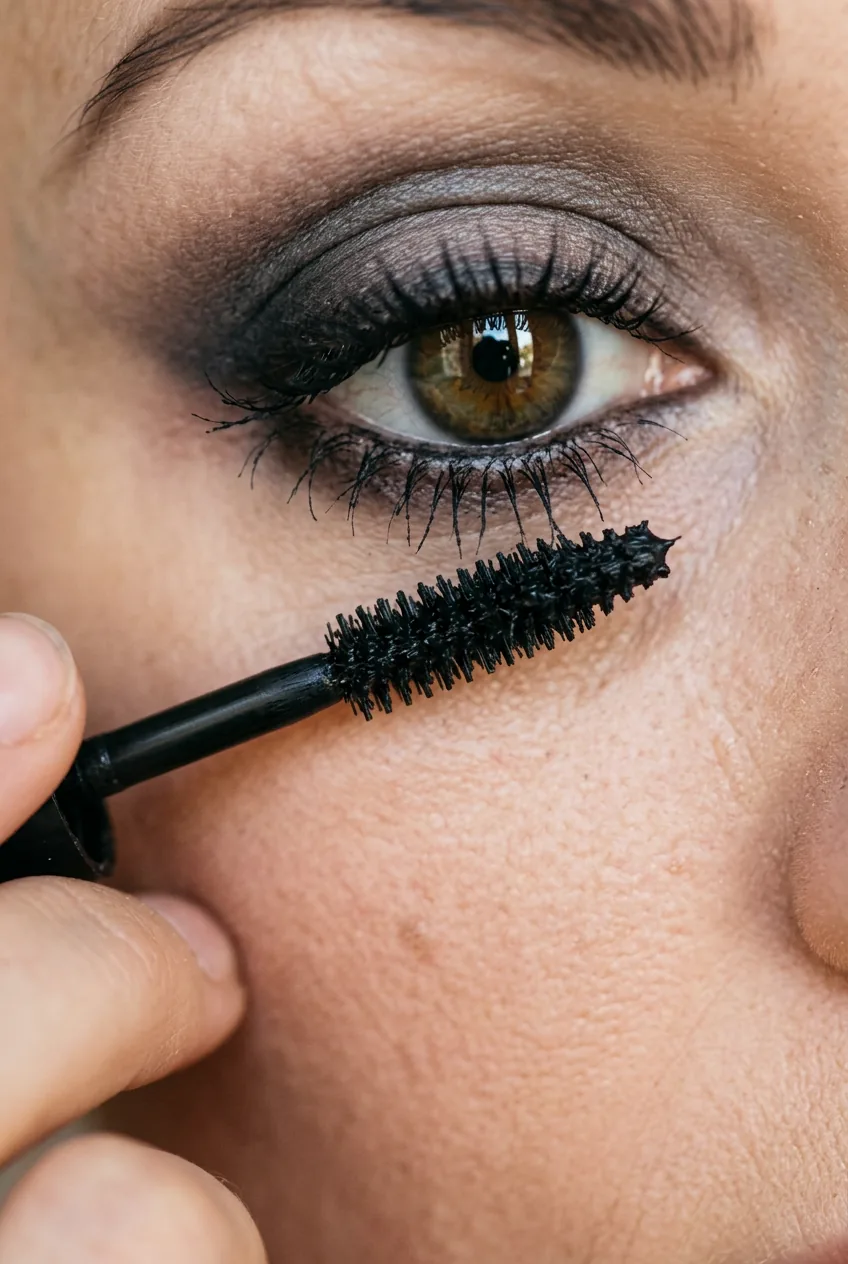
Almost there. Mascara is what pulls the whole eye together and adds that intensity right at the lash line. Start with your upper lashes — wiggle the wand at the roots, then sweep upward. Two coats is usually enough. The goal isn’t spidery or clumpy; it’s full and dark.
Then do the lower lashes. This is where emo makeup diverges from a lot of other looks — you really do want to mascara the lower lashes properly here. Use the tip of the wand in a tiny comb-like motion through the lower lashes. It makes them look longer and darker, which enhances that heavy-lidded, smudged effect you’ve been building.
If you’re curious about the best mascaras for lower lashes that are specifically designed for this kind of work, there are some great options that don’t transfer onto your under-eye skin. Worth looking into if you plan to wear this look regularly.
Step 7: Finish With Pale or Matte Lips
The lips in emo makeup are almost always understated. The eyes are doing all the heavy lifting, and a pale or muted lip keeps the balance right. You don’t want a bold red or glossy pink competing with everything you’ve built on your eyes.
Options I love: a dusty nude, a soft muted pink, a pale lavender-beige, or even just a cool-toned tinted lip balm. You can also try a very pale, almost-white nude if you want to lean further into the alternative aesthetic. Apply it simply — no liner needed, no over-blending. Just a clean application straight from the tube or with a finger.
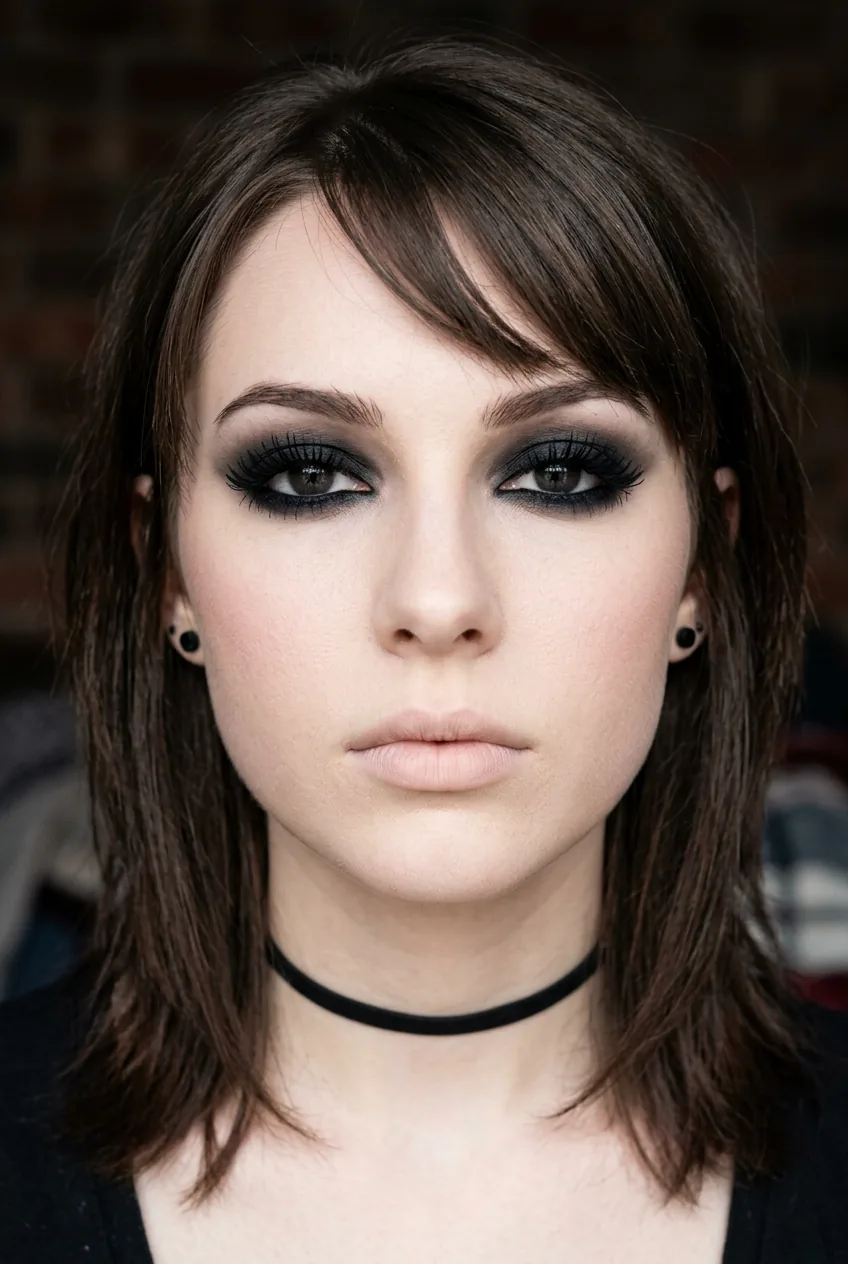
And honestly? That’s the whole look. Steps 1 through 7, done in sequence, give you a genuine emo eye with a balanced face. It’s a surprisingly cohesive aesthetic that also sits nicely within the wider world of finding your grunge makeup aesthetic — because emo and grunge share a lot of that dark, expressive DNA.
It’s Okay to Wipe It Off and Retry
Genuinely. I can’t stress this enough. The first time I tried to smudge kohl liner, I went too far and ended up with what looked like two bruised eyes. I wiped it off, re-primed, and started again. Second attempt was much better.
My biggest mistake early on was using a waterproof kohl pencil that set almost instantly — I couldn’t smudge it at all before it dried. The pencil formula matters enormously. Look for ones labelled “soft kohl” or “smudge pencil” rather than “waterproof” or “long-lasting”. Soft formulas give you a window of time to work with before they set. Once I switched, everything clicked.
The one habit that genuinely changed my emo eye game: I started practising the smudging step on the back of my hand before touching my eye. Just draw a line and blur it with a cotton bud. It tells you exactly how much working time you have with that specific pencil, and you don’t ruin your primer layer while experimenting. Takes ten seconds and saves so much frustration.
If you want to explore more of the dark makeup space beyond this specific technique, I’ve been cataloguing some brilliant references in my round-up of monochrome makeup looks — there’s some real crossover with this aesthetic that might inspire your next experiment.
Questions I Get About This
Does emo makeup work on hooded eyes?
Yes, and in some ways it looks even more dramatic on hooded eye shapes. The key adjustment: keep the eyeshadow lower on the lid so it’s still visible when your eyes are open. The smudged lower liner actually works brilliantly on hooded eyes because it shows fully regardless of lid depth.
Can I use liquid eyeliner instead of a kohl pencil?
Technically yes, but I’d strongly advise against it for this look, especially as a beginner. Liquid liner gives you a sharp, precise line that’s very hard to smudge into that soft, hazy effect that defines emo makeup. Kohl pencil is soft and blendable by design — it’s genuinely the right tool for this job.
How do I stop the liner from transferring under my eyes during the day?
Two things help most: eye primer (which you applied in Step 1) and a light dusting of translucent setting powder over your under-eye area once the look is done. Let the liner smudge and settle for about five minutes before setting it, otherwise you’ll disturb the blending you worked so hard on.
Is this look appropriate for everyday wear or just special occasions?
Completely personal choice — plenty of people wear a version of this daily, and there’s a beautiful softer interpretation of emo makeup that’s absolutely wearable for regular life. Scale back the intensity of the shadow and keep the liner finer and more blended, and it reads as an expressive everyday look rather than a full stage-ready aesthetic.
What skin tone does emo makeup suit?
All of them, genuinely. Black and deep charcoal tones work on every skin tone — they read as dramatic on fair skin and beautifully intense on deeper skin tones. The pale lip step might need adjusting depending on your undertone (warm-toned skin often looks great with a muted terracotta nude rather than a cool pink), but the eye technique is completely universal.
After following these seven steps properly for the first time, I actually sat back and thought — oh, so that’s what I was going for all along. The look came together in a way that felt genuinely wearable and expressive, not costume-y. My eyes looked intentional and deep, the smudging had that lived-in quality I’d always loved on other people, and the pale lip tied everything together without looking underdone. It’s one of those looks where the process feels complicated but the result feels effortless. You’re going to love it.