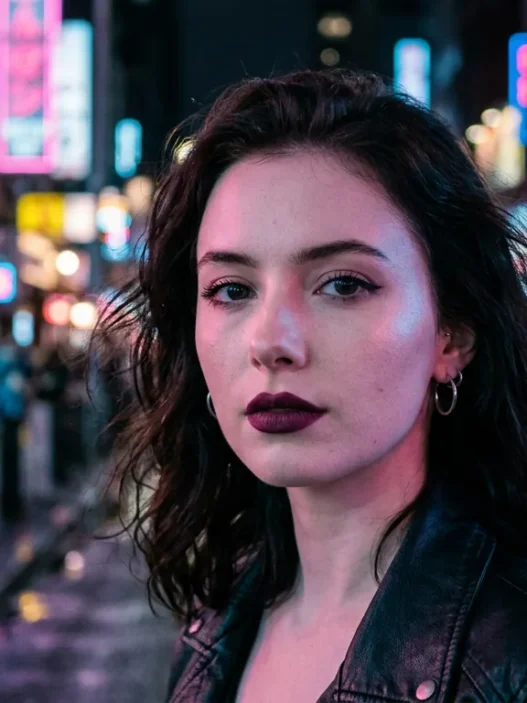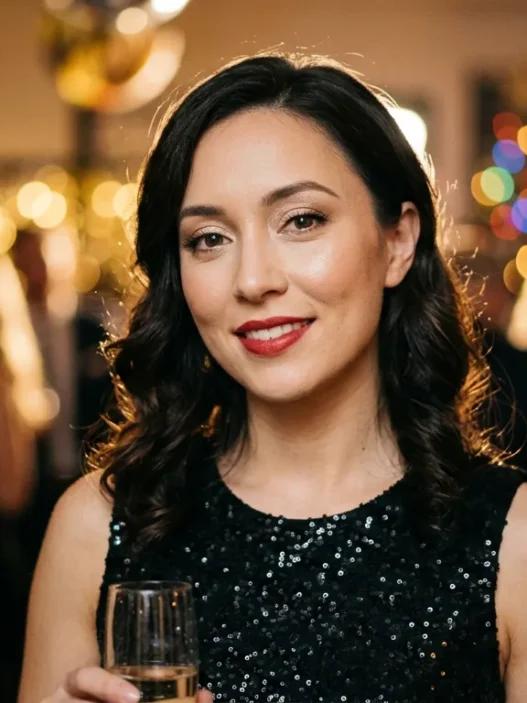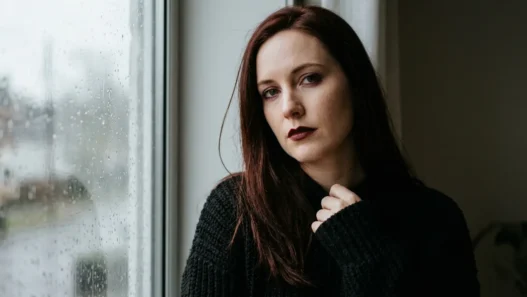



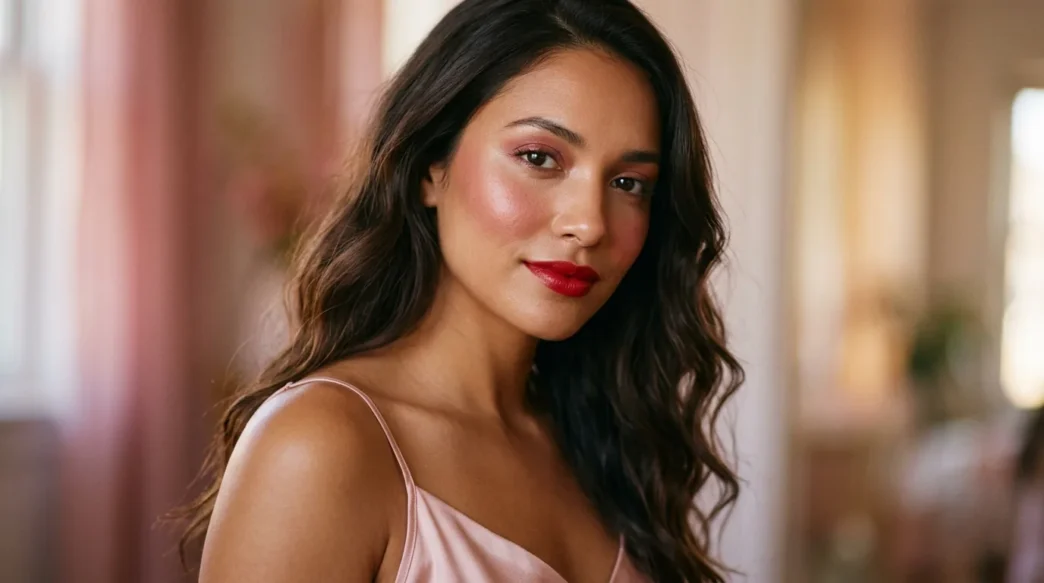
I have ruined more Valentine’s Day makeup looks than I want to admit. One year my foundation separated right before dinner, another year my eyeliner migrated by dessert. Last February I finally sat down and practiced this exact soft-romantic look three times until it actually lasted. And now it is my go-to whenever I want to feel pretty without stressing all night.
This Valentine makeup tutorial is the full face I wear now. Think glowy-not-greasy skin, soft rosy eyes with a little depth, flushed cheeks and a bold-but-blotted lip that can survive a kiss, a cocktail and a crowded restaurant.
What You’ll Need: Products, Tools and Timing
I like to lay everything out on my bathroom counter before I start, because nothing messes up eyeliner faster than digging through a drawer with one eye done. This is not a 25-product situation. It is a well-edited kit that gives you that Date-night finish without caking.
- Gentle exfoliant or hydrating toner, lightweight moisturizer and a grippy primer
- Medium-coverage satin foundation or skin tint, creamy concealer one shade lighter than skin
- Translucent loose powder and a mini pressed powder for your purse
- Warm-neutral eyeshadow palette with matte mauve, shimmer rose and deep cocoa, plus a brown pencil liner
- Volumizing mascara, brow pencil and clear brow gel
- Cream blush in dusty rose, powder blush in a similar tone, soft champagne highlighter
- Red or berry lip liner, satin bullet lipstick and a clear lip gloss (optional)
- Tools: damp beauty sponge, fluffy powder brush, flat shader brush, small blending brush, angled brow brush, blush brush, lip brush
- Setting spray with a dewy-to-natural finish, cotton swabs and micellar water for clean-up
Timing wise, give yourself 45 to 60 minutes if you are a beginner. I can do this in about 35 minutes now, but the first time I tried it I rushed the base and paid for it. If you are brand new to full-face makeup steps, my No-Pressure Beginner Christmas Makeup Tutorial walks through a lot of the same blending basics in a super gentle way.
One quick note on order. I do eyes after base for this particular look because I want the blush and highlight to sit cleanly over the foundation, but I clean up any fallout before powder. If you ever get confused about layering, this breakdown of The Right Order to Apply Makeup Tutorial saved me when I was learning.
Phase 1: Skin Prep and Base
Valentine skin should look like skin on a really good day. Lit from within, even, a little flushed. Not mask-like. And it all starts before foundation ever touches your face.
I start with a quick cleanse, even if I washed my face in the morning. Then I swipe on a hydrating toner with my hands and press in a pea-size amount of moisturizer. Wait two full minutes. Seriously, set a timer. When I skip the wait, my primer pills and my foundation slides right off my nose by 8pm.
My Long-Lasting Base Routine
Primer is non-negotiable for a February night out. Restaurants are warm, cars are cold, you are hugging people. I use a thin layer of a gripping primer just through my T-zone and over my cheeks where pores show. If your skin leans dry like mine in winter, keep primer away from dry patches around the mouth and just moisturize those spots a second time.
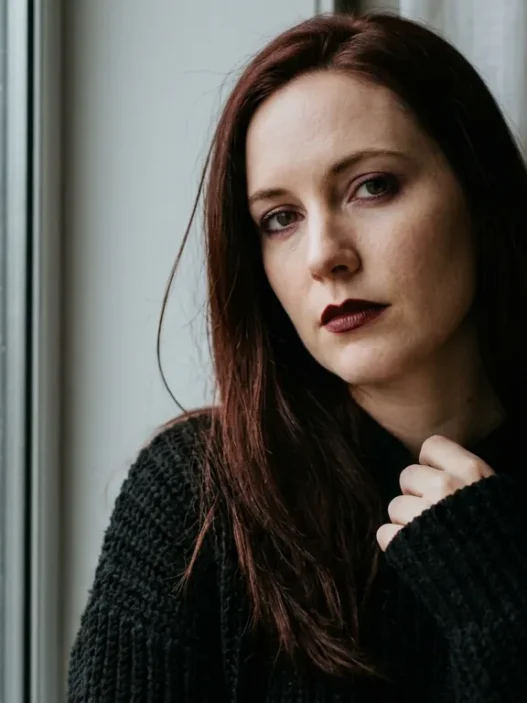
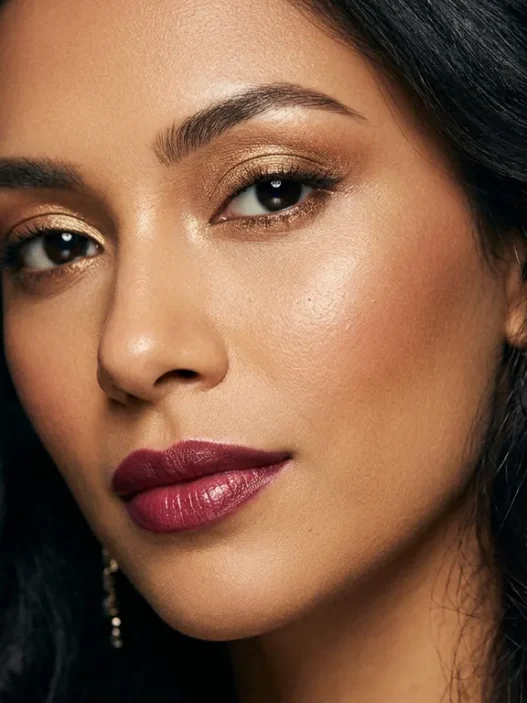
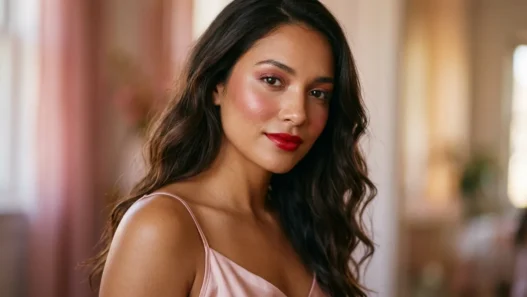
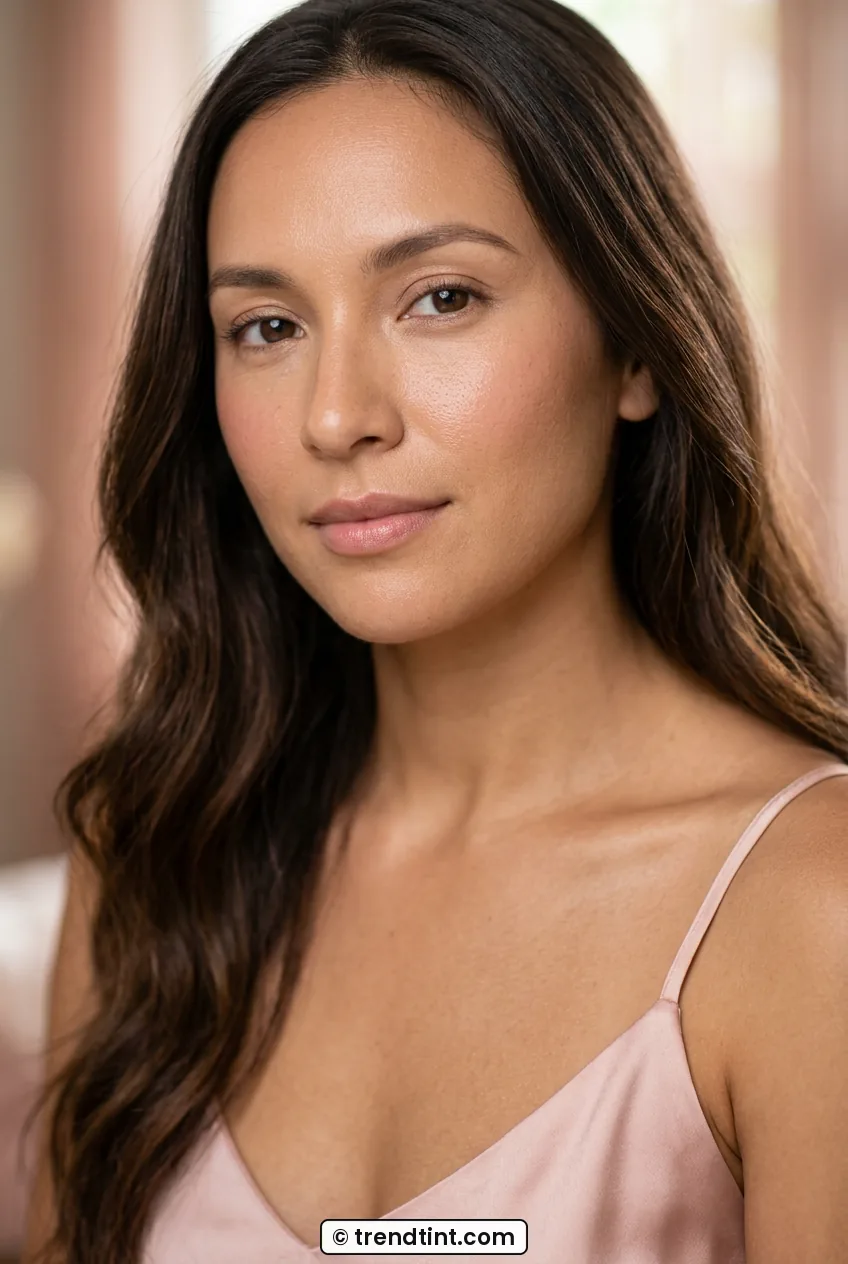
For foundation, I dot a satin-finish formula in the center of my face and blend outward with a damp sponge. Less near the hairline, more where I get red. Look at how she is wearing hers in this close shot, you can still see a little natural texture through the cheek, that is exactly what you want for a romantic finish. I build in two thin layers instead of one thick one. Thin layers last.
Concealer goes next in a sideways V under each eye, a dab on any blemishes and a tiny bit around the nostrils. I blend with the pointy end of the sponge and then immediately set just the under-eyes and sides of the nose with a whisper of translucent powder. Leave the rest of the face a little dewy for now. We will lock it later.
Mistake I made: I used to powder my whole face heavily right after foundation because I was scared of shine. My Valentine photos looked flat and ten years older. Now I only powder the mobile spots and let my cheeks stay glowy, huge difference in real life.
If you love a really airbrushed base, I also lean on a lot of the layering tricks from the 7-Step Method for a Flawless Makeup Tutorial for this phase. The idea of pressing, not dragging, product changed my foundation game completely. You can read more about choosing a long-wear base with lasting base techniques before you buy anything new, especially if your skin gets shiny fast.
Phase 2: Eyes and Brows
This is my favorite part. For Valentine’s Day I do not do a harsh cut crease or a super-dark smoky eye. I do what I call a rosewood haze. Soft matte mauve in the crease, a wash of shimmer on the lid, a little cocoa to define the outer corner, and a flick of brown liner that flatters everyone.
Start with brows, because they frame everything. I brush mine up, fill sparse tails with tiny hair-like strokes and set with clear gel. Do not block them in. My brows are naturally uneven, one sits a little higher, so I follow my natural shape instead of forcing symmetry. Do you ever over-pluck before an event? I did in college and I am still recovering.
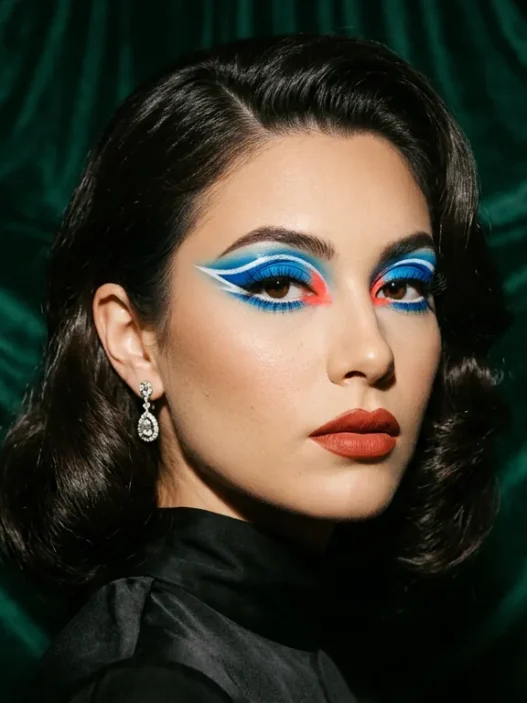
Prime lids with a dot of concealer and a dusting of powder so shadow does not crease. Then take a fluffy blending brush with a mid-tone matte mauve and sweep it back and forth through the crease like a windshield wiper. This she is wearing here shows that diffused edge I mean, no harsh line where color stops. Build slowly. Three light passes beats one heavy swipe.
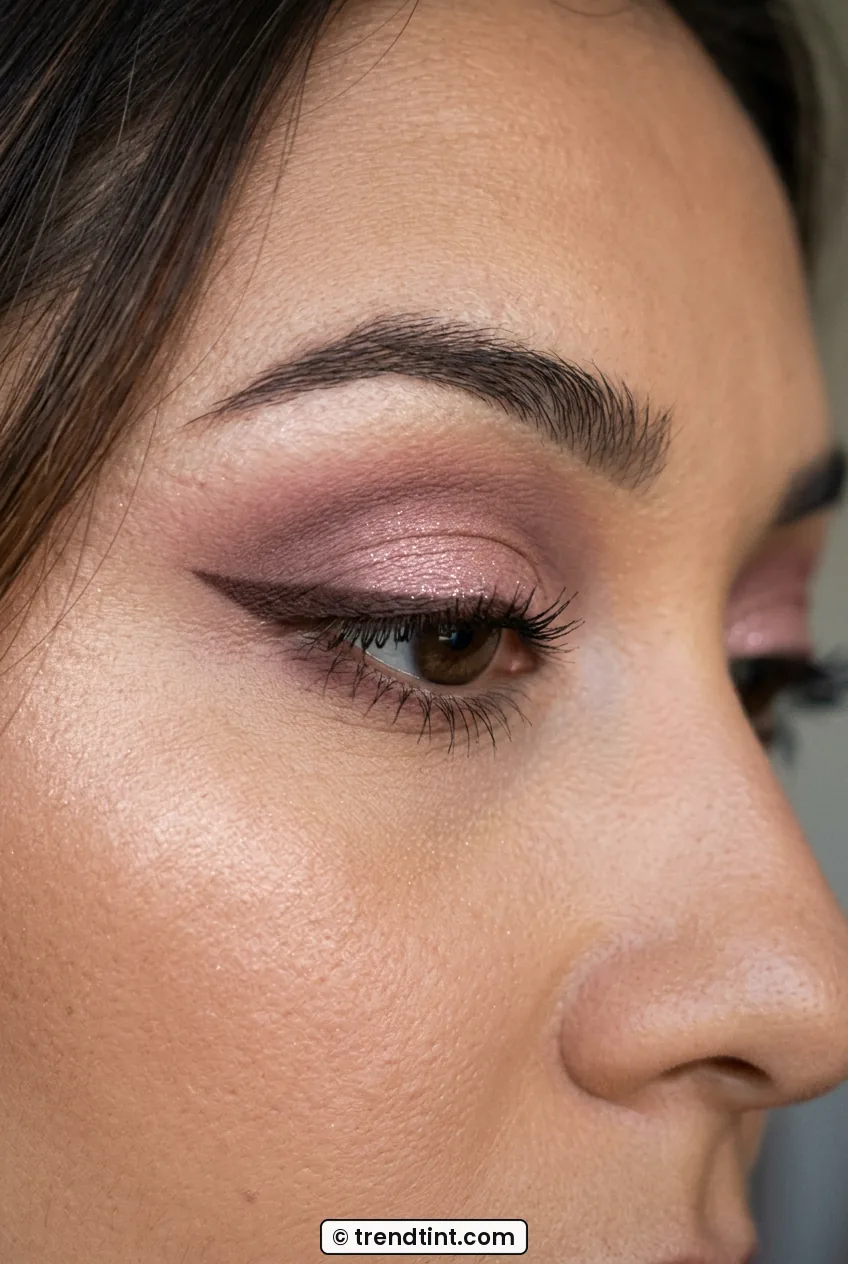
Next, pat a rosy shimmer across the mobile lid with a flat shader brush or your fingertip. Fingertip actually gives better payoff, in my opinion. Then take a small pencil brush with that deep cocoa shade and press it into the outer third, blending inward. I also smudge a little of the cocoa along the lower lash line for that sleepy-romantic look.
Liner time. I tightline my upper waterline with dark-brown pencil first, that alone makes lashes look thicker without obvious liner. Then I draw a short wing, flicking up toward the tail of my brow. Keep it thin. If you mess up, do not wipe the whole eye. Dip a cotton swab in micellar water, pinch the tip sharp and just carve the edge clean. That trick alone took me from makeup tutorial for beginners level to actually enjoying liner.
Two coats of mascara, wiggling at the root. I do upper lashes only for daytime, but for Valentine night I add one light coat to the outer lower lashes. If you wear falsies, a wispy half-lash on the outer corner is prettier and more comfortable than a full strip. You can brush up on false-lash application tips if strips scare you, they scared me for years.
Looking for more drama? I sometimes borrow the outer-corner depth technique I learned from Mastering Baddie Makeup Tutorial: A Complete Deep Dive, just toned down. Same placement, softer colors. It gives that lifted eye without looking heavy in photos.
See The Rosewood Blend Live
Phase 3: Cheeks and Glow
Cheeks make or break a Valentine look, I swear. Too much contour and you look severe in candlelight. Just the right flush and you look alive, happy, a little in love. This phase is all about layering cream then powder so the color survives hugs and heat.
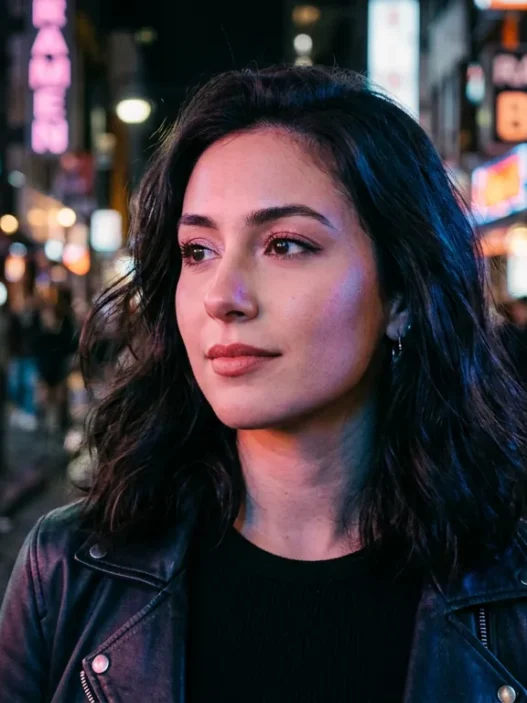
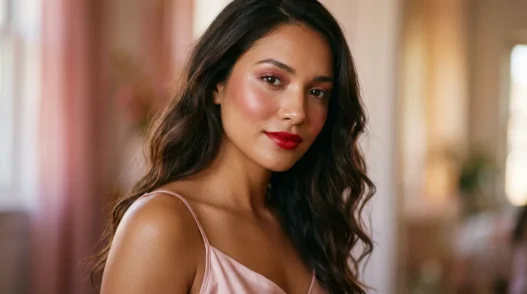
I smile just a little and press cream blush in dusty rose onto the apples with my fingers, then blend up toward the temples. Creams melt into that dewy base we left unpowdered and they look so natural. She has got that high, lifted placement here, see how it sits up on her cheekbones and not down near her nose? That placement lifts my whole face.
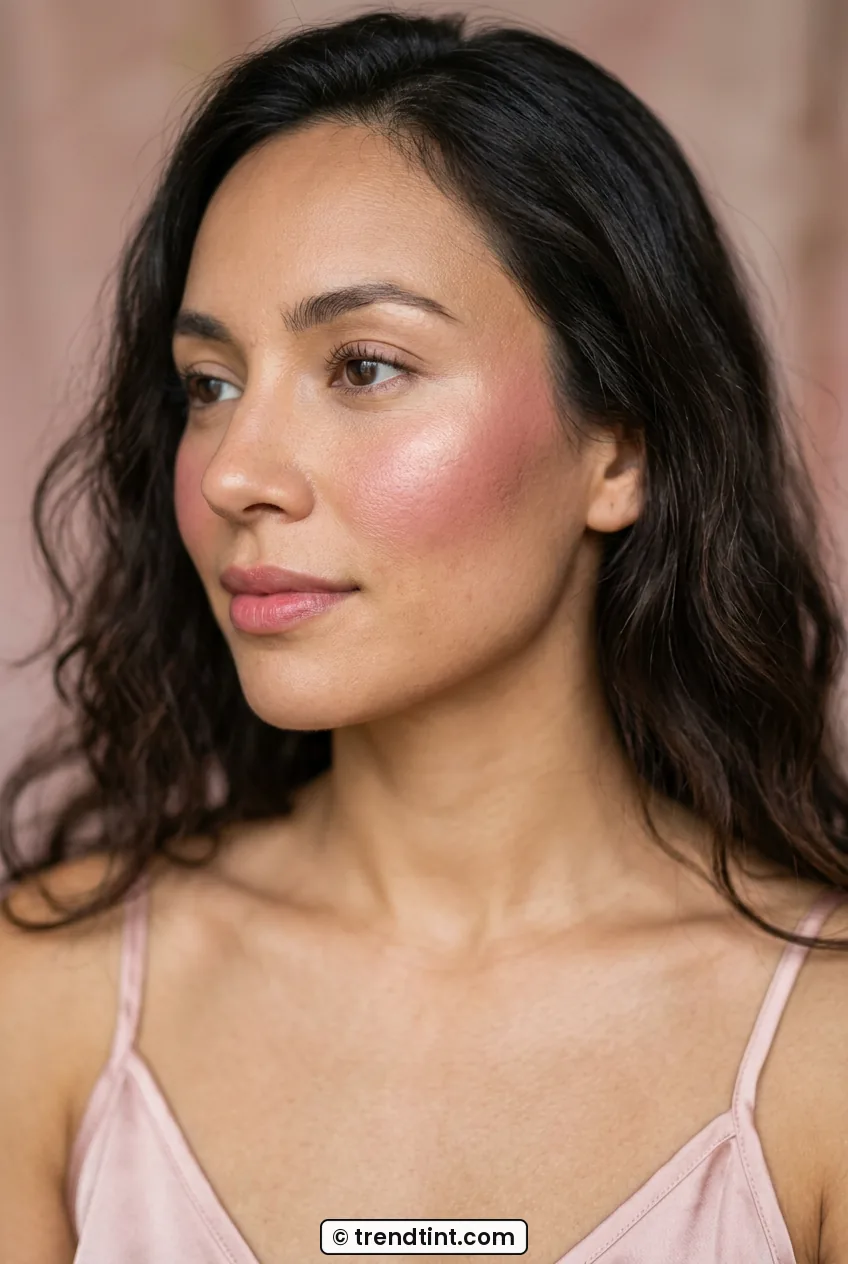
Then I set the cream with a matching powder blush using a fluffy brush. This double-layer is what keeps blush visible after three hours. I learned this after my blush completely vanished in every single dinner photo one year. For a little extra romance, I dust the tiniest bit of that powder blush across the bridge of my nose. It mimics that just-came-in-from-the-cold flush.
Highlighter should be soft, not metallic stripes. I tap a champagne powder just on the tops of the cheekbones, the tip of the nose and the cupid’s bow. Skip the forehead if you get oily. In person I love a glowy finish, but in flash photos too much glow reads as sweat. Been there.
Do I contour? Lightly. A soft matte bronzer in the hollows just to warm things up, no sharp lines. Blend, blend, blend. If you are still figuring out your own makeup steps order for blush versus powder, practice the cream-first rule once and you will never go back.
For texture lovers, a good primer plus cream blush combo holds up better in warm rooms than powder alone. I read up on cream blush wear time last winter and switched my technique, and my cheeks finally lasted through an entire evening out.
Phase 4: Lips and Lock-In
Okay, the main event. Bold Valentine lips that do not feather, fade weirdly or transfer onto everything. My shade of choice is a blue-based red or a deep berry, depending on my outfit. Both photograph beautifully and make teeth look whiter.
Exfoliate first. I buff with a damp washcloth or a little sugar scrub, then apply a thin lip balm and let it soak while I do a final check of eyes and cheeks. Blot the balm off, you want a smooth but not slippery canvas. Then line. I overline just the center of the cupid’s bow and lower lip by a millimeter, and keep the corners true to size. Fill the whole lip with liner as a base. This is the real staying-power secret.
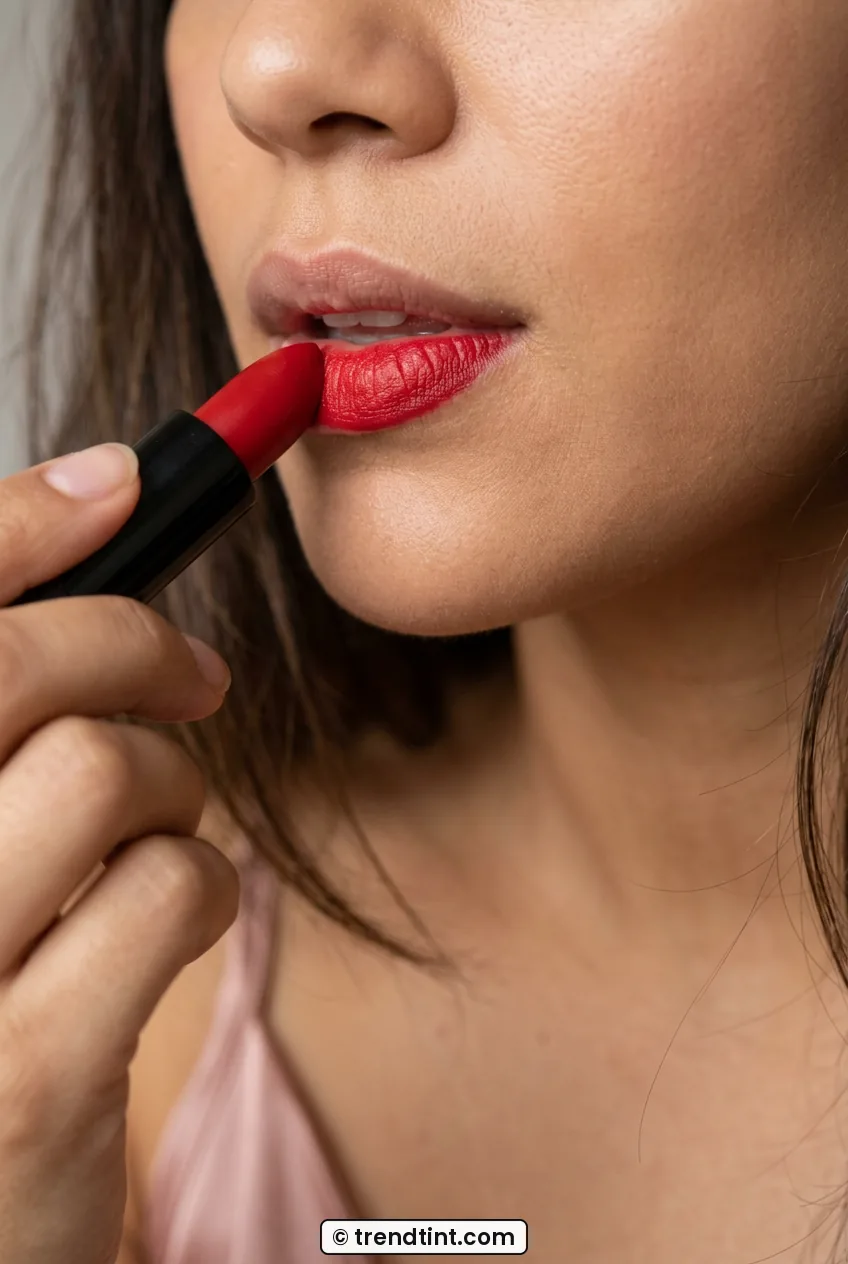
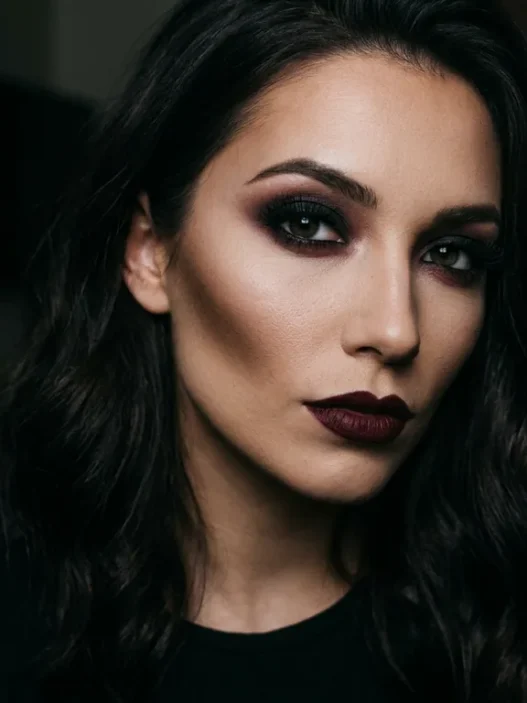
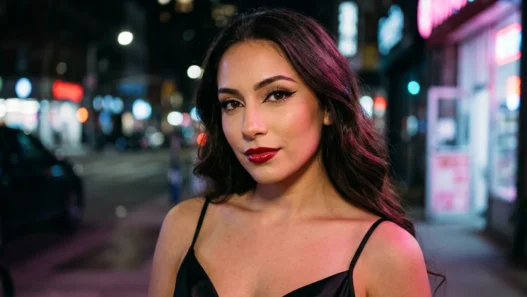
Now the bullet. Look at how she is gliding that color across her lower lip in one smooth pass, that even, opaque payoff is what you are aiming for. I apply straight from the bullet in the center and use a lip brush for the edges. Blot once with tissue, dust the tiniest veil of translucent powder through a tissue over the lips, then apply a second thin layer. That sandwich method keeps color locked without feeling dry.
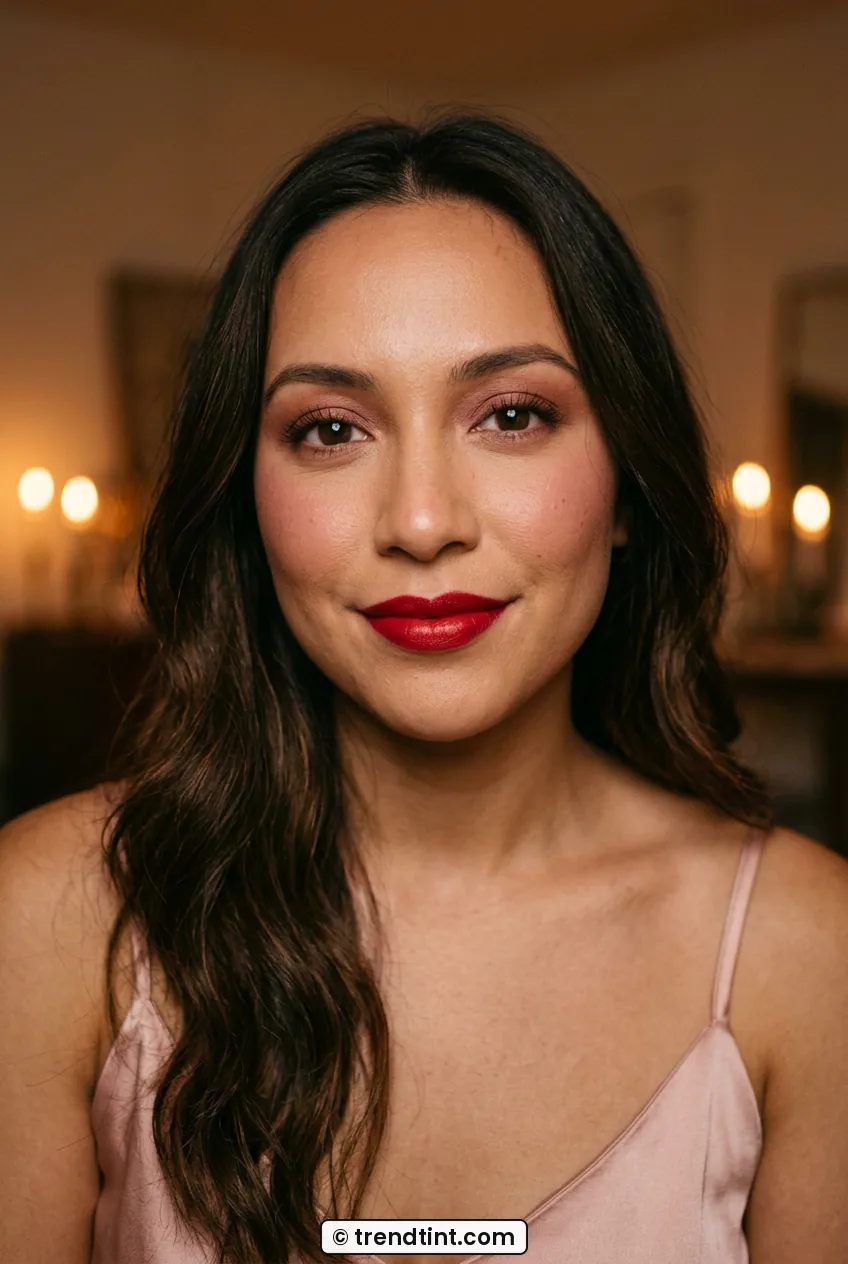
Want gloss? Dab a dot just in the center of the lower lip for dimension, not all over, or you will lose longevity. I usually skip full gloss for dinner dates and keep the satin finish. If you are worried about feathering, a touch of concealer around the lip line with a flat brush acts like invisible tape.
Finally, lock everything in. Mist setting spray in an X and T motion from arm’s length, let it dry without fanning, then press skin gently with a clean sponge to meld powders. Pack blotting papers and your mini powder and lipstick for touch-ups. One blot and press after dinner and you are fresh again without adding layers.
Mistake I made: I used to do a full powder-all-over plus heavy spray right before walking out the door, and my makeup would crack around my smile by 10pm. Now I do a light spray, wait, then one more whisper only on the T-zone. Way more flexible and it still lasts.
If you like a super-locked routine, the setting order in 7 Step Flawless Makeup Tutorial is worth a peek. I adapted my spray-then-press finish from there and my Valentine look finally survived wine, hugs and a very steamy restaurant.
Valentine Touch-Up Questions I Always Get
How do I keep red lipstick from smudging during dinner?
Line and fill with a matching liner first, blot and layer twice, and keep gloss only in the center. I also sip from a straw when I can and blot after oily foods. Bring the liner for quick corner fixes.
What if I am a beginner and a full eye look feels like too much?
Skip the shimmer and wing and just do the mauve crease wash, tightline and mascara. It still reads romantic with blush and a bold lip. Practice the crease blend twice during the week and you will feel much calmer on the night.
How do I stop foundation from separating around my nose and chin?
Moisturize, wait, then use primer only where you get oily. Apply thin layers and set just the mobile areas lightly. Heavy powder in creases plus heat equals separation, so less is more there.
Can I swap the bold lip for a nude lip and still look Valentine-ready?
Absolutely. Keep the rosy eyes and flushed cheeks and do a rosewood nude with liner. Add a touch more blush and a little extra highlight so your face does not get washed out in photos.
I wore this exact routine out last Valentine’s Day to a tiny Italian place downtown. My base still looked fresh at midnight, my blush was hanging on, and my lipstick needed just one quick reapply after pasta. I felt like myself, just softer and a little more glowing. And honestly? That is the whole point.