







Last December I cried over my eyeliner at 4 p.m. with guests coming at 6. I am not kidding. I had watched three fast tutorials, bought a sparkly palette I did not understand, and ended up looking tired instead of festive. That night I promised myself I would learn one simple Christmas look and actually get good at it.
This Christmas makeup tutorial beginners version is the result. It is the exact soft-gold eye and easy red lip I now wear every year. It takes me about 20 minutes, it photographs beautifully in warm living-room light, and you can do it with shaky hands and zero experience.

Your Cozy Christmas Walk-Through
- The Few Products You Actually Need
- Step 1: Don’t Worry About Getting It Perfect, Just Prep Your Skin
- Step 2: Take It One Feature at a Time, Starting With Simple Gold Eyes
- Step 3: It’s Okay to Wipe It Off and Retry Your Soft Eyeliner
- Step 4: Add a Little Glow Without Looking Glittery
- Step 5: The Classic Red Lip, Made Beginner-Proof
- Step 6: Set It Lightly So It Lasts Through Dinner
- Christmas Glow Questions I Hear Every December
The Few Products You Actually Need
You do not need a 35-pan palette for this. I love a short list because it means fewer decisions when you are already nervous about holiday photos. Everything here is cheap, easy to find at the drugstore, and forgiving if you over-apply.
- Light moisturizer and a pea-size amount of primer or a light-weight base
- Skin-tint, BB cream, or sheer foundation in your shade plus concealer
- One small warm-neutral eyeshadow quad with a matte cream, matte soft-brown, shimmery champagne, and shimmery gold
- Soft brown or black pencil liner that smudges, plus mascara you already like
- Peachy-neutral blush, a subtle champagne highlighter, and a brow pencil or gel
- Red lip liner and a satin red lipstick, plus lip balm
- Tools: fingers, one fluffy eye brush, one small flat eye brush, a powder brush, and cotton swabs
My favorite is the four-pan quad idea. When I tried this Christmas makeup tutorial for beginners the first time with a huge palette, I froze. Four shades felt doable. And if you want to understand why we do base before eyes or eyes before base, I always send friends to the right order to apply makeup because it settled that debate for me once and for all.
Step 1: Don’t Worry About Getting It Perfect, Just Prep Your Skin
Think of this as making a smooth, well-rested canvas. In plain language, primer is just a thin lotion that helps makeup sit evenly and last longer. Foundation evens your skin tone. Concealer is a thicker little tube you dab only where you need extra coverage.
I start with clean skin, then moisturizer. I wait two minutes and sip coffee. That pause matters more in winter because heaters make my cheeks tight and patchy. Then I press a thin layer of primer only through my T-zone, which is my forehead, nose, and chin, where makeup slides first.
Next I dot skin-tint on my forehead, nose, cheeks, and chin and blend outward with fingers. Fingers warm it up and keep it sheer, which I prefer for Christmas dinner because heavy base looks cakey in close-up photos. Then I tap concealer under my eyes in a small triangle and on any red spot around my nose. I blend the edges with a tapping motion, not a swipe. Swiping removes it, tapping melts it.
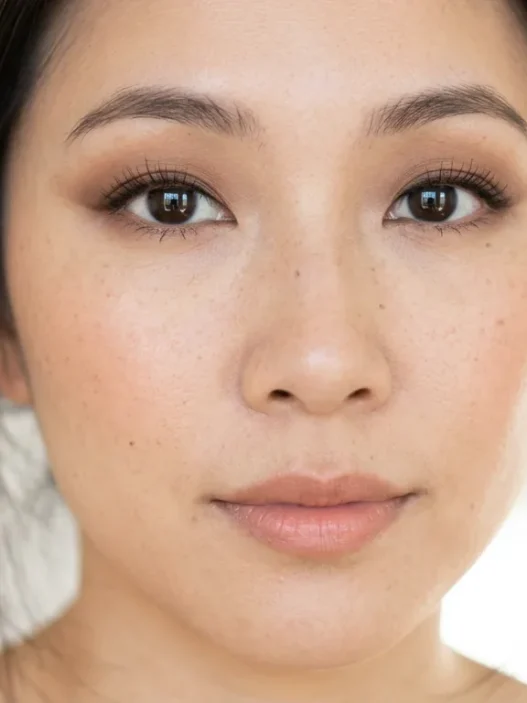
If your skin is dry like mine in December, skip powder for now. We will set later. You want a fresh, slightly dewy finish at this stage. Look at how she is wearing hers in this close eye shot. See how the skin around her eye looks smooth but not flat? That well-hydrated under-eye is exactly what makes the gold shadow lay pretty later.
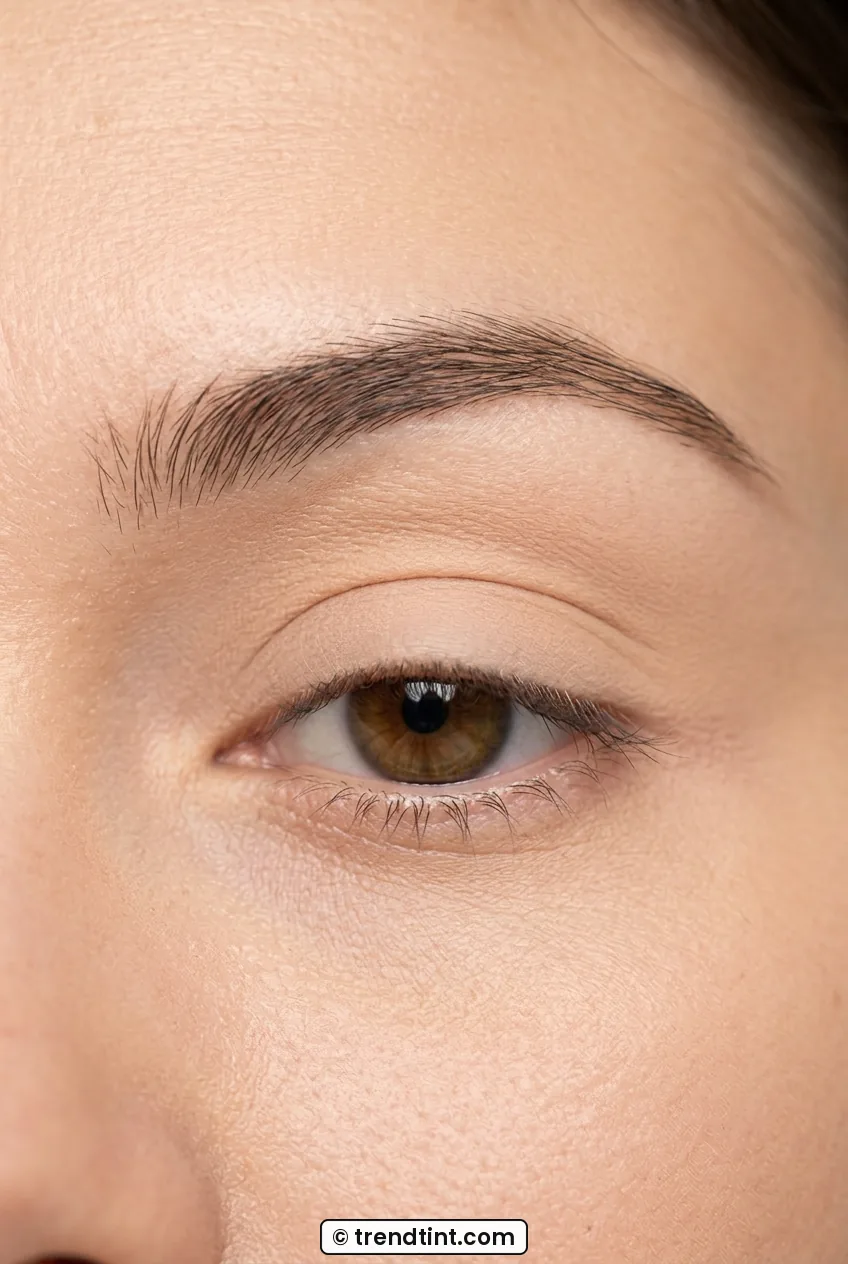
I learned to check my base in hallway light, not bathroom light. Bathroom bulbs are yellow and lie to you. My hallway has a cooler window and shows if I missed my jawline. Blend down your neck a little. It takes ten seconds and saves you in photos.
For a holiday-adjacent cousin to this base, I love peeking at makeup for New Years look when I want a slightly more long-wearing evening base. But for Christmas afternoon, sheer and fresh wins. You have got this. This is the easiest part, and no one will know if it is not airbrushed.
Step 2: Take It One Feature at a Time, Starting With Simple Gold Eyes
This is the heart of the look. We are doing one wash of matte brown in the crease, which is the soft dent above your eyeball, then a finger-pressed gold on the lid. That is it. No cut crease, no winged glitter, no four-color blending marathon.
I sweep the matte cream shade all over from lashes to brow with the fluffy brush just to even things out. Then I pick up a little soft-brown, tap off the excess, and swirl it back and forth in the crease like a tiny windshield wiper. Keep your eye open and look straight ahead while you do it. That trick changed everything for my hooded eyes because when I closed my eye I always placed color too high.
Now the fun part. I dab the shimmery champagne on the inner third of my lid with my ring finger, then the warmer gold on the middle and outer lid. Fingers press shimmer better than brushes when you are new, and you can feel where you are placing it. I learned about building up eyeshadow blending techniques slowly rather than swiping hard once, and it really helped me avoid muddy color.
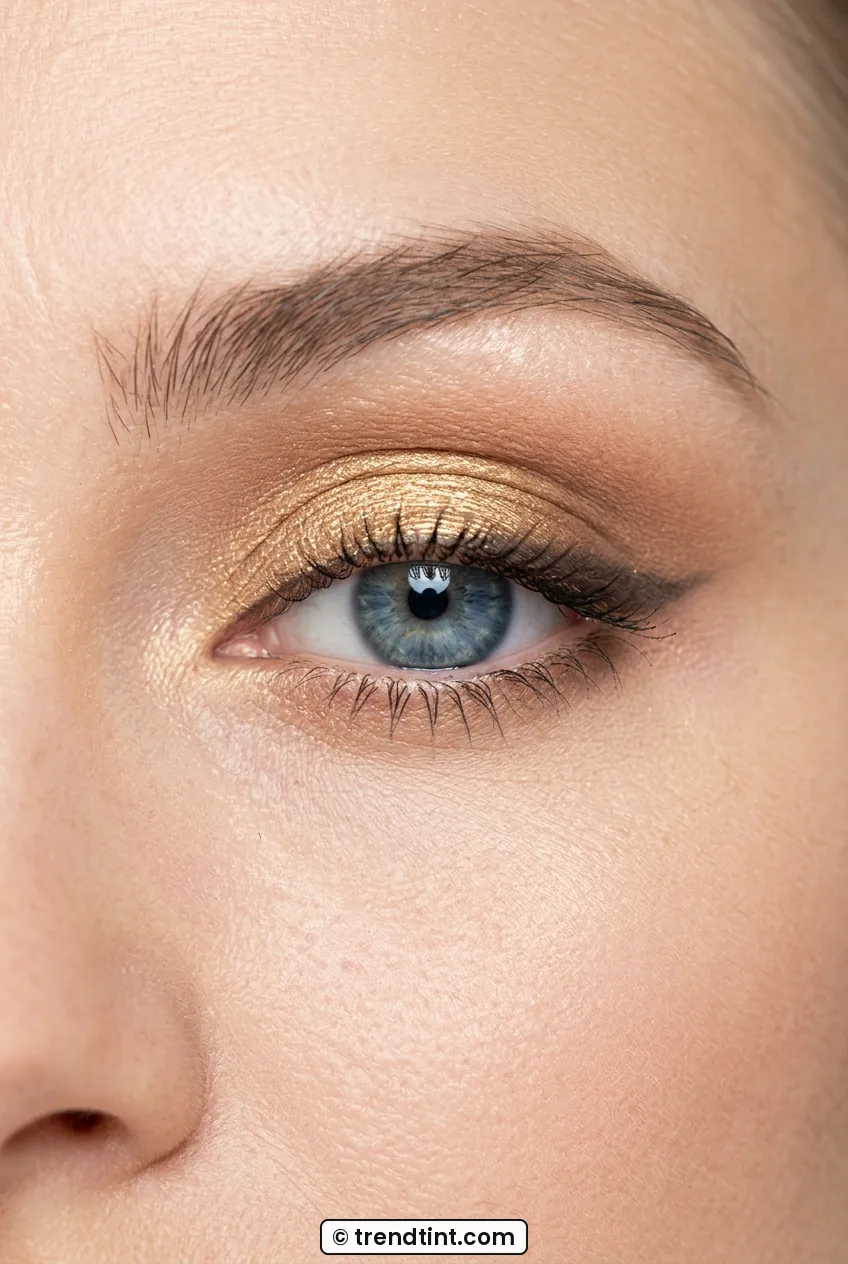
She is showing the exact finger-press moment I mean. See how the gold sits just on her mobile lid and the soft-brown is blurred above it? That two-tone separation is what reads as festive without looking overdone. And keep the shimmer below the crease line. If shimmer creeps up to your brow bone, eyes look puffy in photos.
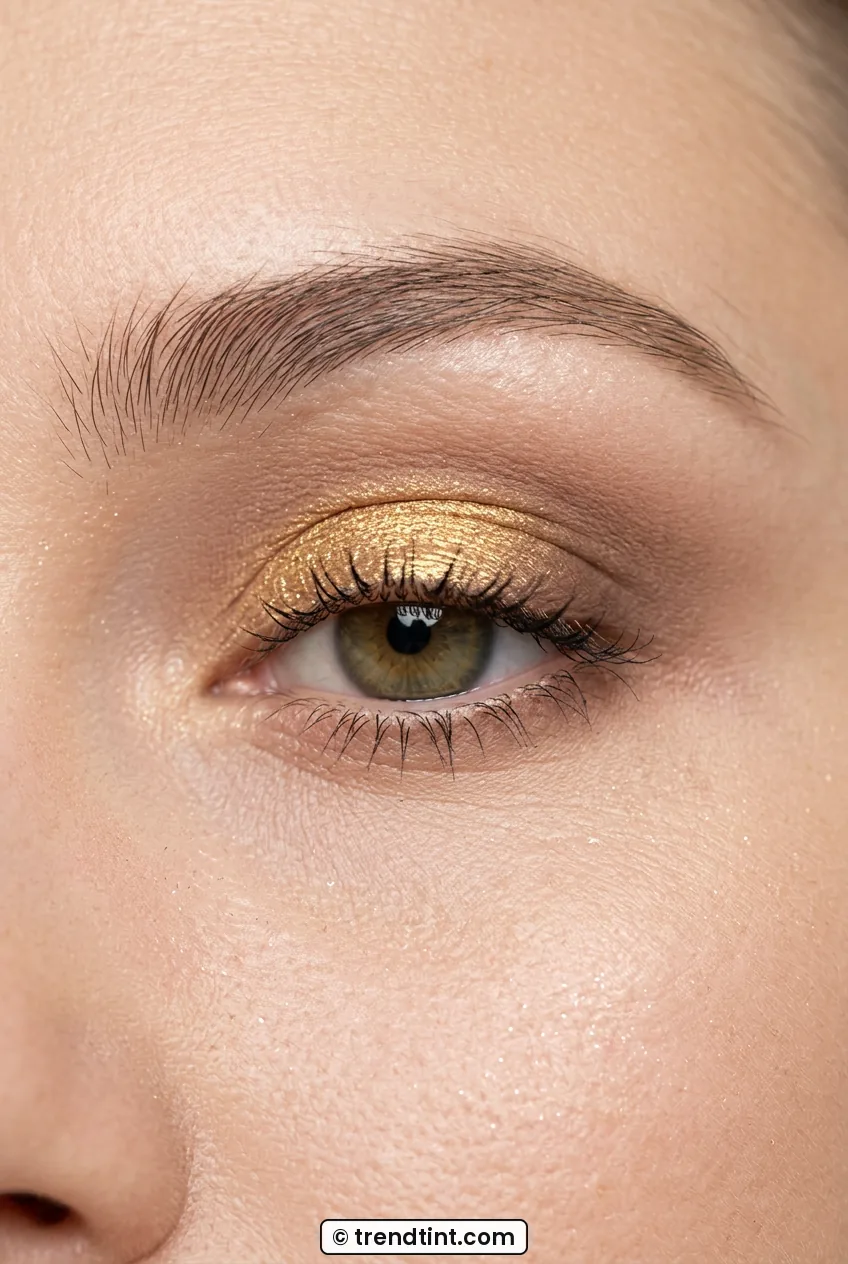
Blend the edge where brown meets gold with a clean fluffy brush using tiny circles. No new product, just softening. It should look like hot cocoa fading into candlelight, not a sharp stripe. If one eye looks stronger, do not panic. I always do my trickier eye first, then match the easier one to it.
A quick definition because tutorials throw this around: transition shade just means the soft-brown that helps two colors meet smoothly. Outer V means the outer corner of your eye where lashes meet. You do not need to darken it much here. Just a whisper more brown with the tip of the brush for depth.
See The Gold Eye Blended Live
Step 3: It’s Okay to Wipe It Off and Retry Your Soft Eyeliner
Liner scared me for years. Liquid felt like a marker and I always poked my waterline. For this Christmas makeup tutorial beginners can actually enjoy, we use pencil and smudge it. It is meant to be soft, like a shadow, not a sharp line.
My mistake my first Christmas Eve: I tried black liquid wings on top of fresh gold shadow, sneezed, dragged it across my temple, and scrubbed so hard I removed all my base. Now I do pencil first, set it with shadow, and keep a micellar-soaked swab in my hand. Wiping one tiny wing and redoing it is normal.
Here is my no-pressure method. Rest your elbow on a table. Look down into a hand mirror. Dot the pencil right into your upper lash line, between the lashes, instead of drawing a line above them. This is called tightlining, and it makes lashes look thicker with almost no visible liner. Then draw a very thin, short line just at the outer corner, flicking up a millimeter or two.
Immediately smudge that little flick with the small flat brush or a cotton swab. Soft is the goal. Then press a touch of the matte soft-brown over it to set it. That keeps it from smearing onto your gold by dessert. She has the ideal softness in this close-up. Notice how her liner is thickest at the lashes and fades upward? No harsh edge, just definition.
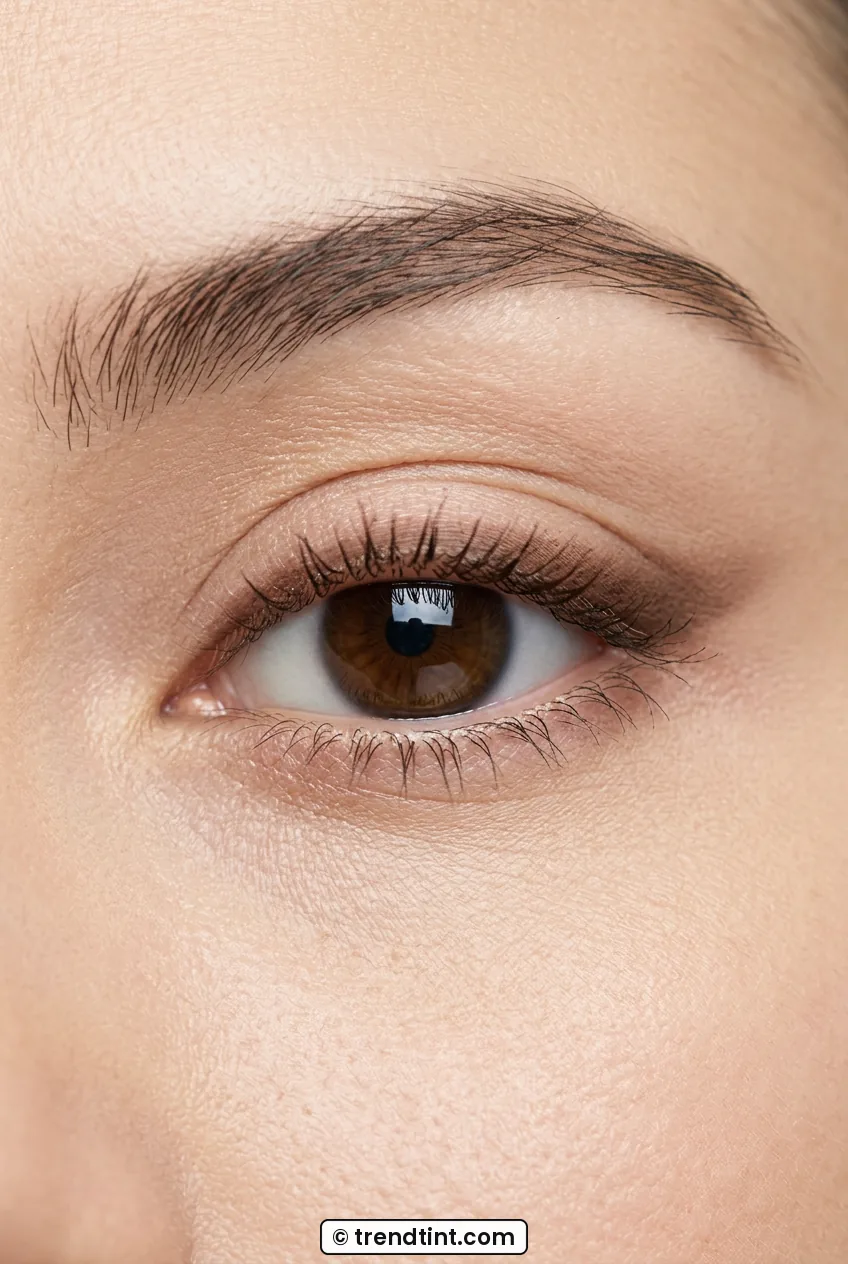
Finish with one generous coat of mascara, wiggling at the roots. Wiggle means push the wand side to side right at the base, then pull up. I blink down onto the wand for lower lashes instead of poking upward. If you get a dot on your lid, wait until it dries, then flick it off with a clean spoolie. Wet mascara smears, dry mascara flakes away clean.
If pencil still transfers to your upper lid, your lids might be a little oily like mine. A whisper of translucent powder on the brow bone before shadow helps, and reading up on smudge-proof eyeliner techniques gave me the tissue-blot trick I still use every holiday.
Step 4: Add a Little Glow Without Looking Glittery
Christmas glow should look like you slept well and stood near the tree lights, not like a disco ball. This step builds on the eyes, because now we balance that warmth with blush, brows, and a low-key highlight.
I brush my brows up and fill only the sparse spots with short hair-like strokes. Full Instagram brows fight with a red lip, in my opinion. Brushed and tidy is plenty. Then I smile lightly and sweep peachy blush on the apples and back toward my temples. Cream blush is the most beginner-friendly if powders scare you, and a multipurpose cream stick means one less product to buy.
Highlighter goes only on the very tops of cheekbones and the inner corner of the eye. I tap a rice-grain amount with my finger. In plain language, highlighter is just a light-reflective powder or cream that catches light. A champagne tone suits this gold eye. A white-silver tone can look frosty in winter photos, so I skip it in December.
This is the detail I want you to copy. See how her inner corner has that tiny bright pop? That little dot makes tired eyes look awake even if you were wrapping presents until midnight. I use the same champagne shade from my eye quad for that spot so everything matches.
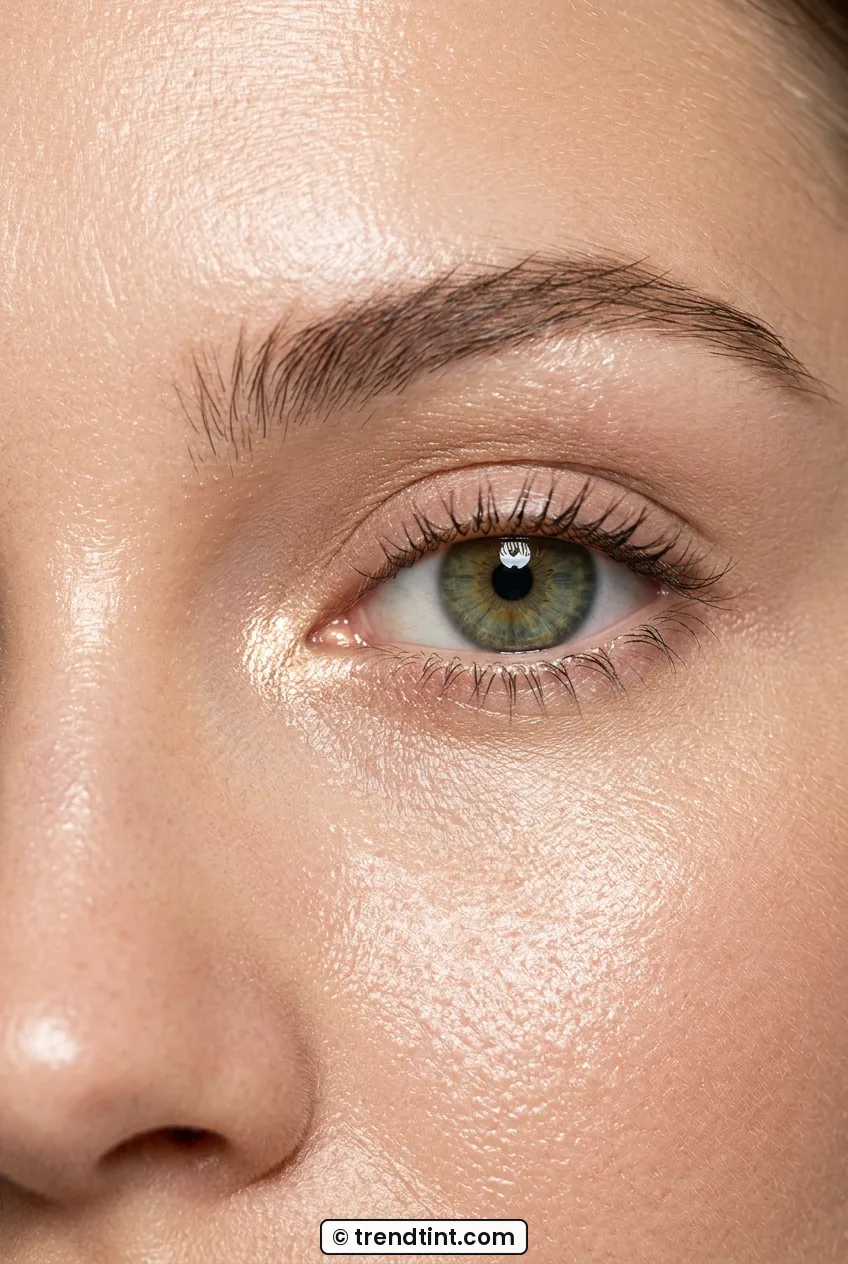
I keep contour out of this tutorial on purpose. When I tried to contour and highlight and blush as a beginner, my cheeks looked muddy. Blush plus a touch of glow is fresher and much harder to mess up. If you love deeper winter inspo for later, browse winter makeup looks after you nail this base version. But master this simple balance first.
Check yourself in a window before moving to lips. Daylight shows if blush is uneven. I once walked into church with one bright stripe because my vanity light was dim. A quick window check takes five seconds and I never skip it now.
Step 5: The Classic Red Lip, Made Beginner-Proof
Red lipstick is the Christmas shortcut. Even if your eyes are simple, red says holiday instantly. The secret for beginners is liner, balm, and blotting. Those three steps make drugstore reds perform like high-end ones.
First exfoliate gently by rubbing lip balm in with a soft toothbrush or washcloth, then blot off the excess. Dry flakes plus matte red is a rough combo. I line just outside my natural edge only where I need symmetry, usually the Cupid’s bow, which is the little M shape on top, and the center of the bottom lip. Then I fill the whole lip with liner. That liner base grips color for hours.
Apply red straight from the bullet in thin layers. Press lips together, blot once on tissue, then add a second thin layer. Two thin layers last longer than one thick swipe and feather less around the edges. If you wobble, do not remove everything. Clean the edge with a pointed swab dipped in concealer. Makeup artists do this constantly.
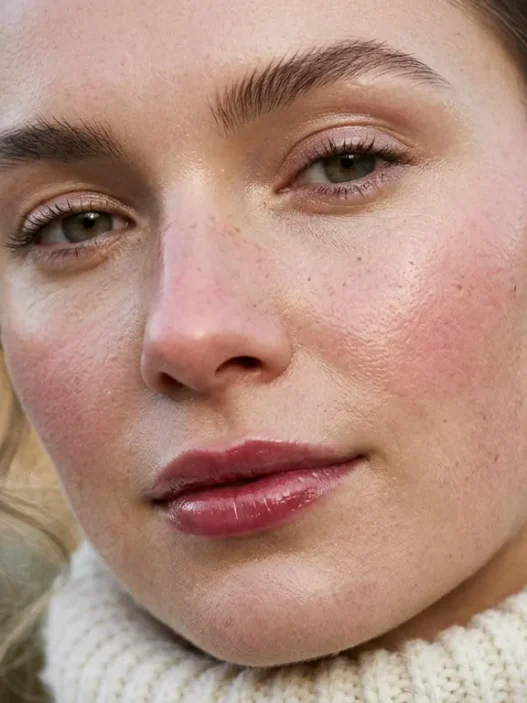
Look at her lip edge here, crisp but not overdrawn. That is the liner-plus-concealer cleanup I am talking about. And see the soft sheen? A satin finish is more forgiving than a flat matte if your lips are dry, which mine always are in December. It also feels better through talking and sipping cocoa.
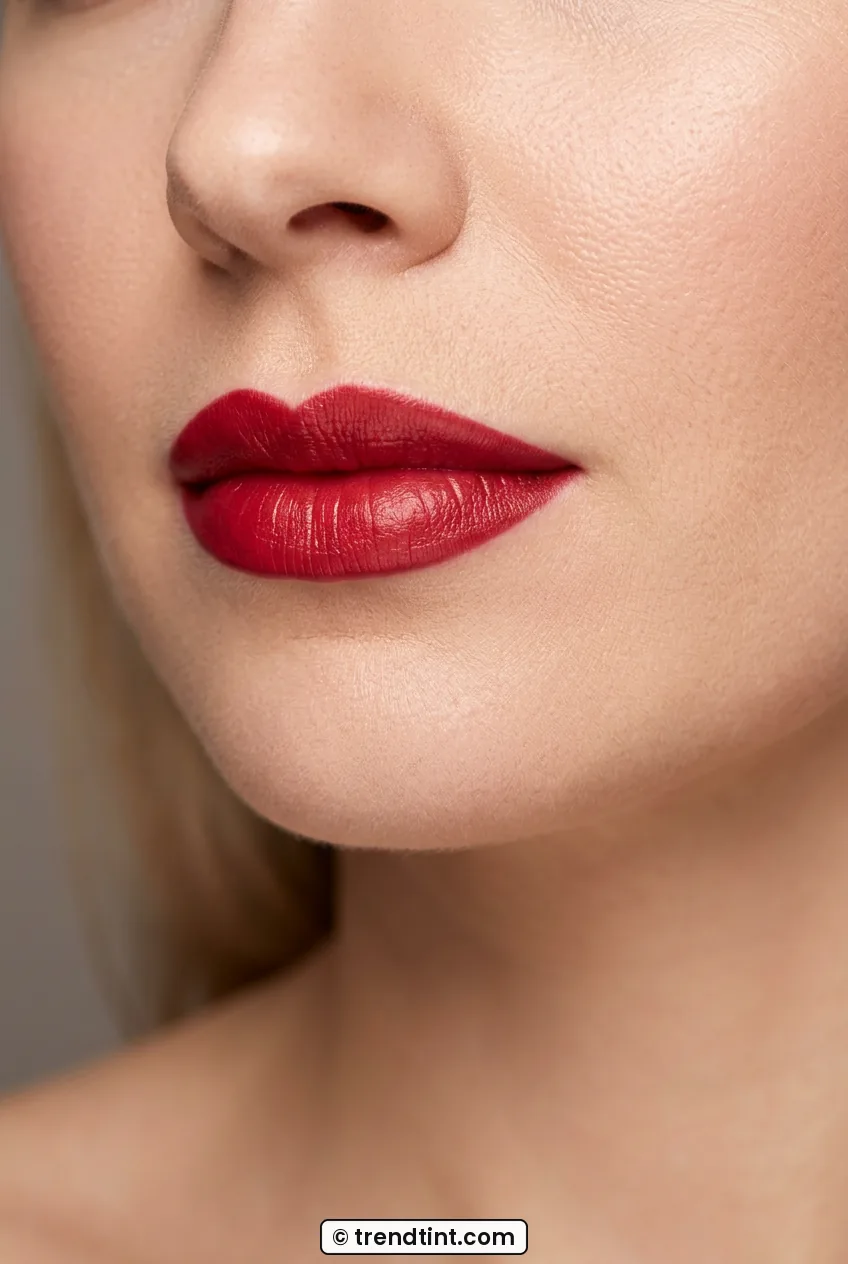
Choosing red feels personal. I love a blue-red on my fair skin because teeth look whiter. My sister wears a warm brick-red and it is stunning on her medium skin. If full red terrifies you, press it on with your finger for a stained effect. You still get the festive mood, just sheerer. I wore it that way my first year.
If you want to practice bolder lip shapes later, the deep dive on mastering baddie makeup looks has useful lip-lining close-ups, though that style is much heavier than this soft Christmas version. Borrow the lining technique, skip the over-line. And reading about long-lasting red lipstick helped me pick a formula that survives hugs from my lip-gloss-wearing nieces.
Step 6: Set It Lightly So It Lasts Through Dinner
Setting just means locking makeup lightly so heat from cooking and hugs do not melt it. Mistakes happen when beginners use too much powder and lose all that fresh glow. We want a light-touch set.
I press a tiny amount of translucent powder only where I get shiny, which is beside my nose and center forehead, using a fluffy brush and a rolling motion. I leave cheeks and eye lids alone. Then I hold a setting spray eight inches away, close my eyes, and mist twice in an X shape. It melts powder into skin so you do not look dusty in flash photos.
Let it dry for 60 seconds without touching your face. Use that minute to clean fallout under eyes, fix a brow, or put on earrings. Then do my final 10-second checks: teeth check for lipstick, nose check for powder, lash check for mascara flakes. I keep cotton swabs and lipstick in my clutch for after mulled wine.
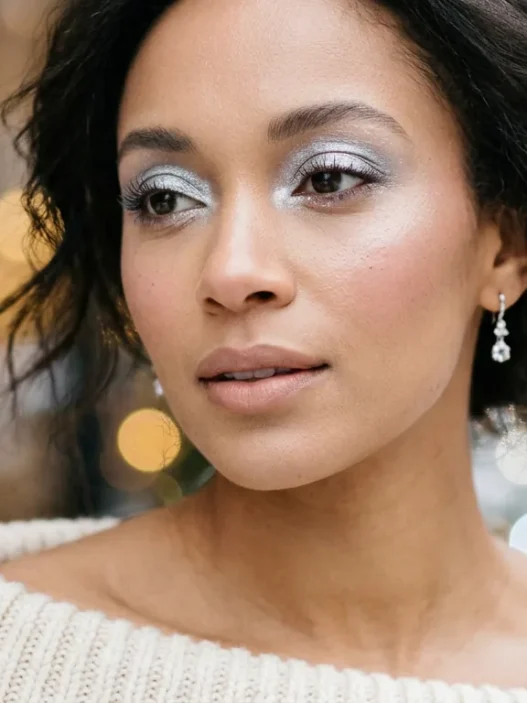
This final eye detail shows why light setting matters. Her gold still reflects light instead of looking chalky, and her liner stayed soft through the day. That luminous lid is what disappears if you over-powder. Less is more here, I promise.
If you like a numbered routine to memorize, my go-to reminder is the flawless makeup tutorial order for face steps, just softened for Christmas. And honestly, the one habit that makes everything easier for me is doing makeup in the same order every time. Muscle memory beats talent when the doorbell is ringing.
When I wore this to my parents house last year, my mom asked if I had gotten a facial. Nope. Just moisturized skin, one gold shade done well, smudged liner, and a confident red lip that I blotted twice. I felt cozy, not costumey, and I was not checking the mirror all night. That relaxed feeling is the real result I wanted for you too.
Christmas Glow Questions I Hear Every December
Can I do this Christmas eye look without any brushes?
Yes. I actually prefer fingers for the gold lid press because shimmer sticks better with warmth. Use a cotton swab to soften the crease brown and smudge liner. A fluffy brush just makes blending faster, not mandatory.
What red lipstick is easiest for shaky hands?
A sheer red balm or satin crayon is the most forgiving first buy. You can press it on without a mirror and it will not show wobbles. Once you feel steady, move up to a classic bullet plus liner for longer wear.
How do I keep gold eyeshadow from fading by dinner?
Thin layers and a tacky base help most. Press concealer or a dab of primer on lids, set lightly with cream shade, then press gold on top. Avoid rubbing your eyes and skip heavy eye cream on lids that morning.
Will shimmer make my fine lines look worse?
Not if you keep shimmer on the flat lid only. I keep matte brown in the crease and skip shimmer on the brow bone. That placement adds light where you want it and keeps texture soft around the outer corners.
You have got this, I mean it. Start a little earlier than you think, put on a holiday playlist, and give yourself permission to wipe and retry. That calm practice run is what turned my stressful Christmas makeup into my favorite 20-minute ritual of the year.