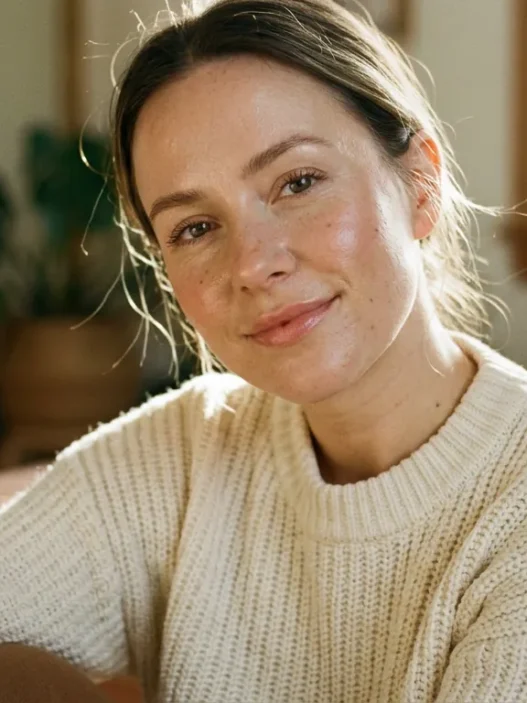





I have worn full-coverage pink lipstick for years, and I loved it, but it always felt a little heavy for daytime. Last spring I kept saving photos of that soft, just-bitten Korean gradient and finally decided to learn it properly. I practiced on my own mouth for two weeks straight, coffee cup always nearby for wear tests. This is the fingertip method that actually stuck for me.
Follow My Blurred Pink Lip Map
- What You’ll Need for Soft Gradient Pink Lips
- Step 1: Understanding the Fundamentals of the Blurred Edge
- Step 2: Prepping and Concealing for That Inner-Glow Base
- Step 3: Dabbing Colour in the Centre to Build the Gradient
- Step 4: The Three Variations Worth Knowing for Different Moods
- Step 5: Blending and Setting Without Losing Softness
- Step 6: Common Mistakes at Each Stage and How I Fixed Mine
- Step 7: Taking It Further With Layering and Shine
- Pink Lip Questions I Hear All the Time
What You’ll Need for Soft Gradient Pink Lips
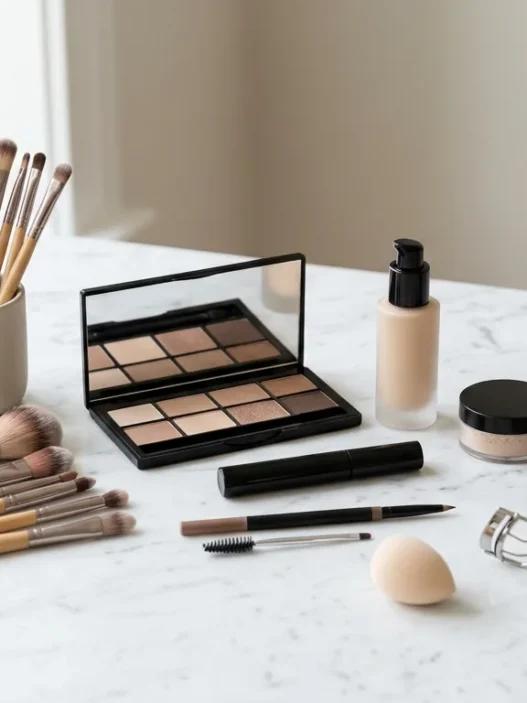
I tried this first with a full bag of products and it was overkill. You really need less than you think, and the texture matters more than the brand. My favorite combo is drugstore base plus one mid-range tint, and no one can tell the difference.
- A light lip balm, not a thick salve, something that sinks in within two minutes
- A small doe-foot concealer or a skin-tone corrector, one shade close to your natural lip edge
- One buildable pink tint or a velvet-matte lip colour, cool rose if you are fair, warm coral-pink if you are medium to deep
- A clear or pale-pink lip gloss or a juicy lip oil for the centre only
- Cotton swabs and a clean ring finger, seriously, your fingertip is the best brush here
- Blotting tissue and a mini mirror you can hold close
If you already live in lips as a category, you probably own half of this. I keep my gradient kit in a tiny pouch so I can refresh on the train. And skip long-wear liquid lipstick for this technique. It sets too fast to diffuse and it fights the fingertip blending we want.
Step 1: Understanding the Fundamentals of the Blurred Edge
The whole idea is reversed from how I learned to wear lipstick in high school. Instead of a sharp, full-coverage outline, we keep the deepest colour in the centre and let it fade toward the edge. When I first saw it on a friend in Seoul, I thought she had just blotted her lipstick. Up close, though, it was intentional. The inner part looked water-colour rich, the outer part looked like her own lips, just healthier.
Why does the fingertip matter so much? A brush lays down too even a layer, and a doe foot lays down too much product at once. Your warm fingertip melts the tint slightly and presses it into the natural lip lines. That gives the diffused, lived-in edge instead of a ring. I read up on lip tint application techniques before I committed to ditching brushes, and it confirmed what I was seeing in the mirror.
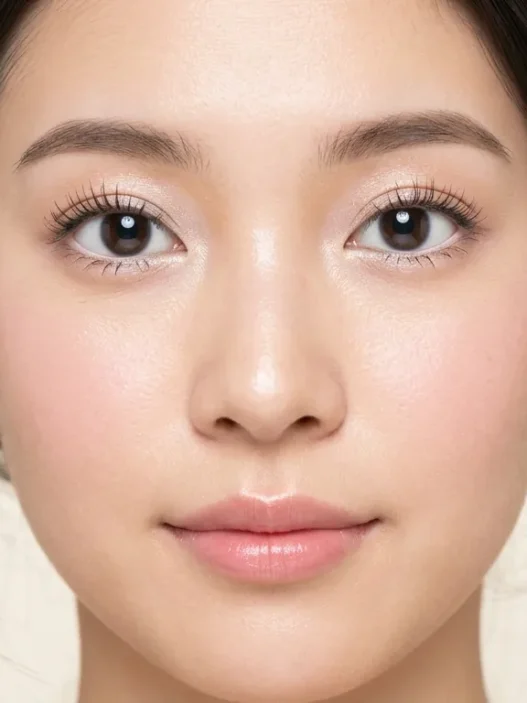
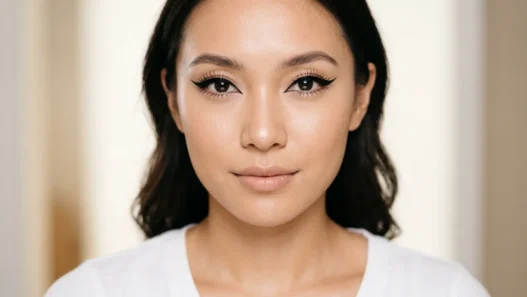
Look at how she is wearing hers in this close view. That soft halo around the mouth is exactly what I mean. There is no visible lip-liner line, just colour that gets paler as it moves outward. My own lips are quite pigmented at the border, so I need a little muting there. If your natural lip line is pale, you may need almost no muting at all.
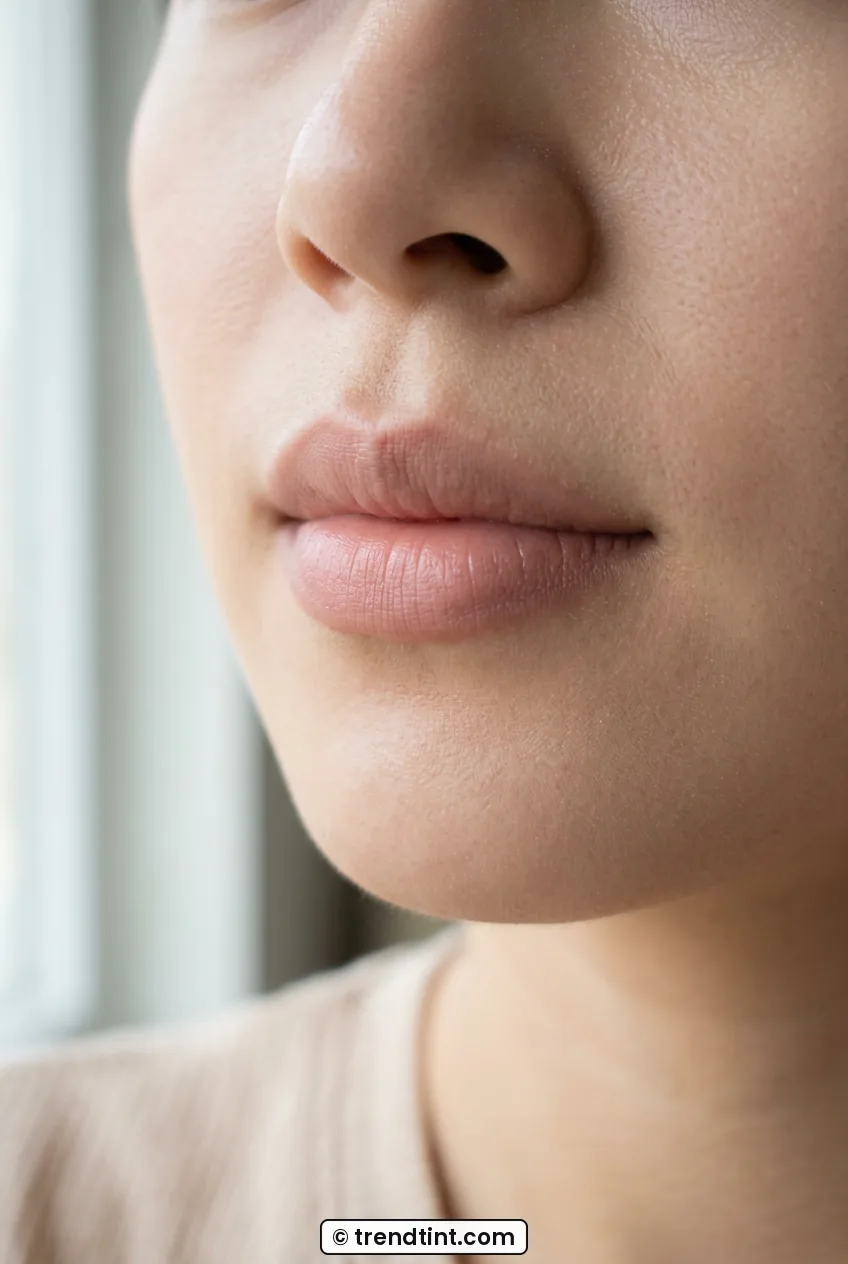
Think of it in three zones. Inner third is saturated, middle third is diffused, outer third is almost bare. You will build slowly, two to three sheer taps rather than one heavy swipe. And light is your friend here. I always check mine in daylight or by a window, because bathroom downlights hide patchiness.
Step 2: Prepping and Concealing for That Inner-Glow Base
This step felt backward to me at first. Why put concealer on lips I want to look natural? But without it, my pink tint grabbed onto dry spots and looked blotchy by noon. A smooth, lightly muted base is what lets that centre colour bloom.
Start with a thin balm layer and wait. I make tea, answer a text, give it a full two minutes. Then press off any excess with tissue. You want soft, not slippery. If your lips are flaky, do a quick 30-second sugar scrub the night before, not right before. Scrubbing right before makes the edge red and ruins the pale outer zone.
Now take the tiniest dot of concealer on your ring finger and press it just along the outer edge of your lips. Not all over. You are not erasing your mouth. You are just lowering the contrast between skin and lip so the gradient has somewhere to fade into. Blend outward with tapping, not swiping. I learned about lip preparation for smooth colour and started treating this like foundation for my mouth, thin and pressed, never cakey.
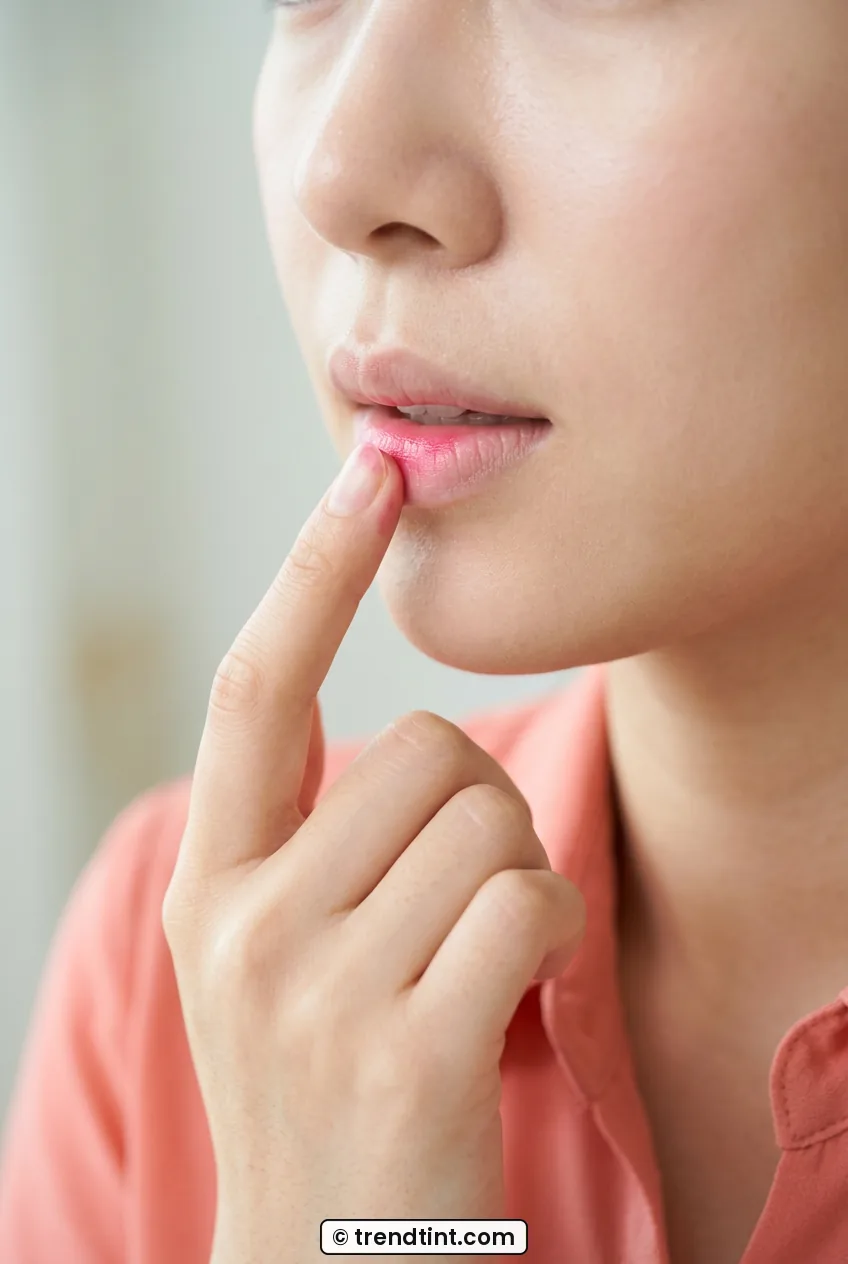
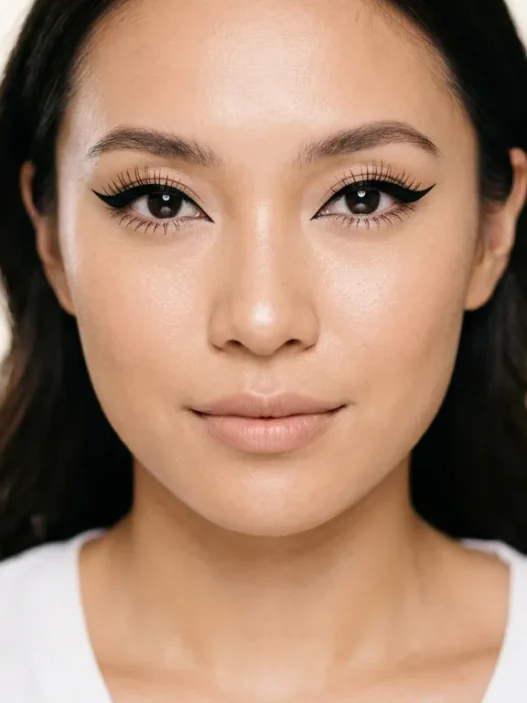
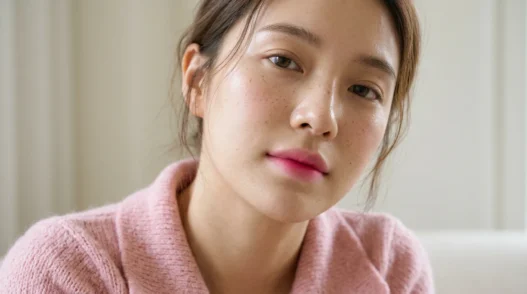
She has got that perfect prepped base here. See how the outer lip looks soft-focus and even, with no dry flakes catching the light? That is the canvas I aim for. On me, this takes about 90 seconds. If you have deeper skin, use a corrector that matches your peri-lip area rather than a too-light concealer, or you will get a grey cast. My friend with rich brown skin uses a peachy corrector and her pink gradient looks unreal against it.
Check yourself by smiling lightly. If product settles into smile lines, you used too much. Tissue it off and use half as much. This base should feel like nothing.
Step 3: Dabbing Colour in the Centre to Build the Gradient
This is the heart of it, and it is also the most fun. Dot, press, check. Dot, press, check. I put one small dot of pink tint on the centre of my lower lip and one on the centre of my upper lip. Not a stripe, just a dot the size of a lentil. Then I press my lips together once, lightly.
Now use your clean fingertip to tap-tap-tap outward from the centre. Think piano keys, fast and light. Do not swipe side to side. Swiping drags colour to the edge and kills the fade. Tapping keeps pigment concentrated inside while pushing just a whisper outward. I do about 15 seconds per lip, then stop and look.
In this macro detail you can see exactly what I mean. Her fingertip is right in the middle, pressing colour in where lips naturally touch. The edge is already starting to blur out into nothing. I love that soft, cloud-like border forming there. When I do mine, I keep my finger almost flat, not pokey, so the pressure stays even.
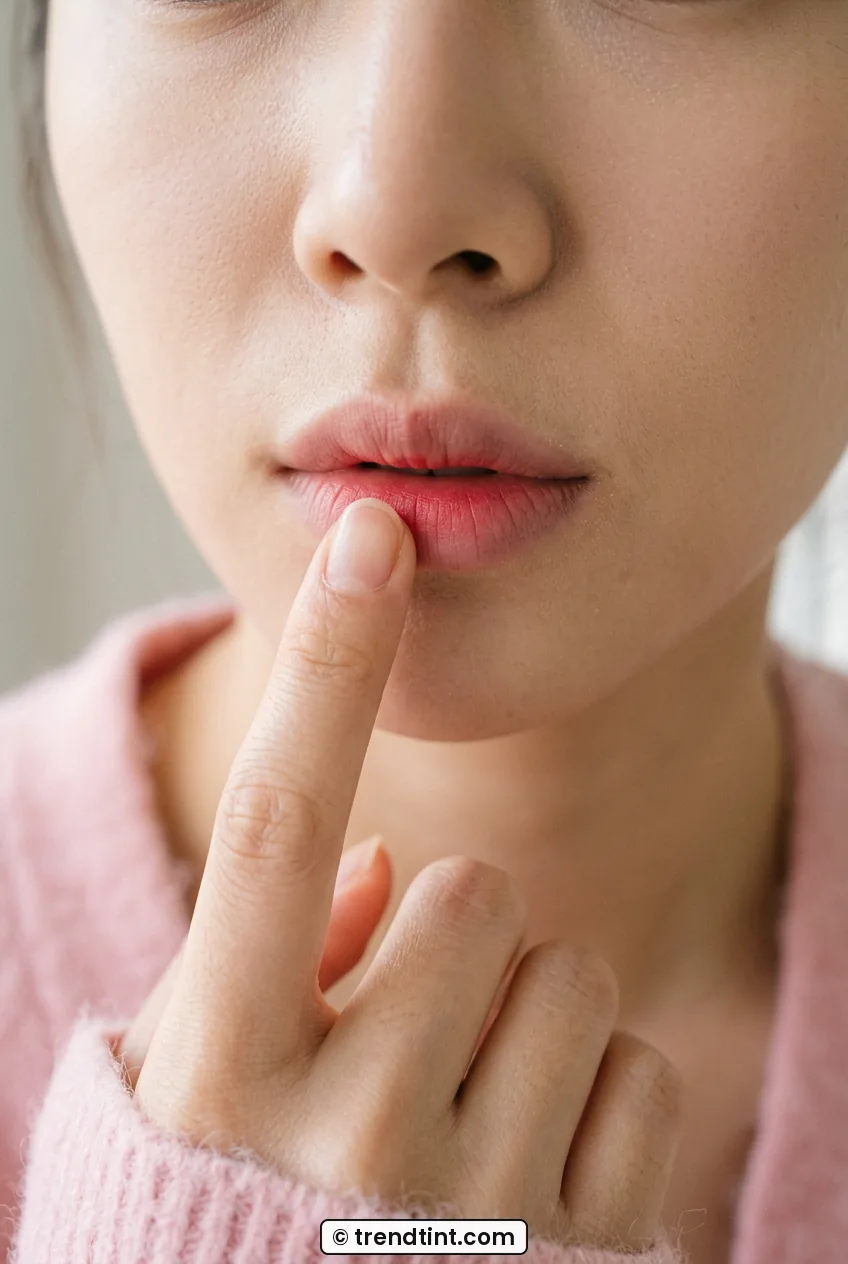
Want more intensity? Add a second lentil-dot only to the very innermost part, right where upper and lower lips meet, and tap again. That layered depth is what makes pink lips look juicy rather than flat. I usually stop at two layers for daytime. Three starts to look evening-rich on me, which is pretty but less sheer.
Shade choice matters here. If you love bold and bright lips, you can still do this technique, just use a vivid hot-pink tint and keep the outer fade very sheer. If you usually reach for nude and subtle lips, pick a milky baby-pink and build three whisper layers. Both work, the motion is the same.
See the Dabbing Motion Live
Step 4: The Three Variations Worth Knowing for Different Moods
Once the dabbing motion clicks, you can shift the mood without relearning anything. I wear all three of these in rotation depending on my week. They all start from the same blurred base, so you are not starting over.
First is the milky baby gradient. Use a pale, almost pastel pink and keep the centre soft. I tap a little extra concealer back over the very edge after colour to make it extra cloudy. This is my go-to for no-makeup makeup days with just mascara and brushed brows. It looks sweet and a little shy, in a good way.
Second is the classic bitten rose. This is a mid-tone rose-pink with a slightly deeper centre. I add that second inner dot and press lips once more. This is what most pink makeup shade of the moment roundups are showing right now, that fresh flushed rose. I wore this to a brunch last month with a cream knit and got three compliments before mimosas arrived.

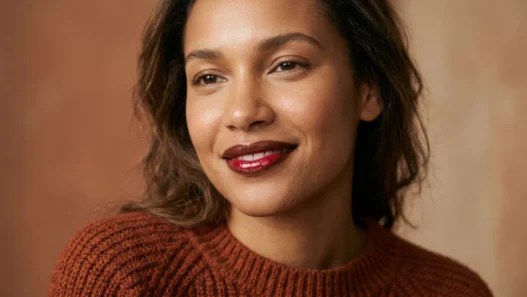
She is wearing the bitten rose version so well here. See how the centre looks a touch deeper, like she just sipped cherry tea? That little depth in the middle is the whole trick. Third is the glossy popsicle. Same gradient, then a pea-size drop of clear gloss pressed only in the centre with your fingertip. Do not take gloss to the edge or you will lose the blur. This one photographs beautifully and feels very 2026 to me.
I also learned a lot about combining textures from the layering guide for custom pink makeup, especially which gloss sits well over velvet tints without pilling. The short version I use now is watery tint first, velvet second if I want depth, gloss last and only in the middle.
Step 5: Blending and Setting Without Losing Softness
Blending is where I used to ruin everything by overdoing it. I would keep tapping until all the colour disappeared. Now I set a rule for myself. Three checks and done. Mirror at arm’s length, mirror up close, phone camera in daylight. If it looks good in all three, hands off.
Take a clean cotton swab and roll it very lightly along the outer edge if you have any harsh line. Rolling, not dragging. One pass is usually enough. Then blot once, very gently, with a single ply of tissue. I press, I do not rub. This takes away surface slip but leaves the stain behind. You can read more on long-lasting lip colour methods and you will see blotting plus thin layers always beats one thick layer.
Look at her outer edge in this shot. It is clean but not sharp, like water-colour on damp paper. That is what one swab-roll gives you. If you have oily skin around the mouth, dust the tiniest bit of translucent powder just outside the lip line with a fluffy brush, never on the lips themselves. Powder on the colour turns it chalky and kills the juice.
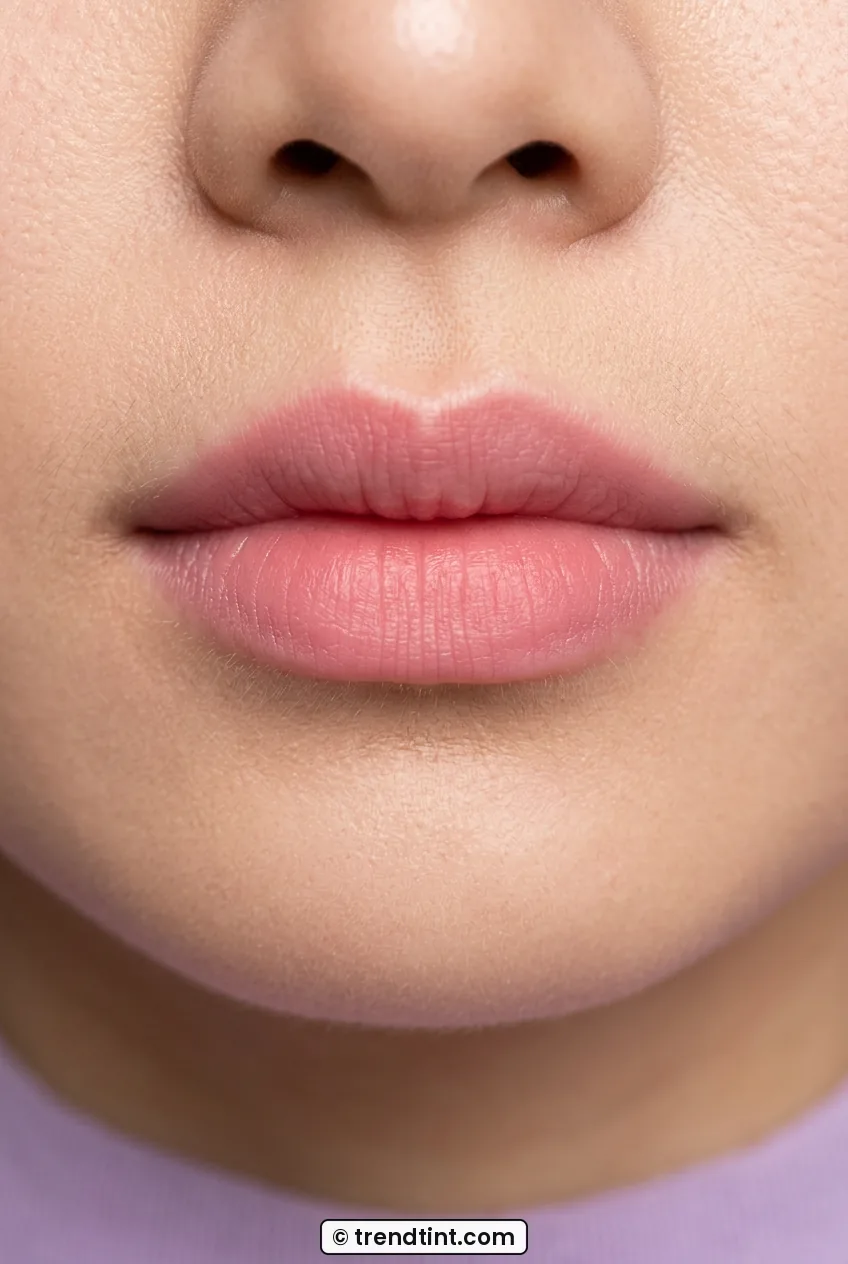
For wear time, my gradient lasts about four hours before the centre needs a dab refresh. I just carry the tint and re-dot the middle, no need to redo the base. It layers beautifully because the first layer is so thin. A full opaque lipstick never refreshes this gracefully on me, it just piles up.
Step 6: Common Mistakes at Each Stage and How I Fixed Mine
I made every mistake possible while learning this. My first attempt looked like I had eaten a red popsicle in a hurry. The centre was neon, the edge was dry, and my cup was covered in gloss. The fixes were small, but they changed everything.
I kept swiping the tint side to side like normal lipstick and wondering why I had a harsh ring. The day I switched to straight up-and-down tapping only, the gradient finally went soft.
Mistake one happens at prep. Too much balm. If lips are slippery, tint slides right off the centre and pools in lines. Fix it by tissue-pressing after balm and waiting two minutes. Mistake two happens at concealing. Too much coverage around the mouth makes lips look flat and grey. Fix it by using half a dot and blending outward into skin, not inward onto the full lip.
Mistake three is picking a too-dark or too-opaque shade for your first try. A deep fuchsia shows every error. Start with a sheer rose-pink while you learn the motion. You can go bolder once your fingertip knows the pressure. And mistake four is over-glossing. I used to coat edge to edge and the whole blur melted. Now gloss stays in the inner third only, pressed with a fingertip, not swiped with a wand.
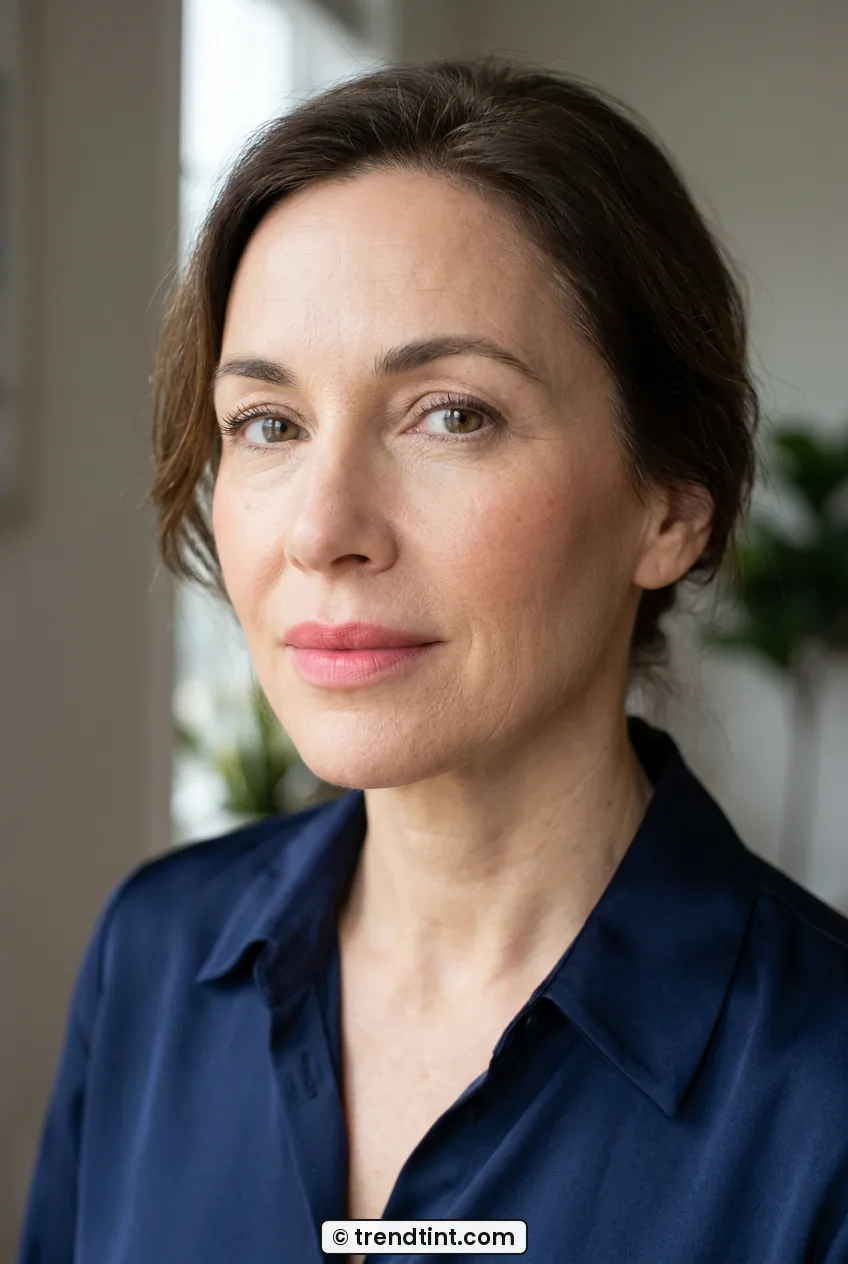
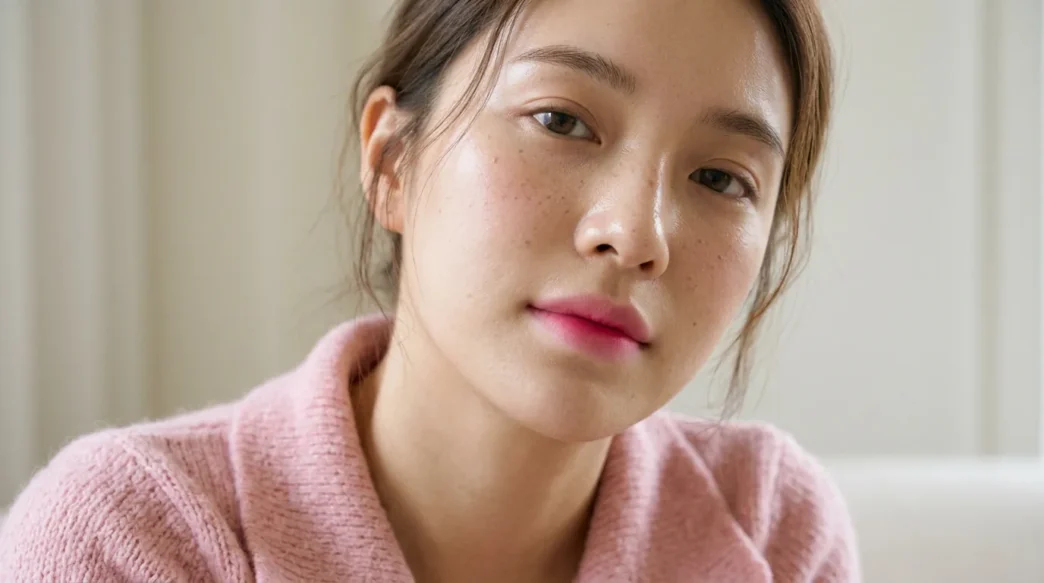
She is showing the fixed version here, smooth centre, no pilling, no ring. Notice there is no product caked in the corners? I clean corners with a dry swab after every application now. That one habit makes the whole thing look pro. If you struggle with feathering into fine lines, try preventing lip colour feathering style tip I use, a whisper of lip balm just outside the line as a barrier, not liner.
Step 7: Taking It Further With Layering and Shine
Once you have the basic gradient down, layering is where it gets personal. I have fair-neutral skin that goes sallow with blue-pinks, so I layer a warm peach-pink under a cool rose to balance it. One sheer tap of each in the centre, blended together with my fingertip. It creates a custom shade no tube quite matches.
My sister has medium-olive skin and she does the opposite. She starts with a rosy stain, then taps a coral-pink gloss just in the middle. On her, that little warm pop keeps the look fresh instead of washed out. The rule we both follow is thin to thick, watery first, creamy last. If you reverse it, the watery layer beads up.
For evening, I deepen only the innermost line where lips meet. I use a slightly berry-pink pencil, dot three tiny marks there, and tap to diffuse. It adds dimension without a visible outline. Then a centre gloss. For office days, I skip gloss and do a second velvet tap instead for a soft, blurred-matte finish that survives meetings and does not transfer much to mugs.
I keep testing small combos and writing down what worked, because pink shifts so much in different light. What looks milky in my bathroom looks neon in the car. My current favorite for photos is sheer rose tint plus a pearl-finish oil in the centre. In real life, I prefer velvet tint alone. Same technique, different top layer.
Pink Lip Questions I Hear All the Time
How do I keep a gradient from looking patchy by afternoon?
Thin layers are everything. Two sheer taps last longer than one thick one, and a tissue blot between layers helps. I also re-dot just the centre after lunch instead of redoing the whole lip.
Can I do this if my natural lip edge is very dark?
Yes, I have a darker border too. Use a skin-matched corrector very lightly on the edge only to lower contrast. Keep the pink in the centre and do not drag it outward, the fade will still show.
What finish works best for beginners?
Start with a watery or velvet tint, not a full gloss and not a long-wear liquid. Tints forgive uneven tapping and blend with a fingertip easily. Add gloss later once the motion feels natural.
Does this work for thin lips?
It actually makes my thinner upper lip look fuller because the pale edge blurs the real line. Keep the deepest colour centred and avoid overlining. A tiny centre gloss adds the illusion of volume.
I wore the bitten rose version to work all last week and I am sold. My lips looked fresh at 9am and still soft at 3pm, no crusty ring, no constant mirror checks. And my coffee cup? Barely a mark. If you try one variation, try the fingertip tap for two minutes tonight just to feel the motion. It clicks fast, I promise.