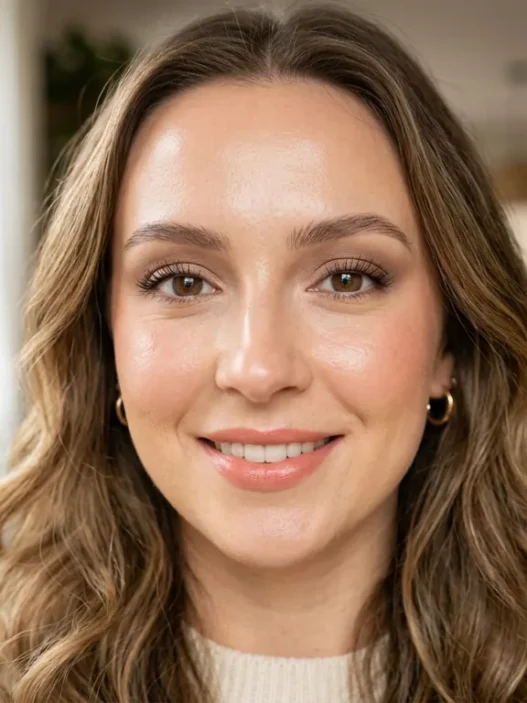

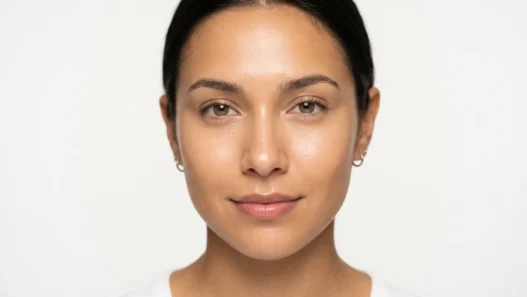


I used to think eyeshadow application was some kind of mystical art form that only makeup artists understood. My attempts always ended up muddy, patchy, or completely unblended — basically looking like I’d finger-painted with my eyes closed. After years of watching tutorials and buying every brush set on the market, I finally cracked the code. It’s not about having expensive products or perfect technique. It’s about understanding the phases.
What You’ll Need for This Guide
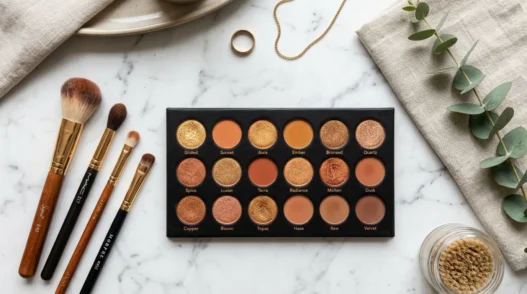
Let me save you from buying seventeen different brushes like I did. Here’s what actually matters:
- A fluffy blending brush (bigger than you think you need)
- A flat shader brush for packing color
- A smaller pencil brush for detail work
- Eyeshadow primer (non-negotiable)
- At least three complementary eyeshadow shades
- A setting spray or powder
- Good lighting — seriously, this changes everything
The timing breakdown: Phase 1 takes about 3 minutes, Phase 2 needs 5-7 minutes of patient blending, Phase 3 is where you’ll spend most of your time (8-10 minutes), and Phase 4 wraps up in 2-3 minutes. Total time investment: around 20 minutes for a polished look.
Phase 1: Eye Prep and Primer Setup
This is where most people rush and regret it later. I learned this the hard way when my gorgeous copper eyeshadow turned muddy green by lunchtime. Primer isn’t optional — it’s your foundation for everything that follows.
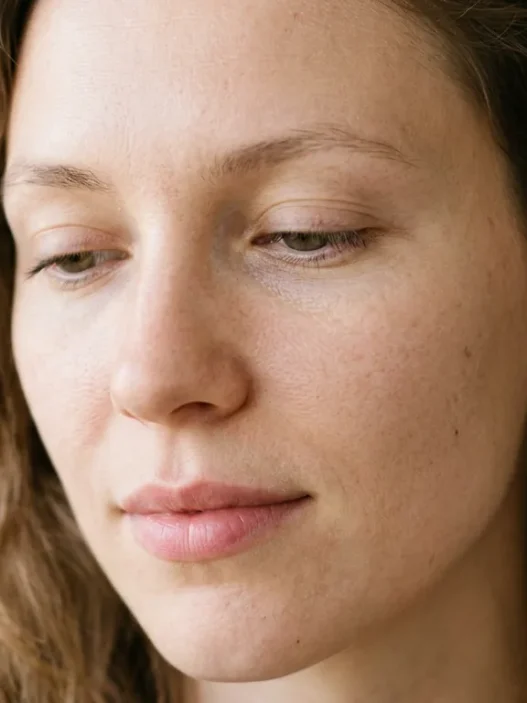
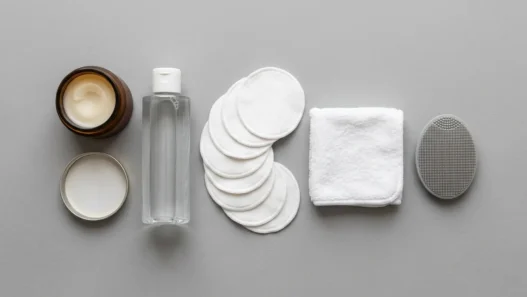
Start with completely clean eyelids. Any leftover oils, moisturizer, or yesterday’s mascara will sabotage your blend. I use a gentle makeup wipe, then follow with micellar water on a cotton pad to get every trace gone.
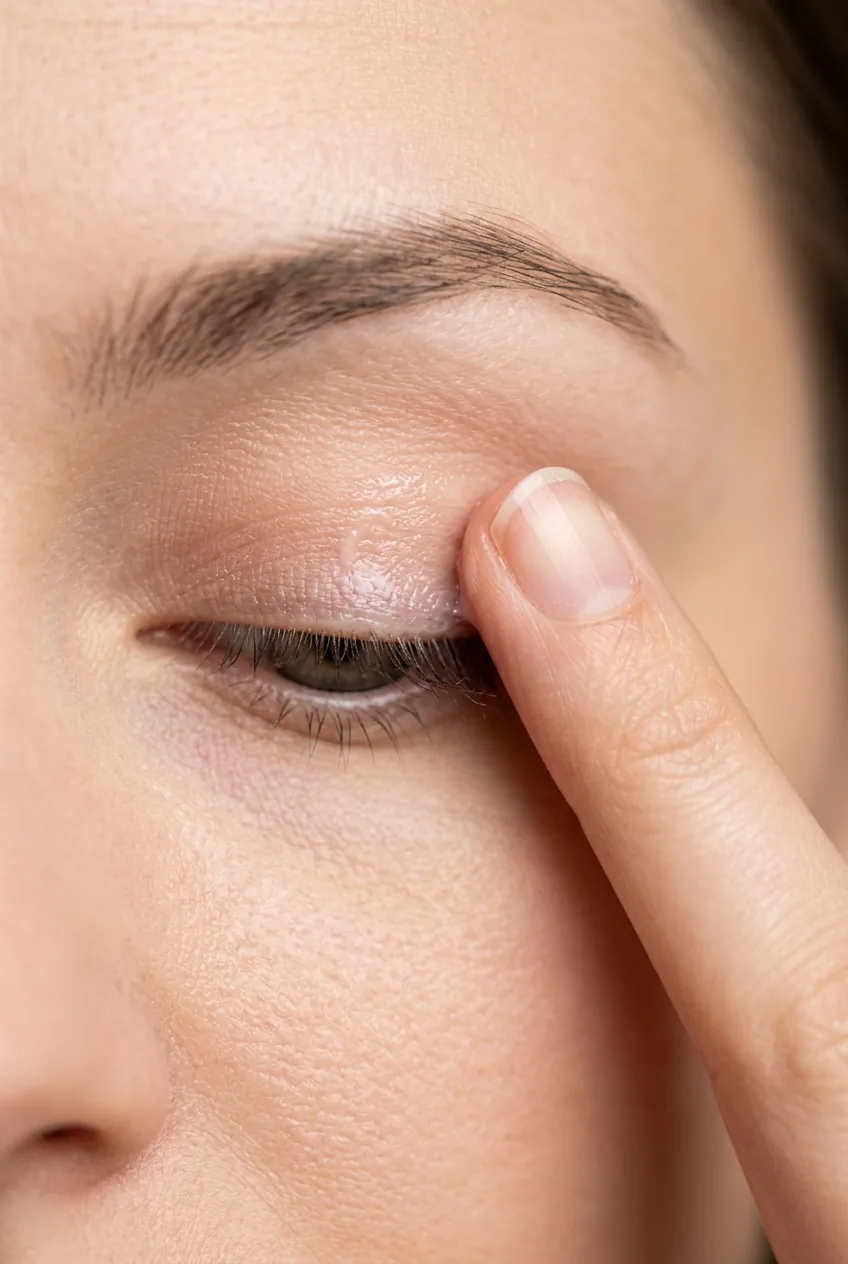
Apply primer from your lash line all the way up to your brow bone. Don’t just dab it on — pat and press it into the skin until it feels tacky. This tackiness is what grabs your eyeshadow and holds it in place. I wait about 30 seconds for it to set before moving to the next step.
Here’s something I wish someone had told me earlier: set your primer with a light dusting of translucent powder. This creates the perfect base for blending and prevents that dreaded “muddy shadow” effect. Use a fluffy brush and barely tap it into the powder — less is definitely more here.
Phase 2: Base Colors and Transition Work
This phase builds your color foundation. Think of it like underpainting — you’re creating depth and warmth before adding any drama. I always start with colors that are just slightly deeper than my skin tone.
Load your fluffiest blending brush with a transition shade — something neutral and buildable. I’m talking about colors like soft browns, warm taupes, or muted roses. Tap off the excess (seriously, tap it off) and start blending in windshield wiper motions in your crease area.
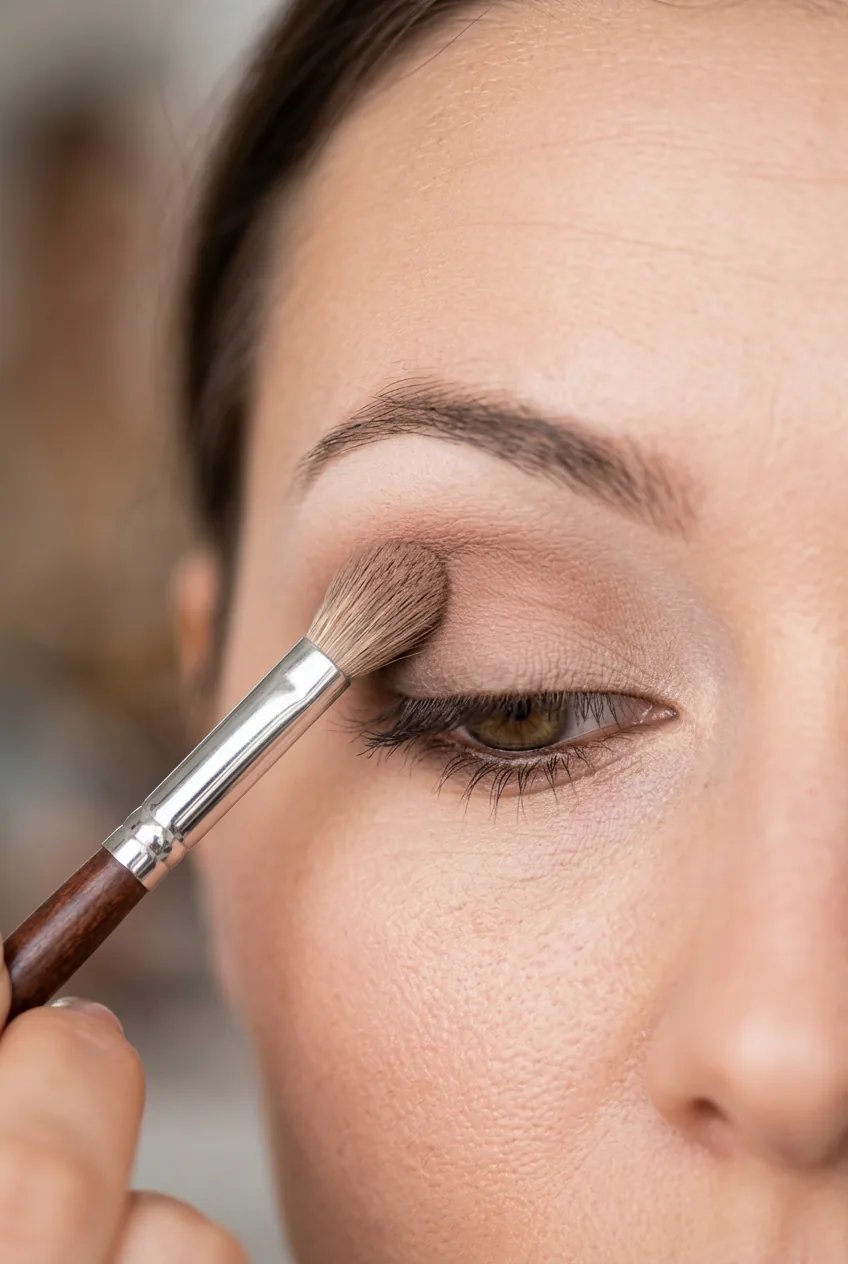
The key here is building slowly. I do several light layers rather than one heavy application. Start above your crease and blend upward toward your brow bone, then back down into the crease. This creates that seamless gradient that makes everything look professional.
I used to press way too hard with my blending brush and wonder why my eyeshadow looked harsh and streaky. Lighter pressure with more passes is the secret — your brush should barely kiss your eyelid.
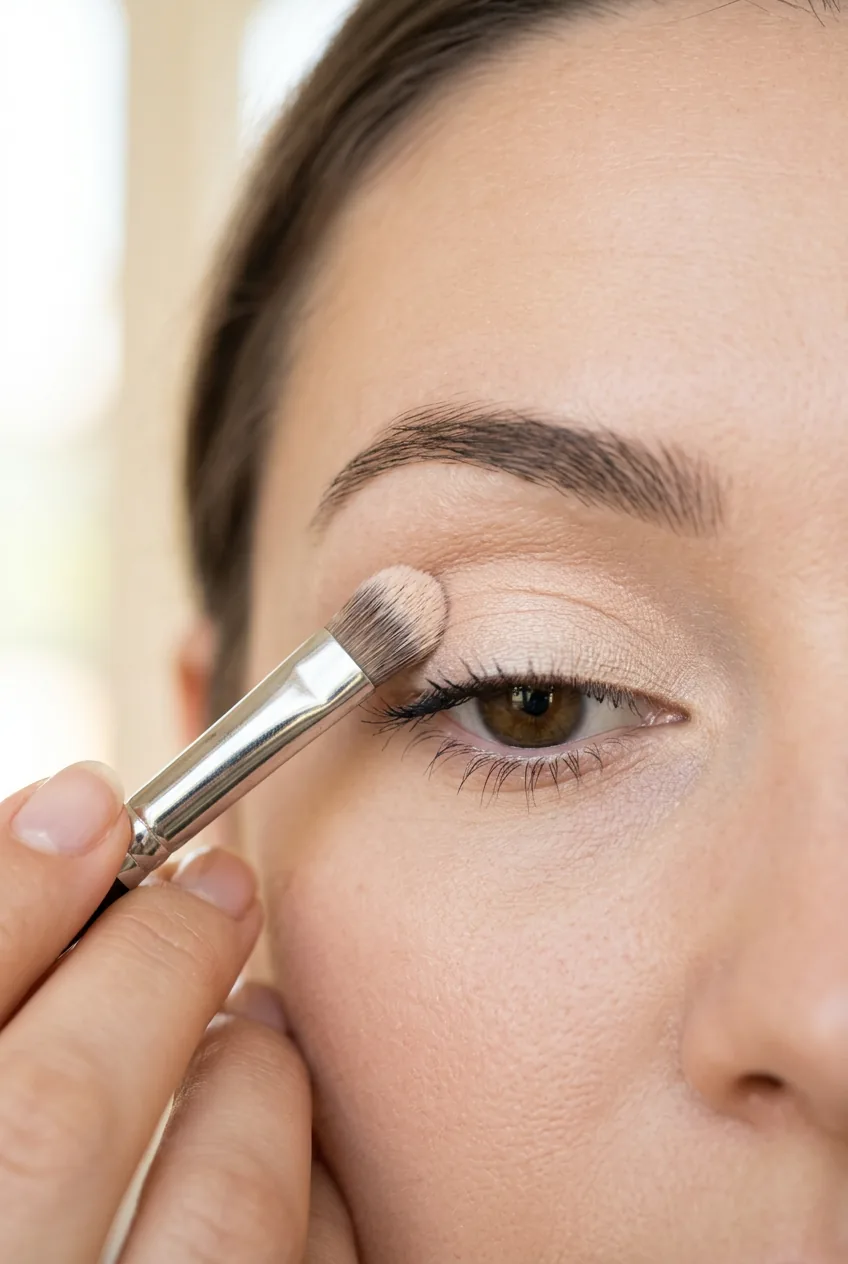
Add a slightly lighter shade across your entire mobile lid as your base color. This doesn’t need to be anything dramatic — just something that complements your transition shade and gives you a clean canvas for the next phase. I prefer lessons eye makeup has taught me about color placement over the years.
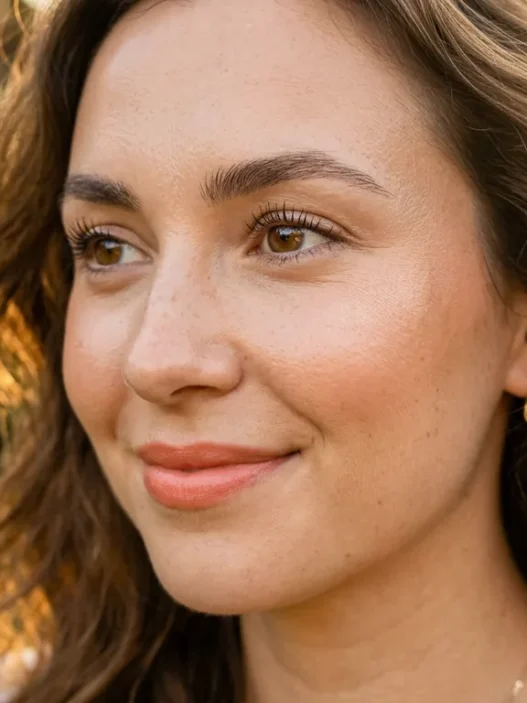
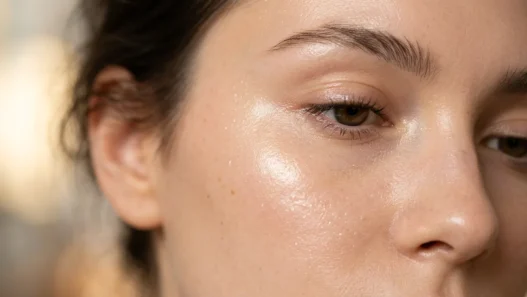
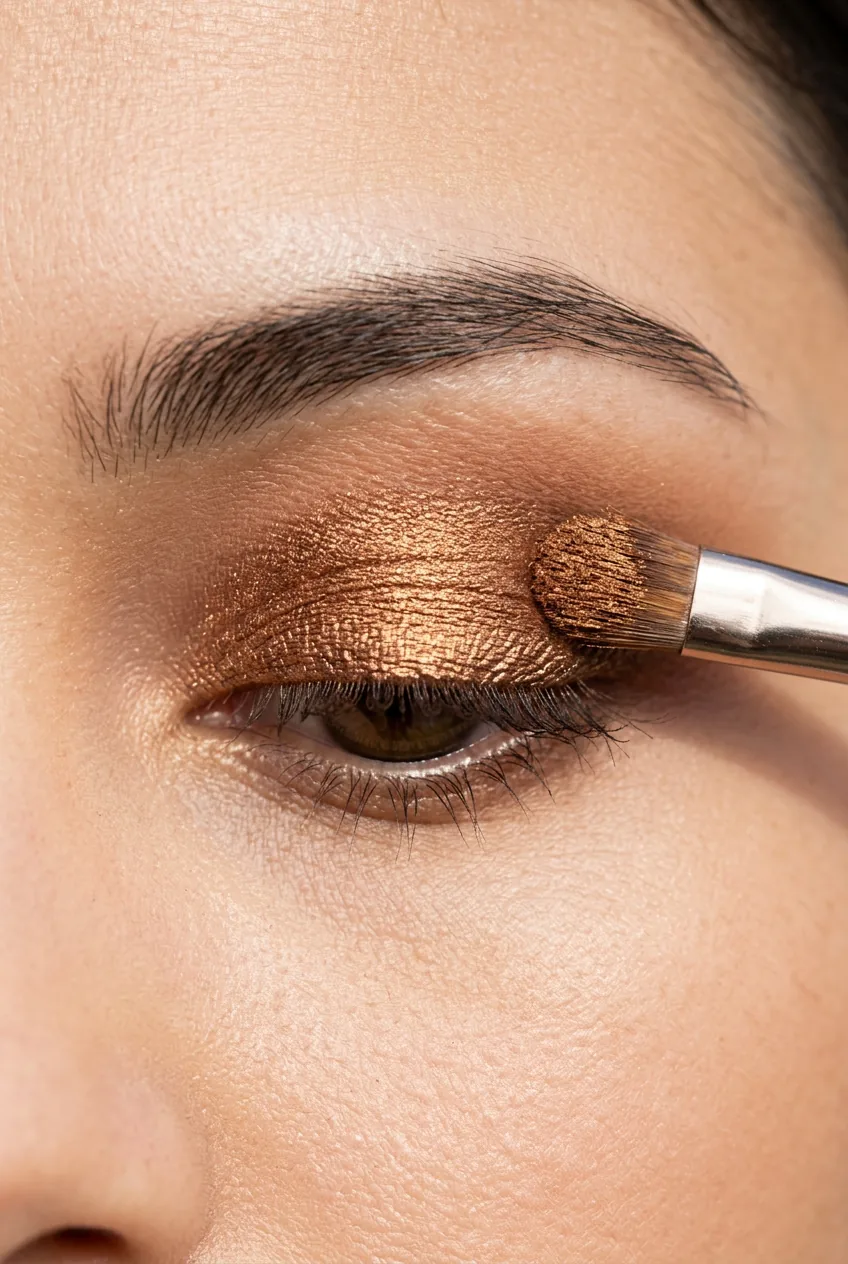
Phase 3: Definition and Drama Building
Now we’re getting to the fun part. This is where your eyeshadow look transforms from “nice” to “wow.” I grab my flat shader brush for this phase because precision matters more than blending right now.
Choose your statement color — the shade that defines your entire look. Could be a rich bronze, a deep plum, or even a bold emerald. Pack this color onto your mobile lid using pressing motions, not sweeping. You want full color payoff here.
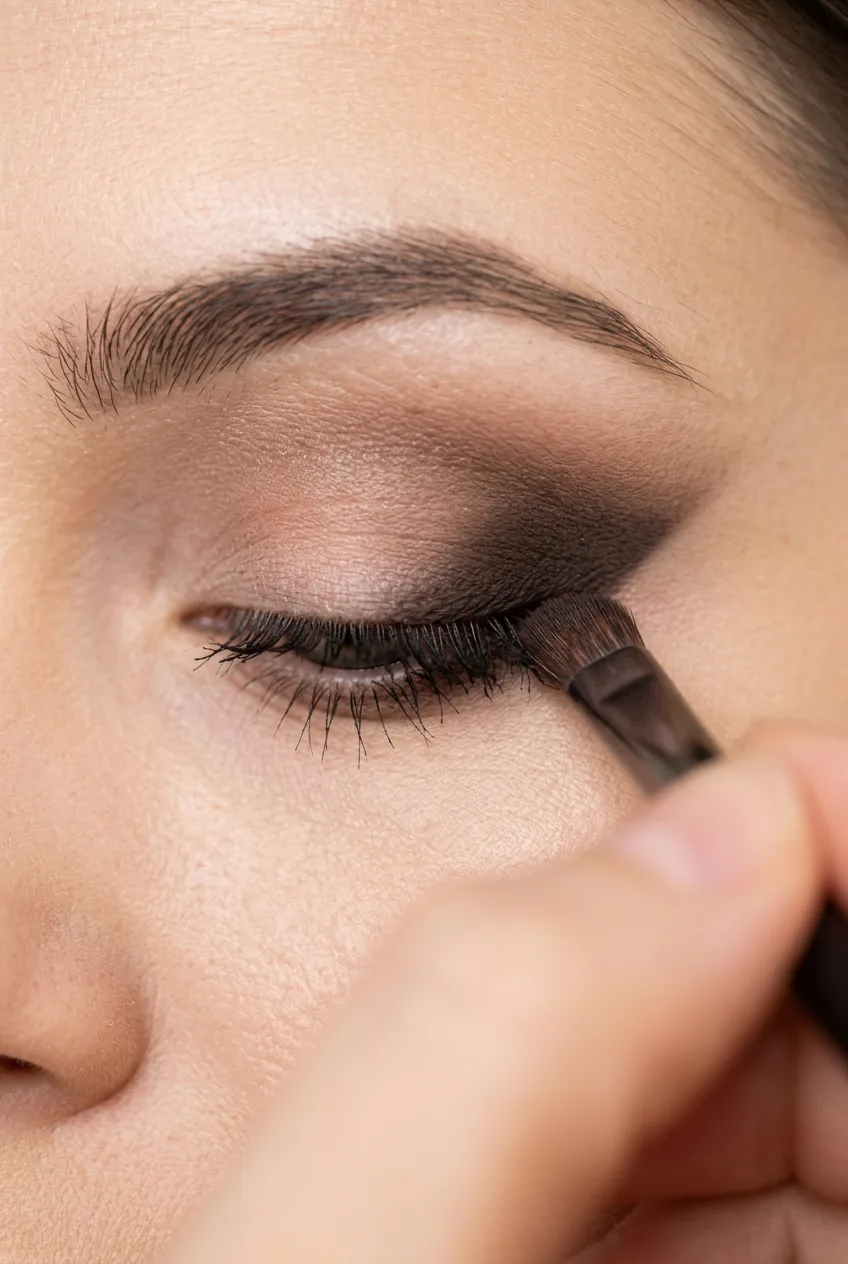
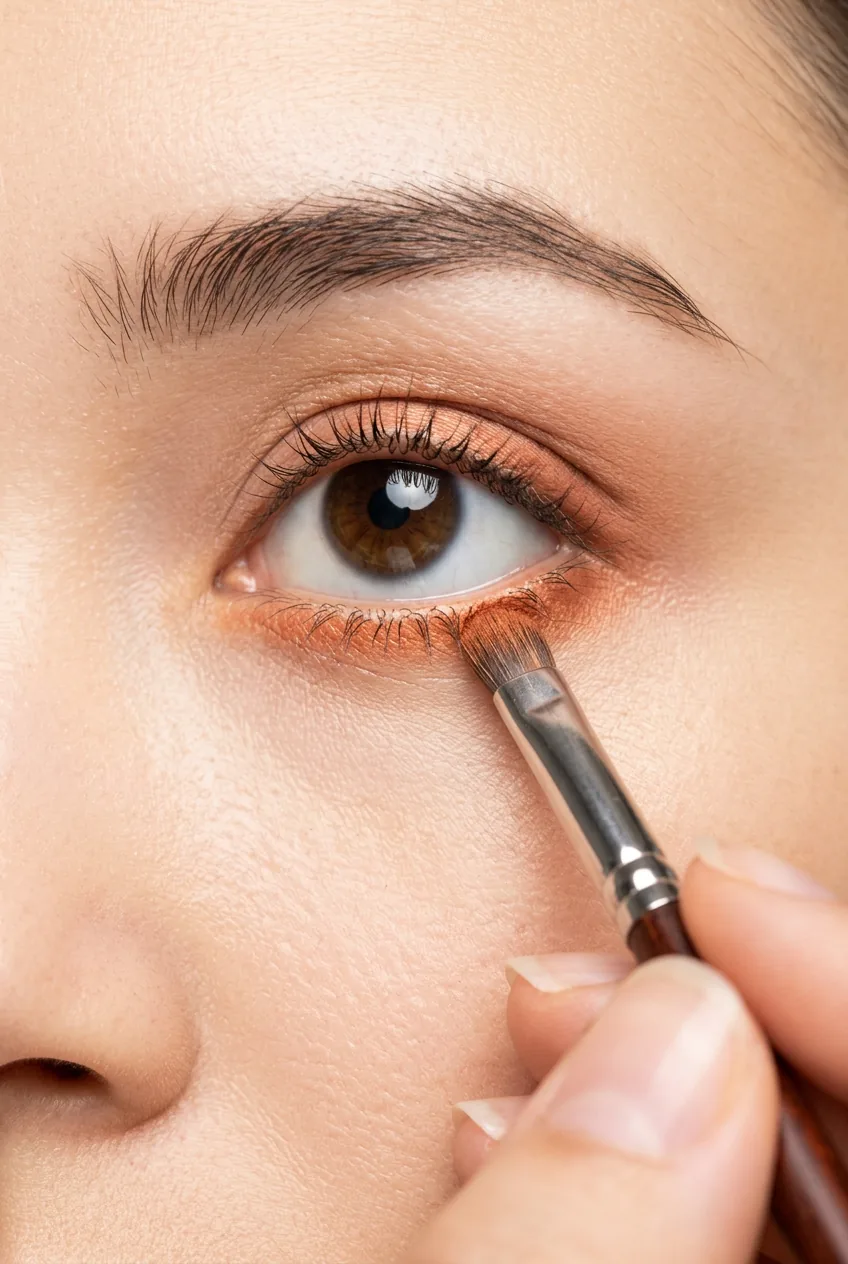
The outer V is where most people panic, but it’s actually straightforward. Take a smaller, denser brush with a deeper shade and place it in the outer corner of your eye. Think of it as creating a sideways triangle that extends slightly beyond your lash line.
Blend, blend, blend. Switch back to your fluffy brush and soften any harsh lines between your outer V color and your transition shade. This is where patience pays off — rushing this step ruins an otherwise perfect look. Professional blending methods really make the difference between amateur and polished.
Lower lash line definition brings everything together. I use a pencil brush to apply a softer version of my outer V color along my lower lash line, focusing on the outer two-thirds. This creates cohesion and makes your eyes appear larger and more defined.
Watch the Blending Technique Live
Phase 4: Final Details and Lock-In
The final phase is all about those finishing touches that elevate your look from good to absolutely stunning. This is where I add strategic highlights and ensure everything stays put all day.
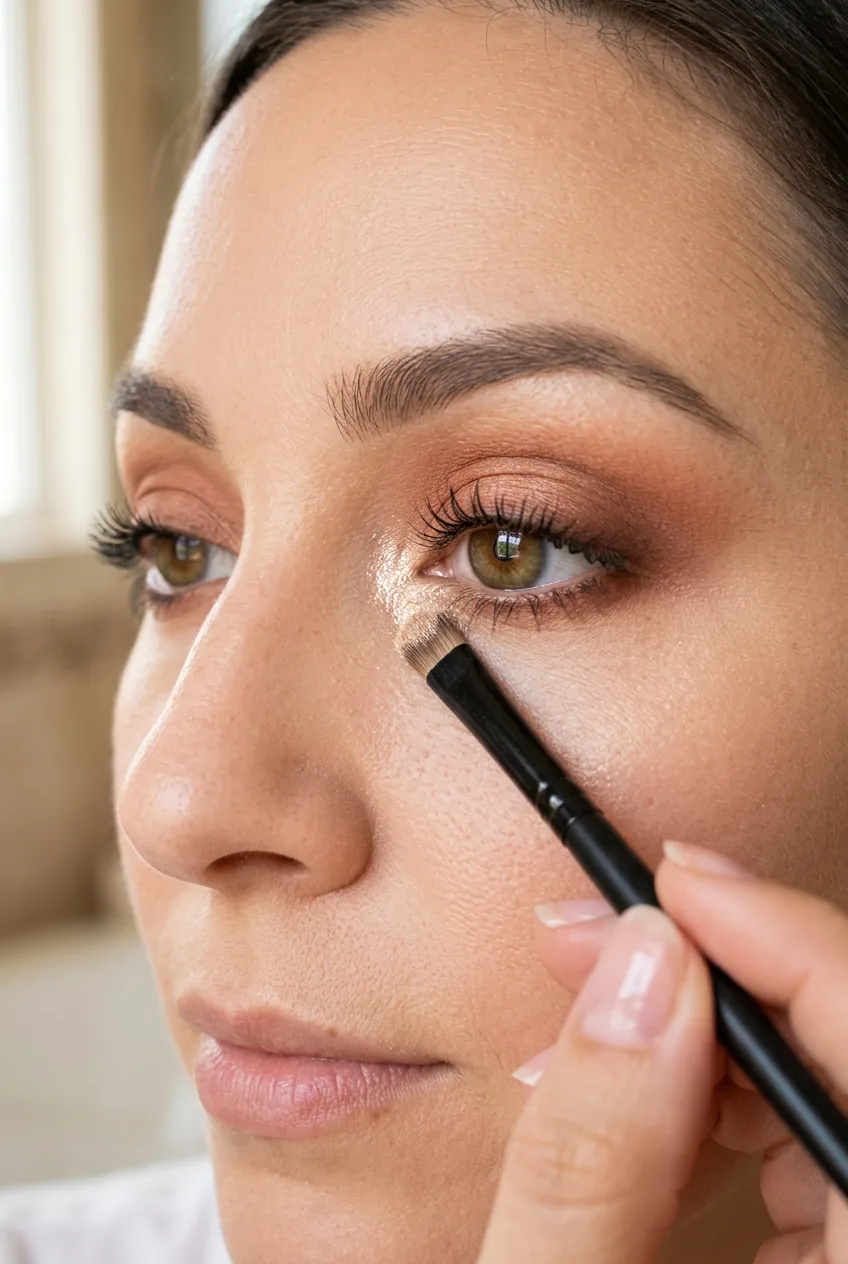
Inner corner highlight is non-negotiable for me. I use either a shimmery champagne shade or even a tiny dab of concealer that’s one shade lighter than my skin. Apply it with your pinky finger or a small synthetic brush, blending the edges so it looks natural.
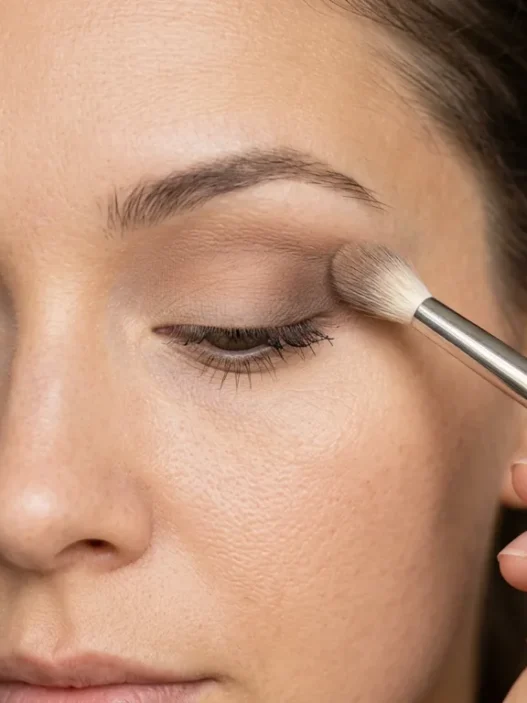
Brow bone highlighting adds dimension. Choose something subtle — a matte shade just slightly lighter than your skin tone works perfectly. Apply it right under your brow arch and blend upward. This lifts your entire eye area and makes your eyeshadow look more intentional.
Setting everything is crucial, especially if you’re going for longevity. I lightly mist a fluffy brush with setting spray and gently pat it over my entire eyeshadow look. This locks everything in place without disturbing the blend you worked so hard to achieve.
For special occasions or when I want extra drama, I might add a thin line of complementary eyeliner or a few individual lashes. But honestly, with a well-executed eyeshadow look, these extras aren’t necessary. The eyeshadow should be the star.
Questions I Get About This Method
How do I choose colors that work together?
Start with colors in the same family or look for pre-made palettes where the work is done for you. Warm browns, golds, and coppers always play well together, as do cool purples, grays, and silvers.
Can I do this with drugstore eyeshadow?
Absolutely. The technique matters more than the price tag. Some of my favorite looks have been created with affordable shadows — you just might need to build up the color more gradually.
How long should this look last?
With proper primer and setting, I typically get 8-10 hours of wear before any noticeable fading. In humid weather or after a long day, I might touch up the inner corner highlight.
What if I mess up the blending?
Use a clean, fluffy brush with no product on it to soften harsh lines. If it’s really bad, you can carefully remove product with a makeup wipe and start that section over.
This method has completely changed how I approach eyeshadow. Instead of randomly applying colors and hoping for the best, I now have a systematic approach that delivers consistent results. My summer makeup looks have gotten so much more sophisticated since I started following these phases. The best part? Once you understand the phases, you can adapt them to any color story or intensity level you want.