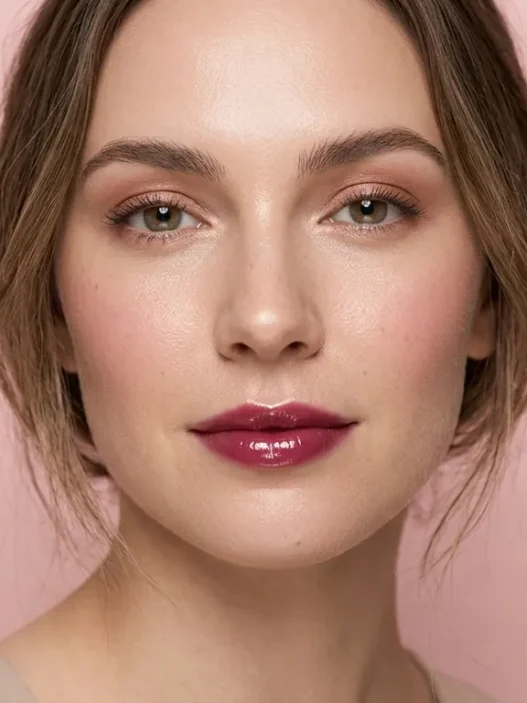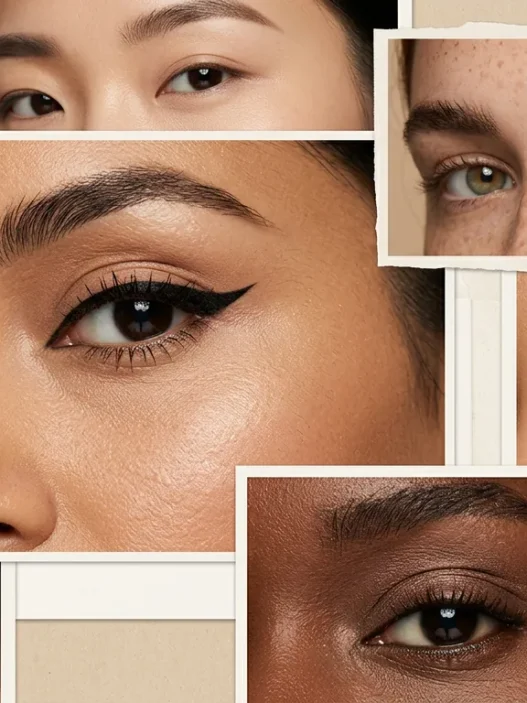

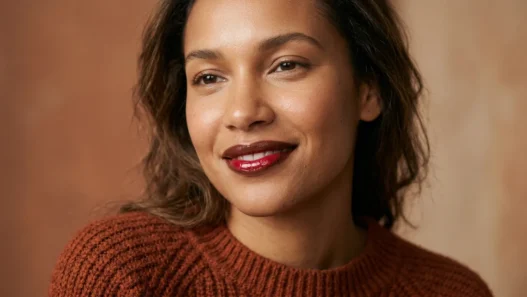






I used to think dramatic eye makeup was some kind of witchcraft. You know that feeling when you see someone with the most gorgeous smoky eye and wonder how they made it look so effortless? I’d stare at tutorials, buy all the right brushes, and still end up looking like I’d been punched. The breakthrough came when I realized it’s not about throwing on tons of shadow at once — it’s about building layers deliberately, each one transforming your eyes bit by bit until you barely recognize yourself.
What You’ll Need
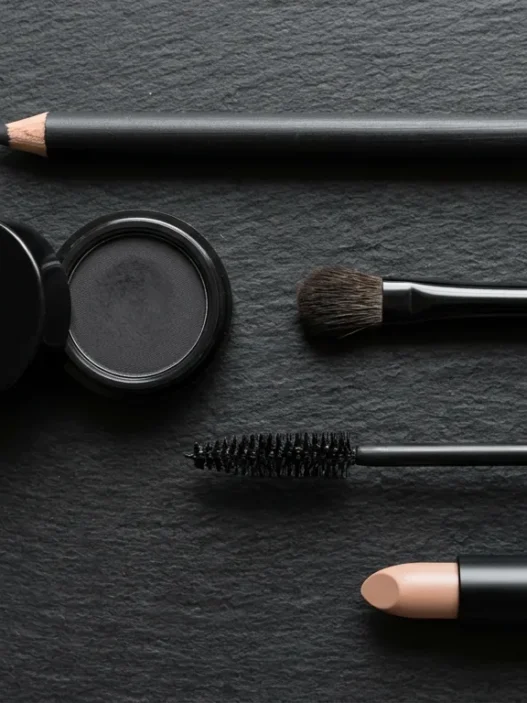
Before we dive into the transformation, let’s gather your tools. I’m all about working with what you have, but these items will make your life so much easier:
- Eyeshadow primer (seriously, don’t skip this)
- A fluffy blending brush — the bigger, the better
- Smaller shader brush for packing on color
- Pencil brush for precise placement
- Your favorite eyeshadow palette with light, medium, and dark shades
- Black or brown eyeliner
- Mascara that doesn’t flake
- Concealer for cleanup
- Good lighting — this one’s non-negotiable
The Starting Point: Your Blank Canvas
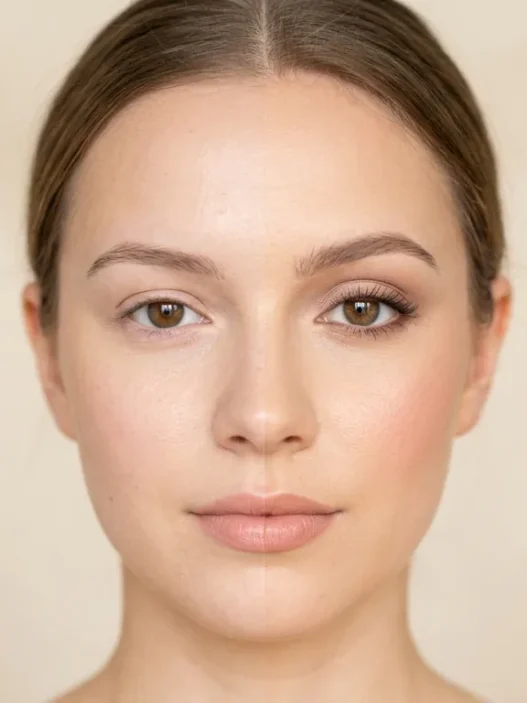
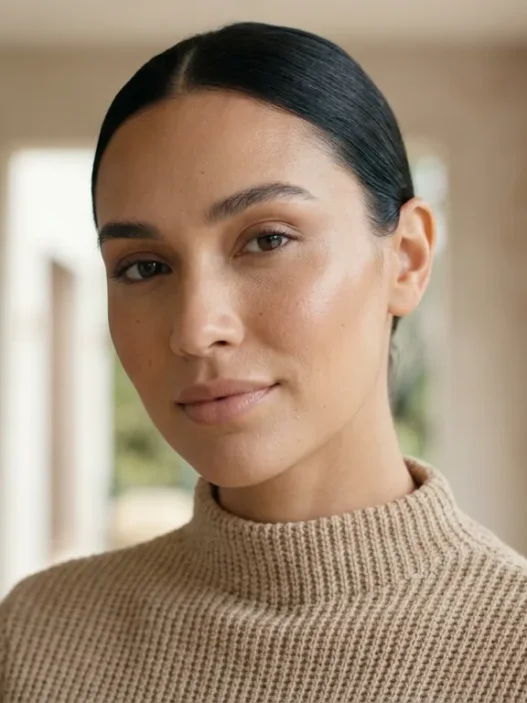
We’re starting with completely bare eyes. No foundation, no concealer, just clean skin. This is where I see most people rush ahead too quickly. Take a moment to really look at your eye shape and bone structure. Where does your crease naturally fall? How much lid space do you have? Understanding your starting point changes everything about how you’ll apply each layer.

I always clean my eyes with micellar water first, even if I think they’re already clean. Leftover skincare products can make eyeshadow patchy, and nobody has time for that kind of frustration. Pat the area dry with a clean towel — never rub. The skin around your eyes is delicate, and we’re about to spend the next twenty minutes working on it.
Building the Base: Priming for Success
Here’s where the real transformation begins, even though you can’t see it yet. Eyeshadow primer is like the foundation of your house — skip it, and everything else crumbles. I pat a thin layer across my entire lid, from the lash line up to the brow bone, and don’t forget the lower lash line area too.
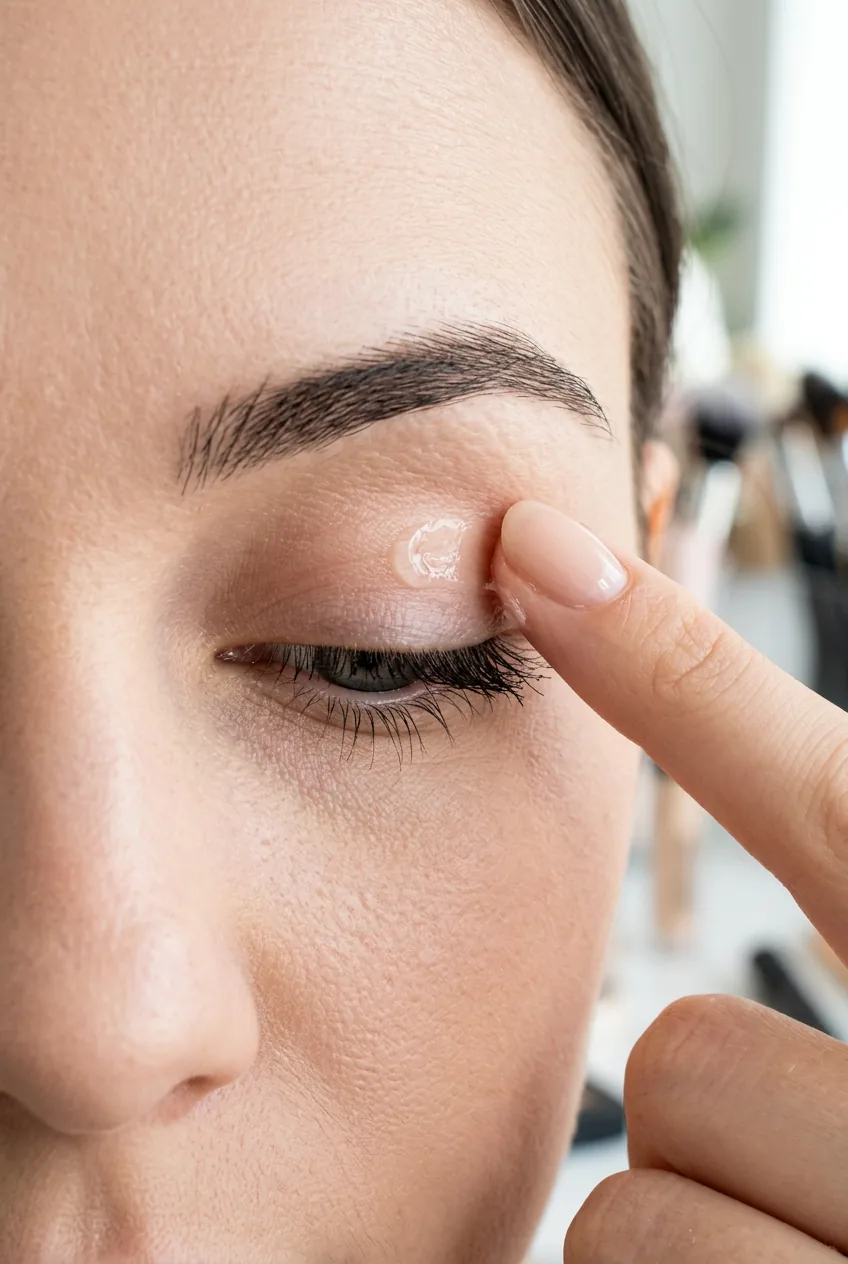
The primer needs about thirty seconds to set before you start with shadow. I use this time to organize my brushes and decide on my color story. Are we going warm and golden? Cool and smoky? The primer creates that grippy base that makes colors pop and prevents the dreaded creasing at hour three of wearing your makeup.
I used to think expensive primers were just marketing hype. Then I tried applying the same eyeshadow look with and without primer side by side. The difference was shocking — the primed eye looked vibrant and smooth while the unprimed one was patchy and faded within hours.
The First Layer: Transition Magic
Now we’re building the foundation of depth. Take your fluffiest brush and the lightest shade from your palette — something just one shade deeper than your skin tone. This is your transition color, and it’s about to do the heavy lifting for the entire look.
Start in the crease area with gentle windshield wiper motions. I focus on the outer two-thirds of the crease, blending upward toward the brow bone and outward past the outer corner of my eye. The key is building slowly. You can always add more, but taking away excess shadow is a nightmare.
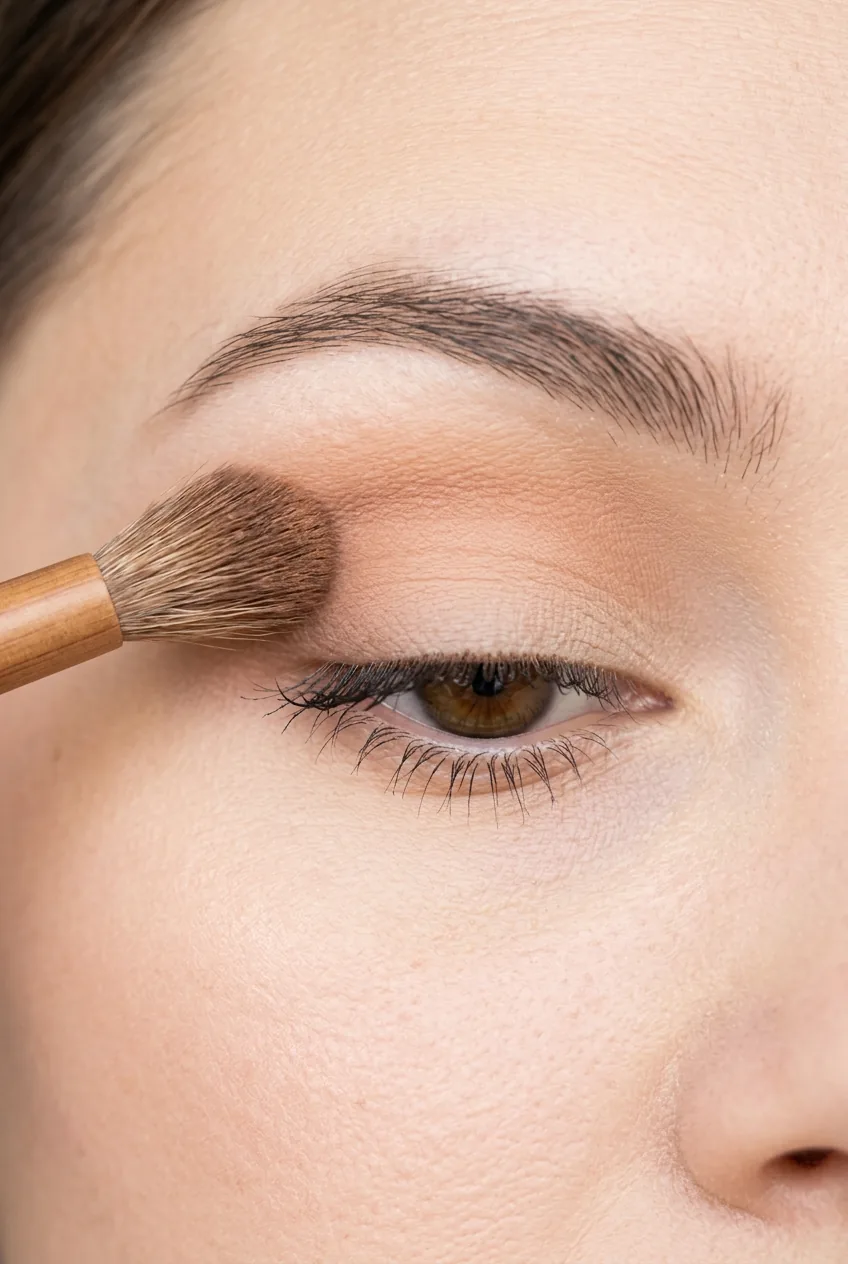
This is where patience pays off. I probably spend three full minutes just blending this one color, making sure there are no harsh lines anywhere. The transition shade creates the illusion of a deeper-set eye socket, which is the secret behind every gorgeous eye look. Blending techniques can be tricky to master, but once you get the hang of it, every look becomes easier.
See the Blending Technique in Action
Creating Depth: Where Shadows Come Alive
Time to add some real drama. Pick a medium-toned shade from your palette — something deeper than your transition color but not your darkest option yet. Using a smaller, denser brush, I focus this color right in the crease, concentrating on the outer corner where I want the most depth.
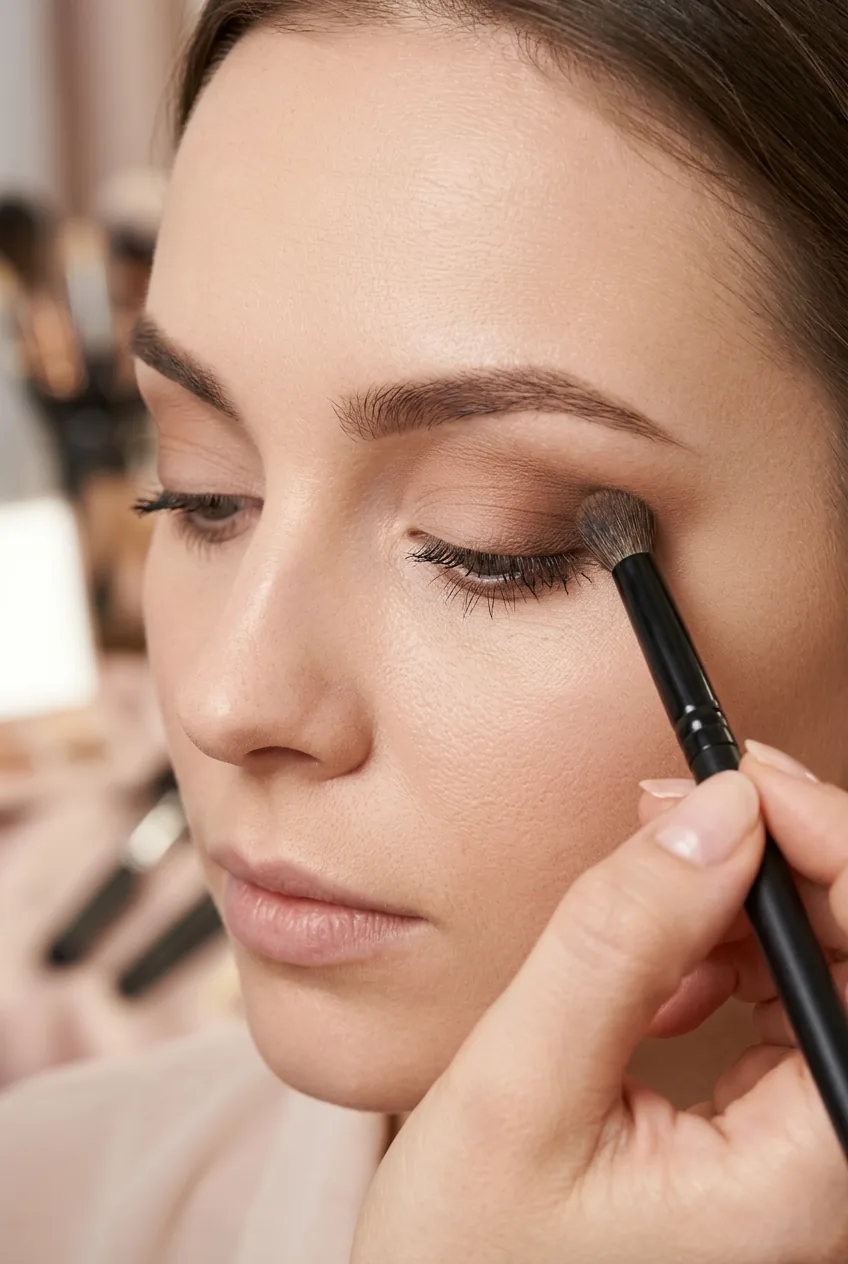
The trick is to place the color first, then blend the edges. I pat the shadow exactly where I want it darkest, then use my fluffy brush to soften only the edges, not the center. This preserves the intensity while creating smooth transitions. Already, your eyes should be looking more defined and awake.
Don’t neglect the lower lash line during this step. I take the same medium shade on a pencil brush and smudge it along the outer third of my lower lash line. It connects the upper and lower portions of the eye, making the whole look feel cohesive rather than top-heavy.
The Turning Point: Drama and Definition
This is where everything changes. We’re adding the darkest shade now, and suddenly you’ll see why we took our time with the previous steps. Your darkest color goes in the outer V of your eye — that little triangle where your upper and lower lash lines would meet if extended.
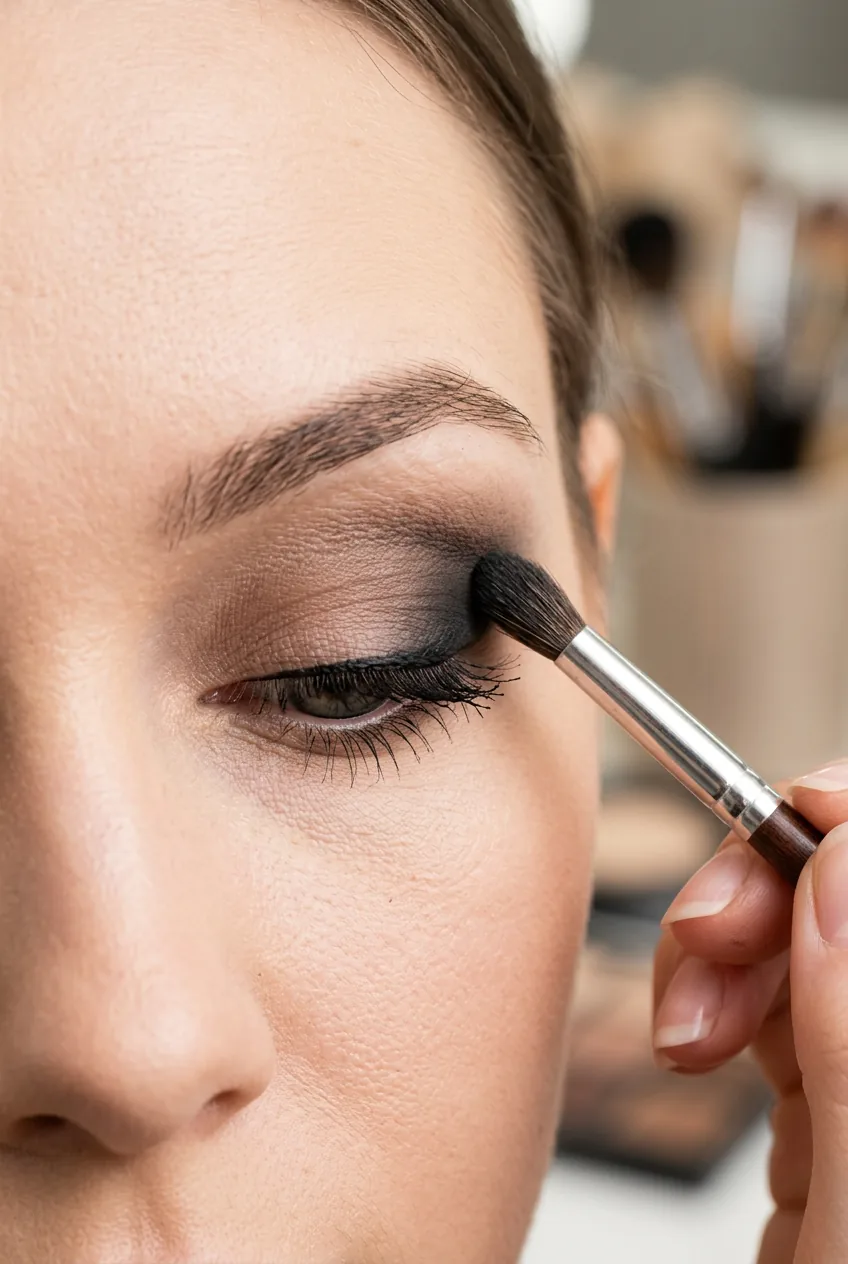
I use a small, firm brush to pack this color right into the outer corner, then immediately grab my fluffy brush to blend the edges before the shadow has time to get patchy. The dark color should fade gradually into your medium shade, which fades into your transition shade, which disappears into your skin tone. That gradient is what creates the illusion of depth.
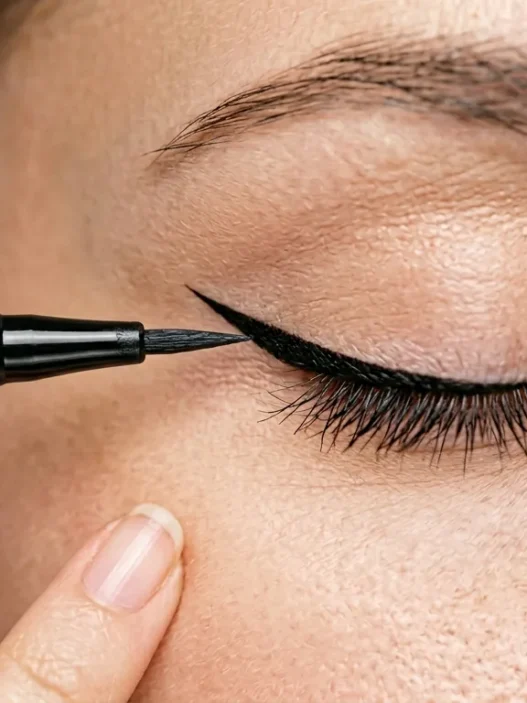
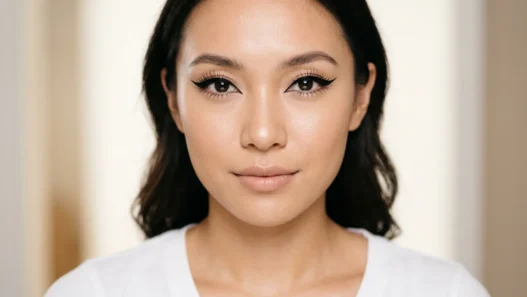
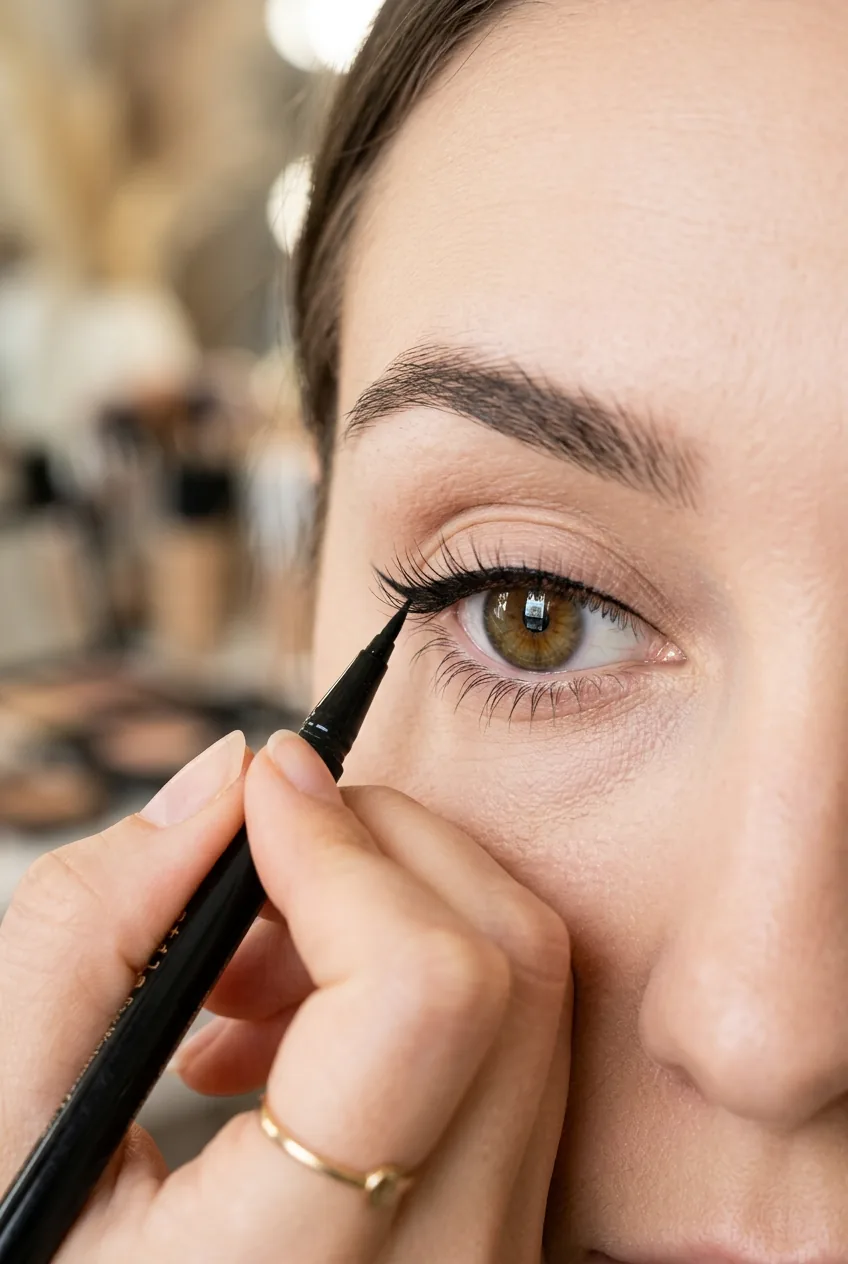
Now for the eyeliner — this is where the transformation becomes unmistakable. I line my upper lash line with black liner, making it slightly thicker toward the outer corner. For extra drama, I also line the waterline and connect it to the upper line at the outer corner. Suddenly, your eyes look twice as big and infinitely more defined.
The Final Reveal: Lashes and Last Details
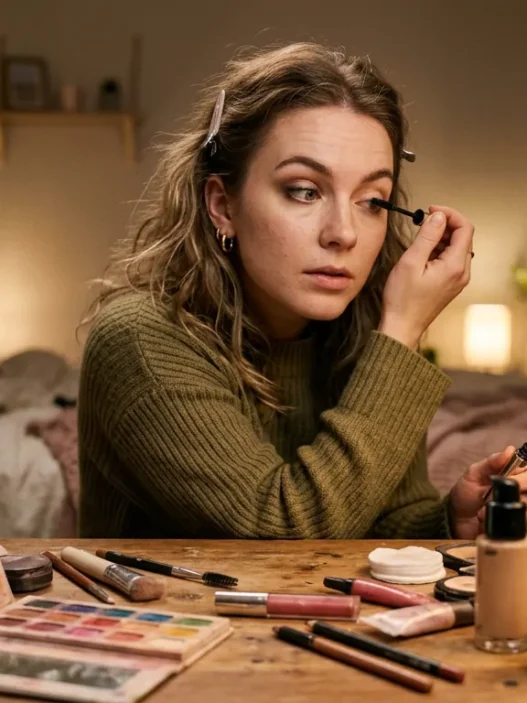
We’re in the home stretch, and this is where the magic finalizes. Mascara is going to open up your eyes and make all that beautiful shadow work really pop. I always curl my lashes first — it makes such a difference in how awake and lifted your eyes look.
Two coats of mascara on the top lashes, one on the bottom. I wiggle the wand at the base of my lashes to create volume, then pull through to the tips for length. The contrast between the dark lashes and the carefully blended shadow is what creates that final “wow” moment.
For the finishing touch, I take a light, shimmery shade and pat it right on the center of my lid and in the inner corner of my eye. This adds dimension and makes the eyes look brighter and more awake. Highlighting techniques can really make your eyes pop if done right.
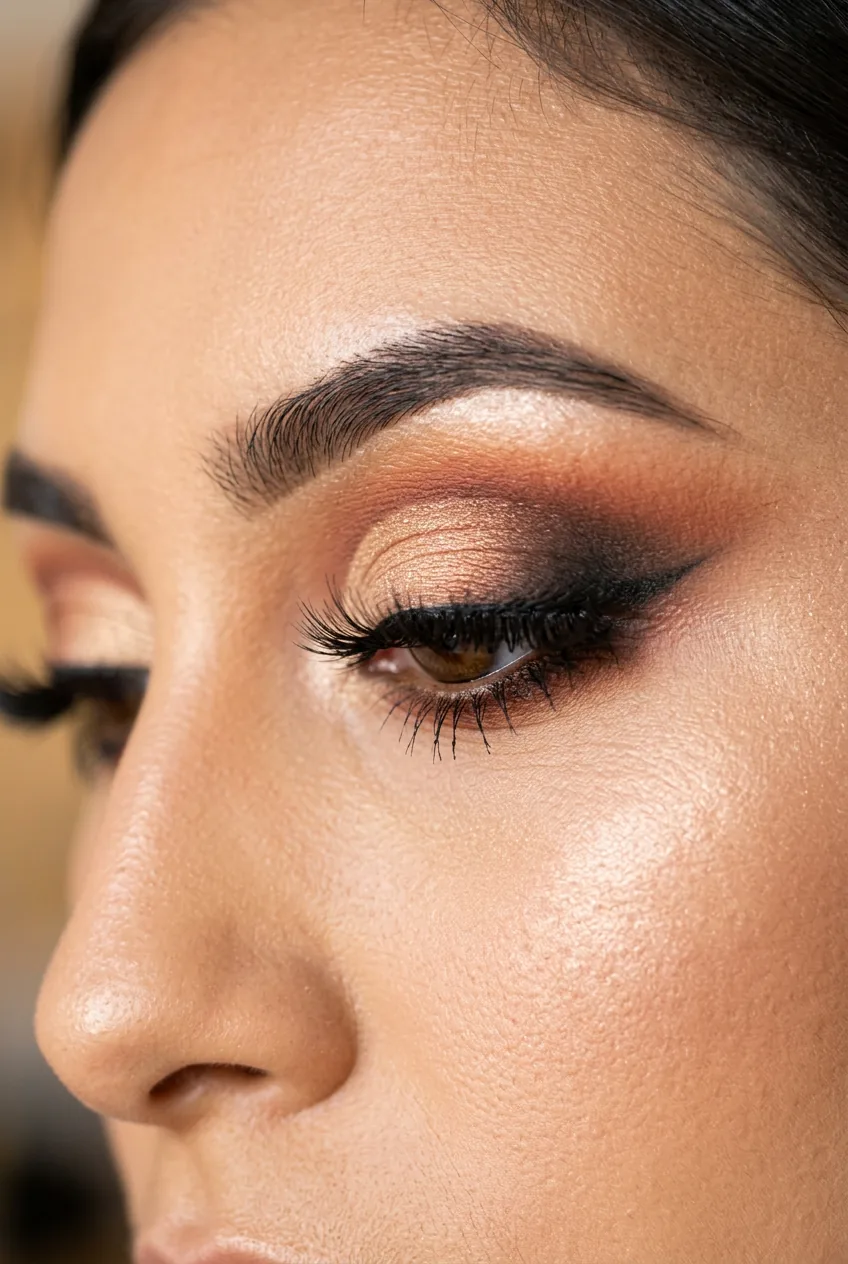
Clean up any fallout under your eyes with a makeup wipe or concealer, and you’re done. The transformation from bare face to full glam is complete, and honestly, it never gets old seeing how different you look with properly applied makeup.
Questions I Get About This Look
How long does this whole process take?
Once you get the hang of it, about 15-20 minutes. When I was learning, it took closer to 45 minutes because I kept going back to fix and blend. Now it’s part of my routine and flows naturally.
Can I do this with drugstore eyeshadow?
Absolutely! Some of my favorite looks have been created with affordable palettes. The technique matters more than the price tag, though higher-end shadows do tend to blend more easily.
What if I mess up the blending?
Clean brush and light pressure are your best friends. Most blending “mistakes” can be fixed by going over the area with a clean fluffy brush. If all else fails, add a bit more transition shade to smooth things out.
How do I make it last all day?
Prime religiously and set with a light dusting of translucent powder over the primer before adding shadow. Also, avoid touching or rubbing your eyes throughout the day.
The best part about this transformation? Once you master the technique, you can adapt it with any color combination. Sometimes I keep it subtle with browns and taupes for work, other times I go bold with purples and golds for a night out. The process stays the same — it’s just the intensity that changes. And honestly, every time I catch myself in the mirror after completing this look, I still get a little thrill from how different I look compared to where we started.