





I spent years wondering why my eyeliner looked amazing for exactly ten minutes before turning into a smudgy disaster. Every tutorial I watched made it look effortless, but my wings were crooked, my lines were wobbly, and don’t even get me started on the raccoon eyes by lunchtime. It wasn’t until I identified these specific mistakes that everything clicked into place.
What You’ll Need for Perfect Eyeliner
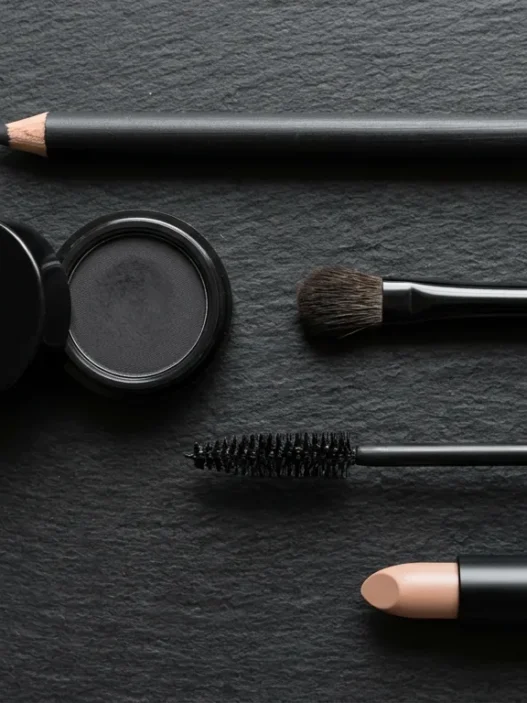
Before we dive into the mistakes, let’s talk tools. Having the right supplies makes the difference between fighting your eyeliner and having it cooperate beautifully.
- A good eyeshadow primer (I swear by this step now)
- Liquid eyeliner with a firm, precise tip
- Angled eyeliner brush if you’re using gel liner
- Cotton swabs for cleanup
- Micellar water on a small brush for precise corrections
- Setting powder or eyeshadow to lock everything in place
- Good lighting — seriously, this matters more than you think
I used to think expensive tools would magically fix my technique. Turns out, it’s really about understanding what each tool does and when to use it. The lessons I’ve learned from eye makeup over the years have taught me that preparation beats perfection every time.
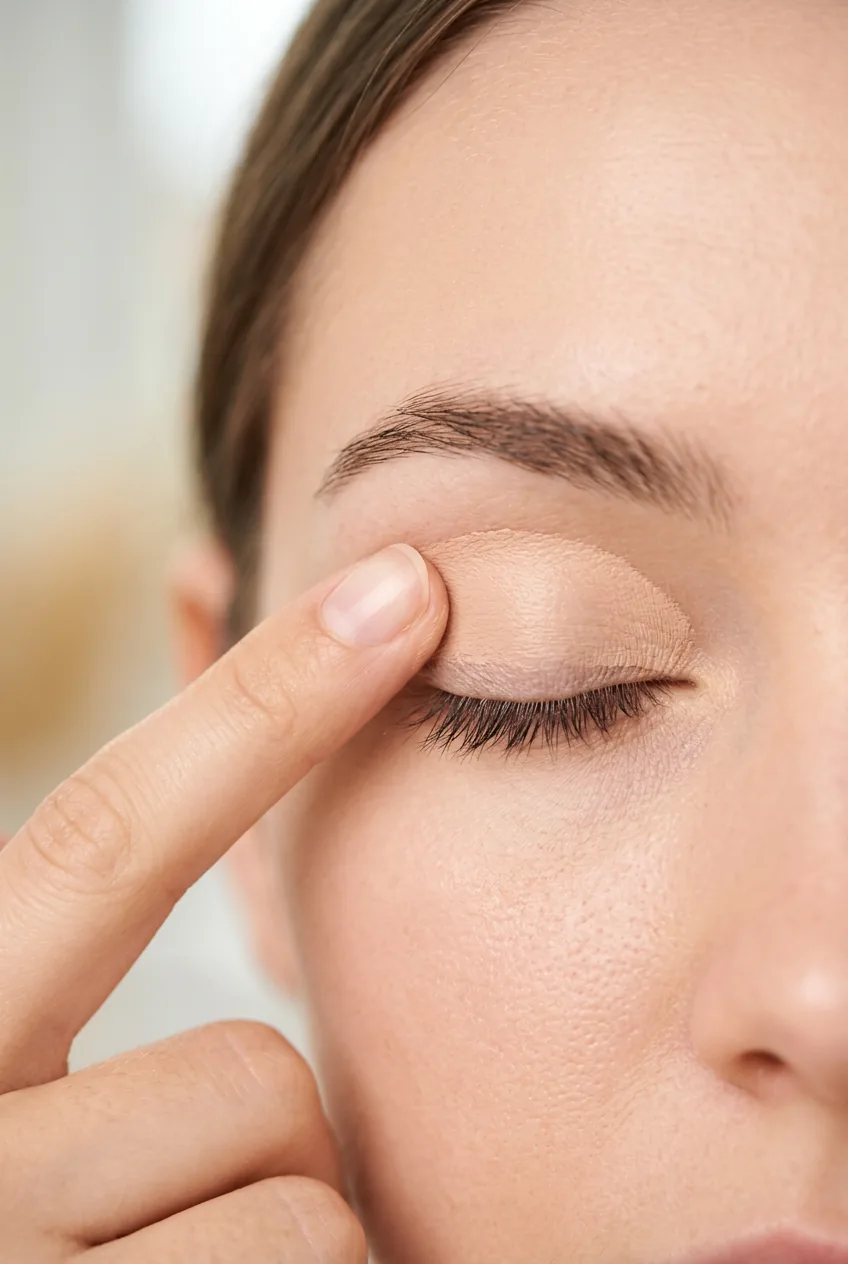
Mistake 1: Skipping the Primer Step
This was my biggest mistake for years. I thought primer was just marketing fluff — something makeup companies invented to sell more products. Boy, was I wrong.
When you skip primer, your eyeliner has nothing to grip onto. Your eyelids naturally produce oils throughout the day, and without that barrier, even the best liquid liner will slide around. I used to blame my “hooded eyes” or “oily skin,” but really it was just physics working against me.
The fix is embarrassingly simple: apply a thin layer of eyeshadow primer from your lash line to your brow bone. Let it set for about 30 seconds until it feels slightly tacky. This creates the perfect surface for your liner to adhere to.
I once tried to do my makeup in a rush before a dinner date and skipped the primer step. By the time we got to the restaurant, I looked like I’d been crying. My date was sweet about it, but I learned my lesson about cutting corners with eye prep.
Now I never skip this step, even for a quick grocery store run. The difference is night and day — my liner stays exactly where I put it for 8+ hours. Proper primer application makes all the difference in longevity.
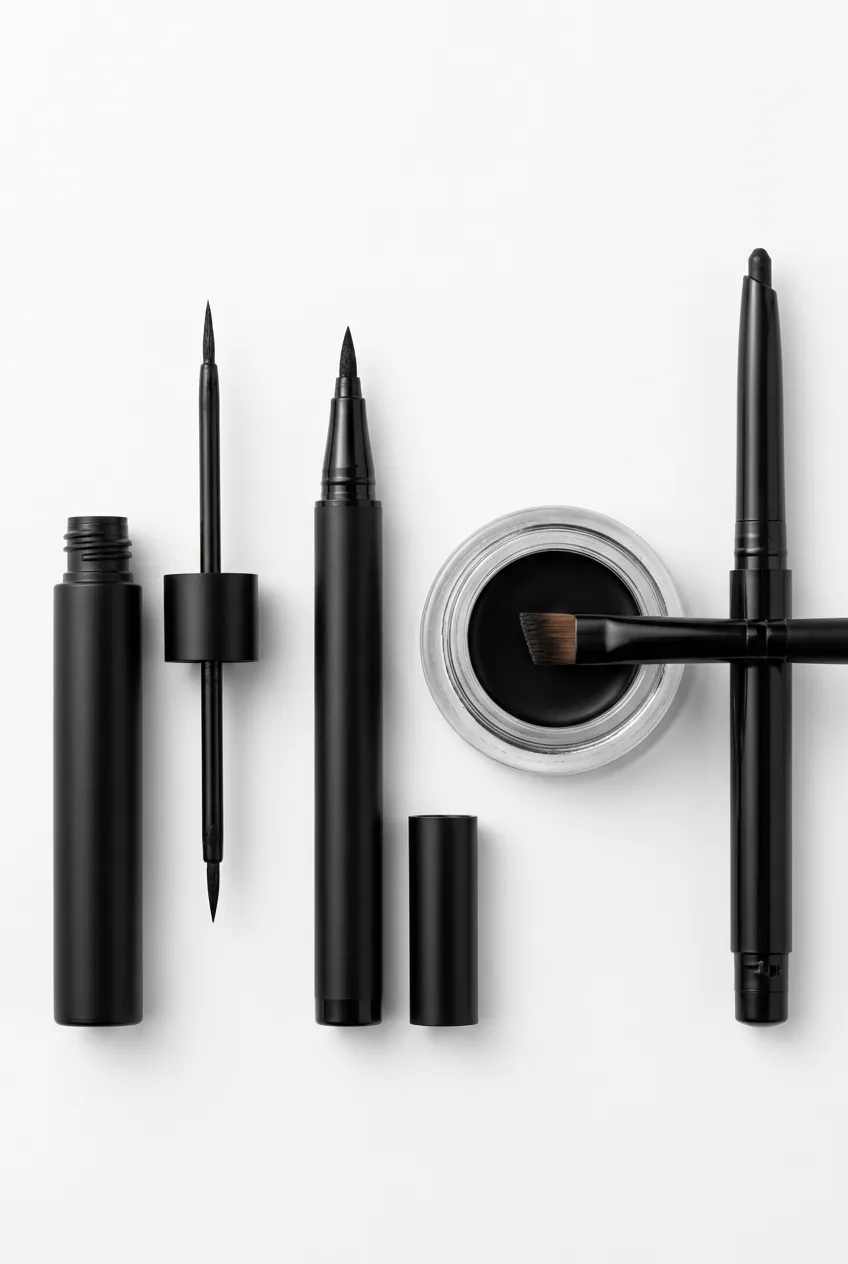
Mistake 2: Wrong Brush or Applicator Choice
Not all eyeliner applicators are created equal, and using the wrong one for your skill level or desired look will sabotage your efforts before you even start.
I used to grab whatever eyeliner was cheapest at the drugstore, usually with those felt-tip pens that seemed foolproof. The tips were always either too thick for precision or too flimsy to create clean lines. Then I’d get frustrated when my wings looked chunky or my lines were wobbly.
Here’s what actually works: for beginners, start with a liquid liner that has a firm, fine brush tip. The brush gives you more control than felt tips, and you can vary the pressure to create different line weights. If you’re more advanced, gel liner with an angled brush lets you build up intensity gradually.
The game-changer for me was switching to a liner with a brush tip that doesn’t bend when I apply pressure. Suddenly, I could create the crisp, thin lines I’d been trying to achieve for years. It’s all about having the right tool for your skill level and desired outcome.
Understanding different eyeliner styles helped me realize that each look requires a different approach to application. What works for a subtle day look won’t necessarily work for dramatic evening wings.
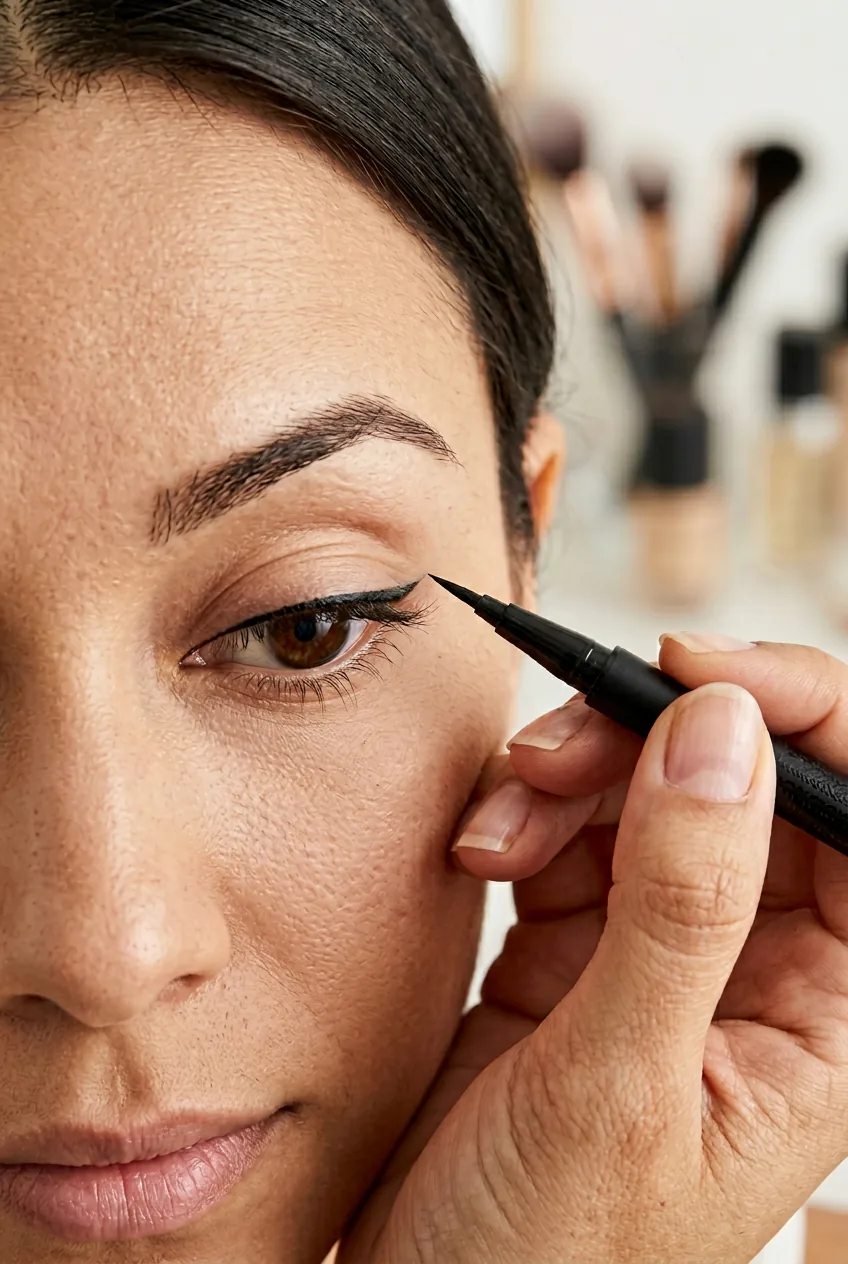
Mistake 3: Starting with the Wing
I used to think the wing was the foundation of good eyeliner. So I’d start there, trying to get the perfect angle and shape, then connect it to my lash line. This approach set me up for wonky, uneven results every single time.
The problem with starting with the wing is that you’re working backward. You create this beautiful flick, then try to make the rest of your liner match it. But the wing should complement your lash line, not the other way around.
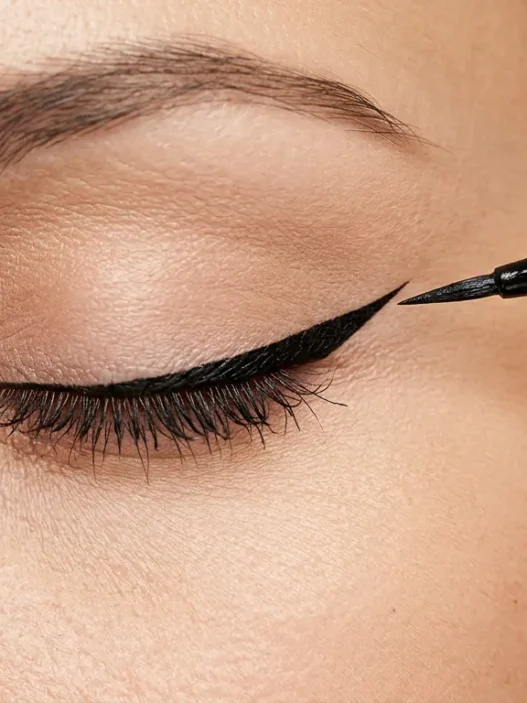
The correct approach: always start at the inner corner (or middle of your eye if you find the inner corner tricky) and work outward along your lash line. Get that base line smooth and even first. Then, and only then, extend it into a wing.
This method ensures your wing flows naturally from your eye shape rather than looking like an afterthought stuck onto the end. The line will be more cohesive, and you’ll have better control over the final shape.
When I follow the right order for applying makeup, including eyeliner technique, everything just flows better. There’s a logic to the sequence that makes each step easier.
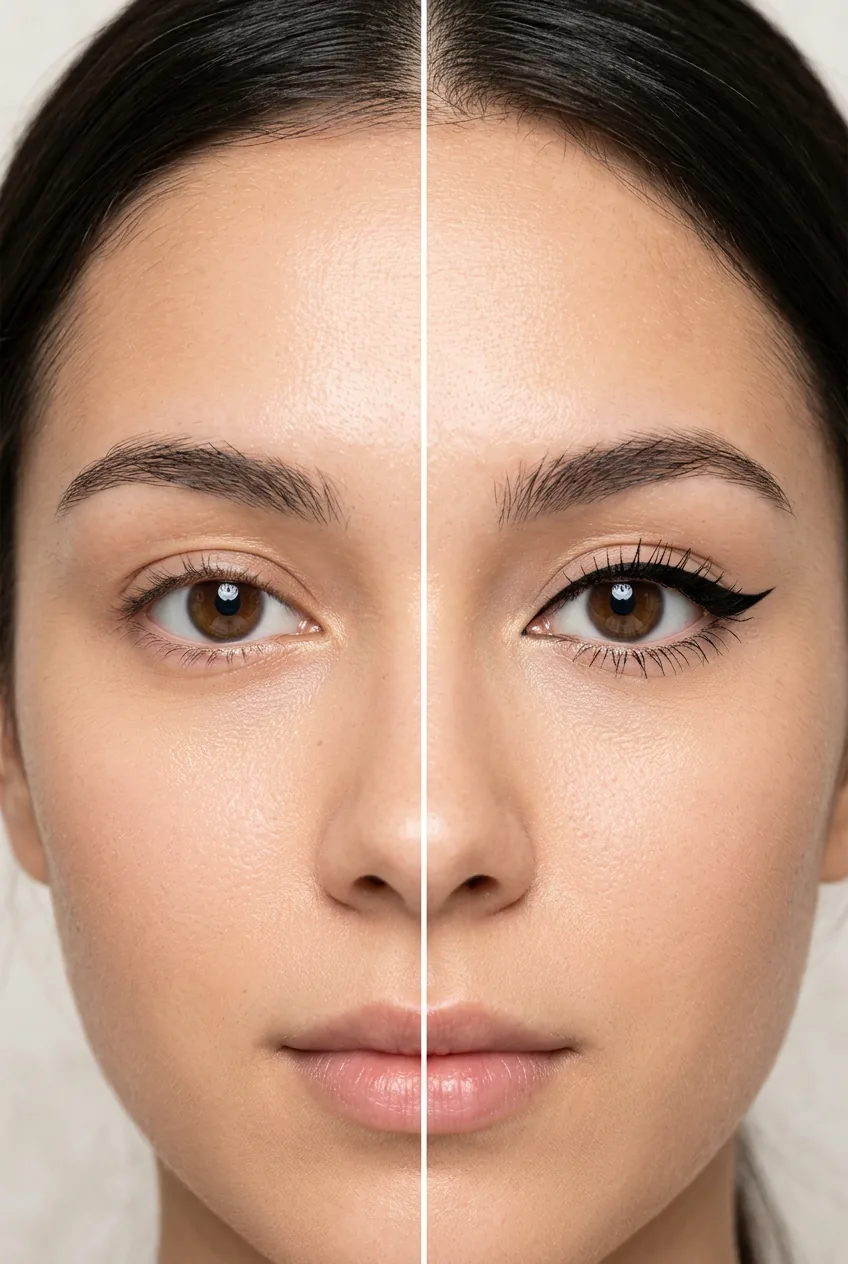
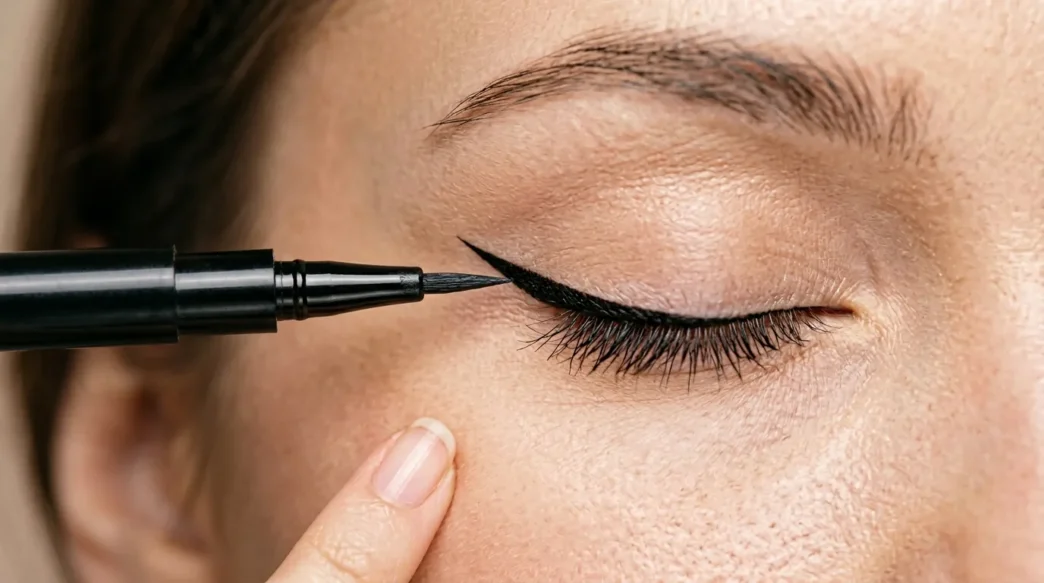
This Tutorial Shows the Technique Perfectly
Mistake 4: Making Both Eyes at Once
This mistake shocked me when I finally realized what I was doing wrong. I used to ping-pong between eyes — a little liner on the right, then try to match it on the left, then back to the right to “fix” it. By the end, both eyes looked completely different.
Your dominant hand works differently on each eye. The angle feels different, your wrist moves differently, and you’re literally working from opposite directions. Trying to make them match stroke by stroke is like trying to write the same word with both hands simultaneously — it’s not going to work.
Instead, complete one eye entirely before touching the other. Get your base line perfect, add your wing, clean up any mistakes — finish the whole eye. Then use that completed eye as your reference for the second one.
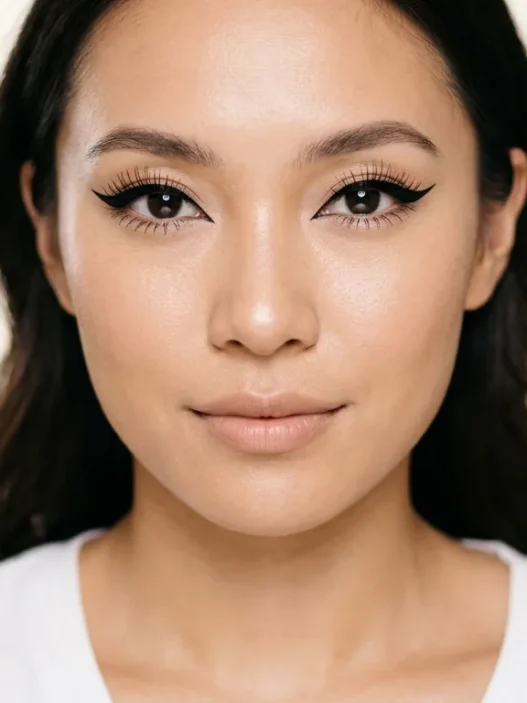
Yes, they might not be perfect twins (spoiler alert: they never are anyway), but they’ll be much more similar than if you try to build them simultaneously. I focus on making them “sisters, not twins” — related but with their own personality.
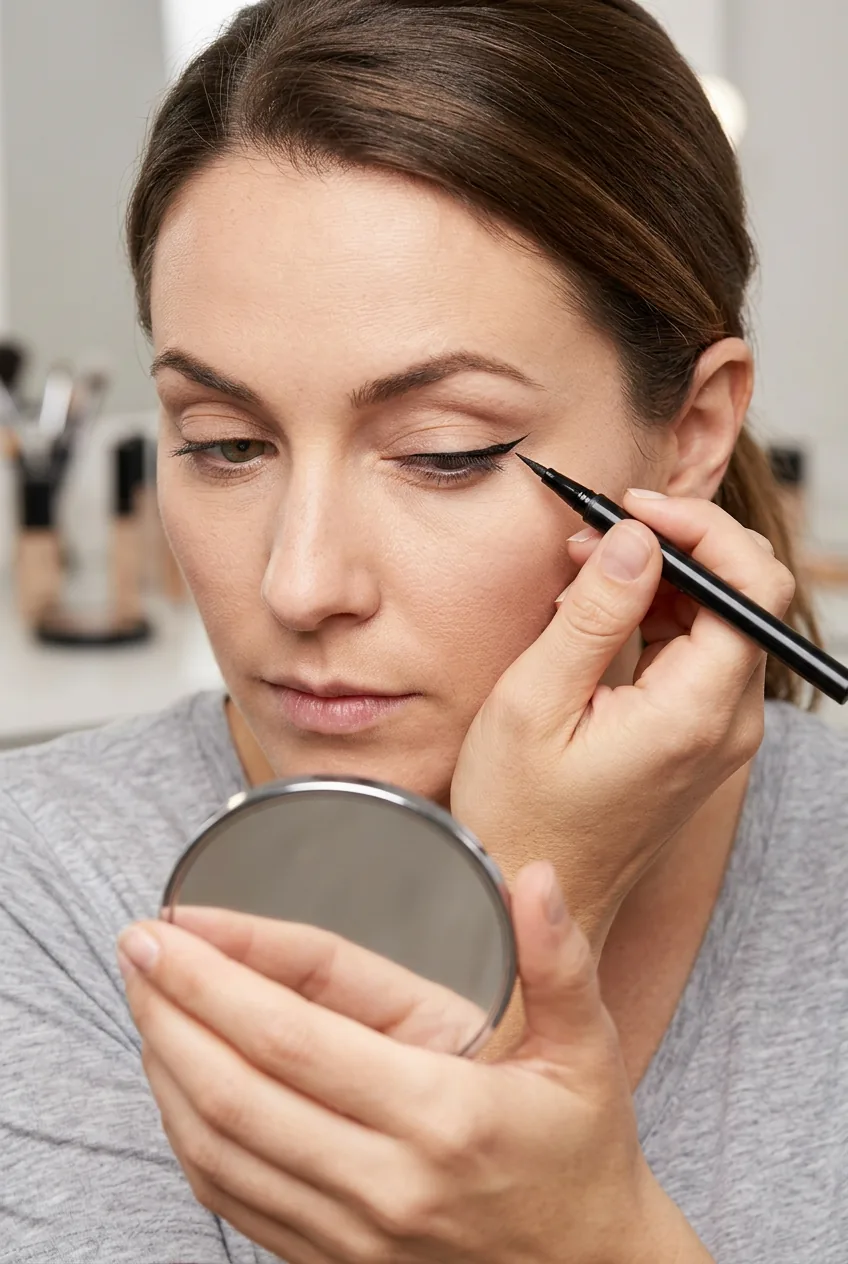
Mistake 5: Drawing on Open Eyes
I spent years trying to apply eyeliner while looking straight into the mirror with my eyes wide open. The result? Wobbly lines that looked nothing like what I intended, and wings that disappeared the moment I blinked.
When your eyes are open, your eyelid is stretched in a completely different position than when you’re looking down or blinking naturally. The line you draw on an open, stretched lid will look totally different when your eye is in a relaxed position.
The solution: look down into a mirror positioned below your face, or close your eye completely while applying liner. This gives you access to the true shape of your eyelid and ensures your line will look good in all eye positions.
For wings specifically, I close my eye and feel for where the line should extend. Then I open my eye to check the angle before filling it in. This prevents that disappointing moment when your perfect wing becomes invisible the second you open your eye.
Part of mastering the art of eye makeup is understanding how your eye shape changes with different expressions and positions. What looks good static might not work in motion.
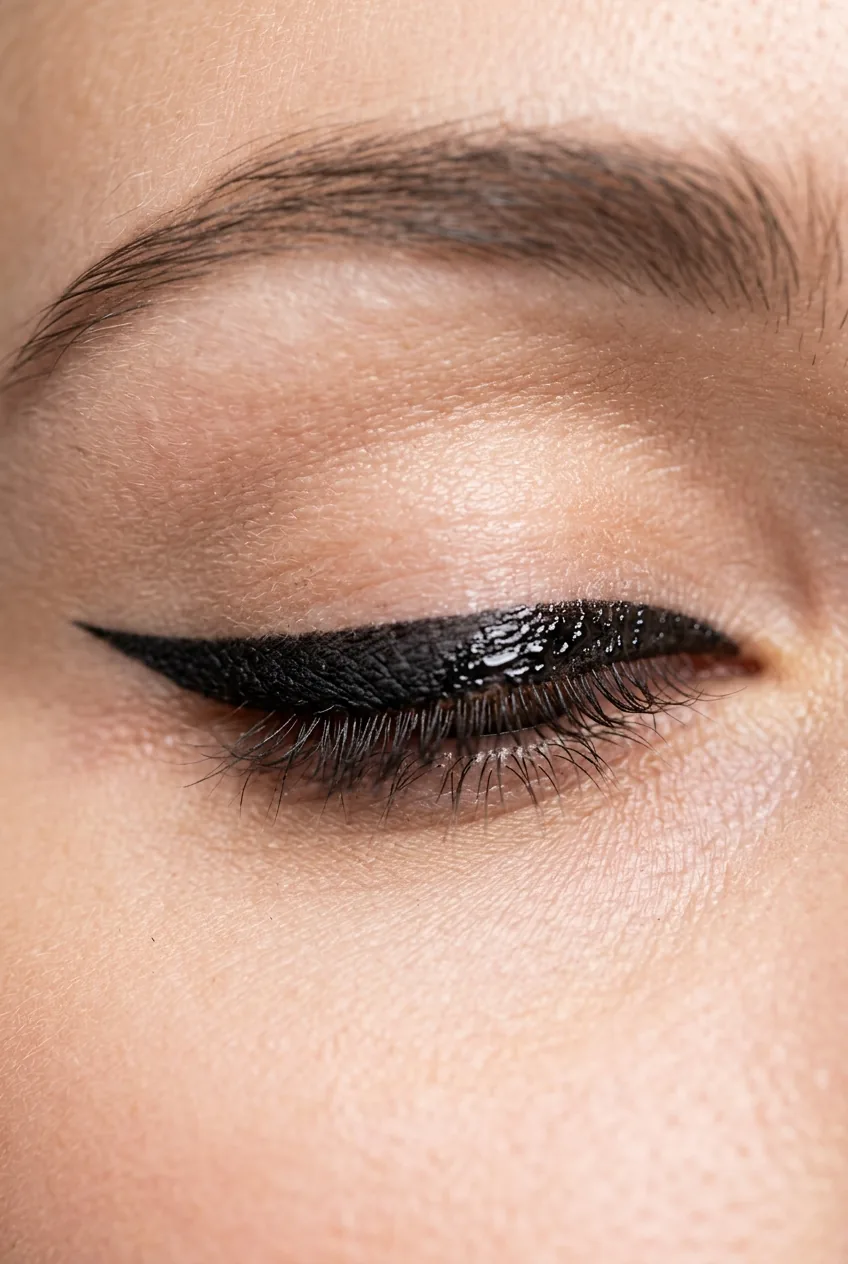
Mistake 6: Rushing the Drying Process
Impatience was my final nemesis. I’d apply my liner, think it looked perfect, then immediately move on to mascara or eyeshadow. Twenty minutes later, I’d have liner smudged everywhere and no idea when it happened.
Liquid eyeliner needs time to set properly. Even if it looks dry on the surface, it’s still vulnerable to smudging, transferring, or flaking off. Rushing this step undoes all your careful work in seconds.
Give your liner at least 30-60 seconds to dry completely before blinking normally or applying other products. I usually do my brows or apply lip balm during this waiting period — just something that keeps me busy without touching the eye area.
To test if it’s really dry, gently touch the outer corner of the line with your pinky. If any liner comes off, it needs more time. When it’s truly set, you should be able to touch it without transferring any product.
Some people swear by setting their liner with a matching eyeshadow, but I’ve found that if you let it dry properly and used good primer, this step is usually unnecessary. The key is patience — something I had to learn the hard way.
Following a structured approach like a flawless makeup tutorial helped me build in these waiting periods naturally. Now patience is just part of my routine.
What People Usually Ask
Should I use tape for winged eyeliner?
I’ve tried the tape trick, and while it can help beginners get a clean edge, it often creates an unnatural angle that doesn’t work with your eye shape. Freehand techniques actually give you more control and better results once you practice the basics.
How do I fix uneven wings without starting over?
Use a flat brush with micellar water to carefully shave down the larger wing, then add small amounts of liner to build up the smaller one. It’s easier to make a big wing smaller than to make a small wing bigger without it looking chunky.
Why does my eyeliner always smudge on my lower waterline?
Your waterline is constantly moist, so regular eyeliner won’t stick. Use a waterproof pencil liner specifically designed for waterlines, and set it with a matching eyeshadow. Even then, expect some fading throughout the day.
Can I wear eyeliner if I have hooded eyes?
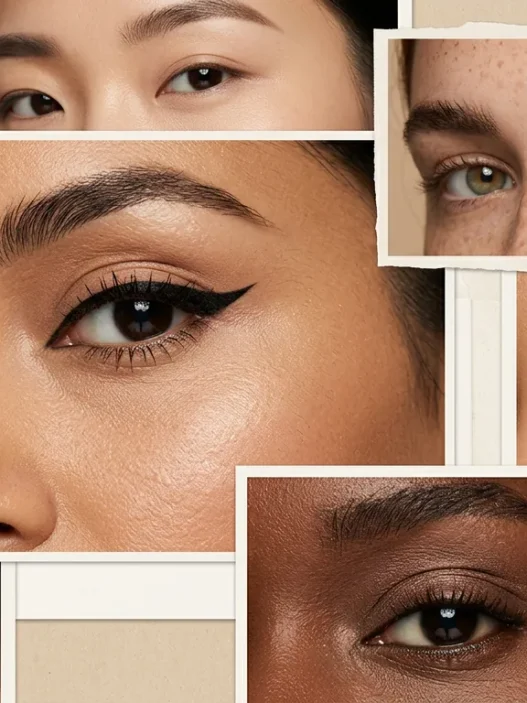
Absolutely! The key is adjusting your technique for your eye shape. Focus on tightlining and creating a thin line that’s visible when your eyes are open. Skip thick lines that will disappear into your crease.
Once I stopped fighting these mistakes and started working with proper technique, my eyeliner game completely transformed. Now I actually look forward to this part of my makeup routine instead of dreading it. The difference really is in understanding what goes wrong and why — then you can fix it instead of just hoping for the best.