


Last Tuesday morning, I overslept by twenty minutes and still needed to look presentable for a client meeting. That’s when I realized my usual makeup routine was way too complicated for real life. I needed something that looked intentional but took almost no time.
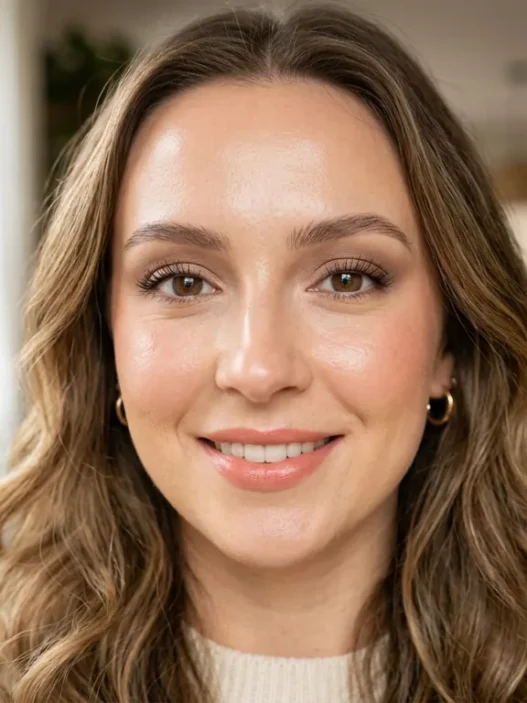
After weeks of experimenting, I’ve perfected what I call the “looks like you tried” natural makeup tutorial. It’s for those mornings when you want to look polished without the fuss. The secret? Products that do double duty and techniques that work even when you’re half awake.
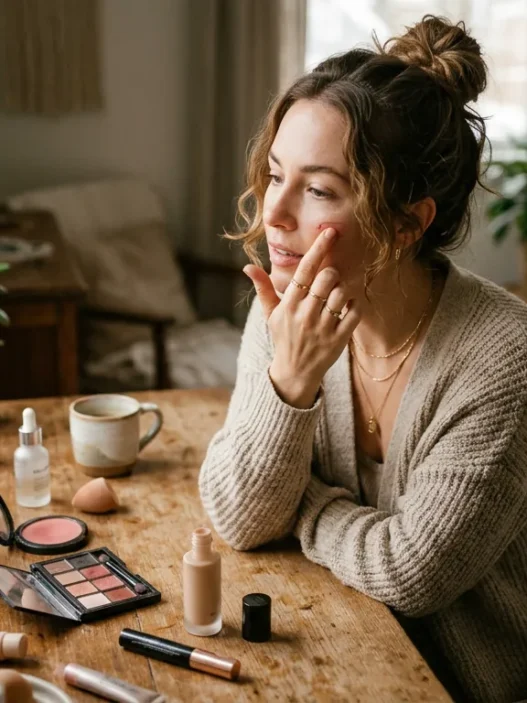
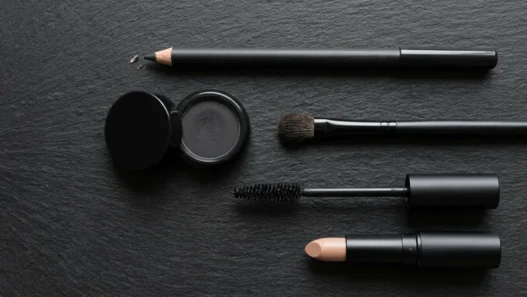
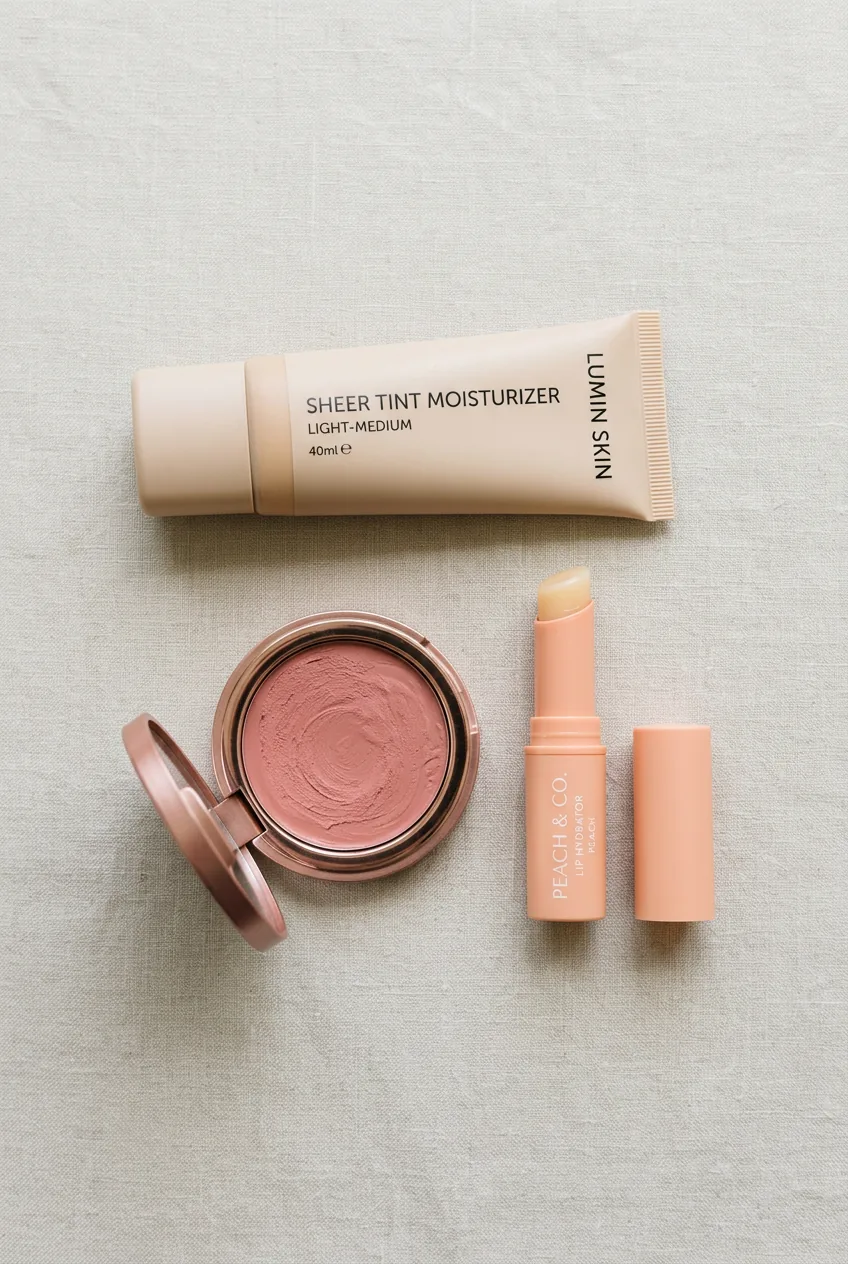
The Only 3 Products You Need
Forget the twenty-product routine. This natural makeup tutorial works with just three multitasking heroes:
- Tinted moisturizer or BB cream (coverage AND hydration in one)
- Cream blush that doubles as lip color
- Clear or tinted lip balm with a bit of shine
That’s it. I keep these three in my purse at all times because they work for everything from grocery runs to surprise coffee dates. The key is choosing formulas that blend easily with your fingers — no brushes required.
When I’m truly desperate for time, I skip everything else and just use the cream blush. But for that “I made an effort” look, these three create magic in under five minutes.
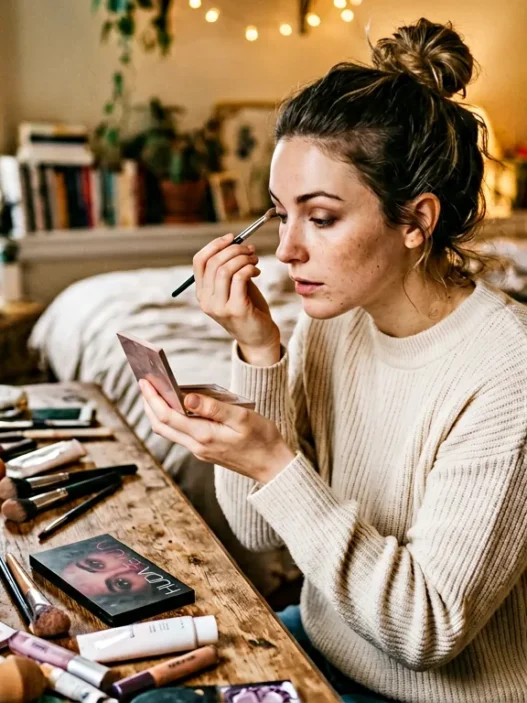
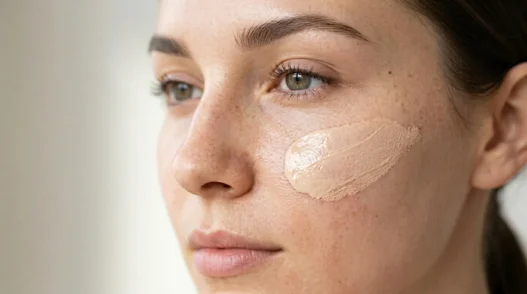
The 60-Second Base
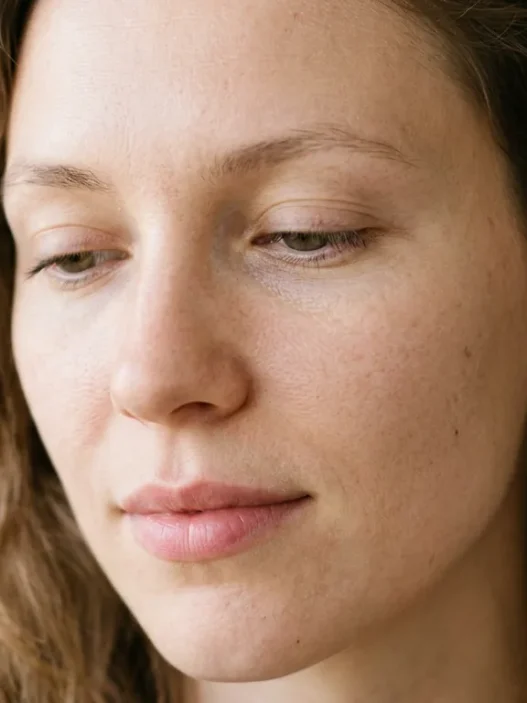
Your base doesn’t need to be perfect — it just needs to look intentional. I pump a small amount of tinted moisturizer onto the back of my hand and warm it up with my fingertips. This makes it blend like butter.
Start in the center of your face and blend outward. Focus on evening out your skin tone rather than covering every tiny imperfection. The goal is “my skin but better,” not “flawless Instagram filter.”
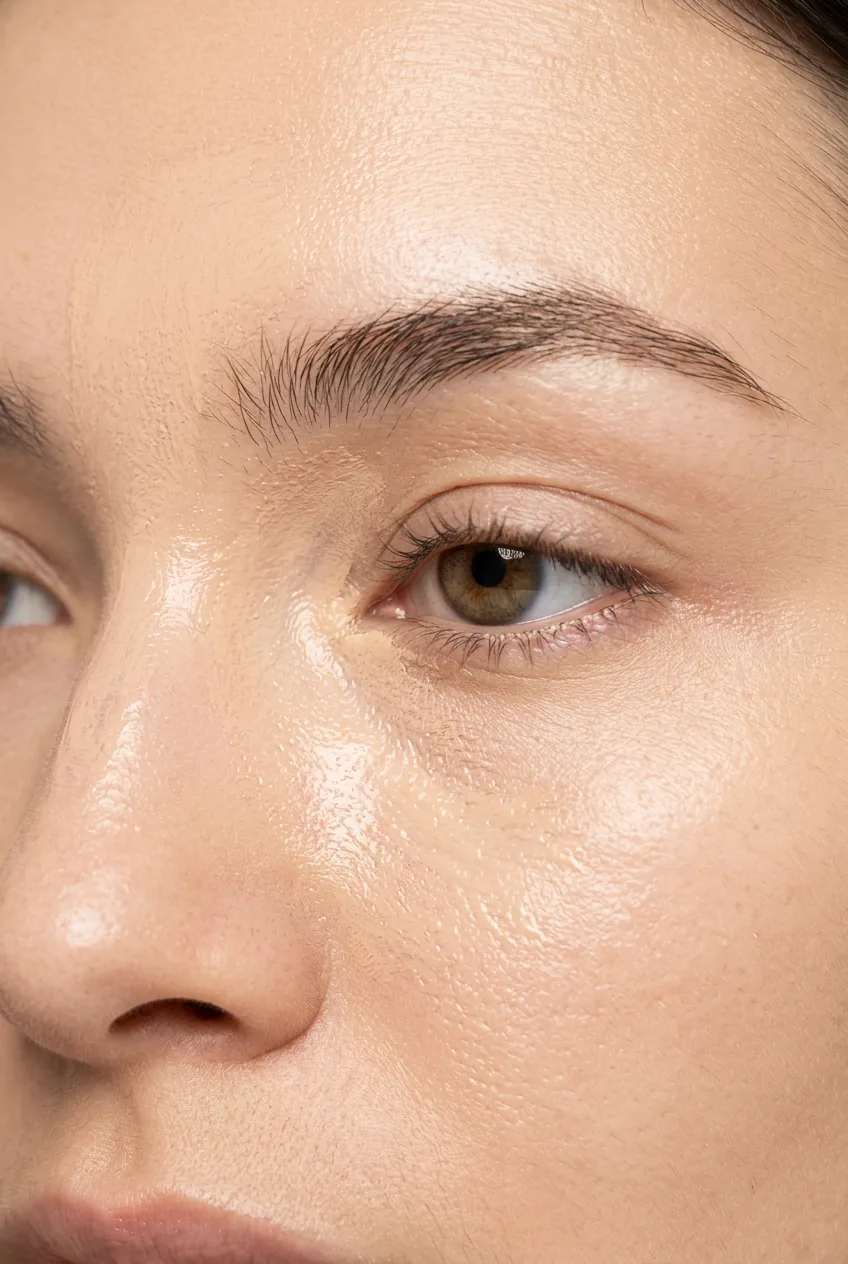
Here’s my shortcut: I only apply base where I actually need it. Usually that’s my T-zone, around my nose, and under my eyes. Your natural skin texture should still show through — that’s what makes it look effortless.
If you have a specific application order you prefer, that works too. But when you’re racing against the clock, this targeted approach saves precious seconds.
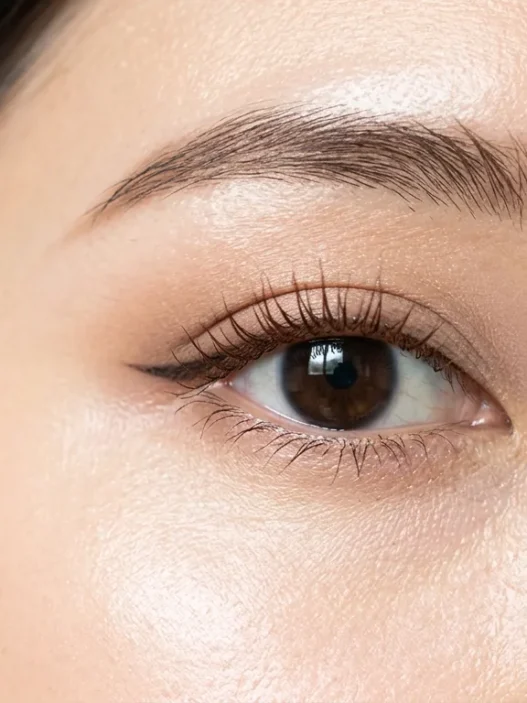
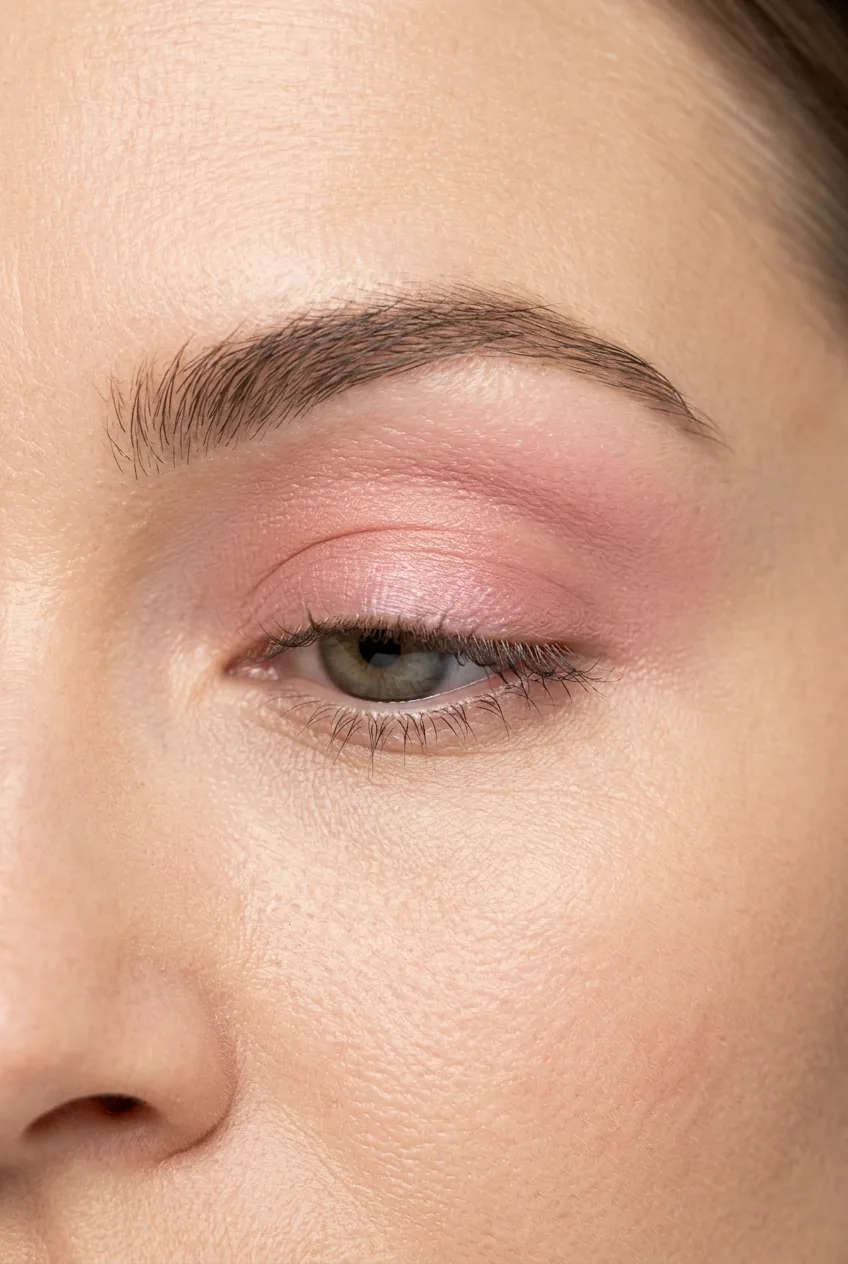
The One-Swipe Eye
This is where most natural makeup tutorials get complicated, but I’ve found the secret: do less. Take that same cream blush and dab a tiny amount on your ring finger. Gently press it onto your eyelids, focusing on the area closest to your lash line.
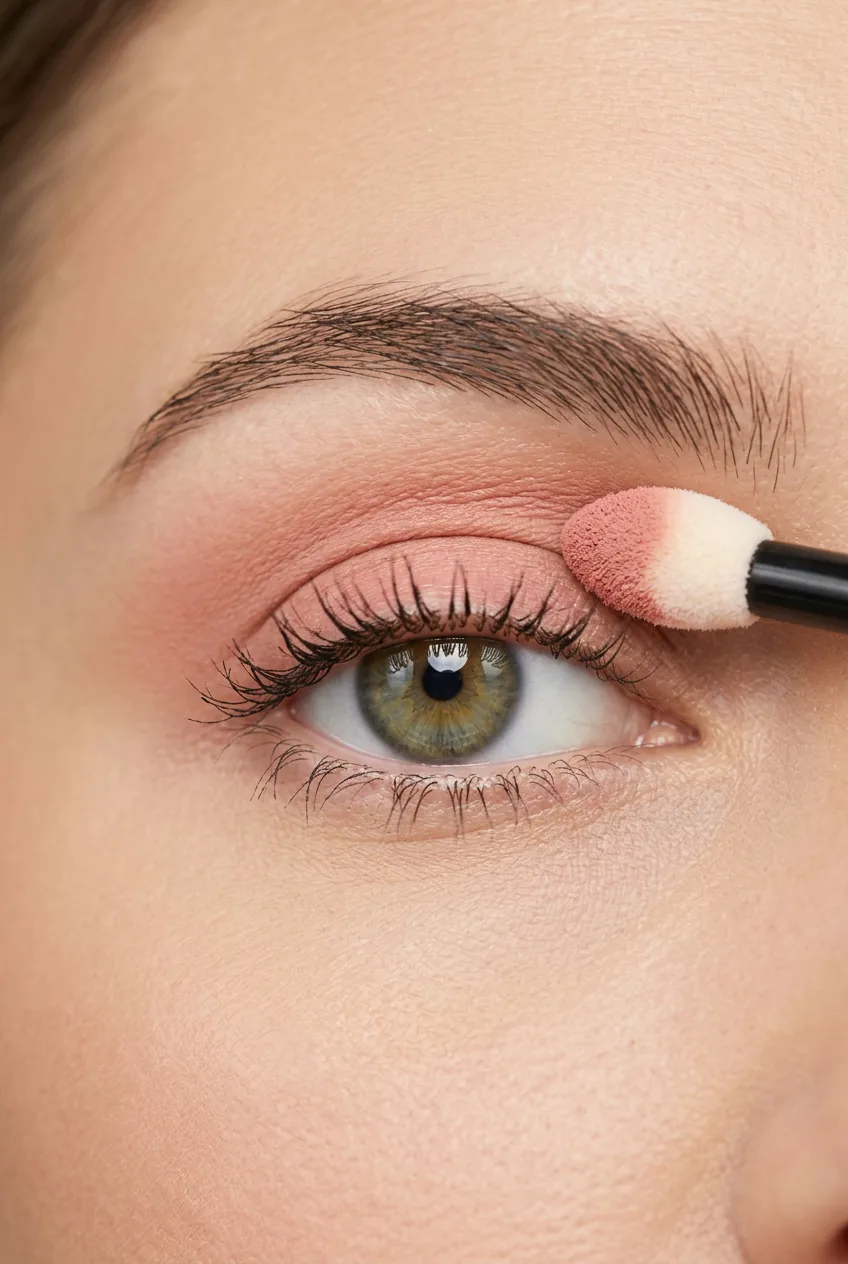
The warmth of your finger melts the cream perfectly, and the subtle color makes your eyes look more awake without screaming “I’m wearing eyeshadow.” I learned this trick from watching makeup artists work on natural looks — they always use the same product in multiple places.
I used to think I needed different shades for my cheeks and eyes, but using the same cream blush creates this beautiful, cohesive look that actually appears more expensive than separate products.
If you want to take it up one tiny notch, curl your lashes. But honestly? On most mornings, the cream blush alone gives enough definition that I skip mascara entirely. It’s liberating.
For those new to this technique, basic application tips can help you understand the fundamentals. But this method is forgiving — there’s no wrong way to press cream color onto your lids.
Watch the Technique in Real Time
The Finishing Touch That Sells It
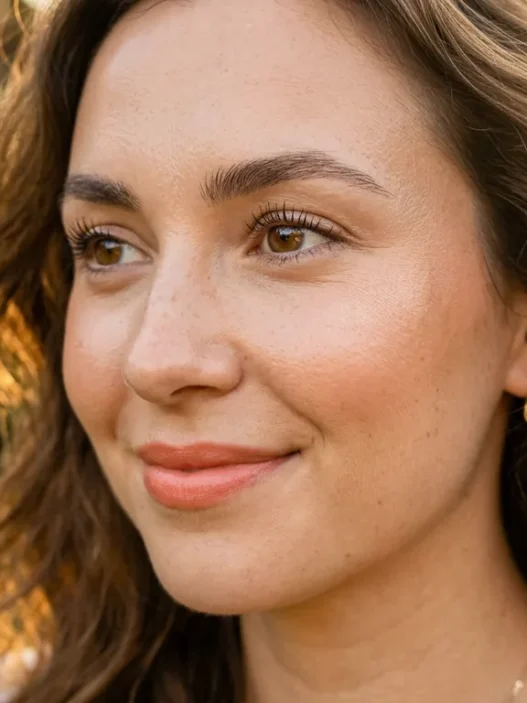
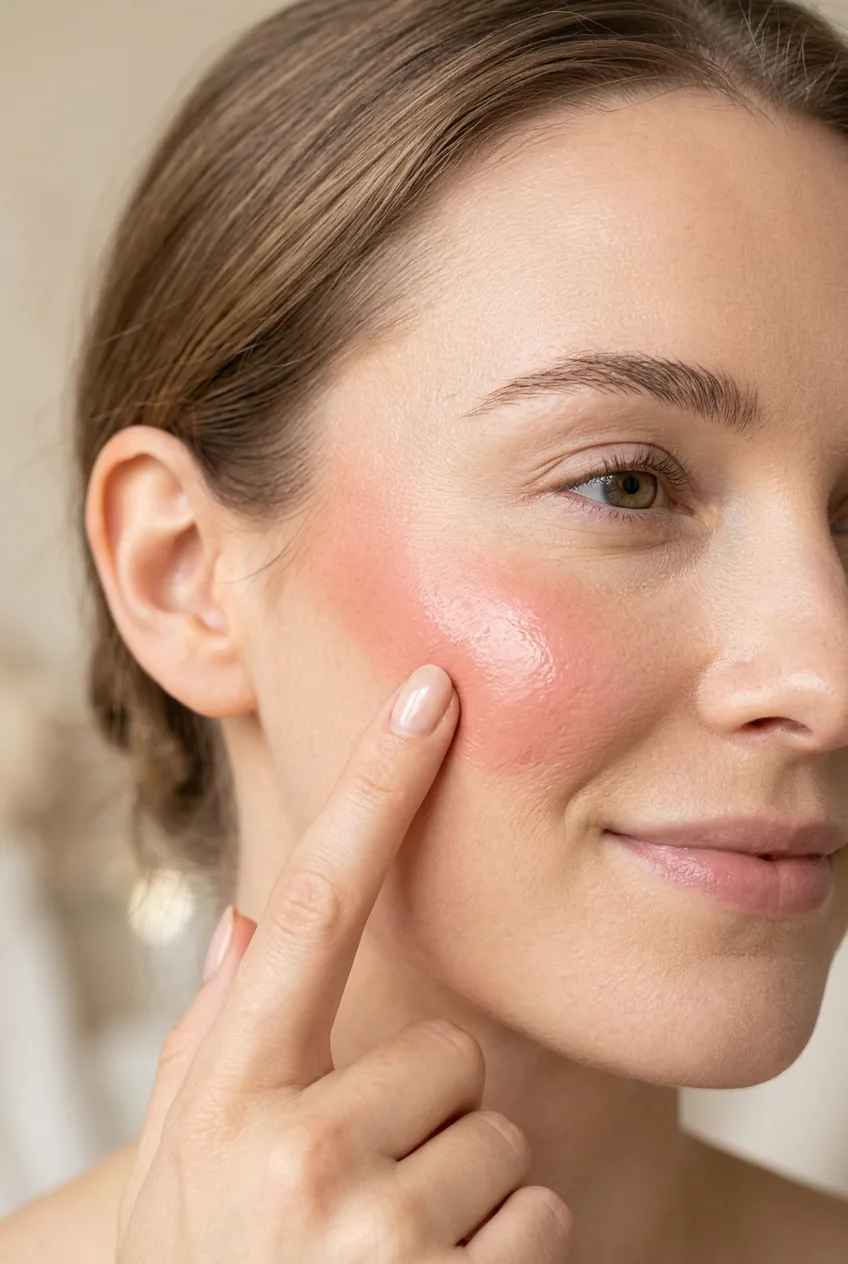
Here’s what transforms this from “barely wearing makeup” to “effortlessly put together”: strategic placement of that cream blush. After doing your eyes, take a tiny bit more and press it onto the apples of your cheeks, then blend upward toward your temples.
The key is using the same shade everywhere. It creates this monochromatic, fresh-faced look that appears incredibly sophisticated. I finish by pressing the same color onto my lips, then adding a layer of clear lip balm for shine.
When people ask about my makeup routine, they’re always surprised it’s this simple. The magic isn’t in the number of products — it’s in using fewer products more strategically.
This whole look takes me exactly four minutes and thirty seconds. I’ve timed it. And it lasts through coffee dates, work meetings, and even light workouts because everything is cream-based and designed to move with your skin.

The best part? If one element starts to fade during the day, you can touch it up in seconds without disturbing the rest. Long-wearing formulas help, but this method is naturally low-maintenance.
Questions I Get About This Method
Will this work on oily skin?
Yes, but choose a mattifying tinted moisturizer and set your T-zone with a tiny bit of translucent powder. The cream blush actually helps balance oil by adding strategic moisture where you need it.
What if I mess up the blending?
That’s the beauty of cream products — you can always add more or blend it out further. I keep a clean finger ready to soften any edges that look too harsh.
Can I use powder blush instead?
Powder won’t work as well for the multi-use aspect, especially on your lips and eyes. The cream formula is what makes this technique fast and foolproof.
How do I choose the right cream blush shade?
Pick something close to the color your cheeks naturally flush when you’re slightly embarrassed. That’s your perfect “natural” shade that will look intentional everywhere you use it.
Three months of testing this routine, and I’m never going back to complicated morning makeup. Some days I add a quick line of eyeliner or experiment with color, but this natural makeup tutorial is my reliable foundation for looking put-together when life gets busy.