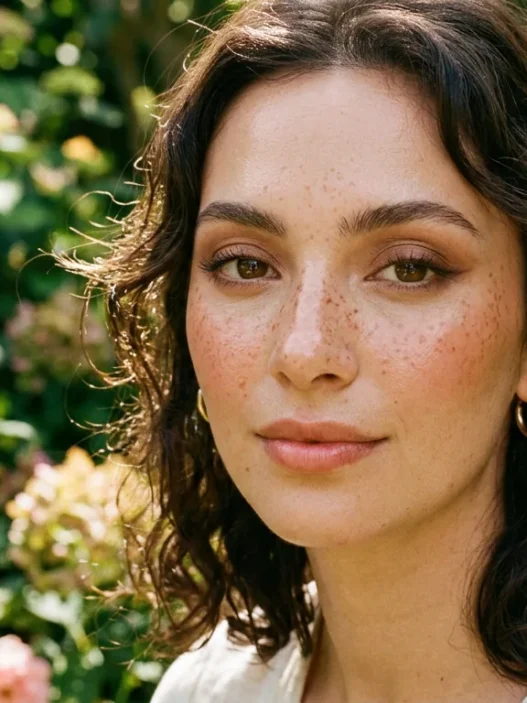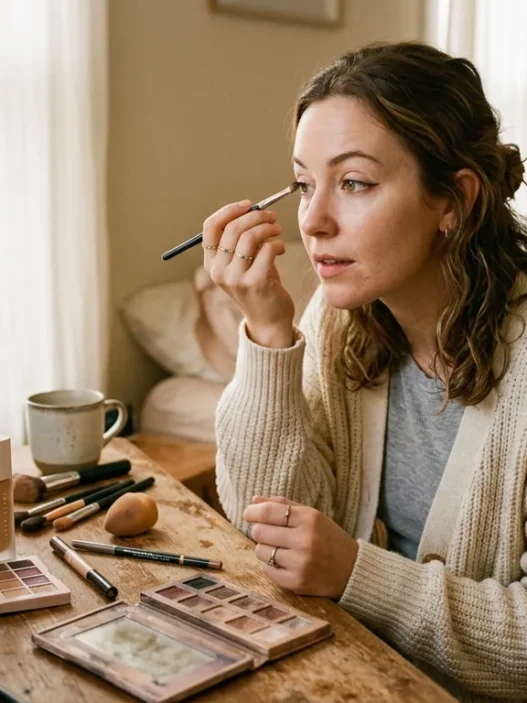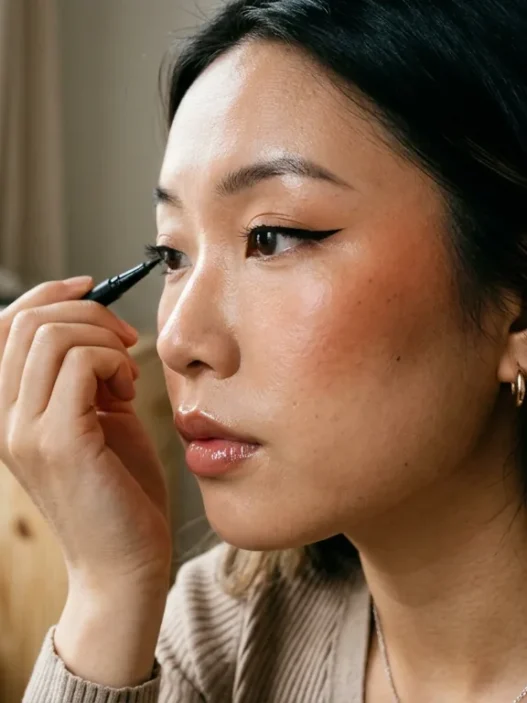

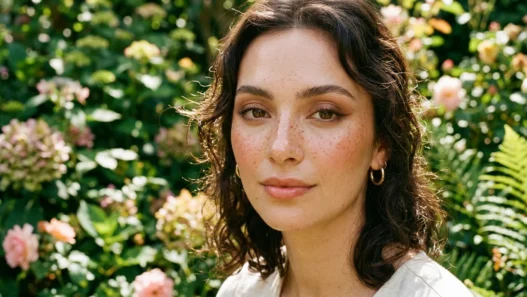

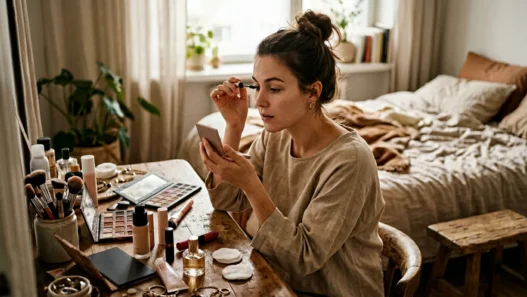

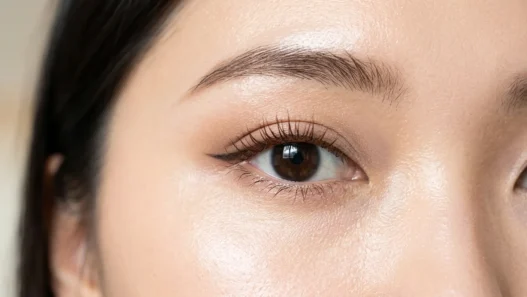
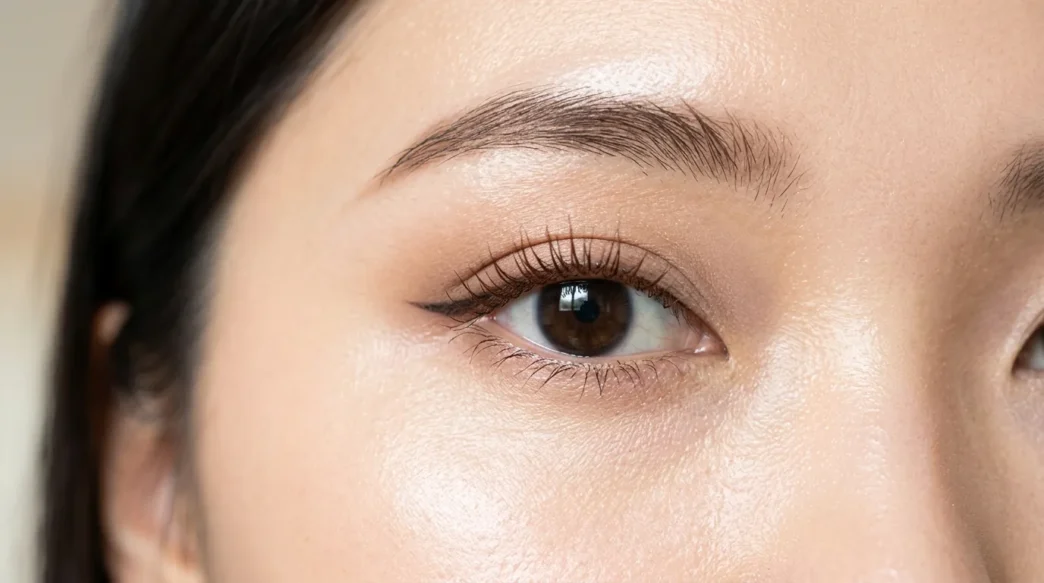
I spent way too much money at makeup counters trying to figure out why my ABG-inspired looks never hit the same as what I saw on Instagram. Turns out, there are a few specific techniques that professional makeup artists use to create that signature glossy, ethereal vibe — and most of them don’t require the $80 foundation they’re pushing.
After watching countless tutorials and actually asking a makeup artist friend to break down her process, I finally cracked the code. The ABG aesthetic isn’t just about the products — it’s about layering techniques that create this almost airbrushed, luminous finish that photographs beautifully.
What You’ll Need
The good news? You probably already own half of this stuff. Here’s what actually makes the difference:
- A damp beauty sponge (not dry — this is crucial)
- Cream blush or liquid blush (powder won’t give you that inner glow)
- Highlighting concealer one shade lighter than your skin
- Setting spray with glycerin (the dewy kind, not matte)
- Clear or tinted lip gloss
- Brown mascara (yes, brown — black is too harsh for this look)
- A small fluffy brush for blending
What the Pros Do That You Can Copy
Professional makeup artists working on ABG-style looks follow a specific layering order that creates depth without looking heavy. They start with skin that looks like skin — just better.
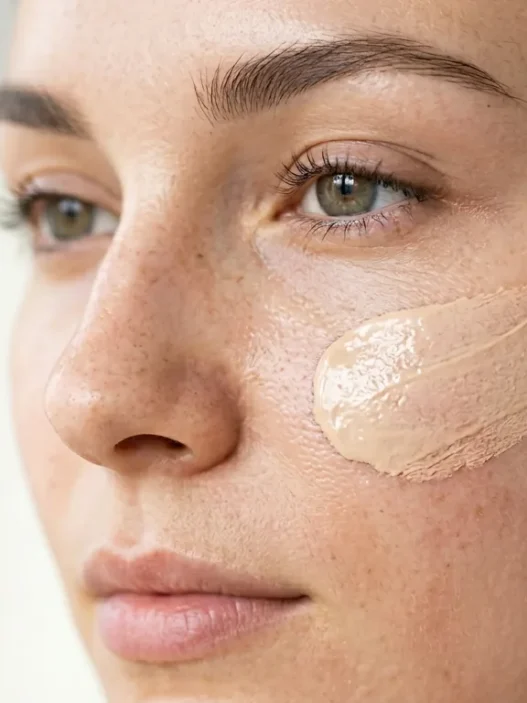
First, they mix a tiny drop of foundation with moisturizer rather than applying foundation straight. This creates a sheer, buildable base that won’t cake up when you add the other layers. The ratio is about 70% moisturizer to 30% foundation.
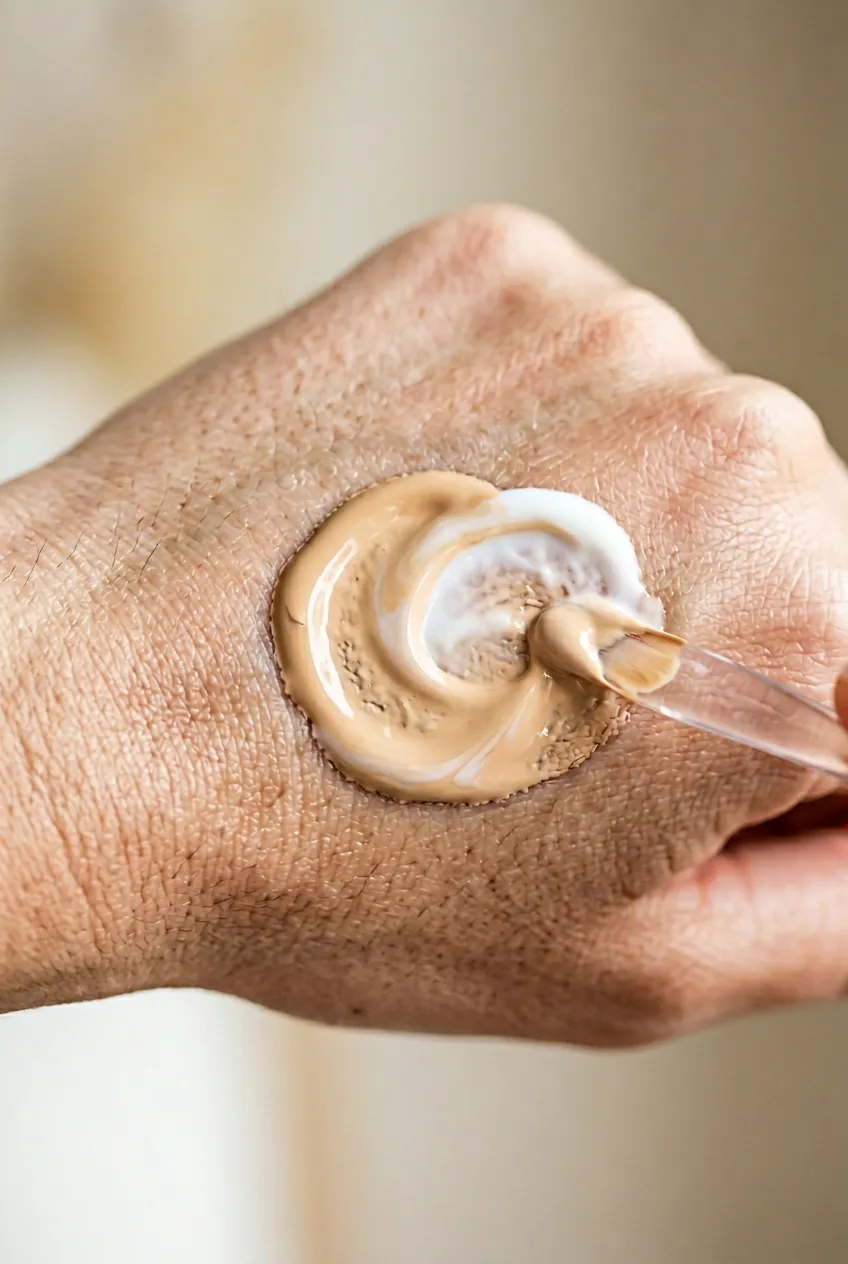
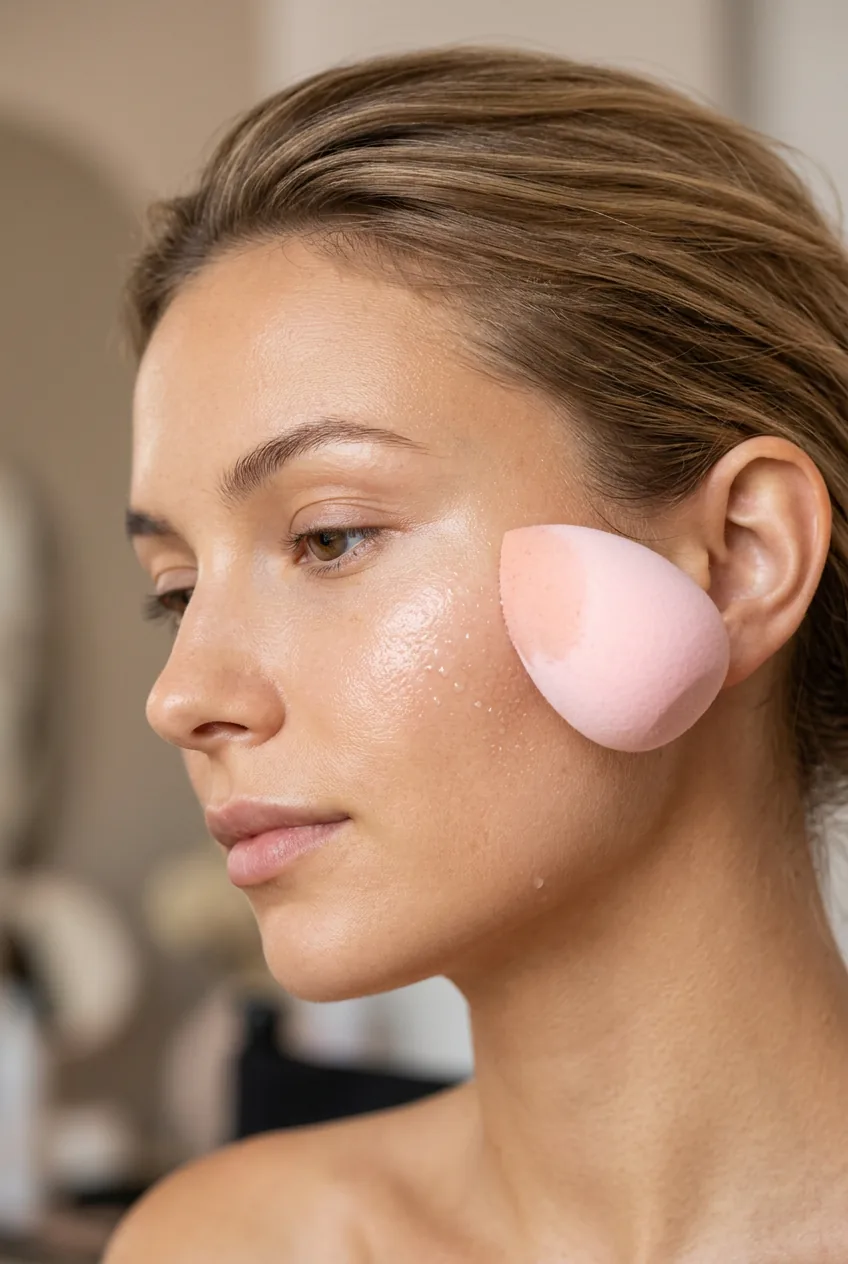
The secret weapon? They apply this mixture with a damp beauty sponge in a pressing motion, never dragging. This keeps the coverage light but even, and it creates this almost skin-like texture that’s essential for the ABG aesthetic.
Then comes the concealer strategy that changed everything for me. Instead of spot-concealing, they use a slightly lighter concealer shade to highlight specific areas — the bridge of the nose, center of the forehead, and just under the eyes. This creates dimension without obvious contouring.
The Affordable Product Swaps
You don’t need the $50 cream blush to get this look. I’ve found drugstore alternatives that work just as well, and sometimes better for beginners because they’re more forgiving.
For the signature glossy skin finish, mixing a drop of facial oil with your regular foundation works almost identically to those expensive luminous foundations. Just make sure it’s a lightweight oil — squalane or rosehip work perfectly.
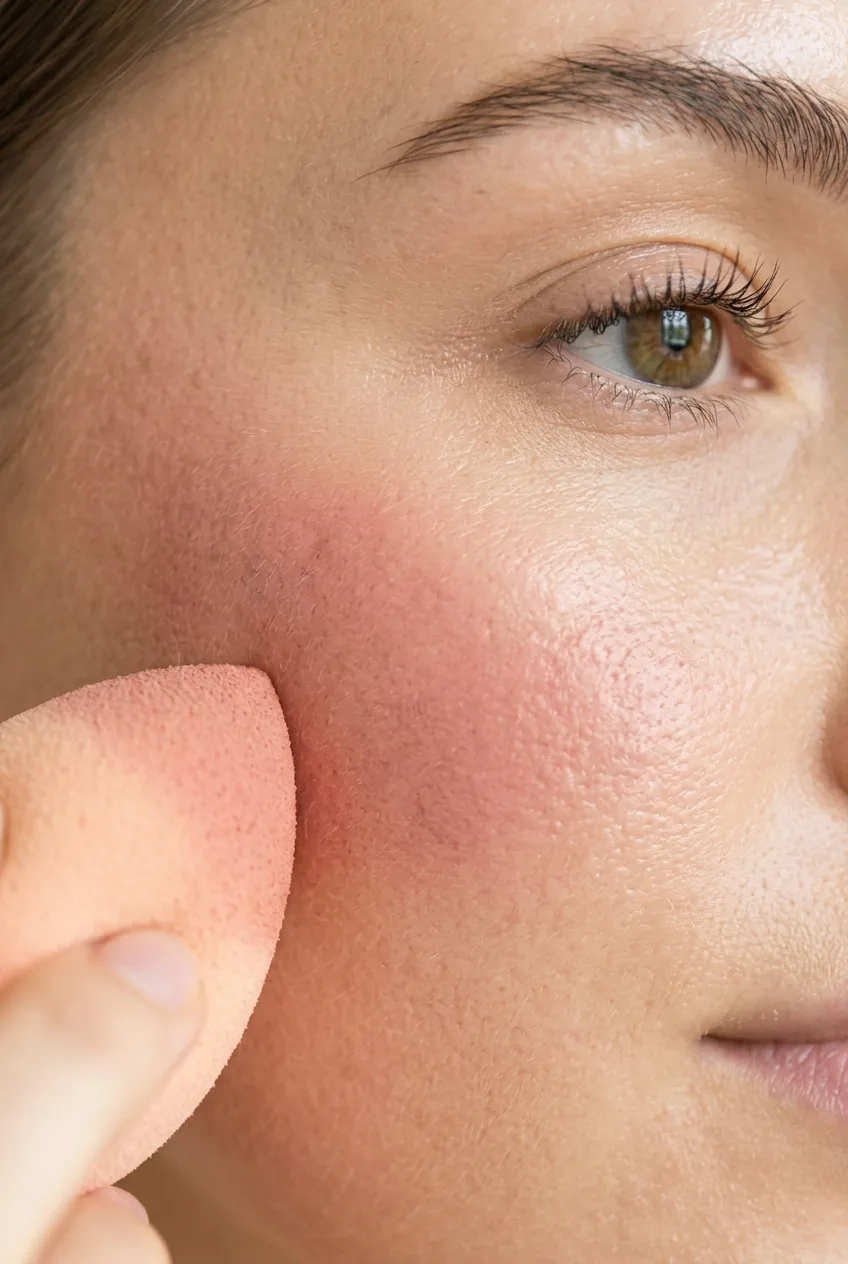
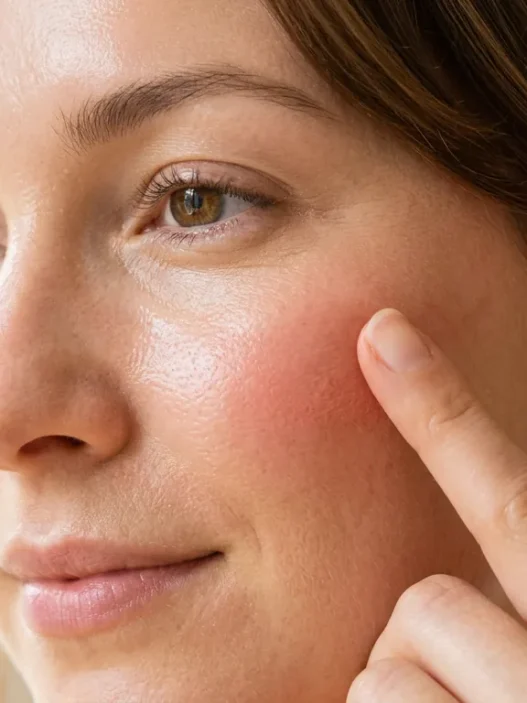
The cream blush situation is where you can save the most money. Liquid lipstick in a coral or peachy shade, dabbed onto the apples of your cheeks and blended quickly, gives you that same inner flush look. I learned this from watching advanced makeup tutorials where artists use lip products for cheeks all the time.
I made the mistake of using too much product the first few times. With ABG makeup, less is always more — you can build up, but it’s nearly impossible to tone down once you’ve applied too much cream blush.
For the glossy lip look, you don’t need those viral $30 lip glosses. A clear lip gloss layered over a nude lip liner creates the same plump, glossy effect. The key is the application technique — pressing the gloss into the center of your lips and letting it naturally spread outward.
The Technique Doing the Heavy Lifting
Here’s the part that makes the biggest visual difference: the strategic placement of cream products. ABG makeup is all about that soft, diffused glow that looks like it’s coming from within your skin.
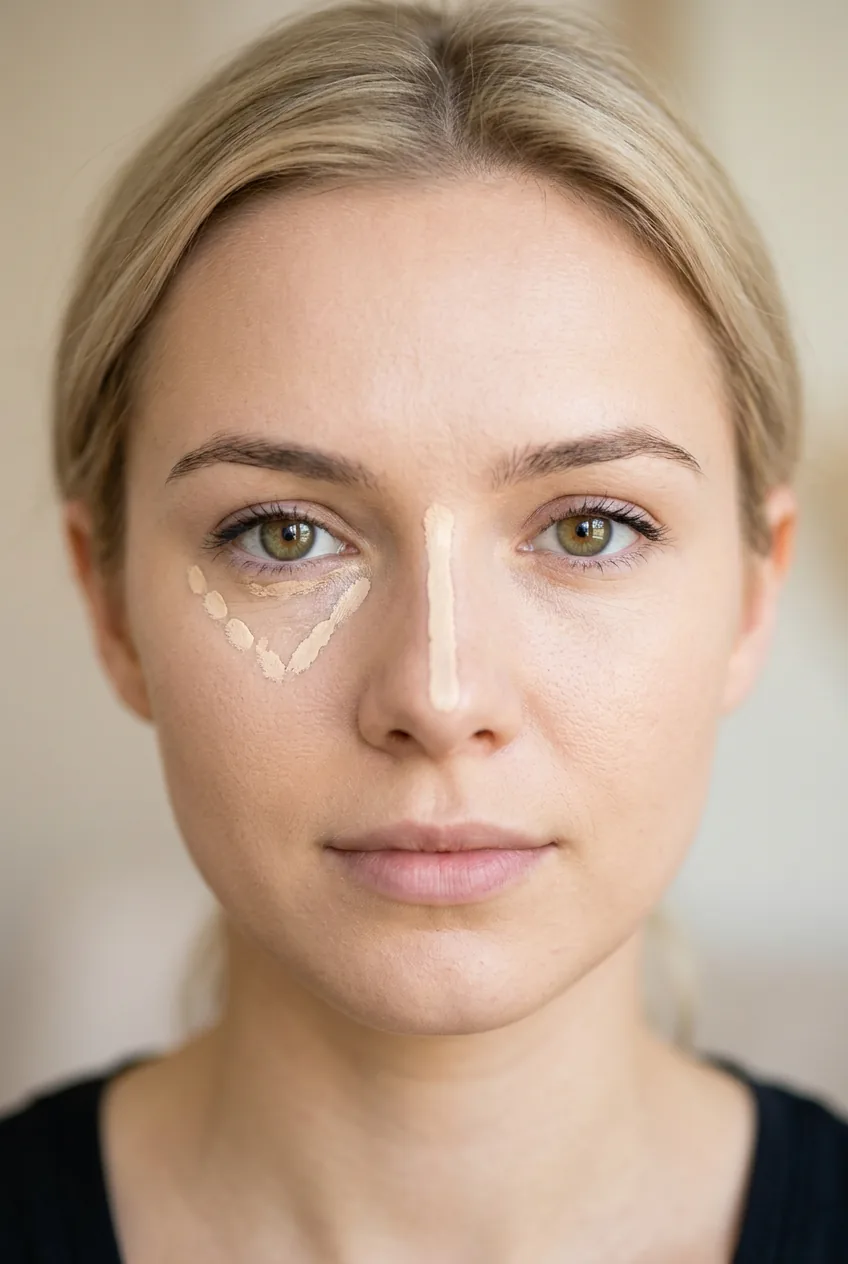
Start with cream blush on the apples of your cheeks, but here’s the crucial part — blend it upward toward your temples, not outward toward your ears. This lifts your face and creates that youthful, fresh look that’s signature to the ABG aesthetic.
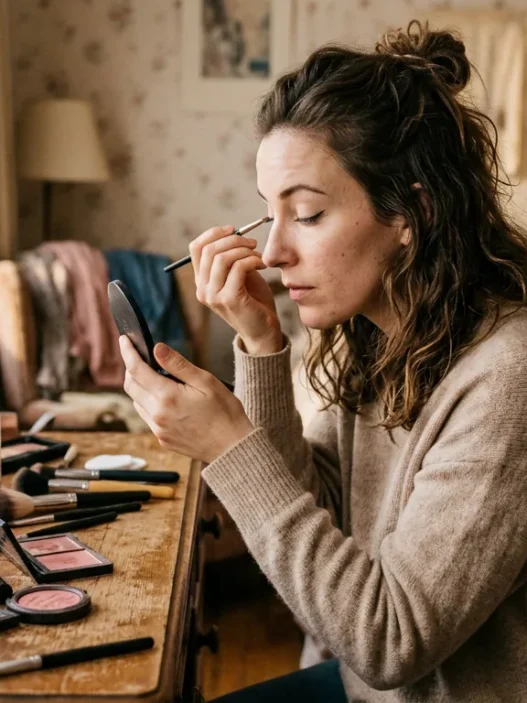
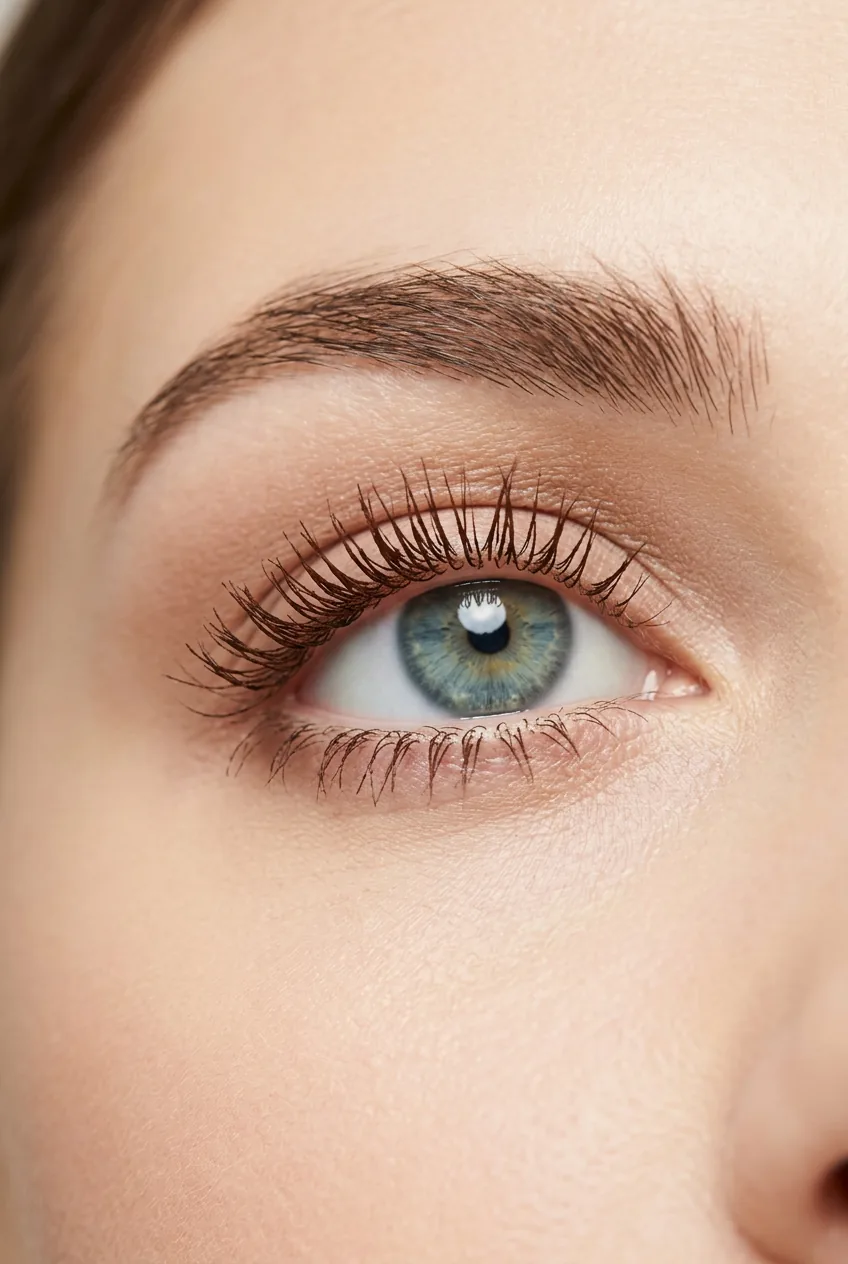
The eye area is where most people go wrong. Instead of dramatic eyeshadow, focus on making your eyes look bright and awake. Use that highlighting concealer right on the inner corners and blend it onto the mobile lid. Then, just brown mascara on the lashes — monochrome makeup principles apply here where everything stays in the same tonal family.
The final technique that pulls everything together is the setting spray application. Instead of misting your whole face, spray it onto your beauty sponge and press it into the areas where you want extra glow — cheekbones, bridge of nose, and chin. This seals everything while adding that dewy finish.
Watch the Blending Technique Live
Where Close Enough Is Fine
Let’s be honest — some aspects of professional ABG makeup are impossible to replicate perfectly at home. And that’s okay. The goal is capturing the essence of the look, not recreating it down to the last detail.
Professional makeup artists have access to airbrush systems and color-matching technology that creates that absolutely flawless base. At home, your skin texture might still show through a bit, and that’s actually more realistic anyway.
The perfectly symmetrical highlight placement that looks amazing in professional photos might feel too intense for everyday wear. I’ve found that a softer, more diffused version works better for real life while still giving you that ABG-inspired glow.
Same goes for the lip gloss intensity. Those ultra-glossy lips you see in editorials require constant touch-ups and can feel impractical. A more wearable version with lip gloss that travels well gives you the same visual effect with less maintenance.
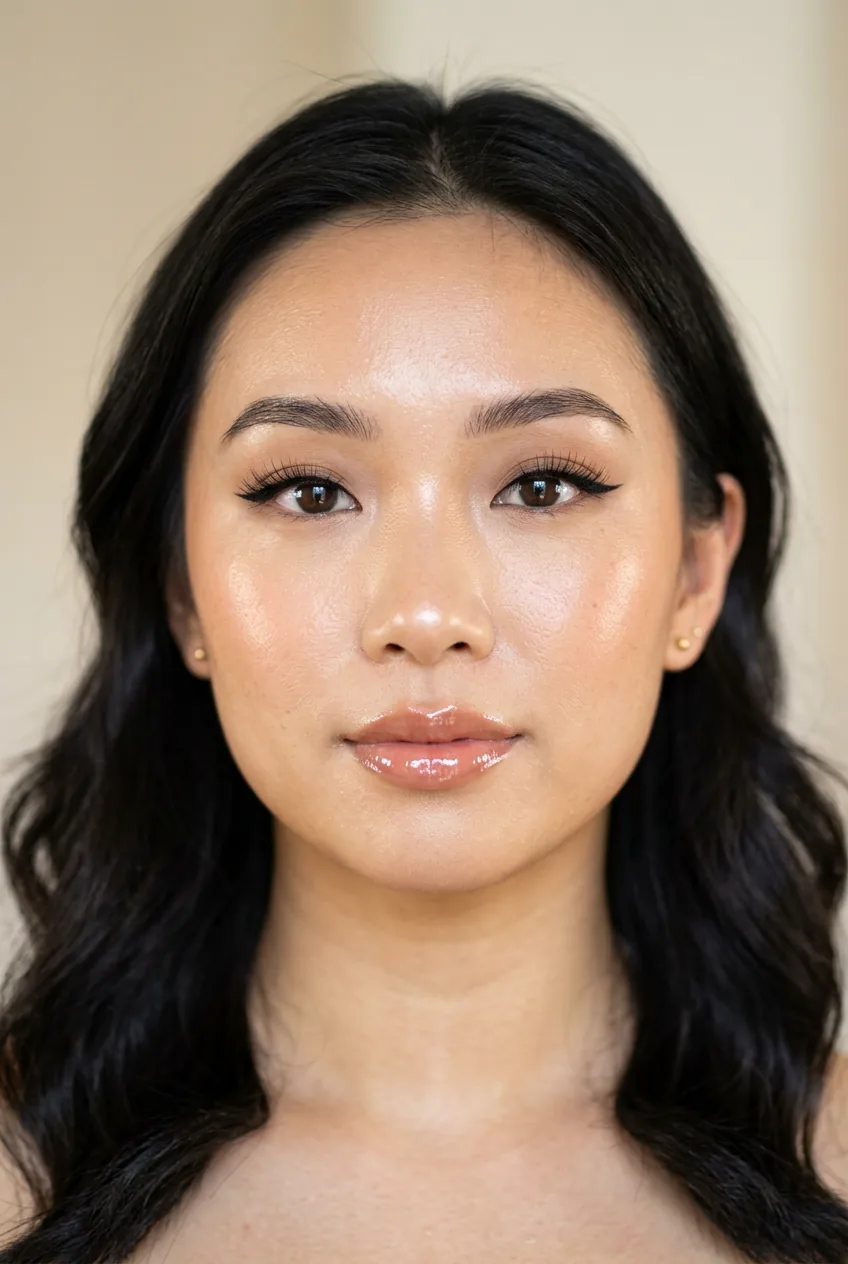
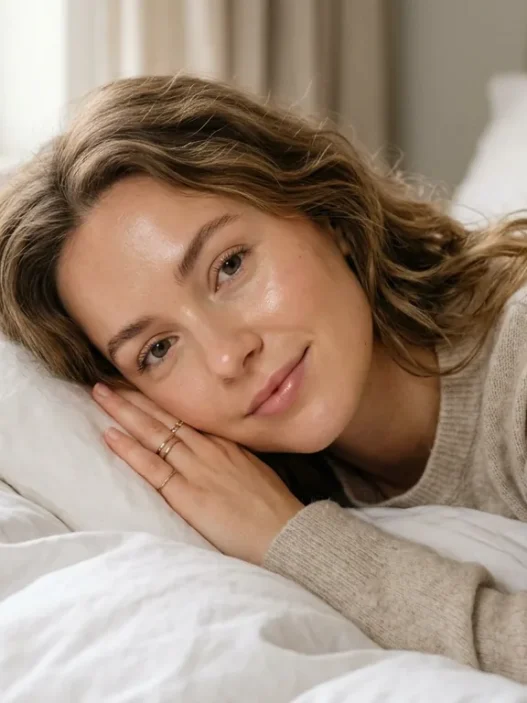
The most important thing is nailing the overall vibe — fresh, glowy, effortless. If your cream blush placement isn’t exactly like a professional’s, but you’ve got that soft, luminous finish happening, you’ve achieved the look.
Questions I Get About This Look
How long does this makeup last?
With the right setting spray, it holds up for about 6-8 hours. The cream products tend to fade more naturally than powder, which actually works in your favor — it never looks cakey as it wears off.
Can I do this look with oily skin?
Absolutely, but you’ll want to use a mattifying primer first and set the cream products with a light dusting of translucent powder. Oily skin makeup tips can help you adapt the technique without losing the dewy effect.
What if I mess up the cream blush placement?
Use a damp beauty sponge to gently press and blend it out. You can also add a tiny bit of your foundation mixture on the sponge to tone it down if it’s too intense.
Is brown mascara really necessary?
It makes a huge difference in achieving the soft, natural look. Black mascara can look too harsh against the subtle, glowy base. If you only have black, try applying just one coat instead of your usual amount.
After months of trial and error, I can finally achieve that effortless ABG glow that actually photographs well. The best part? Once you get the technique down, it takes maybe 15 minutes start to finish. Way better than booking a $150 makeup appointment every time I want to look put-together.