
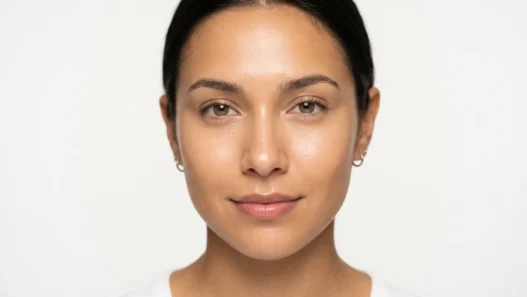


I used to think “natural makeup” meant wearing foundation that didn’t quite match my skin tone and calling it a day. Spoiler alert: that’s not natural — that’s just bad makeup. After years of trying to master that elusive no-makeup makeup look, I finally cracked the code. The secret isn’t using less product; it’s using the RIGHT products in the RIGHT way.
Your Natural Makeup Roadmap
What You’ll Need
Here’s the beauty of this approach — you probably already have most of these things.
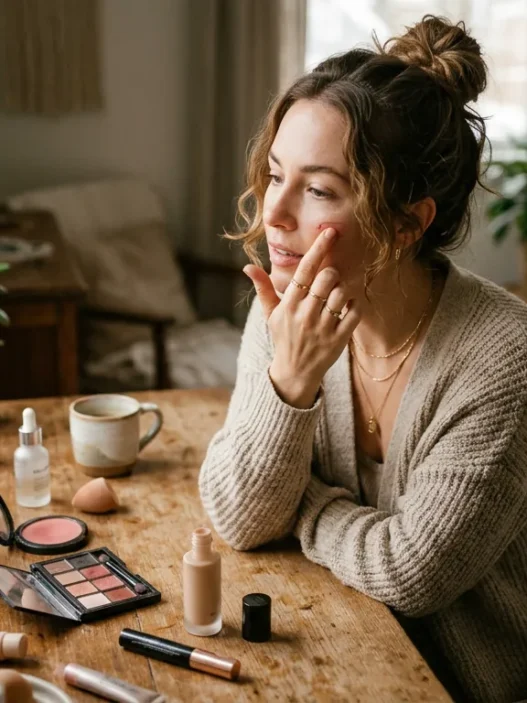
- Tinted moisturizer or BB cream (not foundation!)
- Cream blush in a shade close to your natural flush
- Clear or tinted lip balm
- Your fingers (seriously, best blending tools ever)
- One fluffy brush for any powder touch-ups
- Concealer only if you have specific spots to cover
Step 1: The Two Products Doing All the Work
Forget everything you know about base makeup. We’re starting with tinted moisturizer — not foundation, not concealer, not color-correcting primer. Just good old tinted moisturizer that matches your neck, not your face.
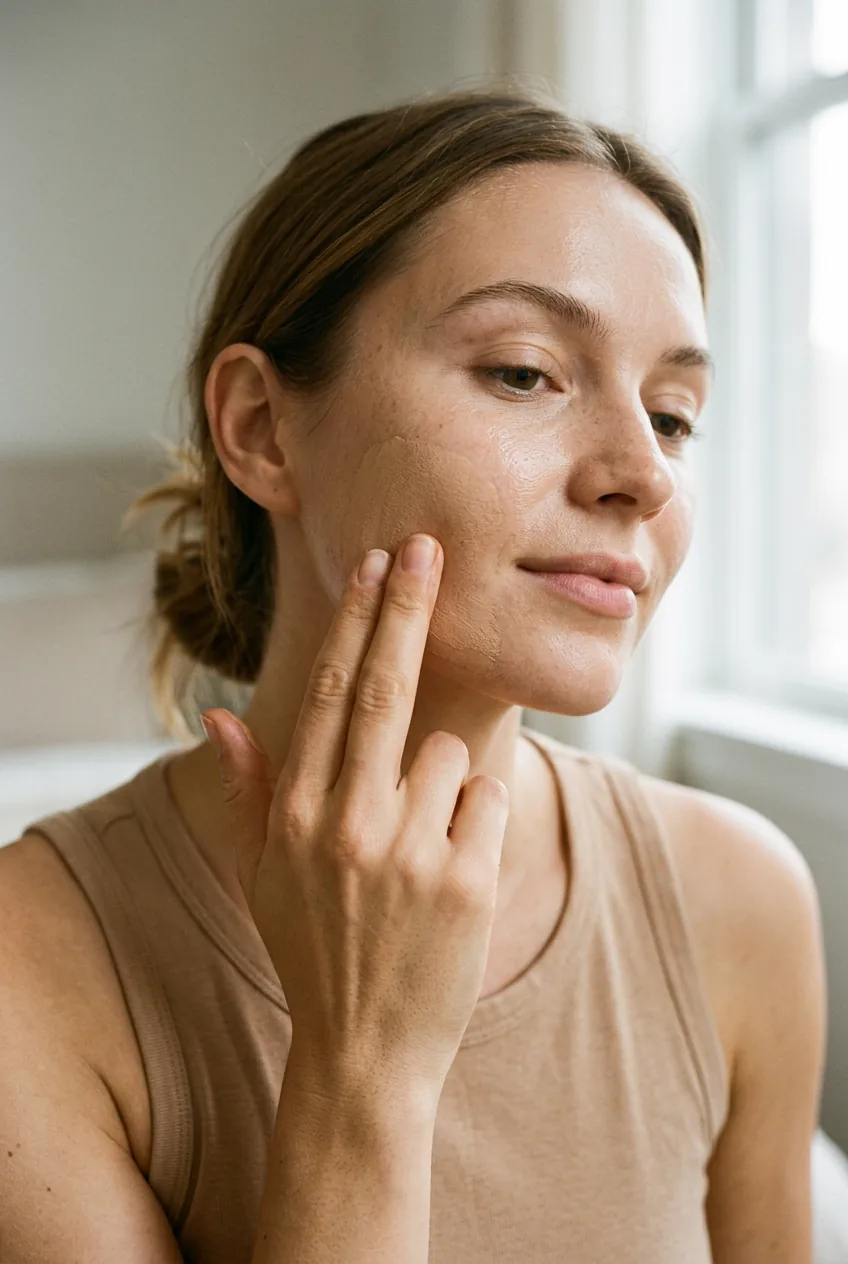
I squeeze about a pea-sized amount onto the back of my hand and warm it up between my fingers before pressing it into my skin. And I mean pressing, not rubbing. Start at the center of your face and work outward, focusing on evening out your skin tone rather than covering every single pore.
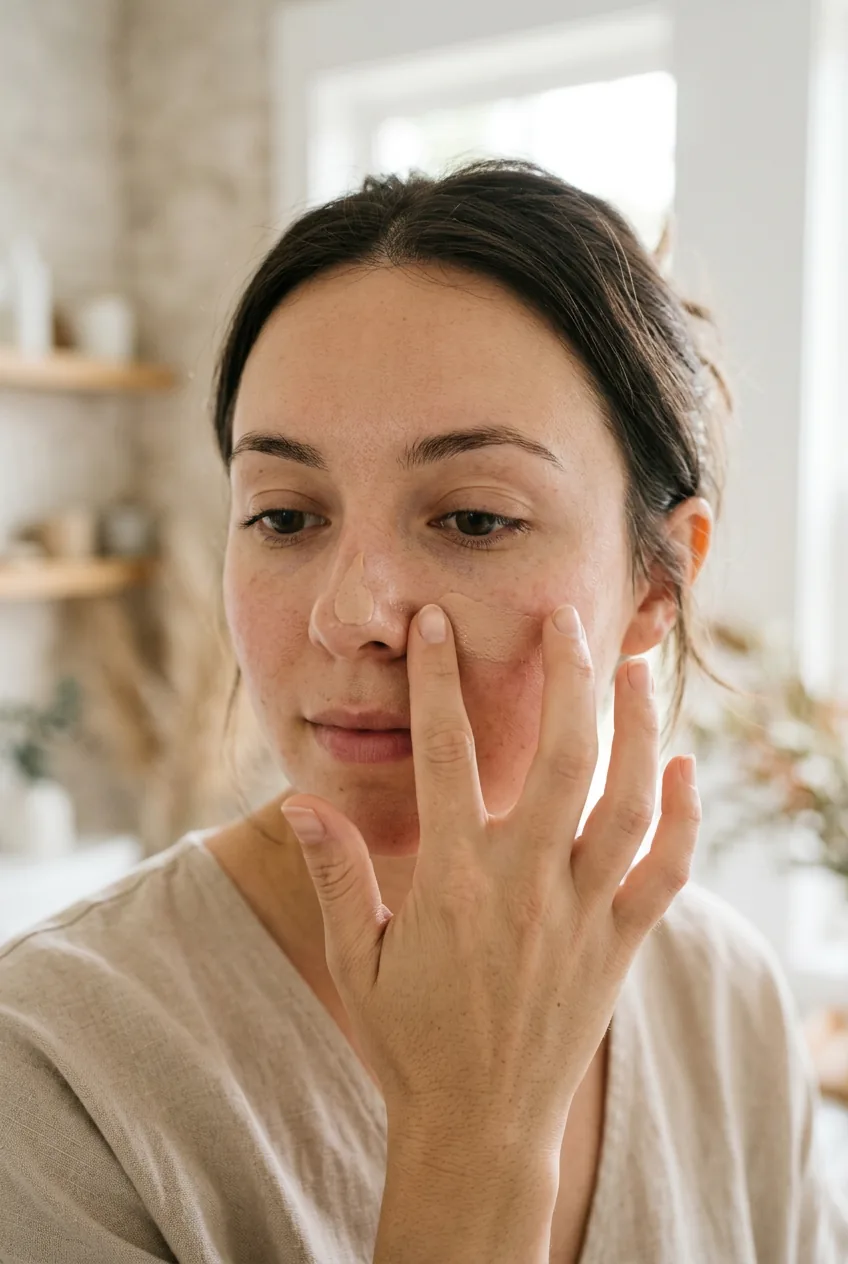
The goal here is to let your actual skin show through. If you can’t see any of your natural skin texture after applying, you’ve used too much. I learned this the hard way after looking at photos where my face looked like a flat, matte mask while my neck was glowing with natural oils.
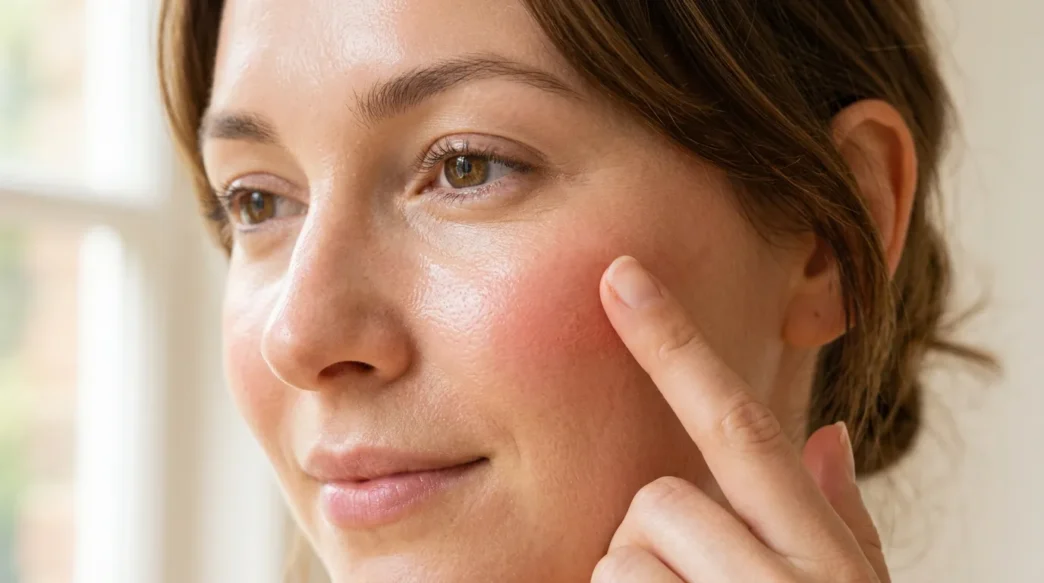
Next comes cream blush, and this is where most people go wrong. They think “natural” means barely-there pink. Wrong. Cream blush techniques should mimic where you naturally flush — usually the apples of your cheeks and sometimes up toward your temples.
Step 2: Keep It Sheer
Here’s where patience becomes your best friend. I used to slap on blush like I was painting a wall — fast, efficient, and way too heavy. Natural blush needs to be built up in whisper-thin layers.
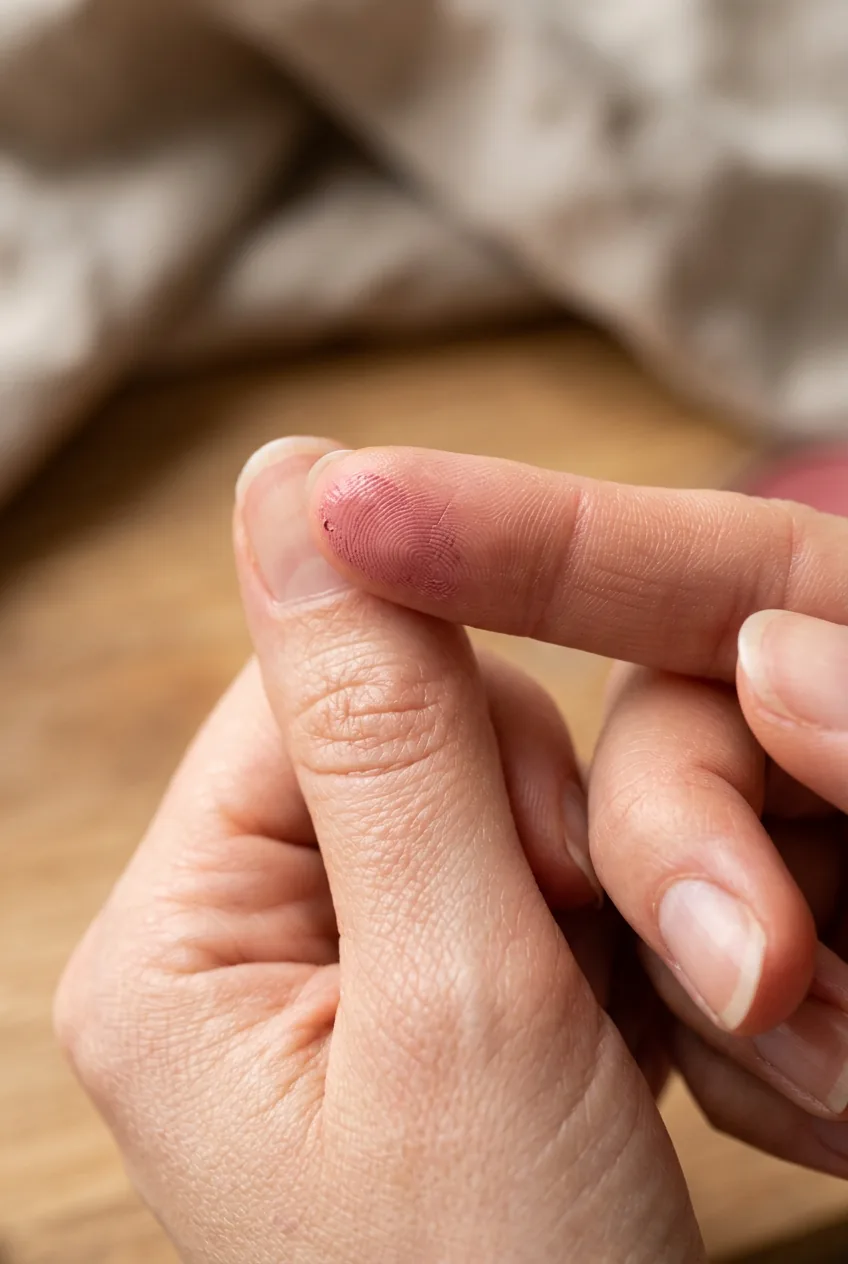
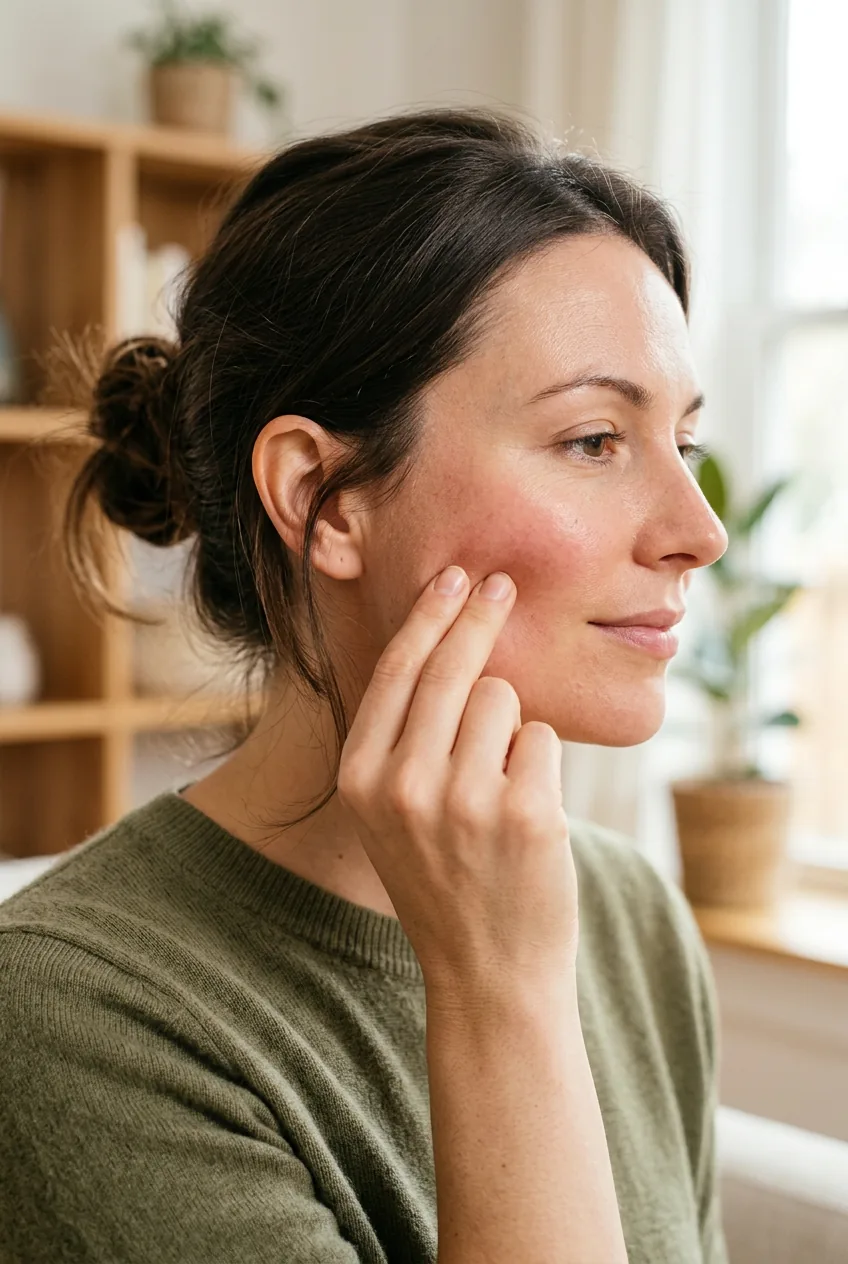
Take a tiny amount of cream blush — and I mean tiny, like the size of a pinhead — and warm it between your fingers. Then gently tap it onto the apples of your cheeks. Don’t swipe, don’t rub, just tap and blend in small circular motions.
The biggest mistake I made early on was applying blush to dry skin. Your tinted moisturizer should still be slightly tacky when you apply the blush — it helps everything meld together seamlessly. If your base has set completely, the blush sits on top like stage makeup.
Build the color gradually. It’s much easier to add more than to take away. I usually do three thin layers, checking in natural light between each one. That bathroom lighting lies to you every single time.
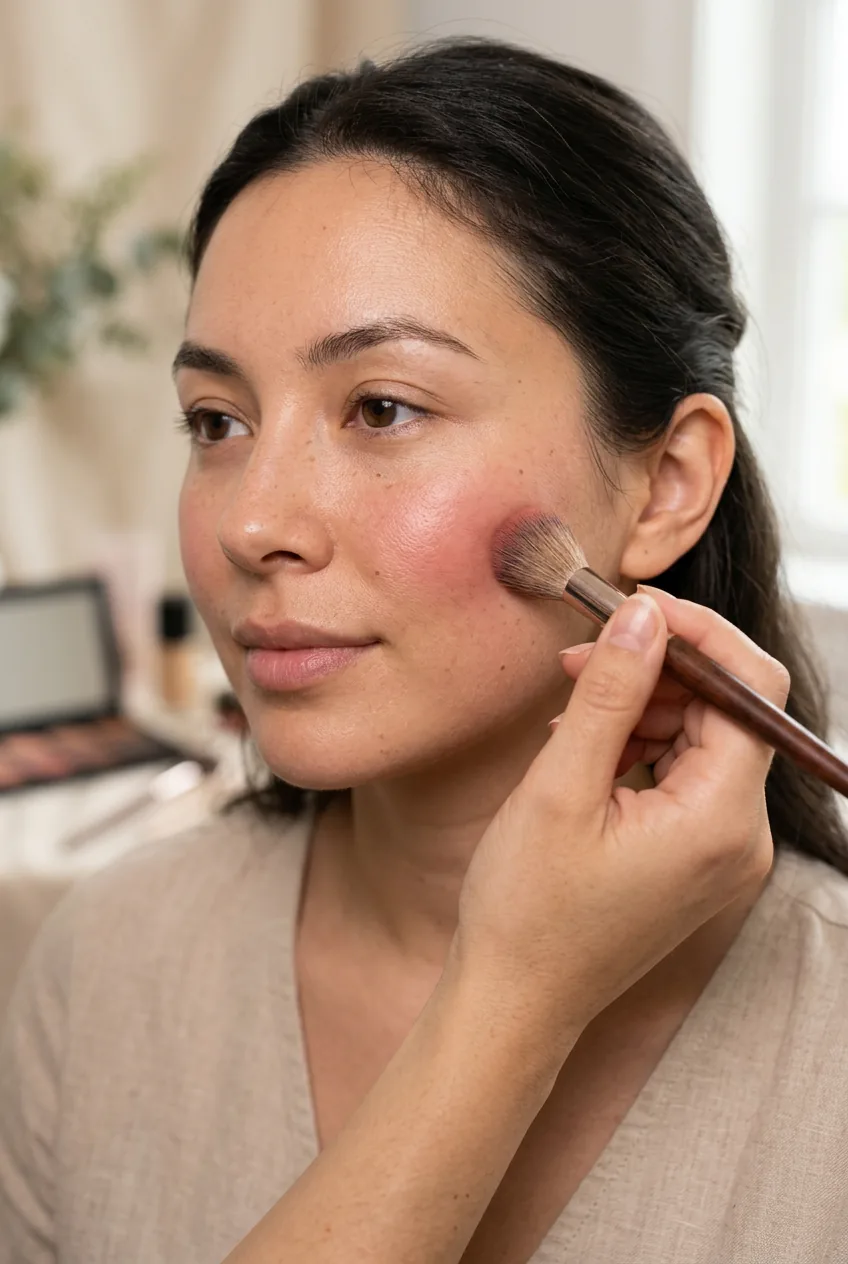
For those days when your skin is looking particularly good, try applying the blush to your bare skin first, then pressing the tinted moisturizer over it. This creates this gorgeous, lit-from-within glow that looks completely natural. The blush peeks through just enough to look like your actual circulation.
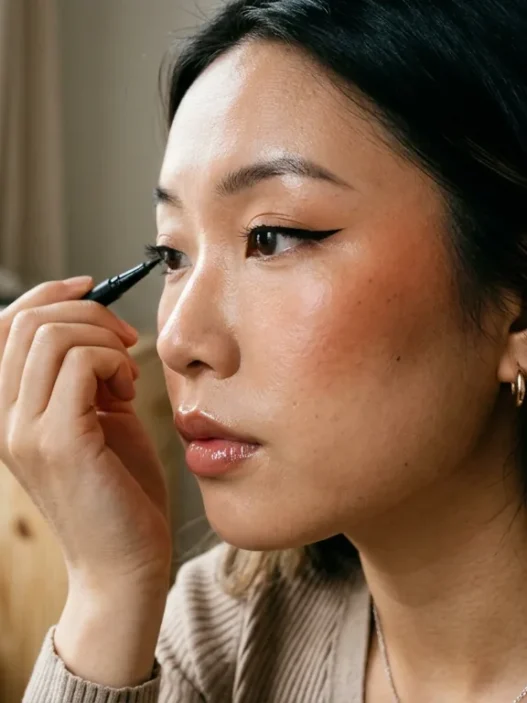
Watch This Blending Technique
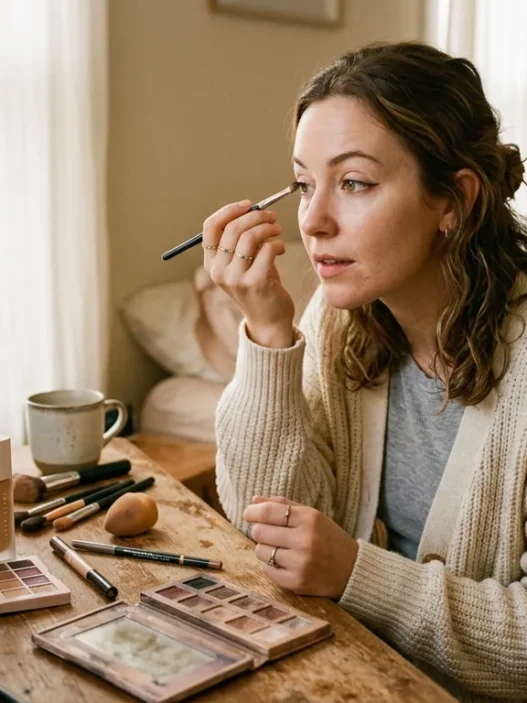
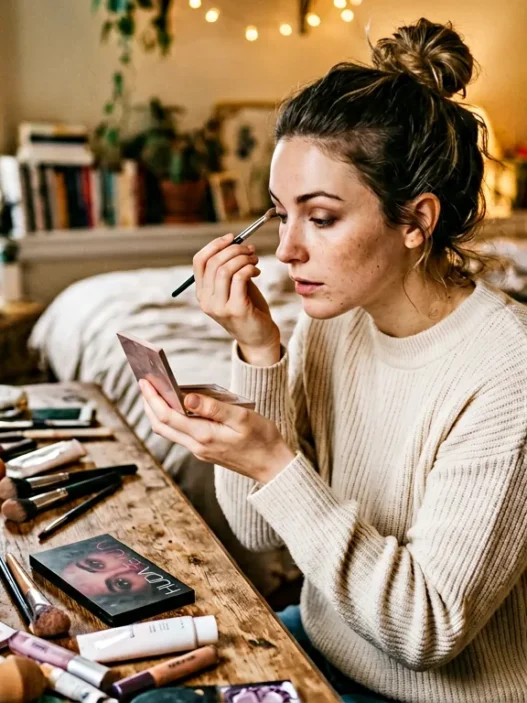
Step 3: One Point of Focus
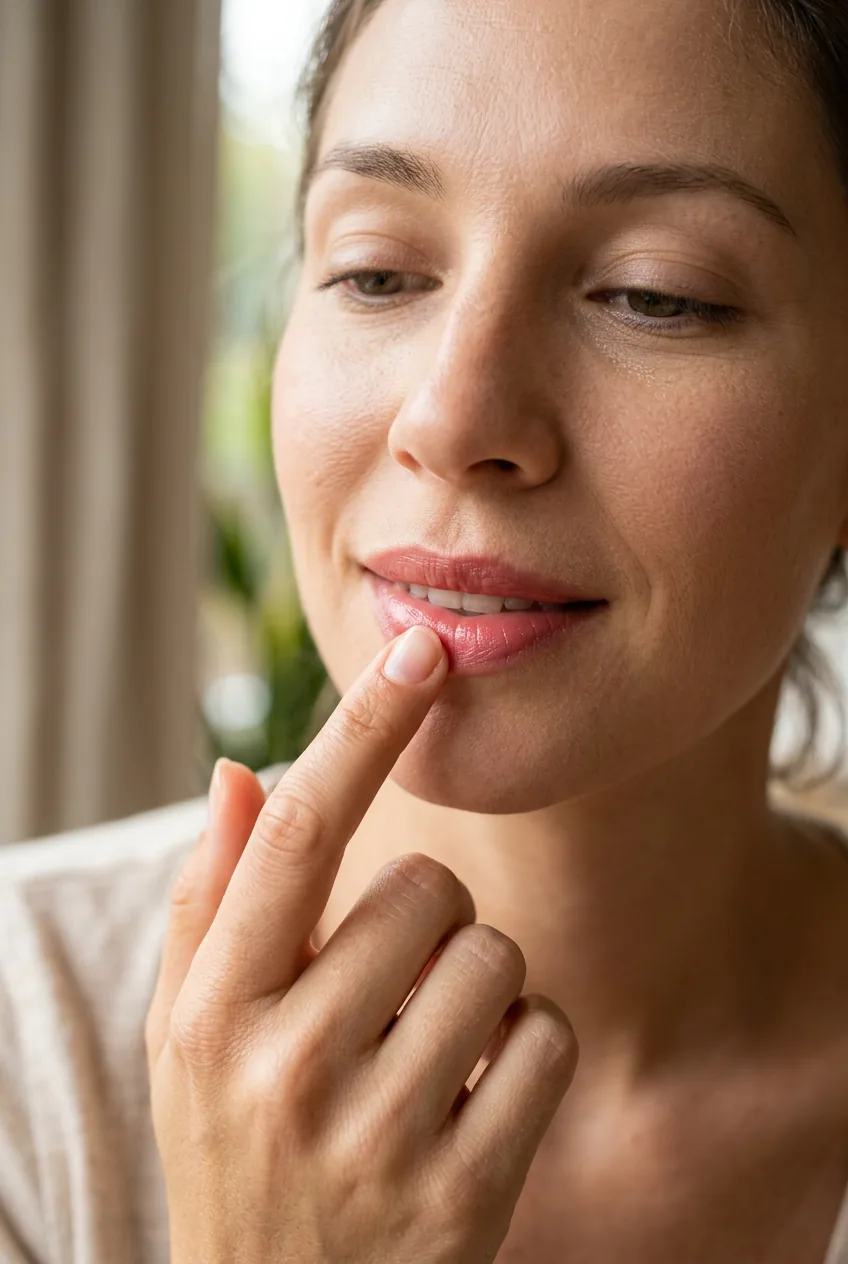
This is the step that separates natural makeup from no-makeup makeup. You need ONE thing to be slightly more polished than the rest, or you’ll just look tired. But only one.
Most days, I choose my lips. A good tinted lip balm in a shade that’s just one step rosier than your natural lips does wonders. Apply it with your finger, not straight from the tube, for a more diffused finish.
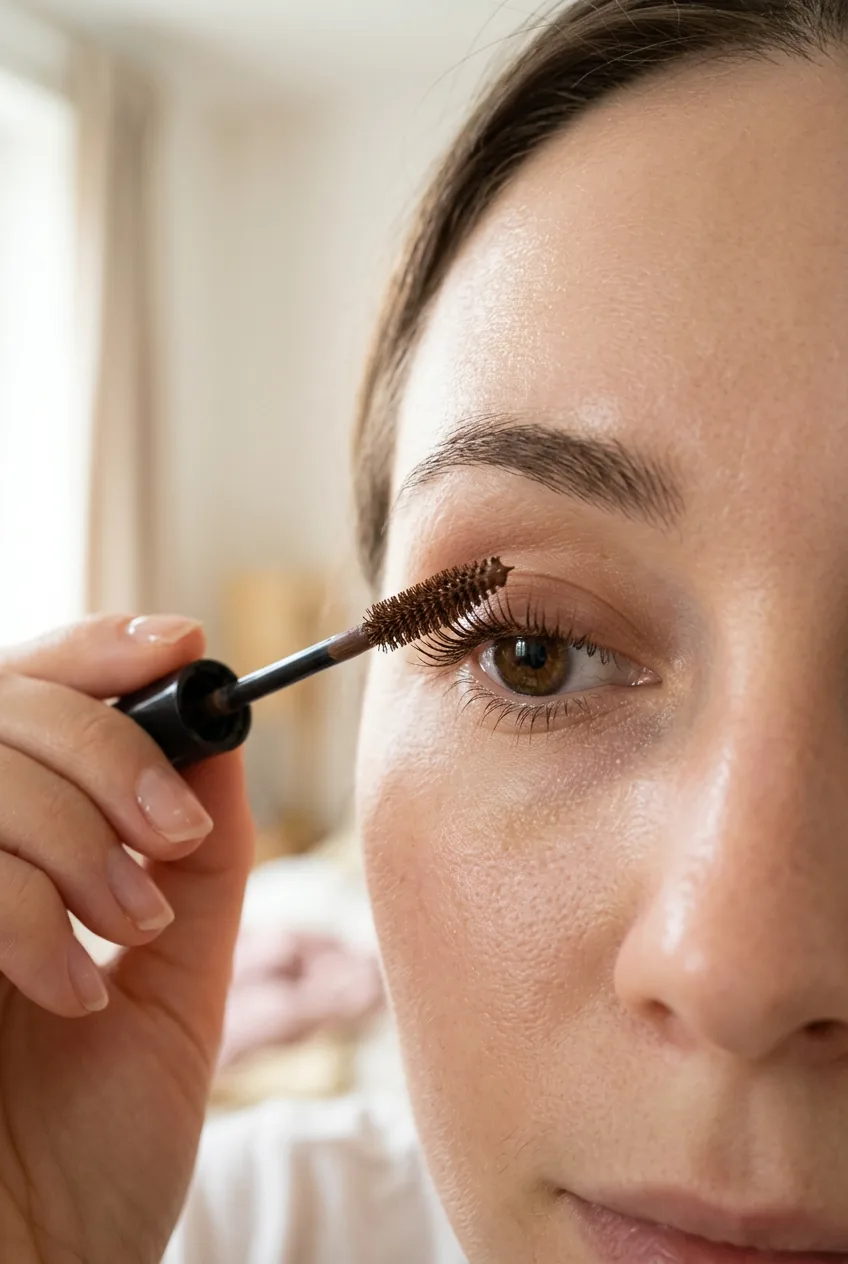
Some days it’s my lashes. A single coat of brown mascara — brown, not black — just on the upper lashes. Focus on separating them rather than building volume. The goal is “I have naturally amazing lashes,” not “I’m clearly wearing mascara.”
And occasionally, if I’m feeling fancy or have an important meeting, I’ll do my brows instead. Just a few strategic strokes with a brow gel or pencil to fill in any sparse spots. But again, just one of these focal points, never all three.
The beauty of this approach is that it works with your lifestyle. Running errands? Focus on the lips. Work presentation? Maybe add the mascara. Summer makeup looks especially benefit from this less-is-more philosophy when the heat makes everything melt anyway.
Step 4: The Five-Second Finish
The final step is all about making everything look effortless — which, ironically, requires a tiny bit of effort. I run my fingers lightly over my entire face to blend any harsh edges and warm up the products so they meld with my skin.
If I’ve used concealer for any specific spots, I make sure it’s completely blended. Nothing screams “I’m wearing makeup” like obvious concealer patches that are three shades too light.
Then I do this weird thing that my sister taught me: I lightly pinch my cheeks. It brings back some of that natural circulation and makes the blush look like it’s coming from within rather than sitting on top.
The whole look should feel comfortable — like you could rub your face without leaving makeup on your hands. If it feels heavy or cakey, you’ve gone too far and need to blend everything out more.
This routine works beautifully for spring makeup looks too, when you want that fresh-faced glow that matches the season. Common natural makeup mistakes are usually about using too much product, not too little.
Questions I Get About This Look
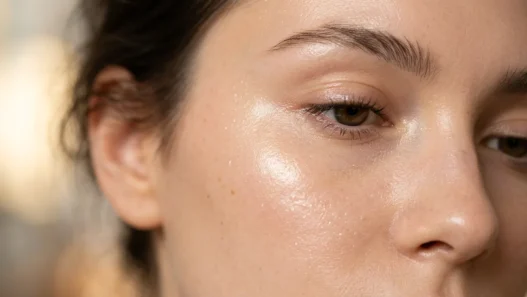
Does this work for oily skin?
Absolutely. Just use a tinted moisturizer with a matte finish and set your T-zone lightly with translucent powder. The cream blush actually works better on oily skin because it blends more seamlessly.
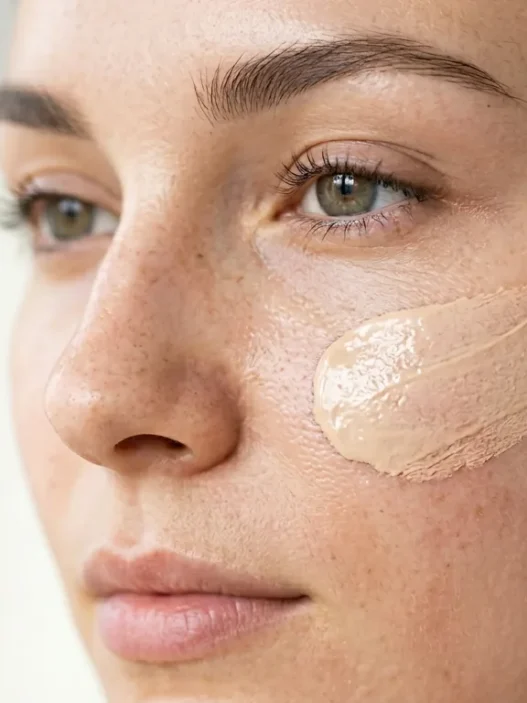
What if I need more coverage for blemishes?
Use concealer only on the specific spots, not all over your face. Apply it after the tinted moisturizer and blend the edges carefully. The key is spot-concealing, not full coverage.
How long does this look last?
About 6-8 hours before you need a touch-up. The beauty is that it fades gracefully — you just look like yourself having a good skin day, not like your makeup is sliding off your face.
Can I wear this to formal events?
For daytime formal events, yes. For evening events, you might want to add a bit more definition with some brown eyeliner or a slightly deeper lip color, but keep the base exactly the same.
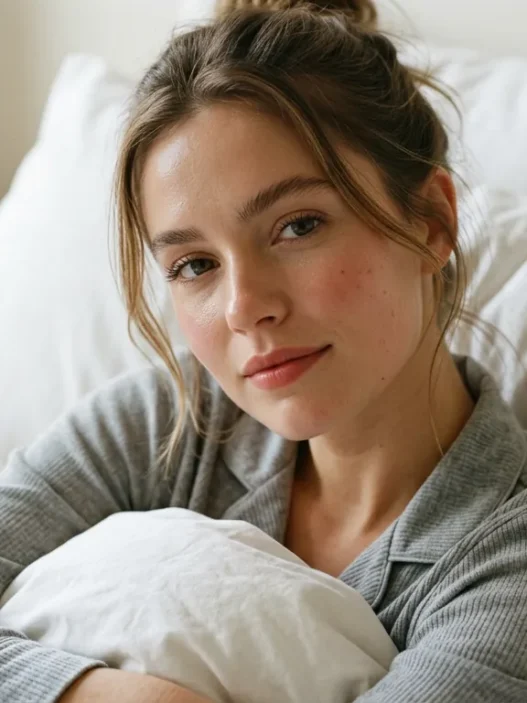
Honestly, this has become my go-to look for about 80% of my life. It photographs beautifully, looks appropriate everywhere, and takes me less time than choosing what to wear. Plus, when people compliment you, they’re complimenting your actual face, not your makeup skills — and that feels pretty amazing.