


I spent way too many years creating lip combos that looked like I’d eaten a rainbow and forgotten to wipe my mouth. You know the look — patchy, muddy, and somehow both too much and not enough at the same time. The breaking point came last summer when I tried to recreate this gorgeous gradient I’d seen on TikTok, only to end up looking like a toddler who’d gotten into their mom’s makeup bag.
What You’ll Need
Before we dive in, let’s talk tools. I used to think any lip products would work together, but that’s where I went wrong from the start:
- A good foundation base or lip primer (this changed everything for me)
- Two complementary lip colors — one lighter, one deeper
- Small synthetic brush for precise application
- Clean fingertip or small sponge for blending
- Lip liner in a neutral shade
- Setting powder or translucent powder
- Clear lip gloss (optional, but I love the finish)
The key word here is “complementary.” I learned this the hard way when I tried mixing a cool-toned berry with a warm coral. Disaster.
Finding the Right Foundation
Here’s what nobody tells you about lip combos: they’re only as good as what’s underneath. I used to skip this step completely and wonder why my colors never looked smooth or lasted more than an hour.
Start by prepping your lips properly. I exfoliate gently with a lip scrub, then apply a thin layer of lip balm and let it absorb for about five minutes. Then — and this is crucial — I blot away any excess. You want your lips hydrated but not slippery.
Next comes the primer. I use either a dedicated lip primer or just pat a tiny bit of my face primer onto my lips. This creates that smooth canvas you need for even color application. Without it, lipstick tends to grab onto any dry patches unevenly, and that’s where you get those patchy, streaky results that ruin the whole look.
The Color Temperature Rule Nobody Mentions
This is where I had my biggest “aha” moment. All my failed lip combos had one thing in common: I was mixing warm and cool tones like they were best friends. They’re not.
Cool-toned colors have blue or purple undertones — think berry, wine, true pink. Warm-toned colors lean orange, yellow, or red — like coral, peach, or brick red. When you mix these, you get that muddy, unflattering result that makes your teeth look yellow.
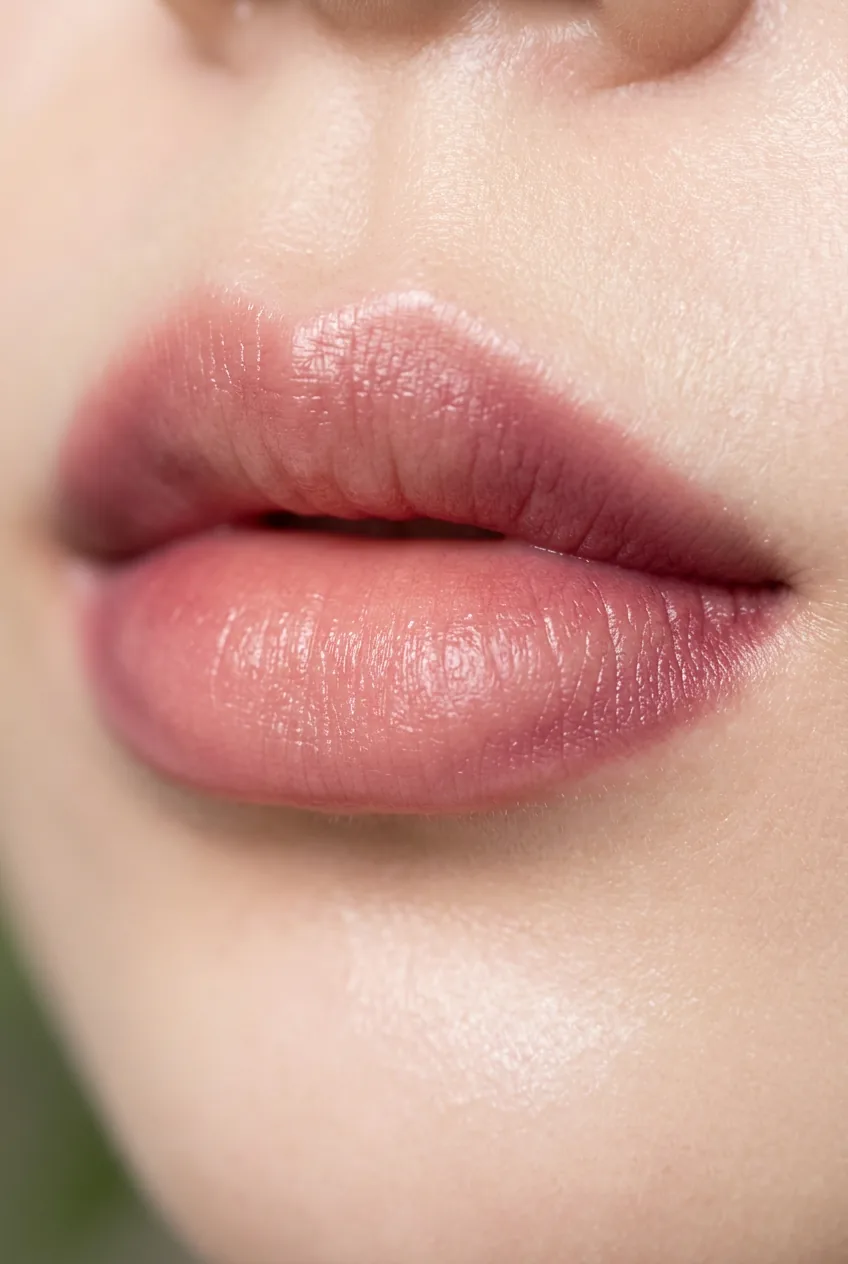
The solution? Pick colors from the same temperature family. My go-to warm combo is a peachy-pink base with a deeper coral on the center. For cool tones, I love a rose base with a berry center. The transition looks natural because they’re speaking the same color language.
But here’s a pro tip I learned from color theory: if you absolutely must mix temperatures, use a neutral-toned lip liner as a buffer. It helps bridge the gap between different undertones.
Building Layers Without Muddiness
Now we get to the actual application, and this is where patience becomes your best friend. I used to rush this step and wonder why everything looked messy.
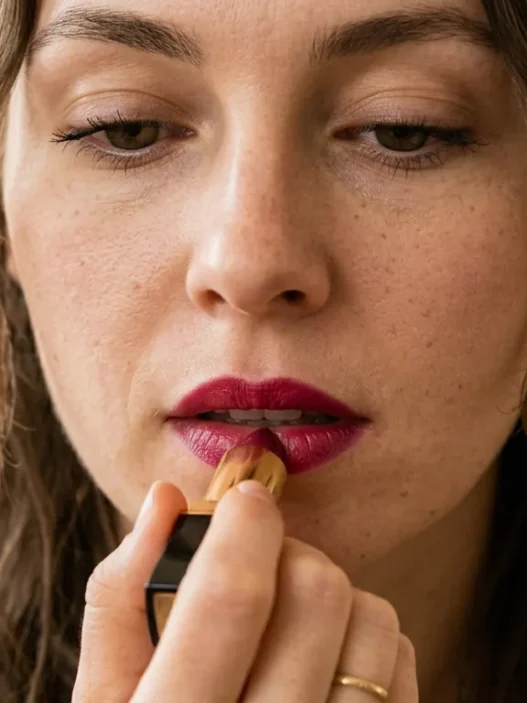
Start with your lighter shade and apply it all over both lips. Don’t worry about being perfectly precise — you just want even coverage. I like to use my finger for this because it gives me better control than a tube.
The biggest mistake I made for years was applying both colors at full opacity right away. It’s like trying to paint a watercolor with acrylics — you lose all the subtlety that makes a good lip combo actually work.
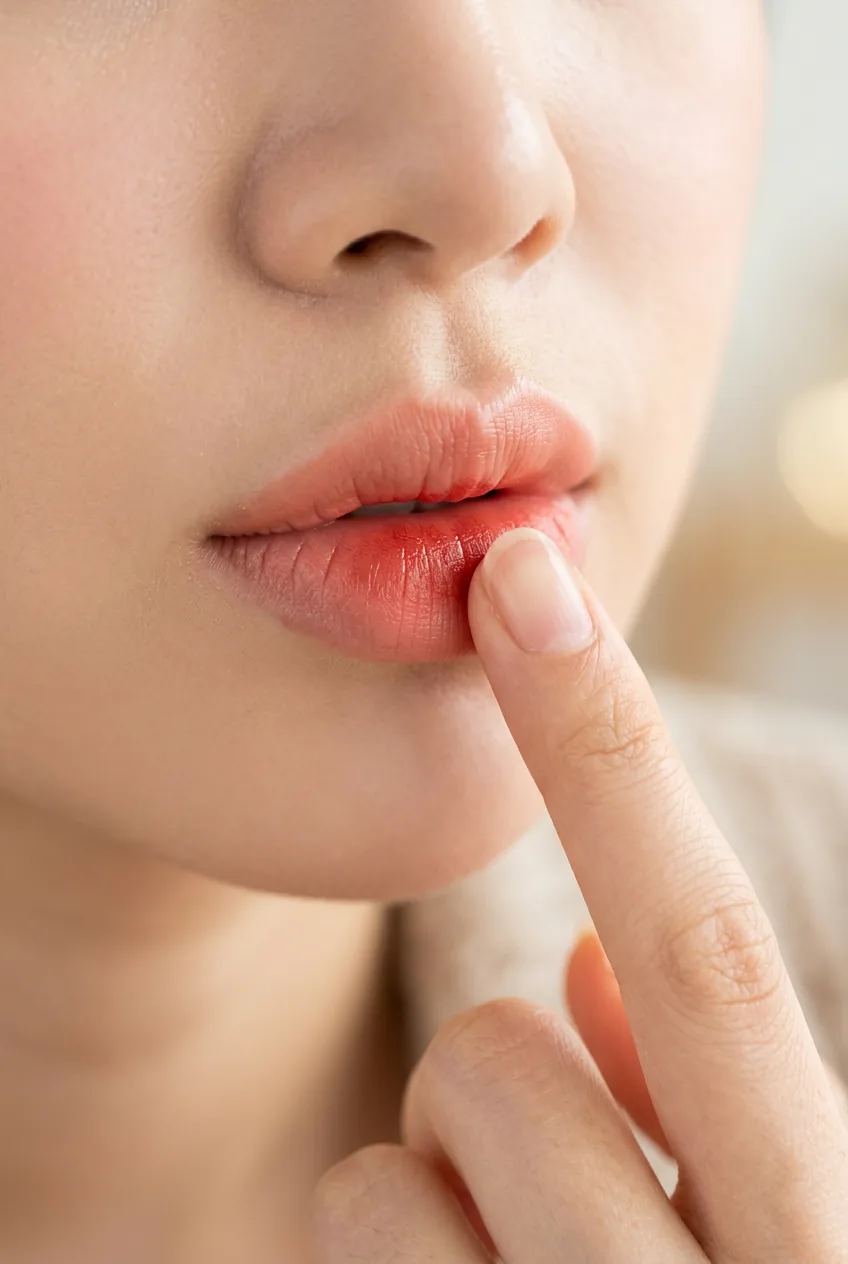
Once your base color is in place, take your deeper shade and apply it just to the center of both lips. Think of drawing a small oval in the middle — not a line from corner to corner. This is where the gradient magic happens.
The key is building in thin layers. It’s better to do three light applications than one heavy one. Each layer should be barely there on its own, but together they create this beautiful depth.
Blending Like a Pro
This is where most people either nail it or completely mess up their hard work. The blending technique makes all the difference between “wow, your lips look amazing” and “what happened to your mouth?”
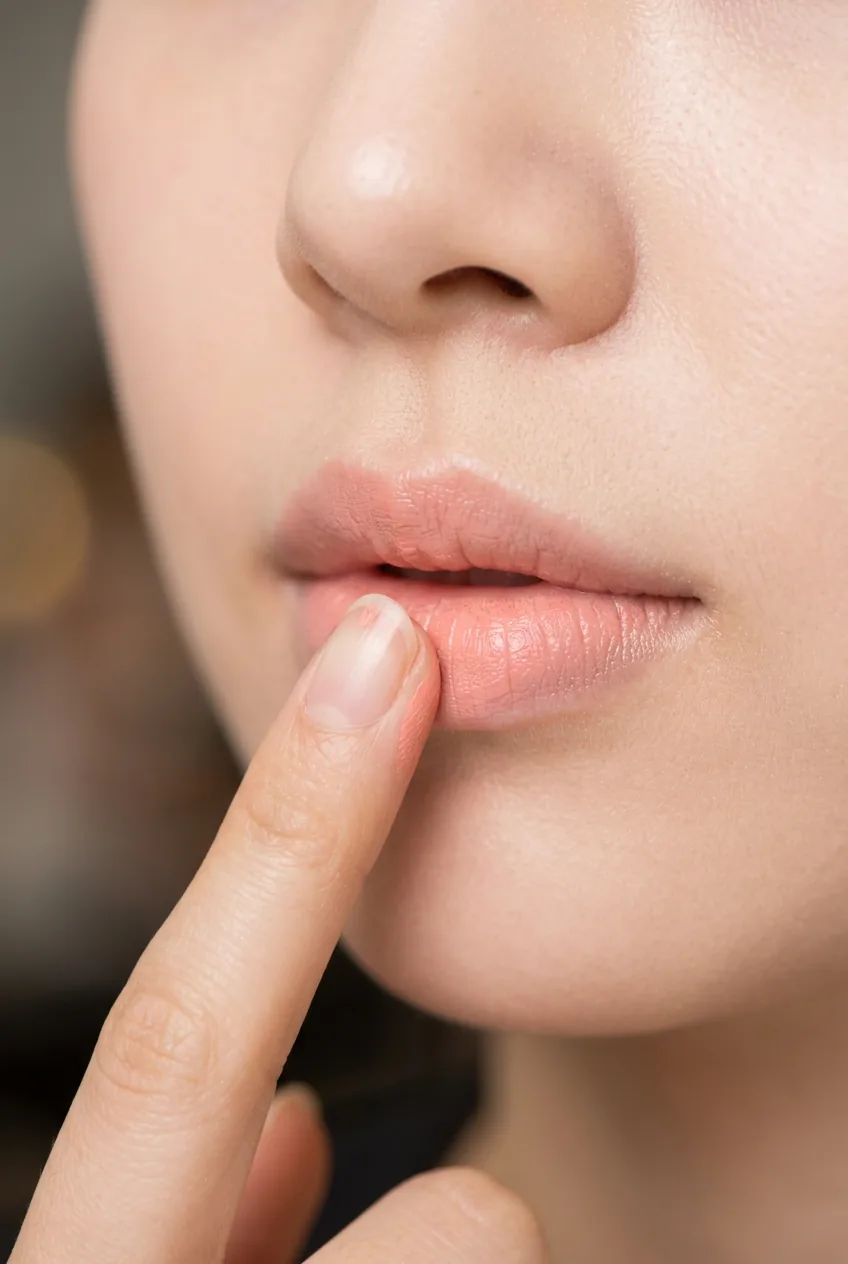
I use my ring finger for this because it has the gentlest pressure. Starting from the center where the deeper color is, I gently pat outward toward the edges. Not rubbing, not swiping — patting. It’s like you’re convincing the colors to play nice with each other.
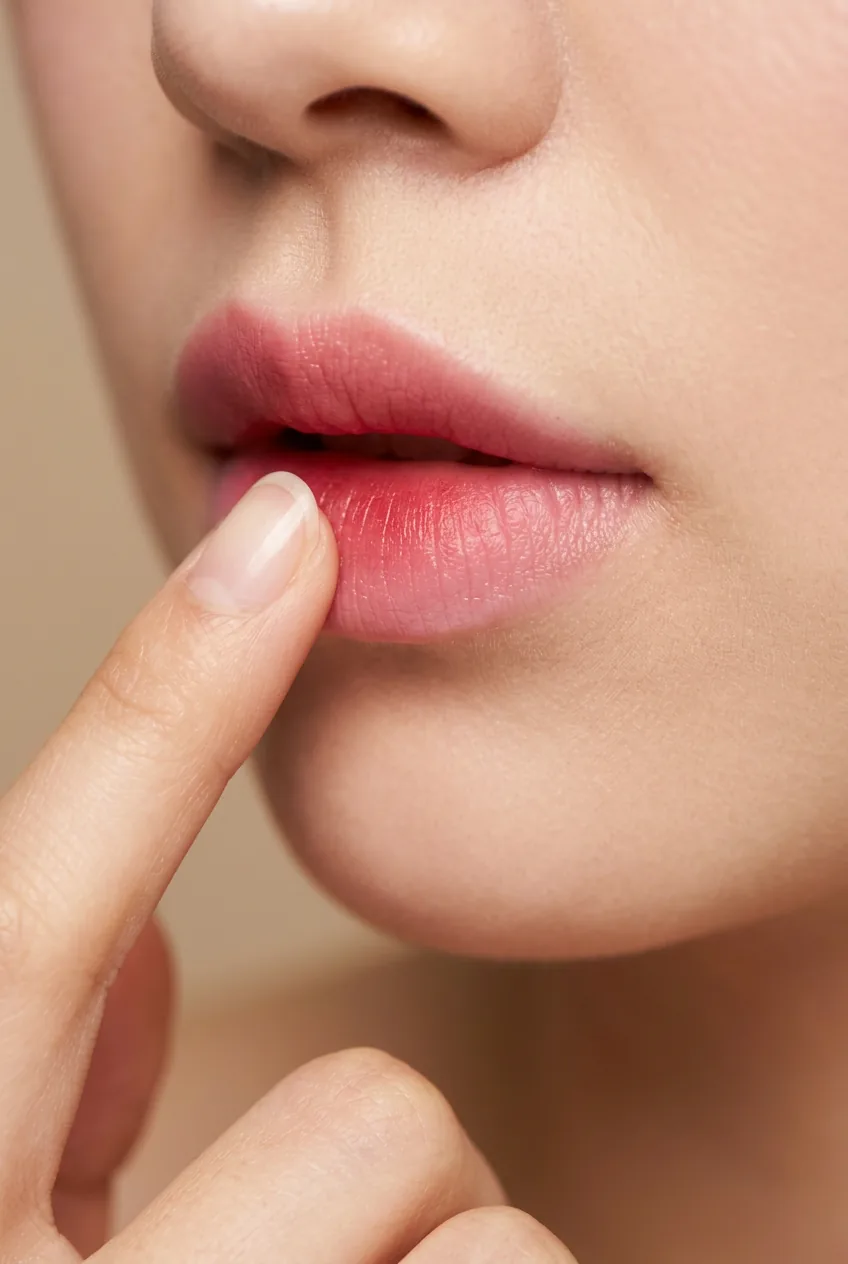
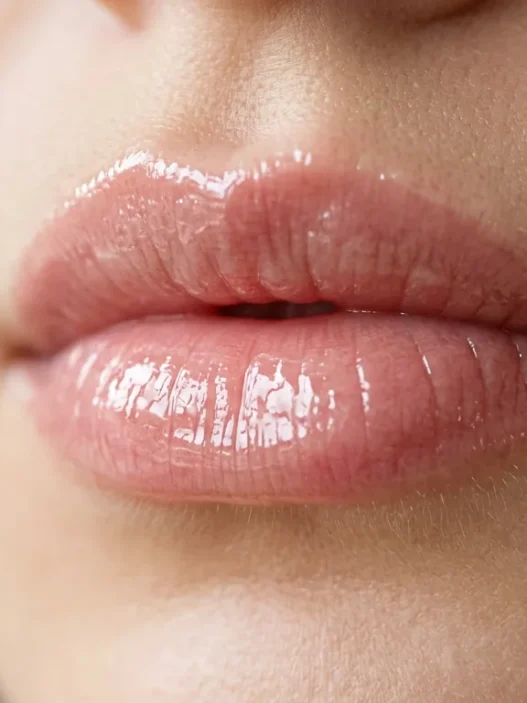
The motion should be so light that you’re barely touching your lips. I usually do this in small circular movements, working from the center outward until there’s no harsh line between the two colors. You want it to look like your lips naturally have this beautiful gradient.
If you’ve applied too much product and it’s looking cakey, here’s my rescue trick: press a tissue very lightly against your lips, then blend again. It removes just enough product to make everything workable again.
Watch the Blending Technique Live
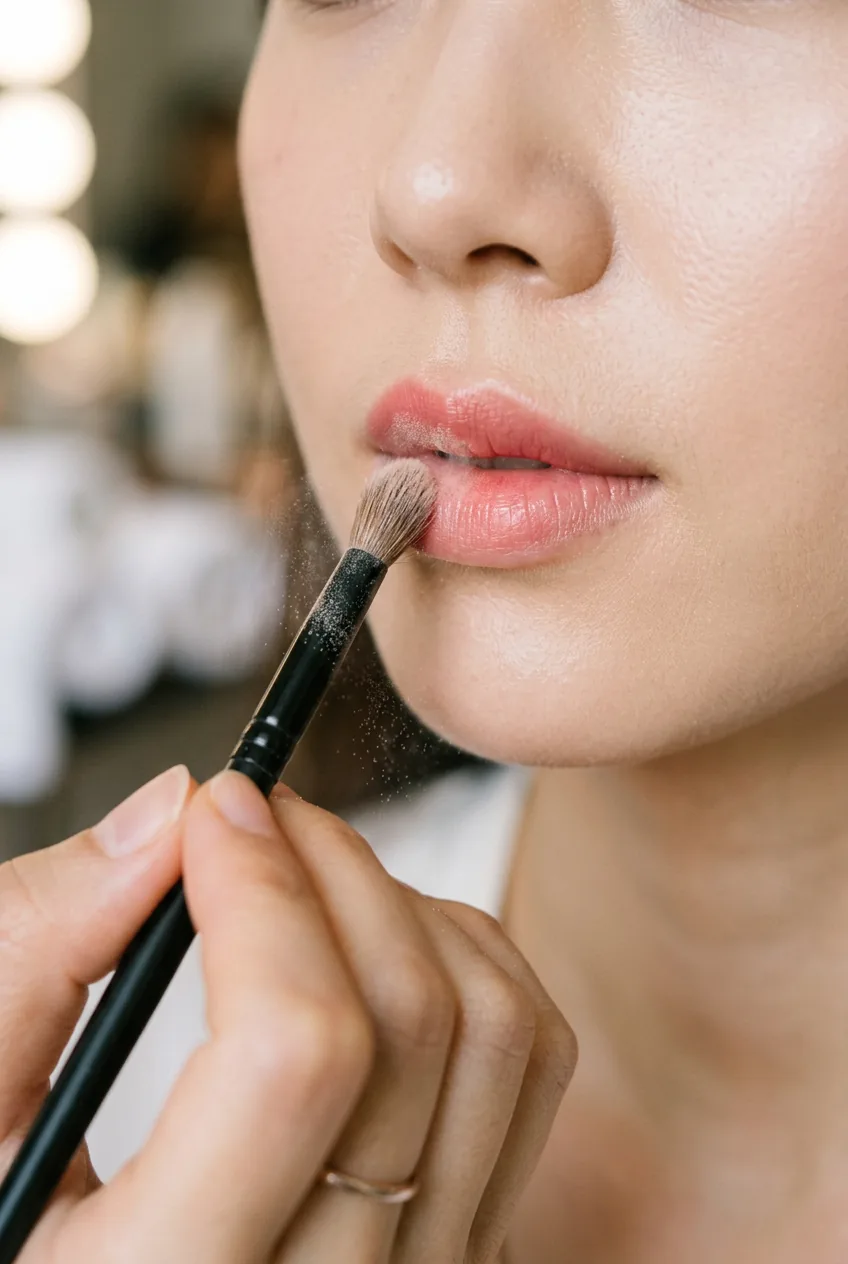
Setting for All-Day Wear
I used to think setting lips was just for liquid lipsticks, but it turns out that setting a lip combo is what makes it last through coffee, lunch, and whatever else your day throws at you.
Take a small brush and very lightly dust translucent powder over your lips. I’m talking about the tiniest amount — you shouldn’t see any powder sitting on top. This creates a matte finish that grabs onto your next layer.
Then, repeat your color application but with even lighter pressure this time. The powder gives you something to build on, so the second layer adheres better and lasts longer. It’s like creating your own custom long-wear formula.
If you want some shine back, wait a minute after your second color application, then dab a tiny bit of clear gloss just in the center of your bottom lip. It catches the light beautifully and makes the whole look more dimensional.
Where Most People Go Wrong
After helping friends with this technique, I’ve noticed the same mistakes keep coming up. The biggest one? Using colors that are too different in intensity. You can’t pair a sheer tint with a full-coverage matte and expect them to play nicely together.
Another common issue is not considering your natural lip color. If you have very pigmented lips, you might need to use concealer or a lip primer with more coverage to neutralize the base before starting. Otherwise, your natural color will muddy whatever you’re trying to create on top.
And here’s something I wish someone had told me earlier: not every lip shape works with every type of gradient. If you have very thin lips, placing the darker color right in the center can actually make them look smaller. Instead, try applying it slightly above and below your natural lip line to create the illusion of fuller lips.
The technique also varies depending on whether you’re going for a subtle everyday look or something more dramatic for spring makeup looks. For daily wear, I keep the color difference minimal. For special occasions, I can be more bold with the contrast.
Learning to create smooth, natural-looking lip combos has honestly changed how I approach my entire makeup routine. There’s something so satisfying about nailing that perfect gradient — it makes me feel put-together even when the rest of my day is chaos. And the best part? Once you get the hang of it, the whole process takes maybe five minutes.
Quick Answers
How long should I wait between color layers?
About 30 seconds to a minute. You want the first layer to set slightly but not completely dry, so the second color can blend into it naturally.
Can I use liquid lipsticks for this technique?
Yes, but you need to work much faster since liquid lipsticks dry quickly. I prefer cream or satin finish lipsticks because they give you more working time to blend.
What if I mess up the blending?
Don’t panic! Use a clean finger or cotton swab with a tiny bit of lip balm to gently remove the harsh edges, then start the blending process again with lighter pressure.
Do I need expensive products for this to work?
Not at all. Some of my best lip combos use drugstore lipsticks. The technique matters more than the price point — just make sure your colors have similar finishes and undertones.