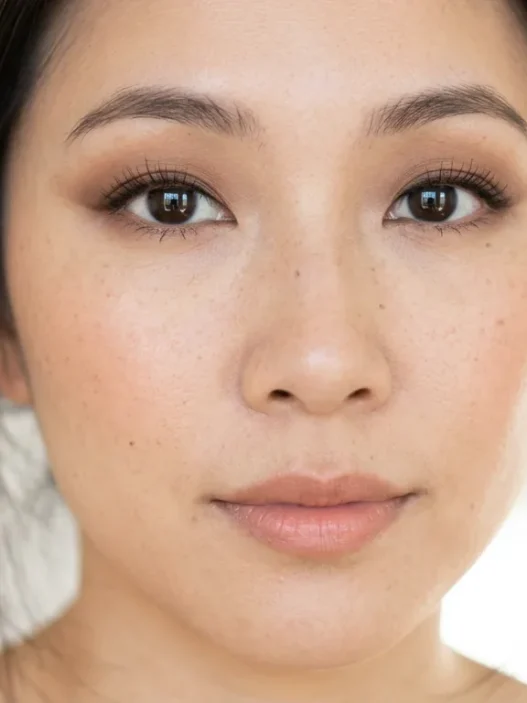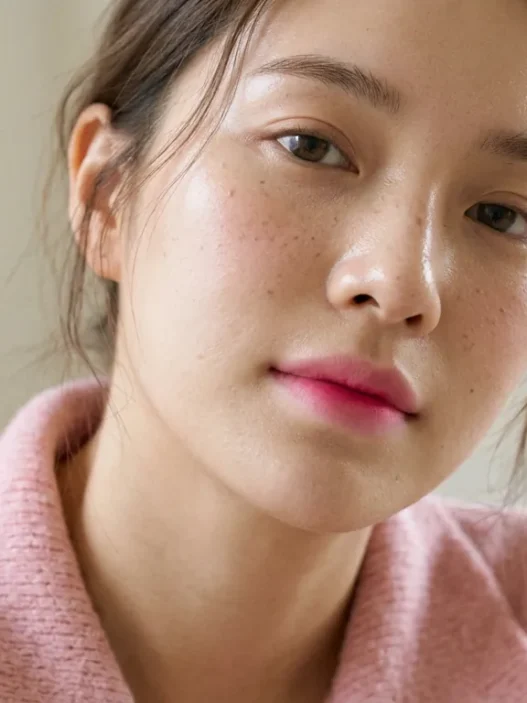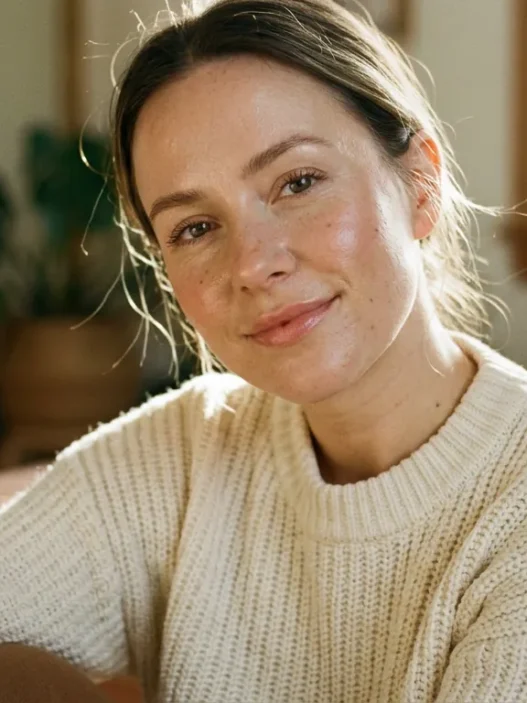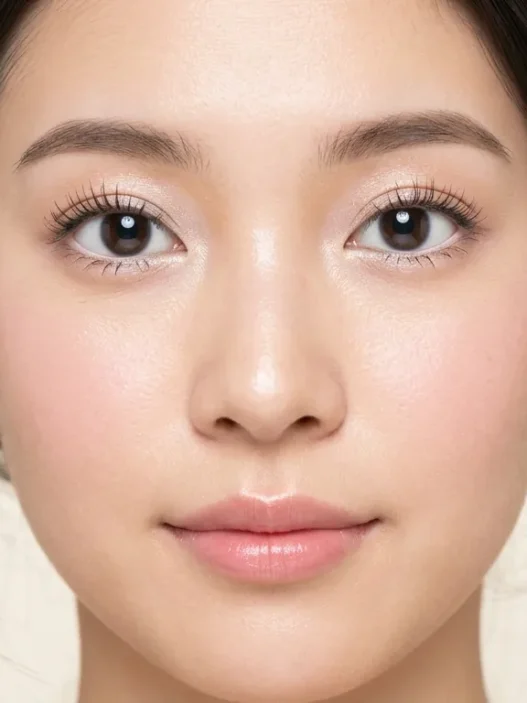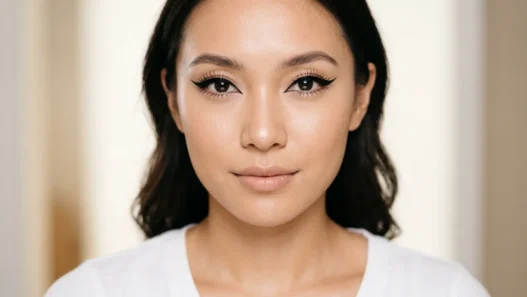

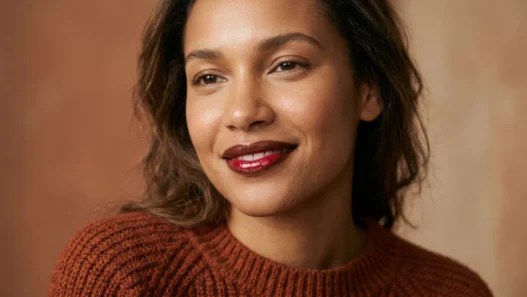




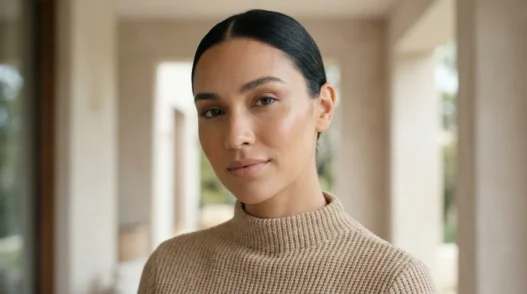
I wanted that off-duty model face for months, you know the one. Snatched but still soft, skin that looks like skin, nothing too done. And every time I tried it I ended up either too flat or way too contour-heavy. So I finally built myself a repeatable routine and practiced it until I could do it half-asleep.
This is that full process, start to finish. One face, four phases, no skipping around. If you follow it in order, you get that lifted, even-toned, quietly sculpted finish that photographs beautifully.
What You’ll Need, Tools, and Timing
I like to lay everything out before I touch my face. It saves me from that frantic drawer search with foundation on one hand. My whole model face routine takes me about 35 minutes when I am not rushing, 25 when I am. Give yourself the full time the first couple tries.
- A light-weight moisturizer and a hydrating primer, my combo for that bouncy base
- A sheer-to-medium foundation or skin tint in your true match, plus a creamy concealer one shade lighter
- Cool-toned cream contour, warm cream bronzer, and a soft-pink cream blush for face layering
- Finely milled translucent powder, a powder bronzer for soft definition, and a champagne highlighter
- Brow pencil and clear gel, neutral matte eyeshadow quad, brown liner, and lengthening mascara
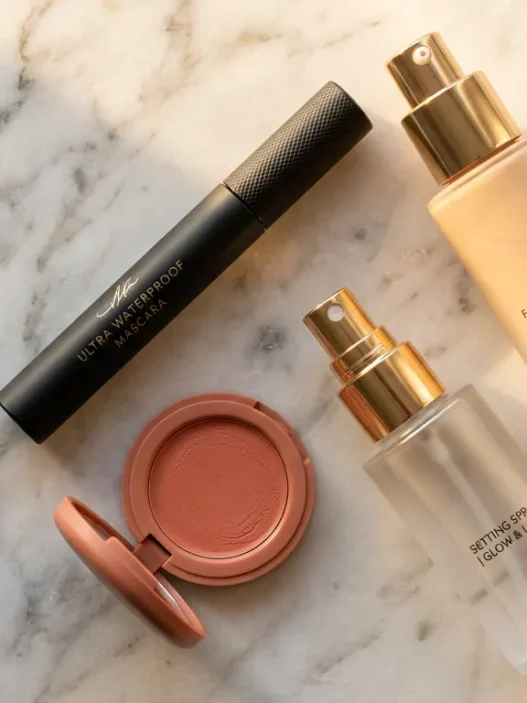
- Nude lip liner, satin nude lipstick, clear gloss, and a fine-mist setting spray
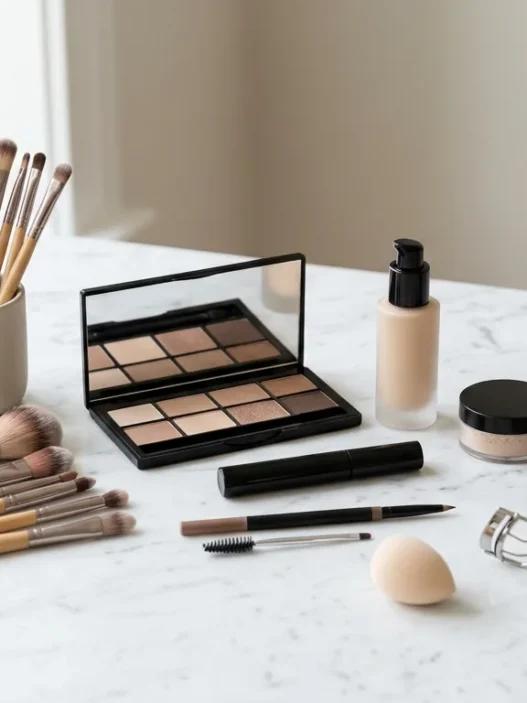
- Tools: damp sponge, dense flat-top brush, small angled sculpting brush, fluffy powder brush, tapered blush brush
A quick note on shade. I spent a whole summer wearing foundation that was too peachy for me because the store lighting lied. Check yours on your jaw in daylight before you start. That one choice decides whether the rest of your face makeup looks expensive or masks-like. I also keep my shades organized by skin tone match now, fair in winter and a touch warmer in August, so I am not fighting an off-tone base.
Phase 1: Skin Prep and Base
This phase is everything. Honestly, a model face lives or dies on skin prep, not contour. When I skip prep my base pills around my nose by noon and no amount of blending saves it. When I do it right, I need half as much coverage.
I start on clean skin with a thin layer of moisturizer, pressed in with my palms, not rubbed. Then I wait. Seriously, I brush my teeth or pick my top while it sinks in for three minutes. If I layer primer on wet moisturizer it just slides. My favorite primer is a tacky hydrating one, just a pea-sized amount through the T-zone and cheeks. It gives that grippy, glassy surface that makes foundation melt in.
For foundation I use less than I think I need. Two small pumps, warmed on the back of my hand, then pressed on with a damp sponge. I focus on the center of my face where I get redness, around my nose, chin, and between my brows, and sheer it out toward the edges. Have you ever finished your makeup and realized your forehead looks heavy? That is from dragging full coverage all the way to the hairline. Leave the perimeter light, it keeps the dimension.
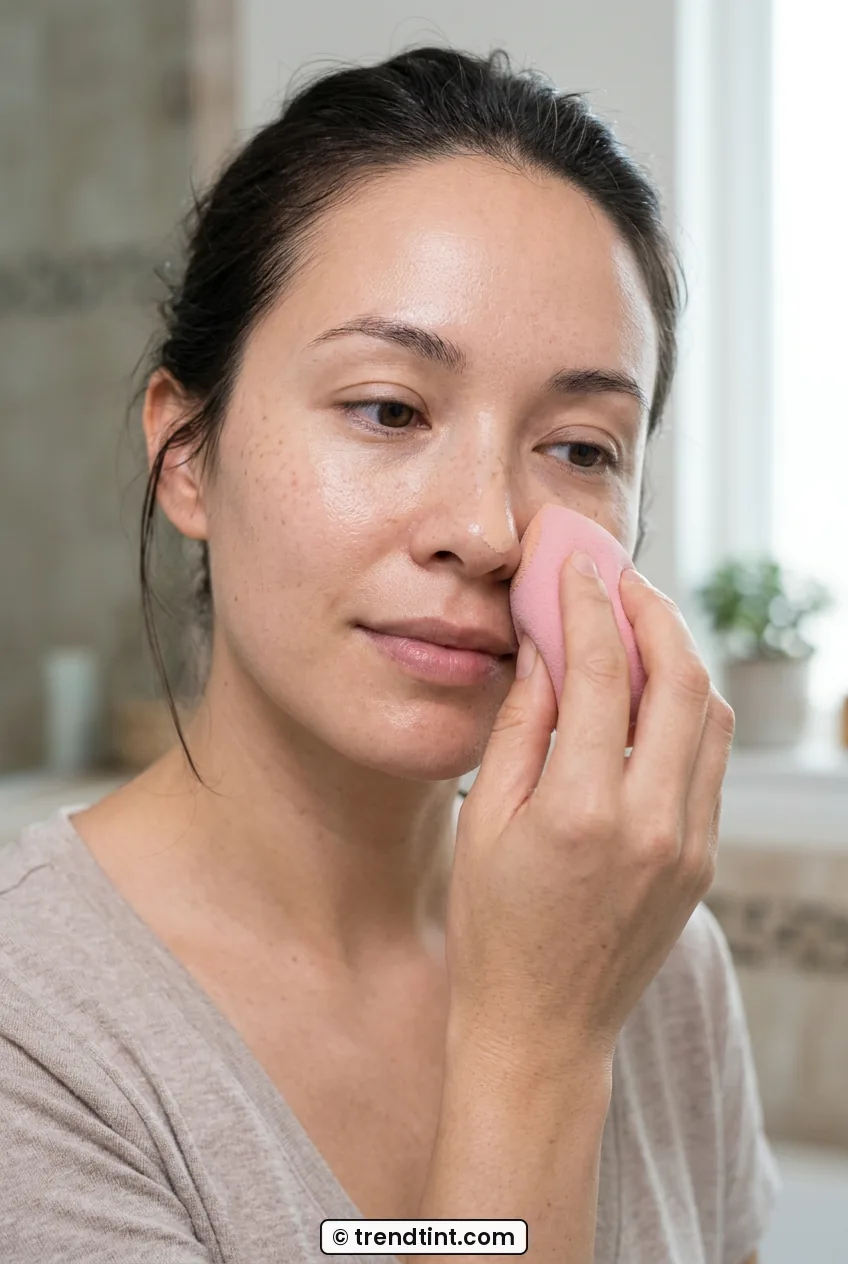
Concealer comes next, but I place it like a pro now, not like I did in 2019 when I painted big triangles. I do three tiny dots: inner corner, right under the pupil, and outer corner lifted slightly up. Then a touch on any dark spot and around the nostrils. I blend with the damp sponge using little taps. No swiping. Swiping just moves it off the spot you wanted to cover. I learned about building a seamless makeup type routine in thin layers from reading up on how sheer bases photograph better, and you can read more about choosing a breathable base in guides to finding your perfect lightweight foundation before you buy a new bottle.
I set very lightly. A fluffy brush with the tiniest bit of translucent powder, pressed only where I crease: under-eyes, smile lines, sides of the nose. I leave my cheeks and forehead a little dewy on purpose. That contrast, matte center and glowy outer skin, is what reads as real skin on camera.
Phase 2: Eyes and Brows
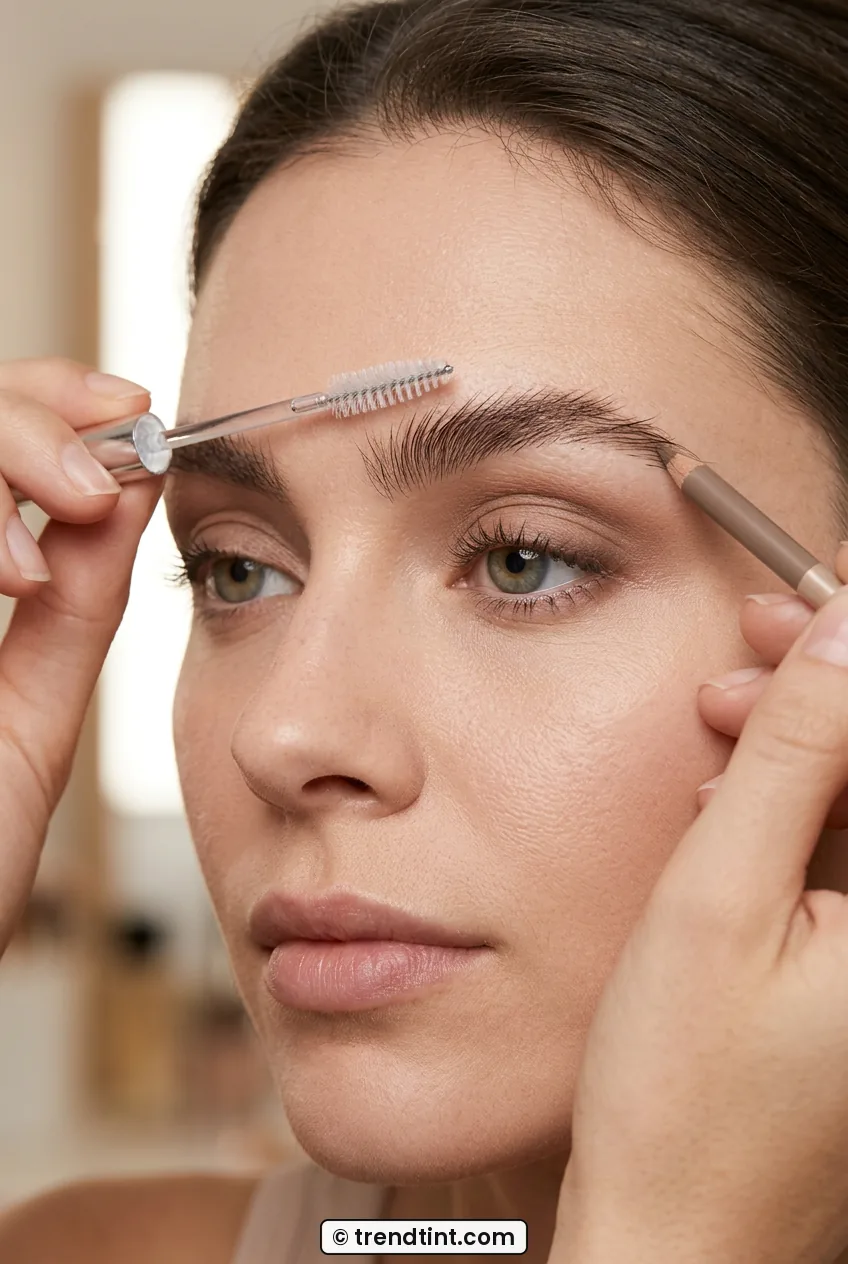
I do eyes before cheeks because fallout is real and I am messy. And brows first within that, because they frame where I place everything else. My brows are naturally medium-full, so I am not drawing a whole new shape. I just fill the sparse tail and brush up for lift.
I map them quickly. Brush straight up, then I fill tiny hair-like strokes through the tail with a fine pencil. Then clear gel to push them up and set. I keep the front soft and a little fluffy, that brushed-up texture makes the whole face look younger. Too dark or too boxy here will kill the soft-face-features vibe immediately.
For eyeshadow I stay in the nude-beige family. One matte wash a shade deeper than my skin all over the lid for depth, a slightly deeper cool-brown just in the outer third and lightly through the crease, and a whisper of shimmer on the center of the lid. I blend with a clean fluffy brush in little windshield circles. Nothing sharp. Model eyes are diffused, not cut-crease crisp.
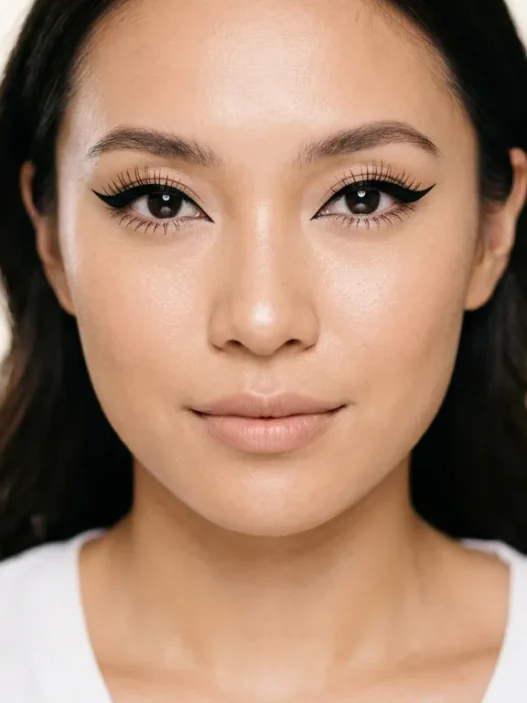
Liner is tight and brown, not black. I wiggle a brown pencil right into the upper lash line to darken the roots, then smudge it just a touch outward for a soft wing. On the lower lash line I only line the outer quarter and connect it. Then I curl and do two thin coats of lengthening mascara. I keep the lower lashes almost bare with just the leftover on the wand. Heavy lower mascara shrinks my eyes in photos.
My big mistake? I used to do full glam eyes first and then try to carve a soft model face around them. It always looked mismatched. Now I keep eyes whisper-soft until cheeks are done, then I add one more coat of mascara at the end if I want drama. Way more balanced.
Phase 3: Cheeks and Glow
This is my favorite part. This is where flat base turns into structure. And it is all about where to place makeup on face, not how much you use. I work in creams first, powders second, and I blend between every layer.
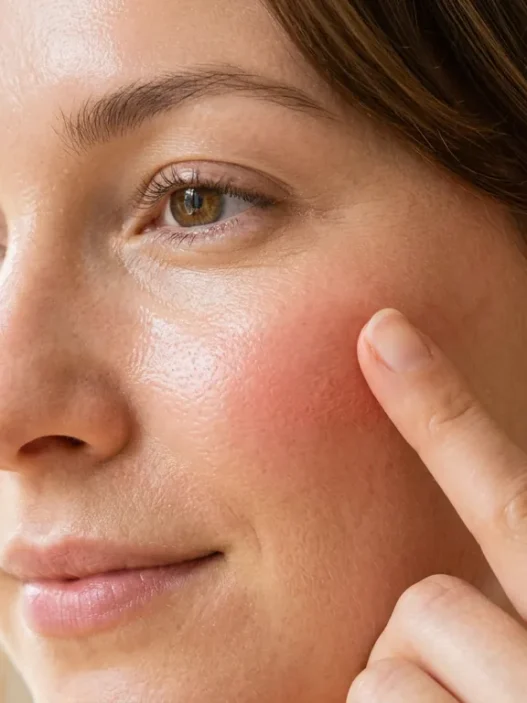
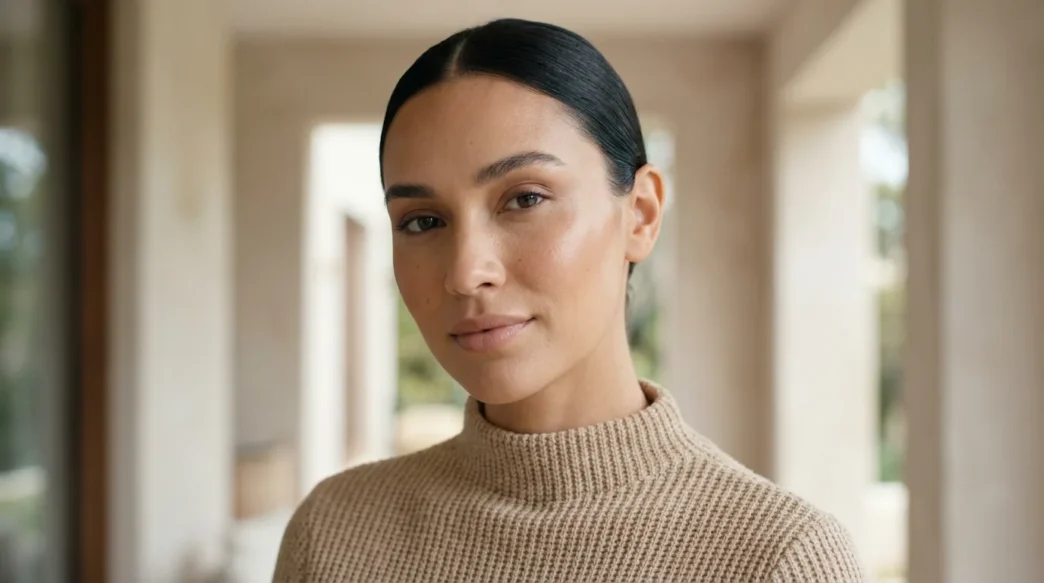
Look at how she is wearing hers in this next photo, that cool shadow tucked right under the cheekbone. That angle is exactly what I mean about modern sculpting. I suck my cheeks in just slightly to find the hollow, then with a small angled brush I sweep cool-toned cream contour from the ear toward the mouth but I stop two finger-widths away from my mouth. That stopping point matters. Drag it too far forward and you get puppet lines.
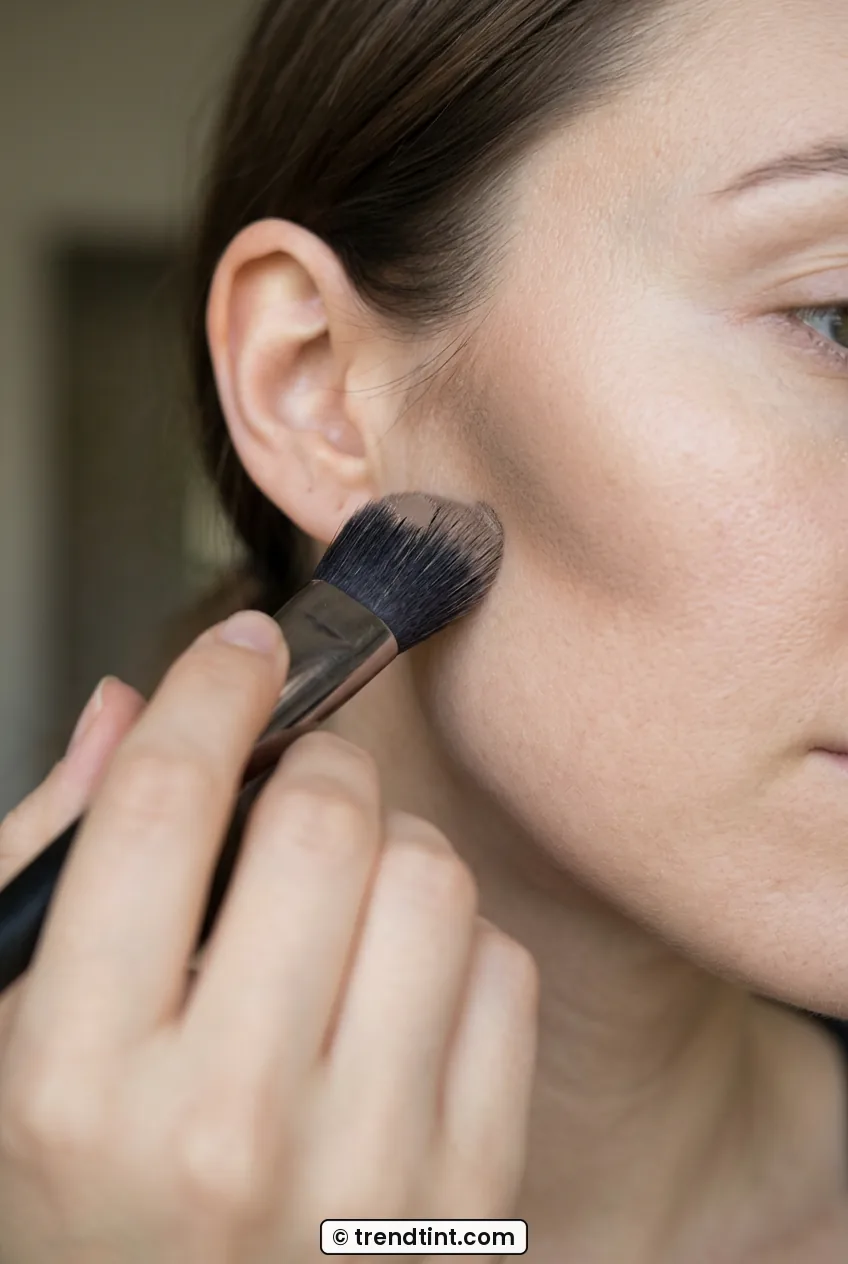
The blend is upward, not downward. I bounce the brush up toward the temple to lift, then soften the edge with my sponge. Then I add warmth back with cream bronzer, higher up: temples, top of forehead near the hairline, and lightly along the jaw. Contour sculpts, bronzer tans. Two different jobs. I used to use one warm bronzer for both and wondered why I looked muddy.
Blush placement changed everything for me. I stopped doing apples of the cheeks and started doing lifted Igari-style placement, high on the cheekbone and swept back toward the temple. I smile just a little to find the fleshy part, place a soft-pink cream right on top of the bone, then blend up, never down toward the nasolabial fold. It gives that just-back-from-a-walk flush and it visually pulls the face up. If you love experimenting with different blush looks for lift, this high placement is the one to master first.
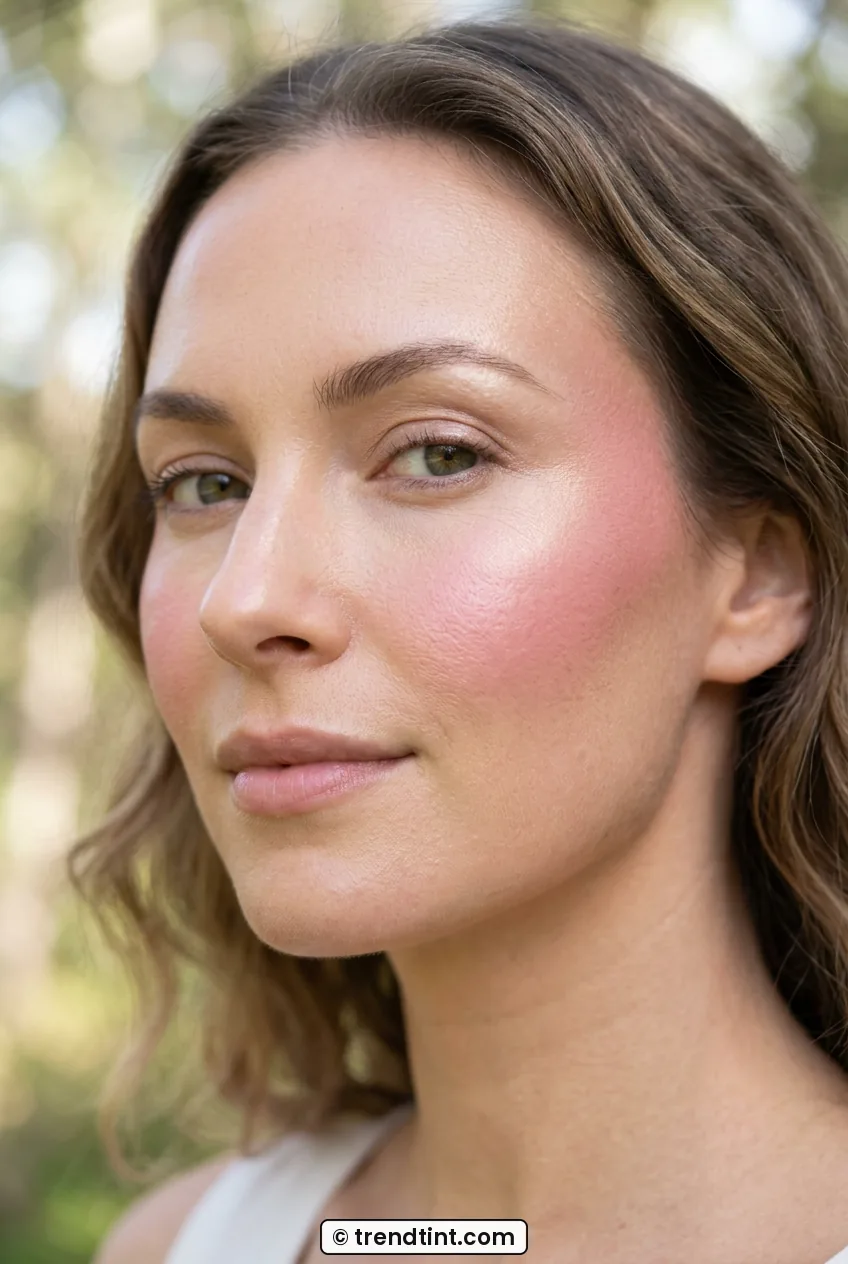
Nose contour is optional but I do a super light version. Two hairline strokes down the sides of the bridge with what is left on my contour brush, plus a tiny V under the tip to lift it. Blend, blend, blend until you cannot see lines, only shadow. I set the cream work with the faintest veil of powder bronzer in the same spots, then tap a champagne highlighter on the high points: top of cheekbones, bridge of nose, Cupid’s bow. No glittery stripe. Just a lit-from-within sheen. I picked up better advice on keeping cream layers sheer from tutorials covering how to blend cream contour smoothly, and you can learn a lot about avoiding harsh lines by reading guides to soft everyday nose sculpting that builds shadow gradually.
See the Sculpting Blend Live
Phase 4: Lips and Lock-In
Lips make or break the model mood. Too bold and it stops being that effortless sculpted look. I go for a blurred nude-pink that echoes my blush. It ties the whole face together without shouting.
I line just outside my natural edge, only in the center of the upper and lower lip to add fullness, not the corners. Then I fill in with a satin nude lipstick and press it in with my finger to soften the edge. A dab of clear gloss right in the center gives that plump, hydrated pout. I blot once, very lightly, so it wears off evenly instead of ringing.
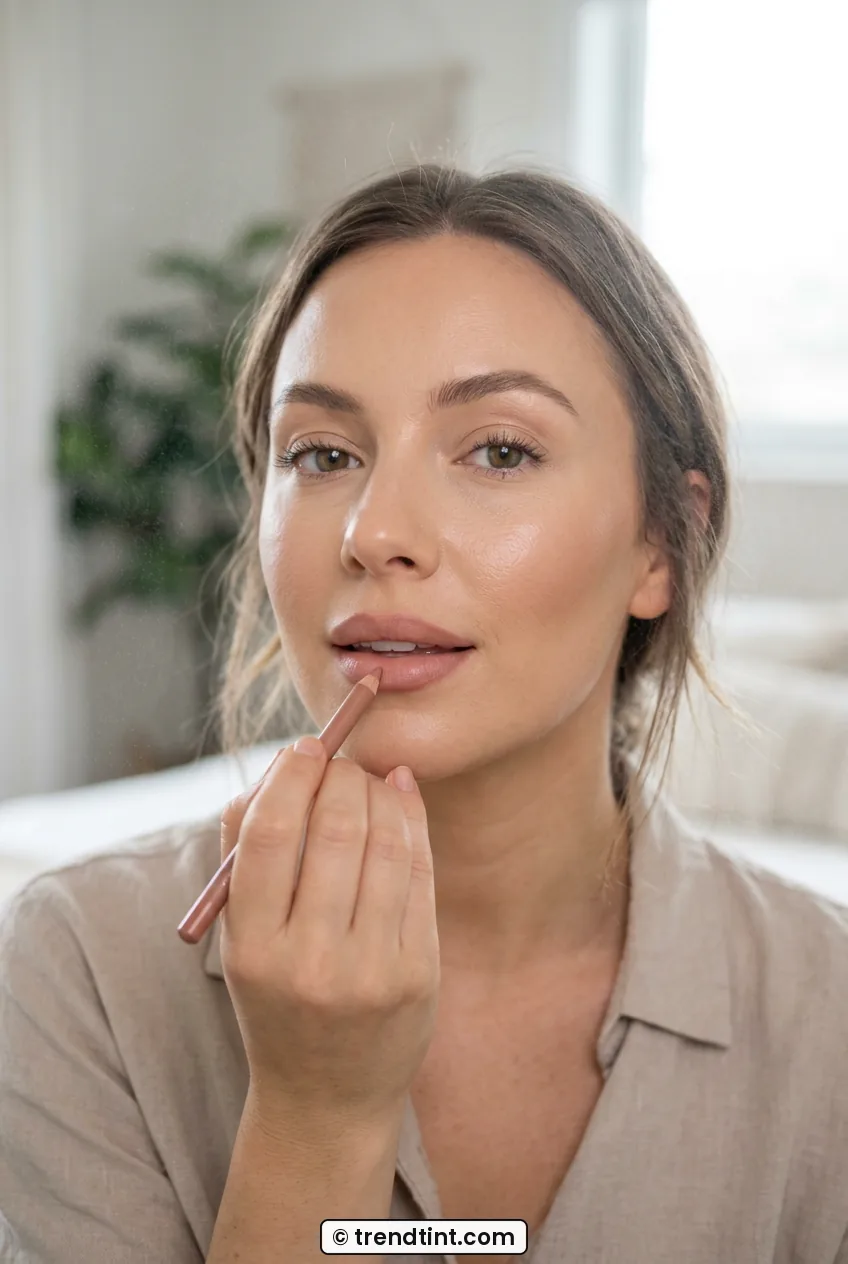
Now lock it in without killing the glow. I mist setting spray in a loose X and T shape, about eight inches away, then fan my face with my hand while it dries down. That melts powder into skin and takes away any cakey look. If I am going out for hours, I do one more whisper of spray after lipstick. My base used to separate around my chin by dinner. This double-mist habit fixed it.
Last, I do a final check in natural light, not bathroom light. I look for unblended edges near the ears, powder clinging to peach fuzz, or blush sitting too low. A clean sponge bounced over the jawline blends it all into the neck. I love browsing different lips for soft glam for inspiration, but for this routine I always come back to the same sheer nude because it lets the sculpting stay the star.
What did I get when I finally nailed the order? My face looked lifted and calm in photos, no filter needed. My cheekbones showed without stripes, my nose looked straighter, my skin looked hydrated at 9 p.m. And my sister asked if I had gotten a facial. Nope. Just prep, sheer base, high blush, and patience with the blend.
Model Face Questions I Hear All the Time
Can I get a model face look without cream contour?
Yes, you can use powder only, but work even lighter. I find creams melt more naturally for beginners because you have more play time. If you stick to powder, tap off excess and build in two sheer passes.
What foundation finish works best for soft sculpting?
A natural-satin finish is my sweet spot. Super-matte flattens all the glow you just created, and extra-dewy can look greasy in photos. Sheer to medium coverage lets your real skin texture show through.
How do I keep my contour from looking muddy?
Use a cool-toned shade and place it higher than you think. Mud happens when the color is too warm or too low. Blend upward and stop two fingers from your mouth, then add warmth separately with bronzer.
How long does this full routine last on oily skin?
On my combo skin it holds about eight hours with light powdering. If you are very oily, set the T-zone a touch more firmly and carry blotting papers. A second mist of setting spray at midday refreshes it fast.
Try it this weekend when you have good daylight and nowhere to rush off to. Take a before photo, follow the phases in order, then take an after. I bet your favorite step becomes the high blush too.