


I used to think eyeliner was some kind of makeup magic that only other people could master. My attempts looked like a toddler had drawn on my face with a shaky marker. After watching my sister effortlessly create perfect wings every morning, I finally asked her to teach me. Turns out, there’s no magic — just a few simple steps that anyone can learn.
Your Step-by-Step Eyeliner Roadmap
The Few Products You Actually Need
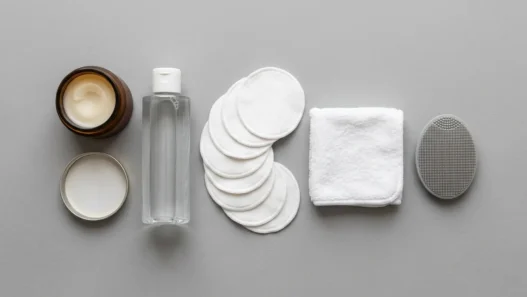
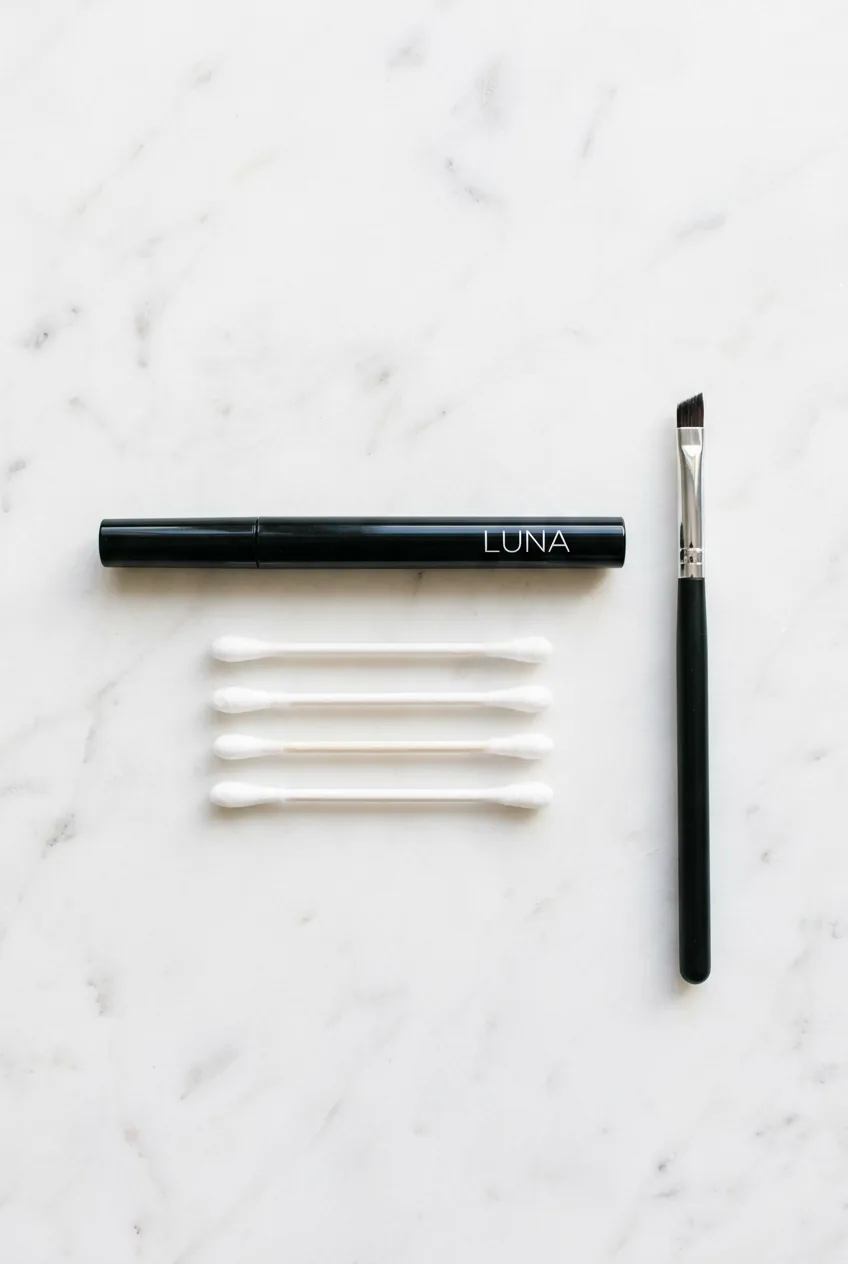
Forget those giant makeup hauls. You literally need three things to get started:
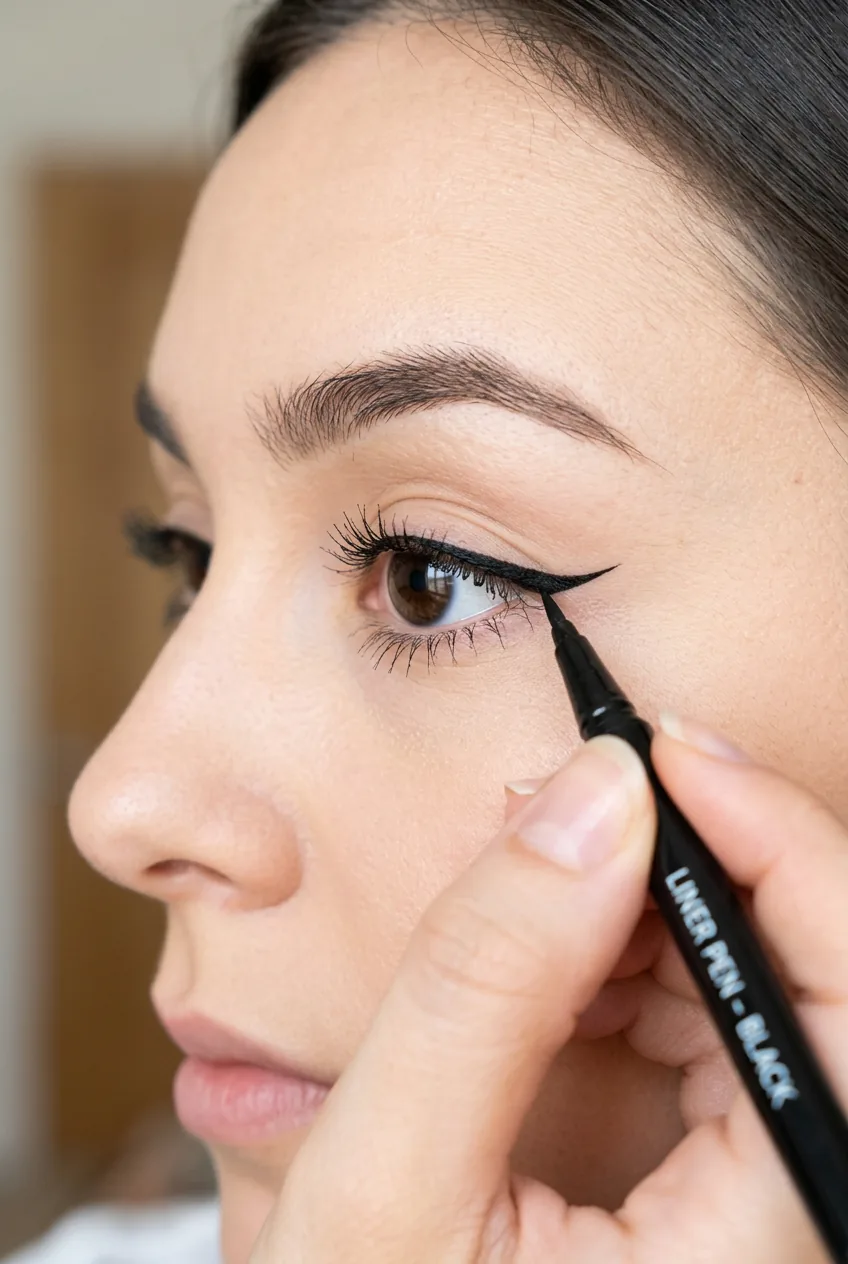
- A liquid eyeliner pen (I swear by drugstore brands — they’re often easier to control than expensive ones)
- Cotton swabs or a small makeup brush for cleanup
- Micellar water or makeup remover (because mistakes happen, and that’s totally fine)
That’s it. No fancy palettes, no fifteen different brushes. Just these basics will get you creating clean, precise lines. I actually prefer starting with a felt-tip pen because it gives you more control than a traditional brush applicator.
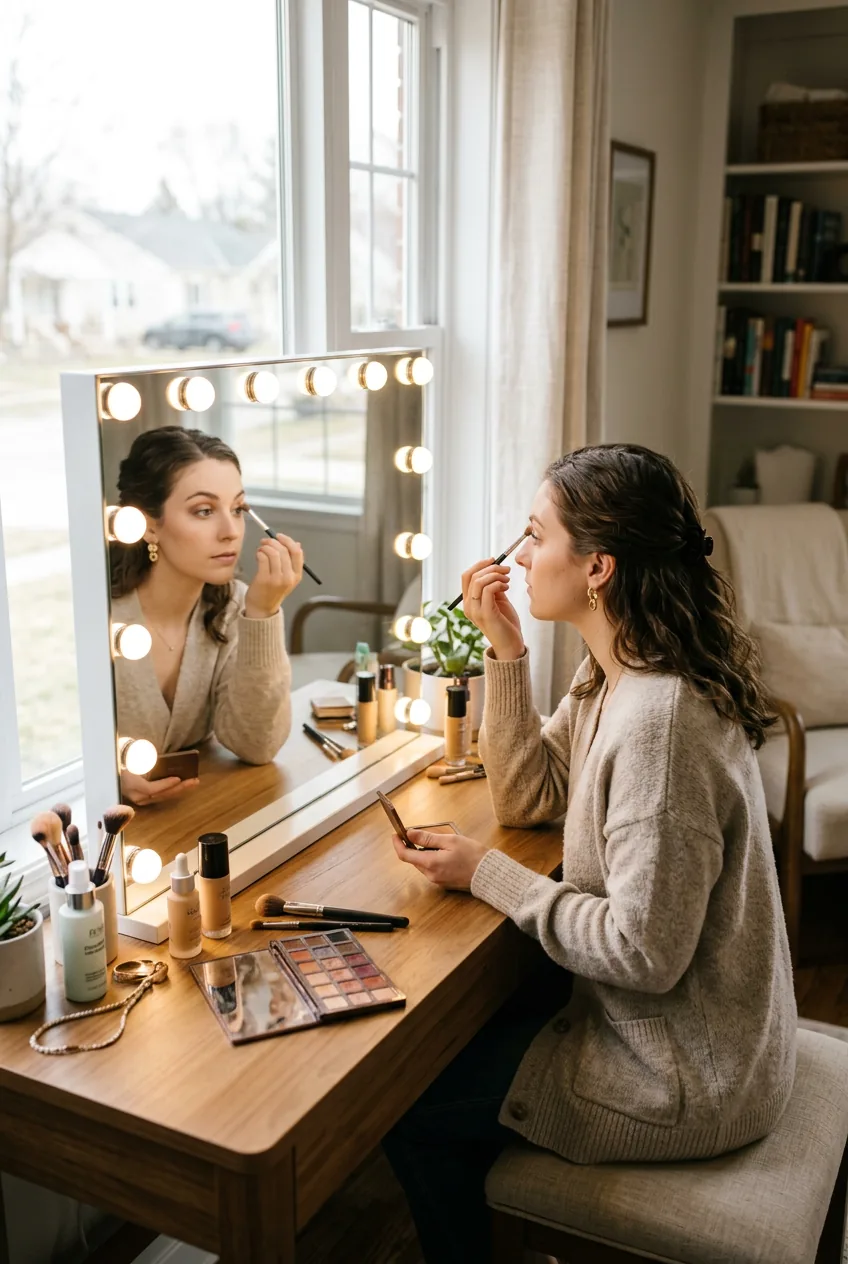
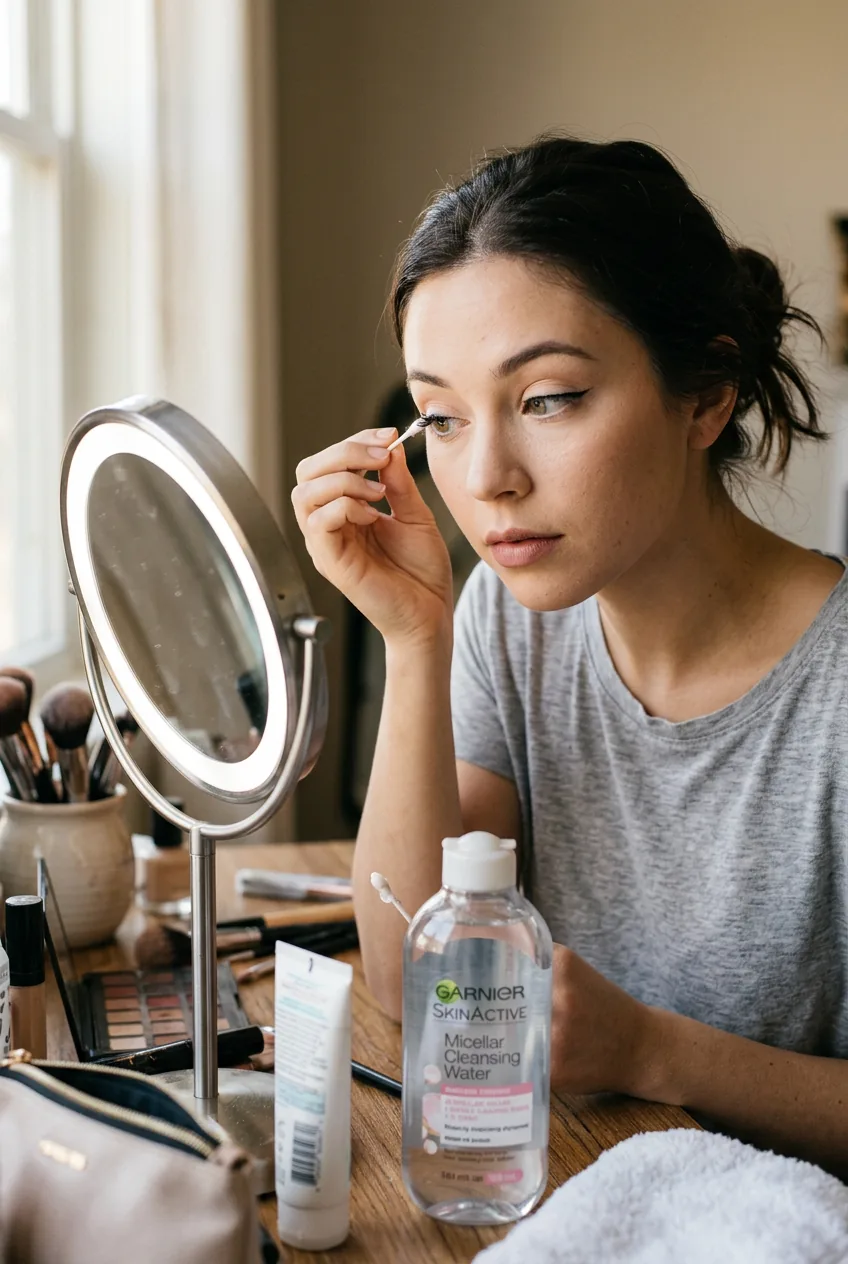
Step 1: Set Up Your Mirror and Lighting
This step sounds boring, but it’s actually crucial. Bad lighting is the reason most eyeliner attempts go wrong. You need to see exactly what you’re doing.
Position yourself in front of a mirror at eye level — not looking down into a compact. Natural light from a window is ideal, but if you’re doing this at night, make sure you have bright, even lighting. Those ring lights aren’t just for influencers; they actually help you see every detail.
Keep your elbow supported on a table or counter. Shaky hands create wobbly lines, and there’s no need to make this harder than it needs to be.
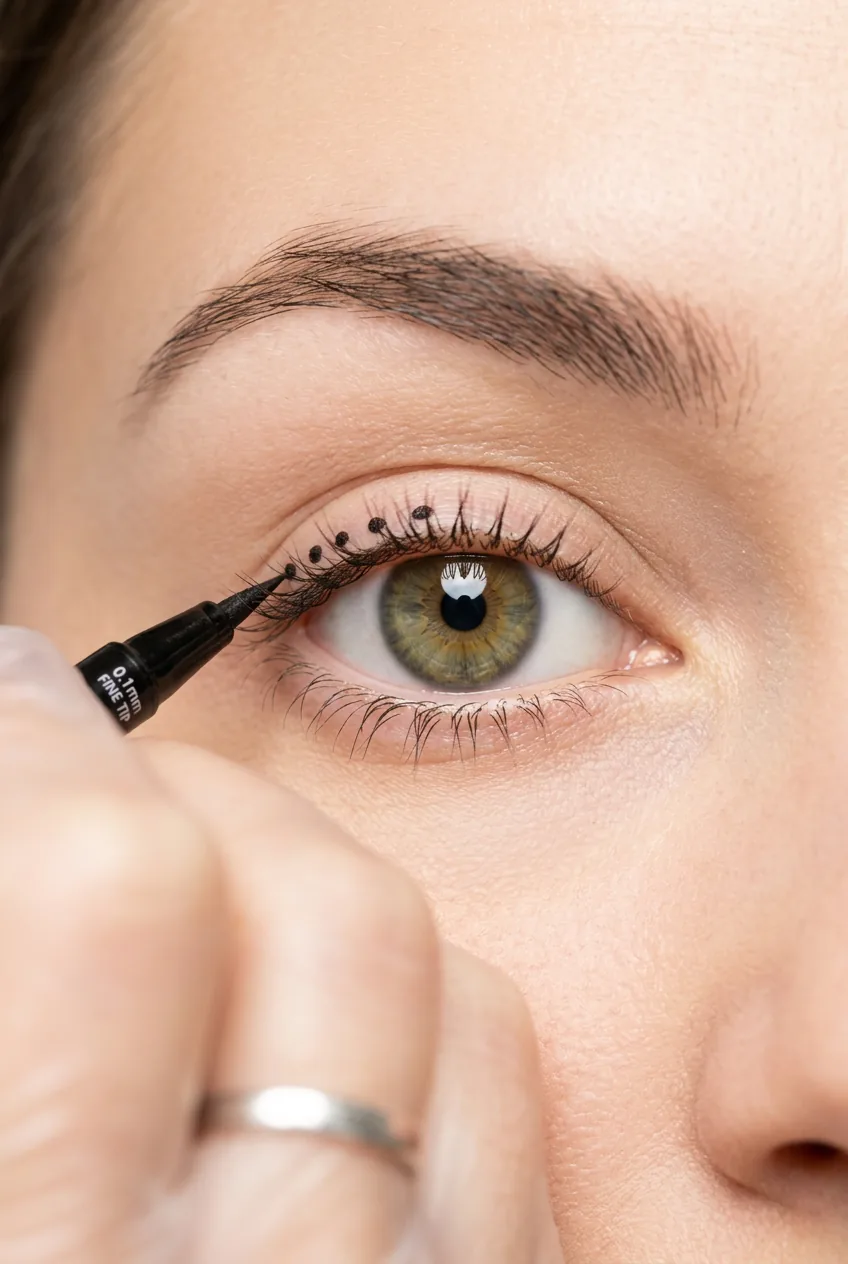
Step 2: Start with the Base Line
Here’s where most people go wrong — they try to create the perfect line in one stroke. Don’t do that to yourself. Instead, we’re going to build this gradually.
Start with your eye open, looking straight ahead in the mirror. Place tiny dots along your upper lash line, as close to the lashes as possible. Think of it like connect-the-dots from elementary school. You’re not drawing a line yet — just marking where that line should go.
Work from the inner corner toward the outer corner, but don’t worry about making it to the very end yet. Just get comfortable with the motion and the feel of the liner against your skin.
Don’t Worry About Getting It Perfect
I need to pause here and tell you something important: your first attempt will not look like a beauty guru’s tutorial. Mine certainly didn’t. And that’s completely normal.
I remember my first “successful” eyeliner attempt took me forty-five minutes and three complete do-overs. I kept trying to make it perfect on the first try, which just led to frustration and wasted makeup remover.
The secret is accepting that eyeliner is a skill that improves with practice. Every makeup artist started as a beginner. Every person you see with perfect winged liner has drawn countless imperfect ones. Give yourself permission to learn.
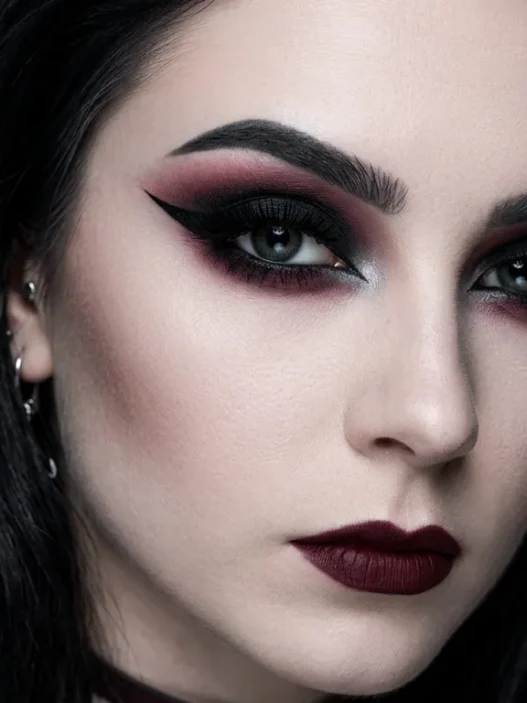
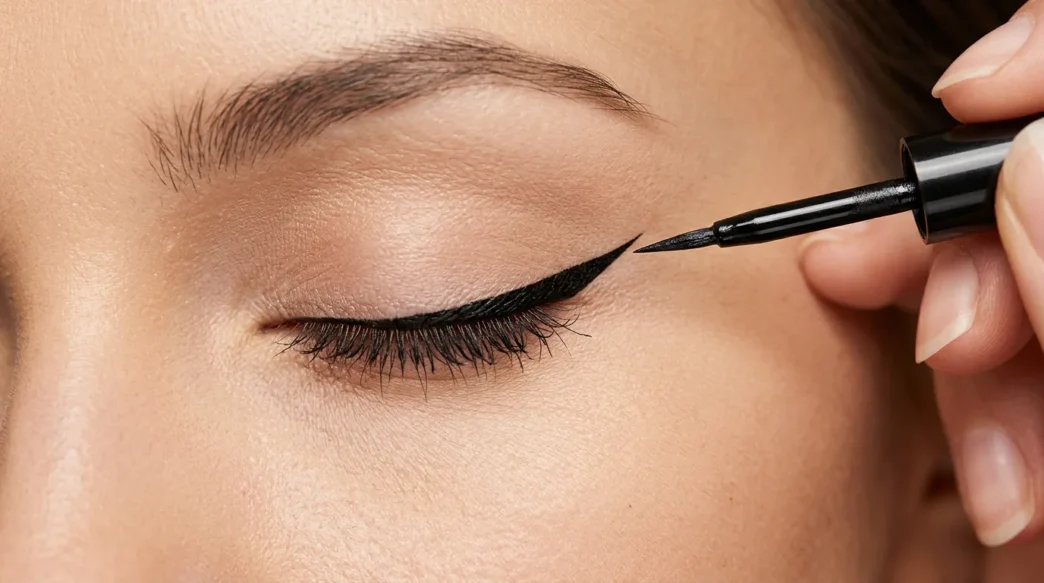
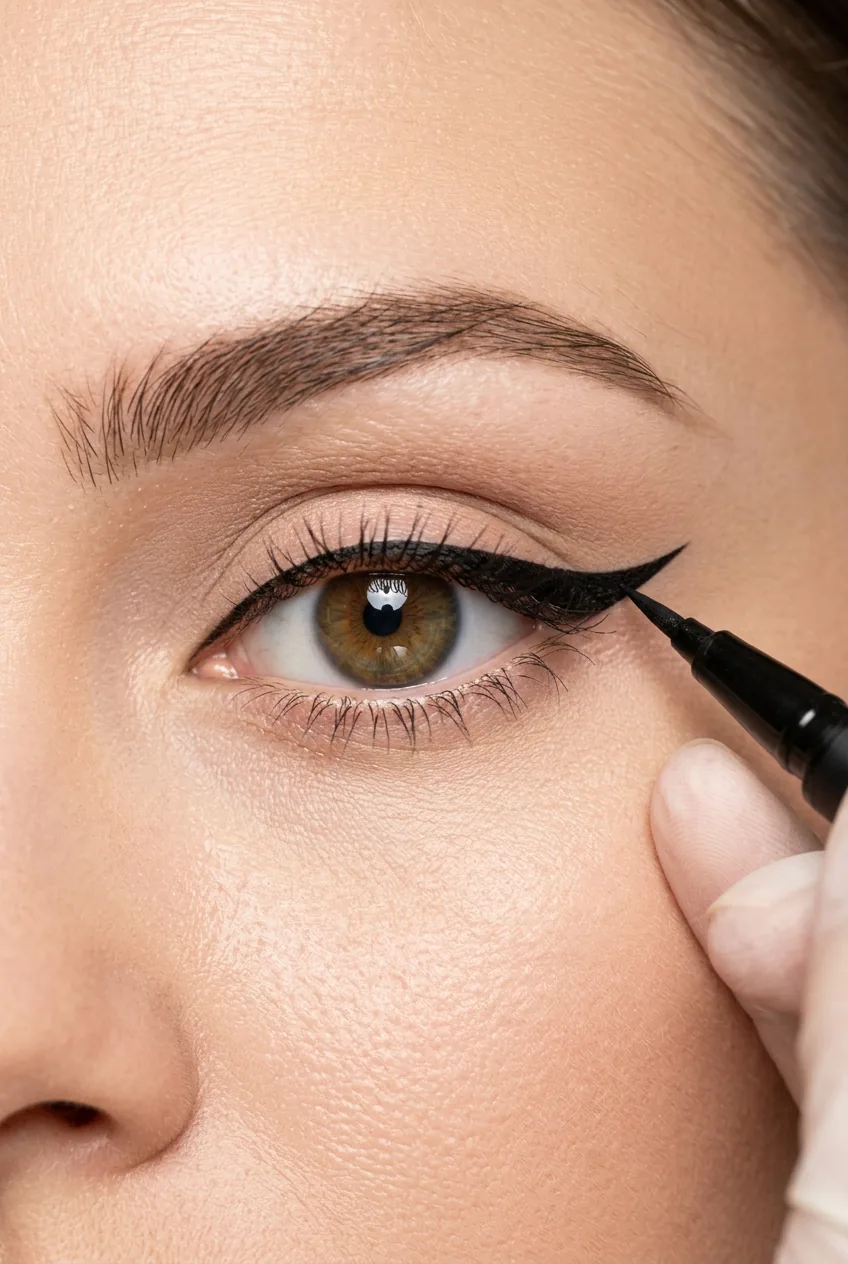
Step 3: Build Your Wing Shape
Now comes the part everyone finds intimidating — the wing. But I’m going to show you a foolproof method that takes the guesswork out of it.
With your eye open, imagine a line extending from your lower lash line upward. That’s your wing angle. Some people like dramatic angles, others prefer subtle ones. For your first attempt, aim for something that follows the natural curve of your lower lash line.
Make a small mark where you want the wing tip to end. Then, from that point, draw a line back down to connect with your upper lash line. Don’t fill anything in yet — we’re just creating the outline.
This Tutorial Changed My Wing Game
Step 4: Connect and Fill
This is where everything starts coming together. Connect your dots along the lash line to create a continuous line. Work in small sections — you don’t need to do it all in one stroke.
Once your base line is solid, carefully fill in your wing shape. The key here is building up the color gradually rather than trying to get full opacity immediately. Multiple thin layers look much cleaner than one thick, uneven application.
If you notice any gaps along your lash line, go back and fill them in. The goal is a smooth, continuous line that makes your lashes look fuller and more defined.
It’s Okay to Wipe It Off and Retry
Sometimes you’ll get halfway through and realize something looks off. Maybe the wing is too thick, or the line isn’t sitting right. Here’s what I wish someone had told me earlier: it’s totally fine to remove it and start over.
Use a cotton swab dipped in micellar water to gently remove any mistakes. You don’t need to take off all your other makeup — just clean up the eyeliner area and begin again. I probably do this on at least one eye every time I apply eyeliner, even now.
Think of it like sketching. Artists don’t expect their first pencil stroke to be perfect. They adjust, erase, and refine. Gentle removal methods can actually help you get better results faster than trying to fix a wonky line.
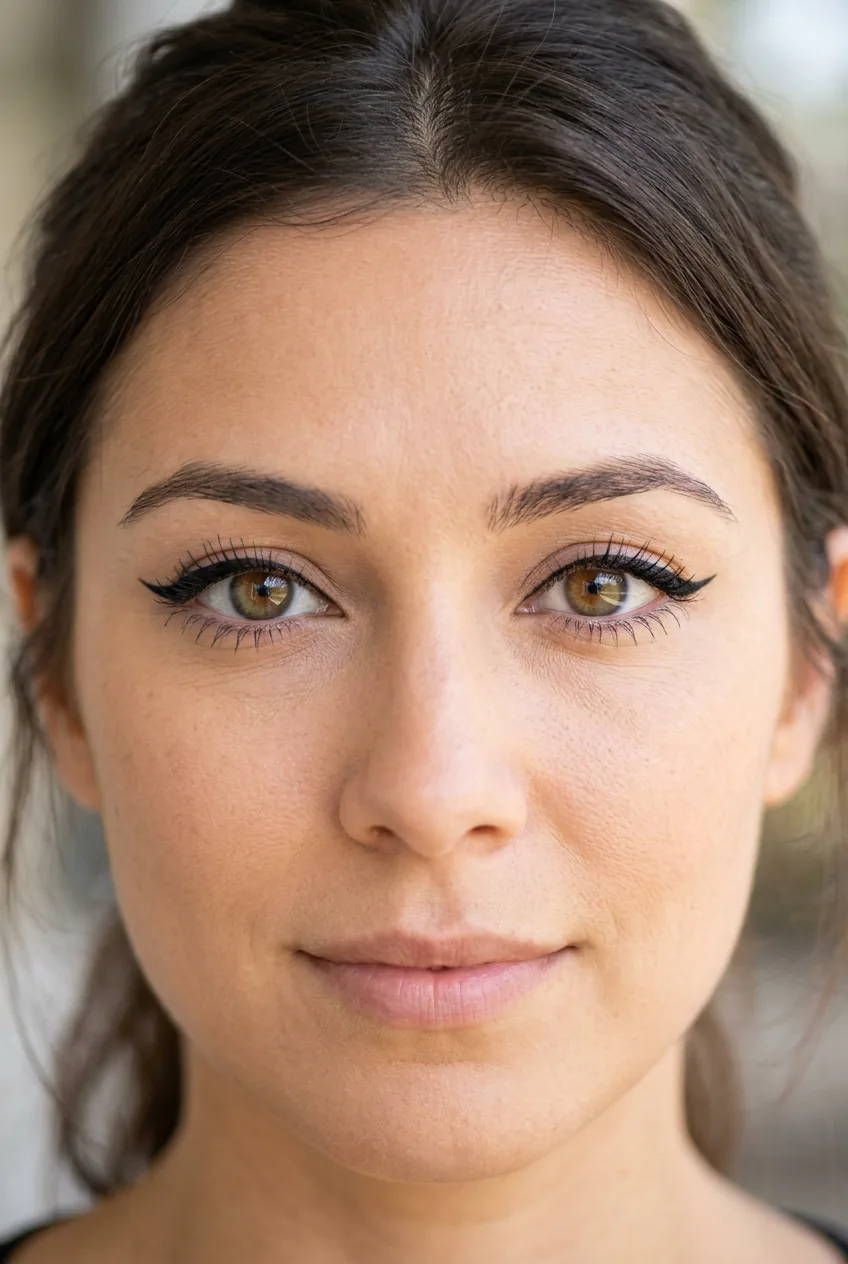
Step 5: Perfect Both Eyes
Here’s the truth: your eyes are sisters, not twins. They’re never going to be perfectly identical, and that’s actually normal. The goal is to make them look balanced, not mathematically precise.
Complete one eye fully before starting the other. This gives you a reference point to work toward. When you’re working on the second eye, step back frequently to check the overall balance in the mirror.
If one wing ends up slightly higher or longer than the other, you can either adjust the “perfect” eye to match, or use a cotton swab to make small corrections to the second eye. Most of the time, tiny differences aren’t noticeable to anyone but you.
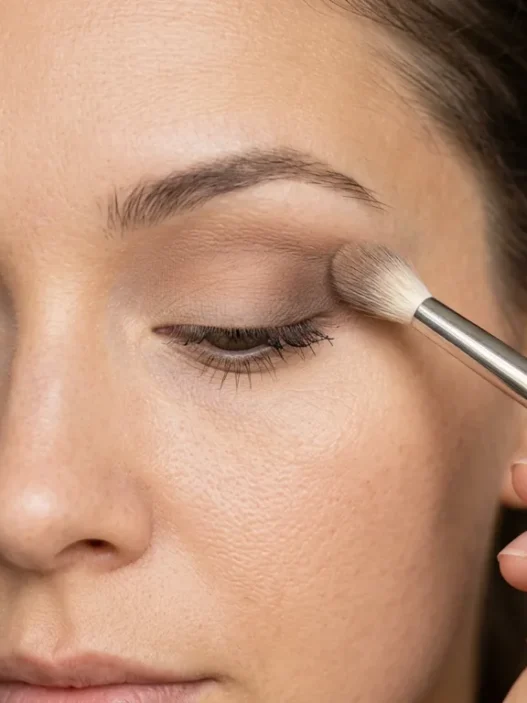
Step 6: Set Everything in Place
The final step is making sure your beautiful work stays put all day. Most liquid eyeliners are pretty long-wearing on their own, but there’s one trick that really locks everything down.
Take a small eyeshadow brush and very lightly dust a matching eyeshadow color over your eyeliner. This sets the liner and prevents any transfer or smudging. If you don’t have a matching shadow, even a neutral brown or black will work.
Let everything dry for about thirty seconds before opening your eyes fully. This prevents the liner from transferring onto your upper eyelid, which can happen when the product is still wet.
Questions I Get About This
How long should this take when I’m starting out?
Give yourself at least fifteen minutes for your first few attempts. I know that sounds like a lot, but rushing will only lead to frustration. As you get more comfortable with the technique, you’ll naturally get faster.
What if I have hooded eyes or mature skin?
The basic technique is the same, but you might need to adjust your wing placement. With hooded eyes, make sure your wing is visible when your eye is open. For mature skin, a slightly thicker line often works better than ultra-thin liner.
Should I do eyeliner before or after eyeshadow?
If you’re wearing eyeshadow, do that first. The eyeliner acts as a defining frame around your eye look. Plus, any eyeshadow fallout won’t mess up your perfectly drawn lines.
What if my hands are naturally shaky?
Rest your elbow on a flat surface for stability, and don’t hold your breath while applying — that actually makes shakiness worse. Take breaks if you need to. Some people find using tape as a guide helpful until they build confidence.
How do I know what wing shape flatters my eye?
Start with a subtle wing that follows your natural eye shape. You can always experiment with different angles and lengths once you master the basic technique. The most flattering wing usually complements your natural eye crease.
The one habit that makes everything easier? Practice this technique without any other makeup first. Just eyeliner, just these steps. Once you can create clean lines consistently, adding it to your full makeup routine becomes effortless. Now I can do both eyes in under three minutes, and yours will look even better because you learned the right way from the start.