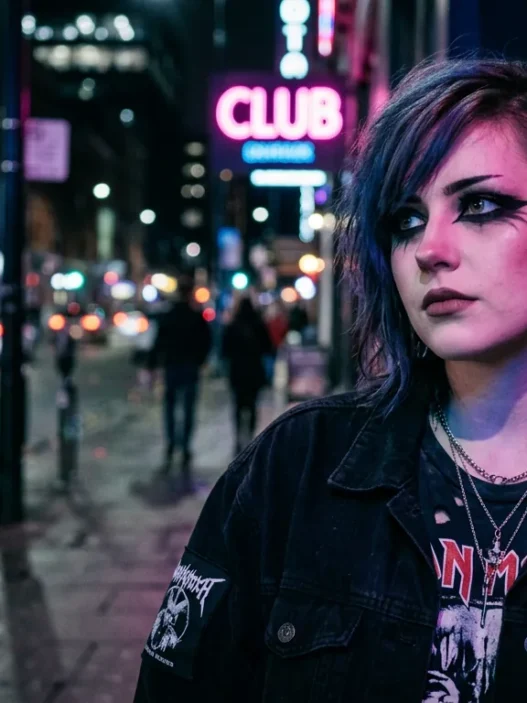


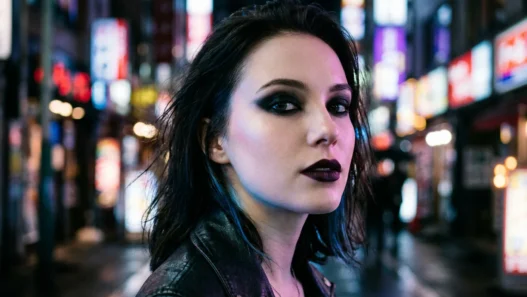


I spent years trying to nail that sultry, mysterious dark feminine look you see on red carpets. My attempts always looked muddy or overdone — until I started working with a makeup artist who taught me what the pros actually do behind the scenes. Turns out, there’s a whole method to creating that smoky, enigmatic beauty that most tutorials completely skip over.
What You’ll Need
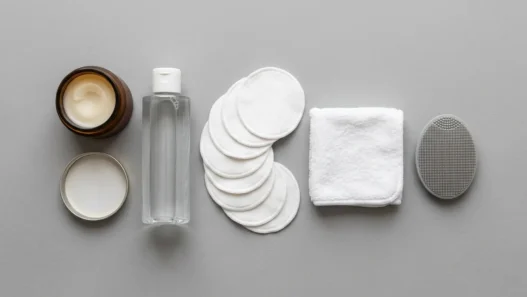
Before we dive into the techniques, here’s what I keep in my kit for this look:
- Matte primer (silicone-based works best)
- Full-coverage foundation one shade deeper than your match
- Dark brown or black kohl pencil
- Fluffy blending brush and small detail brush
- Matte eyeshadows in deep burgundy, charcoal, and black
- Gel liner or liquid liner
- False lashes (optional but recommended)
- Deep berry or wine-toned lipstick
- Contouring powder two shades deeper than your skin
- Setting spray
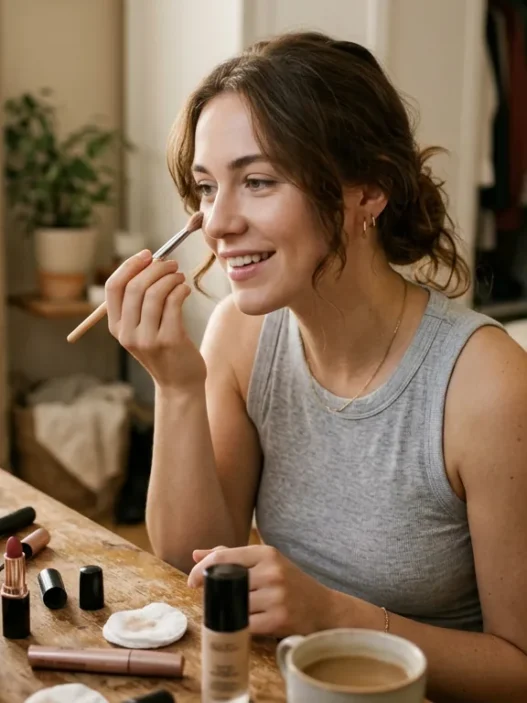
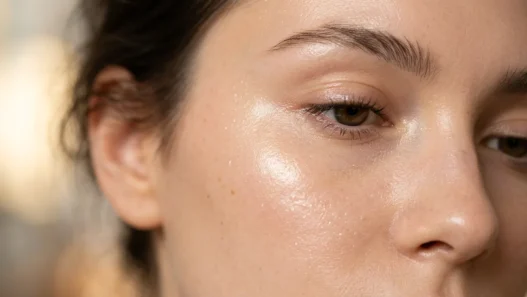
The Prep Pros Never Skip
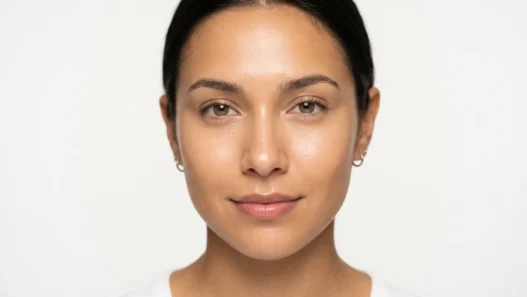
The biggest mistake I see people make? They jump straight into the dramatic stuff without setting up the canvas properly. Professional makeup artists always start with what they call “the foundation for mystery.” It’s not just about smooth skin — it’s about creating the right undertone.
Start with a matte primer, but here’s the pro trick: use one that’s slightly gray-toned rather than pink or yellow. This creates that perfect ashen undertone that makes everything else pop dramatically. I learned this from watching artists prep models for bold themed baddie makeup looks — they always neutralize warmth first.
Next comes the base, and this is where most tutorials get it wrong. Instead of your perfect foundation match, go one shade deeper. The idea is to create natural shadow and depth from the start, rather than fighting against your natural coloring.
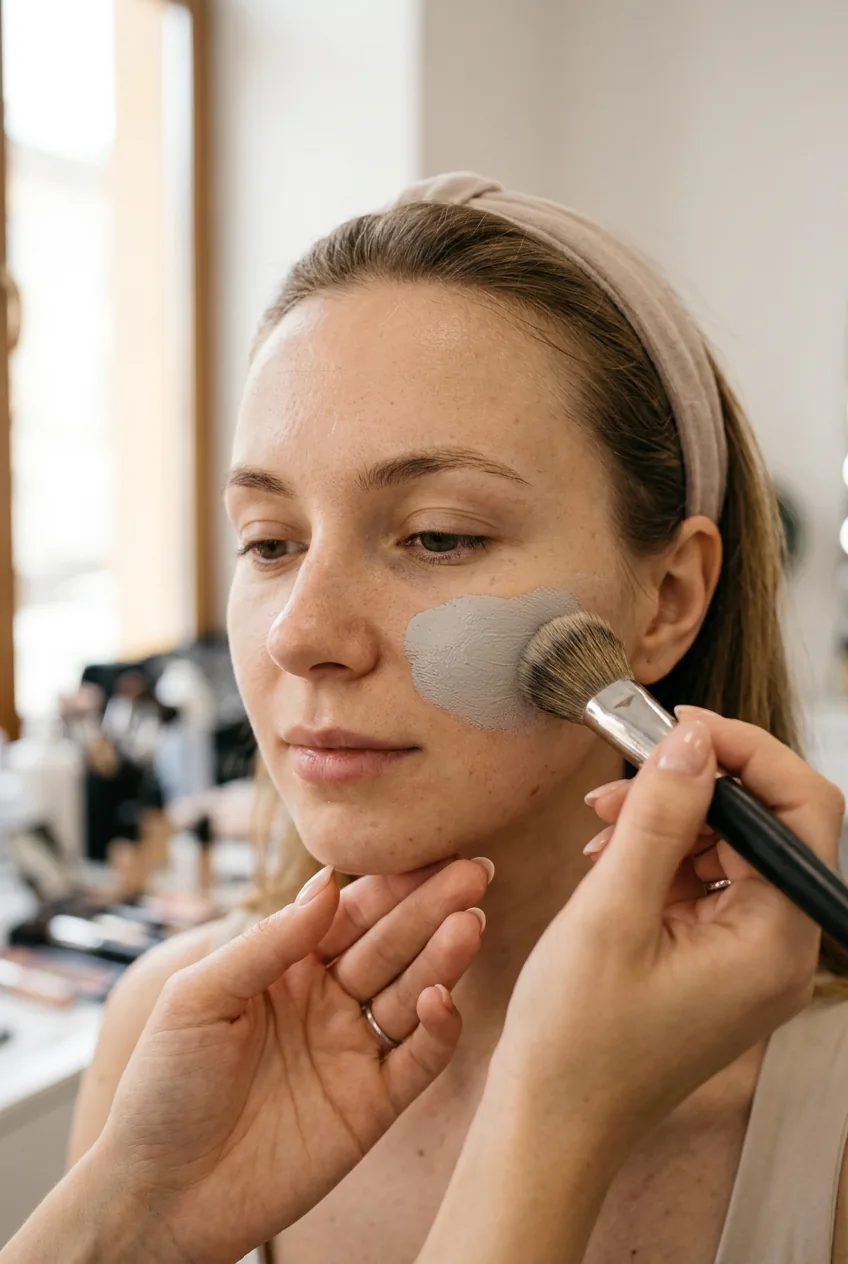
The Base That Creates Mystery
This step separates the amateurs from the professionals. While everyone else is trying to brighten and highlight, we’re doing the opposite — strategically creating shadow and depth.
Apply your slightly-too-dark foundation everywhere except the center of your face. Leave a narrow strip down your nose, the center of your forehead, and your chin uncovered. Then blend a shade that matches your skin perfectly into just those highlighted areas.
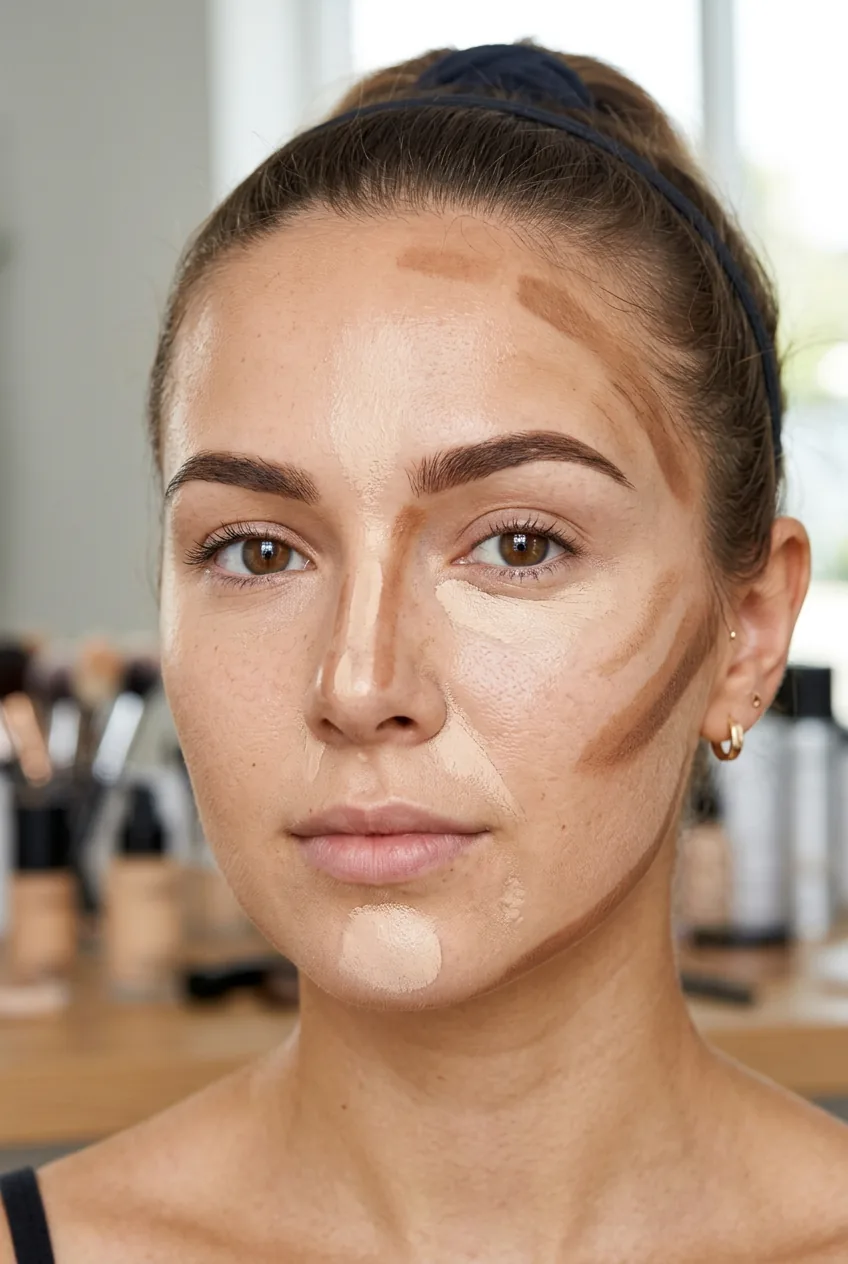
What this does is create natural dimension that will work with the dramatic elements instead of against them. Professional foundation application requires this kind of strategic placement when you’re going for high-contrast looks.
I used to blend everything perfectly even, thinking that’s what “flawless” meant. Then I realized that flawless for dark feminine looks actually means controlled imperfection — strategic shadow placement that looks effortless.
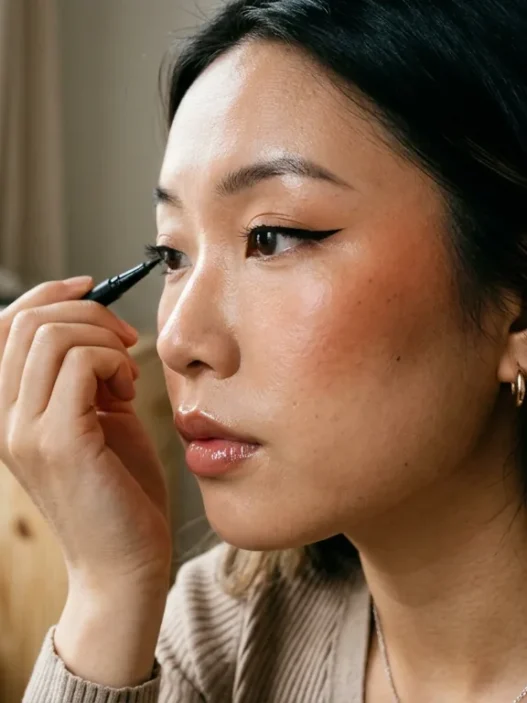
The Eye Technique That Changes Everything
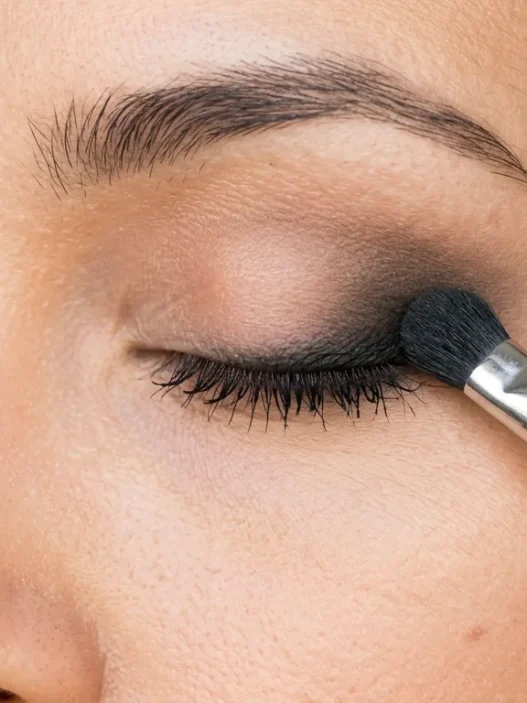
Here’s where the real magic happens, and it’s nothing like the typical smoky eye tutorials you’ve seen. Professional artists don’t start with eyeshadow — they start with kohl pencil applied in a very specific way.
Take your kohl pencil and draw a thick line as close to your lash line as possible, both top and bottom. But instead of making it precise, you want it slightly uneven and smudged. Use your finger or a small brush to blur the edges while the product is still warm and moveable.
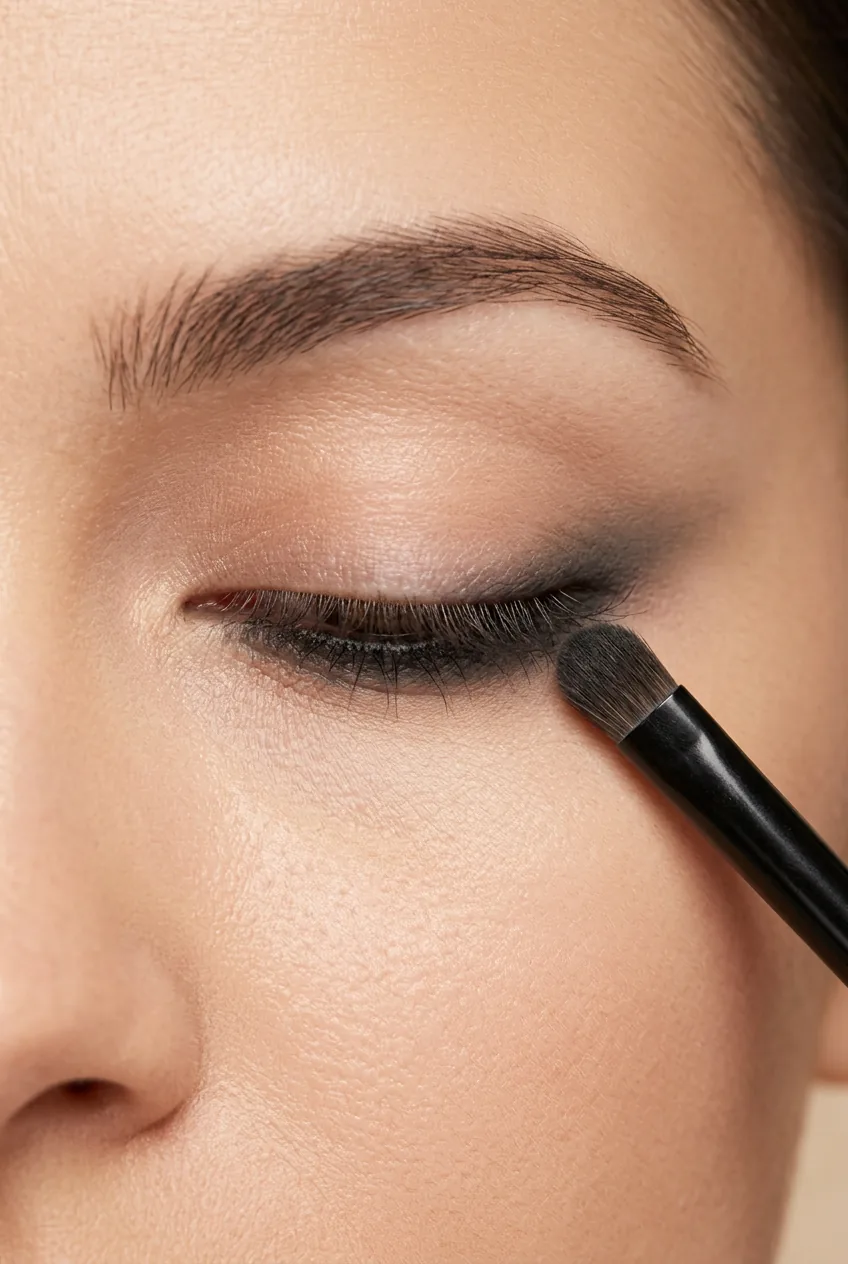
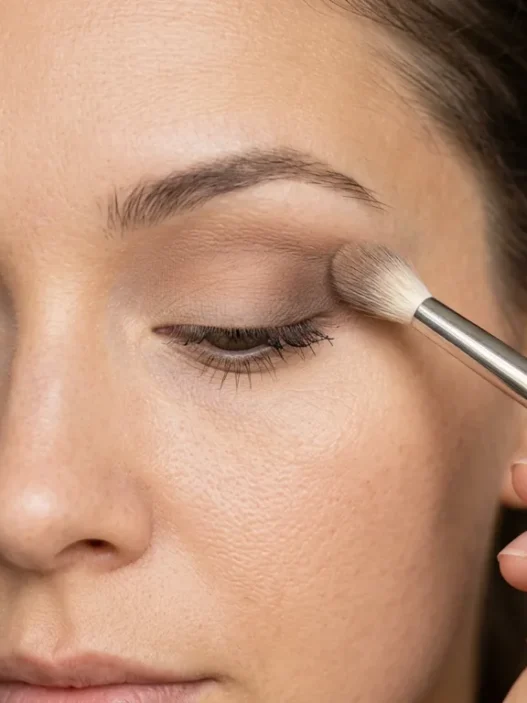
Now comes the technique that changes everything: the reverse gradient. Instead of placing the darkest shadow in the crease like traditional methods, place your deepest color (charcoal or black) right on top of that smudged kohl line. Then blend upward and outward with progressively lighter shades.
The key is to keep the intensity concentrated around the lash line and let it fade as it moves up toward the brow bone. This creates that sultry, heavy-lidded effect that’s signature to dark feminine looks.
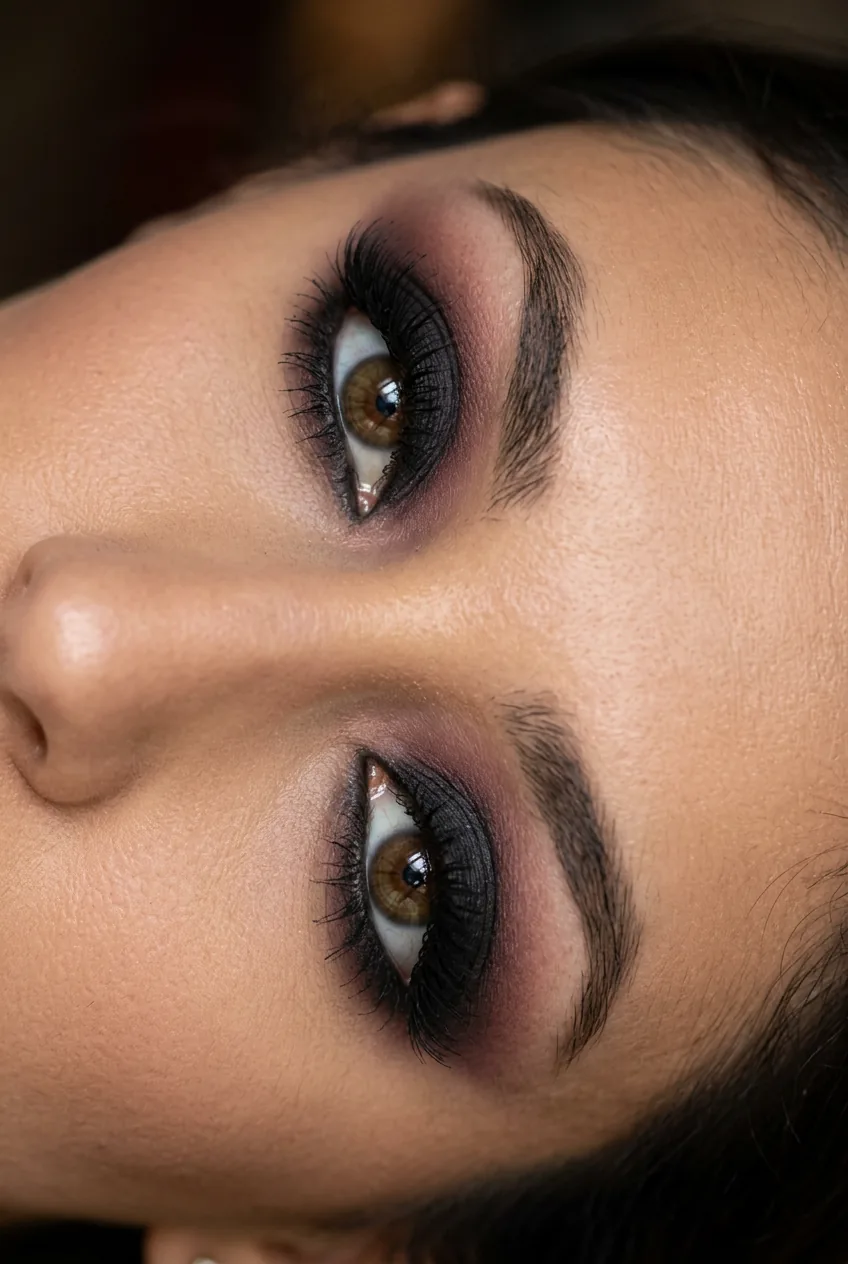
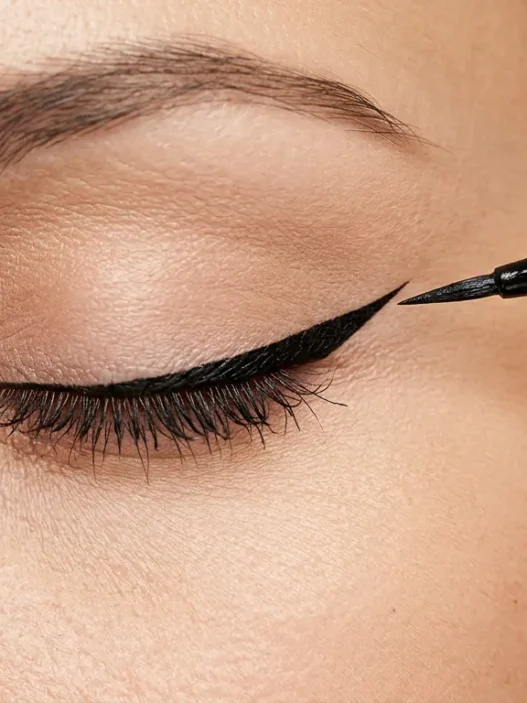
Watch the Kohl Technique in Action
The Contour Method From Set
Forget everything you know about Instagram contouring. The contouring for dark feminine looks is completely different — it’s about creating hollows and shadow, not definition.
Using a fluffy brush, apply your contouring powder in upward sweeping motions under your cheekbones, but don’t blend it out completely. You want some visible edge to create that slightly gaunt, mysterious effect. Same technique goes for your temples — sweep the contour up and back, leaving some intensity.
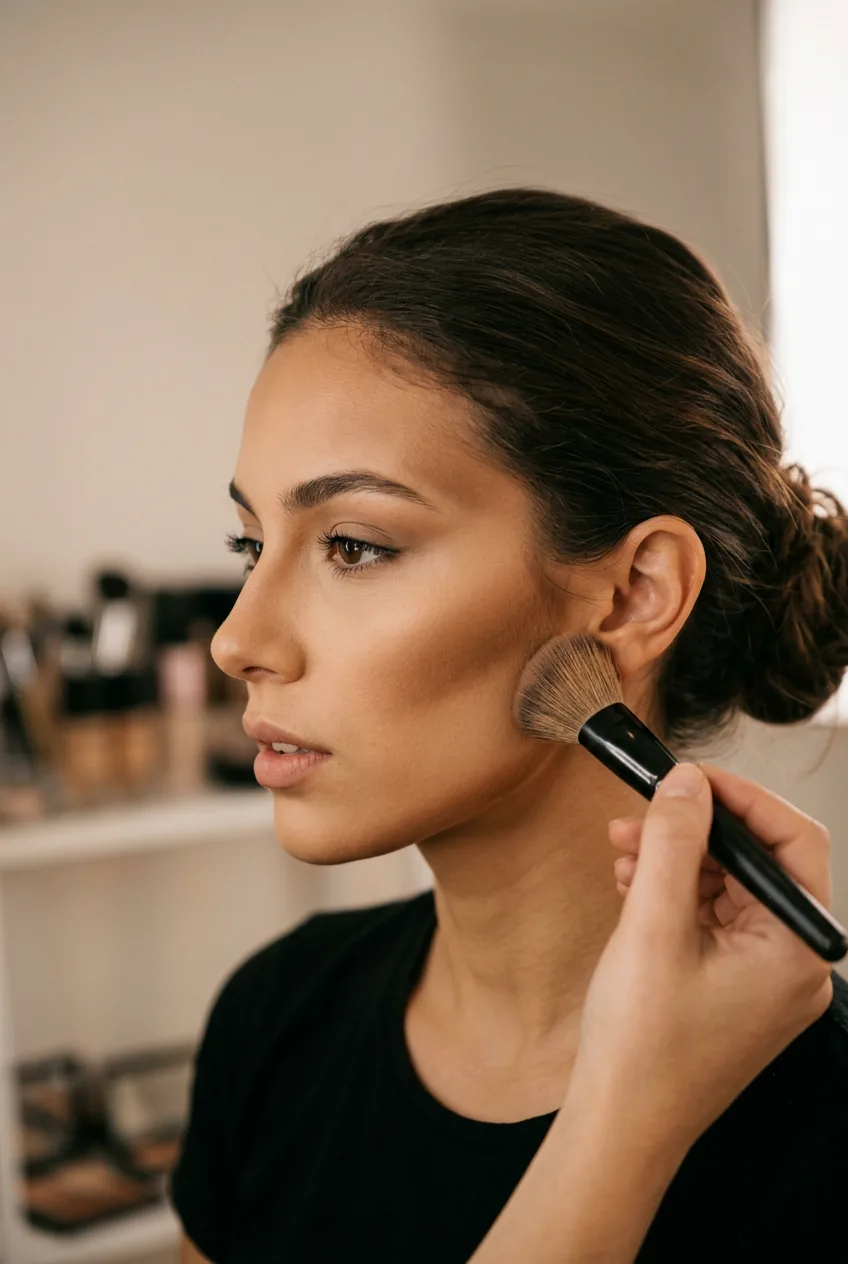
The nose contour is crucial here. Instead of the typical highlight-down-the-bridge technique, you’re going to contour the sides of your nose quite heavily and only highlight the very tip. This creates a sharper, more dramatic nose shape that fits the overall aesthetic.
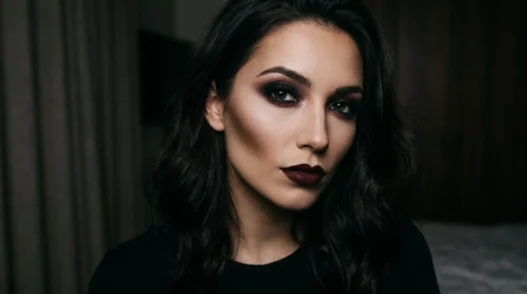
The Lip Strategy Backstage Artists Use
Most people think dark feminine makeup means black lips, but that’s amateur hour. Professional artists know that deep berry or wine tones are far more sophisticated and wearable.
Here’s the backstage trick: before applying your lip color, use a tiny bit of that same dark eyeshadow to create a subtle ombre effect. Dab it just in the outer corners and center of your lips, then apply your berry lipstick over the top.
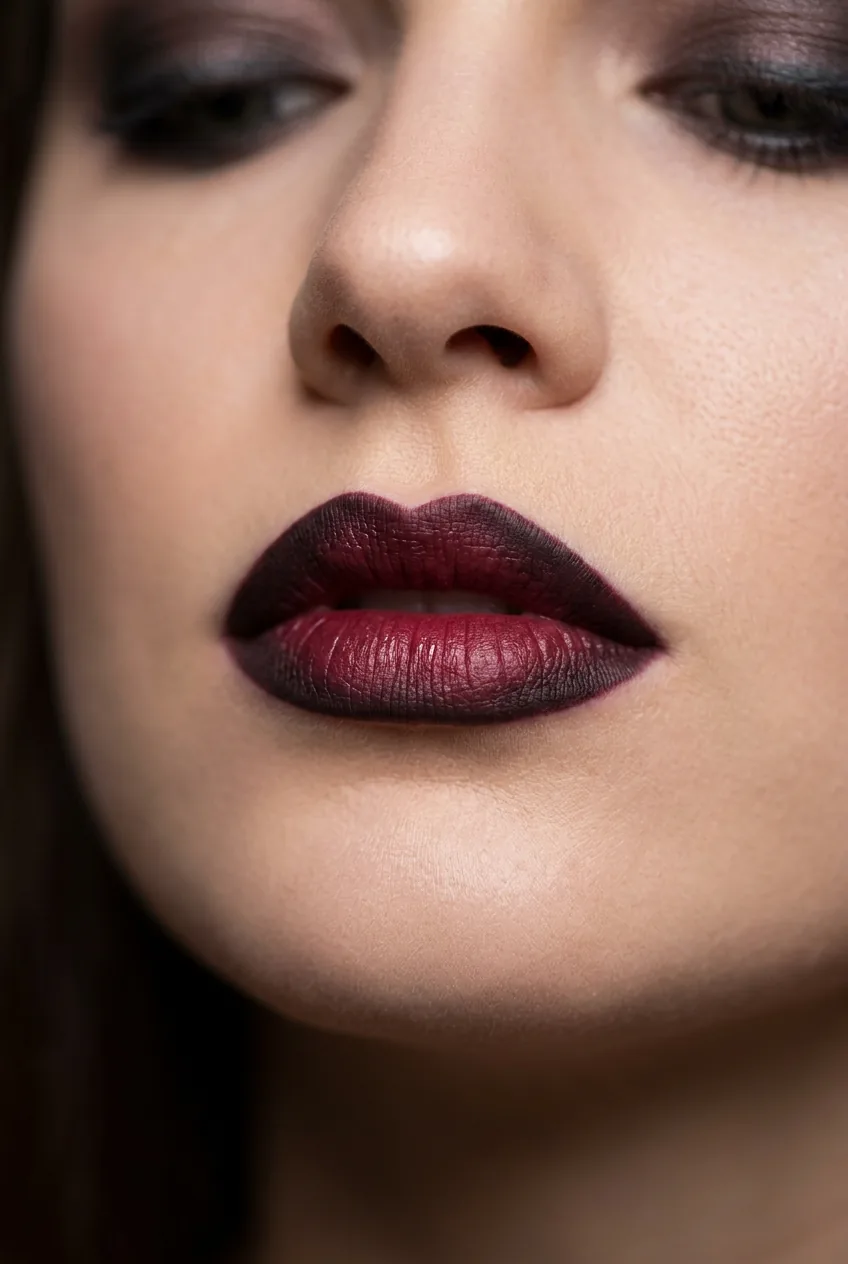
This creates depth and dimension that a straight application of lipstick can’t achieve. The result is lips that look naturally deeper and more mysterious, rather than obviously made-up.
For longevity, many artists will actually use makeup techniques for different moods and layer a lip liner in a slightly deeper shade all over the lips before adding the lipstick.
The Finishing Touch That Seals the Look
The final step is what I call “the mystery veil” — it’s a technique that ties all the dramatic elements together and makes them look intentional rather than overdone.
Take a large fluffy brush with just a whisper of translucent powder and very lightly dust it over your entire face. This softens all the hard edges slightly and creates a cohesive finish. But here’s the pro secret: follow it immediately with a light mist of setting spray.
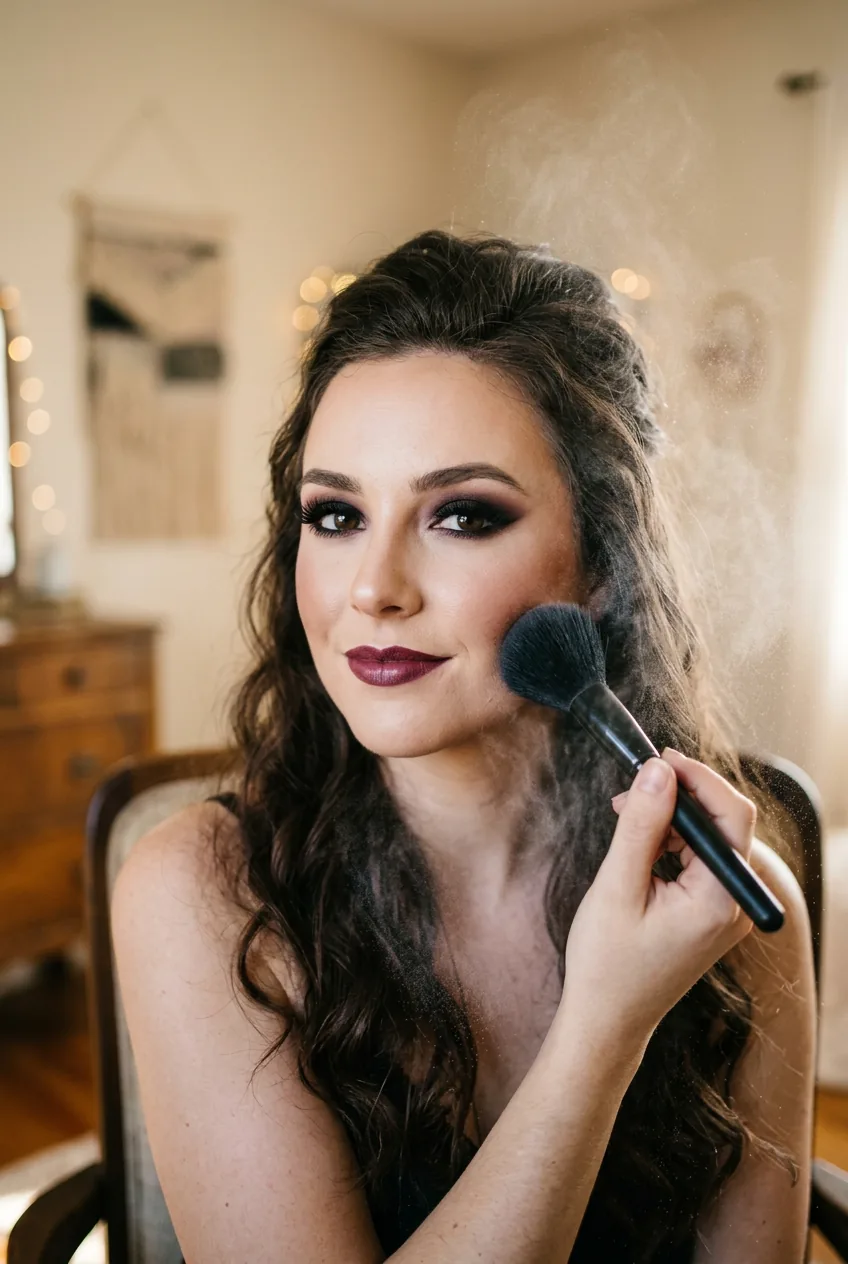
The setting spray does more than just lock everything in place — it creates a subtle sheen that makes the whole look appear more natural and skin-like, despite all the drama.
For the final touch, many professionals will add just a hint of highlighter to the inner corners of the eyes and the cupid’s bow. But it needs to be subtle — you’re not trying to blind anyone, just create tiny points of light that make the eyes look more alive.
Questions I Get About This Look
Can this work for daytime or just evening?
You can absolutely adapt this for daytime by using lighter pressure and building up gradually. The key is to stop before you think you should — daytime dark feminine is more about suggestion than full drama.
What if I have hooded eyes?
Actually, this technique works beautifully on hooded eyes because you’re concentrating the drama at the lash line rather than in the crease. Just make sure to use waterproof products since hooded eyes tend to transfer more easily.
How long does this makeup last?
With proper setting, this look can last 8-10 hours. The key is using that matte primer and setting each step as you go rather than waiting until the end.
Do I need expensive products for this to work?
Not at all. The technique matters more than the price point. I’ve seen this look executed beautifully with drugstore products — it’s all about the application method and color choices.
When I finally mastered these professional techniques, my dark feminine looks went from costume-y to genuinely sophisticated. The difference isn’t in spending more money or using more products — it’s in understanding how to create controlled shadow and mysterious depth. These are the same methods I watched artists use on photo shoots, and honestly? They work just as well in your bathroom mirror as they do under studio lights.