


I used to spend way too long trying to nail that effortless ABG look — you know, the one that looks simple but somehow takes forever? After months of trial and error (and some truly tragic eyeliner moments), I finally figured out a routine that actually works. This is exactly how I do my ABG makeup every single time, complete with the weird little tricks I’ve picked up along the way.
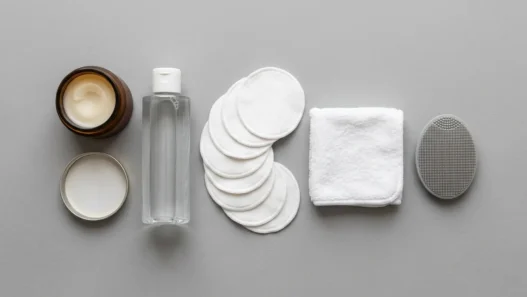
What You’ll Need
Okay, let me be real with you — I’m not using anything fancy here. Most of this stuff is from the drugstore because honestly? ABG makeup is about technique, not expensive products.
- Hydrating primer (I use the ELF Pure Skin one)
- Light coverage foundation or BB cream
- Concealer that’s your exact shade
- Black gel eyeliner (pen or pot, your choice)
- Brown eyeshadow for subtle depth
- Clear or tinted lip gloss
- Cream blush in a peachy-pink shade
- Small angled brush for liner
- Fluffy blending brush
- Beauty sponge
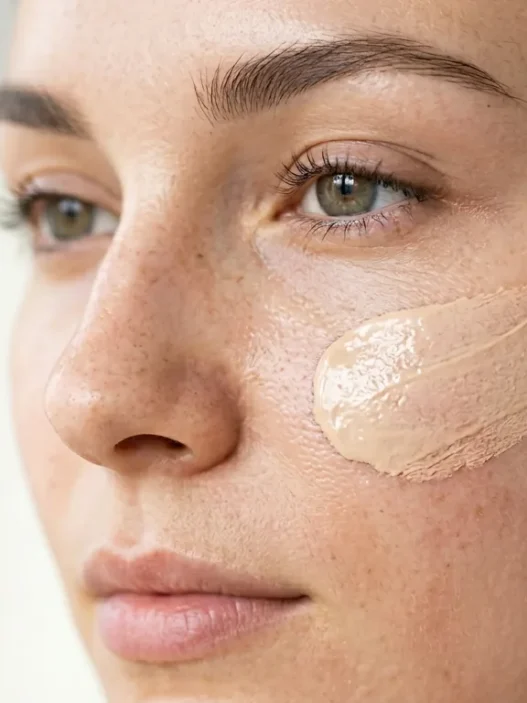
0:00 – Prepping That Glass Skin Base
I start with skincare because that dewy, glass-skin look? It’s 80% prep work. I splash my face with cold water first — sounds weird, but it tightens everything up and makes my pores look smaller.
Then I pat in my moisturizer while my skin is still slightly damp. This is when I’m usually running around my room looking for my other shoe or checking my phone, so the moisturizer has time to really sink in.
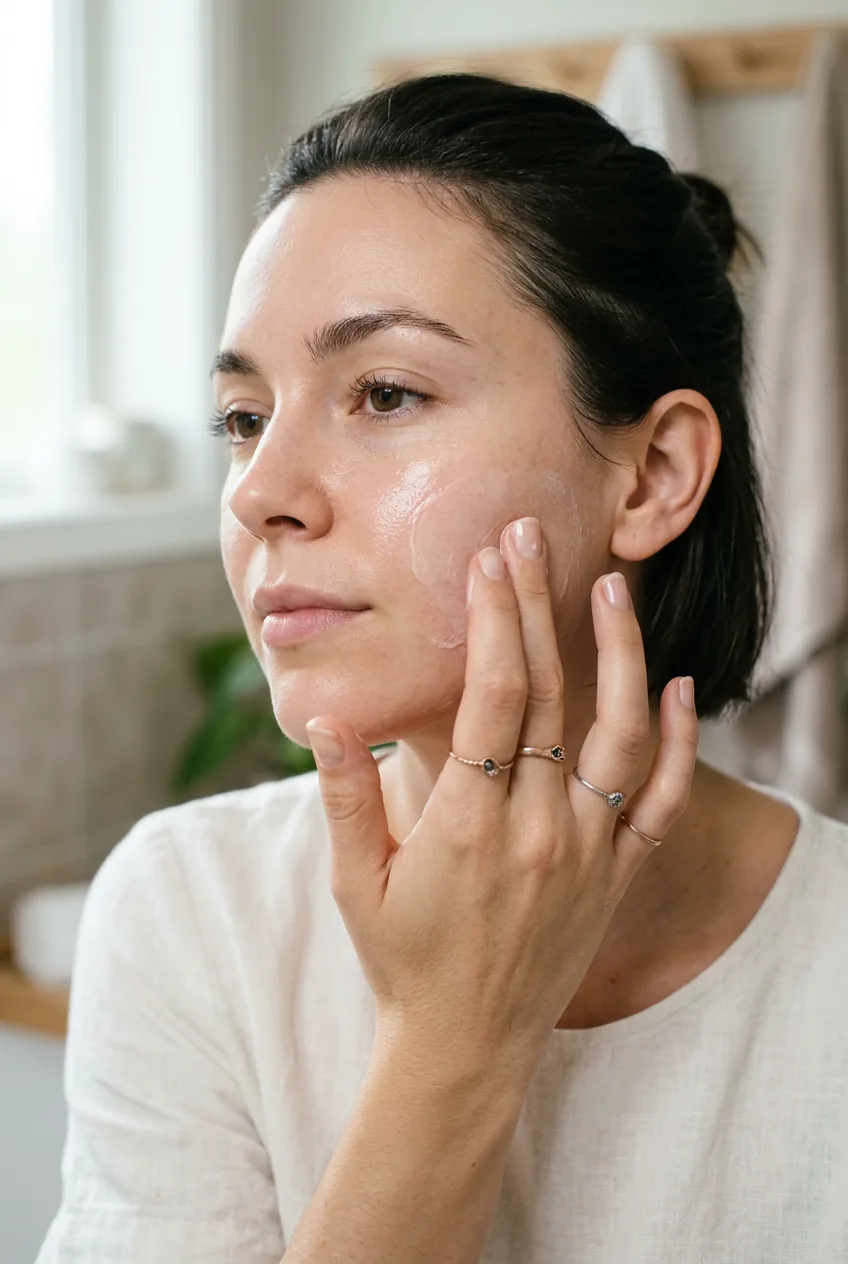
The primer goes on next, and I’m particular about this part. I press it into my skin with my fingertips instead of rubbing it around. Rubbing just moves your moisturizer around and creates pilling. Nobody has time for that mess.
While the primer sets (about two minutes), I do my brows. Just a quick brush-through with a spoolie and maybe some clear gel if they’re being rebellious. ABG brows are natural and feathery — think “I woke up like this” but better.
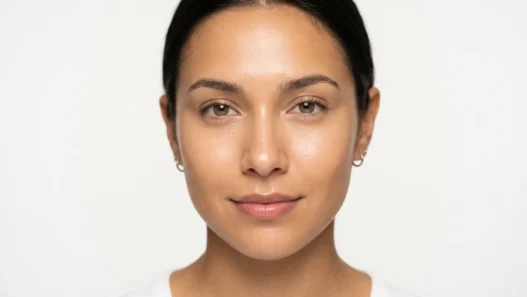
3:00 – Creating the Perfect Canvas
Foundation time, but we’re keeping this light. I dot my BB cream on my forehead, cheeks, nose, and chin, then blend it out with a damp beauty sponge. The key is building it up gradually — better to do two thin layers than one thick one.
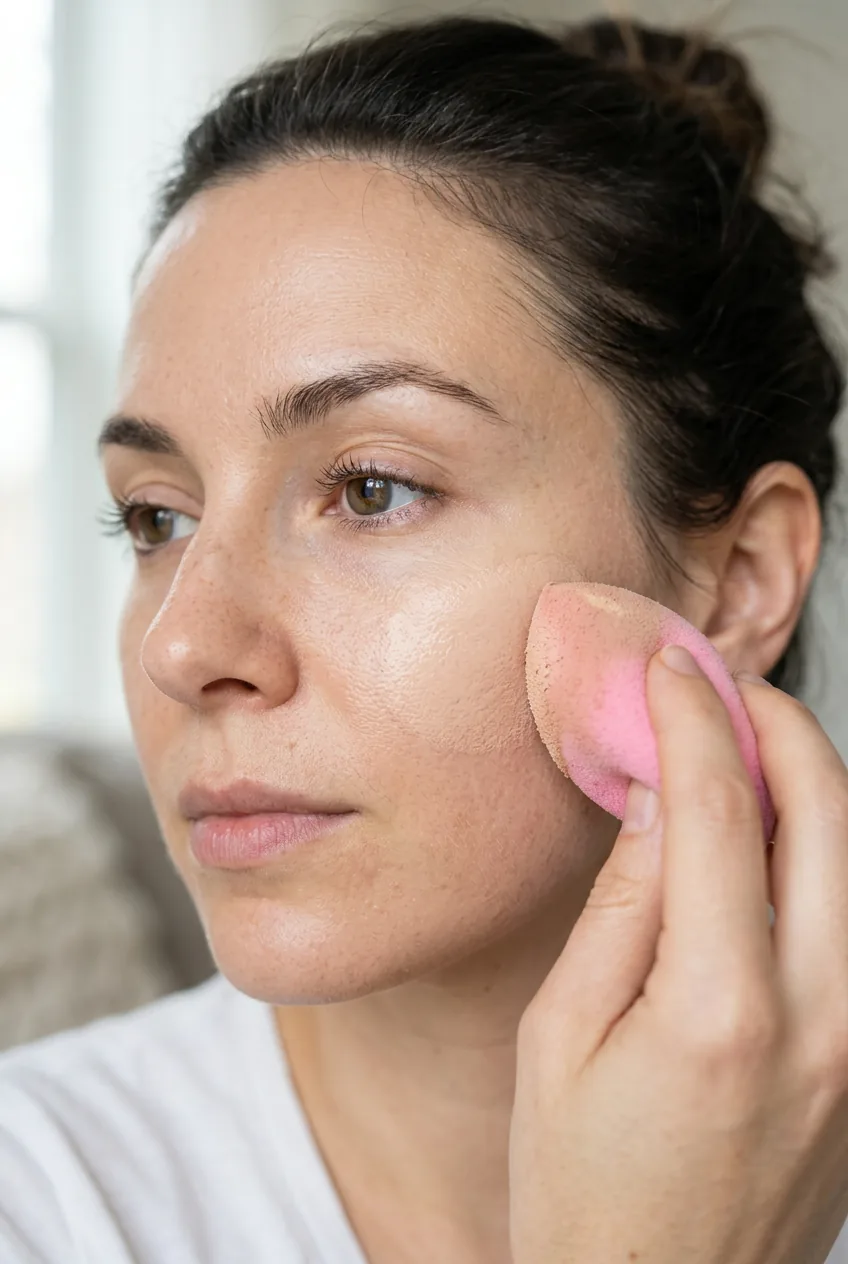
I focus most of the coverage in the center of my face and blend it out toward my hairline. This creates that natural glow that looks like it’s coming from within. My ears and neck stay their natural color — we’re not going for full coverage here.
Concealer goes under my eyes in an upside-down triangle shape. I learned this from watching makeup tutorials obsessively, and it actually works better than just dotting it on dark circles.
I used to set my concealer with powder immediately, which made my under-eyes look dry and cakey. Now I let it sit for a minute while I do other things, then barely dust it with powder. Game changer.
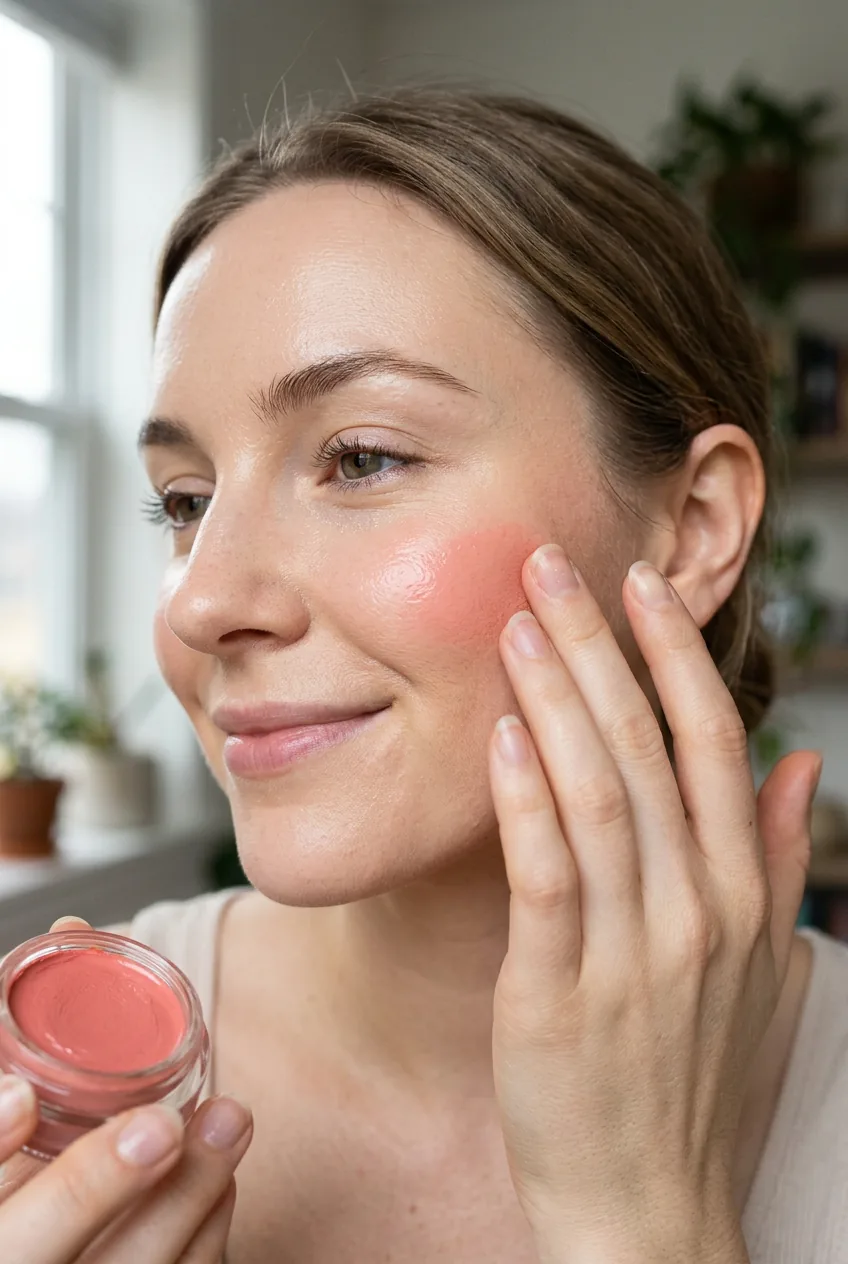
The cream blush goes on now while my base is still slightly tacky. I dab it on the apples of my cheeks and blend it up toward my temples. Cream blush looks more natural and gives you that “just pinched” flush that’s perfect for the ABG aesthetic.
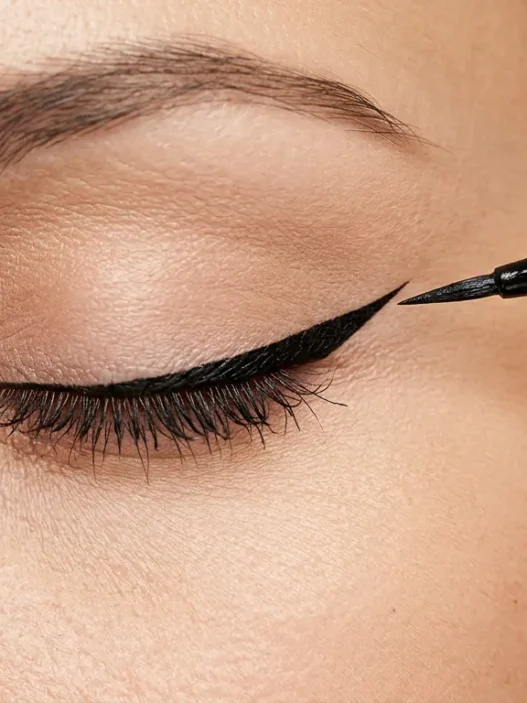
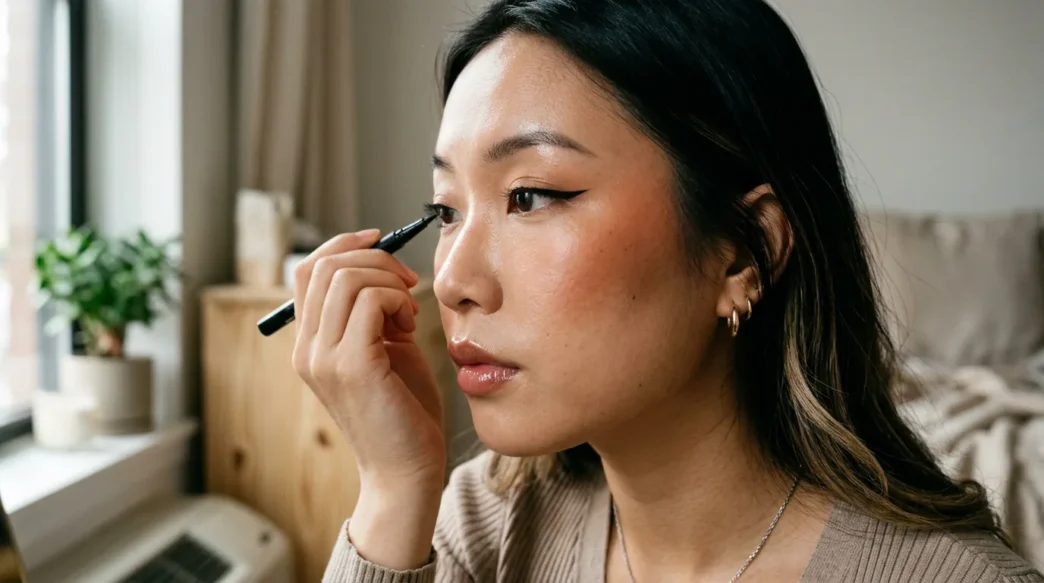
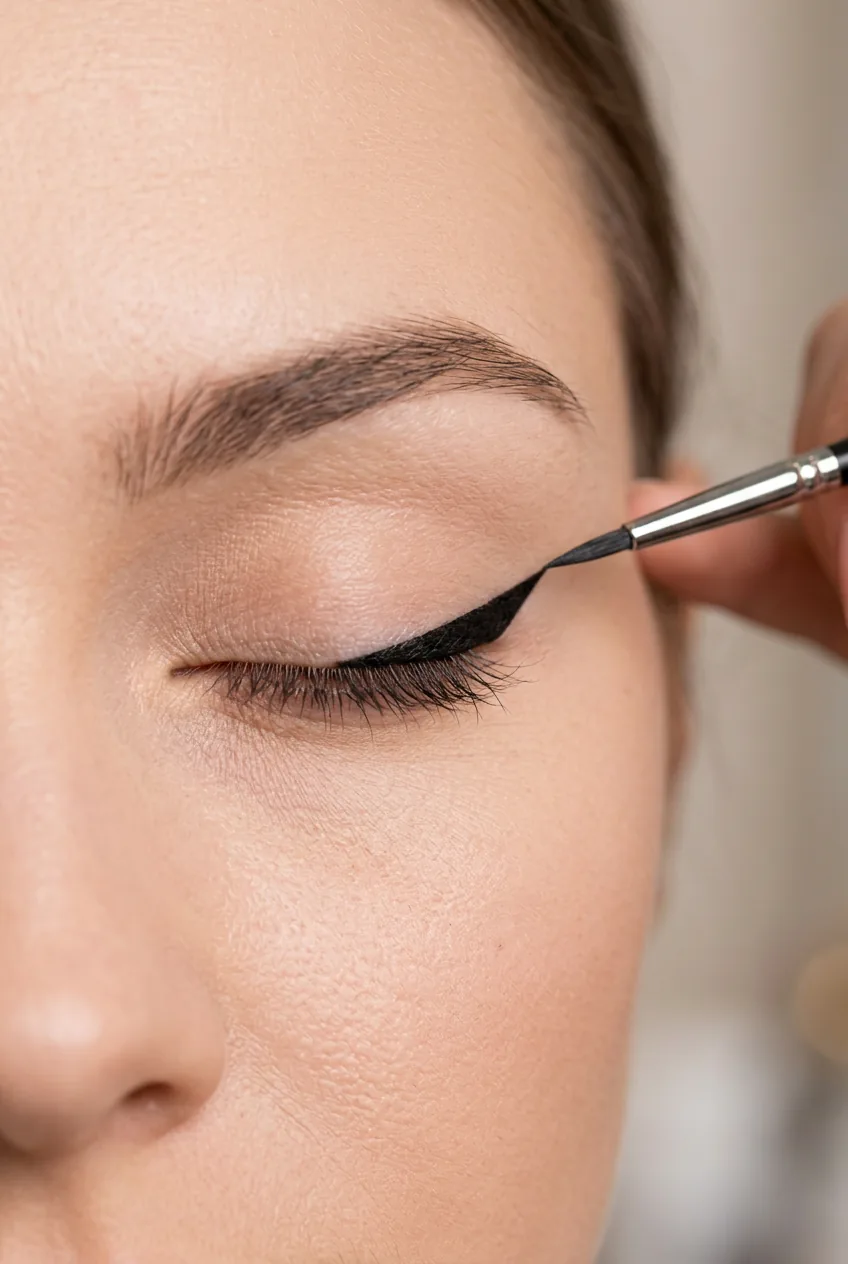
7:00 – Sharp Liner That Actually Stays
This is where I used to mess everything up. The eyeliner is literally the defining feature of ABG makeup, so if it’s wonky, the whole look falls apart.
I start by looking down into a mirror — not straight ahead. This gives me the perfect angle to see exactly where my lash line is. I draw a thin line as close to my lashes as possible, starting from the inner corner and working outward.
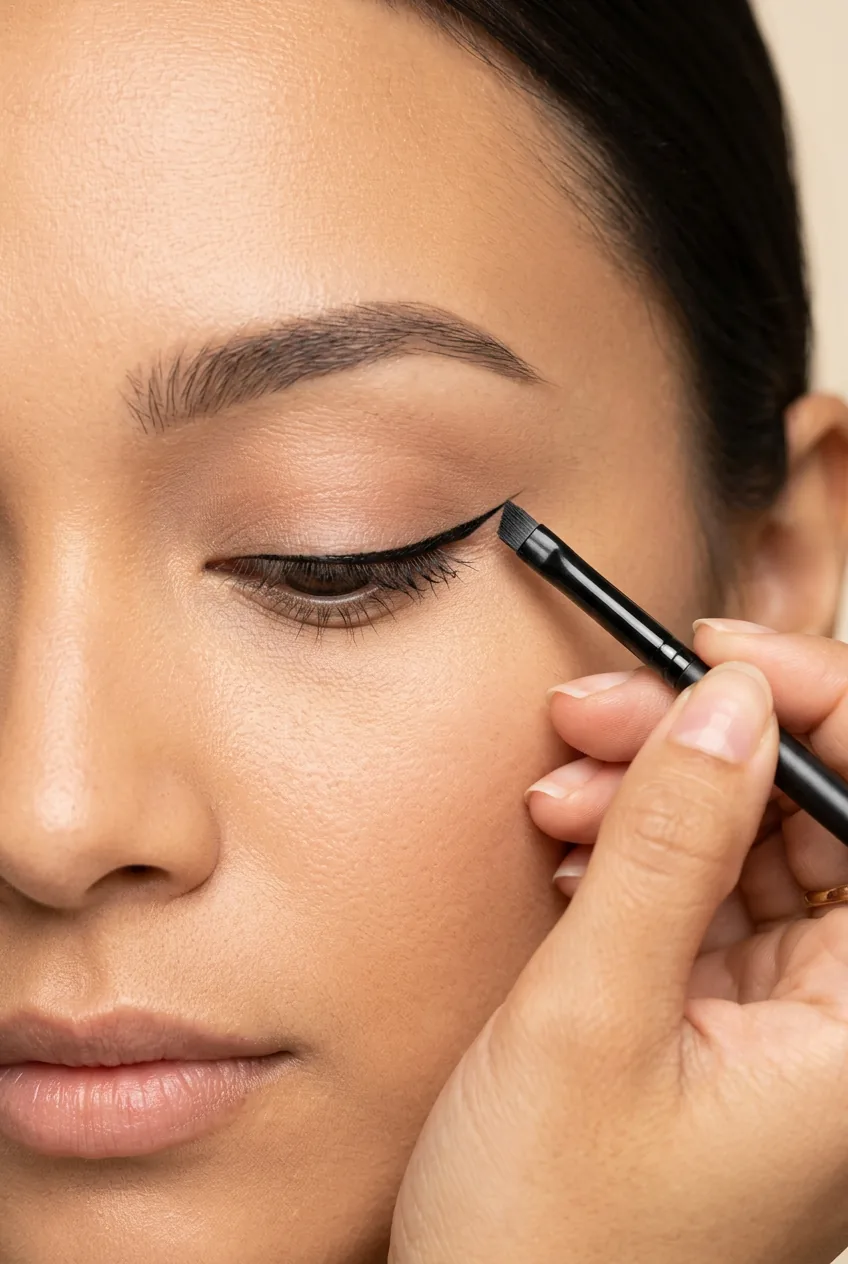
The wing part is where everyone gets stressed, but I have a trick. I use the natural curve of my lower lash line as a guide. If I imagine extending that line upward, that’s exactly where my wing should go. It creates a sharp but flattering angle that works with my eye shape.
I draw the wing first as just a line, then connect it back to my upper lash line. This prevents that weird gap that happens when you try to draw the whole thing in one go.
For the lower lash line, I take that same liner and create a subtle line along the outer two-thirds of my eye. Not the whole thing — that would be too heavy. Just enough to define and elongate my eyes.
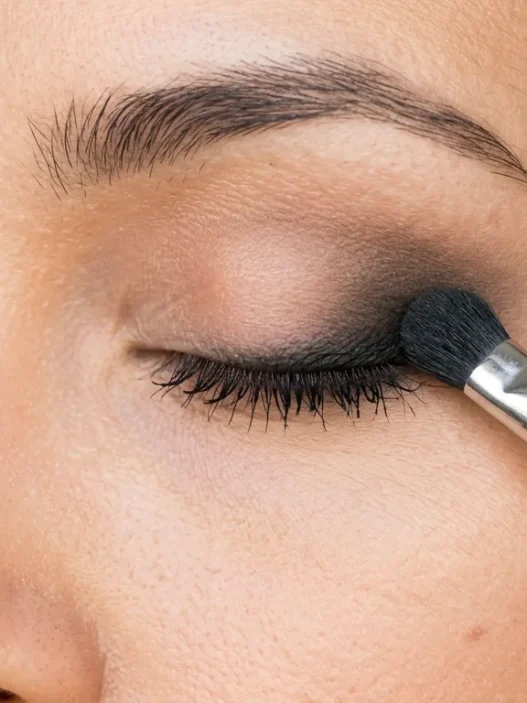
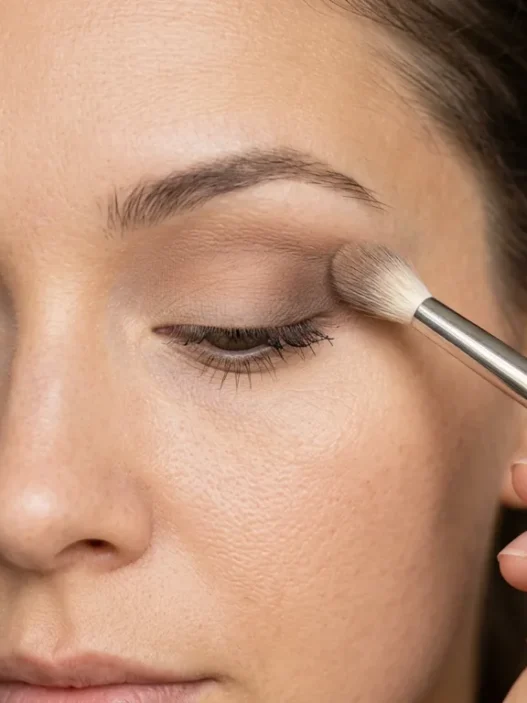
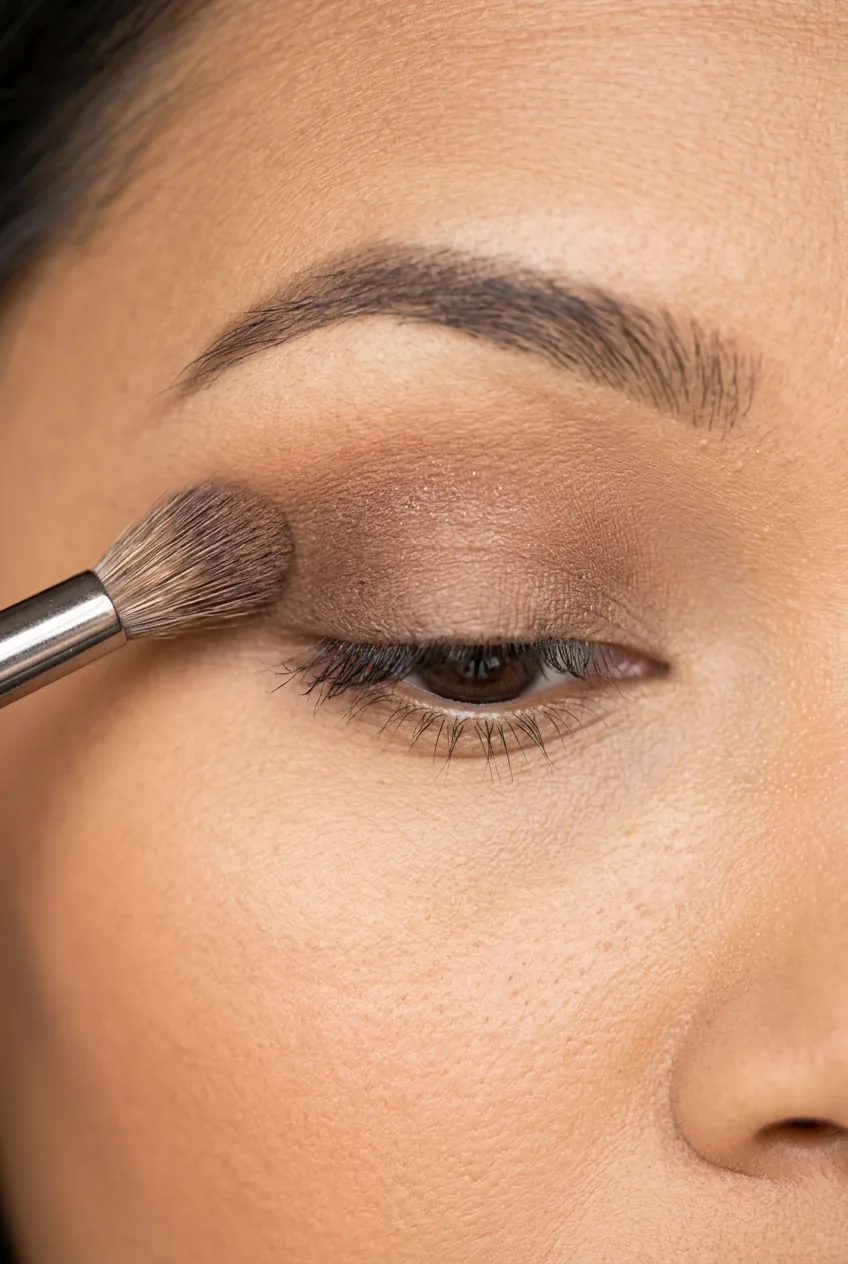
I’m adding just a hint of brown eyeshadow in my crease for some dimension. Nothing dramatic — I’m literally just sweeping a fluffy brush through the color and tapping it gently above my eyelid. This prevents that flat, one-dimensional look that can happen with minimal eye makeup.
This Tutorial Changed My Wing Game
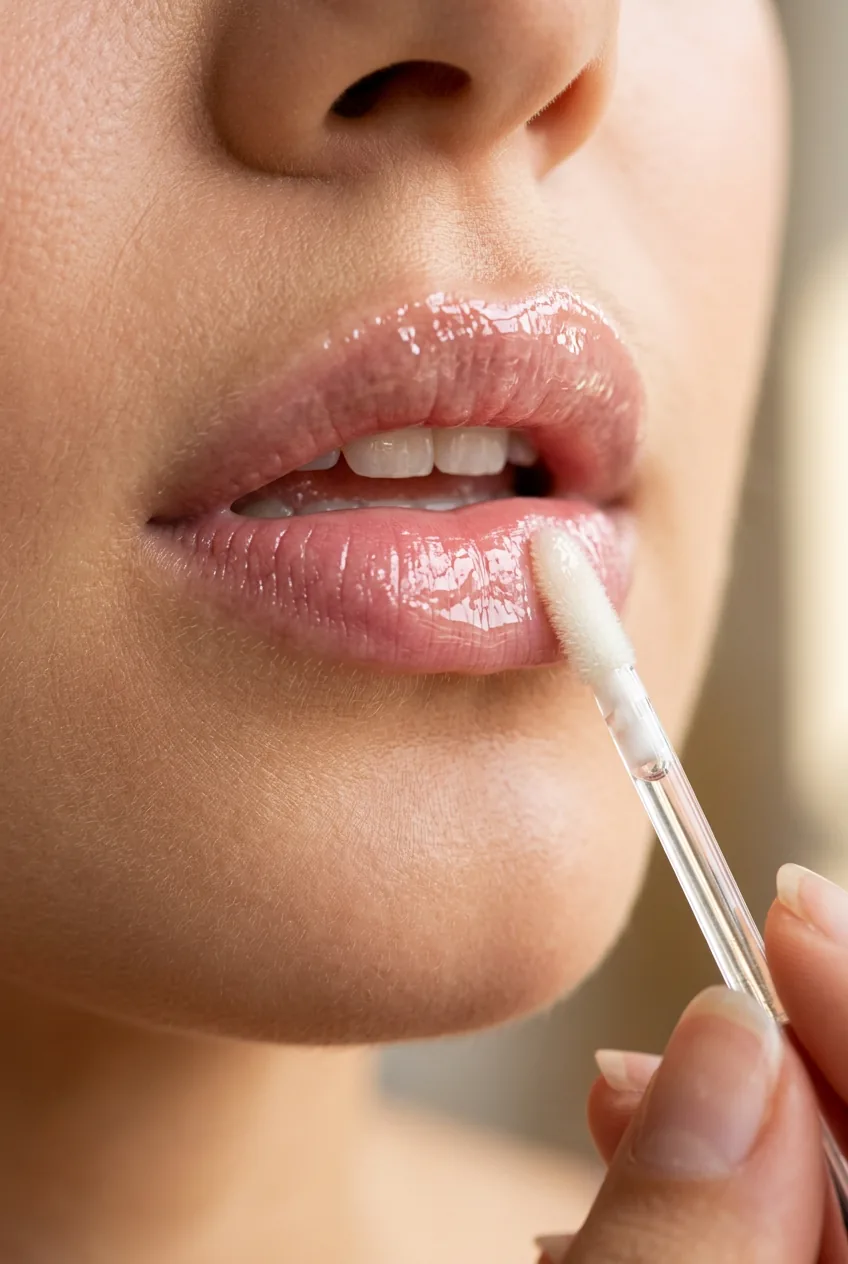
12:00 – Glossy Lips and Final Touches
We’re in the final stretch now. I grab my lip gloss — and honestly, this is where I get a little extra. I love that ultra-glossy, almost wet-looking finish that’s so central to modern makeup trends.
I apply the gloss slightly over my natural lip line. Not Instagram-level overlining, just a tiny bit to make my lips look fuller and more defined. The key is building it up gradually until you get that perfect glass-like finish.
Last step is checking everything in natural light. I walk to my window and see how everything looks in daylight — this is when I catch any harsh lines or uneven blending that looked fine under my bathroom lighting.
If my liner looks too sharp, I’ll soften it slightly with a tiny brush. If my blush is too intense, I’ll blend it out a bit more. Setting spray helps everything meld together and last all day.
The whole thing takes me about 15-20 minutes now, but when I was learning? Easily 45 minutes of frustration and starting over. The trick is practicing the eyeliner when you’re not in a rush so you can nail the technique.
Quick Answers
Can I use powder foundation instead of liquid?
You can, but you’ll lose that dewy finish that’s essential to the ABG look. If you prefer powder, use a damp beauty sponge to apply it and add a dewy setting spray afterward.
What if I mess up the eyeliner?
Don’t start over! Take a small angled brush with some concealer and clean up the edges. You can also use a cotton swab with a tiny bit of makeup remover to sharpen the wing.
How long does this look last?
With the right primer and setting spray, easily 8-10 hours. The gloss might need a touch-up after eating, but everything else stays put through my whole day.
Can I make this look more dramatic for night?
Absolutely! Add some shimmer to your inner corners, make the eyeliner slightly thicker, and maybe add a coat of mascara. You can also use a slightly darker or more pigmented gloss.
This routine has become my go-to because it hits that sweet spot between polished and effortless. Plus, once you get the eyeliner technique down, you can literally do this look half-asleep. Which, let’s be honest, sometimes I am.