


I spend way too much time scrolling through red carpet photos. Not for the dresses (okay, maybe a little), but for the makeup. Those editorial looks that make you stop mid-scroll and think “How do I get my eyes to look like THAT?” Well, I’ve been taking notes.
These aren’t the impossible-to-recreate fantasy looks that require a team of professionals. I picked the moments that made me grab my phone and screenshot for later. The ones where I could actually see myself wearing a version of this to dinner or a weekend event.
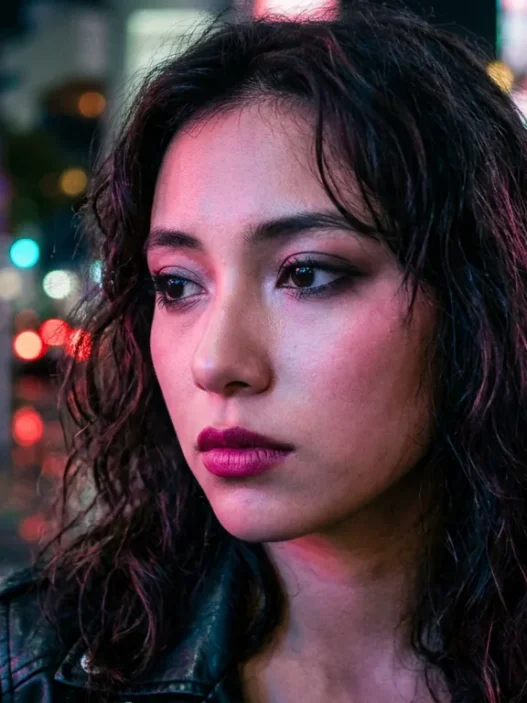
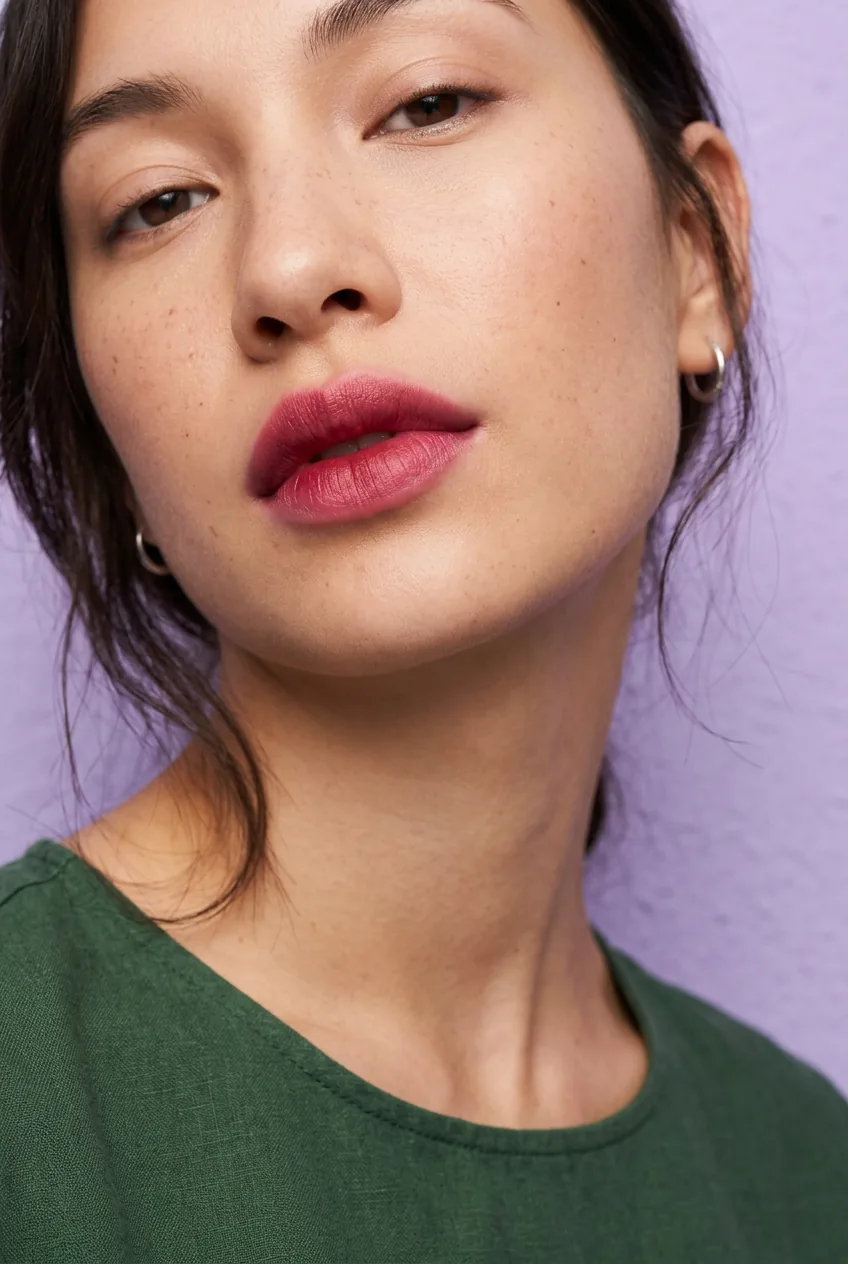
1. The Statement Red Lip
Nothing says red carpet confidence like a perfectly executed red lip. But this isn’t your grandma’s cherry red. I’m talking about that rich, almost burgundy-leaning red that photographs beautifully under flash photography.
The secret is in the prep. You need to line, fill, apply, blot, and reapply. I use a lip liner one shade darker than my lipstick to create that editorial depth. Professional application techniques make all the difference when you want this level of polish.
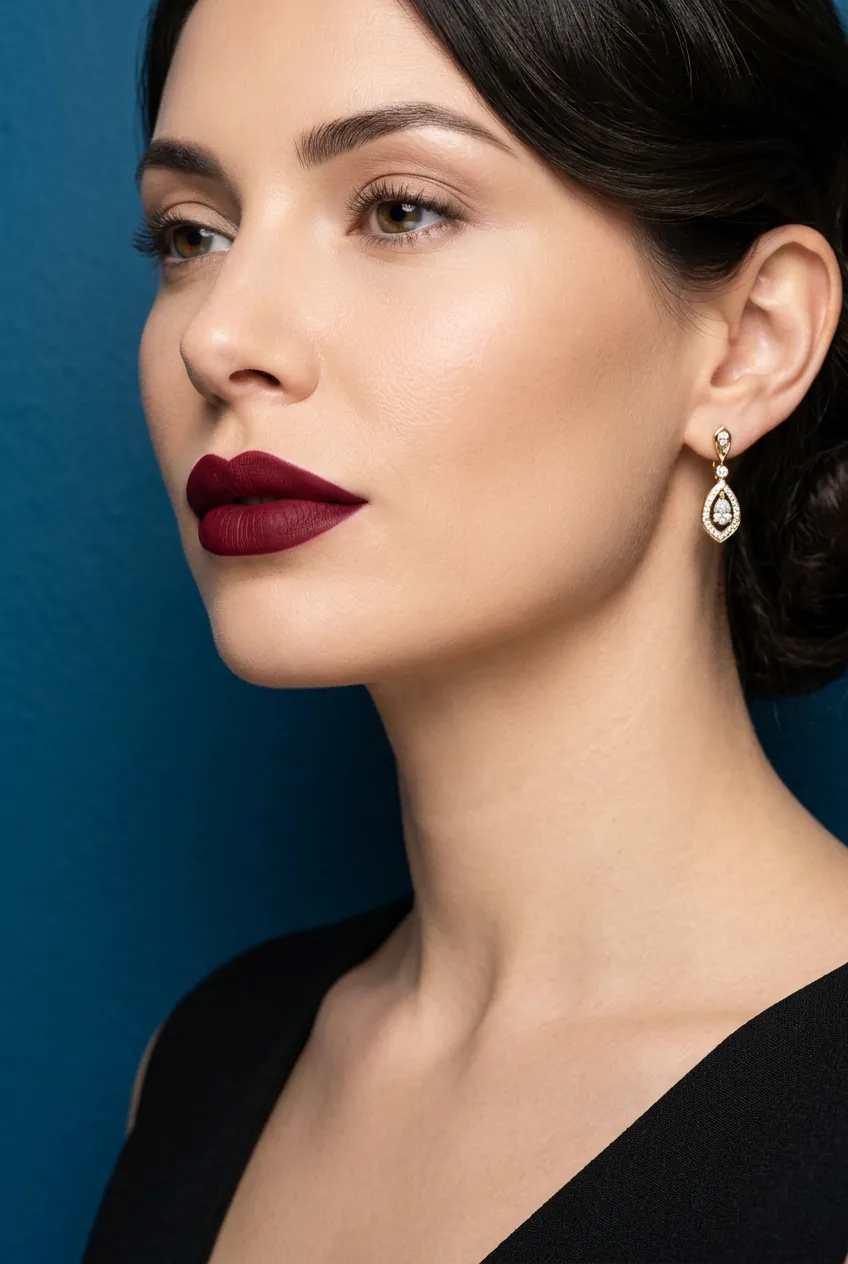
My go-to shades for this look? Think deep rose, brick red, or anything with brown undertones. Avoid orange-based reds unless your skin tone can handle them – they can look costumey instead of editorial.
2. The Glossy Editorial Eye
This look completely changed my perspective on eyeshadow. Instead of powder, think liquid. That wet, almost vinyl-like finish on the lids creates such a modern, high-fashion moment.
I recreate this with a clear lip gloss patted over neutral eyeshadow. The trick is using just enough to catch the light without creating a sticky mess. Pat it on with your finger, focusing on the mobile lid.
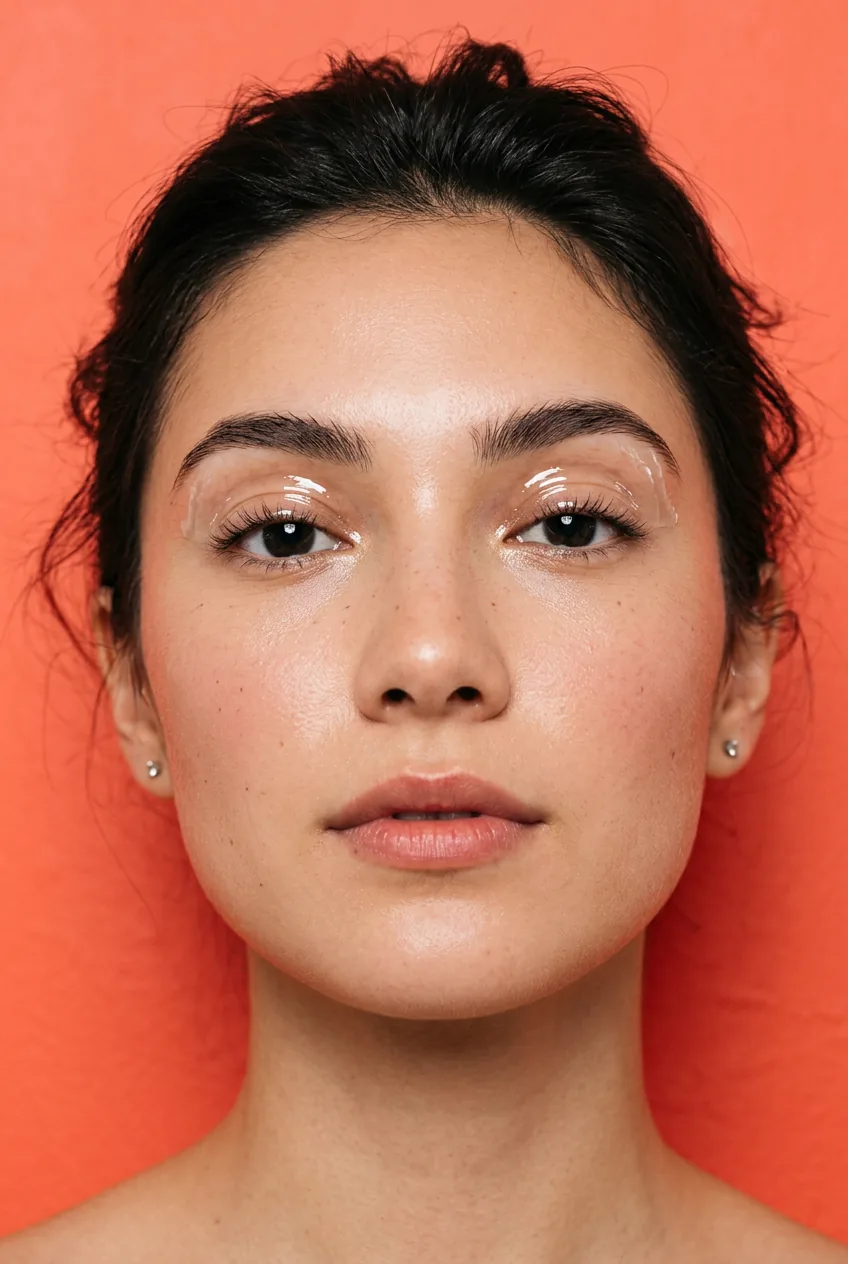
Keep everything else minimal when you do this look. Clean, defined brows and maybe a hint of mascara. The glossy lid should be the star of the show.
3. The Bronzed Goddess Glow
That sun-kissed, just-back-from-vacation glow never goes out of style. But the red carpet version is more strategic than your average beach bronze.
I focus on three key areas: temples, cheekbones, and the bridge of the nose. The bronzer should be warm but not orange – think golden honey rather than fake tan. Layer it gradually because you can always add more.
My personal pick for this look is using cream bronzer first, then setting it with powder. The dimension you get from layering textures is incredible – it looks like natural skin but better.
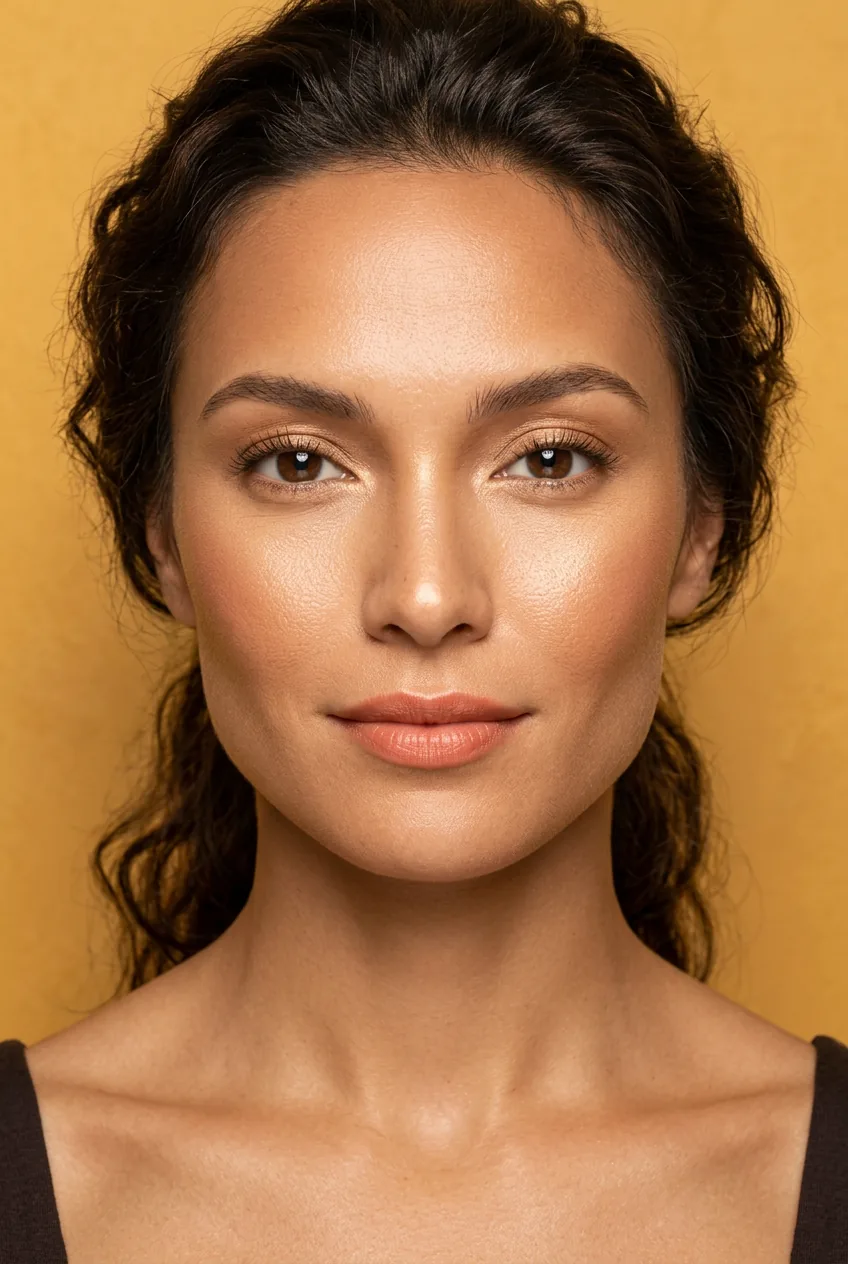
Don’t forget your décolletage if you’re wearing something low-cut. The bronzed glow should flow seamlessly from your face down your chest.
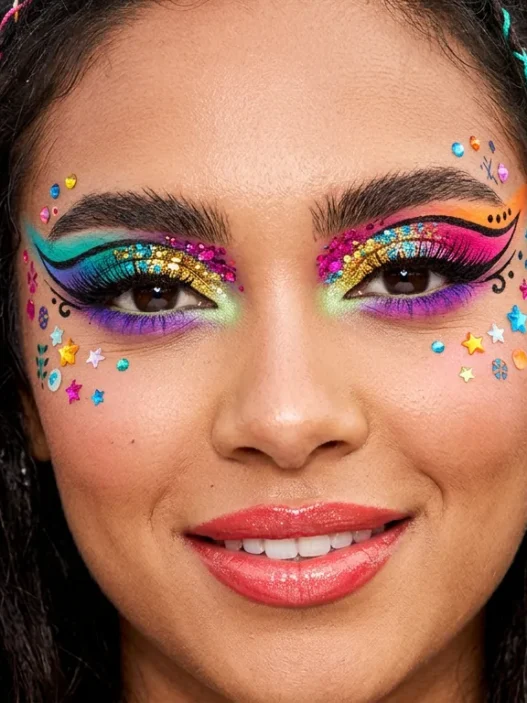
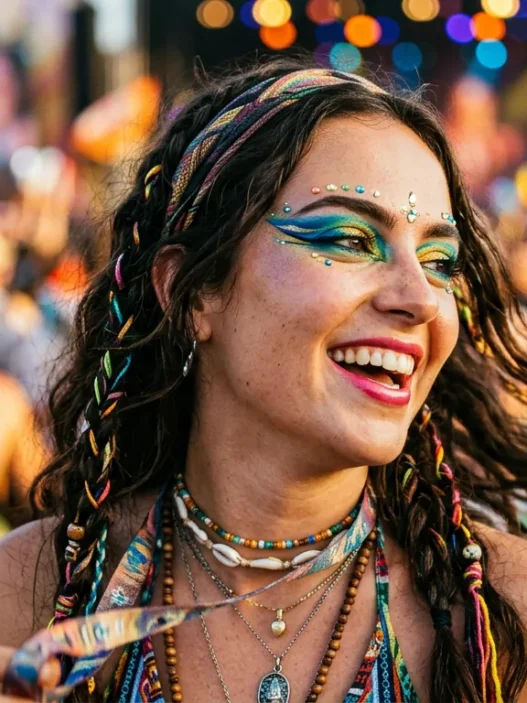
4. The Graphic Liner Moment
Bold graphic liner is having such a moment right now. I’m talking about those sharp, architectural lines that look like they were drawn with a ruler.
The key is using tape as your guide. I cut small pieces and place them along my crease or wherever I want that perfect straight edge. Remove the tape while the liner is still slightly wet for the cleanest line.
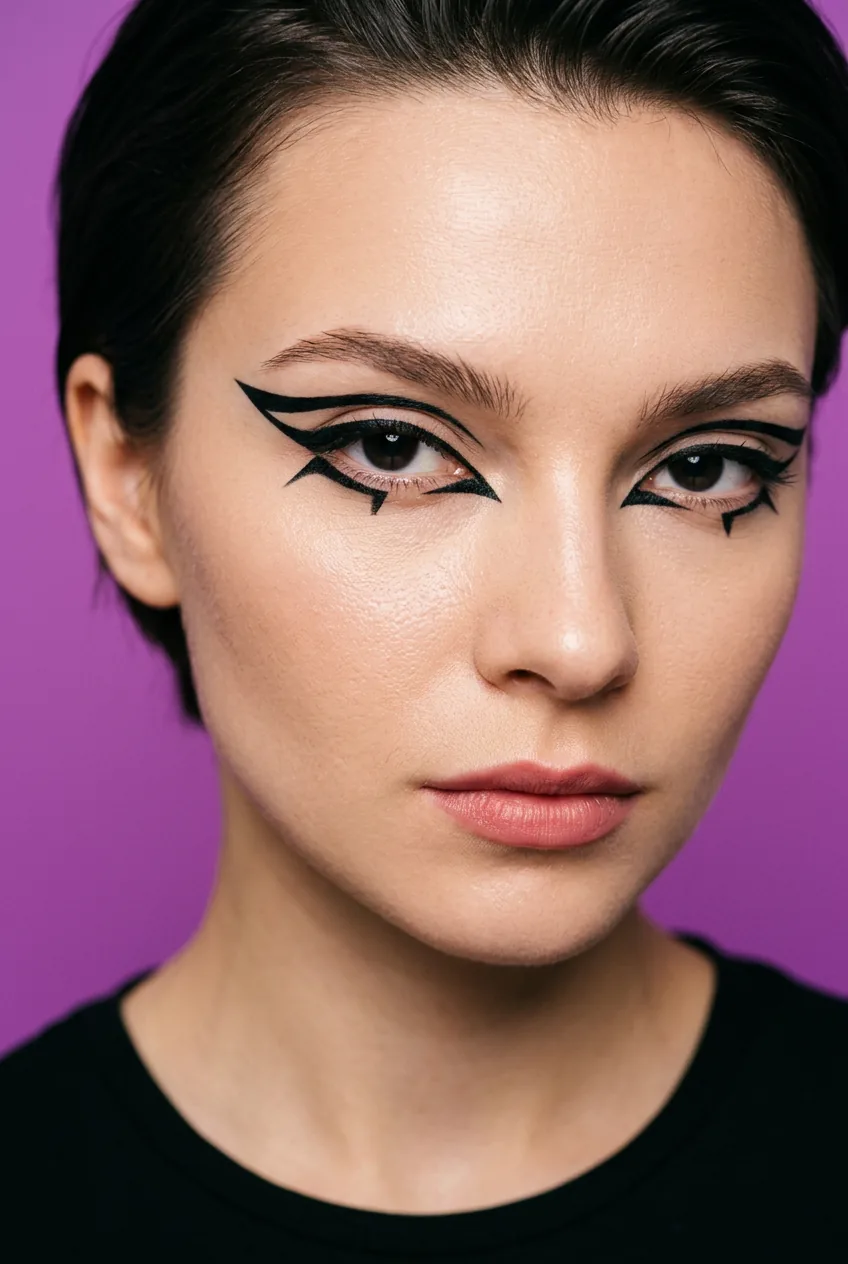
Start with black gel liner – it’s more forgiving than liquid and gives you time to perfect the shape. Once you’re comfortable with the technique, experiment with colored liners for an even more editorial feel.
Watch the Tape Technique in Action
5. The Monochrome Magic
Matching your lips, cheeks, and eyes in the same color family creates such a sophisticated, pulled-together effect. It’s effortlessly chic in that French girl way.
I love doing this with berry tones or soft roses. Use the same lip color on your cheeks as a cream blush, then blend a similar eyeshadow shade across your lids. The monochrome approach to eye makeup techniques creates such harmony in your overall look.
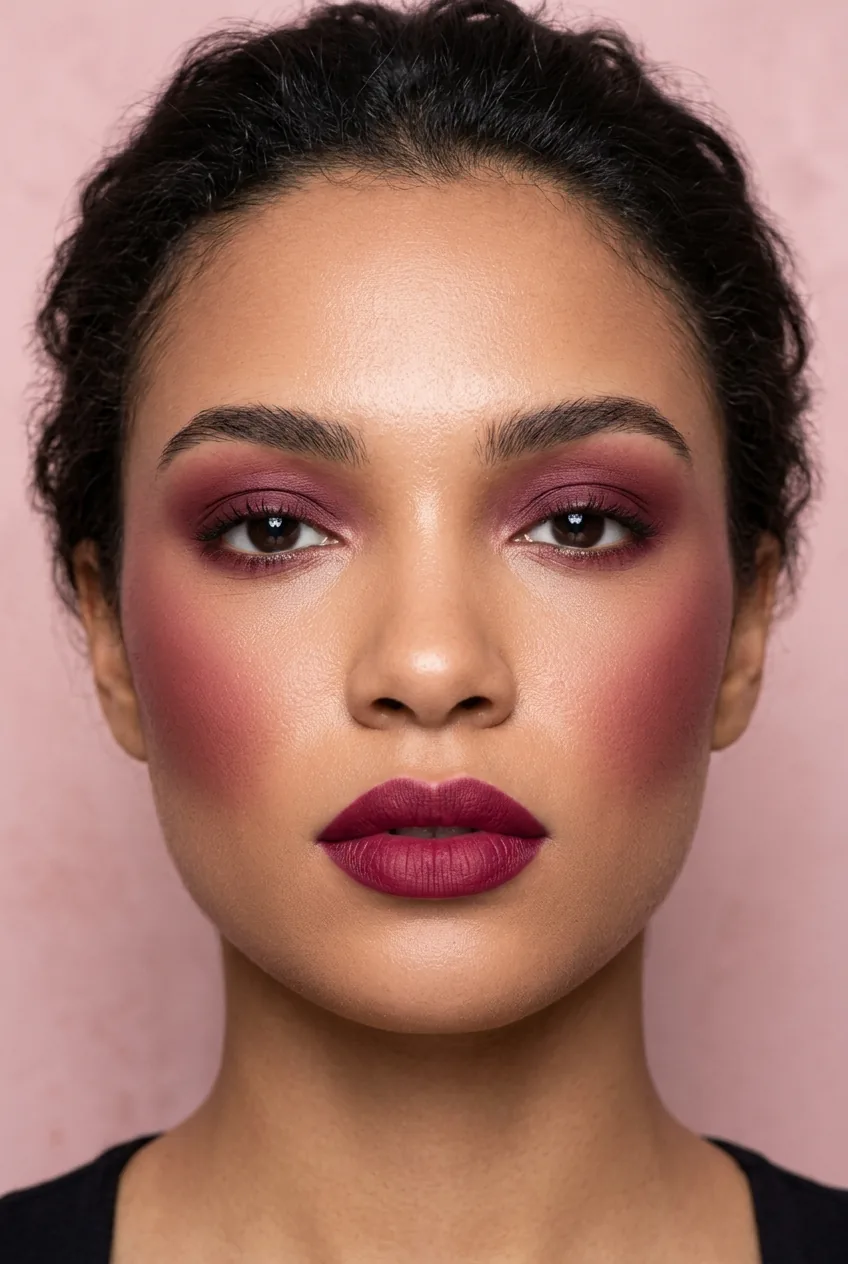
The trick is varying the intensity. Lips get the most color, cheeks get a softer wash, and eyes get the most diffused application. Same tone, different strengths.
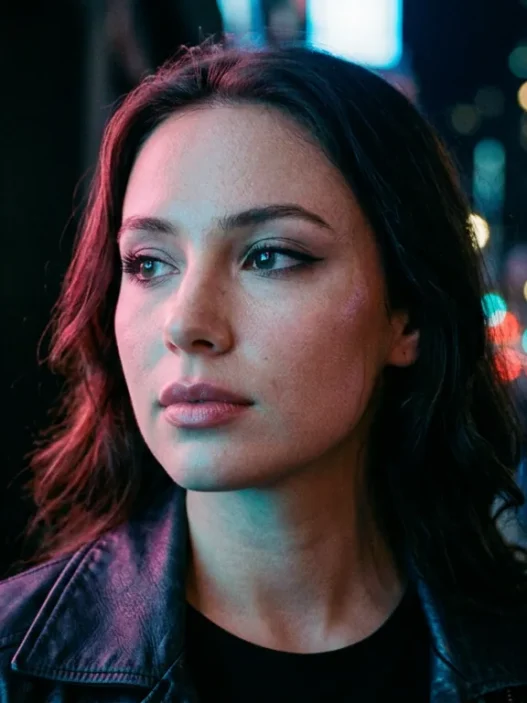
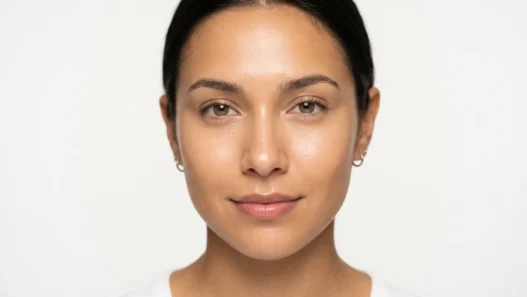
6. The Dewy No-Makeup Look
This is probably the hardest look to master because it requires the most skill to look effortless. The goal is glowing, perfect skin that looks like you were born with it.
Mix a drop of facial oil with your foundation for that dewy finish. Use concealer only where you absolutely need it, and blend everything with a damp beauty sponge for that seamless, skin-like finish.
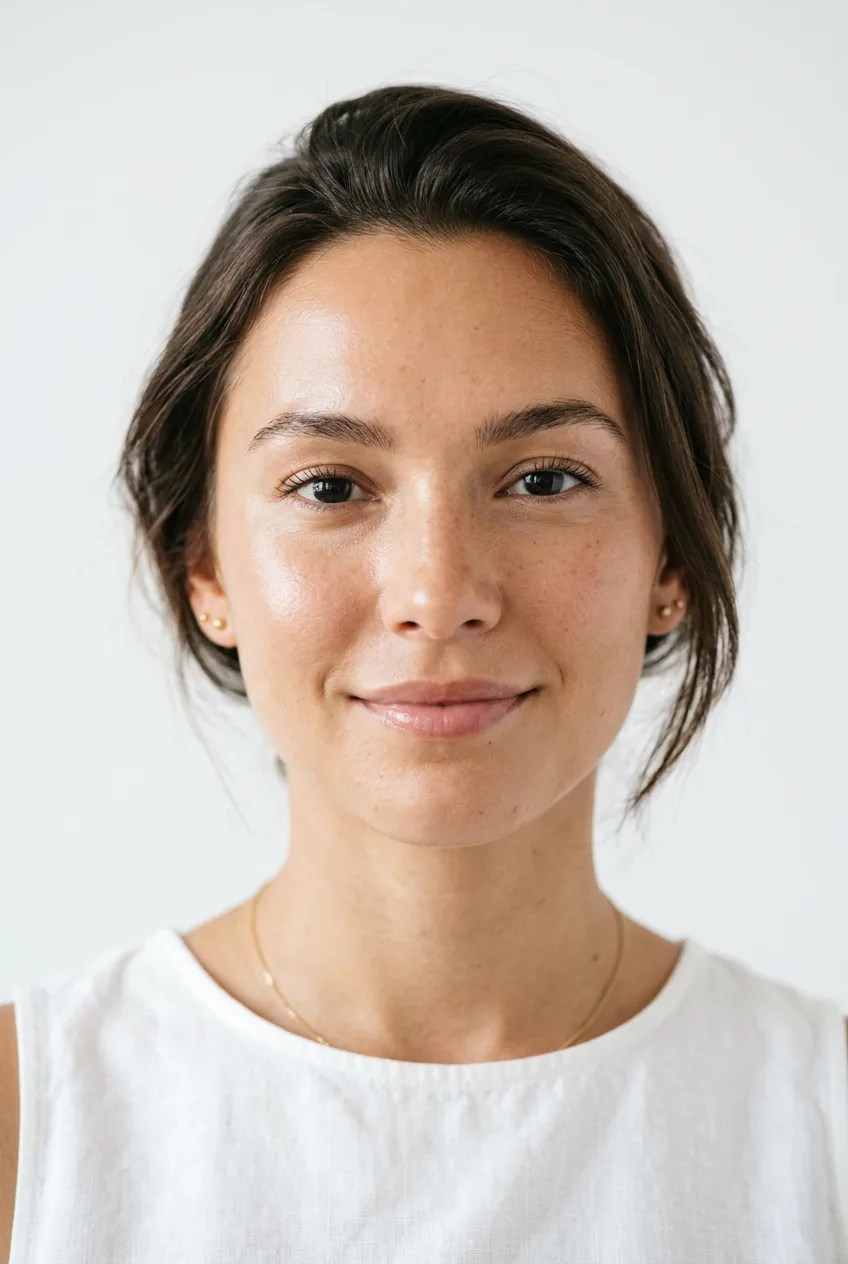
Add the tiniest amount of cream blush high on your cheeks and blend upward toward your temples. Finish with clear lip gloss and groomed brows. Less is definitely more here.
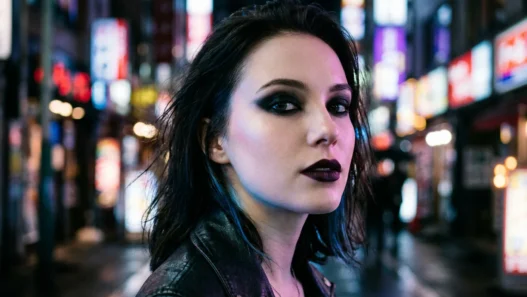
7. The Smoky Cat Eye
The classic smoky eye gets an update with that elongated cat-eye shape. It’s sultry but sharp, mysterious but modern.
Start with your darkest shade in the outer corner and blend inward. The key is creating that lifted wing shape before you add any liner. Build the intensity gradually – you can always add more shadow but it’s harder to take it away.
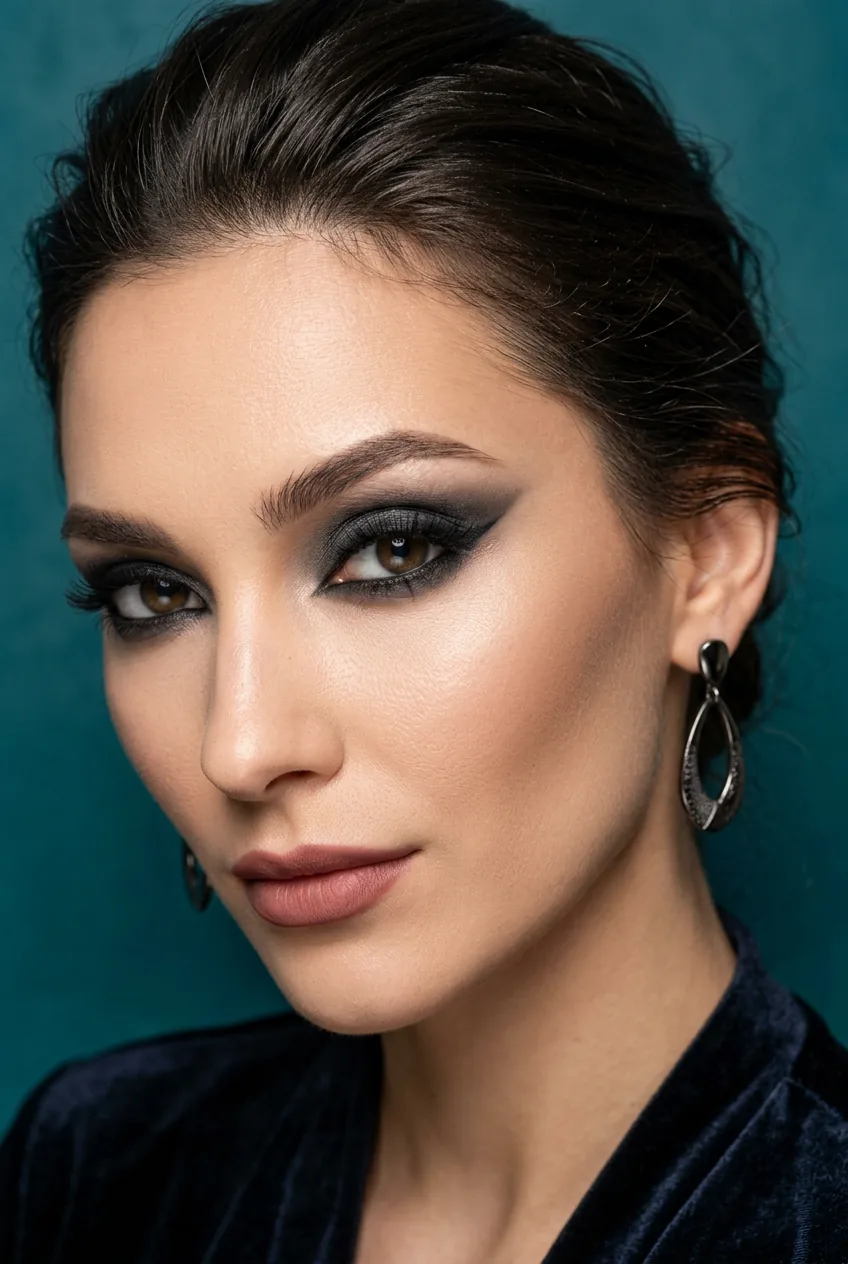
Use a flat brush to press the dark shadow along your upper lash line, then extend it slightly beyond your natural eye shape. This creates that lifted effect without looking overdone. Perfect eye makeup artistry takes practice, but this technique is surprisingly beginner-friendly.
8. The Berry-Stained Lip
This look is all about that just-eaten-fresh-berries stain. It’s natural but intentional, casual but polished.
Apply your berry lip color with your finger instead of straight from the tube. This gives you that diffused, lived-in effect. Focus the color on the center of your lips and blend outward for a gradient effect.
Layer a clear gloss over the top for dimension, but keep it light. You want that natural juiciness without looking overdone.
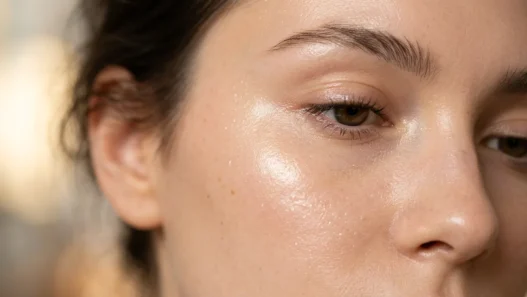
9. The Golden Hour Highlight
That warm, golden glow that makes you look like you’re permanently lit by the most flattering light? That’s what I’m after with this highlight technique.
Choose a highlighter with golden undertones rather than silver or white. Apply it to the high points of your face: cheekbones, nose bridge, cupid’s bow, and just a touch on your forehead.
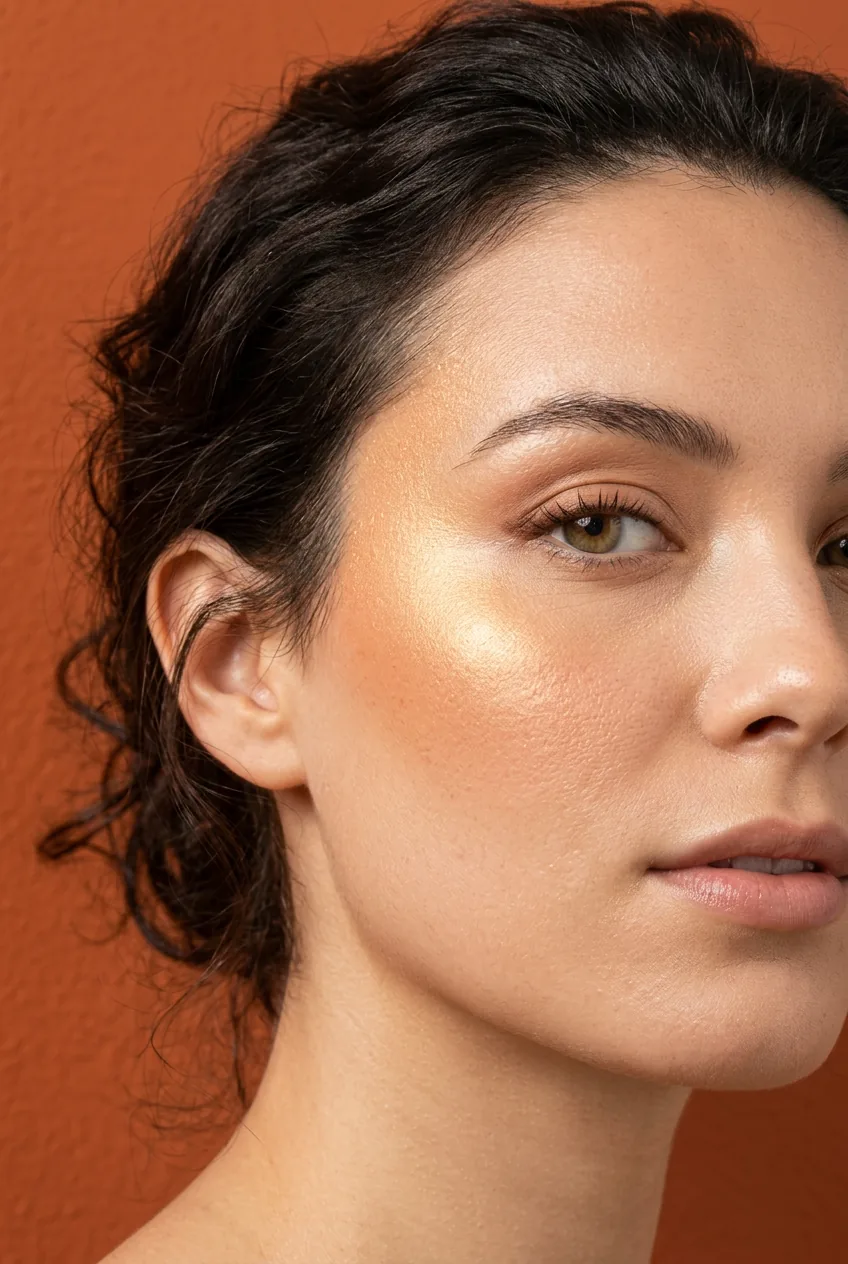
The secret is building it up in thin layers. Start with much less than you think you need, then add more until you get that lit-from-within glow.
10. The Bold Colored Liner
Swapping black liner for a bold color instantly updates any look. I’ve been obsessed with deep emerald green and royal blue lately.
Apply it just like you would black liner, but keep the rest of your makeup neutral. The colored liner should be the statement piece. I find that jewel tones work with more skin tones than you’d expect.
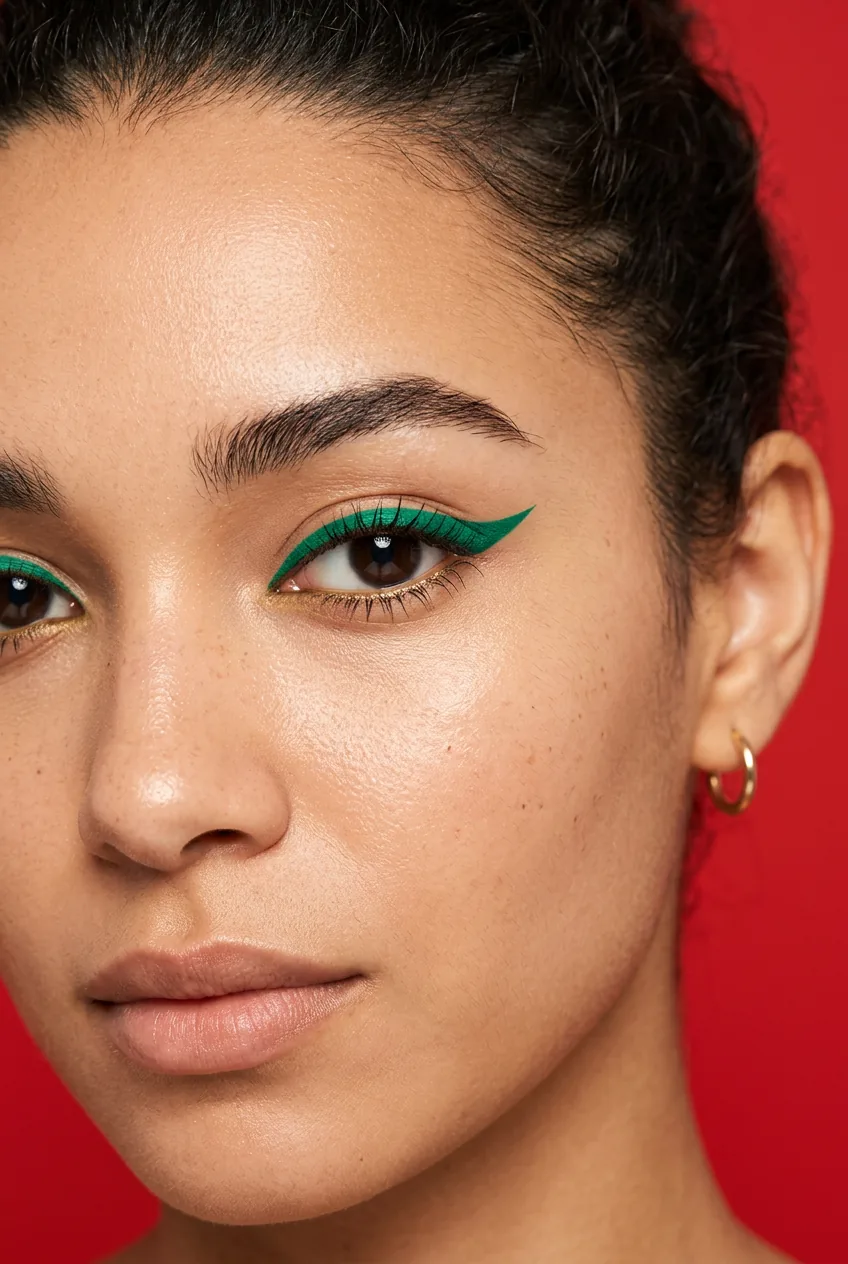
Start with a pencil liner to get the shape, then trace over it with liquid liner for intensity. Creative liner methods can completely transform your everyday makeup routine.
11. The Textured Lash Look
Forget perfectly separated, magazine-perfect lashes. This look embraces texture and slight clumping for a more editorial, effortless feel.
Apply your mascara in layers, letting each one dry slightly before adding the next. Don’t comb through between coats – you want that natural, slightly messy texture. Quality eyeshadow palettes paired with textured lashes create such depth and dimension.
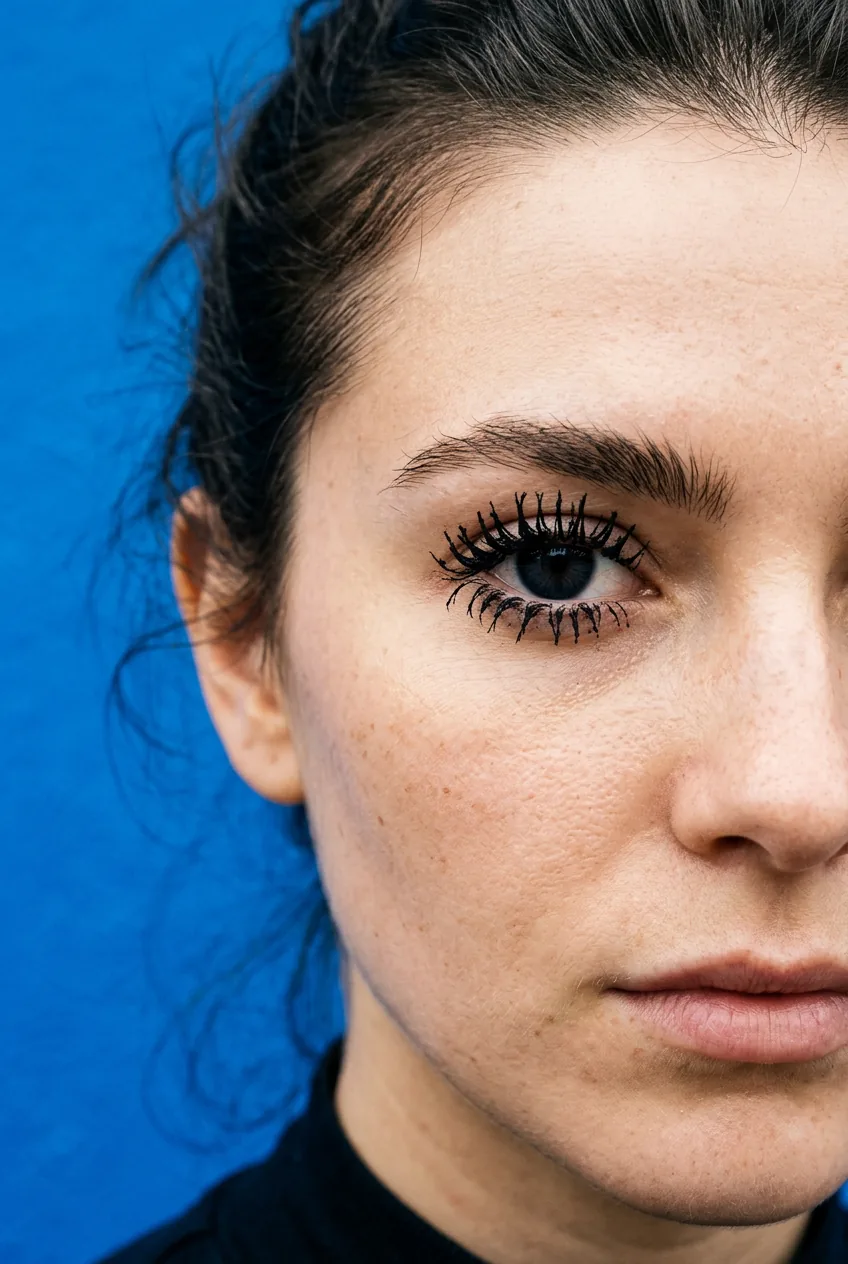
Focus on your upper lashes and go light on the bottom ones. The contrast creates that effortlessly cool, undone beauty look that’s so popular right now.
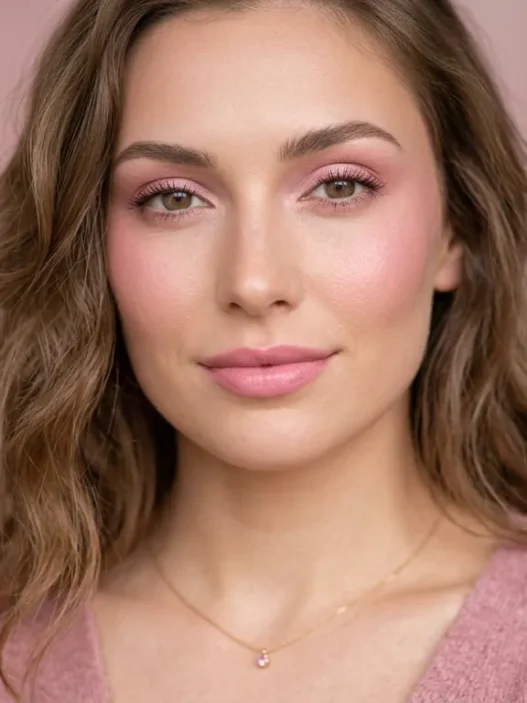
12. The Peachy Keen Flush
There’s something so fresh and youthful about a peachy flush across the cheeks. It’s like a natural blush but turned up just enough to be intentional.
Apply cream blush in a peach or coral shade high on your cheekbones, blending upward toward your temples. The key is placement – you want it higher than traditional blush for that lifted, editorial effect.
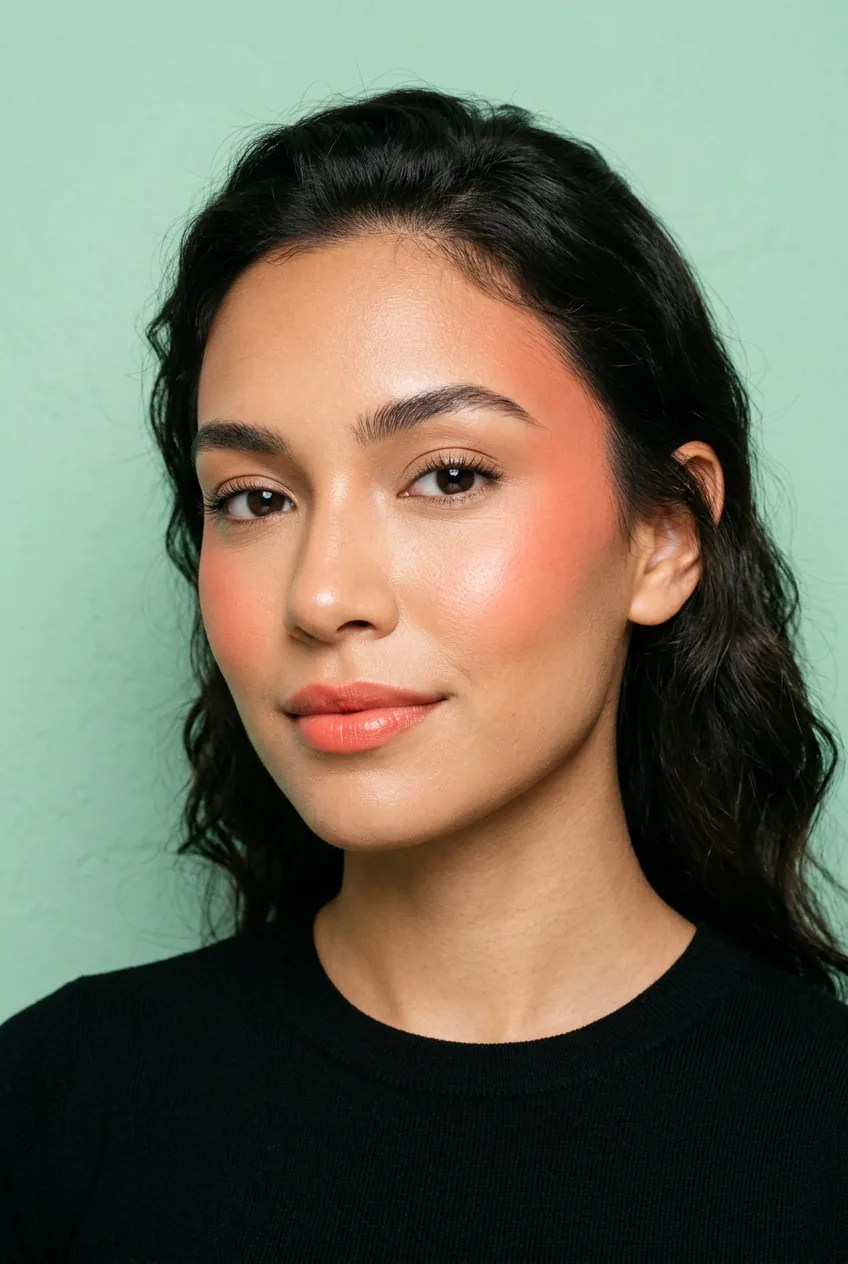
Add a tiny bit of the same shade to your lips and the bridge of your nose for a cohesive, sun-kissed look. It’s fresh and modern without trying too hard.
Questions I Get About Red Carpet Makeup
Can I wear these looks during the day?
Absolutely! Most of these looks work beautifully toned down for daytime. Try using less product or choosing more muted versions of the same techniques. The dewy no-makeup look and peachy flush are perfect for everyday wear.
What if I’m not good at winged liner?
Use tape as your guide! It makes even the most complicated graphic liner looks achievable. Start with pencil liner to map out your shape, then trace over it with liquid liner for precision.
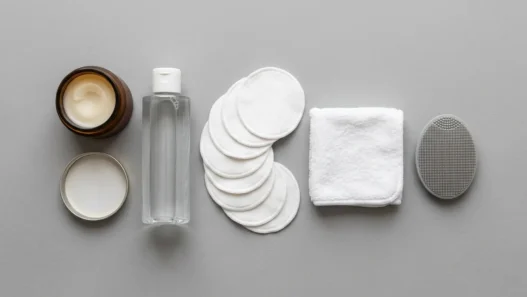
How do I make cream blush last all day?
Apply your cream blush to clean skin before foundation, then set it lightly with a matching powder blush. This layering technique gives you the most natural finish that actually stays put.
Which looks work best for photography?
The statement red lip and bronzed goddess glow photograph beautifully. Avoid too much shimmer or gloss if you’ll be under flash photography – it can create unwanted glare.
Red carpet makeup doesn’t have to stay on the red carpet. These looks prove that editorial beauty can absolutely work in real life – you just need the right techniques and a little confidence to pull them off.