


I spent years creating muddy, patchy smokey eyes before I understood what was actually happening on my skin. Every tutorial I followed gave me the steps but never explained why certain products work together and others fight each other. Once I learned about how different formulas interact with skin oils and how pigments actually blend, everything clicked.
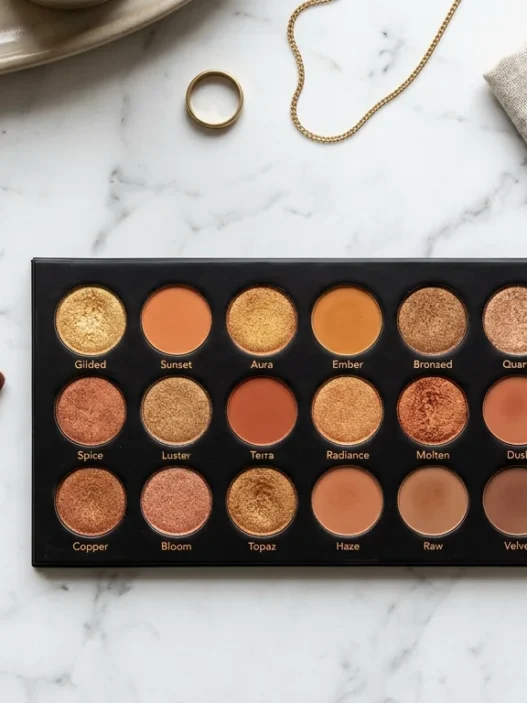
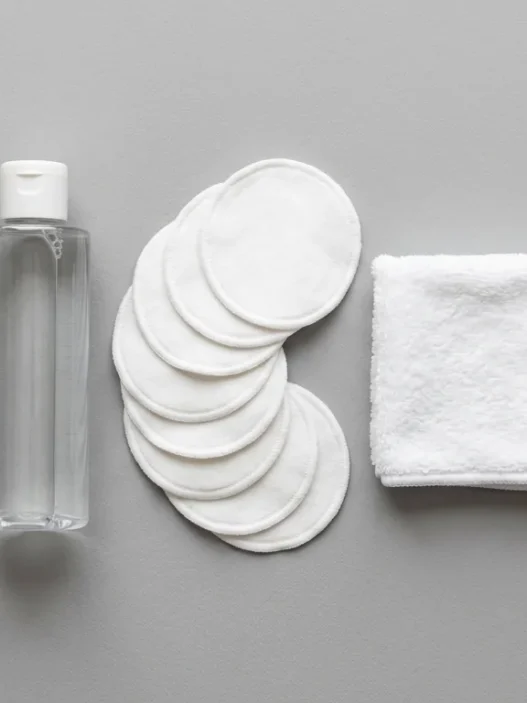
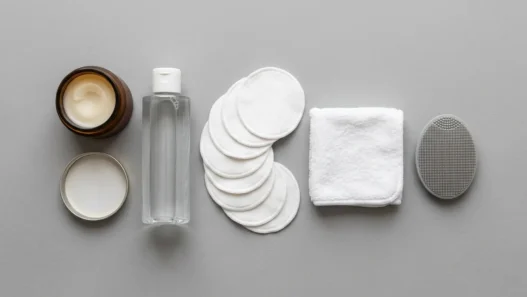
What you’ll need:
- Eyeshadow primer (silicone-based works best)
- Matte transition shade (one shade darker than your skin)
- Medium-toned matte eyeshadow
- Dark matte eyeshadow (charcoal, deep brown, or black)
- Fluffy blending brush
- Smaller dome brush
- Flat shader brush
- Kohl pencil or gel liner
- Small smudger brush
What’s Actually Happening on Your Skin
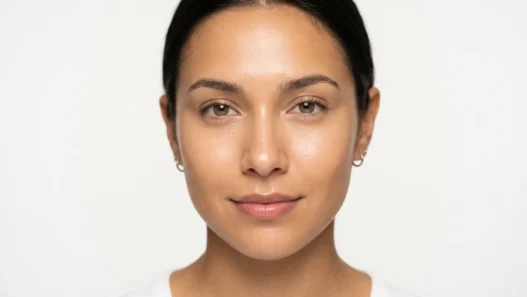
Your eyelids aren’t just a canvas — they’re active skin with oils, texture, and movement. Most smokey eye failures happen because people ignore these realities.
Eyelid skin produces sebum differently than your cheek or forehead. It’s thinner, moves constantly when you blink, and has natural creases that can grab pigment unevenly. Without primer, eyeshadow sits on top of this oily, moving surface instead of adhering properly.
But here’s what most people don’t realize: that oil production actually helps with blending once you work with it instead of against it. The key is creating a grippy base first, then using the skin’s natural slip to your advantage during the blending process.
The Ingredients That Matter
Not all eyeshadows are created equal, and understanding why certain formulas work better for smokey eyes changed everything for me.
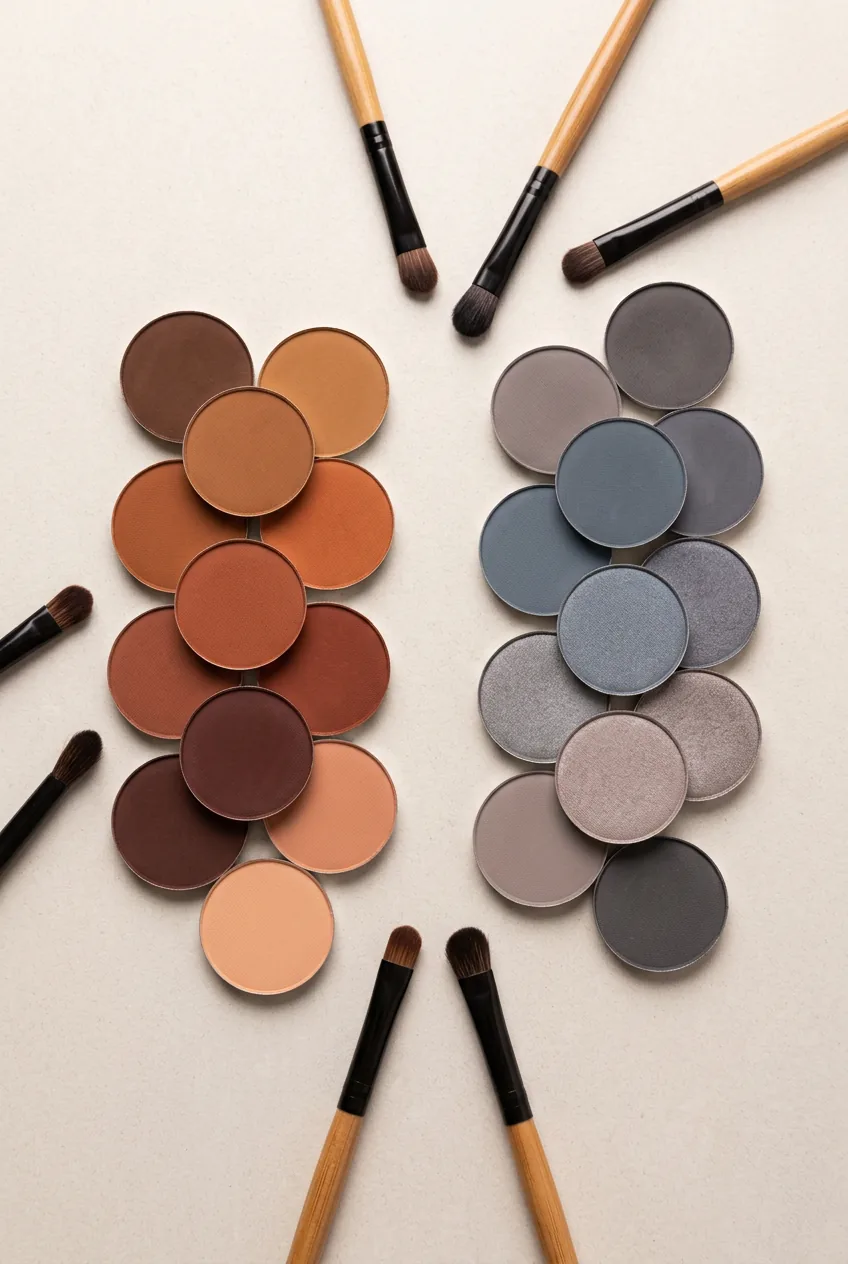
Matte shadows contain more binders and less mica than shimmers, which makes them grip skin better and blend more seamlessly. The talc and silica in quality mattes create that soft, diffused finish that makes smokey eyes look professional instead of harsh.
Pressed powder shadows work differently than loose pigments too. Pressed formulas have binding agents that help them layer without getting muddy. When you’re building a gradient from light to dark, you need shadows that will blend into each other rather than just sitting on top.
I always choose shadows with similar undertones — all cool or all warm. Mixing a warm brown with a cool gray creates that muddy mess everyone complains about. The pigments literally fight each other on your skin.
Why Order and Layering Change the Result
This is where the science gets interesting. The order you apply shadows affects how pigments interact with each other and with your skin’s natural oils.
Starting with your darkest shade might seem logical, but it actually works against how pigments blend. Dark colors contain more concentrated pigments that can “grab” onto skin and resist moving once they’re there. If you put dark shadow down first, you’re essentially creating barriers that lighter shades can’t penetrate.
Instead, building from light to dark lets each layer interact properly with the one below it. The lighter pigments create a smooth base that darker colors can blend into seamlessly. Think of it like painting — you can’t blend a light color over a heavy dark base, but you can gradually deepen lighter tones.
The pressure you use matters too. Light, sweeping motions let pigments settle into skin gradually. Heavy-handed application compacts the powder and makes blending nearly impossible.
Applying the Science
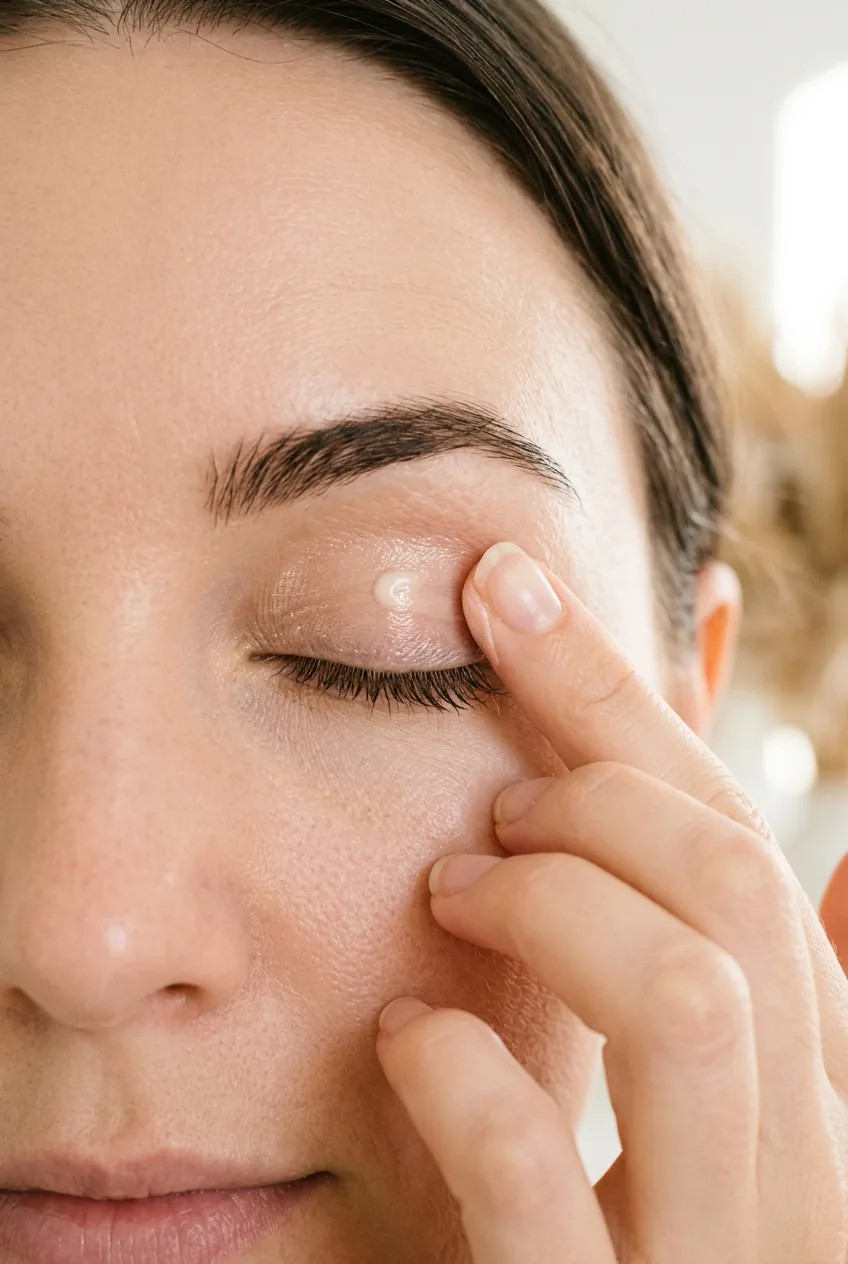
Step 1: Prime properly
Apply primer to clean, dry lids. I pat it on with my finger, then let it set for 30 seconds. The primer needs to be slightly tacky when you start applying shadow — too wet and the pigments will slip around, too dry and they won’t adhere.
Step 2: Set your base
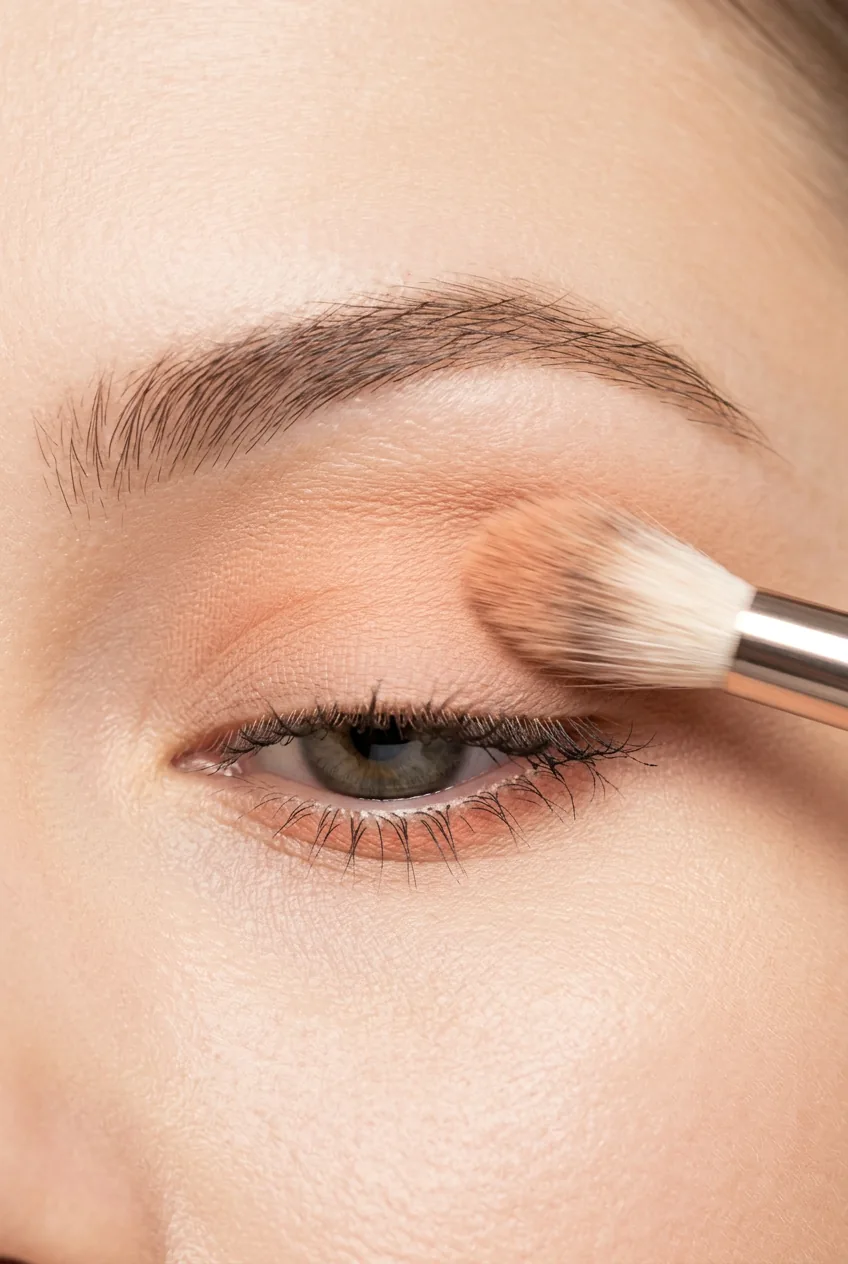
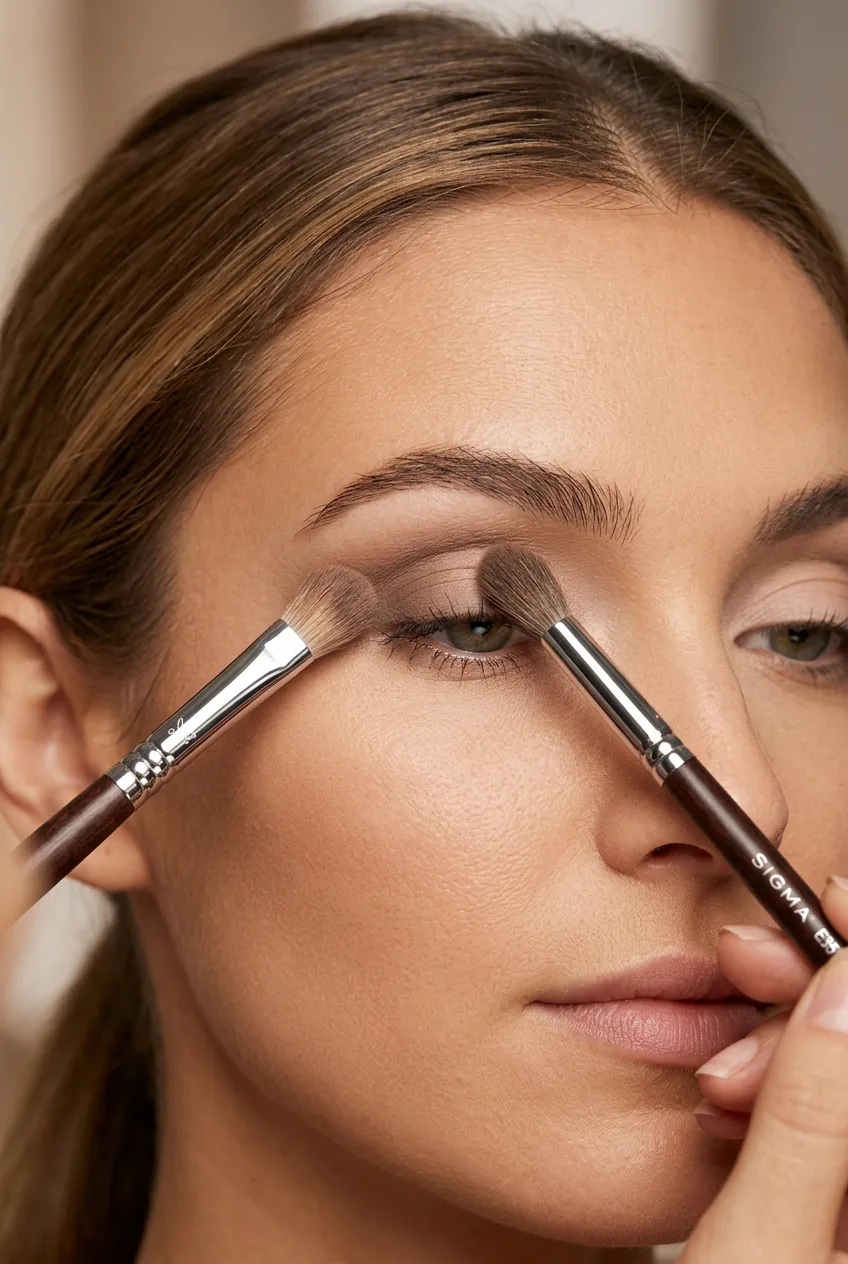
Using a fluffy brush, sweep your transition shade (that neutral tone just darker than your skin) across the entire lid and into the crease. This creates a smooth base for blending and helps prevent harsh lines later. The key is using very little product — you can always build up.
Step 3: Build your depth
Take your medium-toned shadow on a smaller dome brush. Focus it in the outer corner and crease, using small circular motions to blend the edges. This is where you start creating that gradient effect. I spend the most time on this step because it sets up everything else.
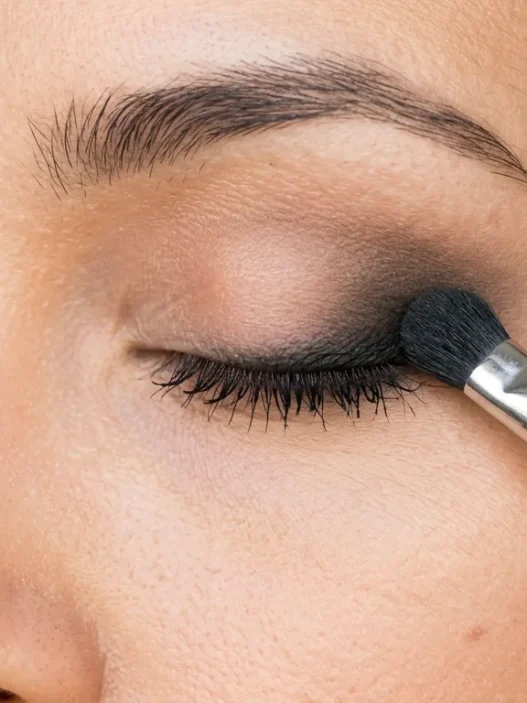
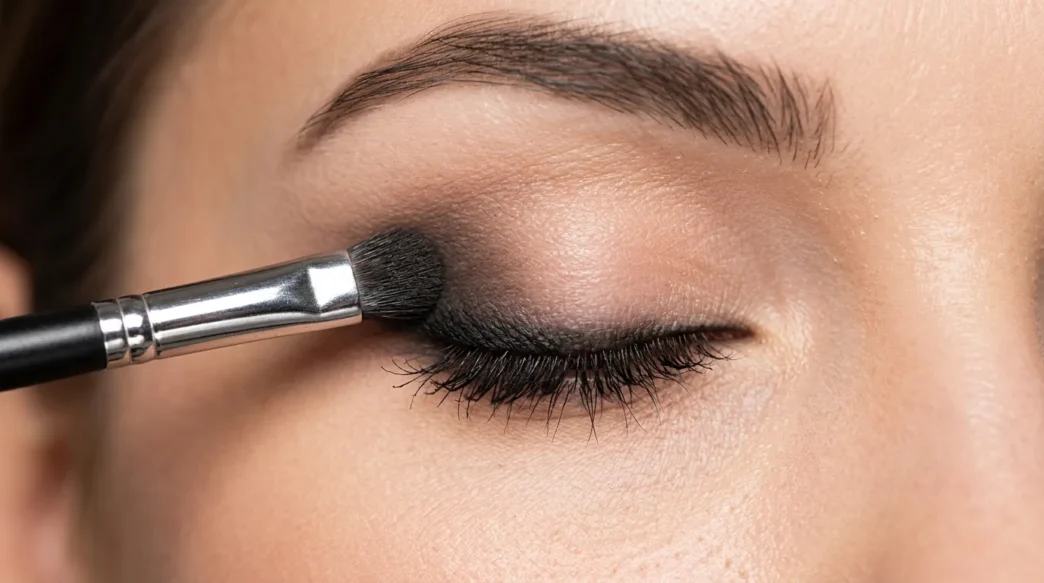
Step 4: Add your drama
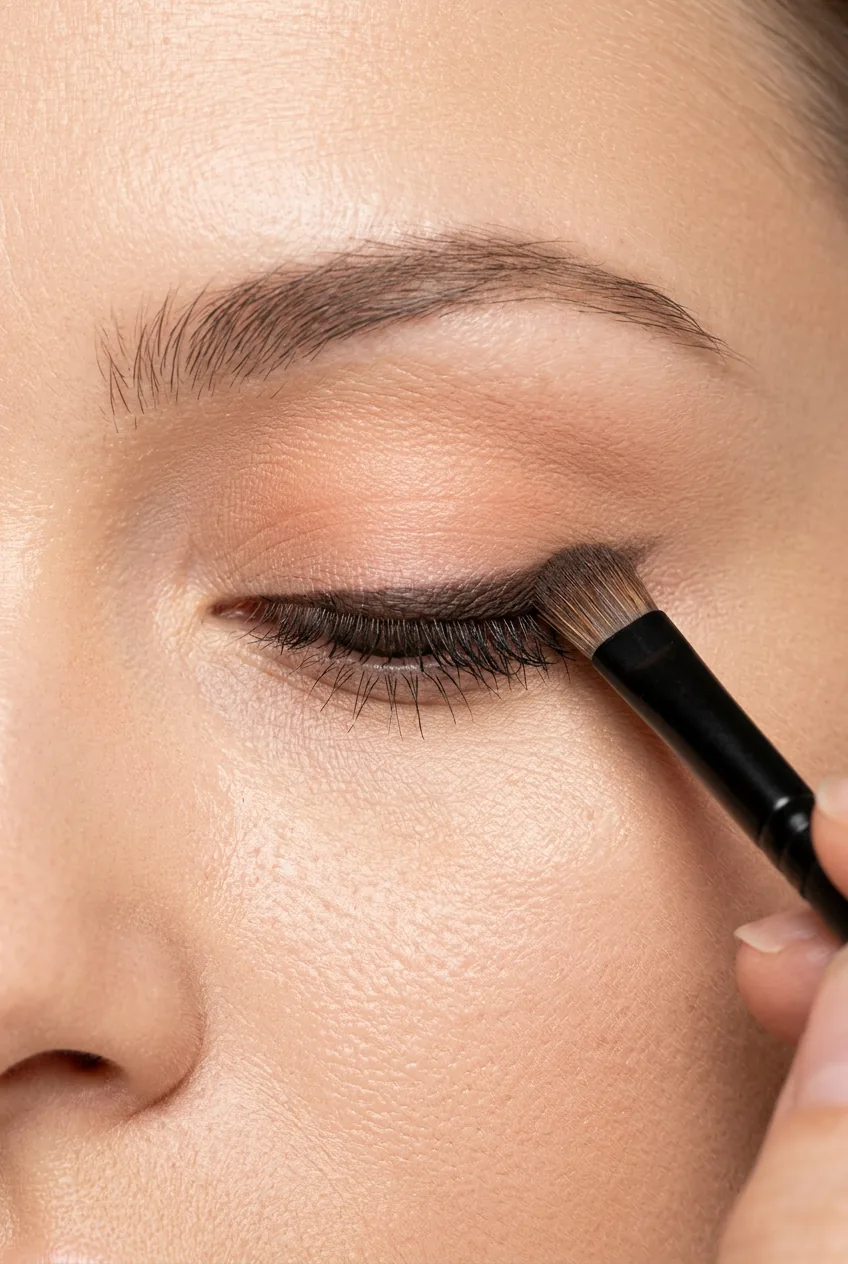
Now for the darkest shade. Use a flat shader brush to pat (not sweep) the color right along the lash line and in the deepest part of the crease. The patting motion deposits more pigment exactly where you want it without disrupting the layers underneath.
Step 5: Smudge the liner
Apply your kohl pencil or gel liner close to the lashes, then immediately smudge it upward with a small brush. This creates that soft, smokey base that makes the whole look cohesive. The liner should disappear into your eyeshadow rather than sitting as a harsh line.
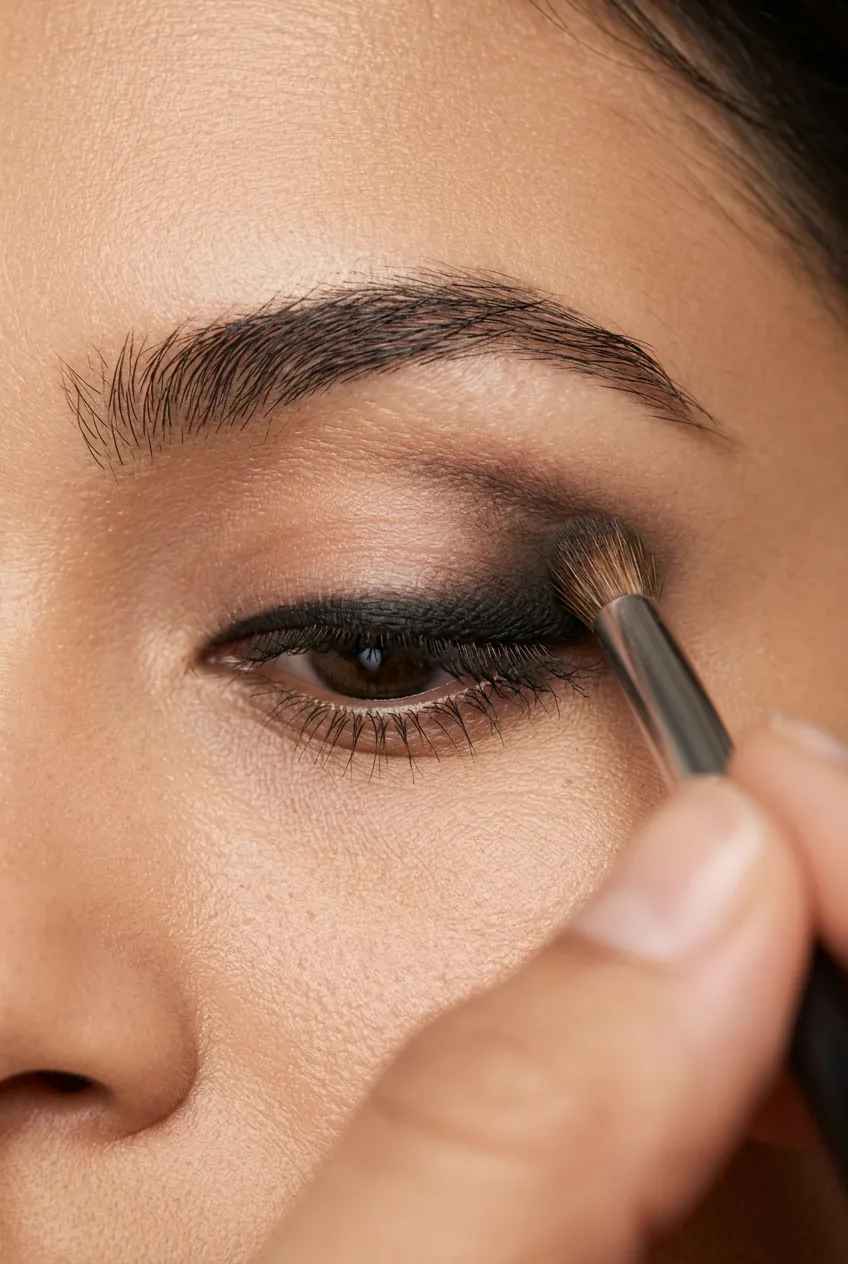
Step 6: Final blend
Go back with your fluffy brush (clean it first) and very lightly blend any harsh edges. Use circular motions in the crease and back-and-forth motions to soften the lower edge. This is about refinement, not adding more color.
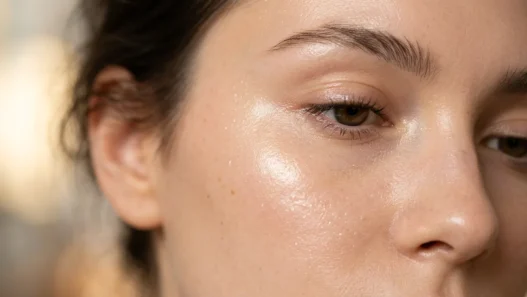
Watch the Technique in Action
When Things Go Wrong (And How to Fix Them)
I used to think I was terrible at smokey eyes until I realized I was using the wrong brushes. Dense, stiff brushes pack on too much pigment and make blending impossible. Once I switched to fluffy, soft brushes, everything became so much easier.
If your smokey eye looks muddy, you’re probably mixing incompatible undertones or applying too much product at once. The fix: use a clean, fluffy brush to blend the edges, then add a tiny bit of your transition shade to smooth everything out.
Patchy application usually means your primer wasn’t set properly or you’re using expired products. Old eyeshadows lose their binding agents and won’t blend smoothly no matter what you do.
For harsh lines that won’t blend, it’s often because you applied too much dark shadow too quickly. Blending techniques can help fix this, but prevention is always better than correction.
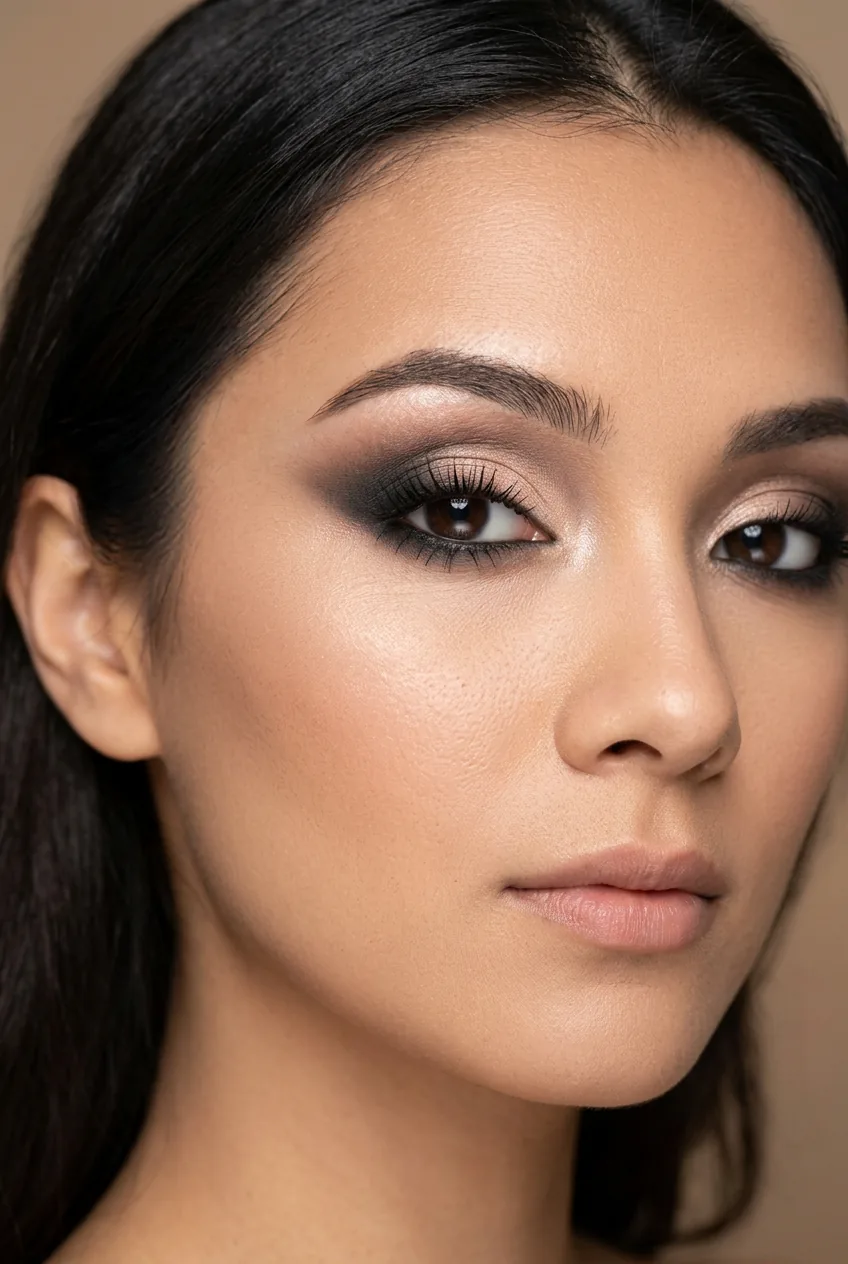
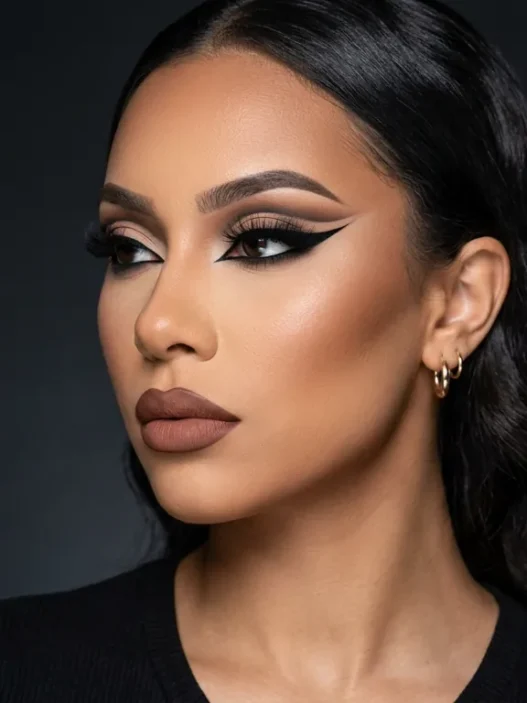
The Final Result
When I follow this method, my smokey eyes actually look intentional instead of accidental. The gradient is smooth, the colors work together, and most importantly, it lasts all day without creasing or fading.
Understanding the science behind how products interact made me more confident with color choices too. Now I can adapt this technique for different looks — softer browns for day, deeper plums for drama, or even colorful smokies with blues and greens.
The biggest difference is that I’m not fighting against my skin anymore. I’m working with how it naturally behaves, and that makes all the difference between a smokey eye that looks professional and one that just looks messy.
Want to explore more advanced techniques? Check out the art of eye makeup explained in detail for deeper dives into color theory and application methods.