


I used to think soft glam was all about having the right expensive eyeshadow palette. Spent months saving for that $60 neutral quad everyone raved about, convinced it would transform my entire look. The reality? My technique was so shaky that even luxury shadows looked muddy on me. That’s when I realized something important: the brutally honest truth about soft glam makeup isn’t about the price tag on your products.
Your Budget Soft Glam Roadmap
What Makes the Pricey Version Work
Here’s what I learned after obsessing over those Instagram makeup artists with their $200 palettes: soft glam isn’t about individual standout features. It’s about everything working together so seamlessly that you can’t pinpoint exactly what makes someone look so polished.
The expensive version relies on three key elements: a base that looks like skin but better (never cakey), eyes that have dimension without obvious lines, and a cohesive color story that ties everything together. The luxury products make this easier because they blend effortlessly, but they’re not doing magic. They’re just forgiving your technique mistakes.
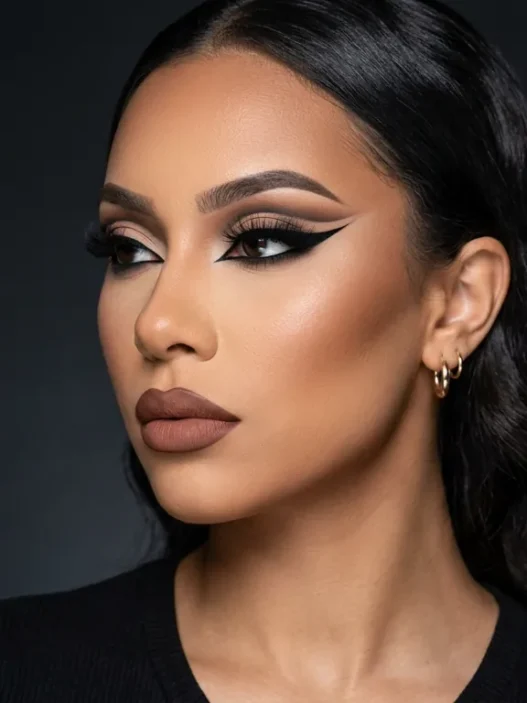
The real secret? Soft glam versus dramatic glam is all about restraint. While dramatic looks can hide behind bold colors and sharp lines, soft glam has nowhere to hide. Every blend has to be perfect. Every transition needs to be seamless.
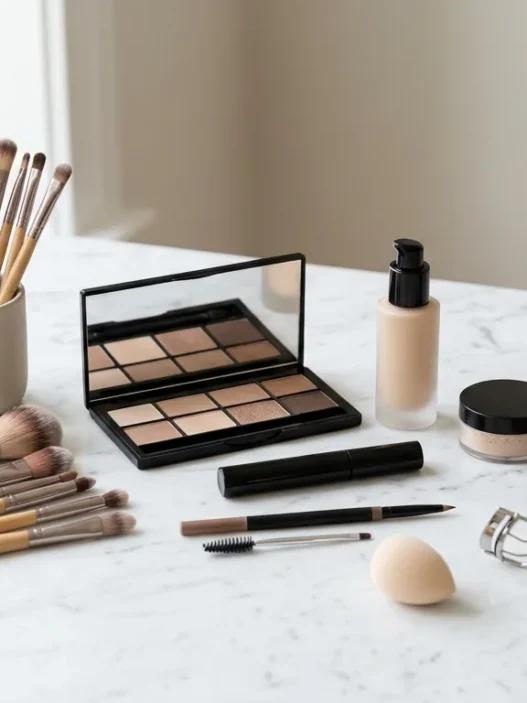
What You’ll Need for the Budget Version
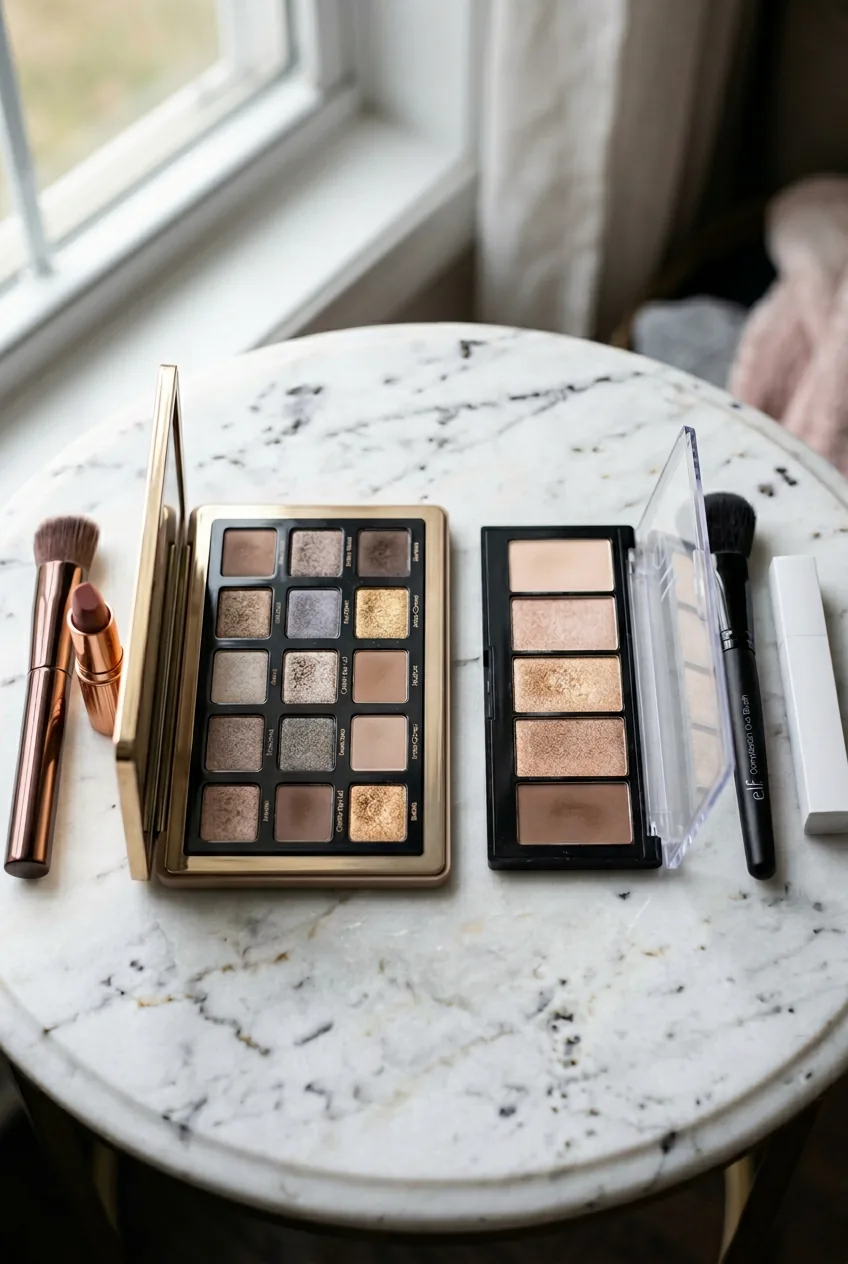
I’ve tested dozens of drugstore dupes over the past year, and honestly, most of them work just as well as their expensive counterparts when you know how to use them. Here’s my current arsenal:
- L’Oreal True Match foundation (seriously underrated for this technique)
- Maybelline Instant Age Rewind concealer
- Any translucent setting powder (I use Coty Airspun)
- Wet n Wild Color Icon eyeshadow in Nude Awakening palette
- ELF blush in Berry Merry
- Revlon Super Lustrous lipstick in Softshell Pink
- One decent blending brush (this is where I splurge slightly)
- Drugstore mascara (whatever’s on sale, honestly)
The total cost? Under $40. Compare that to one high-end eyeshadow palette, and you’ve got your entire face covered.
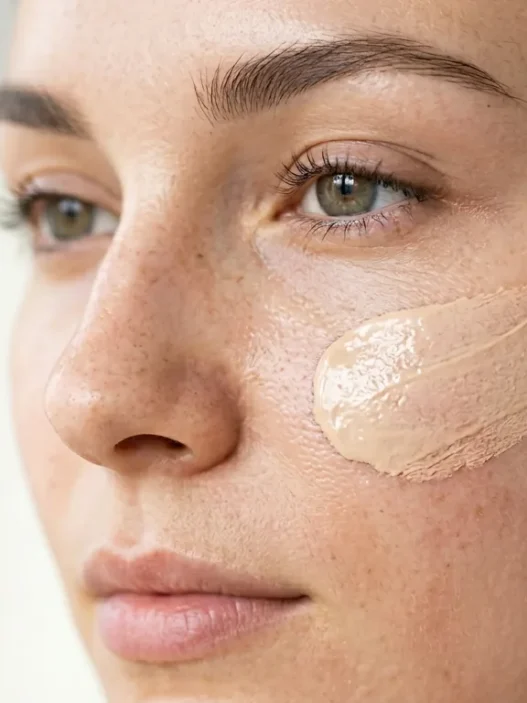
Step 1: Creating That Expensive-Looking Base
This is where technique absolutely trumps product price. I used to slather foundation everywhere and wonder why my skin looked mask-like. The trick with soft glam is strategic coverage — you want to look like you have perfect skin, not like you’re wearing foundation.
Start with tiny amounts. I’m talking a pump the size of a grain of rice for your entire face. Mix it with a drop of your moisturizer (yes, even if it says not to on the bottle). This creates that expensive “my skin but better” finish that luxury foundations promise.
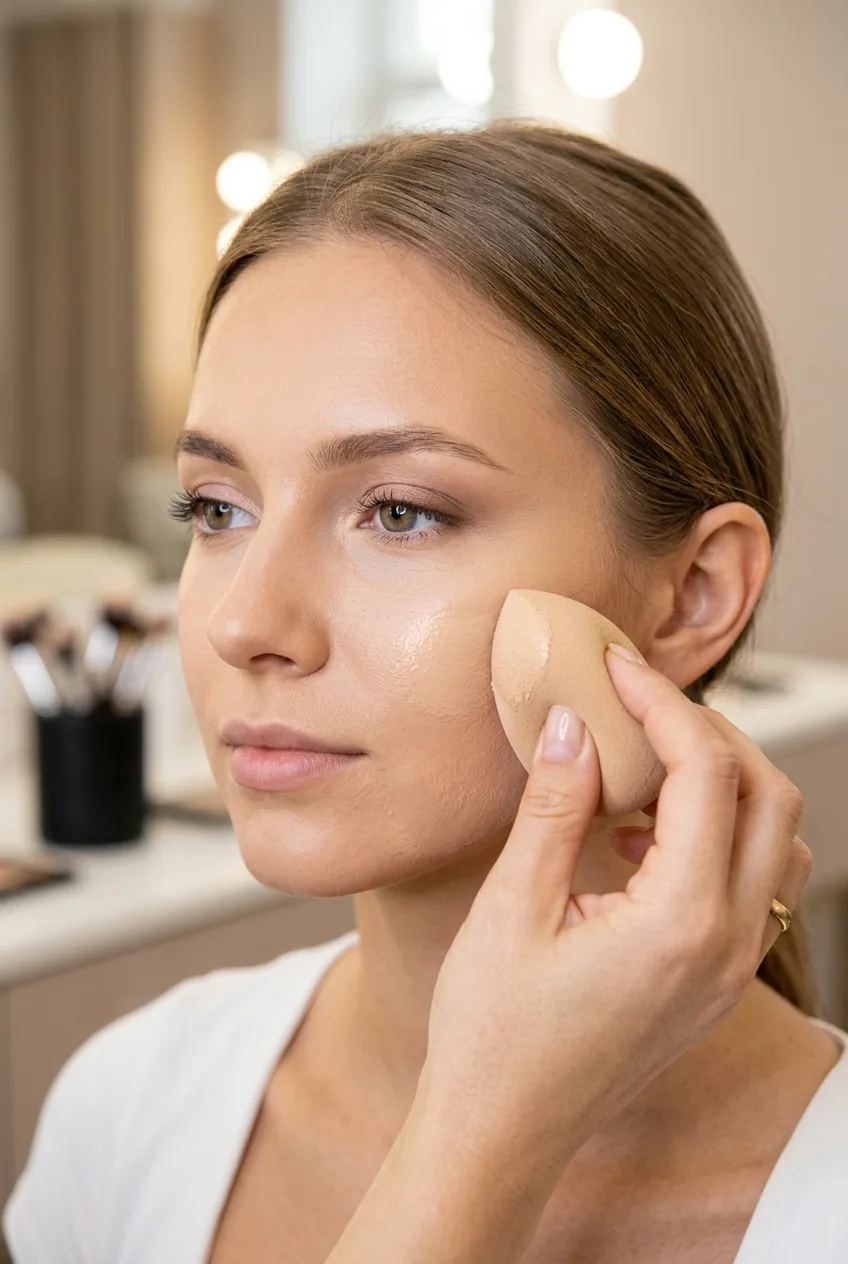
Apply with a damp beauty sponge, pressing and rolling rather than dragging. The key is building coverage only where you actually need it. Most of your face probably looks fine with just that tinted moisturizer effect.
For concealer, resist the Instagram triangle under your eyes. That’s for dramatic looks. Instead, just dot it directly on any blemishes and gently under the inner corner of your eyes where shadows tend to sit. Blend with your pinkie finger — it’s the perfect temperature and pressure.
I used to use way too much setting powder because I thought more meant longer wear. Wrong. It just made everything look dry and cakey. Now I use barely any — just a light dusting where I tend to get oily.
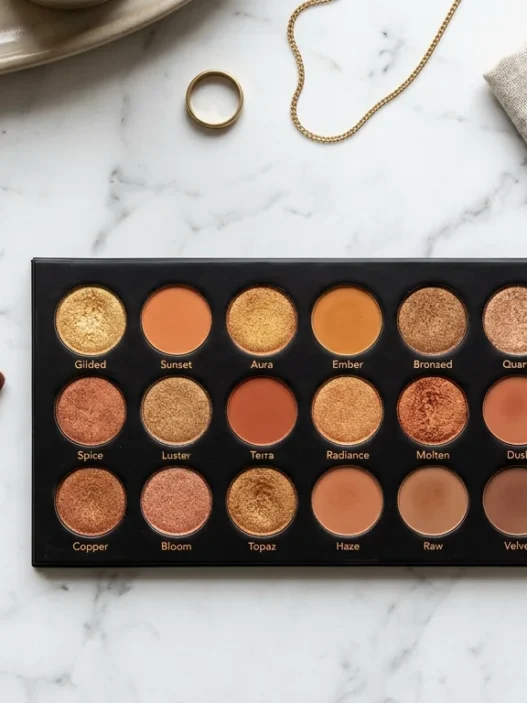
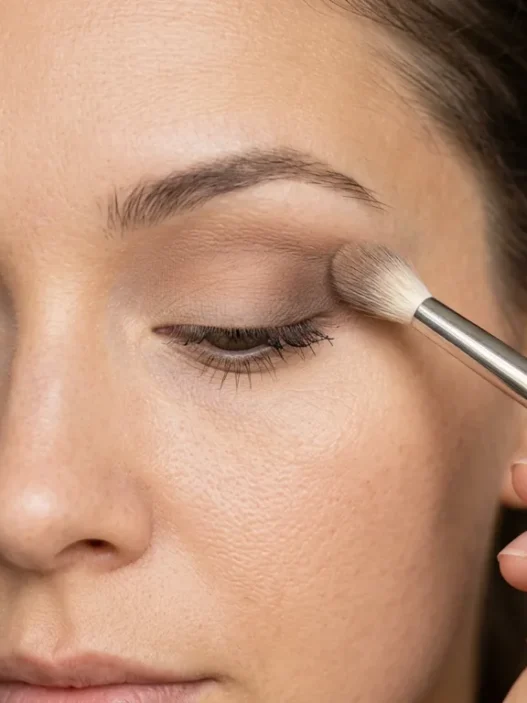
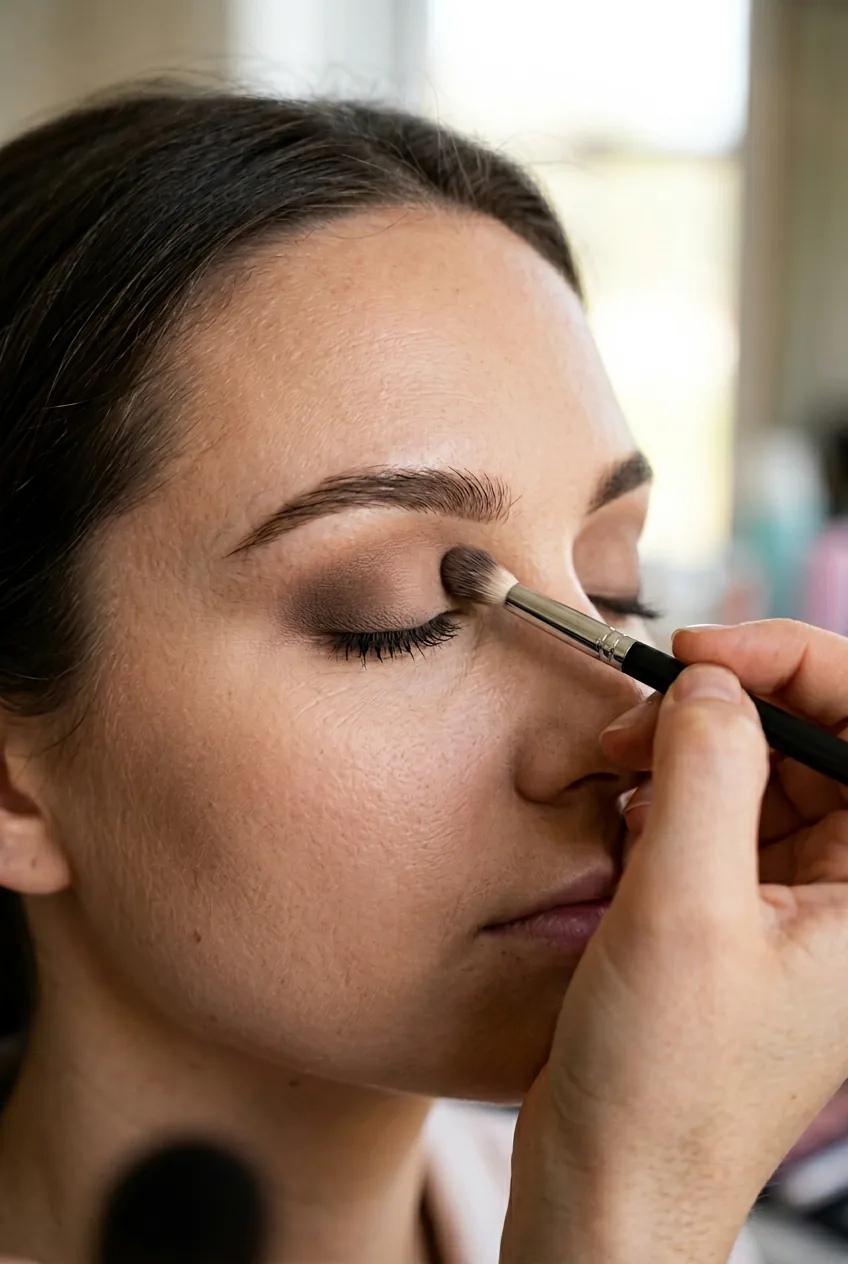
Step 2: Eyes That Cost $10 But Look $100
Here’s where drugstore products really shine, especially when you understand color theory. That Wet n Wild palette I mentioned? It has the exact same undertones as palettes costing five times as much.
Start with the lightest shade from the palette across your entire lid as a base. This isn’t just about color — it’s creating a smooth surface for everything else to blend into. Drugstore eyeshadow techniques can achieve the same results as expensive ones when applied correctly.
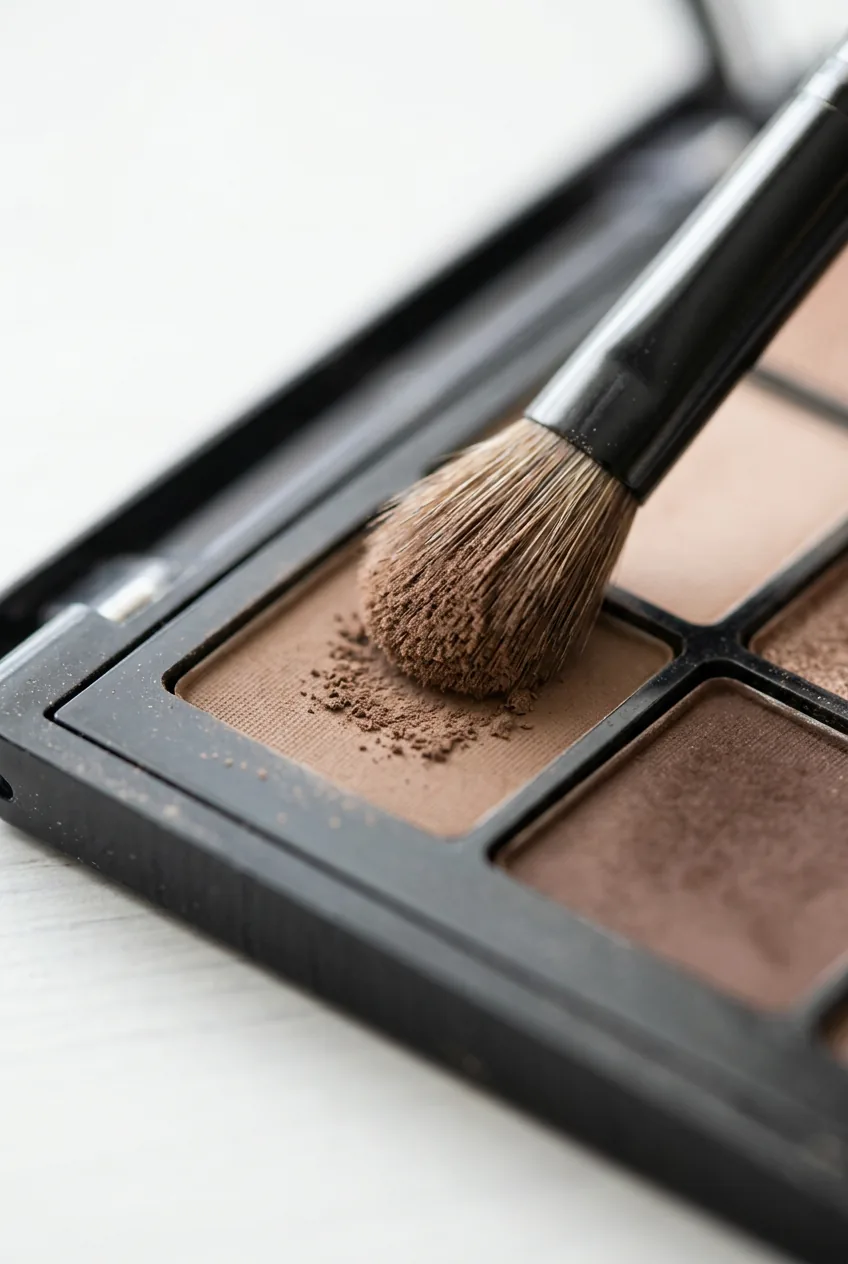
The transition shade is everything in soft glam. Take a fluffy brush with the medium brown (usually the third shade in most drugstore palettes) and work it into your crease with tiny circular motions. The key is starting with barely any product and building slowly. I probably go back to the palette six times rather than loading up the brush once.
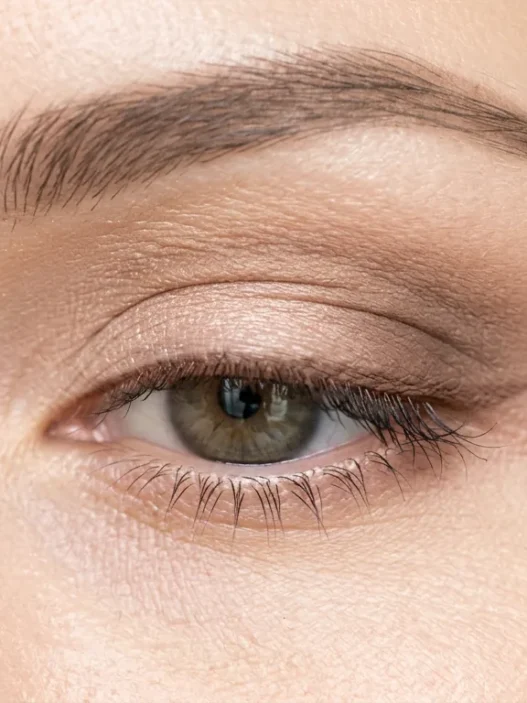
For the outer corner, use the darkest shade very sparingly. We’re talking a whisper of color, not a statement. Blend it into the outer third of your lid and up toward the brow bone, but keep it soft. This is where natural makeup that doesn’t look like you’re wearing any really comes into play.
Highlight under the brow with the lightest shade, and add just a touch to the inner corner of your eyes. Drugstore highlighters can look chalky if you’re heavy-handed, so build it up slowly.
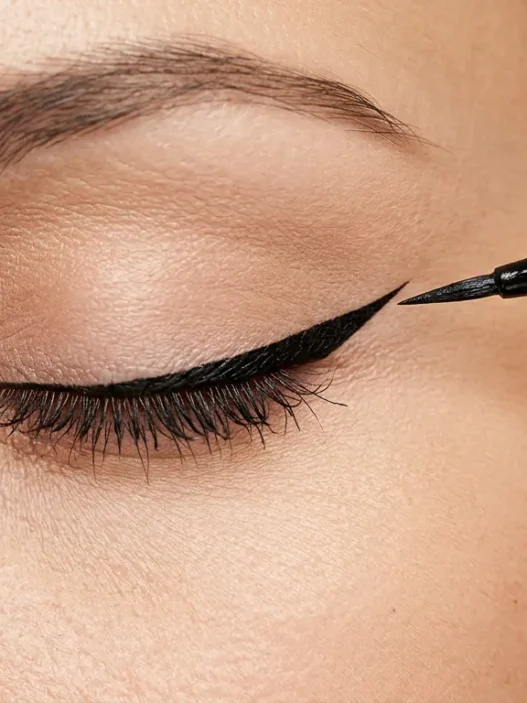
One coat of mascara, focusing on separation rather than volume. Soft glam lashes look naturally full, not spidery or dramatic.
Watch the Blending Technique Live
Step 3: The Cheek Technique That Sells the Illusion
This is where most people go wrong with drugstore blush — they treat it like it’s going to perform exactly like expensive powder. It won’t. But with the right technique, it actually gives you more control.
Smile and find the apples of your cheeks, but don’t apply blush there first. Instead, start slightly higher and blend down. This lifts your whole face and creates that expensive, sculpted look without any actual contouring.
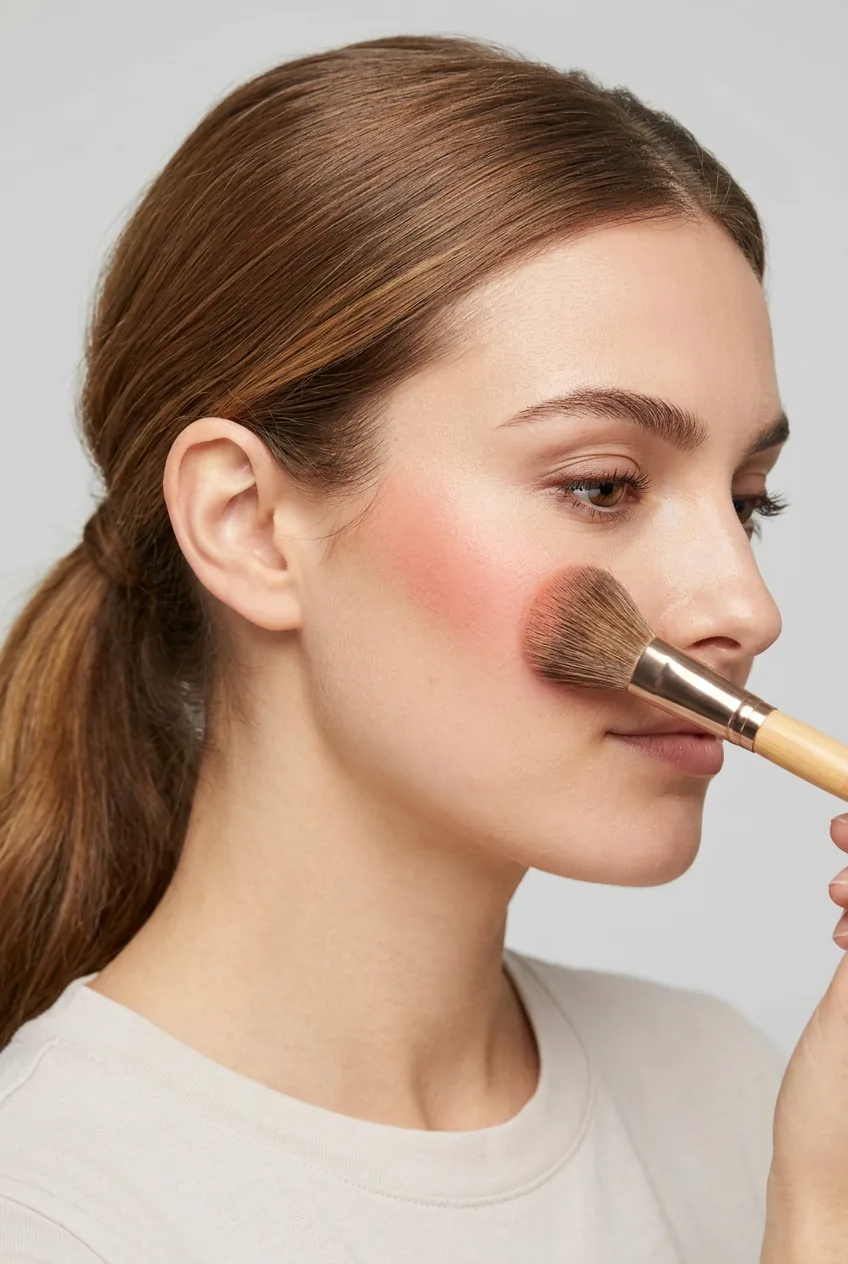
The trick with drugstore blush is to tap off excess product every single time. Build it up in thin layers rather than trying to get full color in one swipe. I probably go back to the compact four or five times for each cheek.
Blend upward toward your temples and slightly down toward your jawline. This creates dimension and makes your bone structure look more defined — exactly what expensive highlighting and contouring products promise to do.
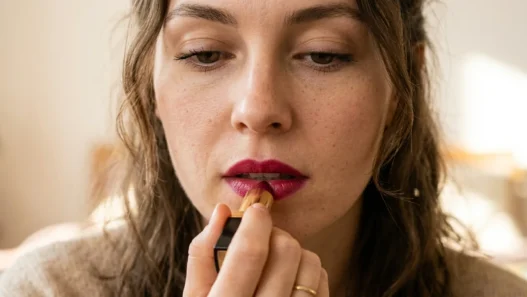
Step 4: Lips That Look Like You Splurged
Drugstore lipsticks have come so far in the last few years. The formula I’m using now rivals anything I’ve tried from Sephora, but the application technique makes all the difference.
Skip the lip liner for soft glam unless your lips are dramatically uneven. Instead, apply lipstick with a small brush for precision, starting from the center and working outward. This gives you that expensive, perfectly filled look without harsh lines.

The color should complement your blush and eyeshadow tones. Since we’re working with warm browns and soft pinks, stick to that family. Choosing the right lipstick shade is crucial for that cohesive, expensive look.
Here’s my secret for making drugstore lipstick last: blot with tissue, dust on a tiny amount of translucent powder, then apply another layer. It sets like liquid lipstick but feels comfortable all day.
Where to Spend the Little Extra
After a year of testing combinations, I’ve found exactly two places where spending slightly more makes a dramatic difference in the final result.
First: one good blending brush. You don’t need a whole set, just one medium-sized fluffy brush for your eyeshadow transition work. I use a $12 Real Techniques brush that’s lasted me eight months of daily use. The difference in how smoothly drugstore eyeshadows blend is honestly shocking.
Second: a setting spray. Not because drugstore makeup doesn’t last, but because setting spray gives that expensive, skin-like finish that ties everything together. Setting spray application creates that seamless, expensive look even with budget products.
Everything else? The drugstore versions work beautifully when you understand their quirks. That $3 blush performs just as well as the $30 one when you build it up properly. The $8 lipstick has the same staying power as luxury formulas with the right application.
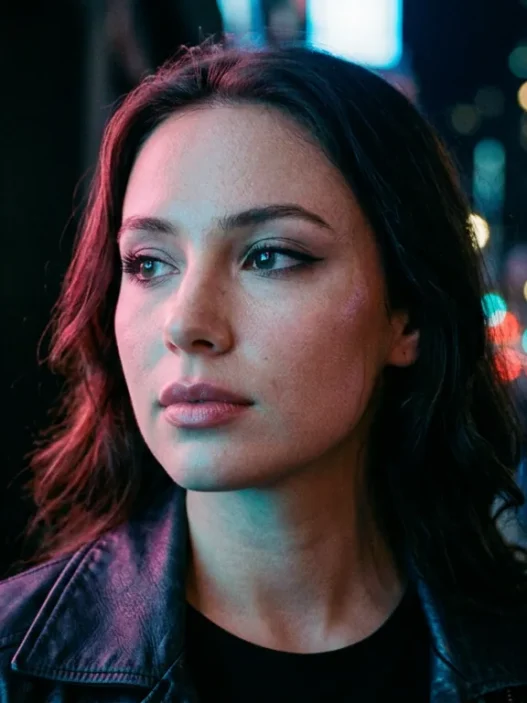
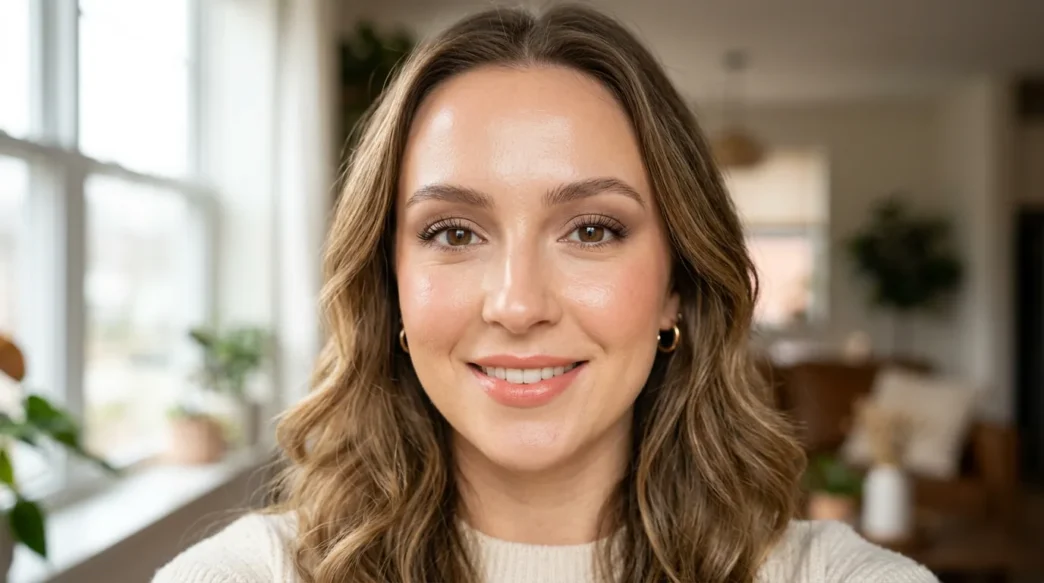
Following a systematic method for flawless makeup matters more than the price point of individual products. When you nail the technique, people assume you’re wearing expensive makeup even when everything came from the drugstore.
I get compliments on this look constantly, and when people ask about my products, they’re always surprised by my answers. The whole face costs less than one high-end lipstick, but nobody can tell the difference. That’s the power of understanding the right order to apply makeup and focusing on technique over price tags.
Questions I Get About This Look
How long does this drugstore soft glam actually last?
With the setting spray trick, I get about 8 hours before needing any touch-ups. The key is that light application I mentioned — when you’re not piling on product, there’s less to move around throughout the day.
Can this work on deeper skin tones?
Absolutely. The technique stays the same, but you’ll want to adjust your color choices. Look for drugstore palettes with warmer undertones and deeper transition shades. The blending method works exactly the same way.
What if I mess up the eyeshadow blending?
Take a clean, fluffy brush with no product and gently blend over the harsh edges. You can also add a tiny bit more of your transition shade to soften any lines. Don’t try to fix it by adding more darker colors — that just makes it muddier.
Is it worth buying the expensive blending brush you mentioned?
In my experience, yes. I tried drugstore brushes for months and never got smooth blends. That one good brush transformed how my eyeshadow looked. You can find quality options around $10-15 that will last years.