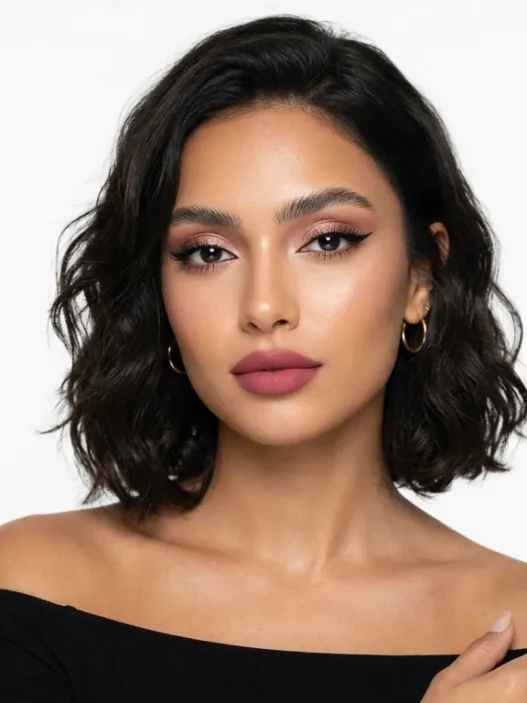


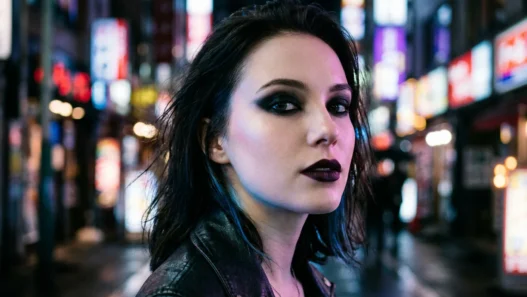


Every October I get the same excited messages from friends: “Help! I need a Halloween look but I’m terrible with makeup!” Here’s what I’ve learned after years of creating spooky looks — the best Halloween makeup doesn’t just make you look amazing for one night. It teaches you techniques you’ll use all year long. Whether you’re blending a smoky eye or perfecting that winged liner, Halloween is honestly the best makeup bootcamp there is.
Halloween Looks That Level Up Your Skills
1. The Gradient Wash
The zombie sunrise look is my go-to for teaching gradient techniques. You’re blending from deep purples through oranges to yellows, creating that perfect bruised-sunset effect across the entire eye area. But here’s the thing — once you master this Halloween gradient, you’ve basically learned how to do any eyeshadow transition.
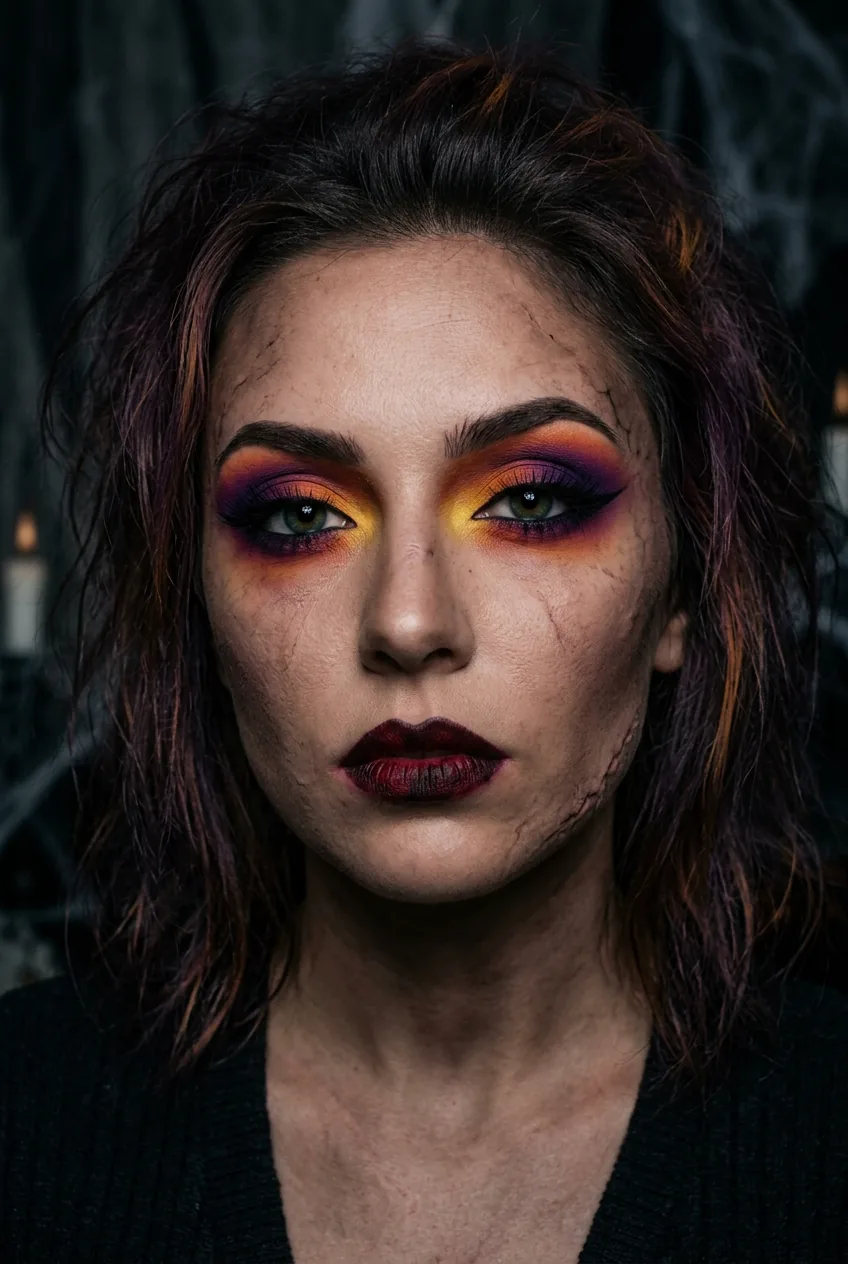
The key move? Start with your lightest color at the inner corner and gradually build darker shades outward. Use a damp blending brush and work in tiny circular motions. I practice this technique on Halloween because the dramatic color story makes mistakes obvious — and therefore easier to fix.
2. The Cut Crease
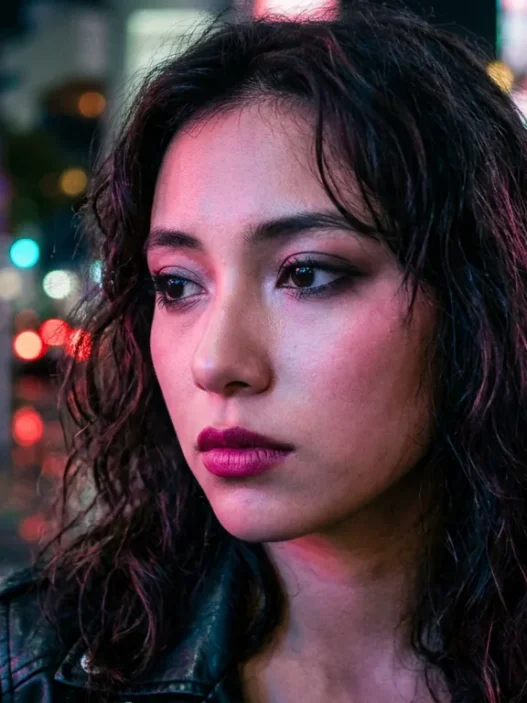
Nothing says “glamorous witch” like a sharp cut crease, and honestly, this technique intimidated me for years. The Halloween version uses stark black and silver, which actually makes it easier to see where you’re placing your colors. You’re essentially drawing a line across your eyelid and creating two distinct color zones.
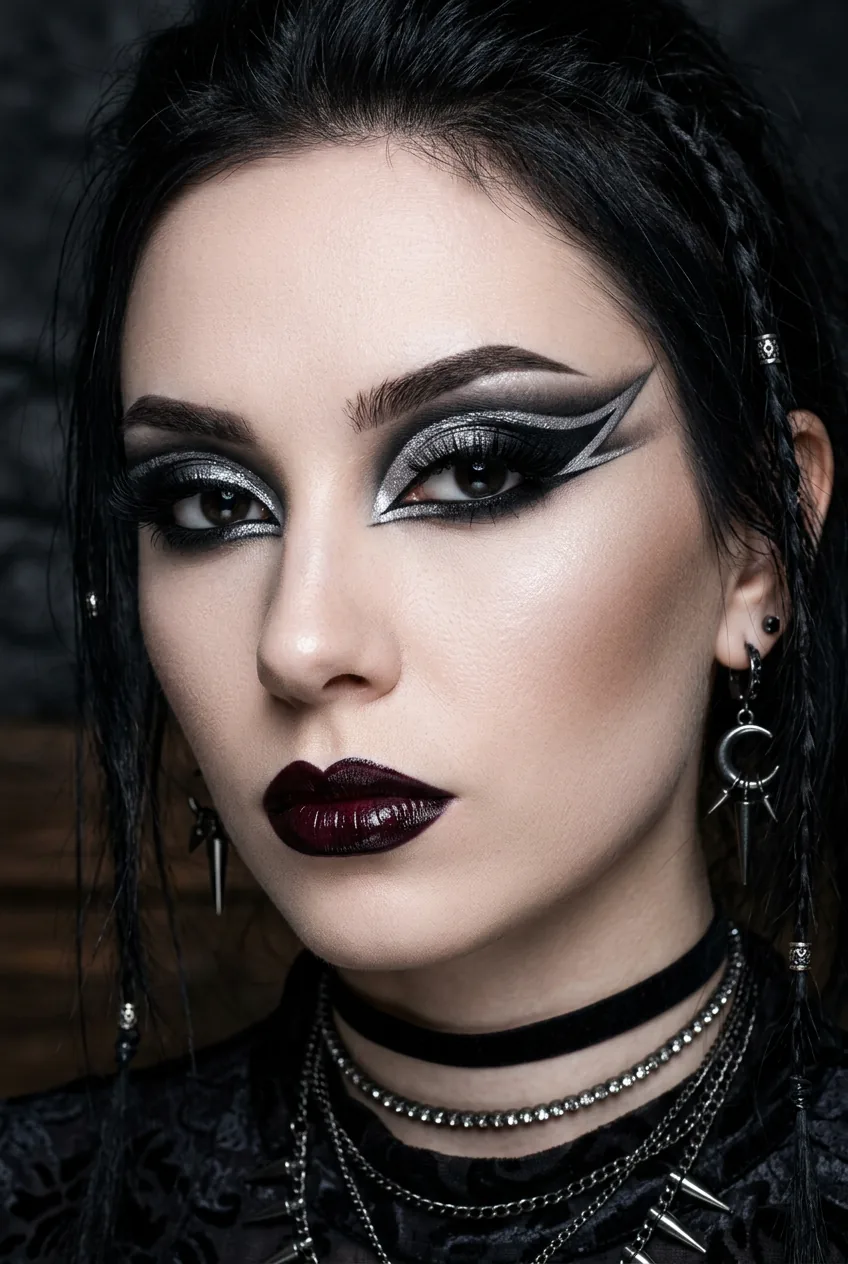
Start by mapping your crease with a small brush and dark shadow. Then pack lighter, shimmery color below that line. The contrast needs to be dramatic for Halloween, but the same technique works for subtle everyday looks. I use concealer on a flat brush to really carve out that line — it’s like drawing with makeup.
3. The Graphic Line
Geometric cat eyes are having a moment, and Halloween is the perfect excuse to try bold graphic liner. Think sharp triangles, extended wings, or even abstract shapes around the eyes. The vampire-inspired angular liner look teaches you precision with liquid eyeliner like nothing else.
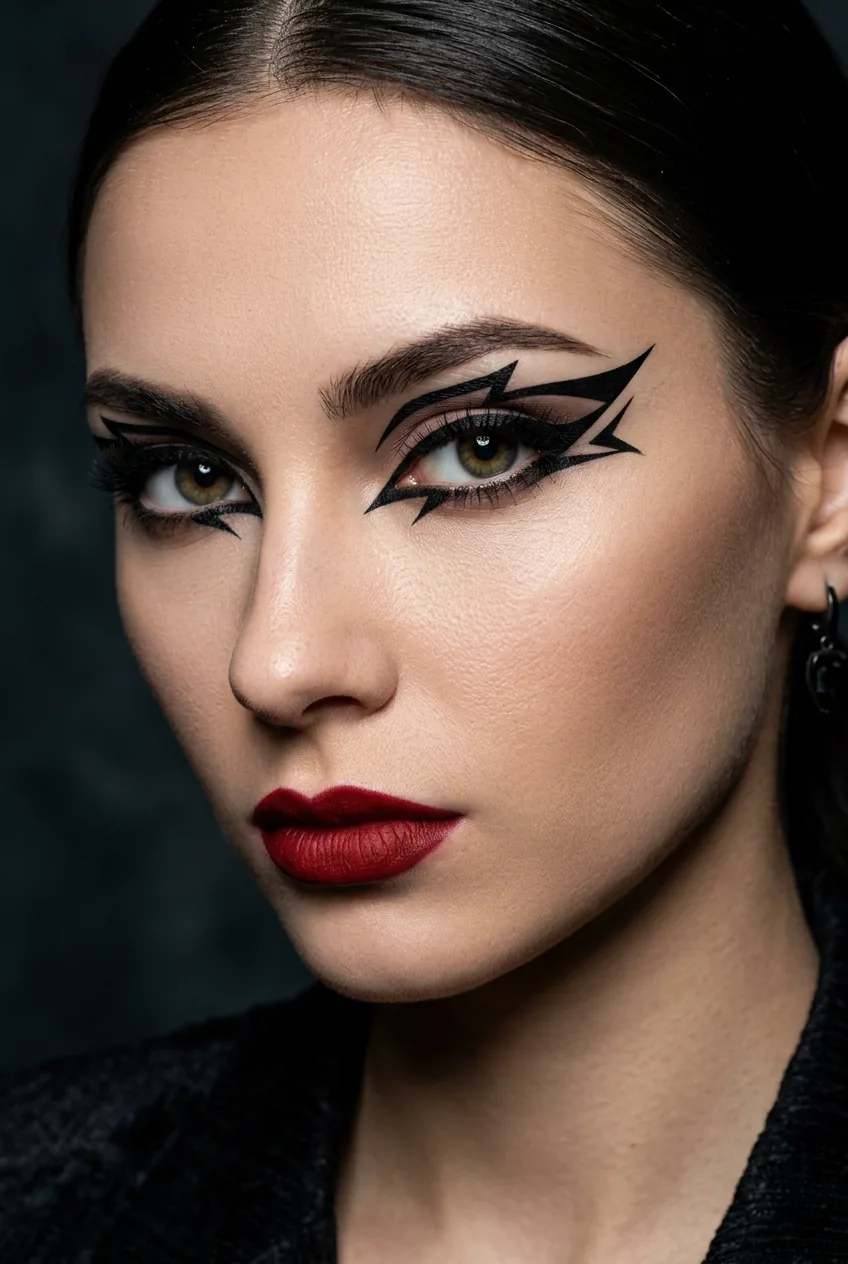
My trick? Use tape as a guide for those razor-sharp lines. Place small pieces to create your desired angle, then trace along the edge with liner. The geometric Halloween look forces you to slow down and really think about shape and symmetry. Plus, if you mess up, you can always claim it’s “intentionally abstract.”
4. The Color Block
The superhero-inspired look is all about clean, separate blocks of color. Think bold blue on the lid, bright red in the crease, maybe some yellow accents. It sounds chaotic, but it teaches you the most important lesson in makeup type application: how to keep colors from muddying together.
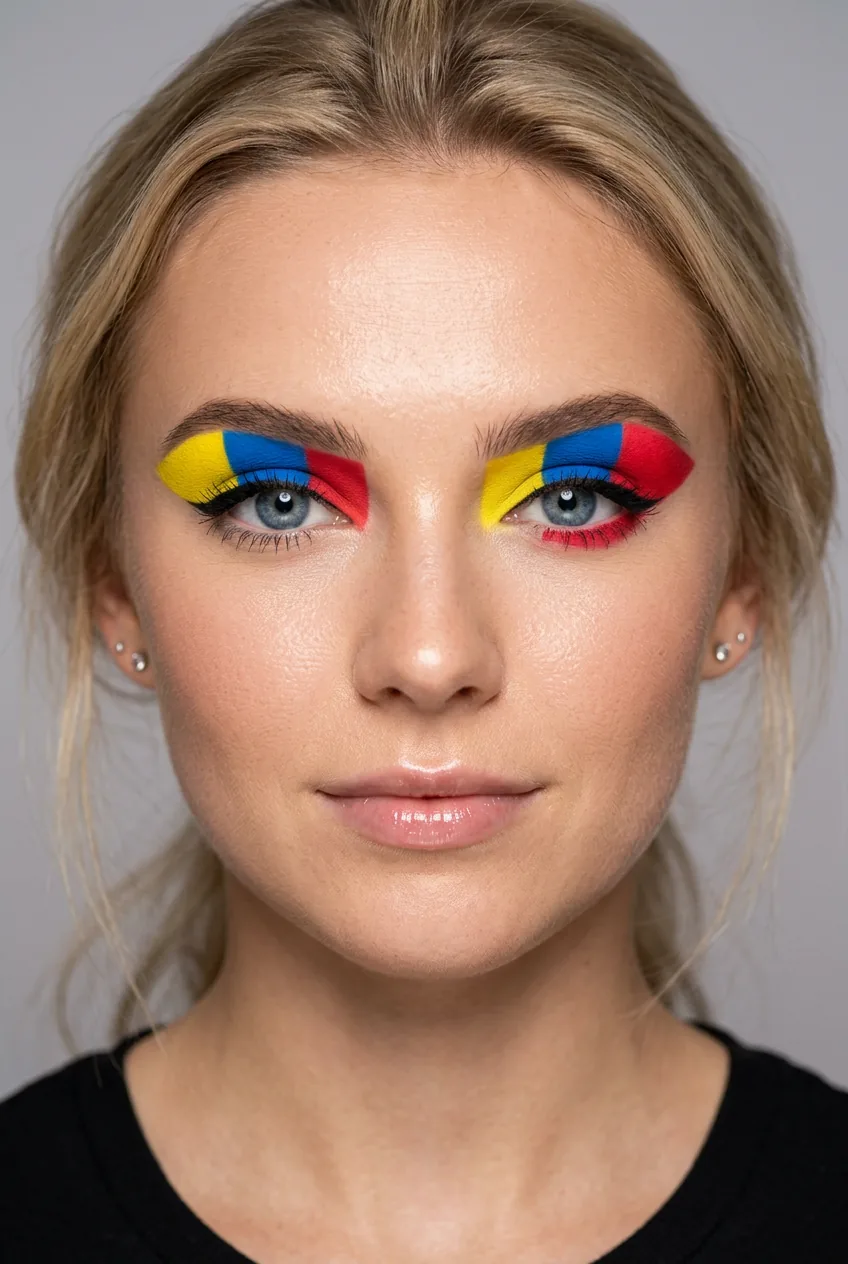
The secret is working one section at a time and using a clean brush between colors. Set each color with a light dusting of translucent powder before moving to the next section. This Halloween technique translates perfectly to any bold editorial look you might want to try later.
My personal favorite has to be the metallic foil technique. I discovered it trying to create a cyborg look last year, and now I use it for the most gorgeous evening eyes. Sometimes the best beauty discoveries come from the most unexpected places.
5. The Metallic Foil
Robot or futuristic alien makeup requires serious metallic payoff, and that’s where foiling techniques come in. You’re essentially turning any eyeshadow into liquid metal by mixing it with a foiling medium or even just setting spray. The result is mirror-like intensity that photographs beautifully.
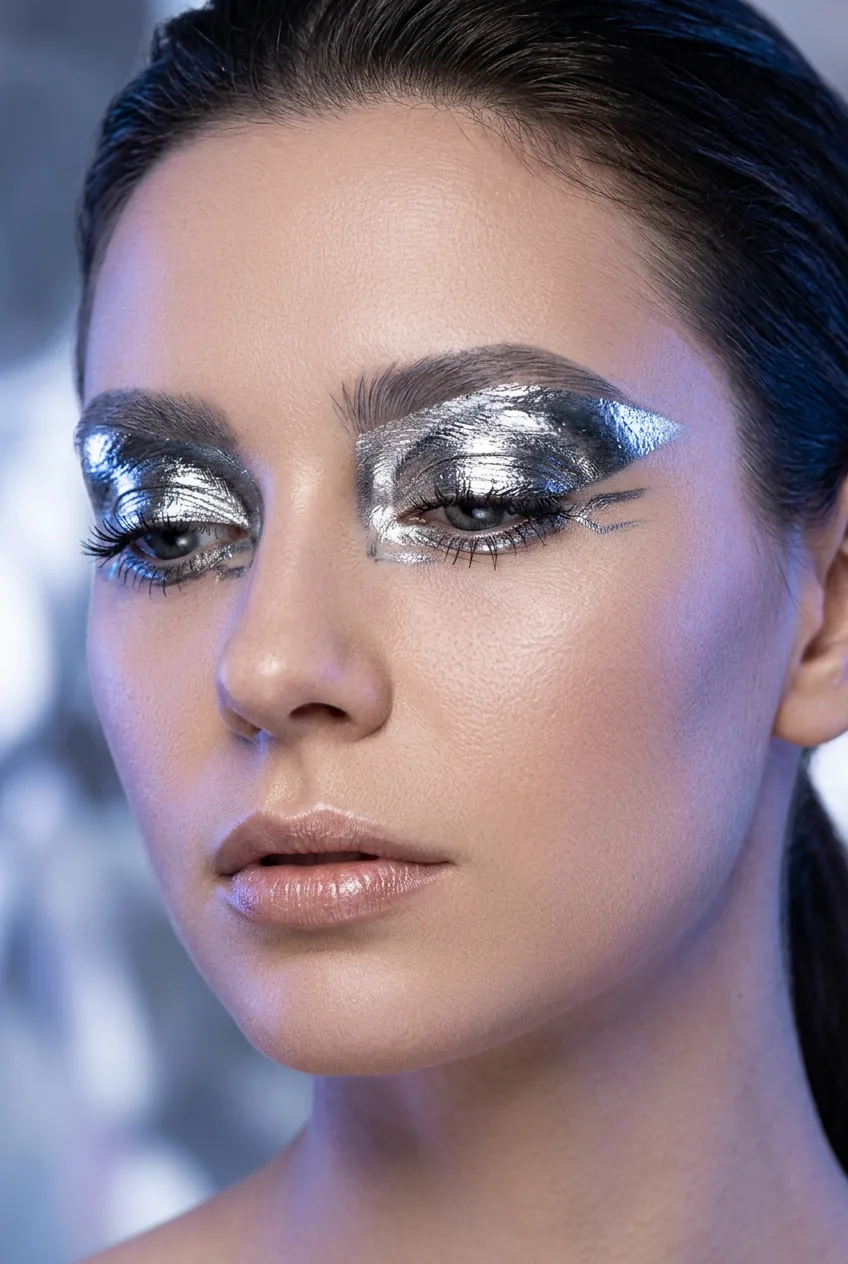
Use a flat, synthetic brush and press — don’t brush — the metallic mixture onto your lid. The patting motion is crucial for that full-coverage metallic finish. I learned this doing a space princess look, and now I use it anytime I want my eyeshadow palettes to look more expensive than they actually are.
Watch the Foiling Magic Happen
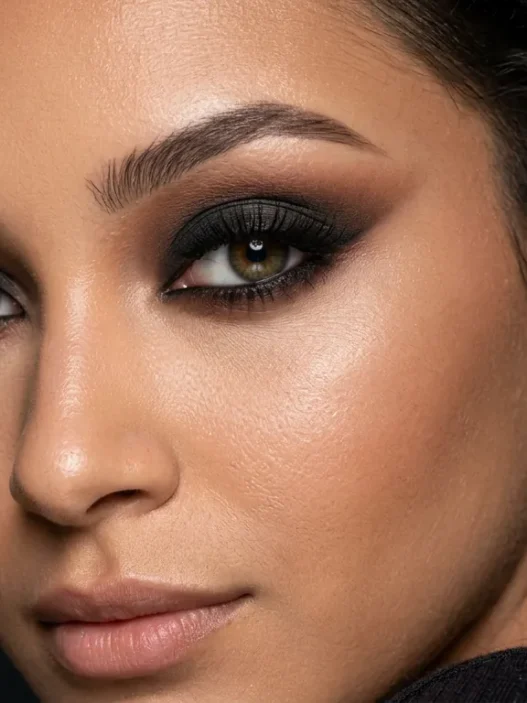
6. The Smoky Blend
The classic demon or dark fairy look relies on perfect smoky blending, but with Halloween colors like deep purples, forest greens, and midnight blacks. It’s essentially a smoky eye on steroids, which makes it the perfect training ground for mastering the technique.
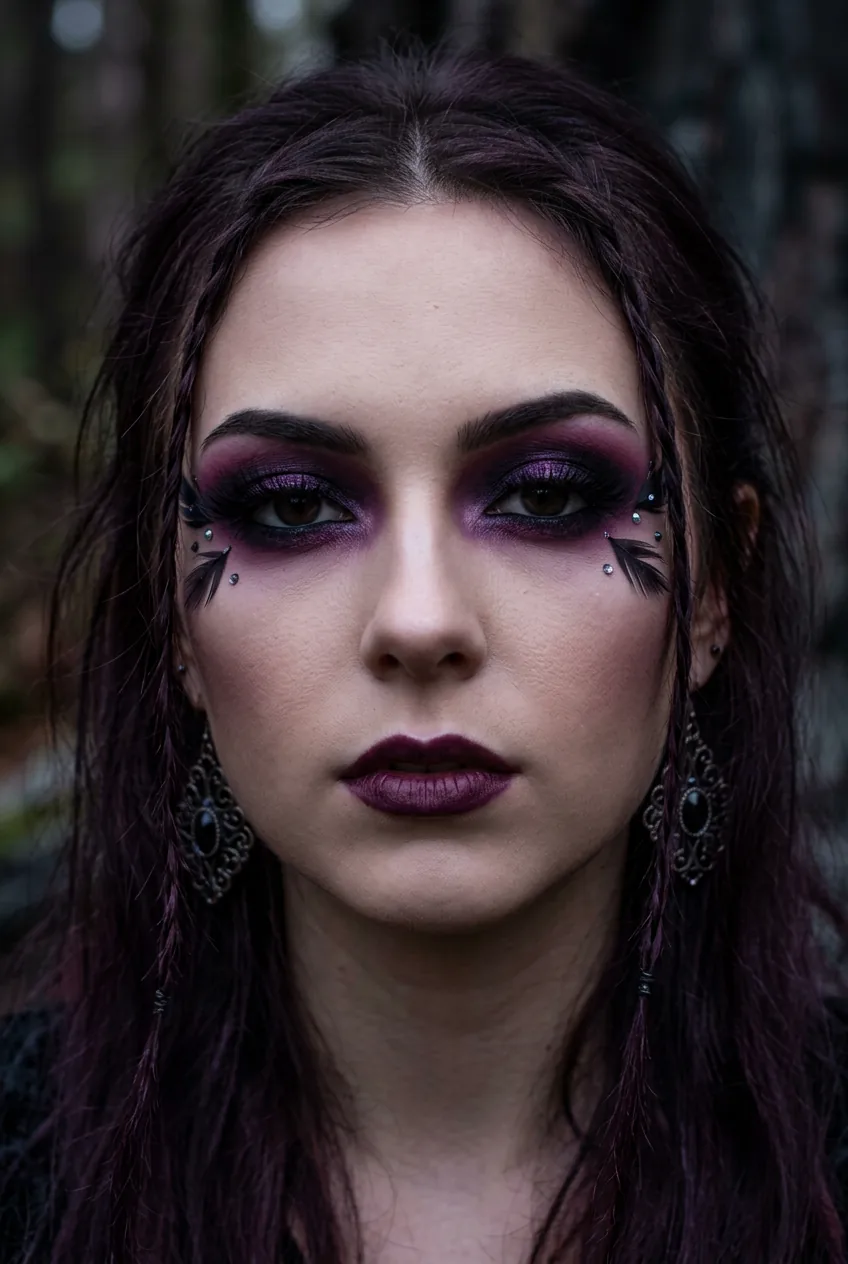
Start with your darkest color close to the lash line and blend upward and outward in small windshield-wiper motions. The Halloween version allows for much more drama than everyday looks, so you can really practice building intensity. Blending techniques become second nature when you’re working with such bold color stories.
7. The Stipple Texture
Creating texture for monster makeup — like scales, bruises, or aged skin — teaches you stippling techniques that are incredibly useful for everyday contouring and highlighting. You’re using a stippling brush or sea sponge to create uneven, natural-looking texture rather than smooth blended color.
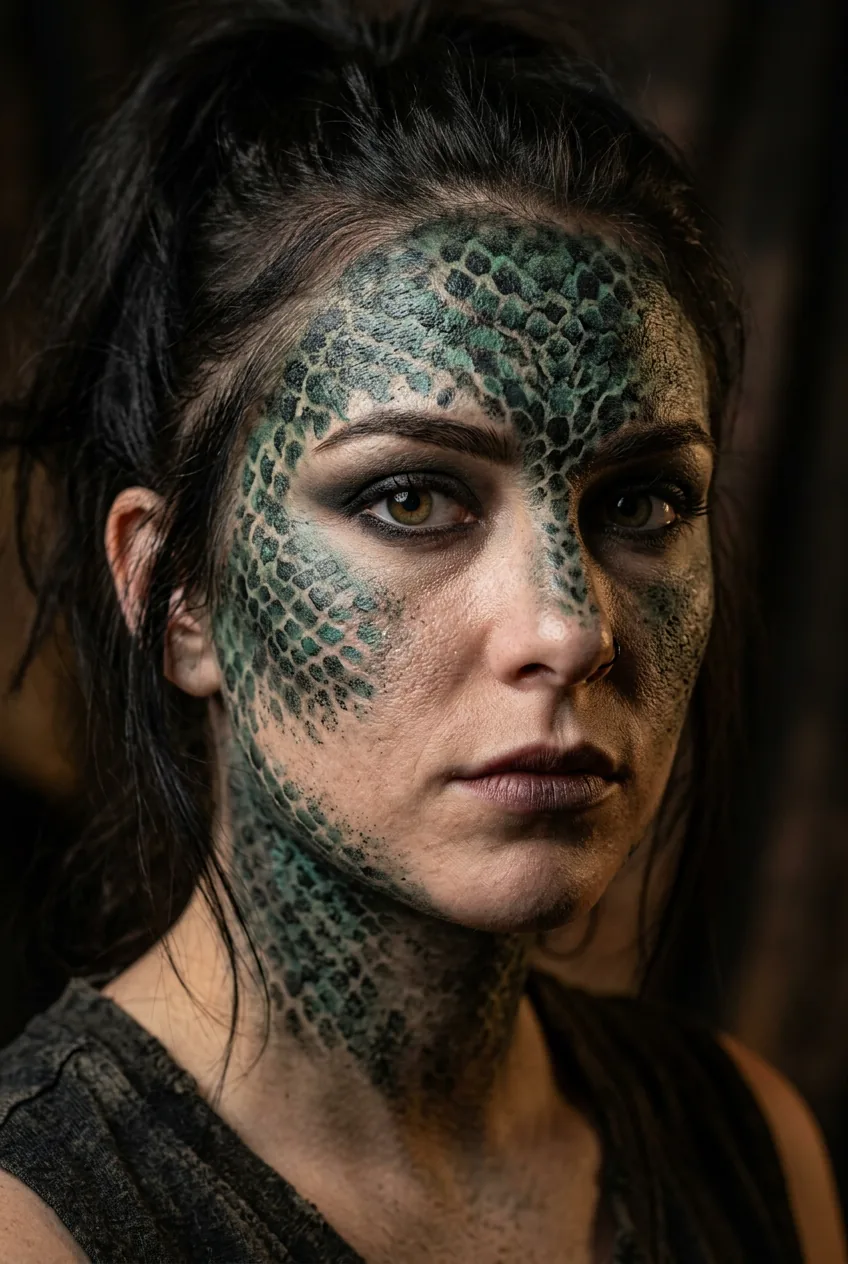
The dabbing motion breaks up harsh lines and creates realistic skin texture. I use this same technique now for applying cream blush and highlighter — it gives such a natural, skin-like finish. Halloween just gives you permission to get really experimental with how much texture you add.
8. The Precise Wing
Angel or fairy wings drawn around the eyes require the steadiest hand and most precise eyeliner application you’ll ever attempt. These extended, delicate lines teach you control and planning that makes regular winged eyeliner feel like child’s play afterward.
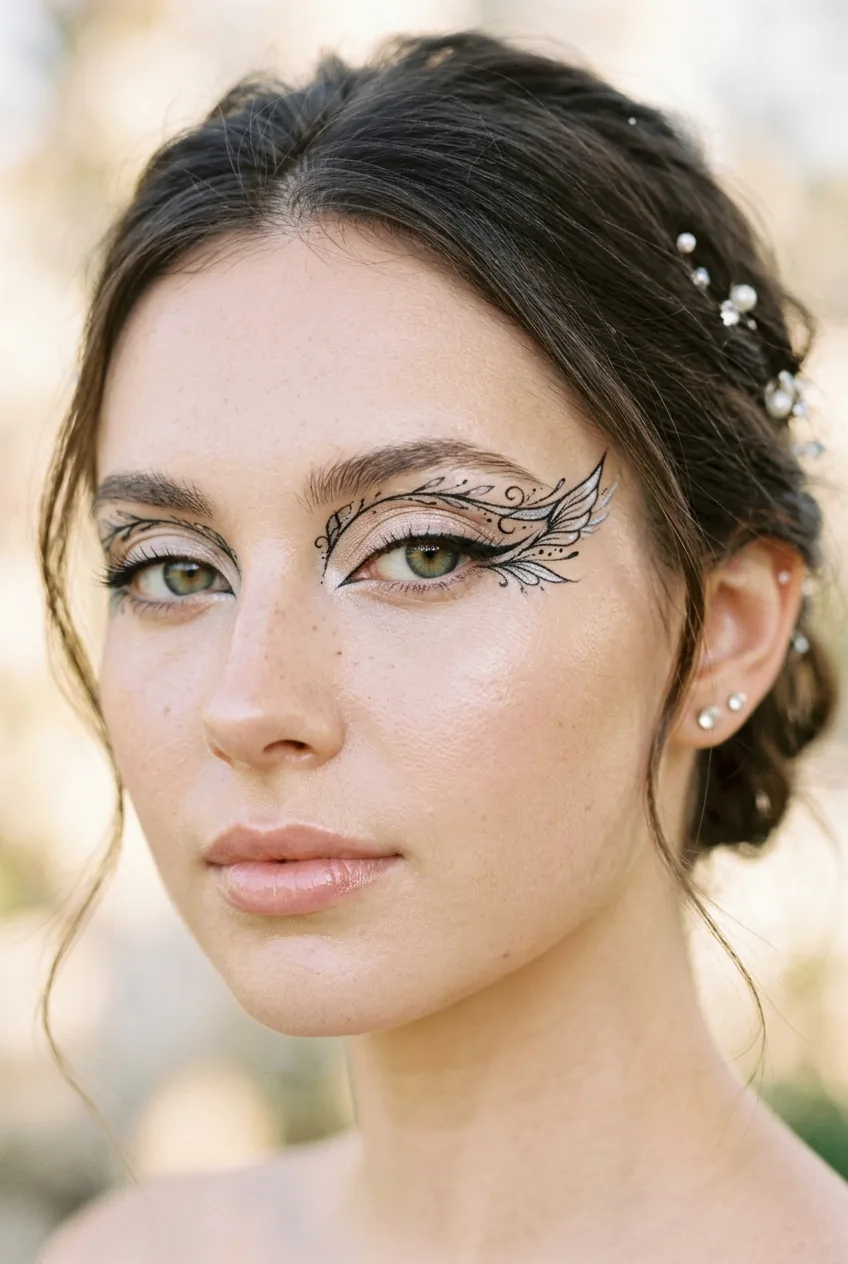
Break the wing into segments and connect them rather than trying to draw one continuous line. Use short, connecting strokes and build up the opacity gradually. The Halloween version might extend from your temple to your cheekbone, but the same steady-hand technique applies to any winged liner look.
9. The Draped Color
The ethereal ghost or woodland sprite look teaches color draping — blending one shade from the eyes down onto the cheeks and sometimes even the lips. It’s like creating a color story across your entire face, which is actually an advanced technique that editorial makeup artists use all the time.
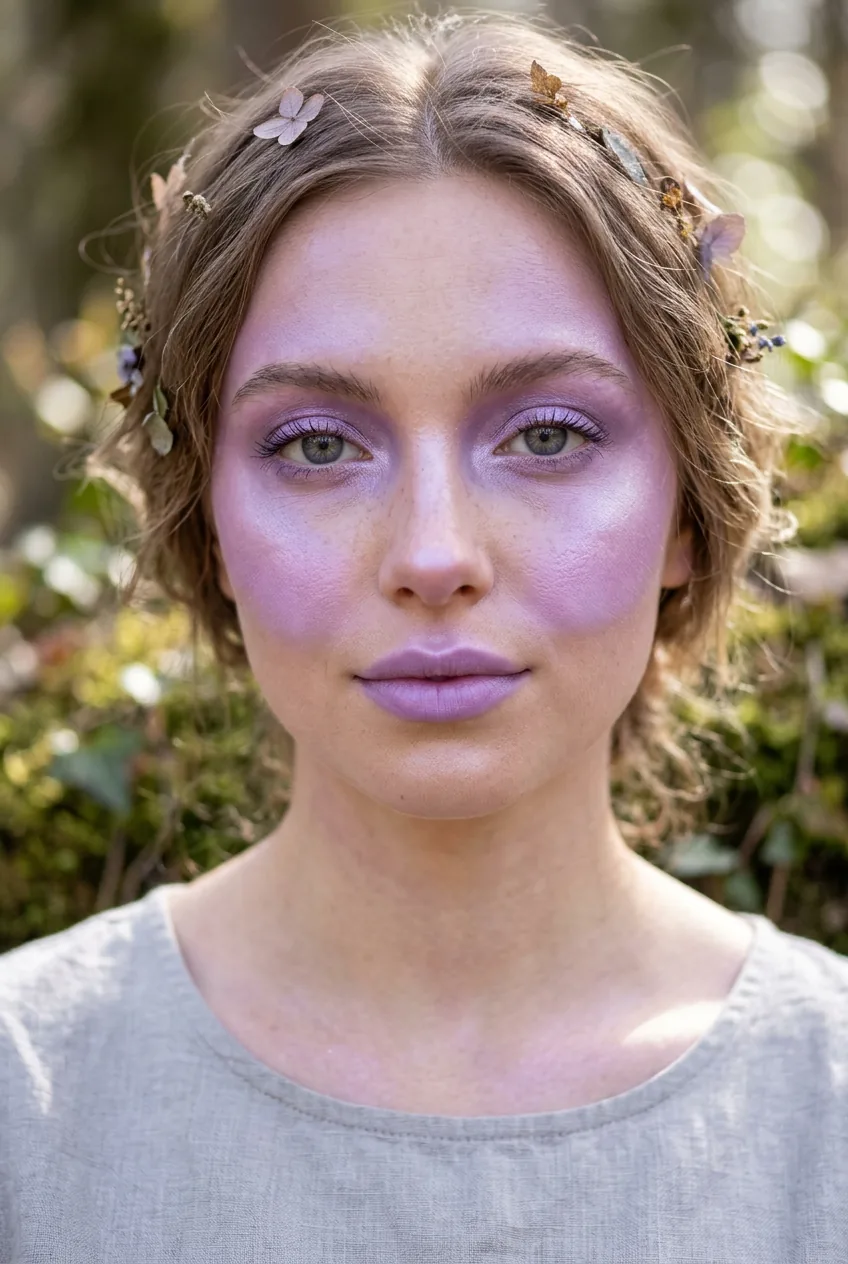
Choose one dominant color and use it in different intensities across multiple features. Maybe it’s soft lavender on the lids, deeper purple in the crease, and the palest hint on the apples of your cheeks. The key is varying the opacity while maintaining color harmony throughout the look.
Questions I Get About Halloween Makeup
How long should I plan for these looks?
Most of these techniques take 45 minutes to an hour when you’re learning. The graphic liner and cut crease looks need the most time for precision. I always recommend doing a practice run a few days before Halloween so you’re not stressed on the actual night.
Can I use regular makeup for Halloween looks?
Absolutely! The only things I’d specifically buy are dramatic colors you don’t own and maybe a good setting spray. Most of these techniques work with whatever eyeshadows and liners you already have — it’s really about the application method, not special products.
Will these techniques actually help my everyday makeup?
Yes, but you’ll need to scale back the intensity. The blending, precision, and color placement skills transfer directly to natural looks. Think of Halloween as makeup training with the safety net of “it’s supposed to be dramatic.”
What if I mess up during application?
Halloween is the most forgiving time to experiment! Smudged liner becomes “intentionally messy,” uneven blending becomes “weathered texture,” and bold color choices are expected. Use makeup wipes for major fixes, but embrace happy accidents too.
The best part about using Halloween as your makeup training ground? You’ll walk into 2027 with skills that took me years to develop. And honestly, there’s something magical about learning techniques when the stakes feel lower and the creativity can run wild. Happy haunting!