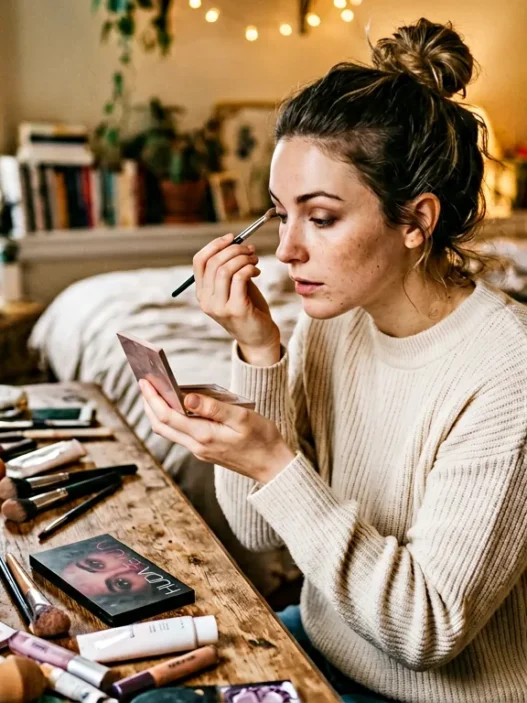


I used to pack five different lip products for every trip. One gloss for the plane, a different one for dinner, another “just in case” option. My makeup bag was basically a pharmacy. Then I spent eight hours on a delayed flight with nothing but a tiny tube of clear gloss and learned the hard way that travel makeup needs to be smarter, not bigger.
What You’ll Need
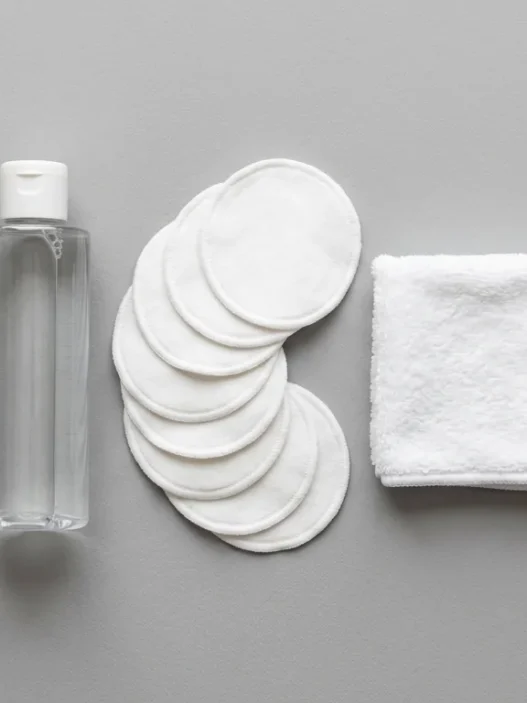
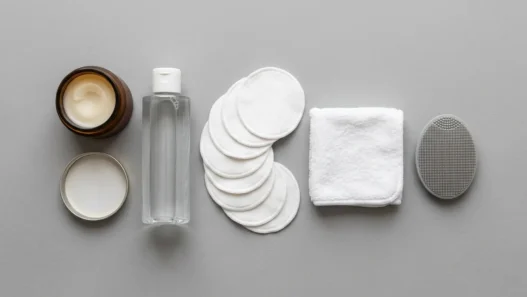
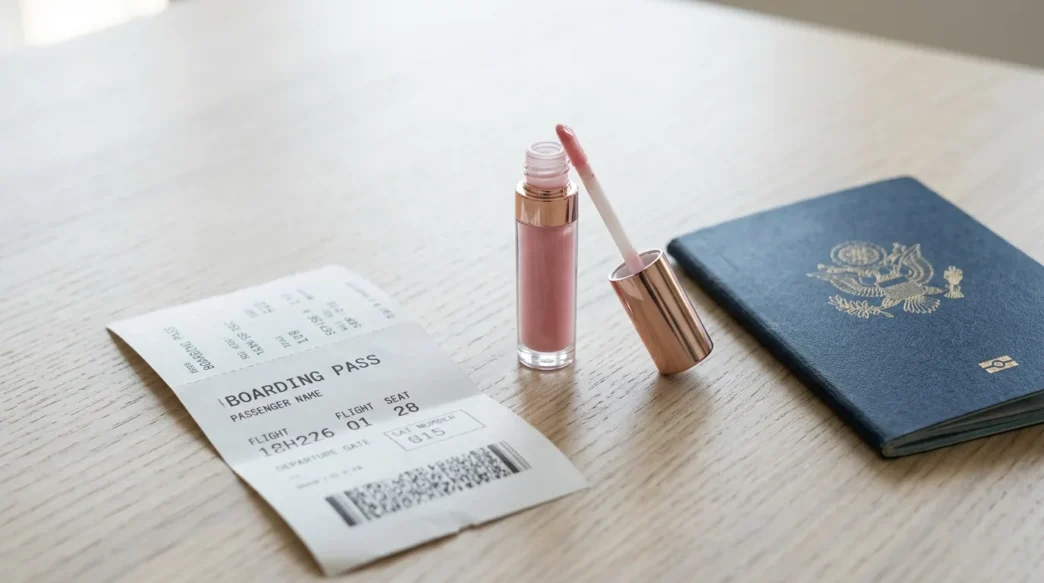
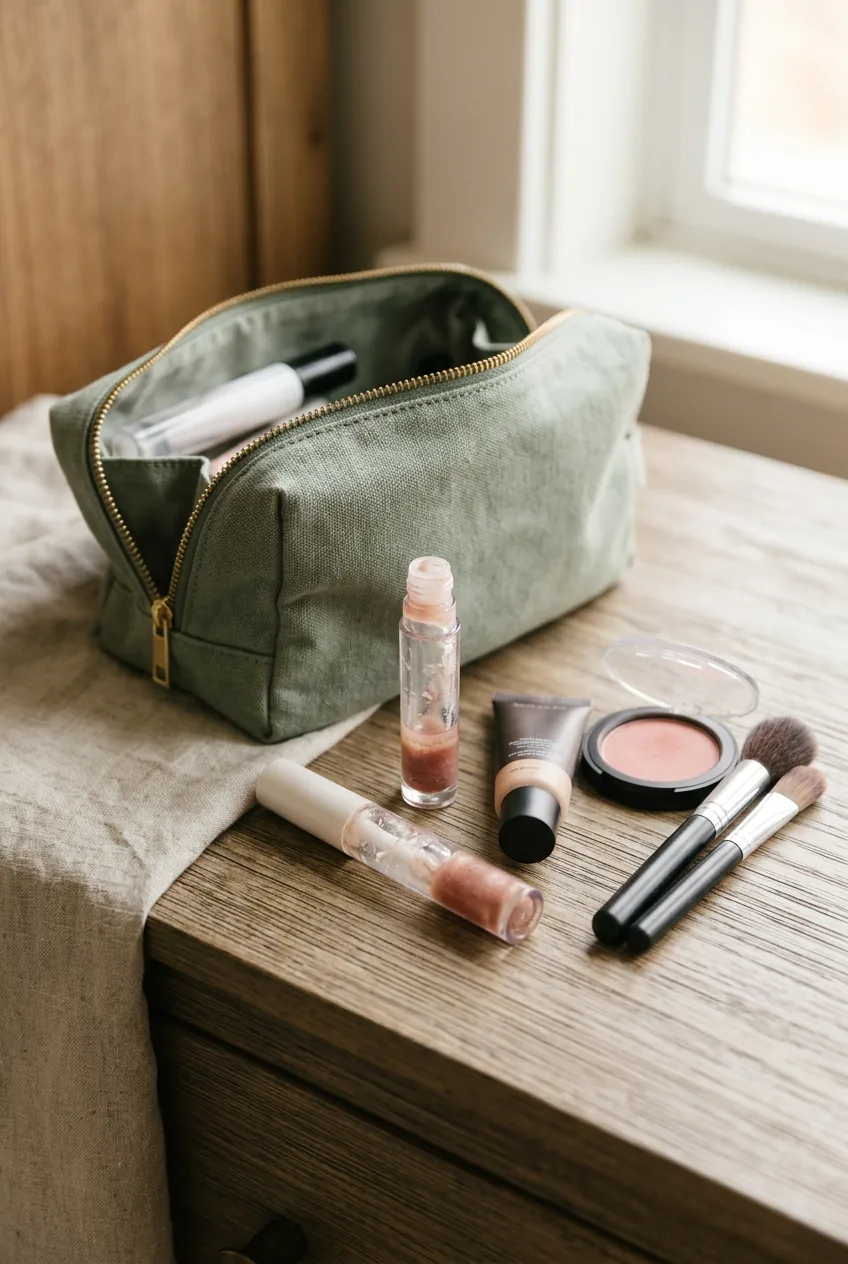
Keep it minimal but smart. Here’s my current travel kit that fits in a tiny makeup pouch:
- One tinted balm with SPF (does double duty as base and protection)
- A clear or nude gloss in a small tube (nothing over 3.4 oz for TSA)
- Q-tips or small makeup brush for precision
- Lip liner in a neutral shade (optional but game-changing)
- Small mirror or phone mirror for quick checks
- Tissue or blotting paper
The key is choosing products that work together. I learned this after trying to make three different undertones play nice at 30,000 feet. Not happening.
The Multitasking Products to Pack
Forget the Instagram-worthy collection. Travel is about finding one perfect gloss that can go from airplane to dinner without looking like you tried too hard.
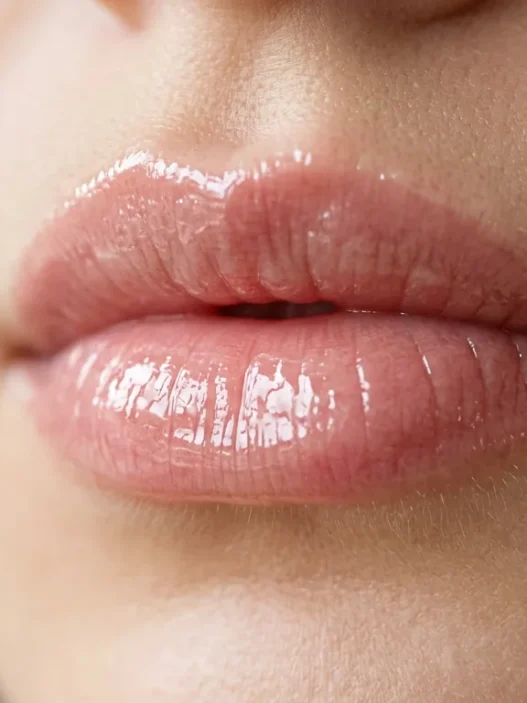
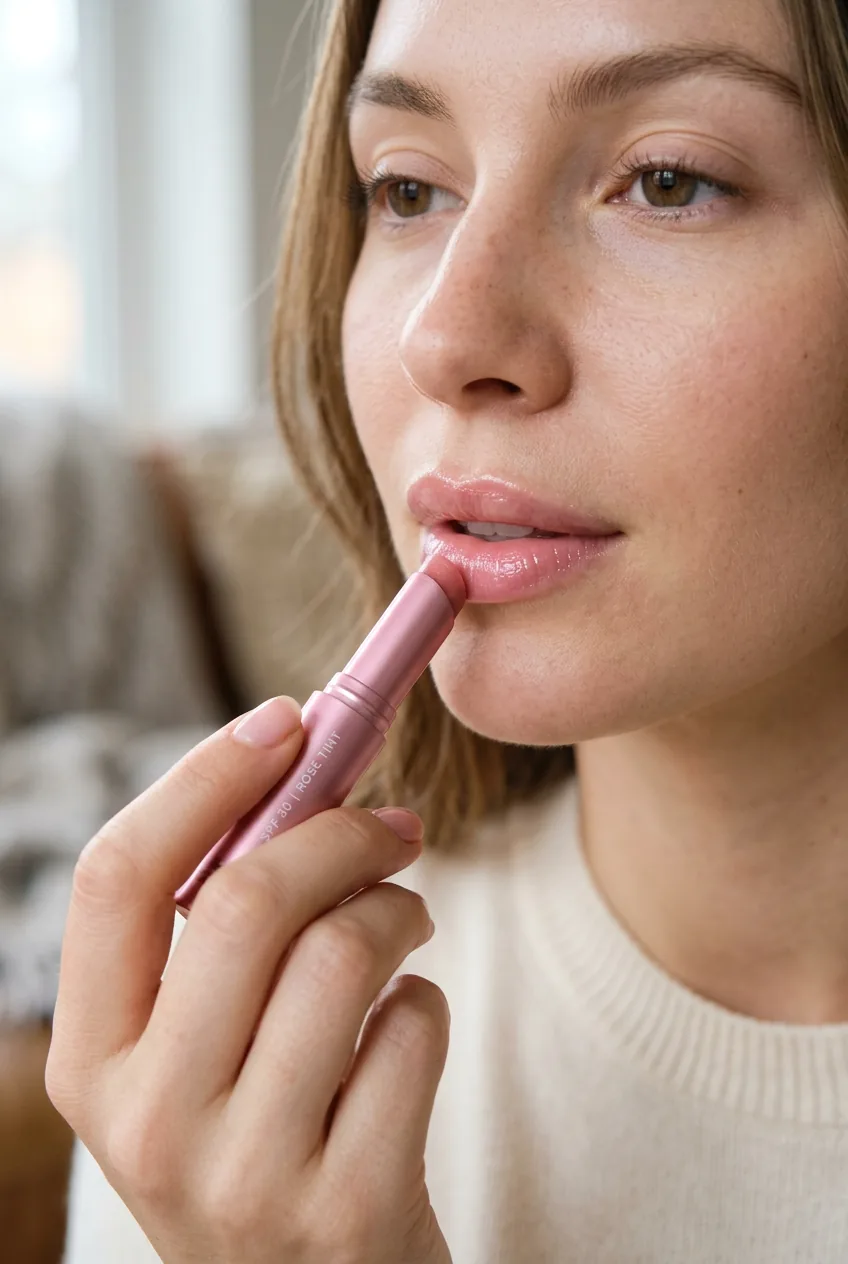
I swear by tinted balms with a slight sheen. They’re not technically glosses, but they give you that healthy, hydrated look without being so shiny that every piece of lint sticks to your lips. My current favorite has SPF 15 and comes in this perfect “my lips but better” shade that works whether I’m hiking or grabbing cocktails.
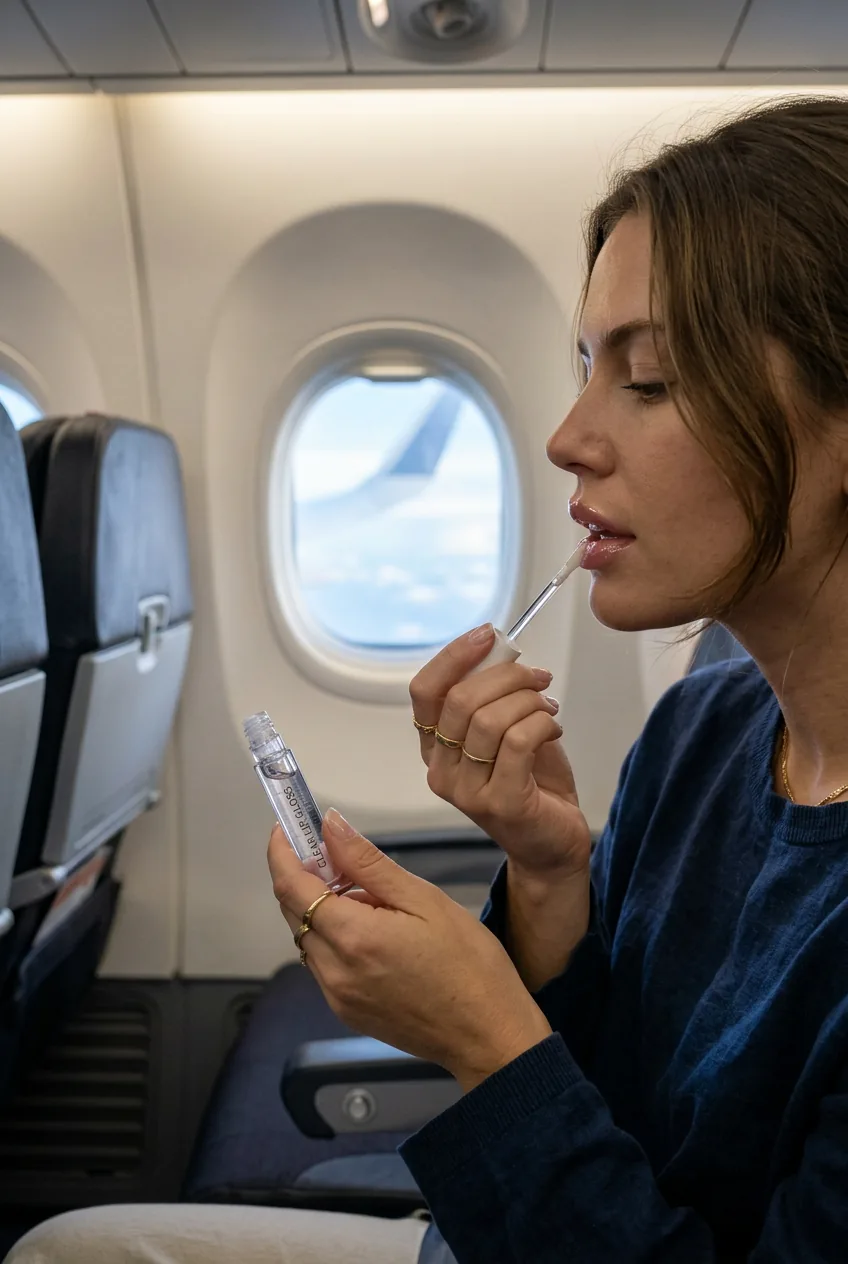
The clear gloss goes on top when you want more drama. But here’s what took me years to figure out — buy the smallest size possible. Those giant tubes look like a better value, but they’re heavy and take up precious space. Plus, TSA-friendly containers are your friend for decanting products if needed.
Pro tip I wish someone had told me sooner: test everything together before you leave. I once spent a weekend in Portland with a gloss that turned chalky over my usual lip balm. Not cute.
The Routine That Survives a Flight
Airplane air is basically designed to destroy your lips. The recycled air, the dehydration, the weird pressure — everything conspires against glossy lips. But there’s a method that actually works.
Start before you even get to the airport. I apply my tinted balm about an hour before leaving home, then blot it lightly. This gives it time to really absorb and creates a good base layer.
Once you’re on the plane, resist the urge to keep reapplying. Every time you add more product, you’re actually removing what’s already there. Instead, press your lips together gently to redistribute what you have. If they feel truly dry, blot first, then add a tiny amount of balm.
I used to reapply gloss every hour on flights and wondered why my lips always looked patchy by landing. Turns out I was just building up layers of product that would flake off. Less really is more at altitude.
The real trick happens about thirty minutes before landing. That’s when I do my “refresh” — gently blot away any buildup, then apply one thin layer of my tinted balm followed by just a dot of clear gloss in the center of my bottom lip. It looks fresh but not overdone for whatever comes next.
Touch-Ups in a Tiny Bag
This is where most people go wrong. They think touch-ups mean adding more product. Actually, the best touch-ups often involve taking product away.
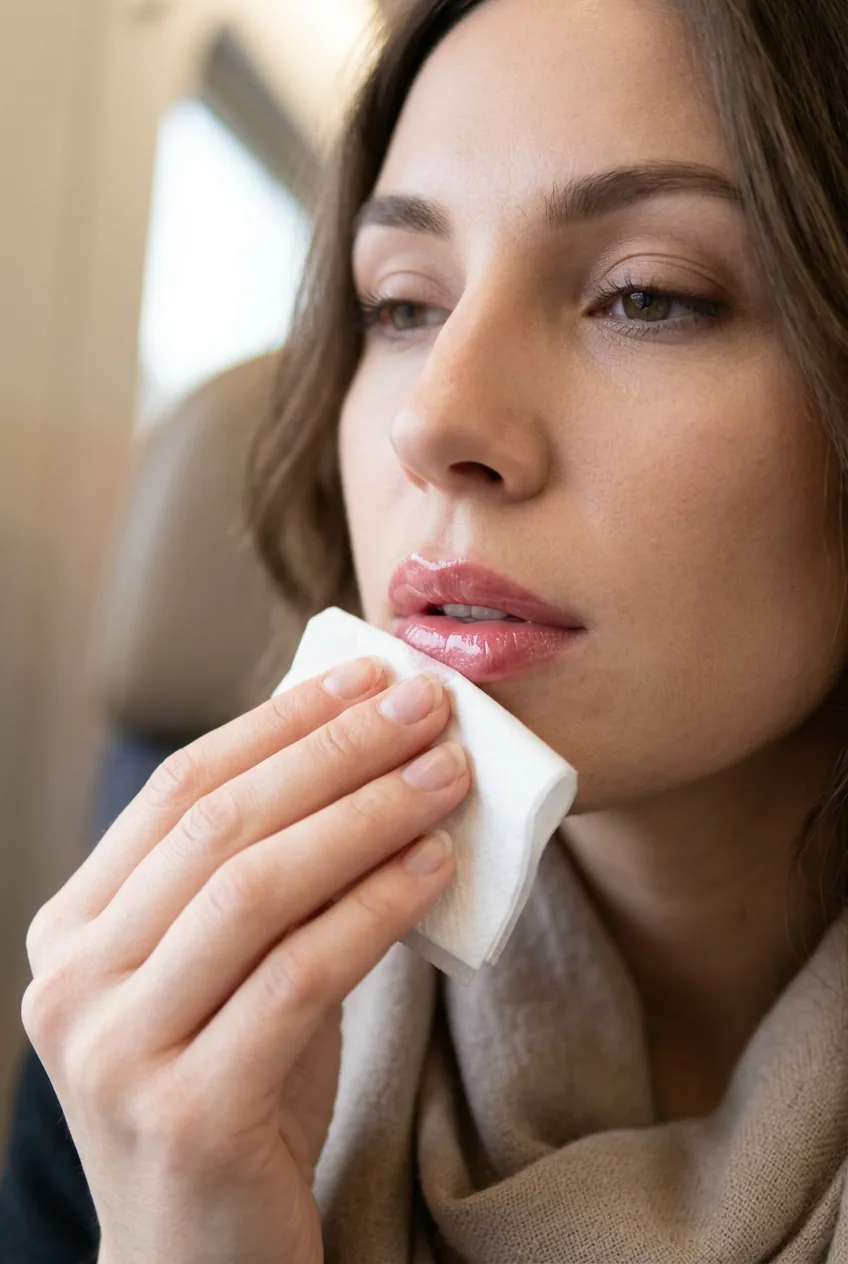
Keep one tissue in your bag specifically for lip maintenance. When your gloss starts to feel tacky or looks uneven, press the tissue lightly against your lips — don’t wipe, just press. This removes excess product and any fuzzies that might have attached themselves.
Then, and only then, add fresh product. Use your finger to apply just a tiny amount to the center of your lips and press them together. This technique gives you better control than applying straight from the tube, especially in weird lighting or small mirrors.
For really quick fixes when you’re rushing between terminals or meetings, skip the gloss entirely and just press your lips together firmly. Sometimes the natural oils from your skin are all you need to revive what you’re already wearing.
The Video That Changed My Touch-Up Game
Adjusting for the Destination
Every climate demands a slightly different approach. What works in dry Vegas air will slide right off your face in humid Miami.
Hot, humid destinations need less product overall. The moisture in the air will actually help your gloss look dewier, so start with barely anything and build up if needed. I learned this the hard way during a summer trip to New Orleans where my usual amount of gloss basically melted off my face within an hour.
Dry climates are the opposite problem. You need more hydration underneath your gloss, but not more gloss itself. I add an extra layer of balm about fifteen minutes before applying gloss, which gives it time to absorb without creating a slippery base.
Cold weather is tricky because indoor heating can be just as drying as the outdoor air. My strategy is to apply product right before going outside, then do a quick check when I come back in. Usually I need to blot away some excess that’s accumulated from being bundled up.
Beach destinations require SPF, obviously, but also something that won’t taste terrible when you inevitably lick your lips after swimming. Most regular glosses taste like chemicals mixed with salt water. Not appetizing.
Troubleshooting Common Travel Gloss Problems
Let’s talk about the disasters that happen when you’re far from home with limited supplies.
Problem one: your gloss has gone stringy or separated in the heat. Don’t panic. Find a cool place (air-conditioned hotel lobby, restaurant) and let it sit for ten minutes. Most glosses will return to normal consistency once they cool down. If it’s really bad, you might need to mix it with a clean finger or small brush.
Problem two: you’ve applied too much and now you look like you stuck your face in petroleum jelly. Tissue blotting won’t be enough here. Use a clean finger to gently remove excess, then reapply just a tiny amount. It’s annoying but better than walking around looking overdone.
Problem three: your lips are dry and flaky underneath the gloss, making everything look patchy. You need to start over. Remove all the gloss gently, use some balm or even a tiny bit of the hotel moisturizer if that’s all you have, wait five minutes, then start fresh with a very thin layer.
The biggest mistake I see people make is trying to fix problems by adding more product. It never works. Sometimes you just have to admit defeat and start over.
Making Your Gloss Last All Day
This is the holy grail question, especially when you’re sightseeing all day with no time for major touch-ups.
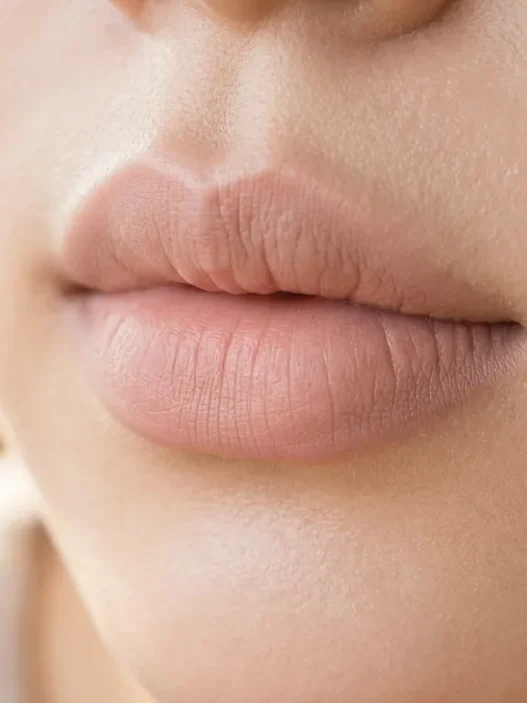
The secret isn’t in the gloss — it’s in the prep. Exfoliated lips hold product better, but you can’t pack a lip scrub for every trip. Instead, use a washcloth with gentle circular motions while you’re brushing your teeth. Takes two seconds and makes everything apply smoother.
Layer wisely. Balm first, let it absorb for a few minutes, then gloss. But here’s the key detail most people miss: the amount of balm matters just as much as the gloss. Too much and your gloss slides around. Too little and it won’t last through breakfast.
Strategic eating helps too. If you know you’re having a big meal, apply gloss after, not before. And when you do eat, try to keep food away from your lips as much as possible. This sounds obvious but you’d be surprised how much longer gloss lasts when you’re conscious about it.
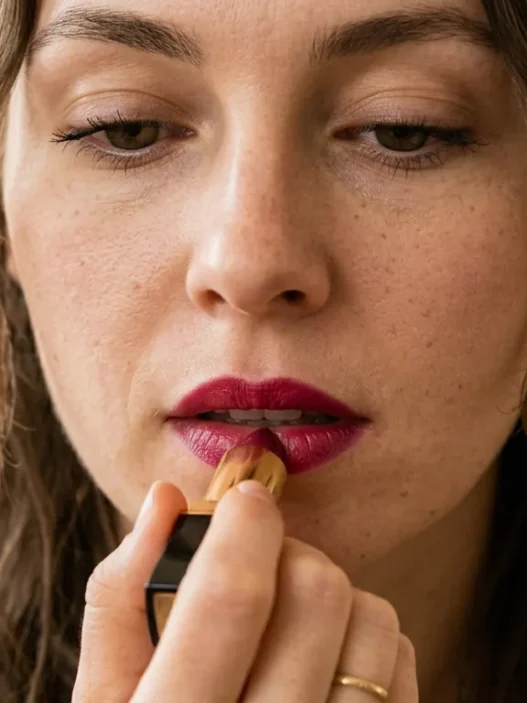
For occasions where you truly need all-day wear — like a wedding or important meeting — consider using a clear lip liner under your gloss. It’s an extra step but it creates boundaries that help everything stay put. Just make sure to blend the edges so it doesn’t look obvious.
Quick Answers
Can I bring full-size gloss in my carry-on?
Only if it’s under 3.4 oz (100ml). Most full-size glosses are fine, but those jumbo tubes might get confiscated. I always check the packaging before packing.
What if my gloss gets weird and chunky during travel?
Temperature changes can make gloss separate or thicken. Let it come to room temperature, then gently roll the tube between your palms to warm it up. Most formulas will return to normal consistency.
How do I keep gloss looking fresh all day without a mirror?
Press your lips together periodically to redistribute product. If you can feel it getting tacky or uneven, blot gently with tissue before adding more. Your phone camera works great as a mirror in a pinch.
Should I pack backup lip products when traveling?
One backup is smart, especially for longer trips. But resist packing five different options — you’ll just end up overwhelmed and using none of them properly. Stick to what you know works.
Honestly? This whole system has saved me so much stress. I used to spend the first day of every trip figuring out which products worked with the local climate and water. Now I pack three items and know exactly what to expect. Plus there’s something satisfying about how I stopped doing lip combos wrong and keeping things simple. My lips actually look better when I’m not fussing with them constantly.