




I have cried over liquid liner more times than I want to admit. For years my cat eye makeup looked great on one eye and completely drunk on the other, and I would just smudge it into a smoky eye and pretend that was the plan.
Last spring I finally sat down and practiced the same routine every morning for two weeks until my hands learned it. Now I can do both wings in about 12 minutes, even before coffee. This is the exact order that works for me.
Time estimate: 12-15 minutes once you practice, 20 minutes the first few tries. Skill level is true beginner-friendly if you go slow on Step 3.
My Sharp-Every-Time Cat Eye Roadmap
- What You’ll Need
- Step 1: Prime and Set Your Lids
- Step 2: Map Your Wing Angle
- Step 3: Draw the Crisp Lower Edge
- Step 4: Fill and Connect to the Lash Line
- Step 5: Shape a Soft Kitten Flick
- Step 6: Clean Up and Sharpen
- Step 7: Balance With Lashes and Skin
- Your Finished Cat Eye Look
- What I Get Asked About Cat Eyes
What You’ll Need
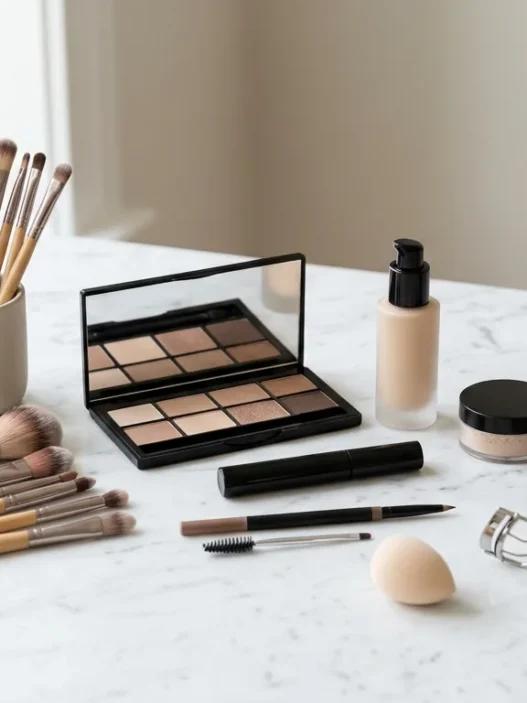
I tried this with a drawer full of products and I tried it with three things. Honestly, fewer tools give me a cleaner line because I stop second-guessing. This is my edited kit that lives in my small zip pouch:
- A fine-tip liquid pen liner in soft black, not waterproof for practice, waterproof for long days
- A peach-toned eye primer plus a translucent setting powder and a fluffy eye brush
- A small flat angled brush and a creamy concealer one shade lighter than your skin
- Pointed cotton swabs and oil-free micellar water for tiny clean-ups
- A lash curler, a lengthening mascara, and a hand mirror you can tilt up
- Optional: matte taupe shadow for almond-eye definition and clear brow gel
If you are brand new to liner, grab a felt-tip pen first. A brush-pot liquid is gorgeous but it floods so fast. I learned pressure control with a pen, then moved to a brush when I wanted that super-sharp editorial flick. For more background on eye placement in general, I love rereading the art of eye makeup because it made me think about balance, not just line.
Step 1: Prime and Set Your Lids
Every skipped-primer cat eye I have ever done melted into my crease by lunch. Oily lids and liquid liner are just not friends. I dot a rice-grain amount of primer from lash line to brow bone, then tap it in with my ring finger and let it get tacky for 30 seconds. Then I press the lightest dusting of translucent powder over it with a fluffy brush.
Why both? Primer grips, powder smooths. The liner glides instead of skipping, and that is half the battle for a clean edge. If you have hooded eyes like my sister does, keep the powder very sheer through the outer fold so it does not cake. I also do foundation after eyes on cat-eye days, because fallout and concealer clean-up are easier that way. You can read up on eyeshadow primer techniques before you start if your lids eat makeup by noon, because that base choice changes how bold your line can be.
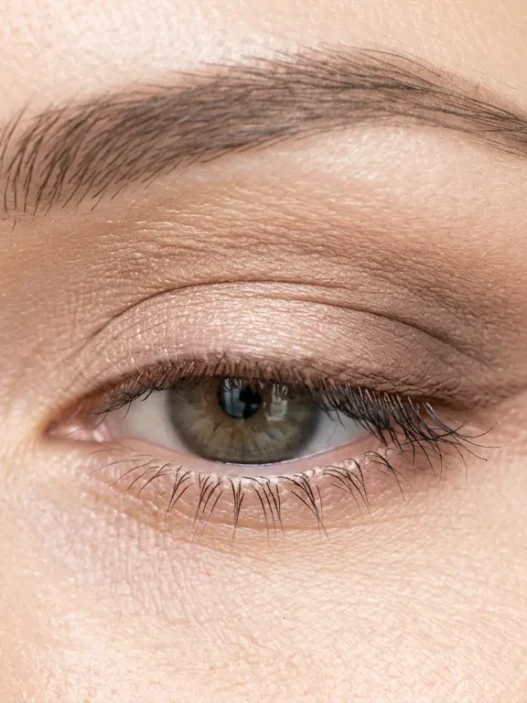
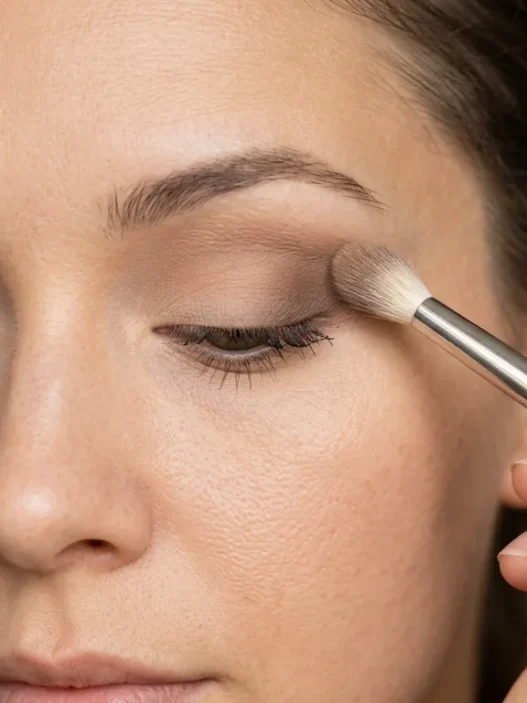
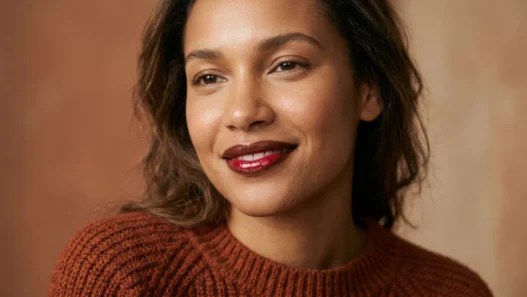
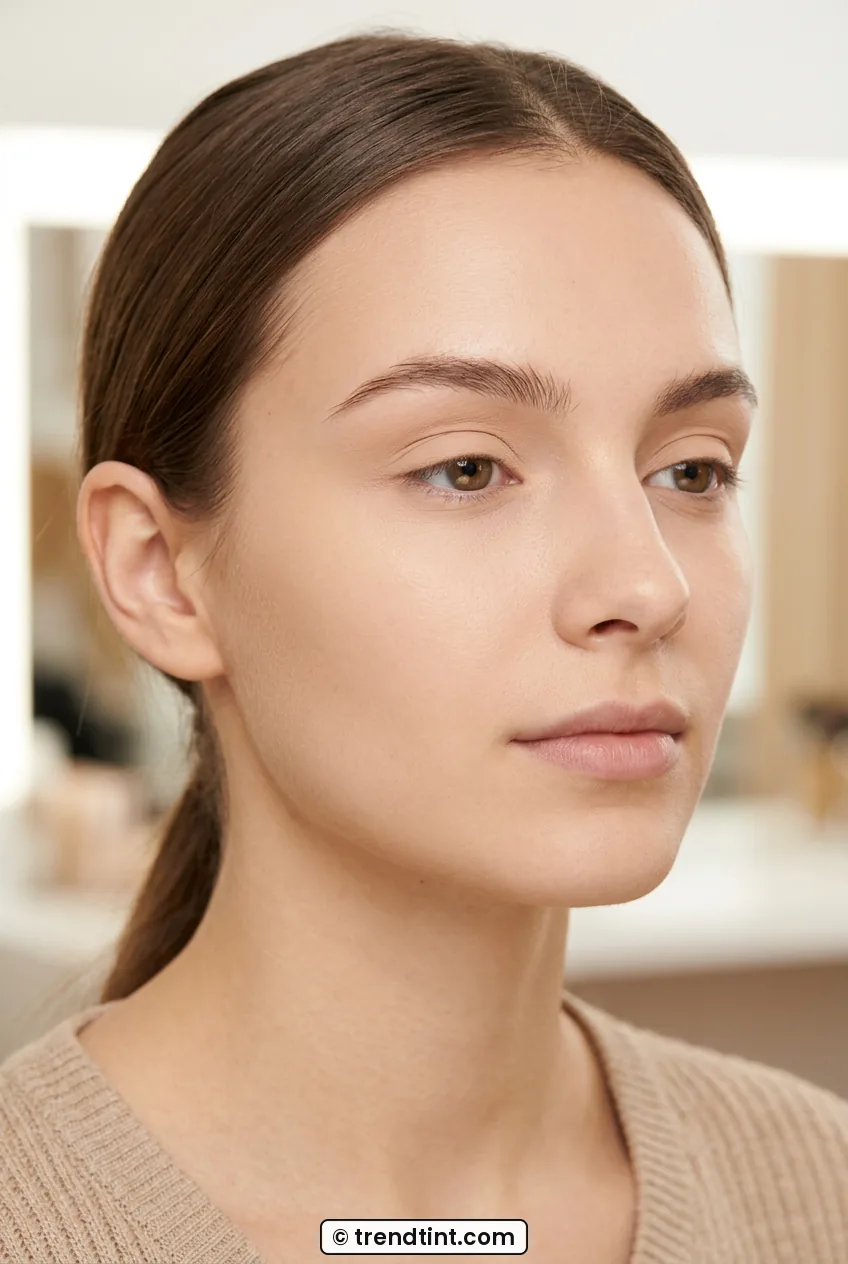
My little test is to blink ten times fast. If the primer feels sticky still, wait. If it feels smooth and dry, you are ready. Look at how she is prepped in this close shot, that velvety matte lid with no shine peeking through. That smooth canvas is what lets a fine-tip pen draw one continuous stroke instead of three scratchy ones.
Step 2: Map Your Wing Angle
This step saved my symmetry. Do not draw the full wing yet. Sit up straight, chin level, eyes open and looking straight into the mirror. Take your pen cap or the end of a brush and hold it from the outer corner of your nostril past the outer corner of your eye. Where that line points is roughly your most lifting angle. For most of us with almond eyes, that is up toward the tail of the brow, not straight out to the ear.
I make two tiny dots with my liner, one at each outer corner, where I want the tip of the wing to end. Then I check. Are they even? Is one higher? Fix the dots now while they are tiny. I learned this from staring at eyeliner styles side by side and realizing my right eye always needed its dot a hair lower because my brows are sisters, not twins. My favorite trick is to take a phone photo straight-on. The camera catches crookedness my mirror brain misses.
Keep the dots conservative, about 3-4 millimeters out from the corner for daytime. You can always extend. I used to go full dramatic on the first pass and then spend ten minutes trying to match the other side. Starting small feels boring, but it is how I get them even in under two minutes now. Think kitten first, cat later.

Step 3: Draw the Crisp Lower Edge
Here is the money stroke. Rest your elbow on a table and your pinky on your cheek to steady your hand. Eyes open, face relaxed, no pulling the skin tight. With a light hand, draw a thin straight line from that outer dot inward to the outer corner of your eye, right where lashes end. This lower edge is the backbone of the whole look, so I do it first.
It should feel like you are sketching, not stamping. I hold my breath for literally two seconds, which sounds silly but it stops the wobble. If your hand shakes, try drawing with the side of the felt tip instead of the very point for this guideline. You get a smoother, less scratchy line. And keep the line thin. A thick lower edge makes the wing look heavy and dragged-down, especially on smaller lids.
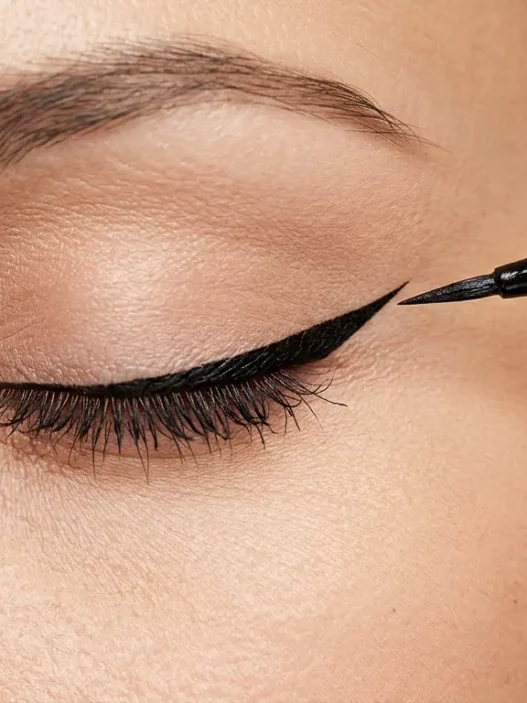
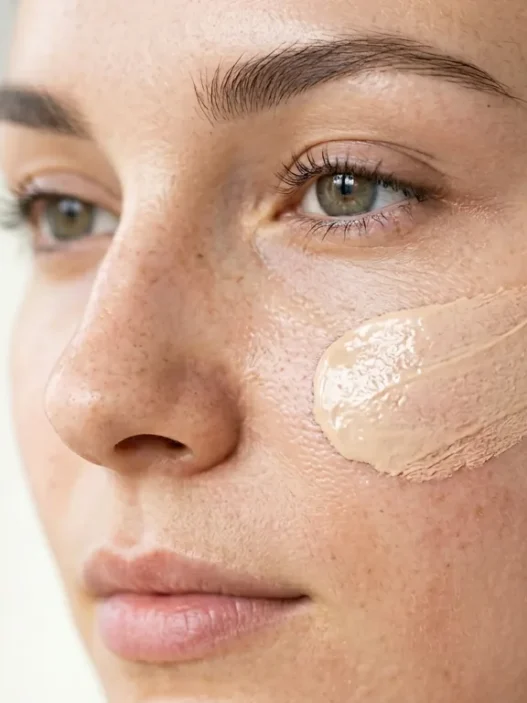
She is showing exactly what I mean here, see how thin and straight that lower edge is with her eye gently closed? That clean guideline is doing all the lifting work before any filling happens. I rehearse this stroke on the back of my hand every morning to warm up, three quick flicks, and my actual eye line comes out so much straighter. You can also learn a lot from winged liner tutorials if you want to watch hand position up close, because seeing someone anchor their pinky changed my control completely.
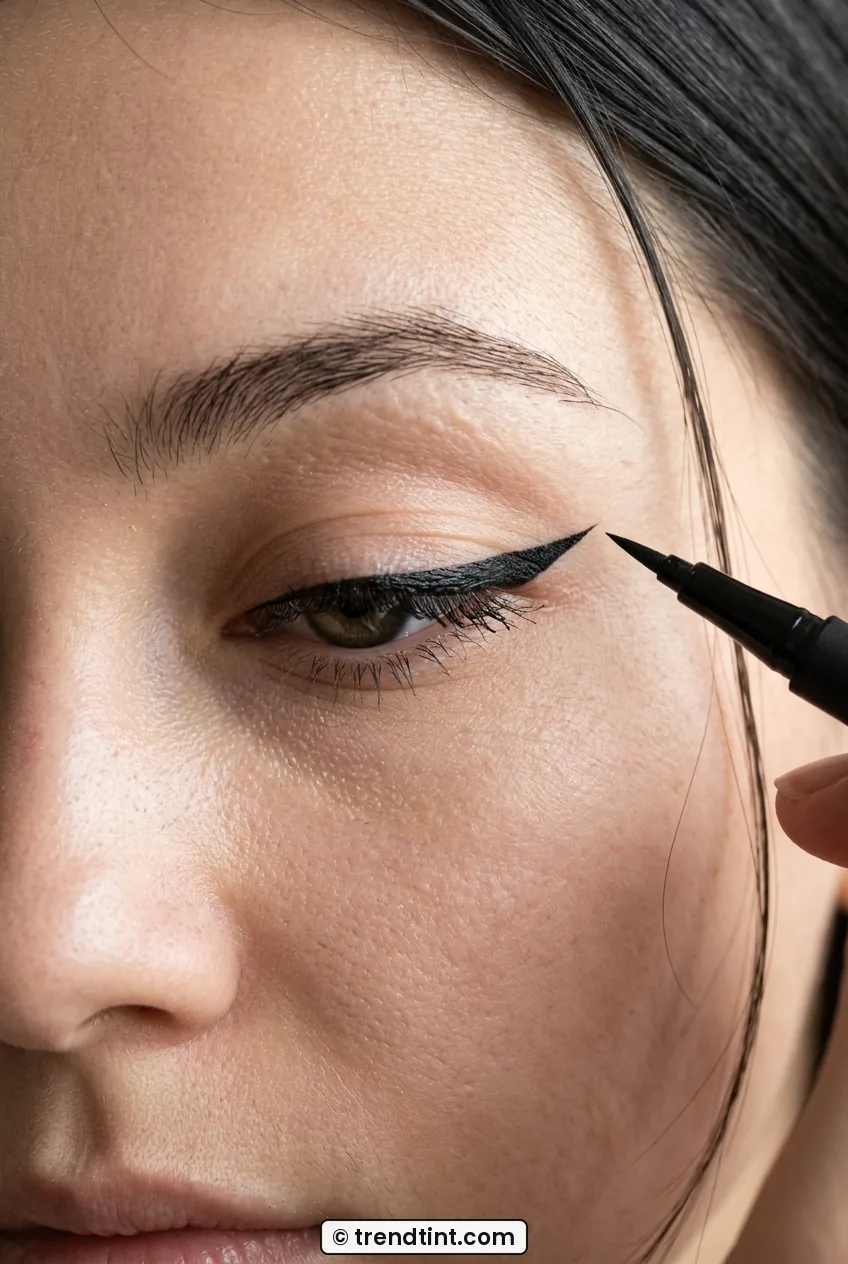
Watch the Flick Motion Up Close
Step 4: Fill and Connect to the Lash Line
Now close the triangle. From the tip dot, draw a second line back down to about two-thirds of the way in along your upper lash line, meeting it softly. You have just made a skinny outline of a wing. Fill it in with small feathering strokes, not one big press that floods the tip. Then tight-line along the lashes from outer corner to inner corner, getting the liner right down into the roots.
I keep the line thinnest at the inner corner and let it get gradually thicker as it moves out. That taper is what makes eyes look lifted and almond-shaped instead of heavy. If you have gaps between lashes, wiggle the tip side to side rather than drawing above them. No white gaps allowed, that is my rule. And do both eyes step by step rather than finishing one completely. Outline both, then fill both, then compare.
Mistake I made for a year: I pulled my outer corner tight to get a smooth line, then let go and wondered why my perfect wing turned into a little bent hook. Let the skin sit naturally, even if the line looks slightly bumpy wet. It dries straight on relaxed skin and wonky on stretched skin every single time.
For product talk, I sort liners under my broader makeup type stash because formula matters more than brand hype here. A slightly satin pen that sets in 20 seconds is more forgiving than an instant-set waterproof one when you are still learning to connect the wing to the lash line.
Step 5: Shape a Soft Kitten Flick
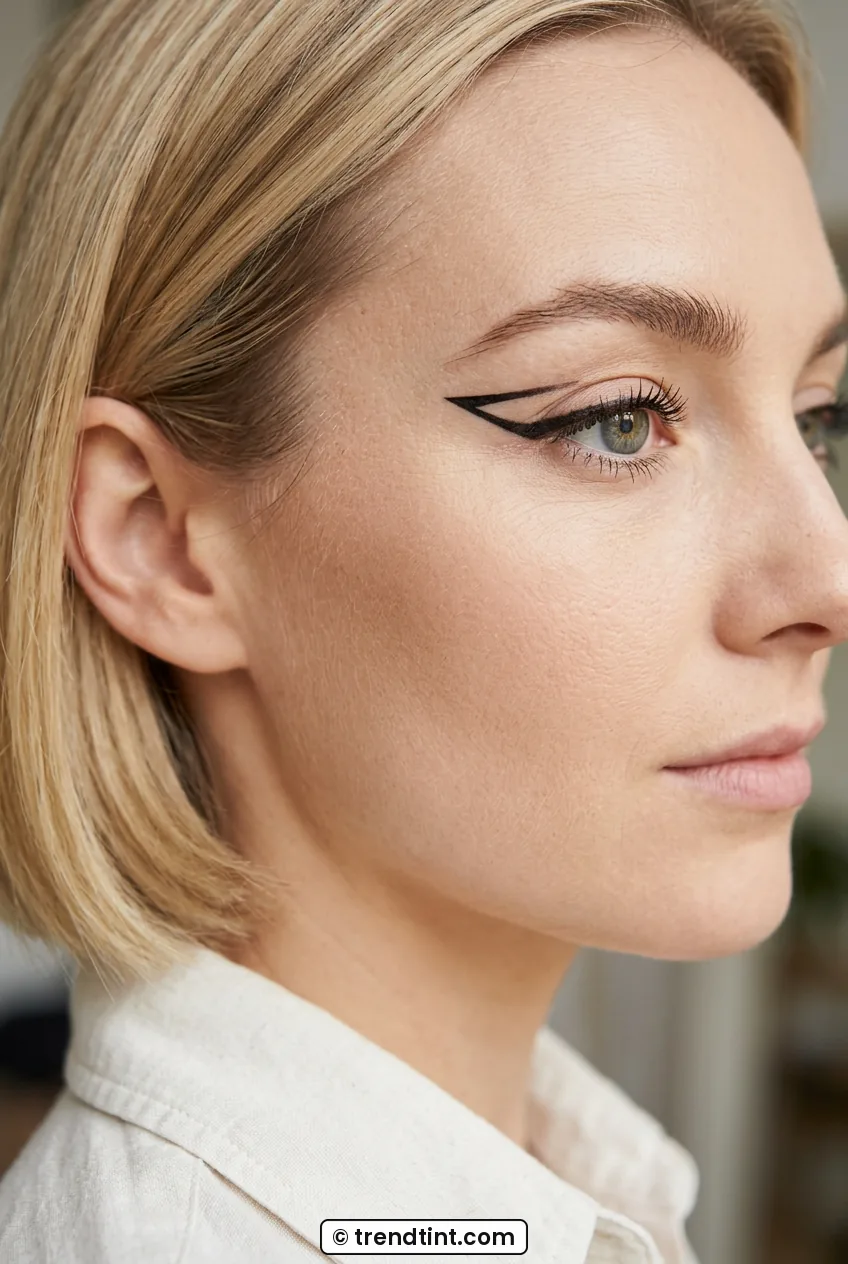
Not every day wants a full sharp cat. When I want a wearable office version, I soften this into a kitten eyeliner. Instead of extending that tip dot farther out, I keep it short and slightly upturned, and I smudge a whisper of matte taupe shadow right above the wing to blur the edge. It reads as liner from the front but feels so much friendlier up close.
I do this on days when my eyes are puffy or I am wearing a bold lip. A huge wing plus a red lip plus contour can veer costume-y fast on me. A short flick keeps the lift without shouting. If you love winged eyeliner tutorials that show ten lengths, ignore them for now and master this one short length. Once your muscle memory knows short, going longer is just extending the same motion another 2 millimeters.
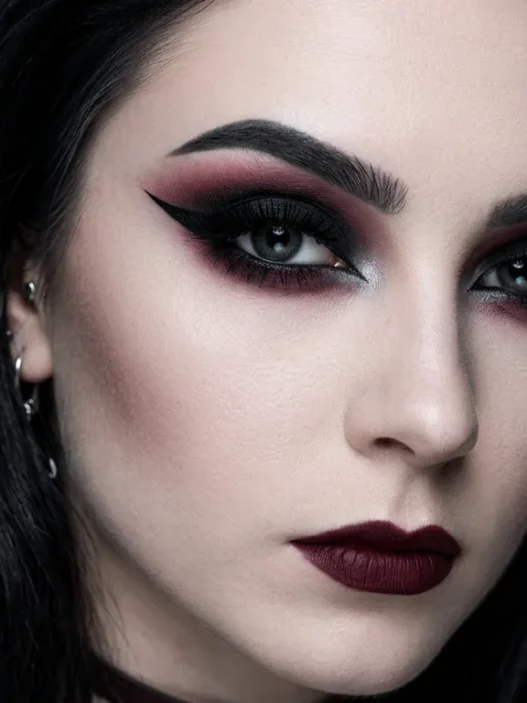
Look at her here, that short upward kick barely clears the corner but her whole eye looks more awake. That is the kitten effect I chase for work. I also tap a tiny bit of champagne shimmer just inside the inner corner, never on the wing itself, so the flick stays the star. If you are into a tonal eye-and-cheek moment, a touch of monochrome makeup blush in the same warm family keeps a kitten flick looking modern, not retro.

Step 6: Clean Up and Sharpen
Nobody gets a perfect line freehand, not even pros. Clean-up is part of the routine, not a fix for failure. Dip a flat angled brush in a drop of concealer, wipe most of it off on your hand, then carve underneath the wing in one upward sweep from outer corner to tip. That one sweep makes the lower edge look laser-cut.
For tiny wobbles on top, I use a pointed swab barely damp with micellar water, then re-set with a tap of powder so liner has grip again if I need to redraw. Less is more here. I used to re-conceal three times and ended up with a cakey light patch that photographed weird. One carve, blend the lower edge down with a fingertip, done. If one wing ended up thicker, thicken the other to match rather than trying to shave one down. Adding is easier than subtracting.
This is also where I check with eyes open. Does the wing disappear into my crease? If yes, I extend the tip 1 millimeter higher, not longer. That vertical lift keeps it visible when I am looking straight ahead. Learning eyeliner correction tips helped me stop wiping everything off and starting over, which used to ruin my base and my mood.
Step 7: Balance With Lashes and Skin
A strong wing needs soft balance everywhere else or it floats. I curl lashes, do one coat of mascara on top, one light coat below, and I skip heavy shadow on the lid. Just that primed skin with maybe a wash of nude matte through the crease. On cheeks I do a sheer peachy blush, and on lips either a tinted balm for day or a true nude for night.
If I am going out, I will add individual flares only at the outer third, never a full strip that hides the flick. The goal is to thicken the base of the wing, not cover it. And I set lightly, a mist from arm’s length, eyes closed until dry. Waterproof liner plus dewy setting spray can transfer if you blink while wet, I learned that on a humid wedding dance floor.
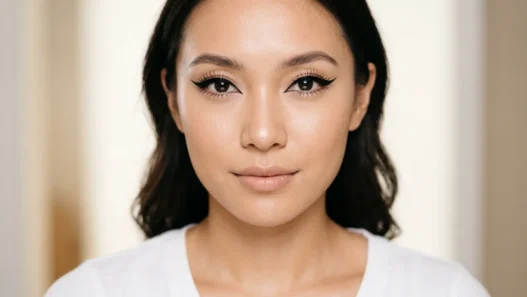
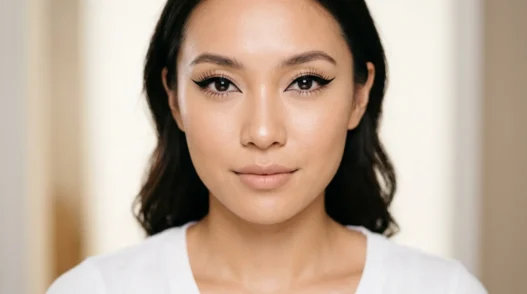
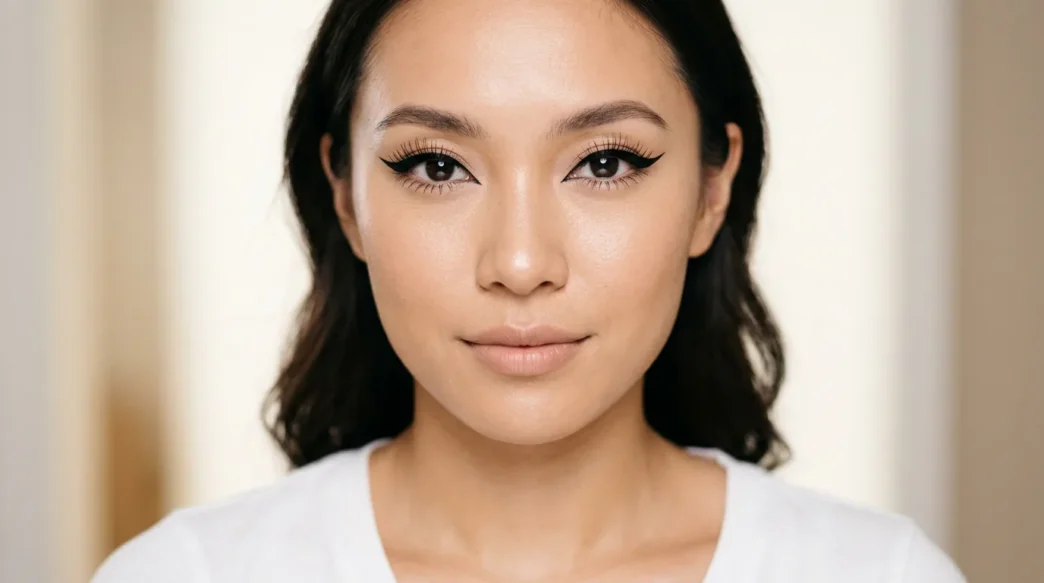
She nails the balance in this wider shot, see how clean her skin is and how the lashes just support the line instead of competing? That is what I copy. When I want smoke instead of sharp, I will build from this base into my beloved smoky eye makeup look by buffing dark shadow over the wing, but most days I leave it crisp and let it be the whole moment.
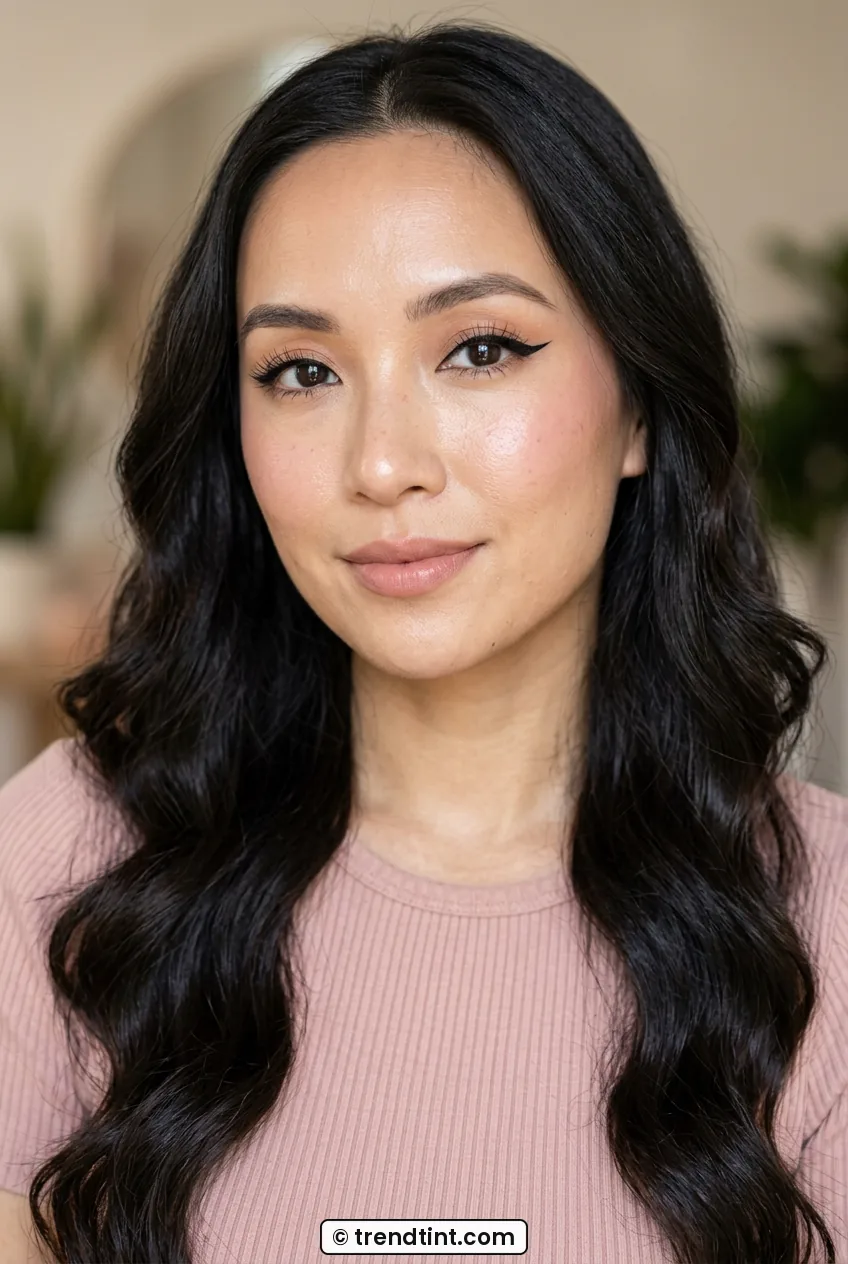
Your Finished Cat Eye Look
Mine now lasts a full workday plus dinner, about 10-12 hours without feathering. The wings stay even because the dots did the measuring work, and the line stays black because the primer-and-powder base locked it down. In photos my eyes look bigger and more lifted, in person people just ask if I slept well.
What I love most is that it is repeatable. Same order, same hand rest, same breath-hold stroke. Yesterday I did it in the car mirror before a dentist appointment, okay passenger seat, not driving, and both flicks actually matched. That never happened in my old wing-and-pray era.
Try it three mornings in a row and save a selfie each day. Day three is always the charm in my experience. And if one side misbehaves, make it the slightly thinner sister and walk away. No one else sees the 1-millimeter difference you are spiraling over.
What I Get Asked About Cat Eyes
How do I do cat eye makeup on hooded eyes?
Draw with eyes open and make the wing a bit straighter and shorter than you think. I map the tip where it stays visible when I look forward, then fill with a thin line. Thick lines fold and transfer, thin ones survive.
Pen, gel or liquid brush for the sharpest wing?
I start beginners on a felt-tip pen for control, then graduate to a brush-pot liquid for the sharpest tip. Gel with an angled brush is great for smoky softness but rarely gives me that needle-point finish.
Why does one wing always look higher?
Usually it is brow asymmetry or tilting your head. I level my chin, place tiny guide dots first, and check with a straight-on phone photo. Fix the dots, not the finished wing.
How do I stop it from smudging by afternoon?
Prime plus sheer powder is my non-negotiable base, then waterproof liner on long days. I also keep lower-mascara light and skip creamy shadow under the wing, which is where transfer starts.
Tell me if you try the dot-mapping part, I am so curious if it fixes symmetry for you like it did for me.