
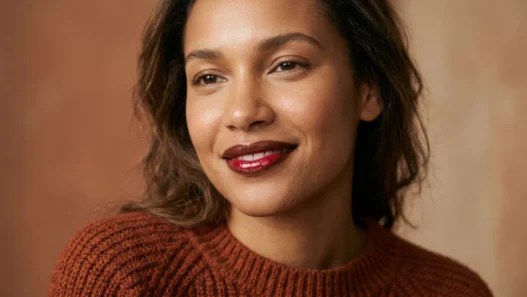




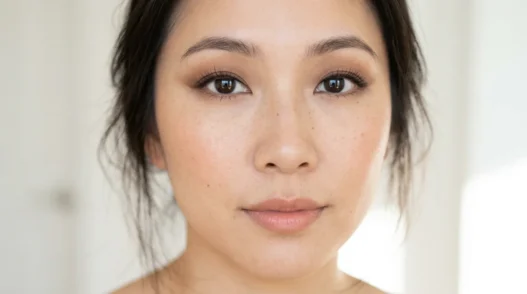
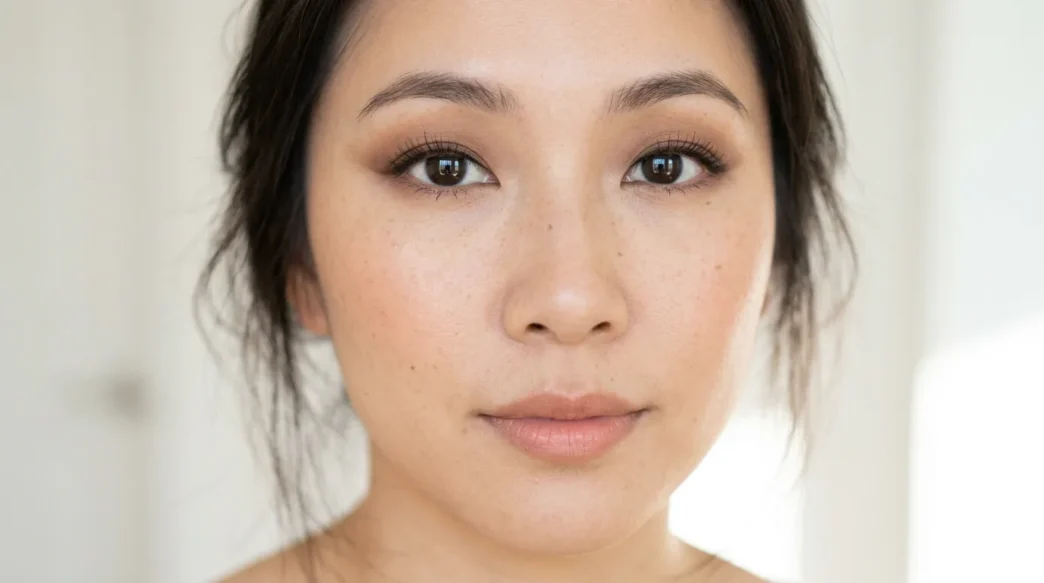
I have hooded eyes, the kind where my upper lid folds right over my crease when my eyes are open. For years I would spend 20 minutes on a pretty cut-crease I loved in the mirror looking down, then look straight ahead and poof, gone. Completely swallowed.
I started tailoring everything higher, softer, and a little more sideways than the tutorials told me to. And honestly, once I stopped trying to paint where my crease should be and started painting where my lid actually shows, hooded eye makeup got fun again.
This is my everyday 6-step method for a soft, lifted eye that still looks like me. No harsh lines, no 12-brush drama, just placement that works with a low fold.

In This Hooded-Eye Guide
- What You’ll Need
- Why Standard Advice Fails Here
- Step 1: Prime and Set Your Lid
- Step 2: Carve a Higher Transition
- Step 3: Deepen the Outer Corner
- Step 4: Tightline Instead of Thick Liner
- Step 5: Lift With Lashes and Mascara
- Step 6: Brighten the Inner Corner
- The Placement Adjustment
- The Technique That Flatters
- Making It Last on This Feature
- Hooded-Eye Questions I Hear All the Time
What You’ll Need
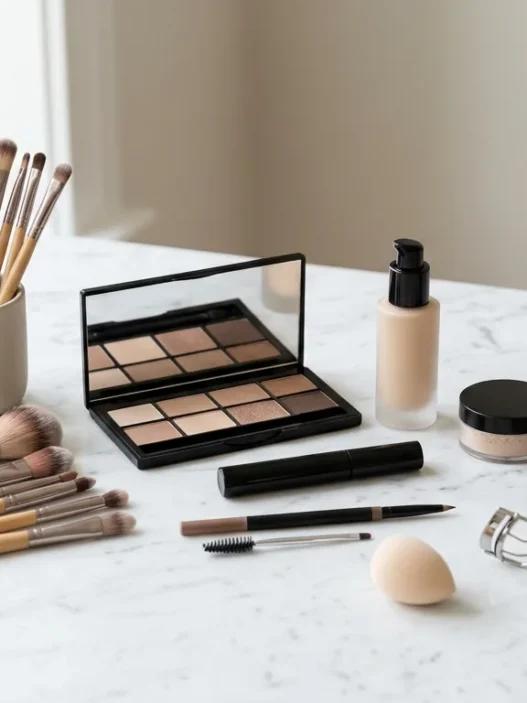
I keep this stupidly simple because hooded lids punish extra layers. Thick bases crease, glitter migrates, and too many shimmers just emphasize the puffiness. Here is my tight little kit:
- a light, grippy eye primer, not a greasy concealer
- a skin-tone matte setting powder or a light matte shadow
- a fluffy, mid-size blending brush and a smaller flat shader brush
- a soft medium-brown matte transition shade
- a deeper cool-brown matte for the outer-V
- a satin champagne shade for the inner corner, not chunky glitter
- a dark-brown waterproof pencil and a short angled brush
- a lash curler, a lengthening mascara, and optional half-lashes
That is it. I learned the hard way that a 20-pan palette does not fix a placement problem. If you love learning about color stories, I revisit the honest long-form eyeshadow looks guide whenever I want to shop my stash instead of buying more.
Why Standard Advice Fails Here
Most tutorials tell you to place shadow in your crease. But with my eyes, my crease is tucked under skin when I am looking straight ahead. So if I follow that advice literally, I am painting art on a part of my lid no one ever sees.
And liner? Do not get me started. A standard thick wing I loved on YouTube would stamp itself straight onto my brow bone the second I blinked. My upper fold touches my lash line toward the outer third, so anything creamy or too tall just transfers.
The fix was not more product. It was moving everything up and out. I started applying with my eyes open, relaxed, staring straight into the mirror. That one habit explained why my art of eye makeup explained in detail deep-dive finally clicked for me, because shape dictates placement more than color ever will.
If you have partially hooded, droopy, almond hooded, or round hooded eyes, same story. The hood steals vertical space, so we have to fake depth above where the fold sits, not inside it. Once I accepted that, I stopped fighting my face.
Step 1: Prime and Set Your Lid
I start with eyes open to see where my hood touches. For me it is right above the pupil to the outer corner. I press a rice-grain amount of primer from lash line to brow bone with my ring finger, then I blink a couple times to spread it thin. Thick primer is the enemy, it just pools in the fold.
Then I set it immediately with a skin-tone matte powder using that fluffy brush. No waiting around. The lid should feel dry and velvety, not tacky. On my oily lids, this two-minute prep is the difference between shadow that lasts through work and shadow that is gone by lunch. I learned a lot of my base habits from reading about eye primer for oily lids before you buy anything new, because formula matters less than thin layers.
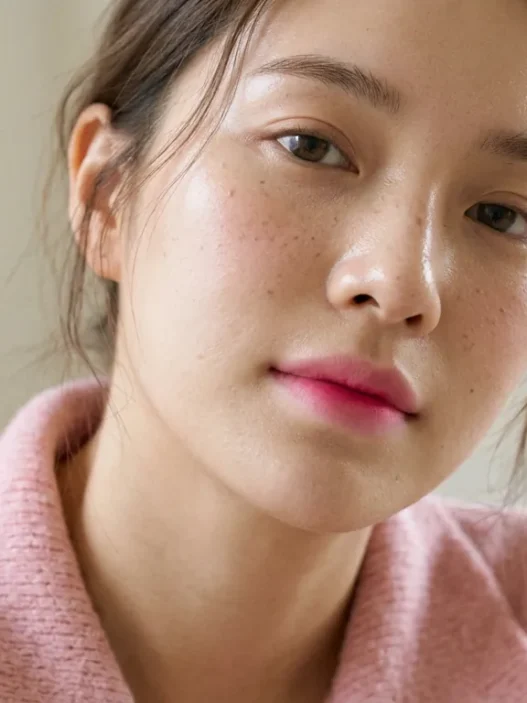
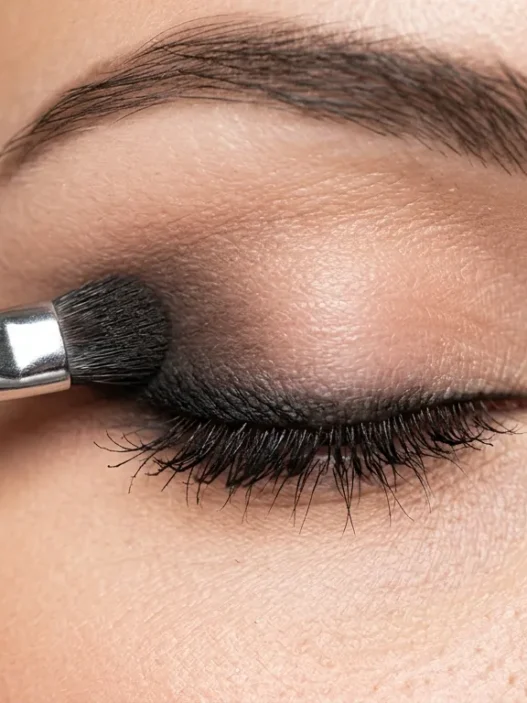
Look at how she is prepping hers in this close shot. Eye relaxed and looking down, brush barely touching. That light pressure is exactly what I mean, you are laying down grip, not scrubbing color in yet.
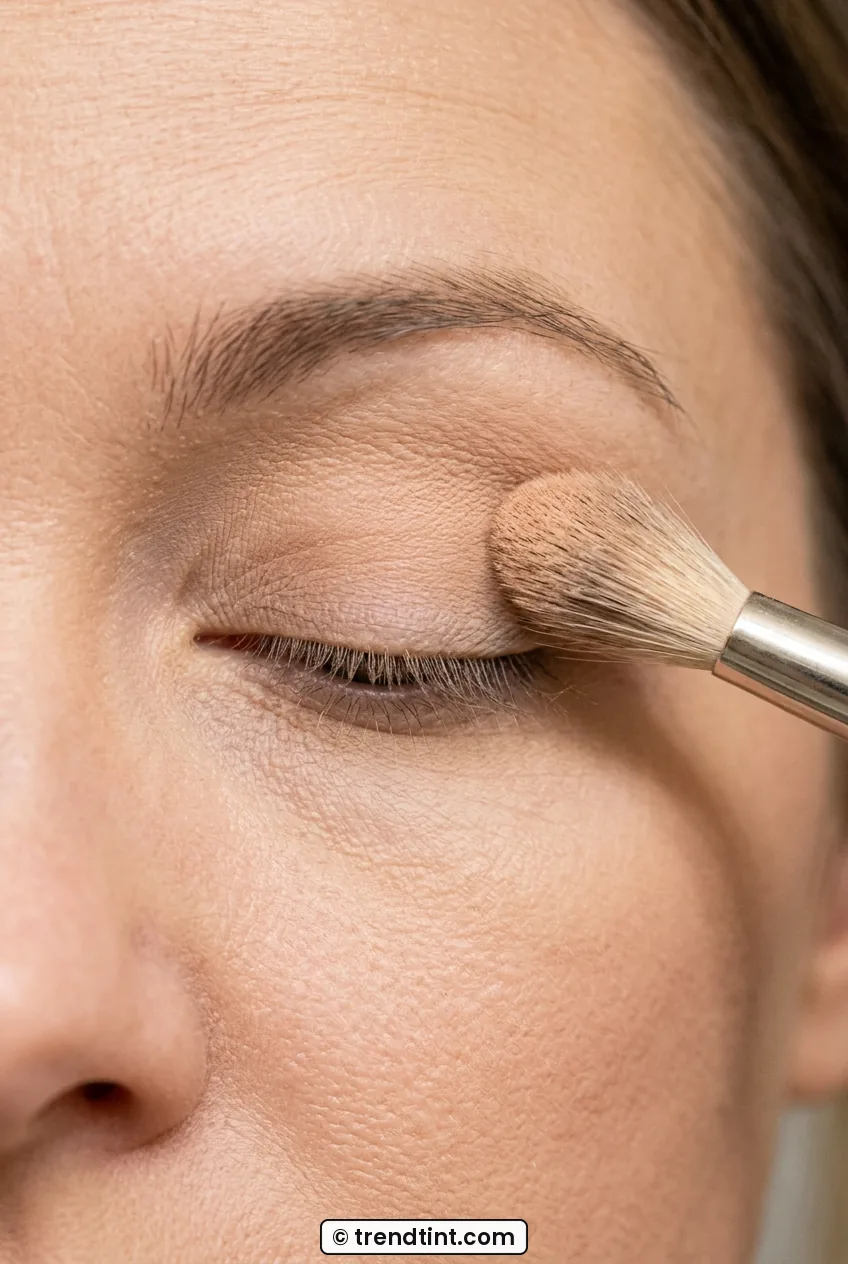
I also set a little under the brow tail. Any oil sitting there will drag the transition shade down later. If you wear glasses like I sometimes do, this step stops that midday smudge where your frames sit close.
Step 2: Carve a Higher Transition
This is the step that changed my face. Forget your actual crease. With eyes open, take that mid-tone soft brown on your fluffy brush and sweep it just above where your fold sits, on the bone you can actually see. For me that is about a third of an inch higher than where my brush naturally wants to dip in.
I use tiny windshield-wiper motions, back and forth, eyes open the whole time. Then I close one eye to check softness, then open again to check placement. The color should be a soft gradient halo peeking above the hood, not a stripe. I keep the inner third very light so I do not close off my eyes.
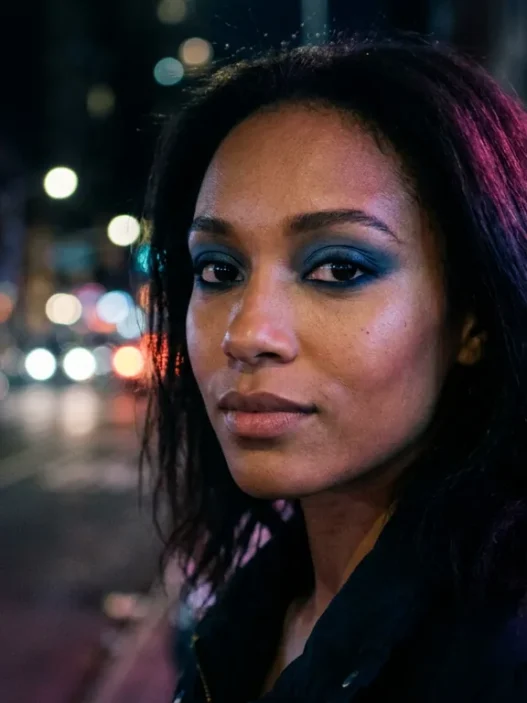
She has a similar fold to mine in this photo, and honestly you can see the shadow living above the crease, not tucked inside it. That visible band of warmth is the whole trick for hooded eye makeup that shows.
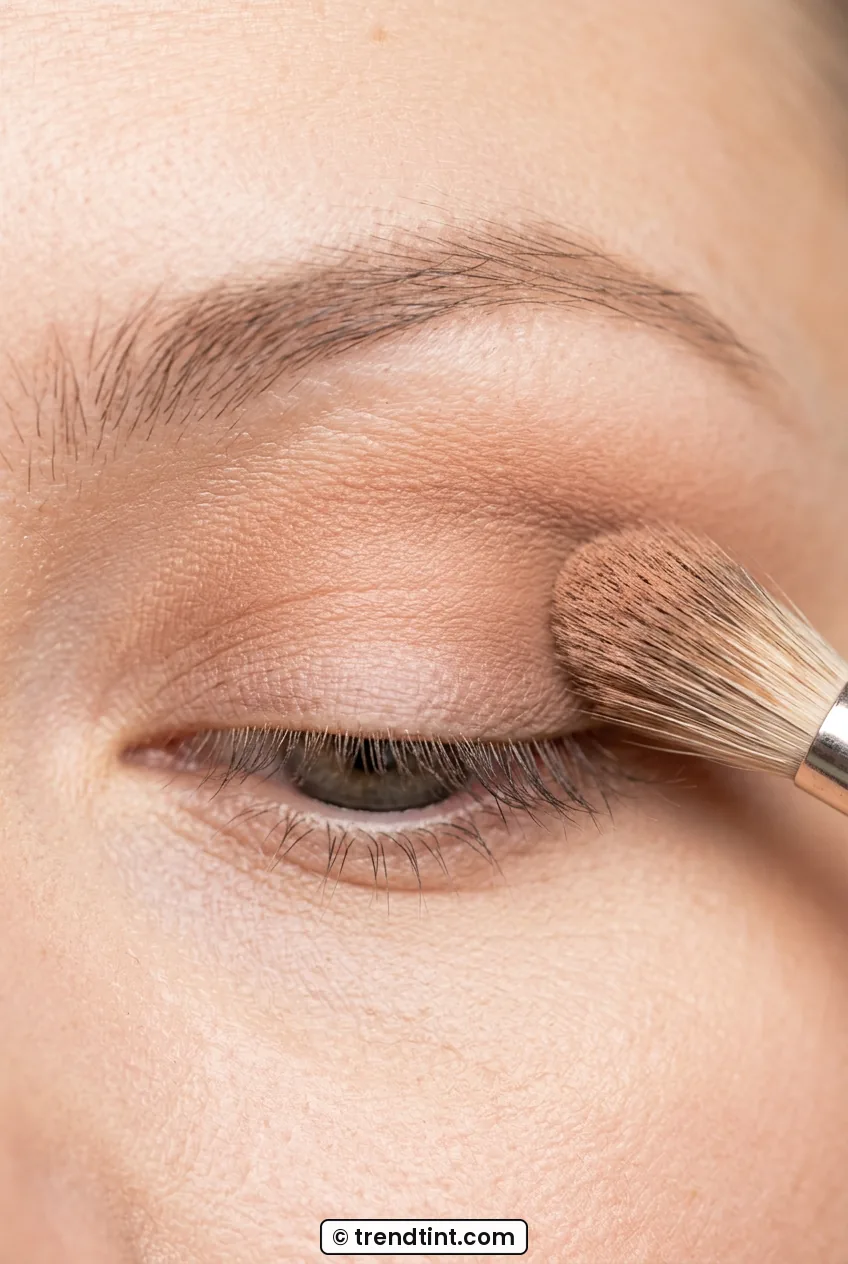
My favorite is a neutral, slightly cool taupe-brown. Warm oranges can make my lids look puffy, while gray-browns give me that sculpted, lifted effect. I build in two sheer passes instead of one heavy one. Patience here pays off way more than pigment.
Mistake I made for years: I blended with my eyes closed and my brow yanked up high. Looked flawless until I relaxed my face, then the whole shape disappeared under my hood. Now I do 90% of my blending eyes-open.
Step 3: Deepen the Outer Corner
Now we add depth, but sideways, not downward. I take the smaller brush with that deeper matte brown and press it into an sideways V at the outer corner, keeping my eye open. Think outer third only. I never drag this color across the middle of my lid, that is what makes hooded eyes look heavy and droopy.
The angle matters. I flick slightly up and out toward the tail of my brow, almost like a soft, smoky wing made of shadow. This lifts. If I go straight across or down, I emphasize the droop. I blend the edge back into that transition shade from Step 2 so there is no harsh line.
In this macro you can see her outer corner getting that soft depth while the center lid stays clean. That contrast is what creates an open, almond-like shape even when you have extra skin on top.
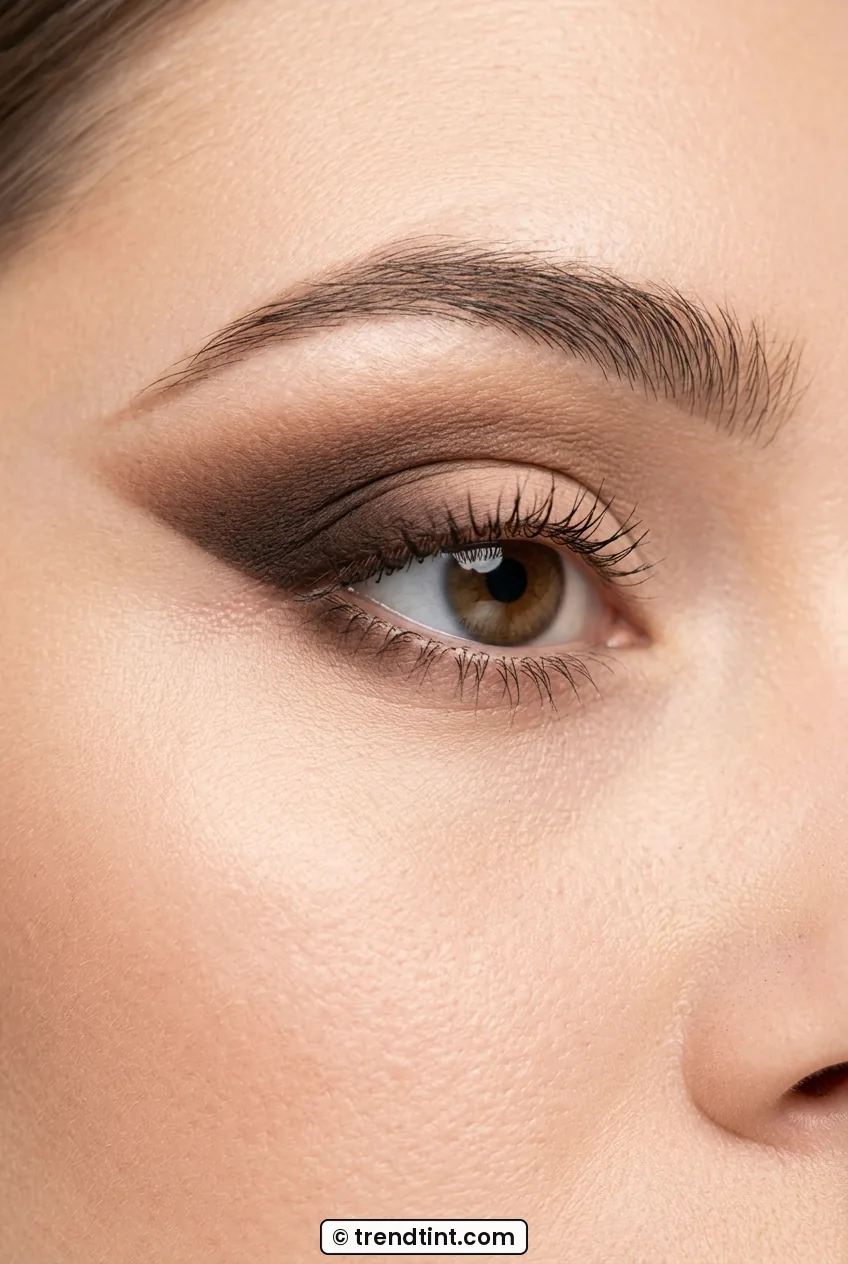
I had a bridal trial last spring where the artist did this perfectly on me, soft outer depth, clean center. It photographed so much better than my usual all-over smoky lid. If you are planning wedding makeup, my look was very close to what I talk about in the eye makeup transformation from bare face to full glam, just sheered out for daylight.
Step 4: Tightline Instead of Thick Liner
Here is where I gave up on thick liquid wings for daily wear. On my hood, a tall wing eats all my lid space and then stamps. So I tightline. I dot that dark-brown pencil right into my upper waterline and between my lashes, wiggling, not drawing a line on top.
Then, with eyes open, I add the tiniest flick at the very outer corner with a short angled brush and a matte dark shadow, not liquid. I call it a baby bat-wing. I draw straight out when my eye is open and relaxed, then fill in the little triangle that appears when I close. It looks weird closed, perfect open. That is the trade I will take all day.
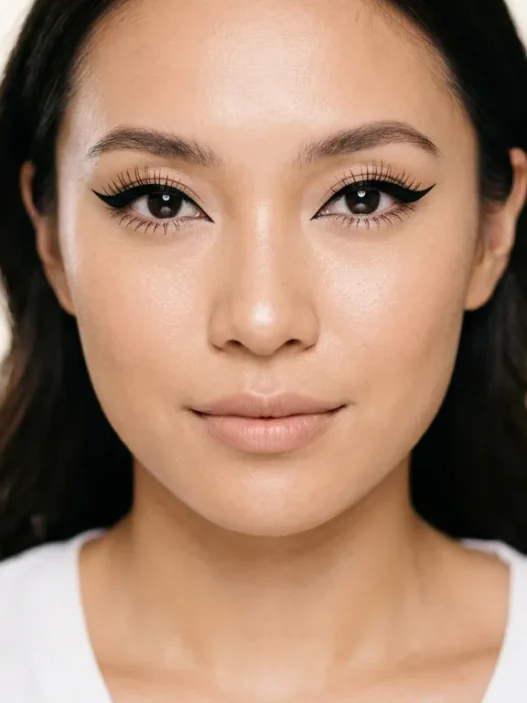
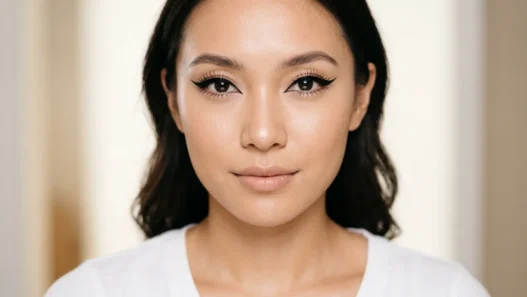
Look at her liner here, so thin you almost miss it, but her lash base looks full and dark. That is exactly the goal. I learned my flick angle from studying winged liner for hooded eyes in the mirror for a week until my hand memorized the outward push.
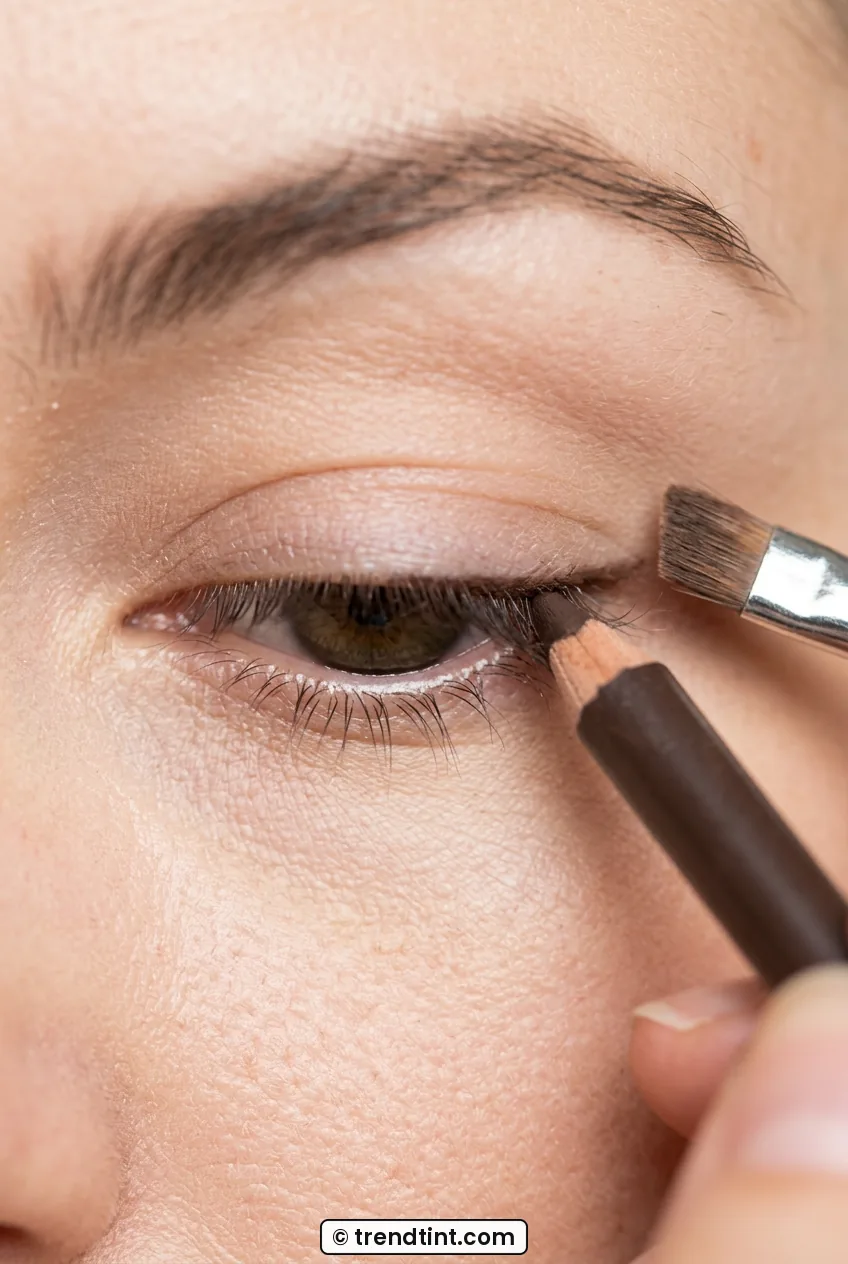
Do you miss a bold siren-eye look? I still do it for evenings, but I keep the line razor-thin across the middle and only thicken the last quarter. Dramatic eye makeup for hooded eyes works best when the drama lives sideways.
See the Bat-Wing Flick in Action
Step 5: Lift With Lashes and Mascara
Mascara can make or break us. My straight lashes point right into my hood, so if I skip curling, everything smudges in an hour. I curl at the base, pulse twice, then wiggle a lengthening, tubing mascara only on the top lashes. Tubing formulas have been a lifesaver, they do not stamp black onto my fold by 3 p.m.
I focus the mascara toward the center and outer lashes and barely touch the inner corners. Too much inner mascara closes my eyes down. On the bottom, I just smudge a whisper of that transition brown with a tiny brush instead of mascara, which always runs on me. Cleaner and softer.
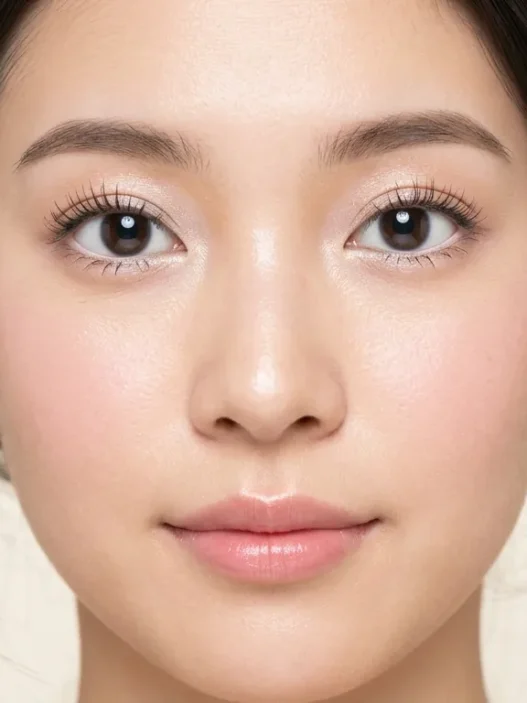
She is wearing the exact lash effect I chase, curled and separated, not clumpy. See how her eyes look more open even without heavy shadow? Lashes do more lifting than any cut-crease ever did for me.
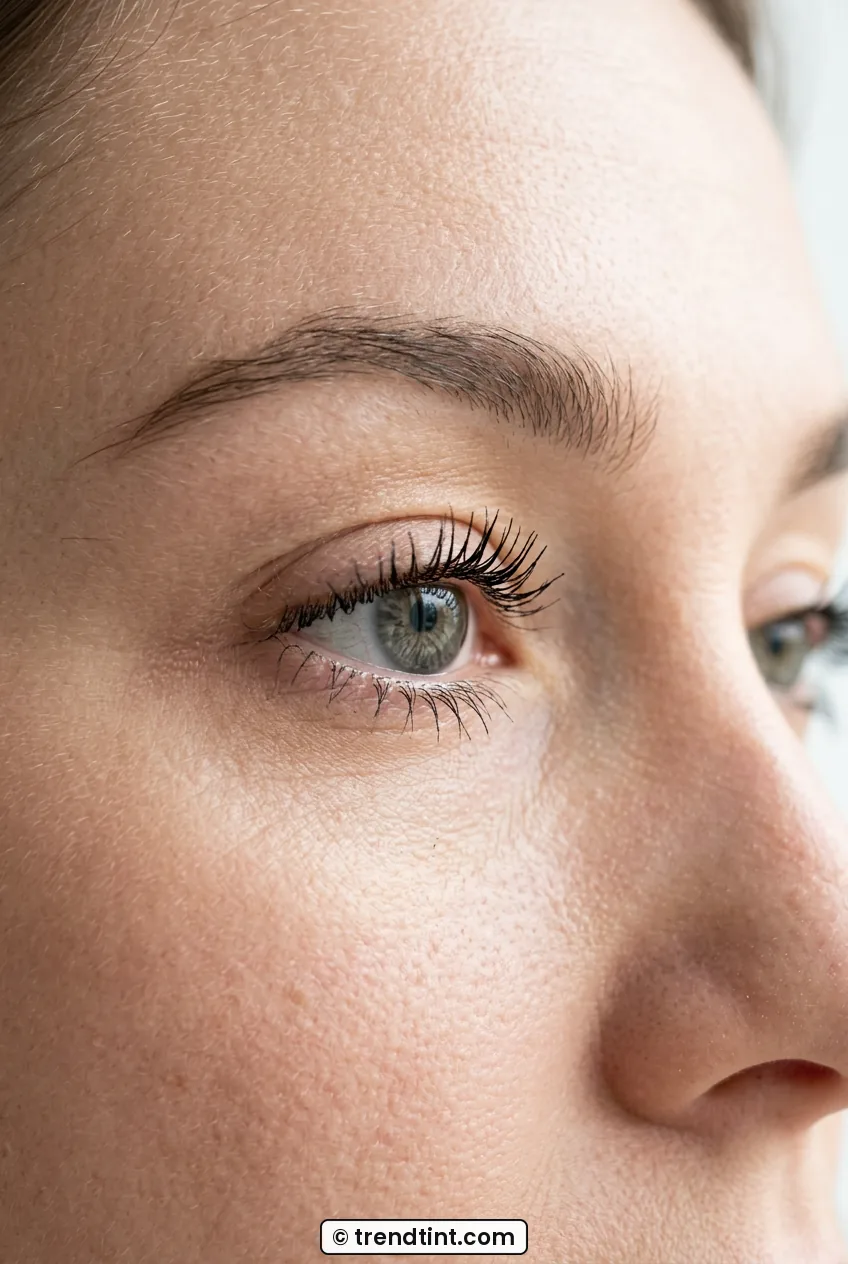
If I wear falsies, I only use half-lashes or individual clusters on the outer half. A full heavy strip weighs my hood down and I blink them half off. I wrote about that trial-and-error in 5 lessons eye makeup has taught me, because lashes humbled me more than any other product.
Step 6: Brighten the Inner Corner
Last step, and I used to skip it. Big mistake. A tiny pop of satin champagne right at the tear duct and just under the inner brow tail wakes the whole eye up. I press it on with my fingertip, no brush, so it stays put and does not scatter shimmer onto my hood.
I keep it matte-satin, not glittery. Chunky sparkle travels on hooded lids and ends up in my crease by noon. I also run a nude pencil on my lower waterline if I look tired, it cancels redness without that stark white-doll look. You can read more about balancing shimmer and matte in shimmer eyeshadow application tips while you practice placement, it helped me pick finishes that do not emphasize texture.
In this close-up, notice how her inner corner catches light but is not frosty? That soft glow pulls the eye inward and forward, which balances all that outer-corner depth we built. It is subtle in person, but huge in photos.
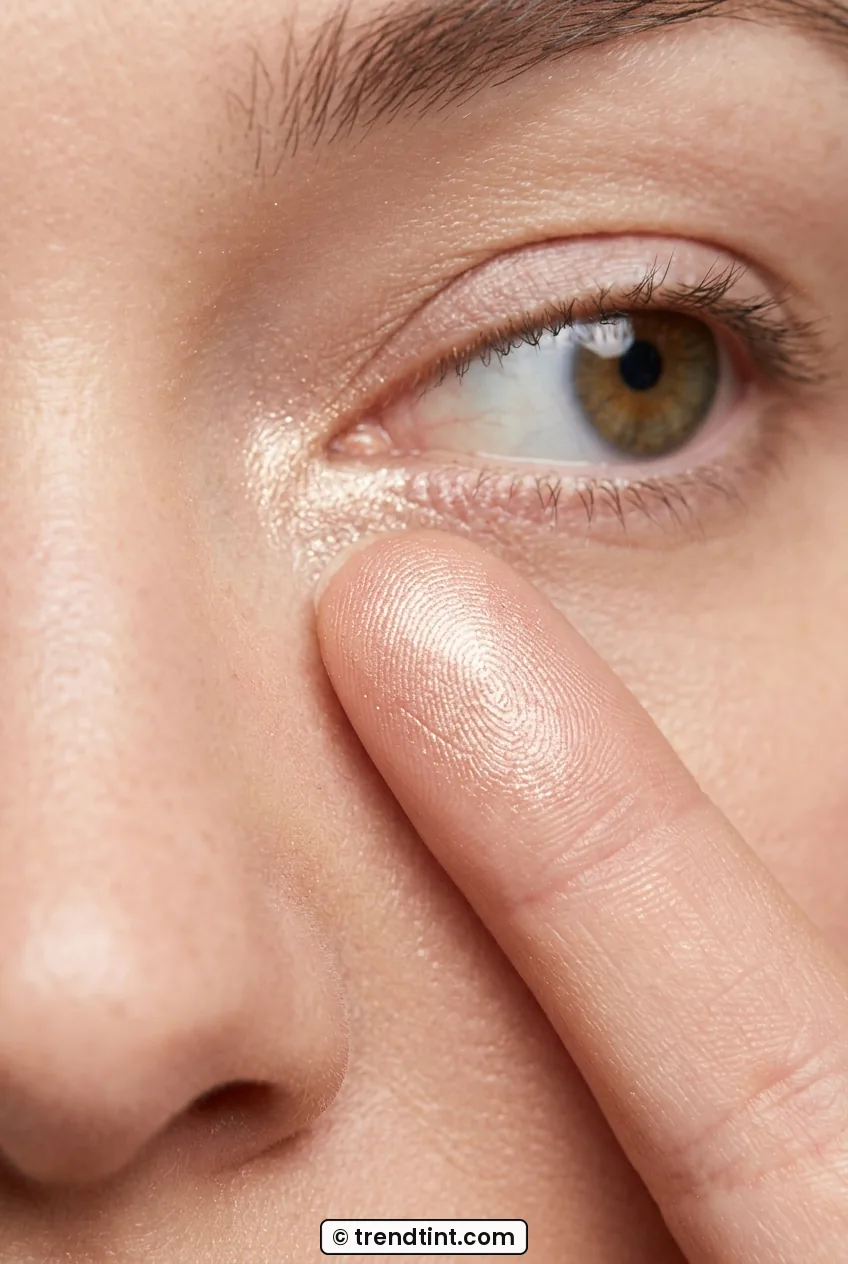
And that is the full eye. Open your eyes, relax your brows, and check in a hand mirror at arm’s length. That is how the world sees you, not six inches from a magnified mirror. If you love cozy-season versions of this, I wear this same shape a lot with winter makeup looks in deeper berries.
The Placement Adjustment
So why does this work when normal eyeliner tutorials for hooded eyes still leave me frustrated? Because standard maps assume you have six millimeters of visible lid. I have maybe two in the center when I smile. Everything has to shift.
My rules now: transition lives on bone, not in fold. Depth lives at outer third, swept up. Liner lives in the lashes, not above them. Highlight lives inside, not all over the lid. When I tried Asian eye makeup techniques even though I am not Asian, I finally understood upward-blended shadow, because many of those creators also work with minimal visible lid space.
Try this test. Do one eye your old way, closed-eye blending, thick liner. Do the other my way, open-eye, high transition, tightline. Take a straight-on selfie. I did, and I laughed out loud. One eye looked sleepy and small, the other looked awake. Same products, different map.
The Technique That Flatters
If you take one technique from me, make it the open-eye blend and check. I blend five seconds with eyes open, glance down to soften any edge, then look straight again. Back and forth the whole time. It feels slow at first, then it becomes muscle memory.
I also hold my brush further back, near the end, for that airy pressure. Gripping close to the bristles makes me press too hard and get patchy spots right where my hood rubs. Light hands, sheer layers, fluffy brush. Fluffy does the lifting, not your wrist.
And can we talk about droopy corners for a sec? Mine turn down a little, especially when I am tired. That upwards outer-V flick counteracts it without looking harsh. No need for tape or dramatic wings unless you want them for a night out.
Making It Last on This Feature
Hooded lids eat makeup because skin touches skin all day. Heat, oil, blinking, it is a lot of friction. So I seal everything. After shadow, I press a whisper of translucent powder right over the fold line where transfer happens, with eyes open and looking straight.
Waterproof pencil for tightlining only, tubing mascara up top, nothing creamy on the brow bone. I also blot my lids with a tissue around 2 p.m. instead of adding more powder, which just cakes. One blot, and my morning work reappears like magic.
For long days or glasses wear, I skip shimmer on the mobile lid entirely and keep it matte. Matte grips, shimmer slips. That switch alone stopped my dreaded crease-line by the end of the day.
Hooded-Eye Questions I Hear All the Time
Should I do winged liner if I have hooded eyes?
Yes, but draw it with your eyes open and keep it thin through the center. I map the wing outward first, then connect back. Thick liquid across the whole lid usually transfers and hides your shadow.
Where do I put eyeshadow when I cannot see my crease?
Place your transition just above your natural fold on the visible bone. Blend with eyes open so you can see the halo of color peeking out. Painting inside the fold wastes product because the hood covers it.
How do I stop shadow and liner from smudging onto my upper lid?
Use thin primer, set fully, then stick to matte shadows and waterproof tightline plus tubing mascara. I also dust a sheer veil of powder on the touch-point and blot midday instead of layering more product.
Are shimmer shades okay for droopy hooded lids?
I save satin shimmer for the inner corner and center lid only. All-over frost on the hood can highlight puffiness. A soft matte through the transition with one bright pinch inside looks more lifted.
I wore this exact method to brunch last weekend with just tinted moisturizer and a rosy lip, and my friend asked if I had gotten more sleep. Nope. Just shadow where you can actually see it. Try it once with your eyes open the whole time and tell me you do not see the difference.