


I’ve been obsessed with gothic makeup since high school, but it took me years to figure out why my attempts always looked muddy instead of mysteriously beautiful. The problem? I was treating black eyeshadow like a paint bucket instead of understanding how colors actually interact on my skin.
After studying color theory and practicing on myself (and a few patient friends), I finally cracked the code. Gothic makeup isn’t just about piling on dark colors — it’s about strategic color placement that makes your eyes the focal point while maintaining that signature dramatic edge.
Color Theory for Gothic Drama
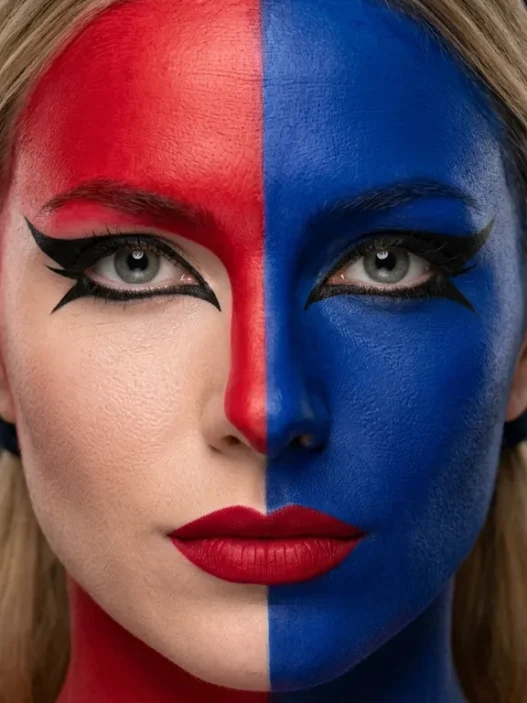
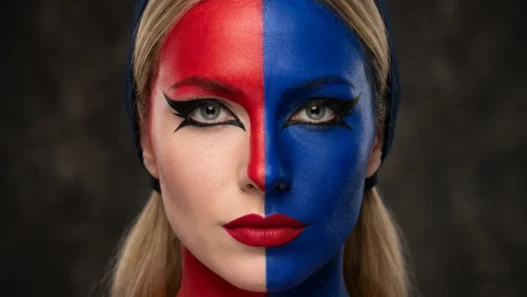
Here’s what changed everything for me: gothic makeup works because of contrast, not just darkness. The key is understanding your undertones and building depth gradually.
If you have warm undertones, cool-toned blacks and grays will create stunning contrast against your skin. Cool undertones? Warmer charcoals and deep browns will make your eyes absolutely magnetic. And those lucky neutral undertones can pull off the full spectrum of gothic shades.
The mistake I see everywhere (and made myself for years) is jumping straight to black. Start with your deepest complementary shade first — think burgundy for green eyes, navy for brown eyes, or deep purple for hazel. Then layer the blacks on top for dimension.

What You’ll Need for Dark Magic
Don’t let anyone tell you that you need a hundred brushes for this look. I’ve perfected this technique with a surprisingly minimal kit:
- Eyeshadow primer (this is non-negotiable for dark shades)
- Transition shade in a cool-toned taupe or warm brown
- Your complementary deep shade (burgundy, navy, or deep purple)
- True black eyeshadow (matte finish works best)
- Fluffy blending brush
- Smaller dome brush for precise placement
- Flat shader brush for packing on color
- Black kohl pencil or gel liner
- Setting spray (trust me on this one)
The quality of your brushes matters more than the quantity. I’d rather have three excellent brushes than ten mediocre ones. And please, invest in a good eyeshadow primer — it’s the difference between gothic goddess and raccoon eyes by lunchtime.
Step 1: Prime for Maximum Payoff
This step separates the amateurs from the pros. Apply eyeshadow primer from your lash line to your brow bone, and don’t forget the inner corners and lower lash line. I like to let it set for about thirty seconds until it feels slightly tacky.
For extra intensity, I sometimes dust a tiny bit of translucent powder over the primer. It sounds counterintuitive, but it helps dark shades grab onto the lid without looking patchy.
Step 2: Map Your Eye Shape
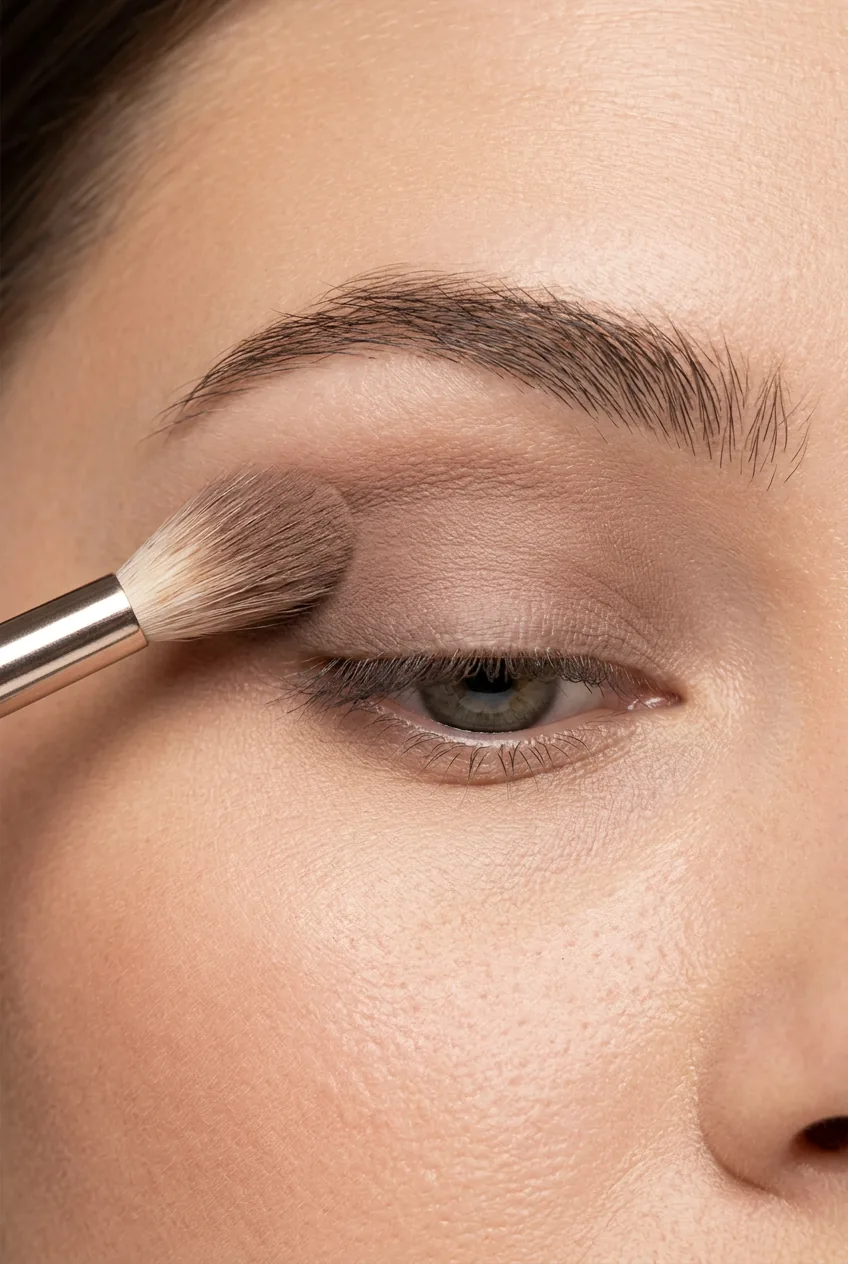
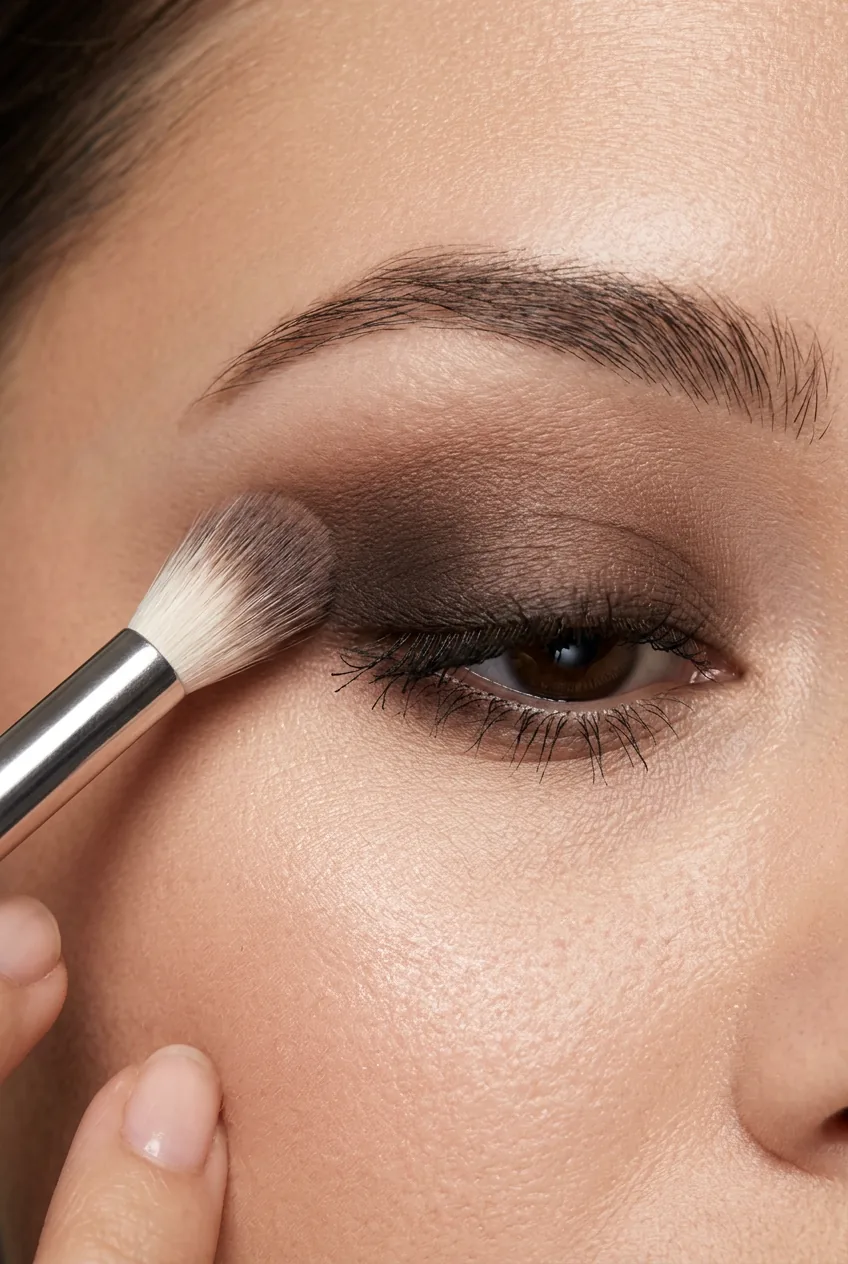
Before you touch any dark eyeshadow, you need to understand your eye’s architecture. I use my transition shade — that cool-toned taupe — to map out where the drama will go.
With your eyes open and looking straight ahead, apply the transition shade in your crease using windshield wiper motions. This creates a guide for where your deeper shades will live. The goal is to extend the shadow slightly past your natural crease when your eyes are open — it creates that lifted, dramatic effect that makes gothic makeup so striking.
I learned this technique from what MUAs know about dark feminine makeup, and it completely changed how I approach eye shape enhancement.
Step 3: Build the Base Shadow
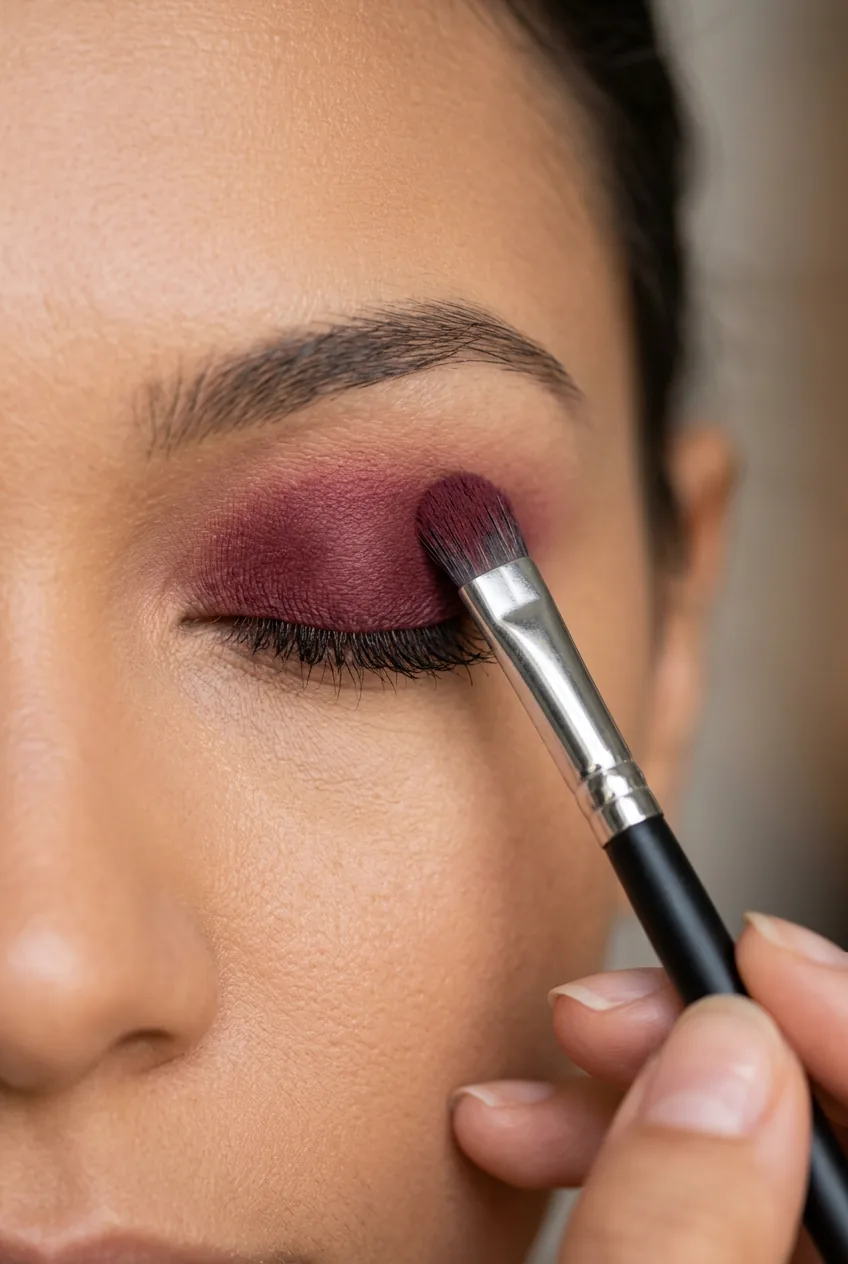
Now comes your complementary deep shade. This is where the color theory magic happens. Using your flat shader brush, pack this color onto your mobile lid, concentrating the intensity at the lash line and gradually fading it up.
Build this in thin layers rather than trying to get maximum intensity immediately. I usually need three passes to get the depth I want. The key is patting the brush rather than sweeping — sweeping moves the product around instead of depositing it.
My biggest mistake in the early days was trying to rush this step. I’d load up the brush with too much product and end up with uneven patches that were impossible to blend out. Patience here saves you so much frustration later.
Step 4: Create Dramatic Depth
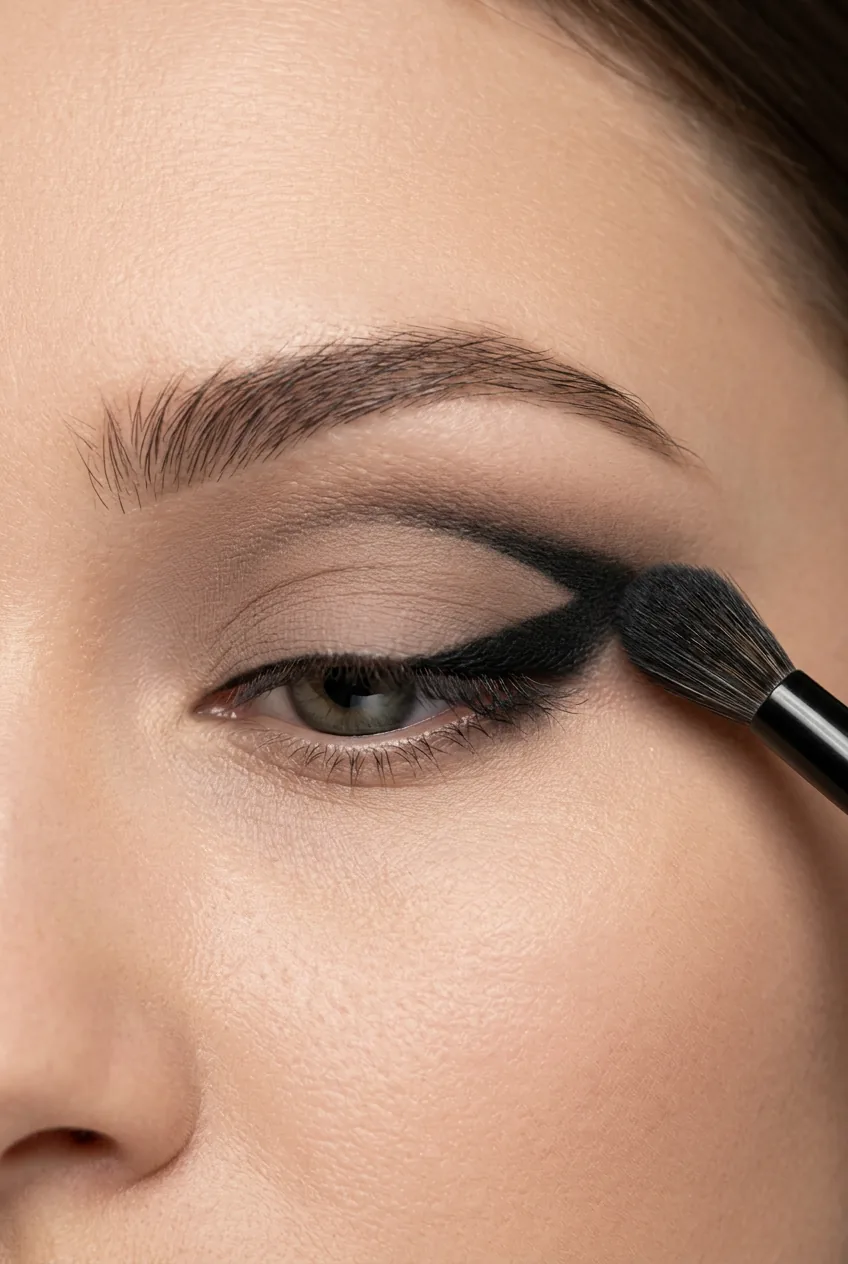
Here’s where we introduce the true black. But — and this is crucial — we’re not covering the entire lid. Instead, focus the black on the outer V of your eye and the deepest part of your crease.
Use your smaller dome brush to press the black eyeshadow into the outer corner, creating that classic gothic wing shape. The black should intensify your complementary shade underneath, not replace it entirely.
This layering technique is what creates true depth instead of flat darkness. When done right, the colors should seem to recede into your eye socket, creating that mesmerizing dimensional effect that makes people lean in closer.
Step 5: Perfect the Smoky Blend
This is the most technical part of the whole process, and honestly, it’s what separates good gothic makeup from great gothic makeup. Take your clean fluffy brush and use gentle circular motions to blend the edges where your dark shades meet your transition color.
The goal isn’t to eliminate all intensity — you want to soften the harsh lines while maintaining the drama. I work in small sections, constantly cleaning my brush to avoid muddy colors. Blending techniques make all the difference in achieving that professional finish.
Here’s a trick I picked up from experimenting with my guilty pleasure goth makeup favorites: spray a tiny bit of setting spray on your brush before blending. It helps the colors meld together more seamlessly.
Watch the Blending Technique in Action
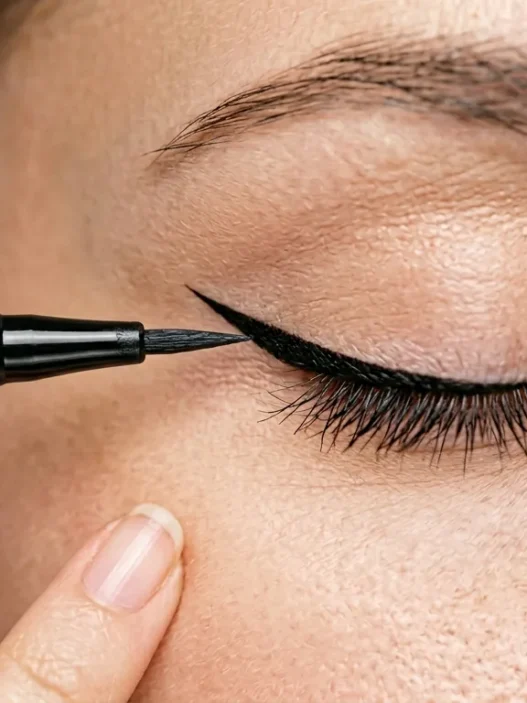
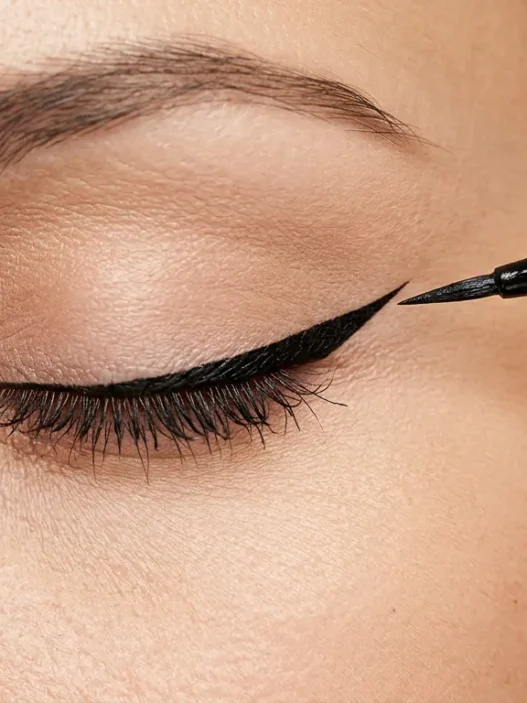
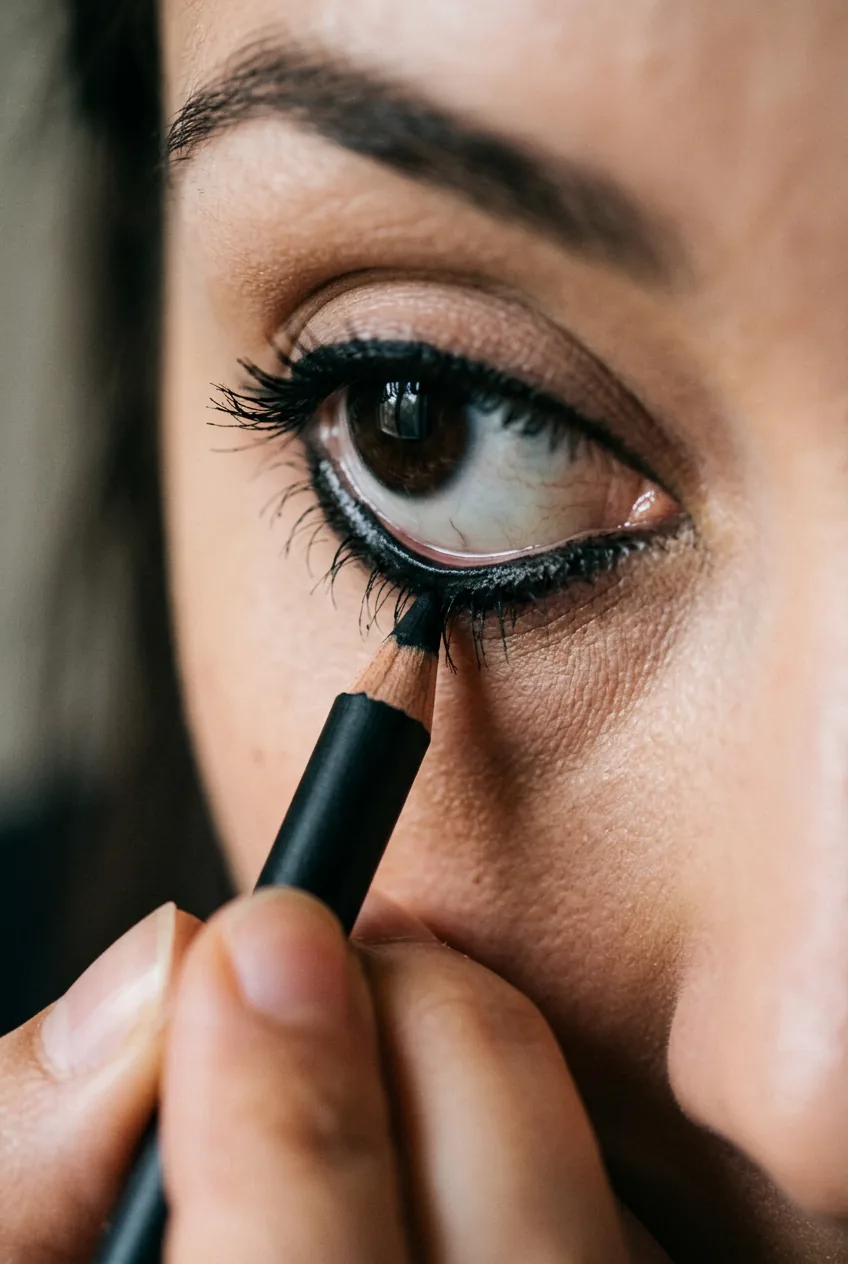
Step 6: Line and Define
Now for the drama amplifier — eyeliner. I prefer kohl pencil for the lower lash line because it’s easier to smudge and blend. Start by lining your upper lash line as close to the lashes as possible, making the line gradually thicker toward the outer corner.
For the lower lash line, don’t just draw a hard line. Apply the kohl, then immediately smudge it with a small brush or your finger to create that sultry, lived-in effect. This technique prevents the harsh raccoon look that gives gothic makeup a bad reputation.
The contrast between the defined upper line and the softer lower smudge creates depth and keeps the look wearable instead of costume-like.
Step 7: Final Details and Balance
The final step is all about balance and polish. Add a few coats of black mascara to both upper and lower lashes — this grounds the whole look and makes your eyes appear larger and more defined.
Here’s something most tutorials skip: check your lower lash line for any harsh edges and soften them with a clean brush. The difference between amateur and professional gothic makeup often comes down to these final refinements.
If you want to add extra drama, a tiny highlight in the inner corner using a champagne or silver shade can make your eyes absolutely pop against all that darkness. Just remember — less is more with the highlight.
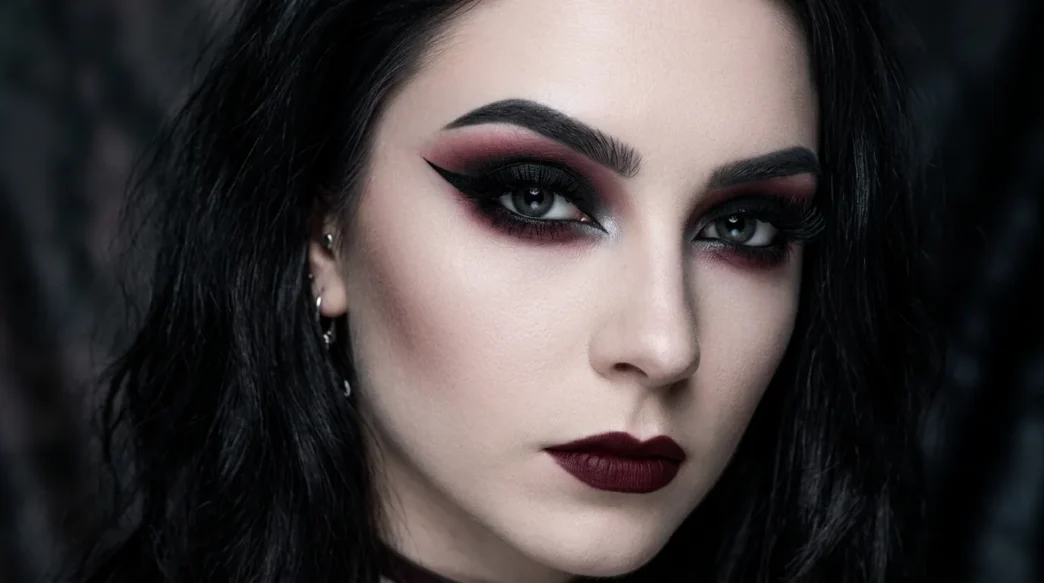
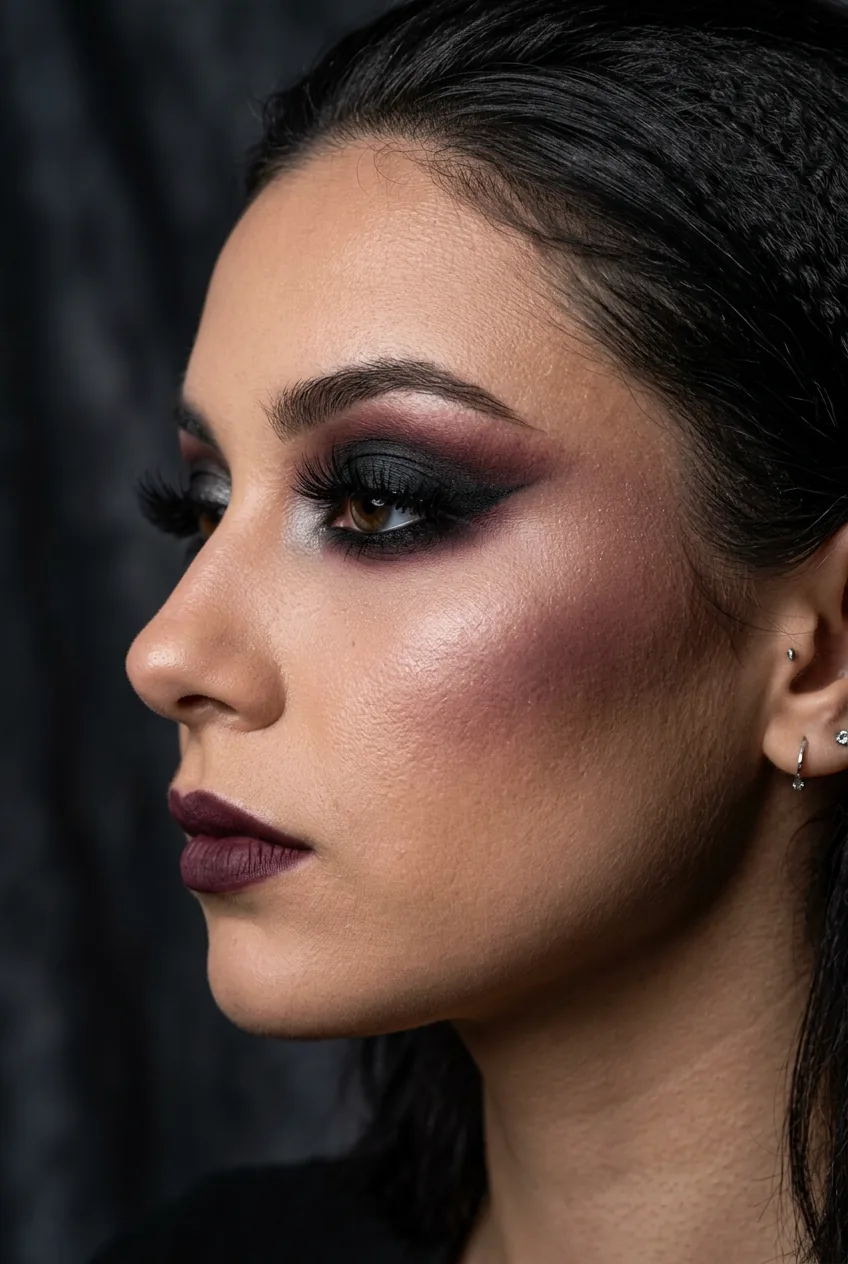
This approach to color theory in gothic makeup has completely transformed how I do my eyes. Instead of looking harsh or overdone, the result is mysteriously beautiful and surprisingly wearable. The depth you achieve through strategic color layering creates that coveted dimensional effect that photographs beautifully and looks stunning in any light.
What started as frustration with muddy, flat eyeshadow has become my signature look. The compliments I get now versus my early attempts? Night and day difference. Once you understand how these colors interact with your specific undertones, gothic makeup becomes less intimidating and more like an art form you can actually master.
Questions I Get About This Look
Can I wear this look during the day?
Absolutely! The key is building less intensity in steps 3 and 4. Use a lighter hand with your deep shade and black eyeshadow — you want suggestion rather than full drama. The color theory principles remain the same, just at a more subtle intensity.
What if my eyeshadow looks muddy despite following these steps?
This usually means you’re overblending or your brushes aren’t clean enough. Try cleaning your blending brush between each color, and remember that some contrast between shades is what creates depth — you don’t want everything to melt together completely.
How do I choose my complementary deep shade?
Look at your natural eye color and choose its opposite on the color wheel. Brown eyes look stunning with navy or deep teal, green eyes pop with burgundy or deep red, blue eyes are gorgeous with warm browns or bronze tones. Hazel eyes can pull off deep purples beautifully.
Why does my gothic makeup fade so quickly?
Primer is essential, but also make sure you’re setting your eyeshadow. After completing the look, mist a flat brush with setting spray and gently press it over your eyeshadow. This locks everything in place without disturbing your careful blending work.