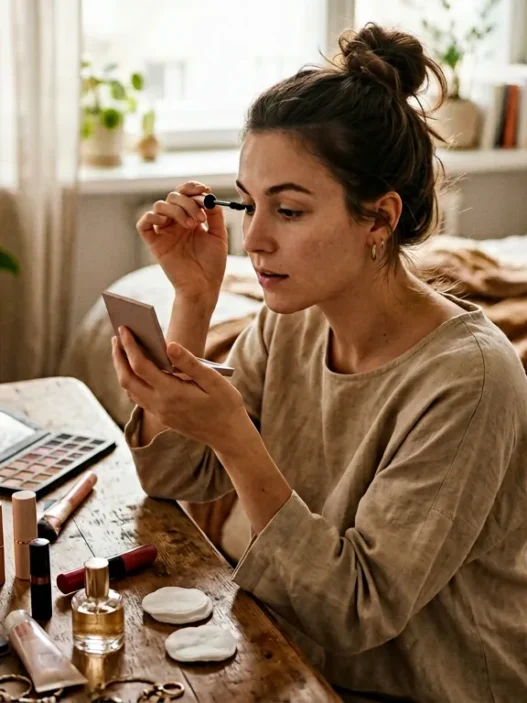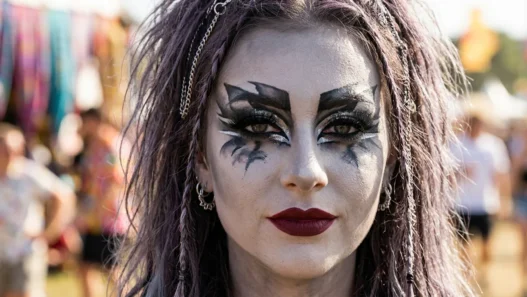

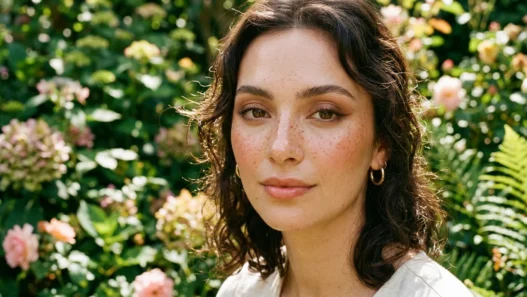

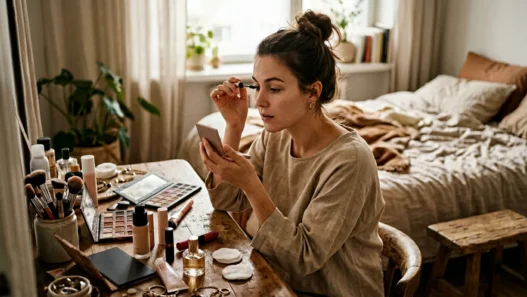

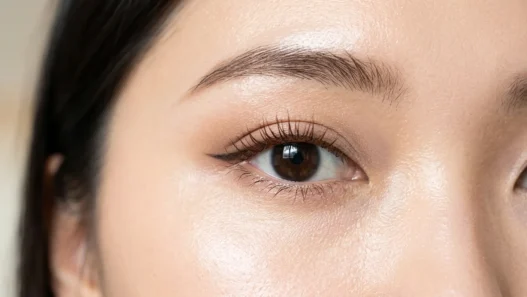
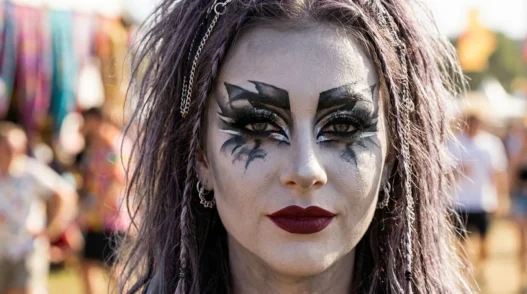
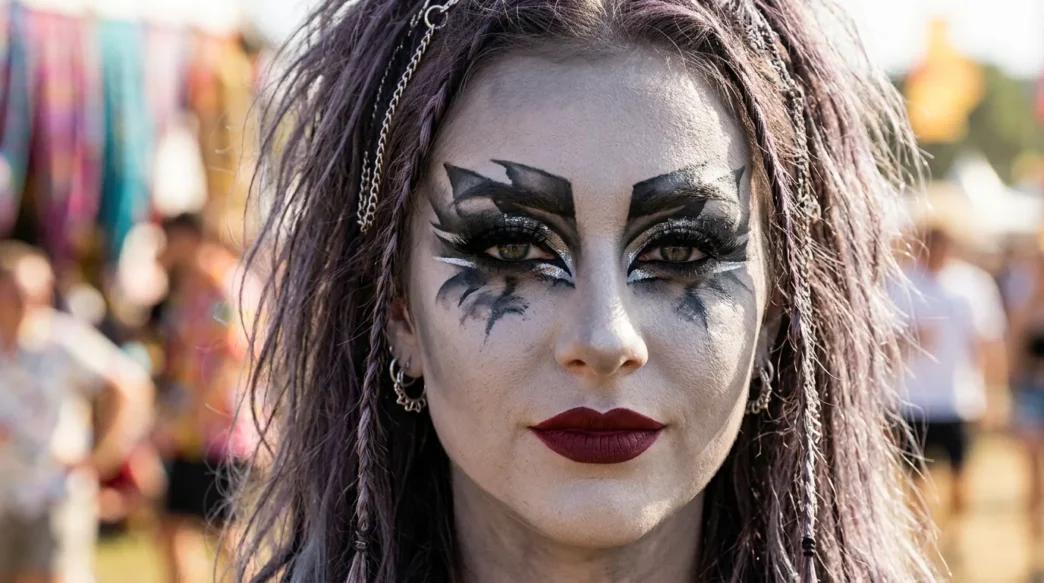
I’ve been low-key obsessed with zombie makeup since I was sixteen and ruined a perfectly good white pillowcase testing grey body paint on my face the night before Halloween. That obsession never really left. What started as a clumsy attempt with drugstore foundation and black eyeshadow has turned into a genuine passion for the transformative power of undead beauty — yes, I said beauty. Because zombie makeup done well is art. Every year the looks get more insane, the techniques more refined, and honestly? The before-and-afters never stop stunning me.
So I pulled together ten of the most dramatic zombie makeup transformations I’ve come across — each one driven by a single killer technique. Whether you’re planning something for a costume event, testing your SFX skills, or just want to understand what makes these looks so compelling, these makeovers are the ones that made my jaw drop.
Your Guide Through the Undead Transformations
- 1. The Subtle-to-Striking Pale Wash
- 2. The Color Switch-Up: From Warm to Rotting
- 3. The Full Glam Reveal: High-Fashion Undead
- 4. The Surprising One: Corporate Zombie
- 5. The Sunken Eye Drama
- 6. The Cracked Skin Illusion
- 7. The Blood-Drip Glamour
- 8. The Decomposed Beauty Queen
- 9. The Veins-and-Venom Look
- 10. The Classic Horror Reimagined
1. The Subtle-to-Striking Pale Wash
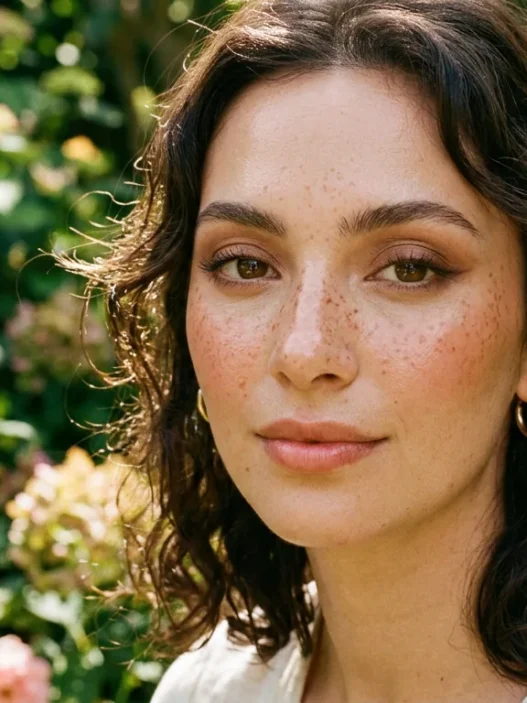
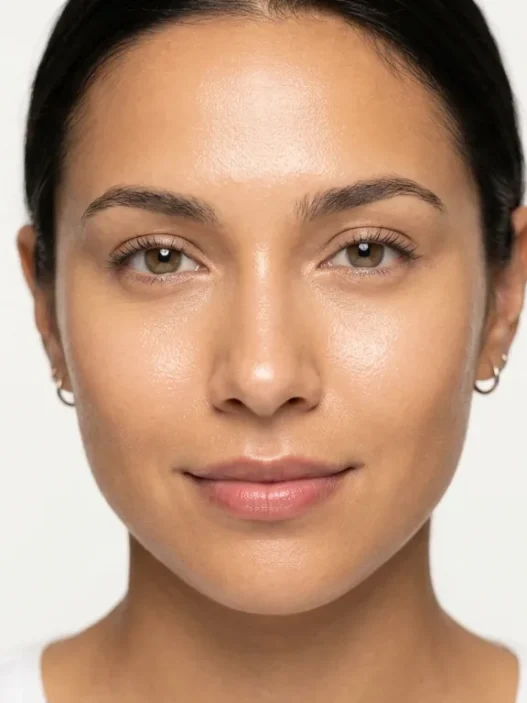
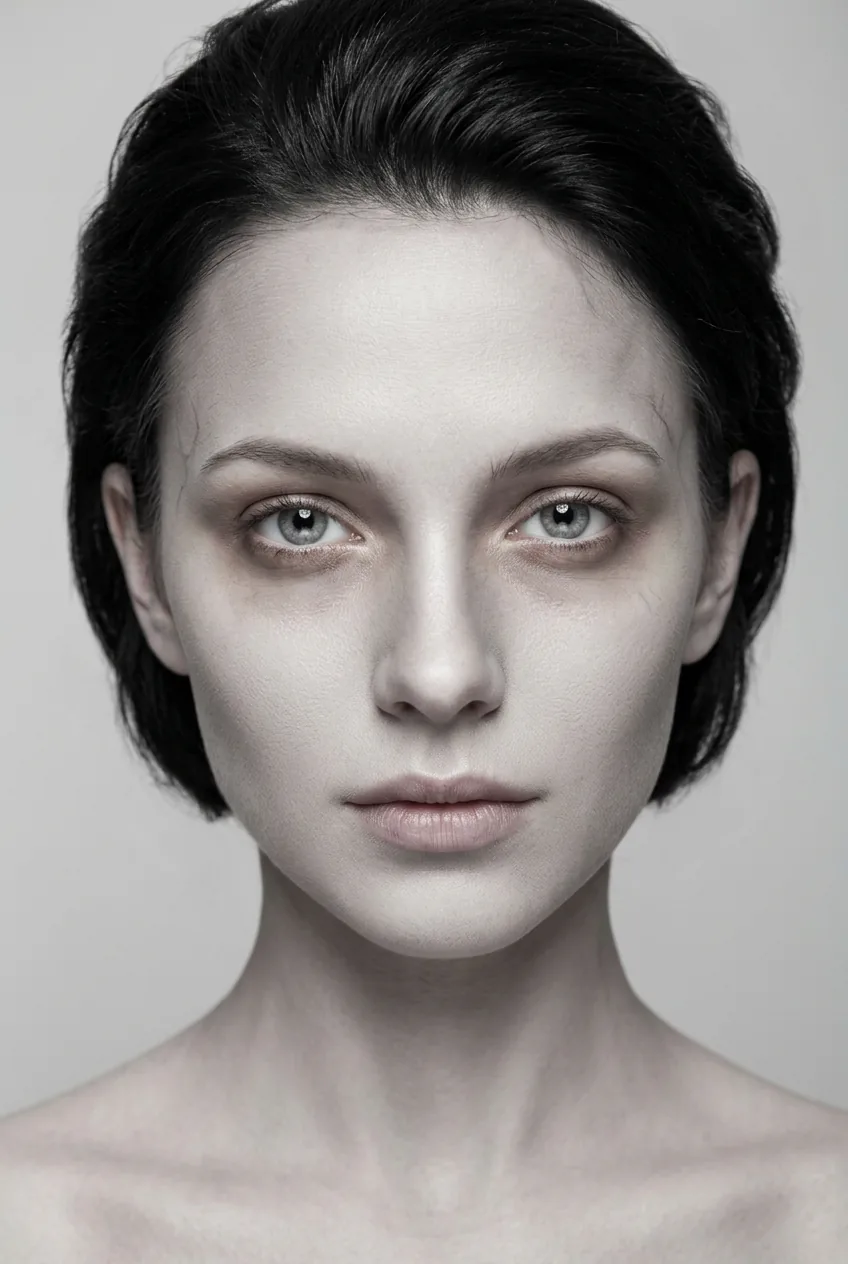
This one is for the people who think they can’t do zombie makeup. The starting point is a completely normal, healthy-looking everyday face — warm foundation, a little mascara, nothing scary. The single technique that changes everything? Pale desaturation. A white-tinted setting spray misted over the entire face after makeup, followed by a cool-toned translucent powder, strips all that warmth out instantly.
The result looks like someone turned the saturation dial on a human face down to about fifteen percent. She still looks like herself — but wrong. That uncanny valley quality is genuinely unsettling in the best way. Look at how her complexion shifts in the after shot — that ashy, almost greyish undertone makes her look like she hasn’t seen sunlight in about three decades.
2. The Color Switch-Up: From Warm to Rotting
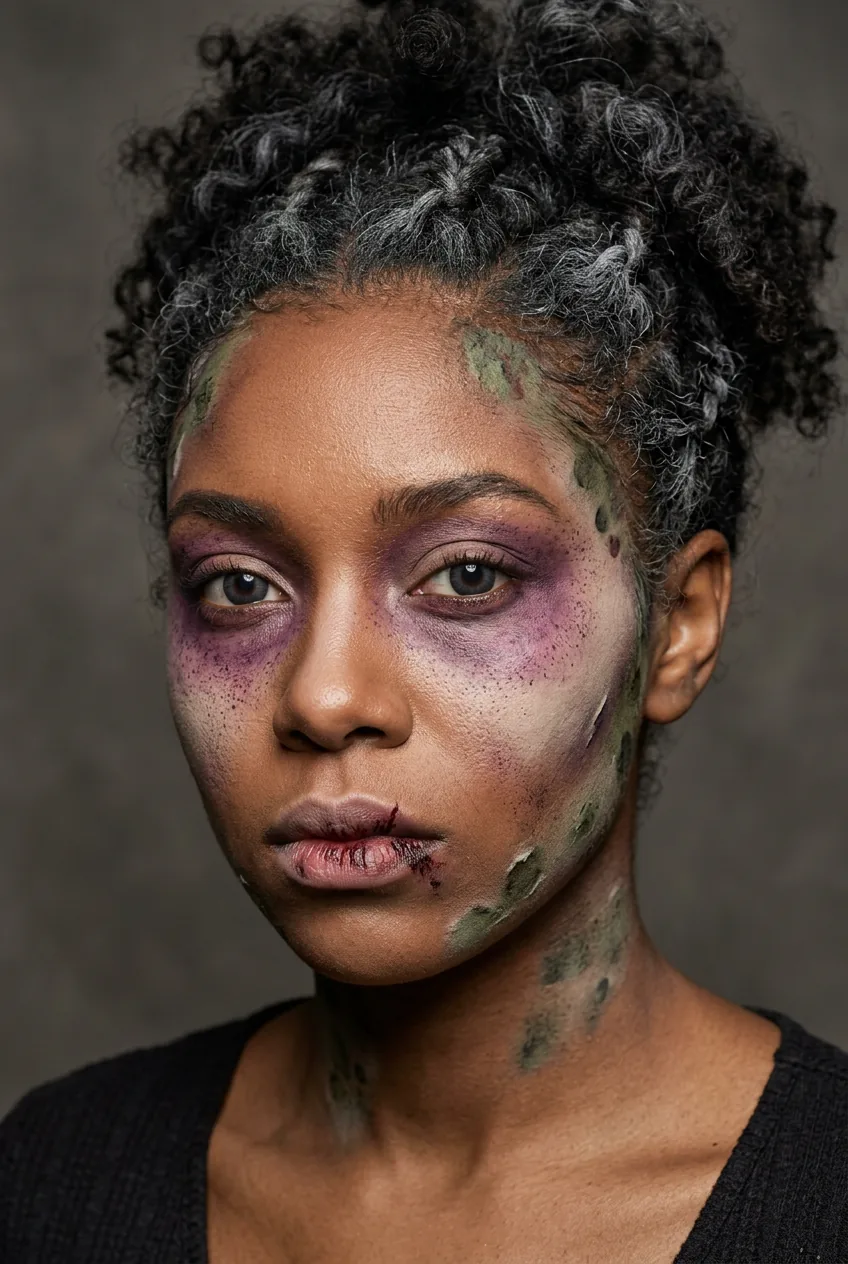
Before: bronzed, sun-kissed, genuinely glowing skin. After: a palette of purple-grey bruising, yellowed patches around the jaw, and a sickly green tinge at the temples. The transformation here is a masterclass in colour theory — specifically, knowing which colours signal decay to the human eye.
Purple and green are the big two. The technique is stippling — a dense, flat brush pressing colour into the skin rather than blending it out. That keeps the colour looking patchy and uneven, which is exactly what you want. Smooth blending reads as contour. Stippled colour reads as rot. The jaw bruising alone is enough to make people do a double-take.
If you’re researching the colour theory behind this, looking into how zombie SFX makeup techniques can help you understand exactly which pigments create the most realistic decay effect on different skin tones.
3. The Full Glam Reveal: High-Fashion Undead
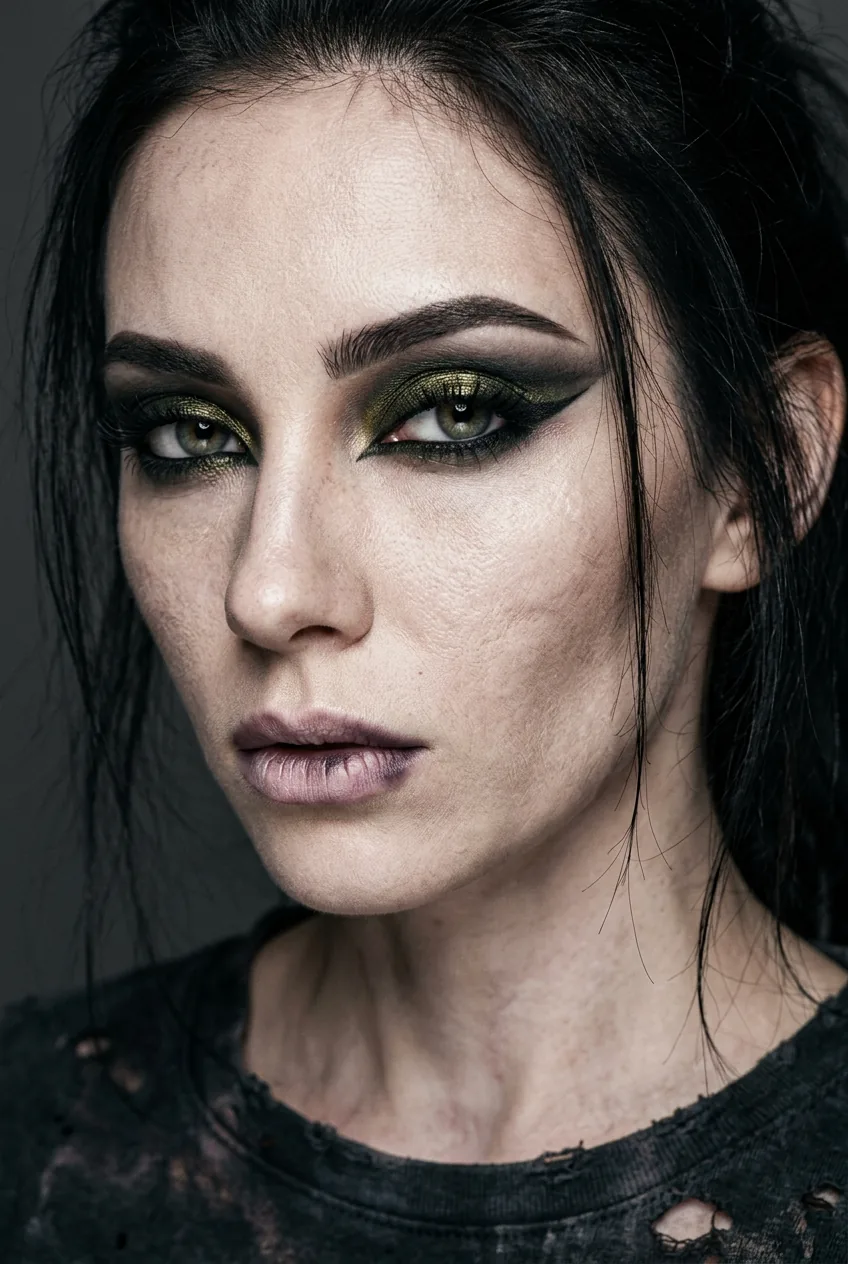
Okay, this is my absolute favourite category of zombie look. The idea that you cannot be both glamorous and undead is completely wrong, and this transformation proves it spectacularly.
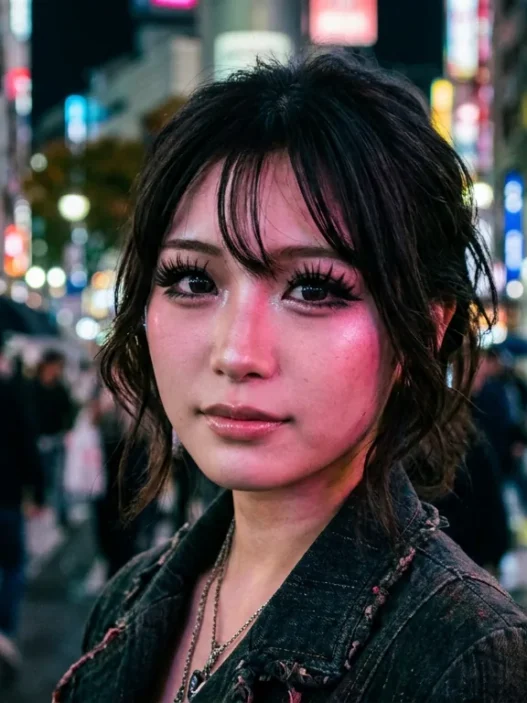
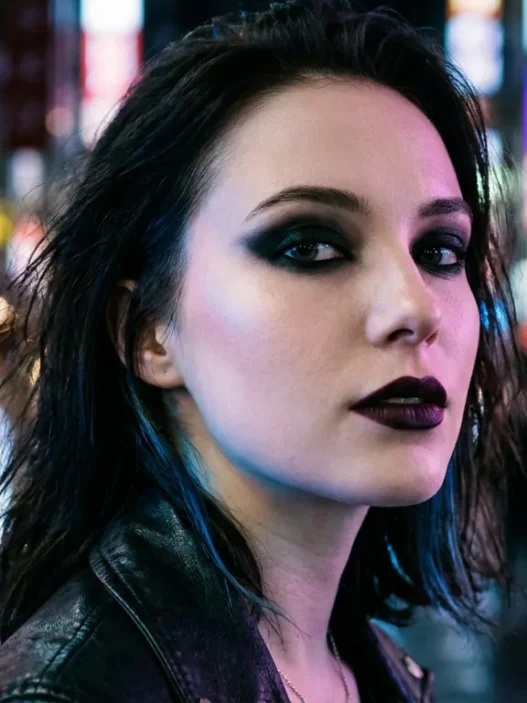
This is my personal pick from the whole list. The High-Fashion Undead look takes everything I love about editorial makeup — the drama, the precision, the unexpected colour — and runs it through a horror filter. The result is somehow both terrifying and stunning. I’ve pinned more versions of this look than I can count.
The before is a clean, polished base — the kind of face you’d see at a high-end event. Then the one technique: graphic, editorial eye work done in decomposition colours. Think sharp cut creases in deep olive-green, with metallic dark gold on the lid and elongated liner in charcoal. The skin stays relatively intact — pale, but not destroyed — so the eyes carry all the undead weight. The contrast between refined technique and horror palette is where the ‘wow’ lives.
4. The Surprising One: Corporate Zombie
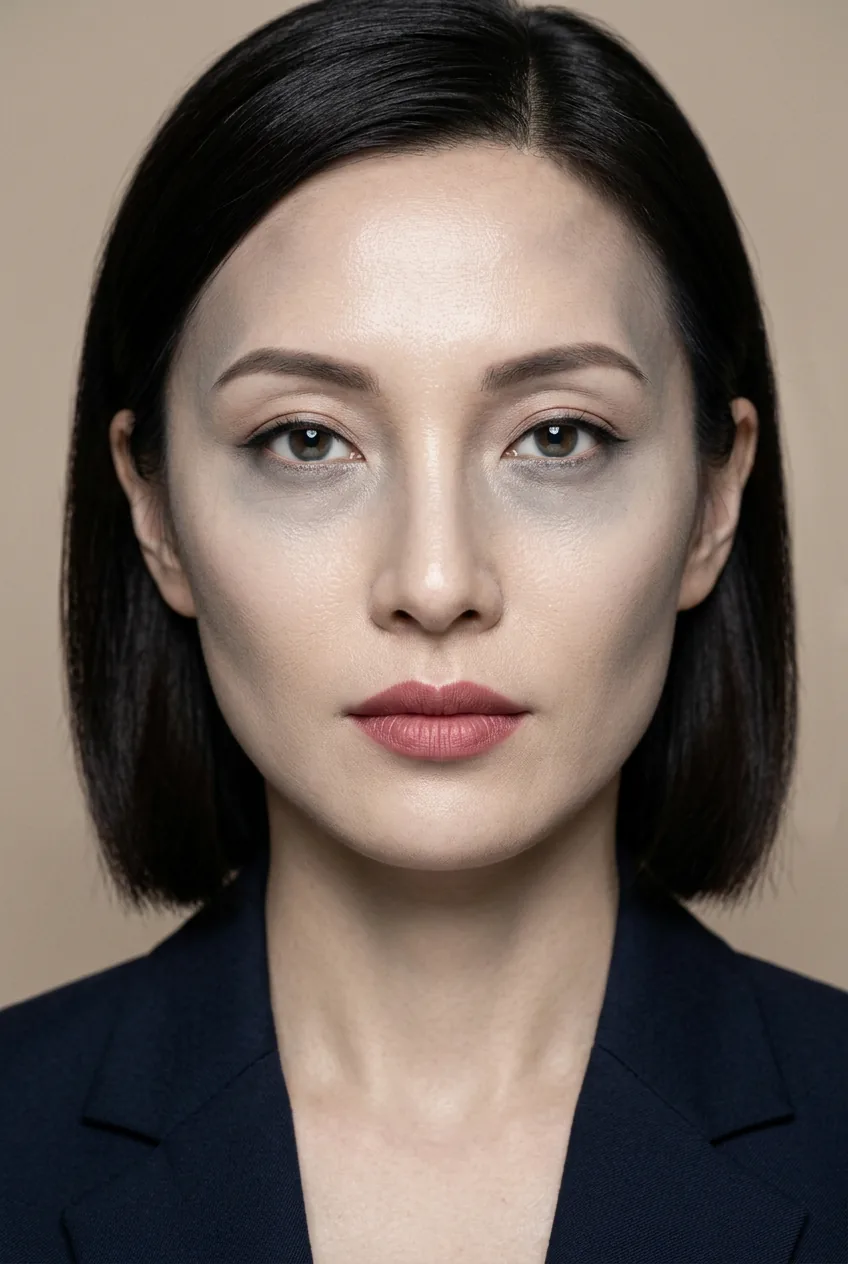
Nobody saw this coming. The before? A polished, professional look — neat brows, neutral lip, barely-there foundation. The kind of face you’d see presenting a quarterly report. The after? Same neat brows. Same neutral lip. But the skin has taken on a waxy, embalmed quality, and there are dark rings under the eyes that look less like tiredness and more like the soul has left the building.
The technique is controlled hollowing — deepening the under-eye area and temples with cool-grey shadow while leaving the rest of the face suspiciously normal. It’s the restraint that makes it creepy. Most people would go further and add wounds or blood. This one doesn’t. And that’s why it works.
5. The Sunken Eye Drama
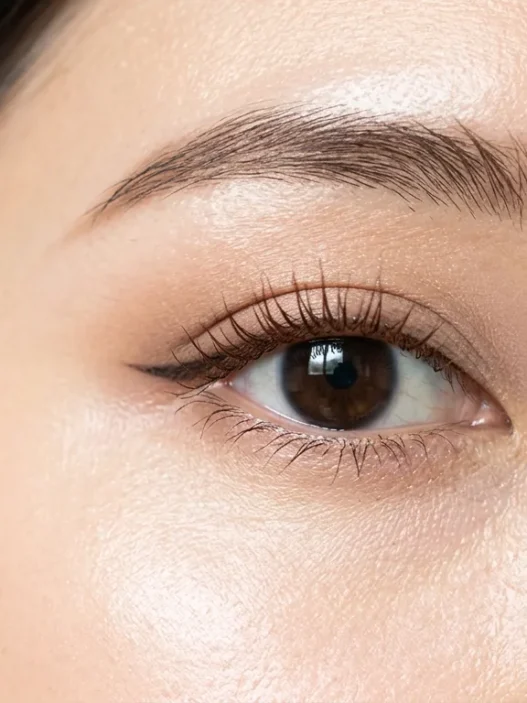
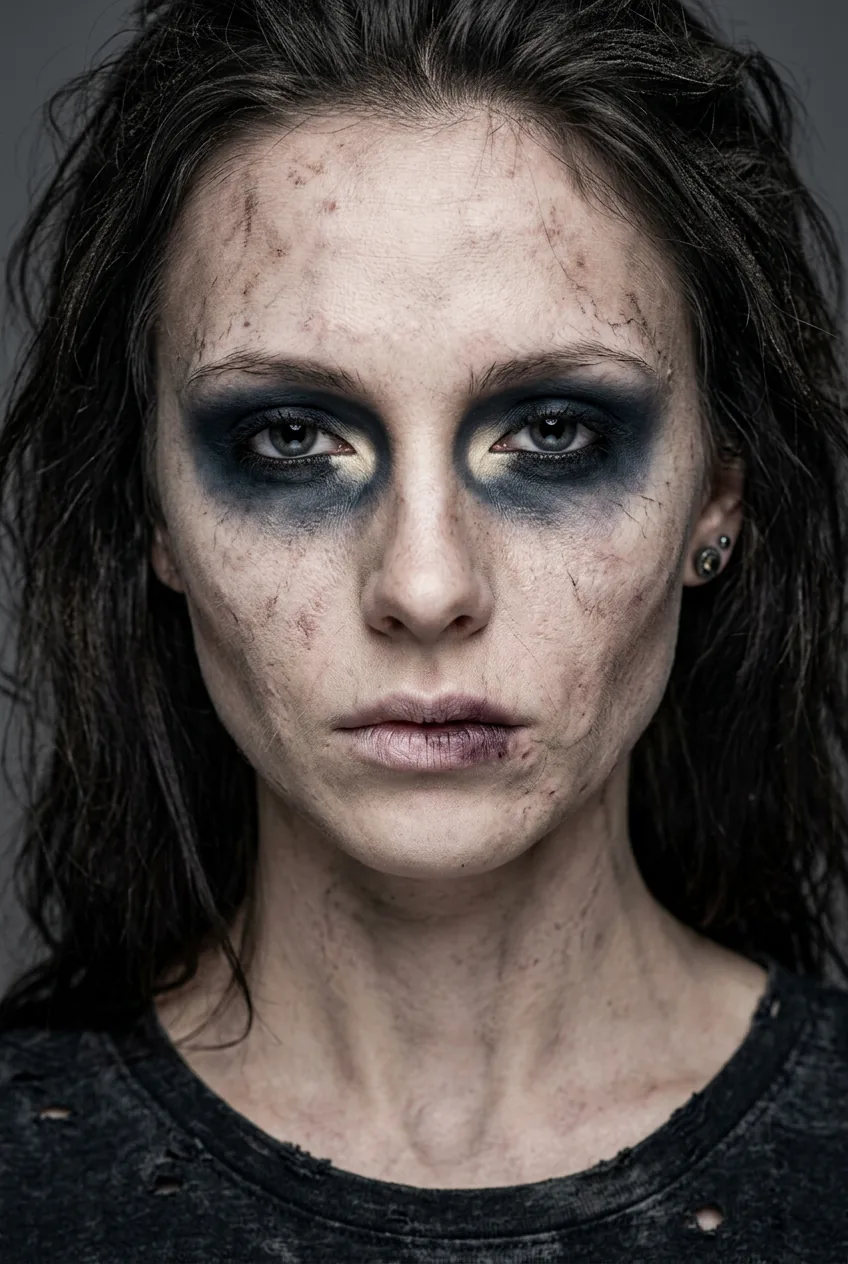
The eyes are where zombie makeup lives or dies. This transformation takes a bright, open-eyed before and creates something genuinely skull-like using shadow placement alone — no prosthetics, no latex, just pigment.
The technique is called socket deepening. A very deep, cool-toned brown (almost black) shadow is packed into the orbital socket area and blended upward well past the natural crease, then smudged heavily underneath the lower lash line. A white or pale cream is then applied to the very inner corner and brow bone to create contrast. The effect makes the eye appear to be receding into the skull. Paired with blackened lips and that same pale base from look one, the result is startling. She looks like a walking oil painting from a gothic novel.
6. The Cracked Skin Illusion
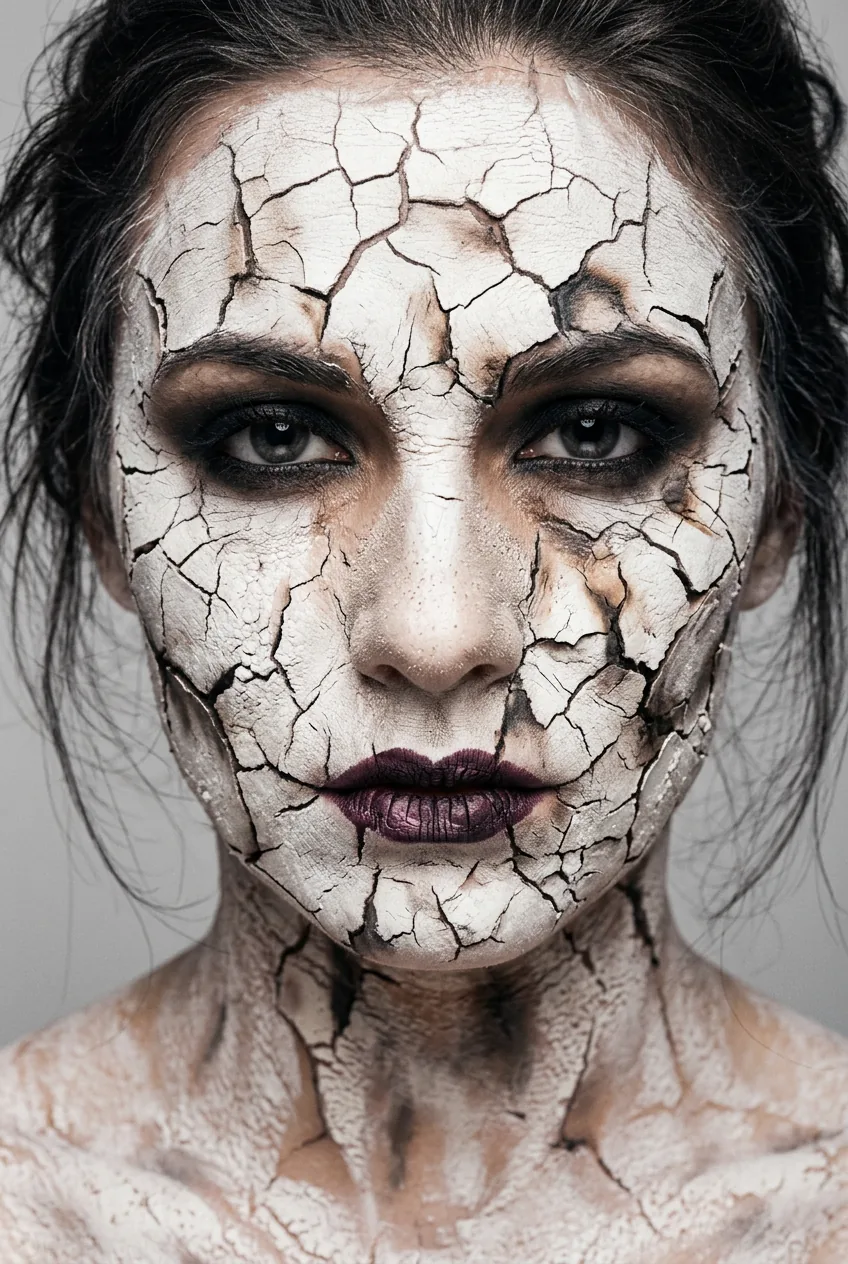
This might be the most technically impressive transformation in the list. No latex. No third-party products. Just a cracked skin effect created entirely with makeup.
The method: apply a thick layer of white body paint or greasepaint to the area, let it partially dry, then layer matte setting powder generously on top. As the skin moves — even slightly — the dried paint cracks. Dark eyeshadow pressed lightly over the surface makes those cracks pop with depth and shadow. It looks like dried porcelain, like skin that has desiccated over decades. The before-and-after on this one is almost hard to reconcile — the same person, but one of them looks like they belong behind museum glass.
For anyone wanting to explore the full scope of what’s achievable with costume-grade makeup techniques, the range of Halloween makeup looks that teach a technique is genuinely worth a deep dive — some of those methods translate directly into zombie work.
The Technique That Made Me Stop Scrolling
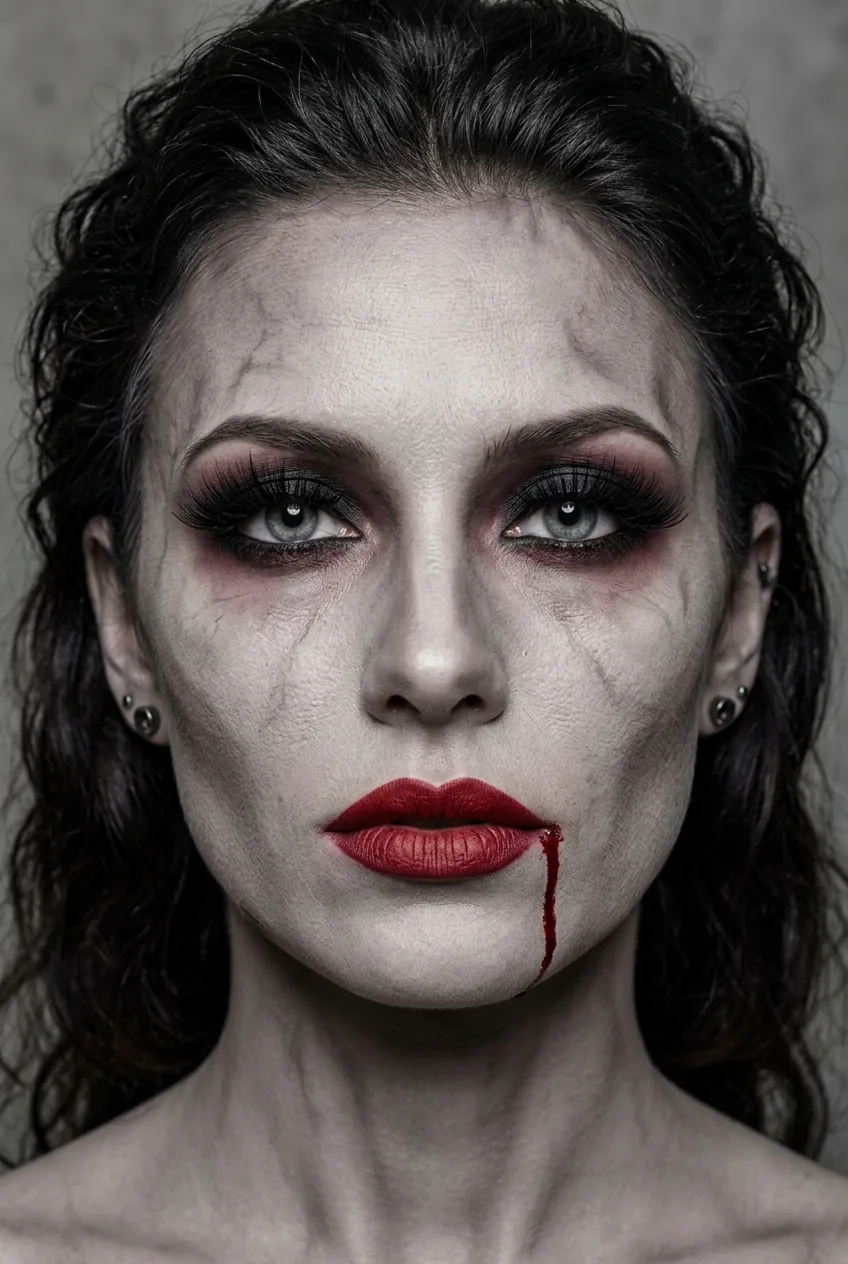
7. The Blood-Drip Glamour
What happens when you take a full glam makeup look — contoured, highlighted, lashes for days — and add a single streak of stage blood running from the corner of the mouth? Magic. Disturbing, beautiful magic.
This transformation leans into the contrast between polish and gore. The before is magazine-cover ready. The after keeps every single element of that beauty look intact and just… adds the blood. The technique is fake blood application — using a fine brush to create a realistic drip path, letting it pool slightly at the lip’s edge and thin out as it travels down the chin. The glamour context makes the blood look more shocking than it would on a deliberately scary base. Your brain knows it’s costume makeup. Your nervous system disagrees.
This is also one of those looks that walks the same edge as the Halloween makeup look that rewards a little patience — the blood placement alone can take several careful attempts to get the drip path looking truly realistic rather than painted-on.
8. The Decomposed Beauty Queen
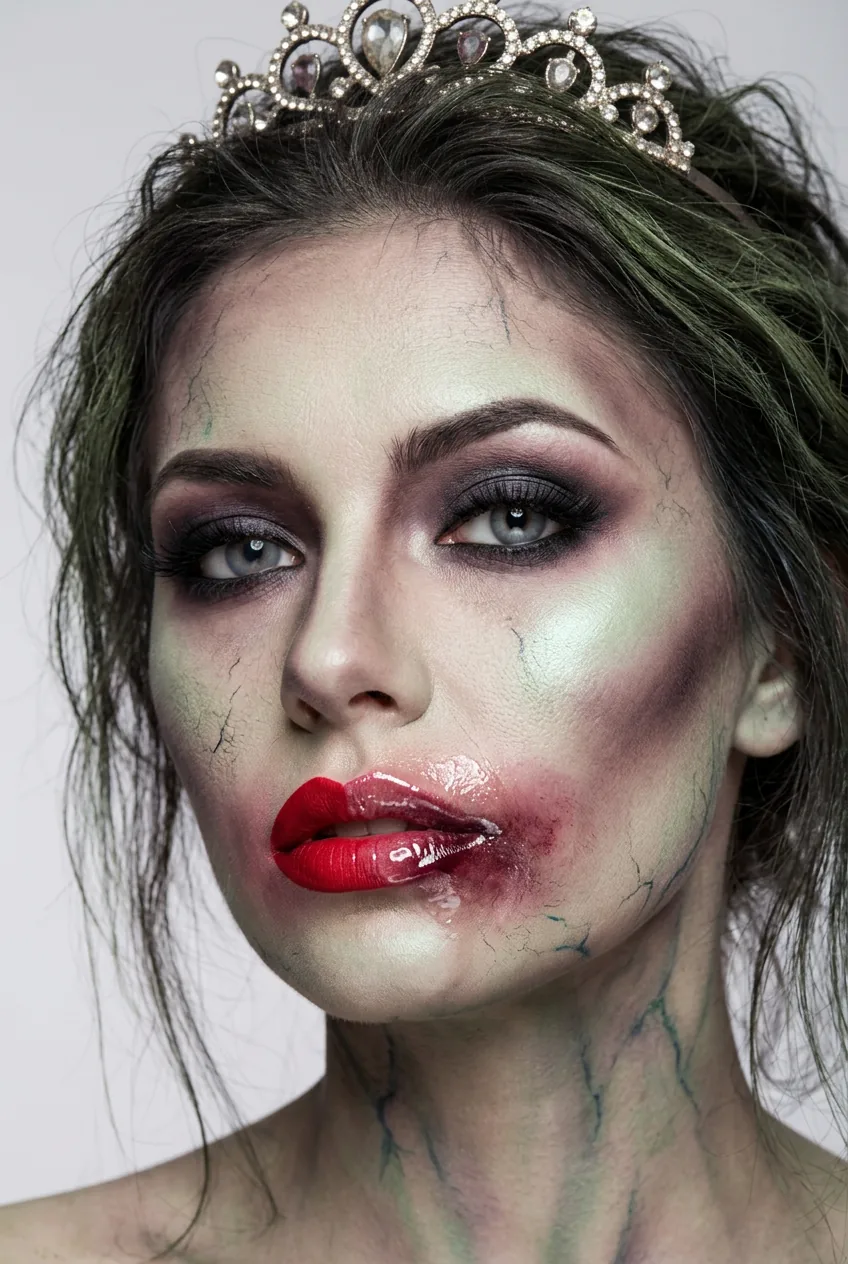
Tiara, false lashes, full contour — and decomposing flesh. This transformation goes full theatrical and I am here for every second of it.
The starting point is genuinely a pageant-style glam look — heavy foundation, classic red lip, dramatic lash. The technique driving the transformation is colour washing with SFX paints over the existing makeup. Rather than removing the glam base, the artist layers translucent zombie-tone paints on top, letting the glam bleed through in unsettling ways. The red lip becomes a dark burgundy. The highlight becomes a sickly sheen. The existing contour deepens into something that looks like bone structure showing through skin.
It’s layering as a technique. And it works because the glamour doesn’t disappear — it just becomes corrupted. If you’re curious about what makes certain theatrical looks feel genuinely different from standard costume makeup, the quiet truth about clown makeup actually touches on some of those same psychological dynamics around colour and distortion.
9. The Veins-and-Venom Look
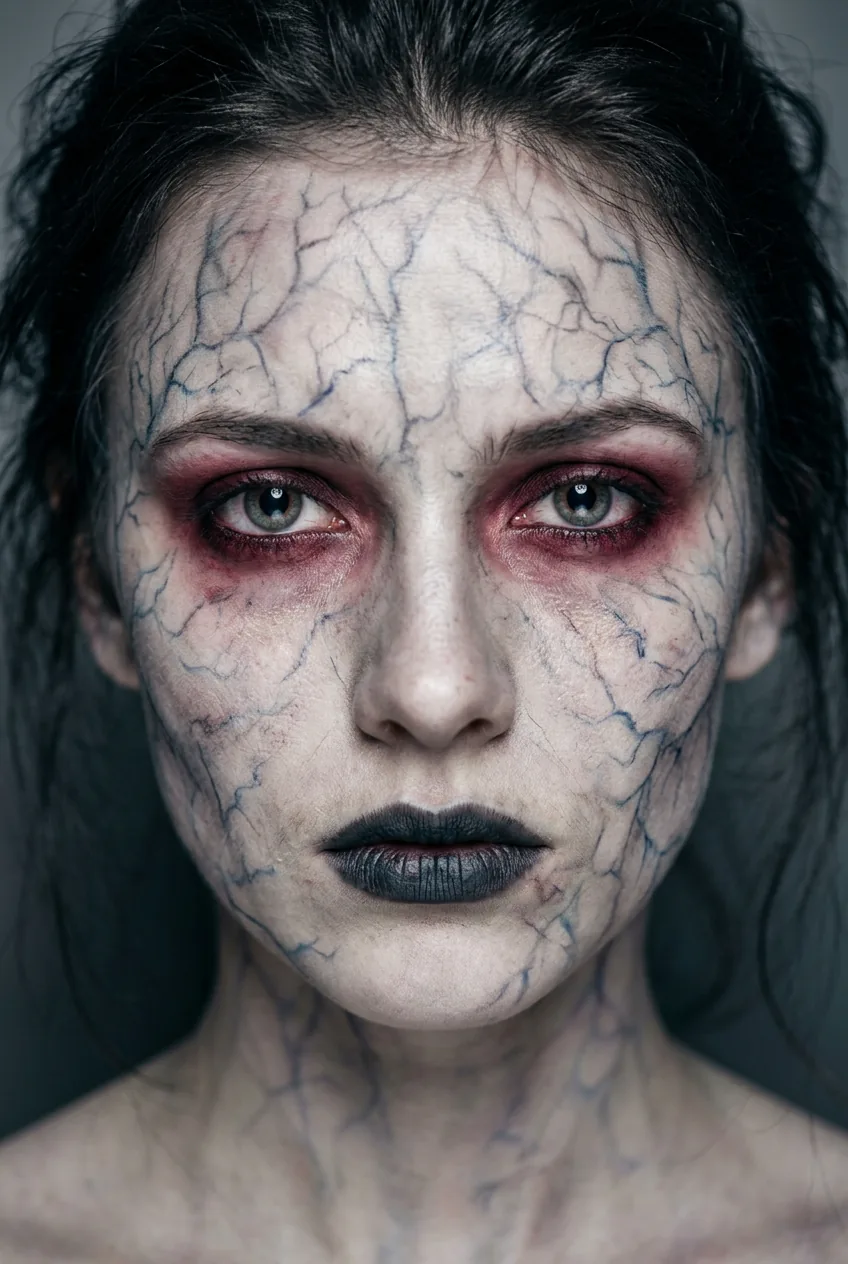
Dark veining mapped across the forehead, jaw, and neck. Lips shaded to deep grey-black. Eyes rimmed in red. This is the zombie look that feels less like a Halloween costume and more like something from a prestige TV drama — and that quality comes entirely from one technique: vein mapping.
Using a fine-tipped brush loaded with a dark blue-grey cream, the artist draws branching vein patterns that follow the real underlying anatomy of the face. They don’t invent random squiggles — they trace where actual veins sit. The result feels anatomically real in a way that random painted lines never do. Before this, she looked fresh-faced and healthy. After, she looks like something dark is spreading through her system. The detail work here is extraordinary. See how the veins at her temple actually follow the direction a real temporal artery would run — that specificity is everything.
If you want a step-by-step framework for tackling a full transformation like this, this clown makeup makeover guide walks through the structural approach in a way that translates well to zombie and SFX work more broadly.
10. The Classic Horror Reimagined
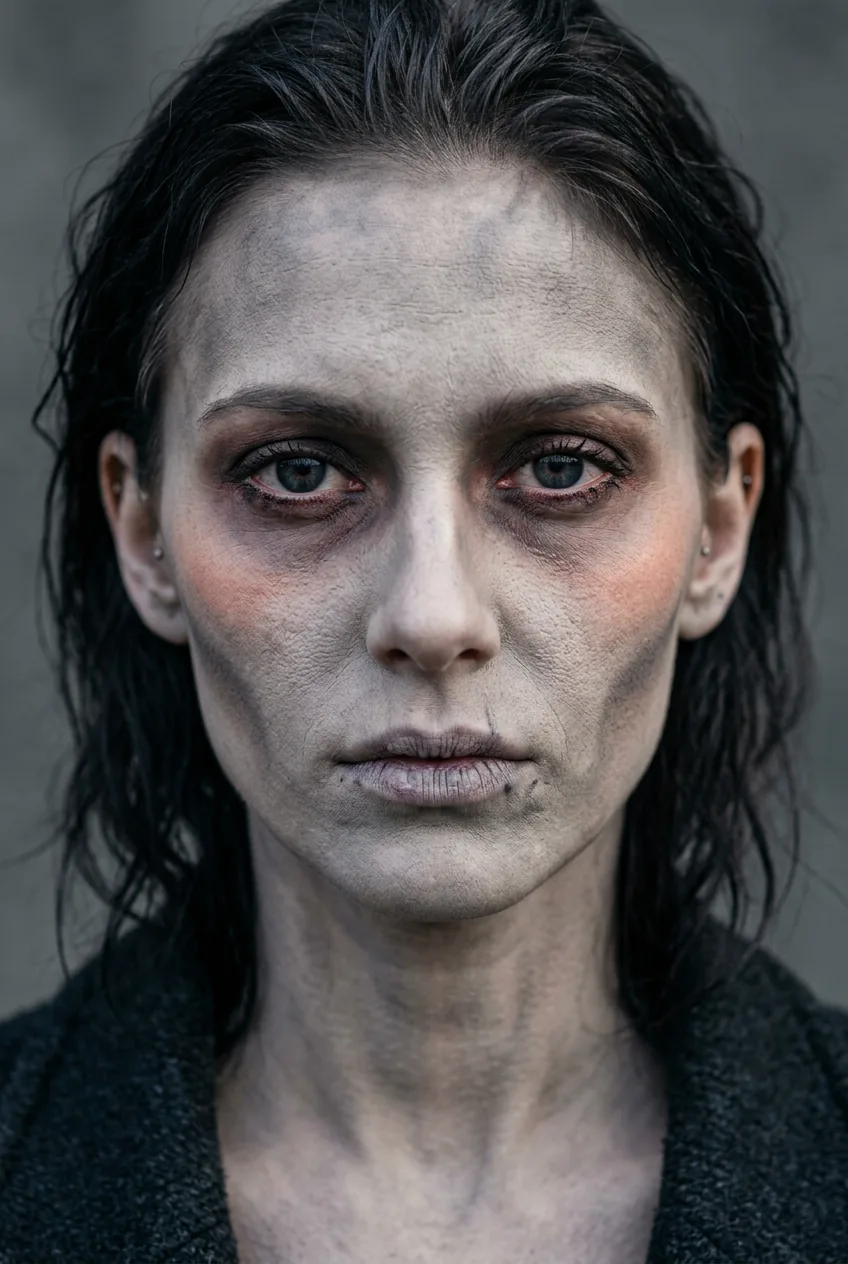
Grey skin, dark circles, hollow cheeks, bloodshot eyes — the classic zombie makeup done with enough skill and product knowledge to make it look genuinely cinematic rather than costume-party cheap. This is the transformation that proves the classics are classic for a reason.
The technique here is layered desaturation — building the grey skin tone in multiple thin layers rather than one opaque coat, so it has depth and variation rather than looking flat and painted. A little warmth is left at the cheekbones and nose to suggest what the person used to look like. The contrast between that tiny trace of life and everything else makes the look feel more tragic than scary. And somehow, that’s more affecting than pure gore.
The before-and-after on this one is the kind of reveal that makes you genuinely pause. The same person. Completely unrecognisable. That’s the power of knowing how pale SFX base makeup properly — getting that desaturated skin tone right at the base level means every layer after it reads more convincingly.
For anyone wanting to explore more undead and theatrical looks beyond this list, browsing the full makeup type archives is a great place to find technique-specific breakdowns organised by what you’re actually working on.
Questions I Get About Zombie Makeup
Do I need special SFX products for zombie makeup or can I use regular cosmetics?
For looks like the pale wash, eye drama, or blood-drip glamour, regular drugstore makeup works completely fine — you just need to know which colours to reach for. For the cracked skin illusion or anything involving fake blood, you’ll want SFX-specific products since regular cosmetics don’t have the texture or staying power those techniques need.
How do I remove SFX and stage makeup at the end of the night?
Oil-based cleansers or dedicated SFX remover are your best friends here. Heavy theatrical products don’t respond well to standard micellar water — you need something with oil content to break them down without scrubbing your skin raw. Double cleanse after to make sure nothing lingers in your pores.
Can people with sensitive skin try these looks?
Yes, with some care. The biggest risk areas are latex (skip it entirely if your skin reacts), certain pigments in face paints, and fake blood that contains glucose syrup (can irritate around the mouth). Always patch test SFX products 24 hours before the full look. Many water-activated face paints are formulated for sensitive skin and work beautifully for zombie effects.
How long does a full zombie makeup transformation typically take?
The simpler looks — pale wash, sunken eyes, corporate zombie — can be done in 20 to 40 minutes with practice. The more complex transformations like the cracked skin illusion or full vein mapping realistically take 60 to 90 minutes. Build in extra time the first time you try a new technique; rushing it is how you end up with muddy colours and cracking in all the wrong places.
Honestly, what I love most about all ten of these transformations is how clearly each one shows that the ‘wow’ moment usually comes from mastering one single thing — a colour theory decision, a brush technique, a product choice — rather than throwing everything at the wall. Pick the look that resonates, learn the technique behind it, and then make it your own. The undead aesthetic has never looked this good.