


I used to hate lip gloss. Seriously. Every time I tried to wear it, I’d end up with a sticky mess that grabbed my hair, disappeared after one sip of coffee, or made my lips look patchy and weird. But then I figured out what I was doing wrong — and now I actually reach for gloss more than lipstick most days.
What You’ll Need
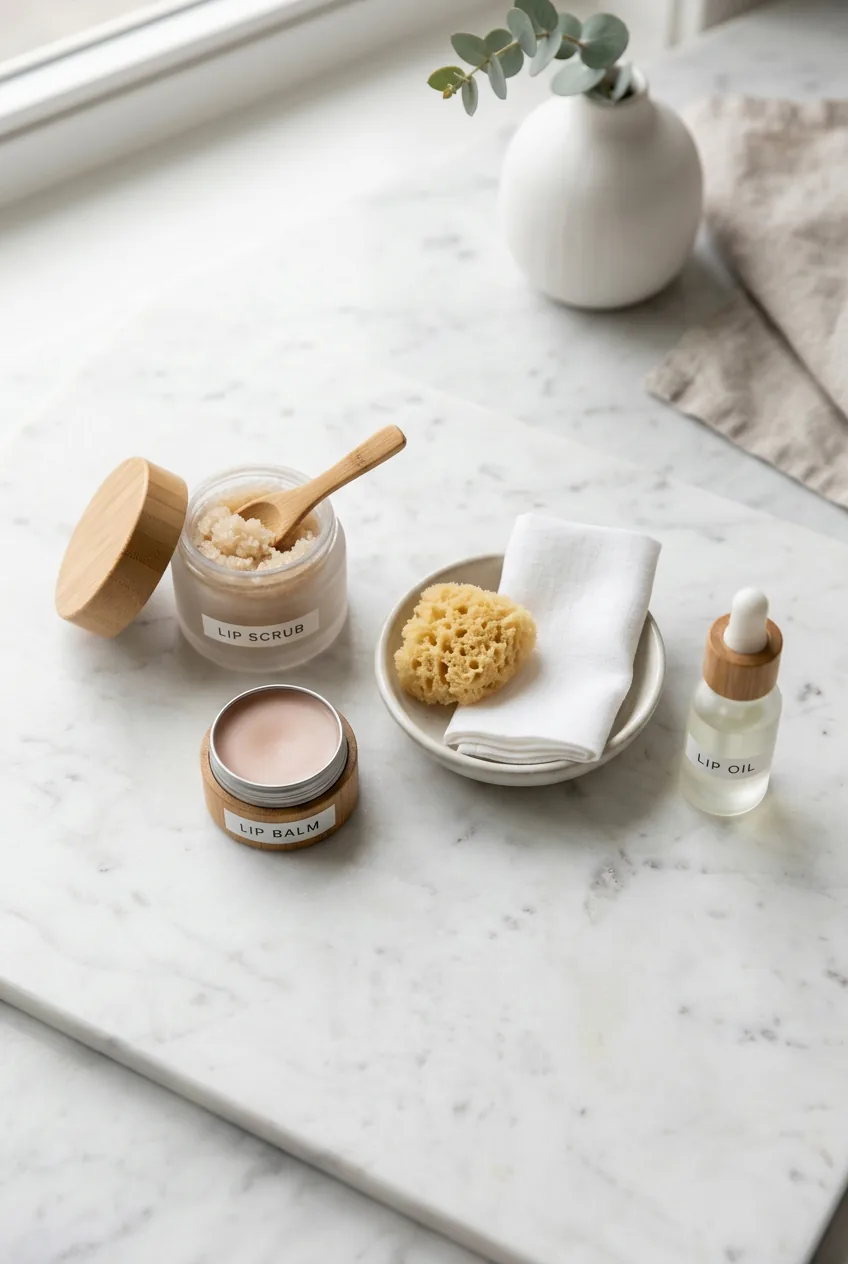
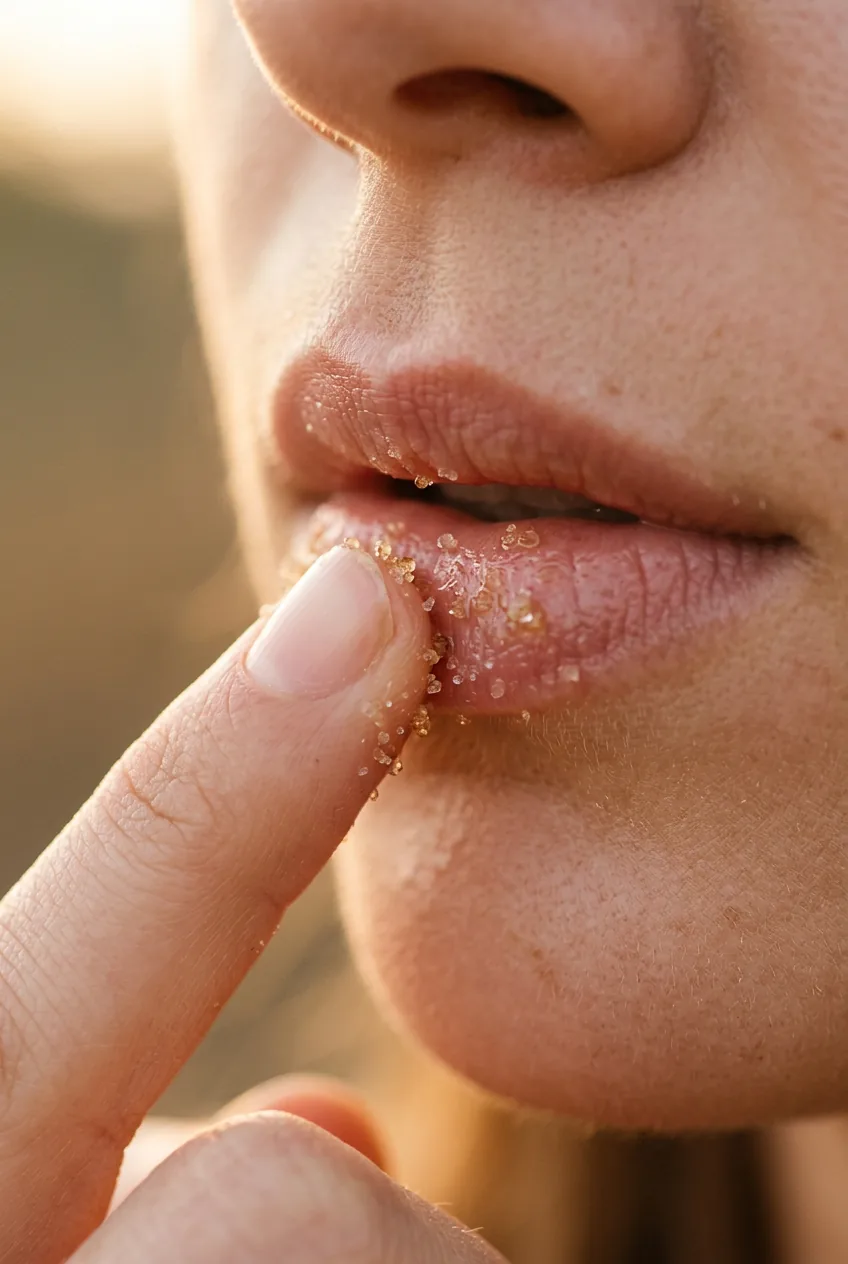
- A good lip exfoliant (I use a sugar scrub)
- Lip balm or primer
- Your favorite lip gloss
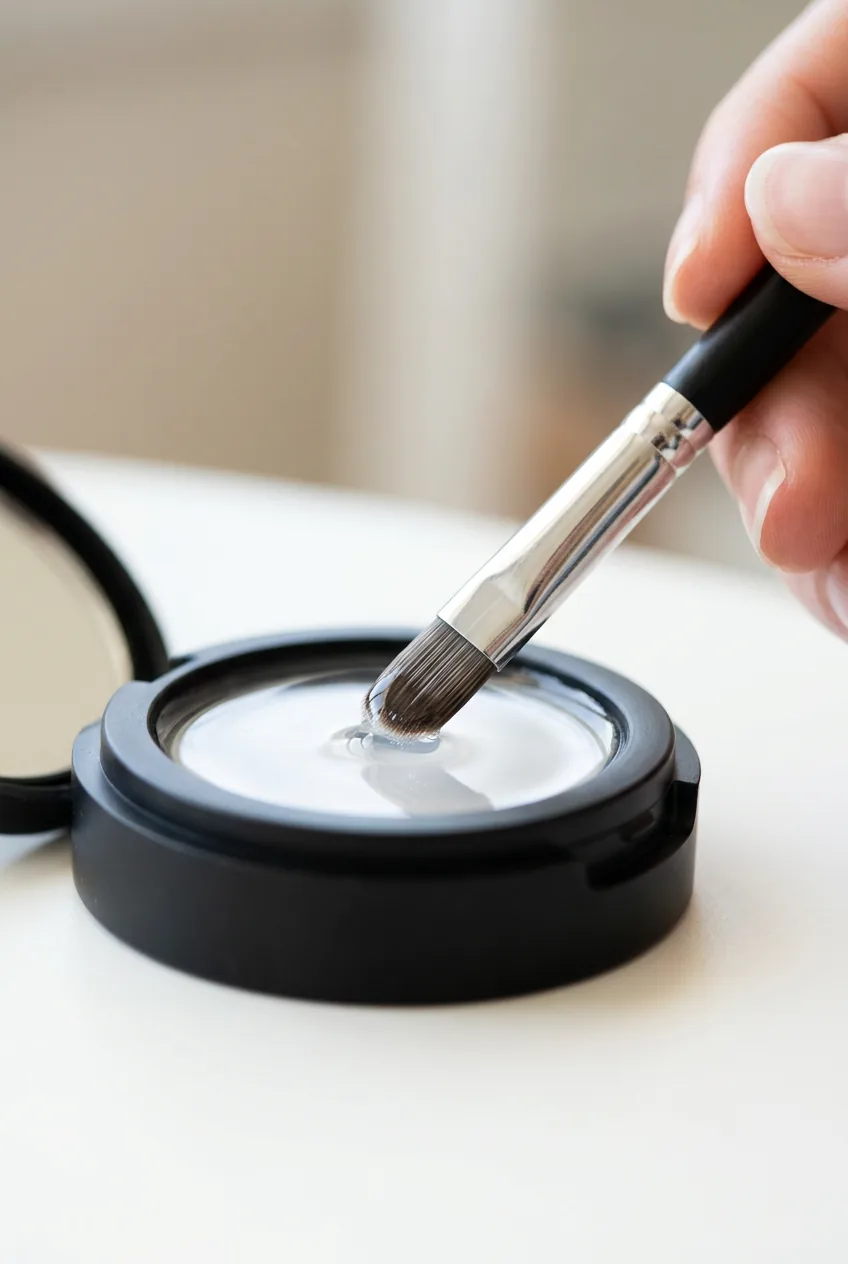
- A small flat brush or clean finger
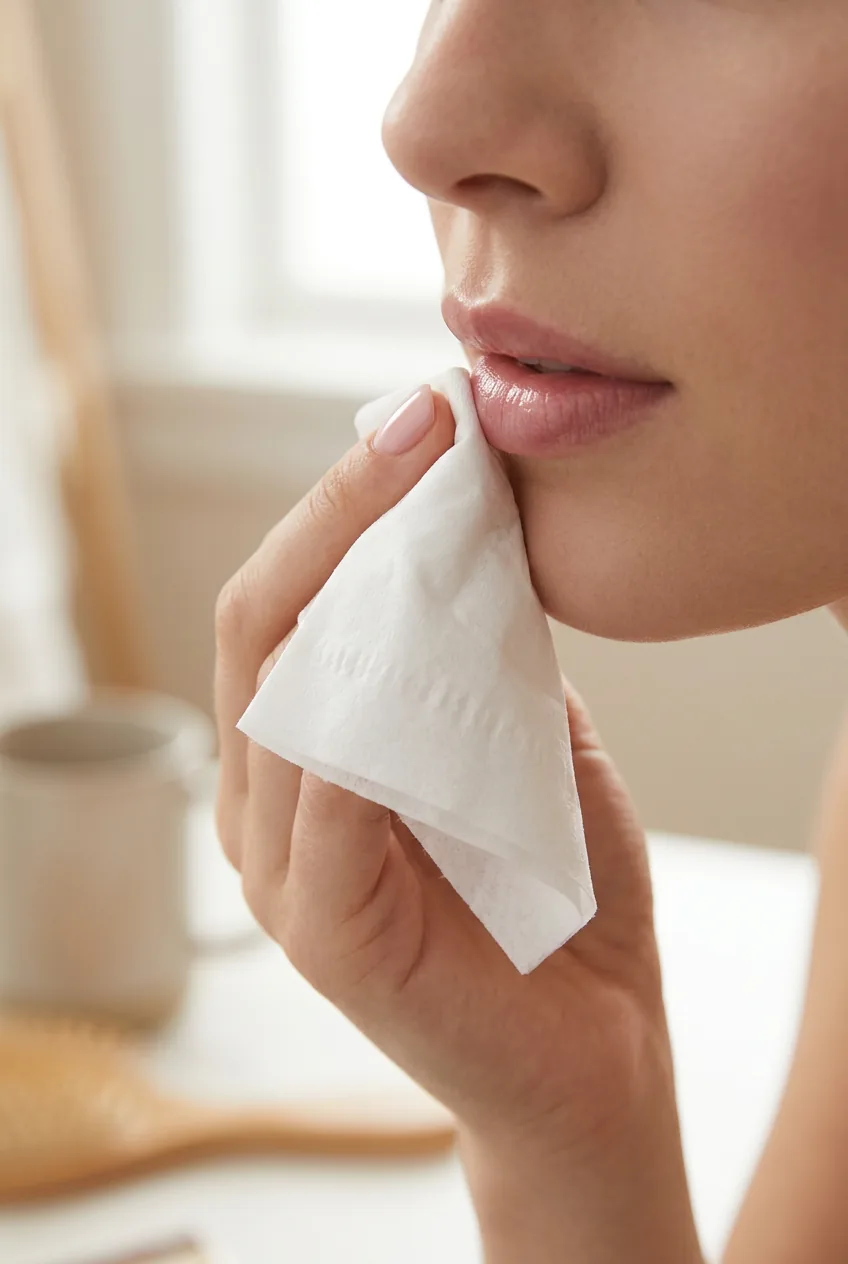
- Tissue for blotting
- Optional: lip liner in a matching shade
The Most Common Lip Gloss Mistake
Here’s what I see everyone doing wrong: they apply gloss straight to bare, unprepared lips. No wonder it looks patchy and feels uncomfortable! Your lips need to be perfectly smooth and slightly tacky for gloss to grab onto something.
Think about it — when you paint your nails, you don’t just slap color onto rough, dirty nails. You prep them first. Lips work the same way, but somehow we skip all the prep steps and wonder why our gloss looks terrible.
The other huge mistake? Using way too much product. I used to think more gloss meant more shine, but really it just means more mess. Less is definitely more with gloss — you can always build up if you need more coverage.
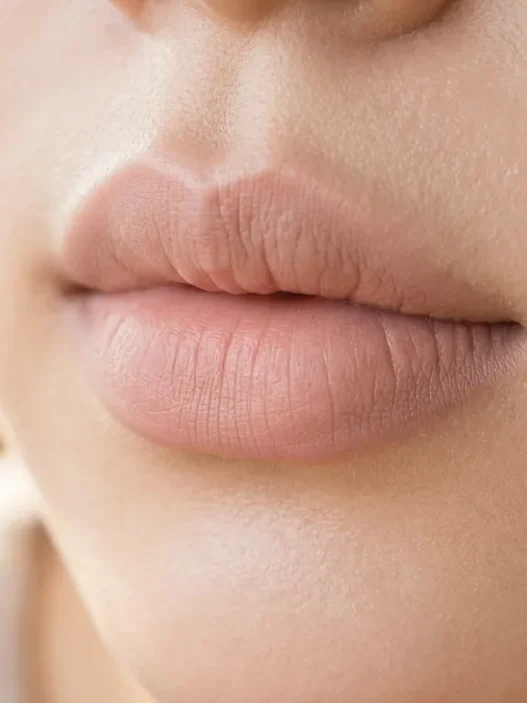
The Prep That Changes Everything
Start with completely clean lips. I know it sounds basic, but leftover lip balm, old lipstick, or even just the natural oils on your lips will make your gloss slip and slide around.
Gently exfoliate with a lip scrub or even just a soft toothbrush. You want your lips smooth but not irritated. I learned this the hard way after over-exfoliating and ending up with angry, red lips that made any gloss look awful.
Here’s the game-changer: apply a tiny amount of lip balm or primer and let it sink in for about thirty seconds. Then — and this is crucial — gently blot away any excess with a tissue. You want your lips to feel slightly grippy, not slippery.
I used to skip the blotting step because I thought my lips needed to be “moisturized” for gloss. Wrong! That just created a slippery base where nothing would stick. The blotting creates the perfect slightly tacky surface that helps gloss adhere properly.
The Application Secret
Forget the doe-foot applicator that comes with most glosses. I’m serious. Those things deposit way too much product and create uneven coverage. Instead, use a small flat brush or even just your clean finger.
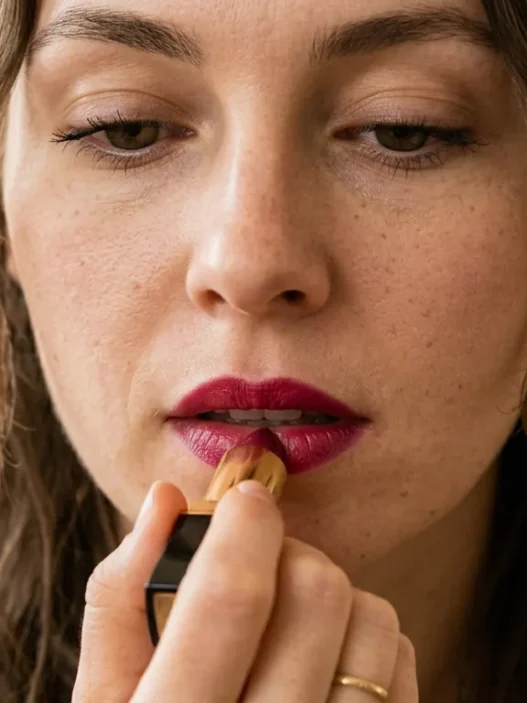
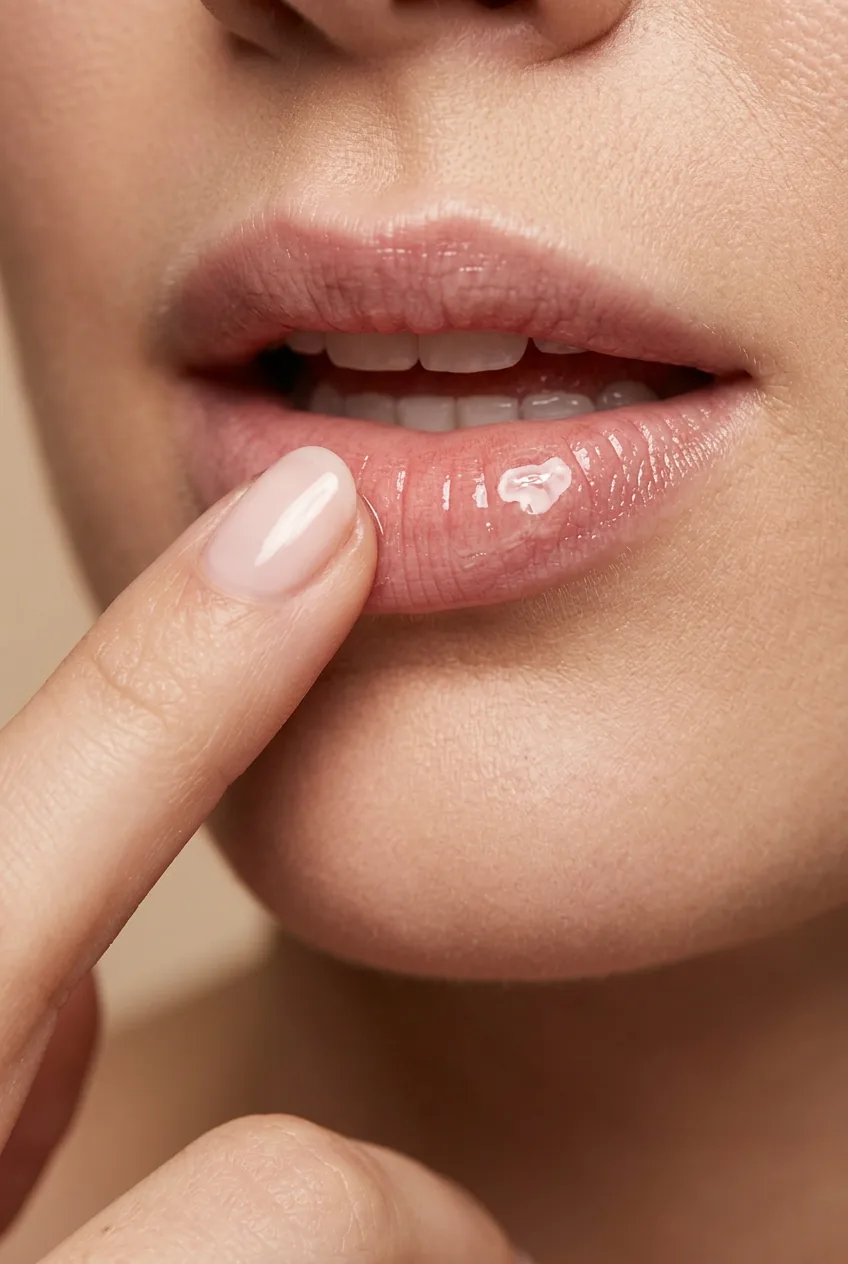
Put a tiny drop of gloss on your tool of choice and start from the center of your bottom lip. Press the gloss into your lip rather than just sliding it across the surface. This pressing motion helps it adhere better and creates more even coverage.
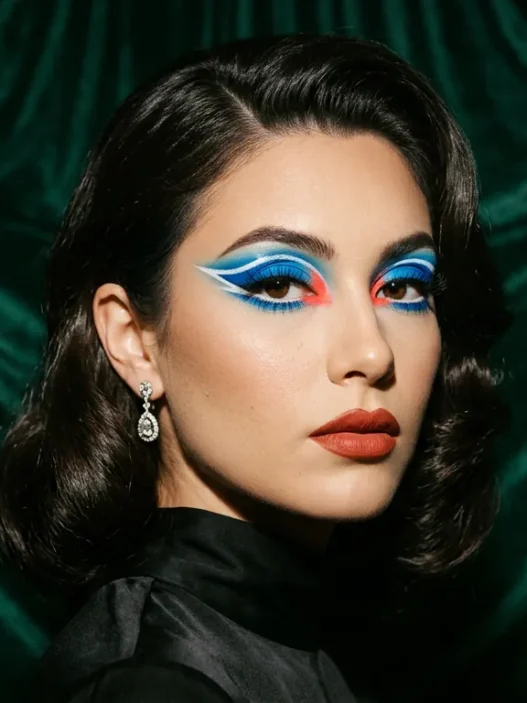
Work outward from the center, building up thin layers rather than trying to get full coverage in one swipe. For bold bright lips, this technique is especially important because you want the color to be even and intense.
Don’t forget your top lip! I see so many people focus only on the bottom lip with gloss. Use the same pressing technique, starting from the center and working outward. The key is keeping each layer super thin.
Watch the Pressing Technique in Action
How to Make It Last All Day
The secret to long-lasting gloss isn’t just about the application — it’s about creating layers that work together. After your first coat, wait about a minute for it to set slightly. Then add a second thin layer using the same pressing technique.
If you’re going for maximum staying power, try this trick: apply a matching lip liner all over your lips before you start the gloss process. Lip liner techniques can really extend the wear time of any makeup type you’re wearing on your lips.

For special occasions, I do a “seal and set” method. After my final gloss layer, I very lightly dust a tiny bit of translucent powder over my lips with a fluffy brush. It sounds crazy, but it creates this almost vinyl-like finish that lasts hours.
And here’s something I wish someone had told me earlier: reapply strategically. Don’t just slap more gloss over what’s already there. Gently blot your lips first to remove any uneven bits, then add a fresh thin layer. This prevents that gunky buildup that makes gloss look terrible after a few hours.
The trends in 2026 are all about that glass-like shine, and this method gets you there every time. I love how glass skin makeup trends have influenced lip looks too — everything is about that perfect, almost wet-looking finish.
Pro tip: keep a small mirror and your gloss with you for touch-ups. The pressing technique works just as well for reapplication as it does for the initial application. And if you’re dealing with soft vs dramatic glam decisions, remember that gloss can work for both — it’s all about the color choice and application intensity.
Quick Questions About Lip Gloss
Can I wear lip gloss if I have thin lips?
Absolutely! The key is choosing the right shade and not overdoing it. Clear or nude glosses work beautifully on thin lips, and the pressing technique I mentioned actually helps create the illusion of fuller lips by maximizing the shine and reflection.
How do I prevent my hair from sticking to my gloss?
This comes down to using the right amount of product and letting it set properly. If you’re still having issues, try a slightly tackier formula rather than super slippery ones. The pressing technique also helps the gloss adhere to your lips rather than sitting on top where hair can grab it.
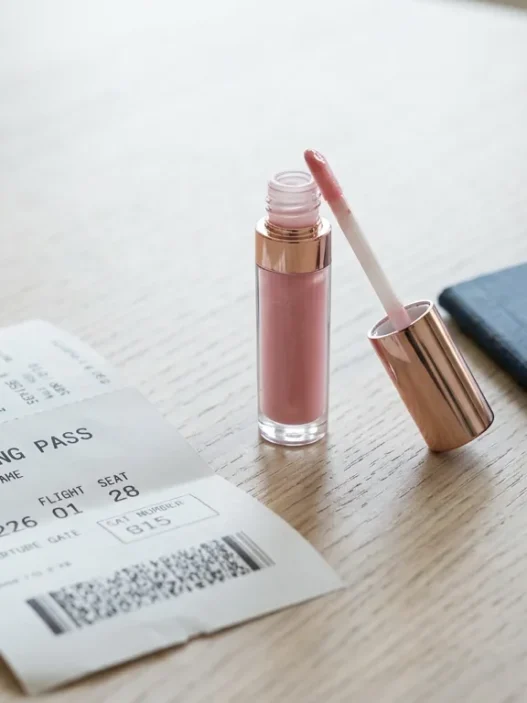
What’s the difference between gloss and lip oil?
Lip oils tend to absorb into your lips more and give a subtler shine, while traditional glosses sit more on the surface for maximum shine. Both need proper prep, but oils are more forgiving if you’re new to glossy lips. The application technique I described works for both.
Can I wear gloss over lipstick?
Yes, but you need to be strategic about it. Make sure your lipstick is completely set first, then apply gloss using the pressing technique with an even lighter touch than usual. This combo works especially well with pink makeup shades that are trending right now.
Now my gloss actually stays put, looks intentional, and feels comfortable all day. The difference really comes down to those prep steps and the pressing technique — once you get the hang of it, you’ll wonder why you ever struggled with gloss in the first place.