
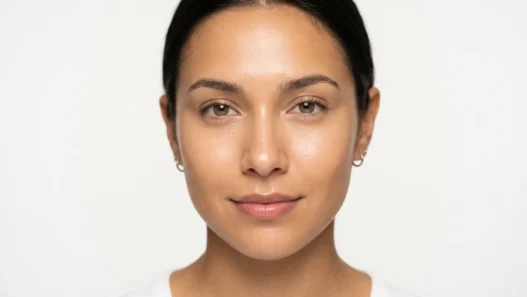


Two weeks before my sister’s wedding, I had a total panic moment. I’d done her makeup trial, and it looked gorgeous — for about four hours. Then the foundation started separating around her nose, her eyeshadow creased, and don’t even get me started on what humidity did to her mascara. I realized I needed to completely rethink my approach to bridal makeup longevity.
That panic led me to develop what I now call my foolproof wedding day makeup method. It’s not about piling on more product — it’s about strategic prep, smart layering, and knowing exactly when and how to refresh. I’ve used this system on over twenty brides since then, and honestly? Not one has had a makeup meltdown.
What You’ll Need
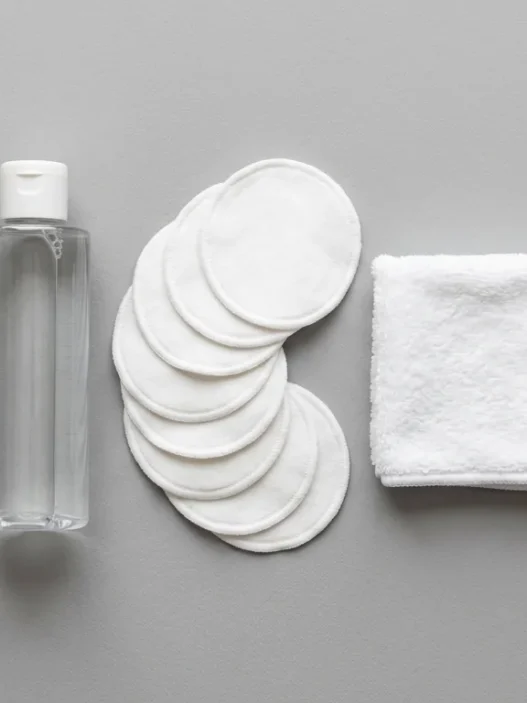
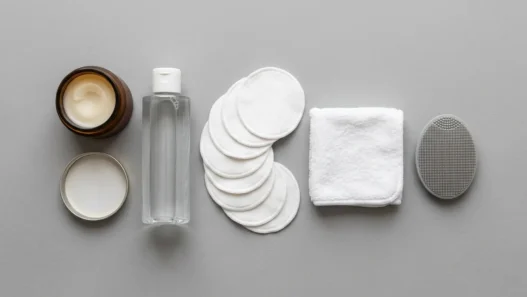
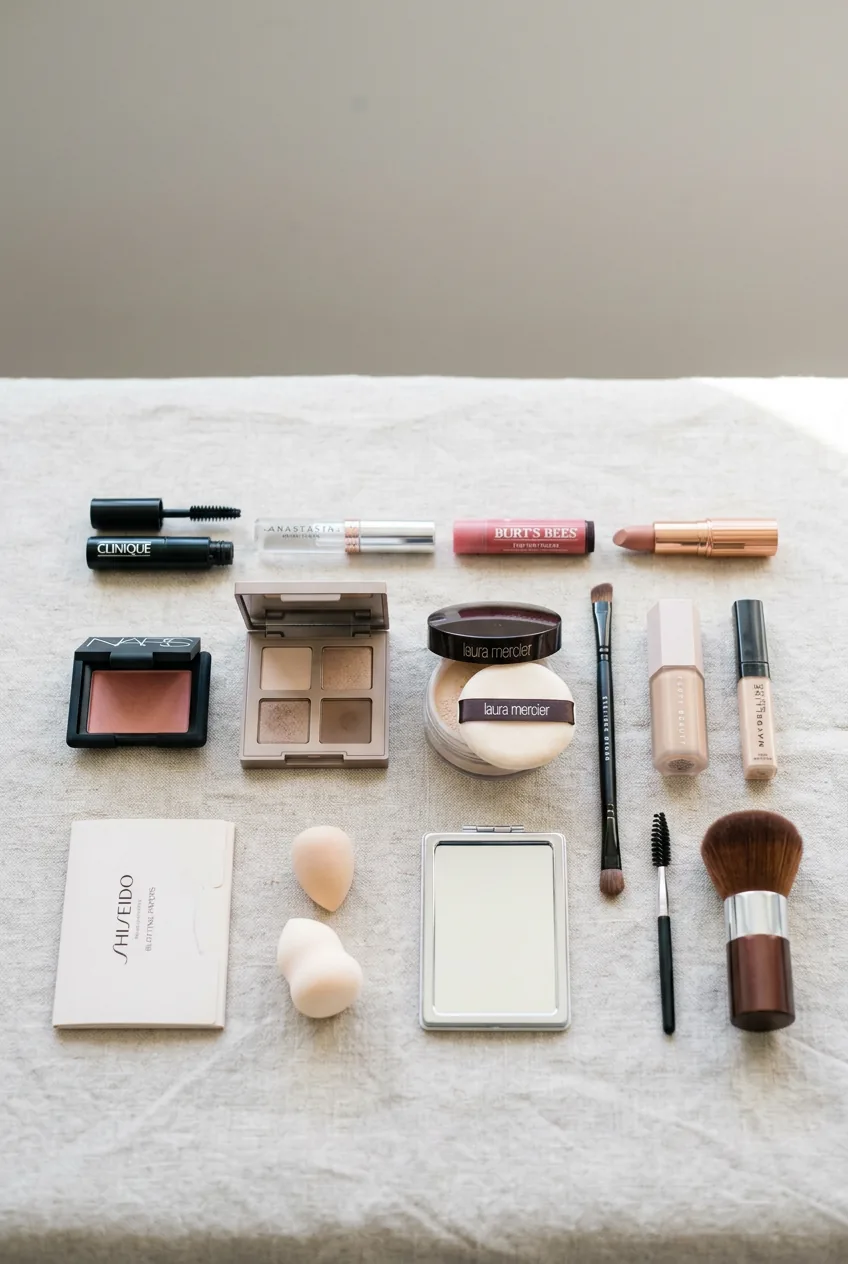
Before we dive in, let me share what’s in my bridal makeup longevity arsenal. You don’t need everything on this list, but these are the products that have never let me down:
- Mattifying primer (I swear by silicone-based ones for long wear)
- Setting spray — both before and after makeup
- Translucent setting powder (loose, not pressed)
- Waterproof mascara and eyeliner
- Long-wear foundation with good coverage
- Cream blush or gel tints that stain the skin
- Setting powder for touch-ups
- Lip liner in a shade close to your natural lip color
- Blotting papers
- Small angled brush for precise touch-ups
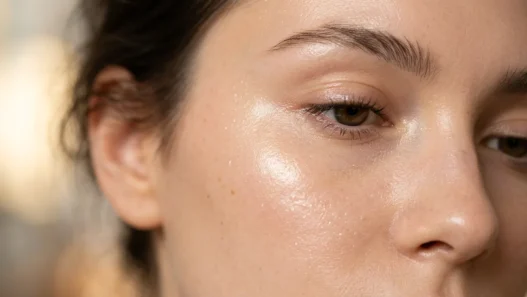
Prep That Decides Everything
This is where most people go wrong. They think prep is just moisturizer and primer, but wedding day prep starts the night before. I learned this the hard way when my cousin’s makeup started sliding off by the ceremony — turns out she’d used a heavy night cream that morning.
The night before, use a gentle exfoliant and follow with a lightweight, fast-absorbing moisturizer. Skip any oils or heavy serums. Your skin needs to be smooth but not slippery. In the morning, cleanse with a gentle foaming cleanser to remove any residual oils.
Now for the game-changer: apply your setting spray BEFORE primer. I know it sounds backwards, but this creates the perfect grippy base. Let it dry completely — we’re talking two full minutes of waiting. Then apply your mattifying primer, focusing on the T-zone where oil breakthrough happens first.
Don’t forget your lips and under-eyes. Pat a tiny amount of primer under the eye area where concealer tends to crease. For lips, exfoliate gently and apply a thin layer of lip balm, then blot off the excess. This prevents lipstick from feathering later.
Layering for Staying Power
Here’s where my method gets specific. Most tutorials tell you to apply foundation in one layer, but for bridal longevity, I use what I call the “sandwich method.” It sounds complicated, but it’s actually pretty simple once you get the rhythm down.
Start with a thin layer of foundation applied with a damp beauty sponge. Don’t go for full coverage yet — this first layer is just creating a base that grips to your primer. Let it set for about thirty seconds, then dust lightly with translucent powder. Not a heavy coating, just enough to set that first layer.
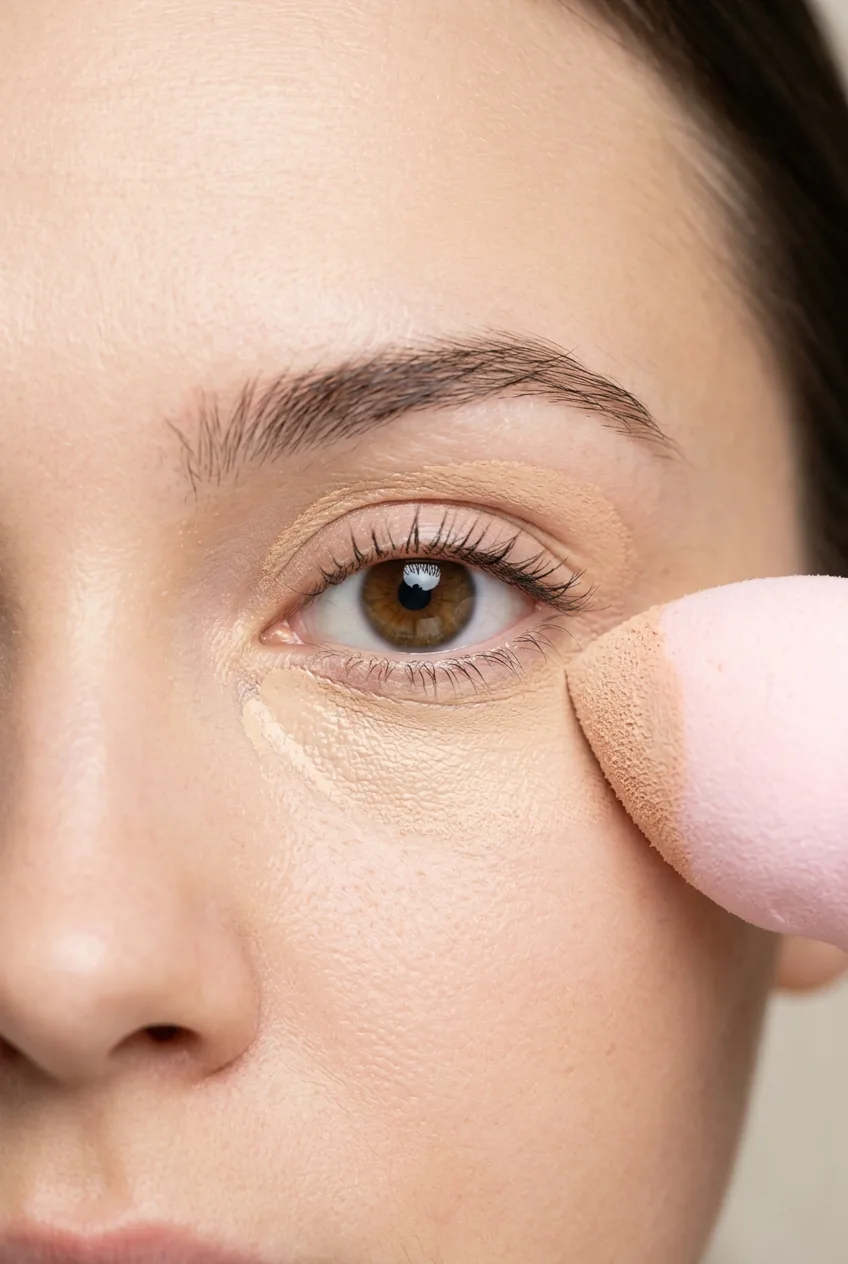
Now comes layer two. Apply more foundation where you need coverage — usually center of face, under eyes, around the nose. This second layer bonds with the powdered first layer and creates this incredibly durable base. The key is building up slowly rather than trying to get there in one thick application.
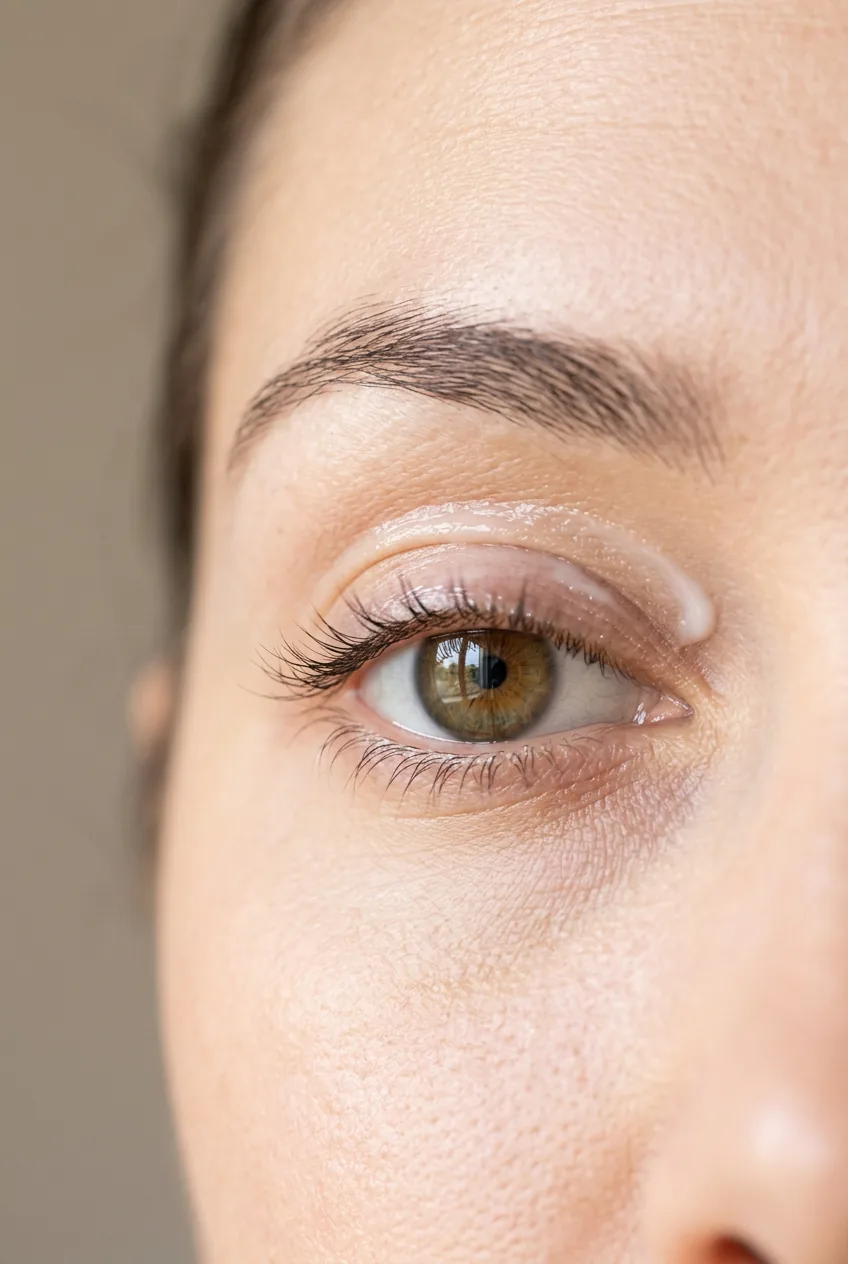
For eyes, I always use an eyeshadow primer, but then I do something most people skip: I set the primer with a skin-tone eyeshadow. Just a whisper of it patted over the entire lid. This prevents any cream products from sliding around later and gives your eyeshadow something to grab onto.
The biggest mistake I made early on was rushing the layering process. I applied foundation too thick and too fast, which led to a cakey finish that separated by hour three. Taking time between layers isn’t just recommended — it’s essential for longevity.
The Setting Step That Matters Most
If you take away nothing else from this tutorial, remember this: setting is not optional for bridal makeup. But there’s a specific technique that makes all the difference between makeup that lasts and makeup that migrates.
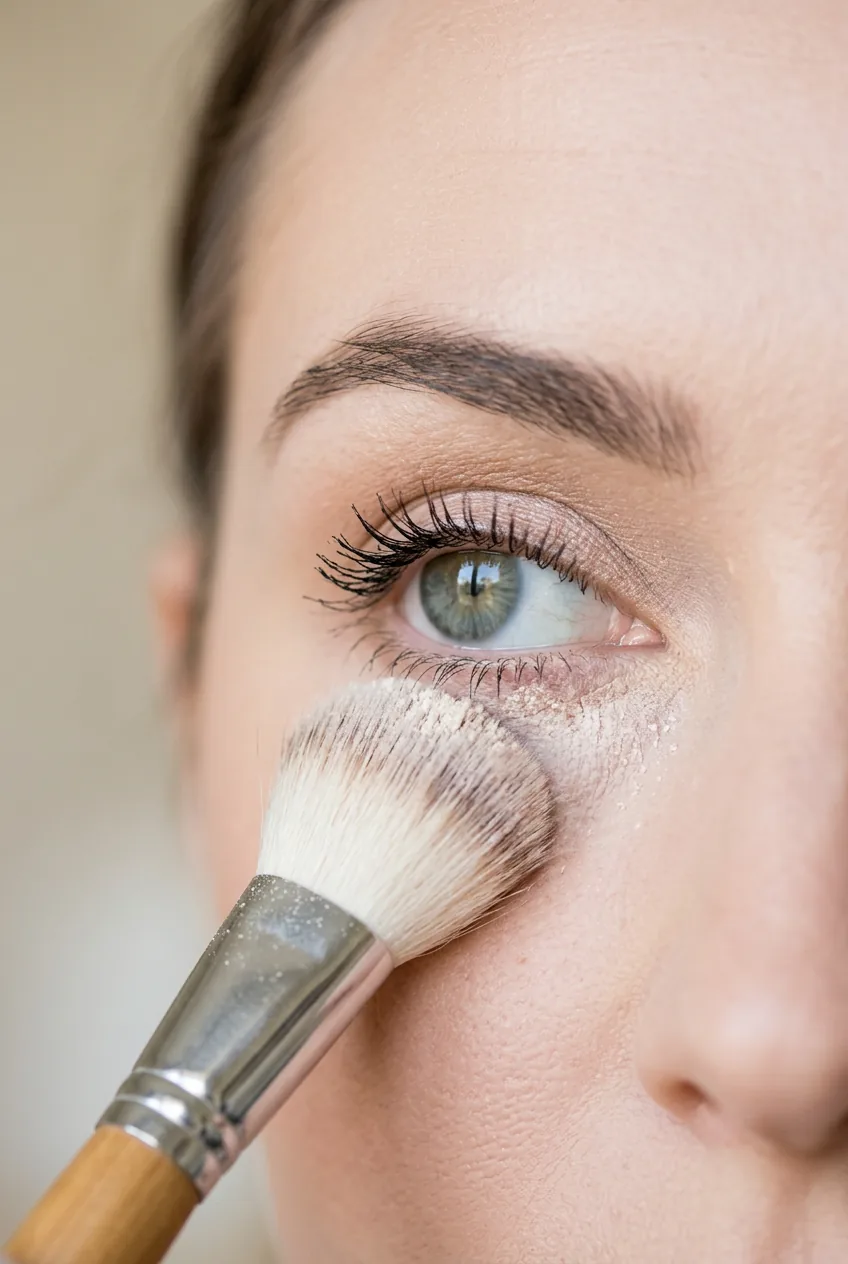
After your final layer of foundation and concealer, take your setting powder and a fluffy brush. Instead of sweeping it on, use a pressing motion. Press the powder into the makeup, especially in areas that tend to get oily or where products typically fade first. I focus on the T-zone, under the eyes, and around the mouth where lipstick can travel.
Here’s the technique that changed everything for me: after pressing powder everywhere, wait two minutes. Then use a clean, fluffy brush to gently sweep away the excess. This leaves behind just the powder that has actually bonded with your makeup, creating this incredible staying power without the powdery finish.
For setting spray, don’t just mist your face randomly. Hold the bottle about eight inches away and spray in an X pattern across your face, then one horizontal line across your forehead and one across your chin. This ensures even coverage. And please — let it dry completely before you do anything else. I usually have the bride close her eyes and count to thirty.
Watch the Press-and-Set Technique
Mid-Day Touch-Ups Done Right
Even with perfect prep and setting, every bride needs touch-ups. The trick is knowing what to touch up and when. I’ve seen too many brides make their makeup worse by trying to fix it with the wrong products at the wrong time.
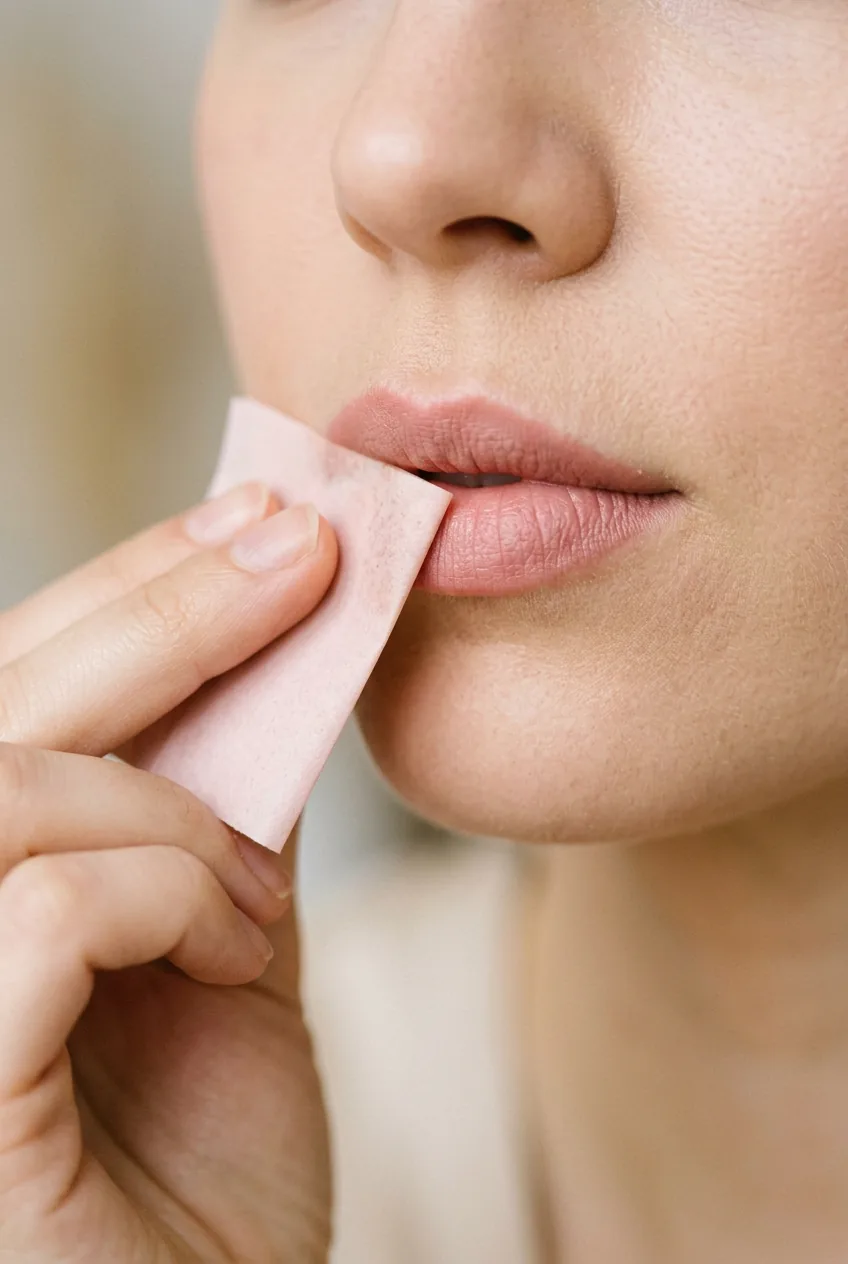
Before the ceremony (usually about an hour after initial application), check for any oil breakthrough. Don’t add more powder yet — use blotting papers first. Press them gently into oily areas, then apply the tiniest amount of setting powder only where you blotted. This prevents that layered, cakey look.
After the ceremony and photos, you get one major refresh opportunity. This is when you can reapply lipstick, add a touch more blush if it’s faded, and fix any eyeshadow that might have creased. But here’s what I learned: don’t try to rebuild the entire look. Focus on the three things that make the biggest visual impact — lips, lashes, and a bit of color on the cheeks.
For lips specifically, I always line them again before reapplying color. Lip liner techniques can make the difference between lipstick that stays put and lipstick that disappears after the first champagne toast. The liner acts like a barrier and keeps everything in place.
Product Choices for Endurance
Not all makeup products are created equal when it comes to staying power. I’ve tested dozens of formulas on real brides in real conditions, and there are certain characteristics that just work better for long-wear situations.
For foundation, I always choose something described as “long-wearing” or “transfer-resistant” over “dewy” or “natural finish” formulas. The latter might look beautiful initially, but they don’t have the staying power needed for a 12-hour wedding day. Look for foundations that specifically mention oil control or all-day wear.
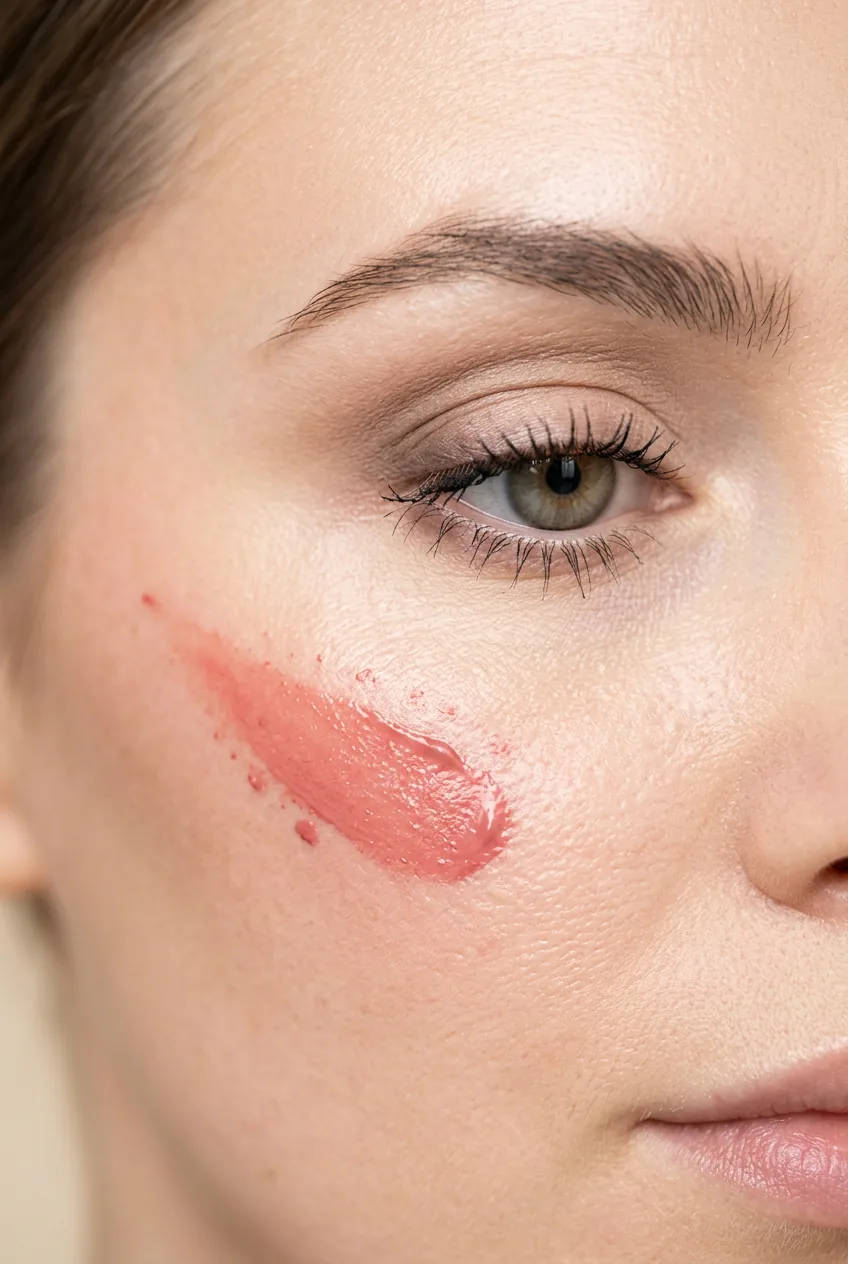
Cream blushes are my secret weapon for bridal makeup. They stain the skin slightly and don’t disappear the way powder blushes can. I apply cream blush first, set it lightly with powder, then add a touch of powder blush on top. It sounds like overkill, but this layering method ensures color that lasts from getting ready through the last dance.
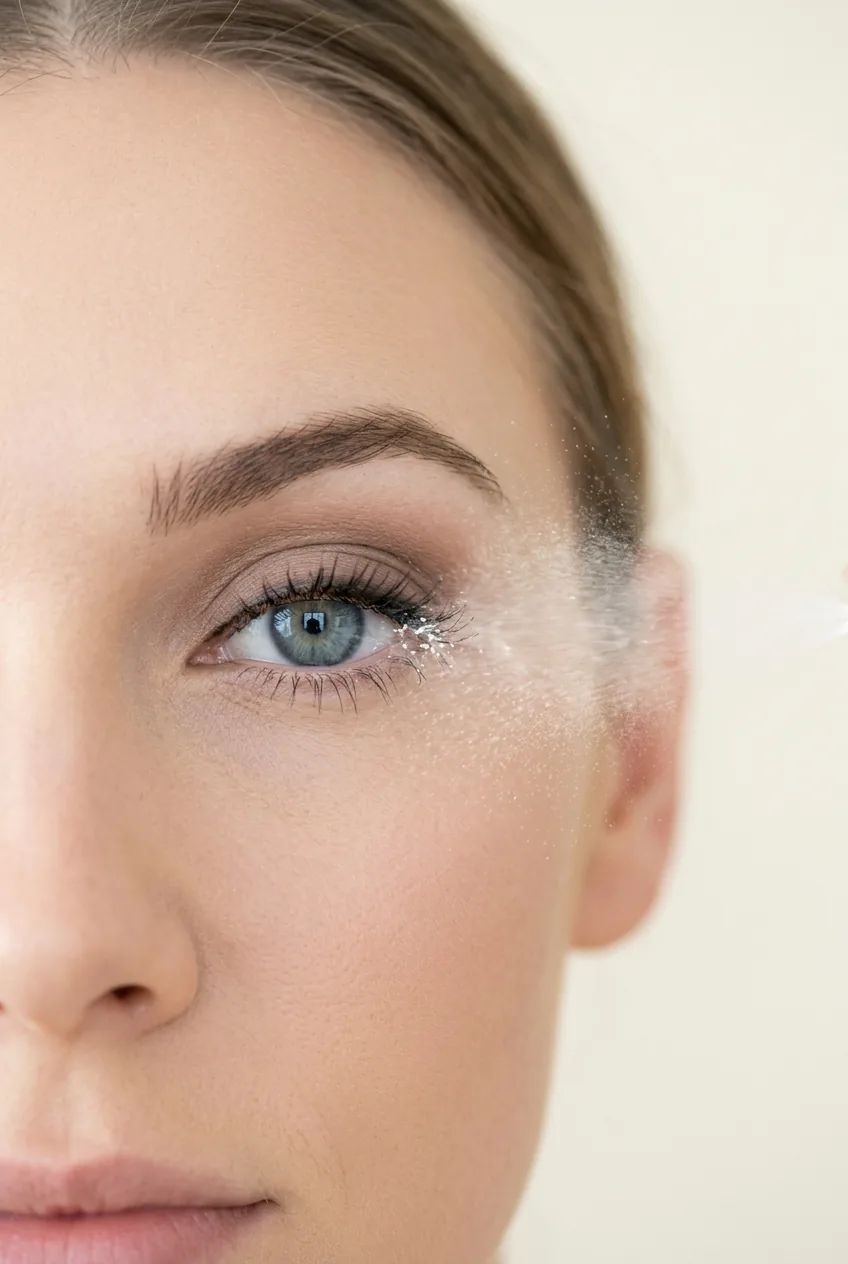
For eyeshadow, skip anything with too much shimmer or glitter. These particles can migrate throughout the day and end up under your eyes. Matte and satin finishes photograph better anyway and have much better staying power. If you want sparkle, save it for a small accent on the inner corners or center of the lids.
Mascara choice is crucial. Even if you’re not someone who usually cries, wedding days are emotional. I learned this when my first bride’s regular mascara left black tracks during her vows. Now I only use waterproof formulas for weddings, and I always have a backup mascara wand for touch-ups.
Emergency Kit Essentials
Every bride needs an emergency touch-up kit, but most kits I see are way too complicated. You’re not doing a full makeup application in the bridal suite bathroom — you’re doing strategic fixes. Keep it simple and focused on the products that actually matter.
Your emergency kit should fit in a small clutch and contain only these essentials: pressed setting powder for oil control, the exact lipstick you’re wearing, blotting papers, a small concealer for any blemishes that might appear, and waterproof mascara for touch-ups. That’s it. More products just create decision fatigue when you’re stressed.
I also include one item most people forget: a small angled brush for precise cleanup. Sometimes lip color travels slightly or you need to sharpen up your lipline. A small brush dipped in concealer can fix these tiny issues without disturbing the rest of your makeup.
The most important thing to remember about your emergency kit is that someone else might be using it. Make sure your maid of honor or mother knows where everything is and how to use it. I always do a quick tutorial with the bridal party so they know which products to use for which issues.
What Brides Always Ask Me
Should I test this routine before my wedding day?
Absolutely yes. Do a full trial run at least two weeks before your wedding. Wear the makeup for a full day — go to work, exercise if you normally would, see how it holds up. This isn’t just about the products; it’s about timing and how your skin reacts to the layering process.
What if I have oily skin?
Oily skin actually works well with this method because the layering technique is designed to control oil breakthrough. Use a mattifying primer, be generous with setting powder, and pack extra blotting papers. The key is managing oil, not trying to eliminate it completely.
How early should I start my makeup routine?
Plan for at least 90 minutes for the full process, including drying time between layers. Don’t rush — the waiting periods are what make this method work. Start early enough that you’re not stressed about timing.
Can I use this method for other special events?
This technique works for any long-day event where you need your makeup to last. I use it for photography sessions, evening parties, and any time someone needs to look perfect for more than six hours straight.
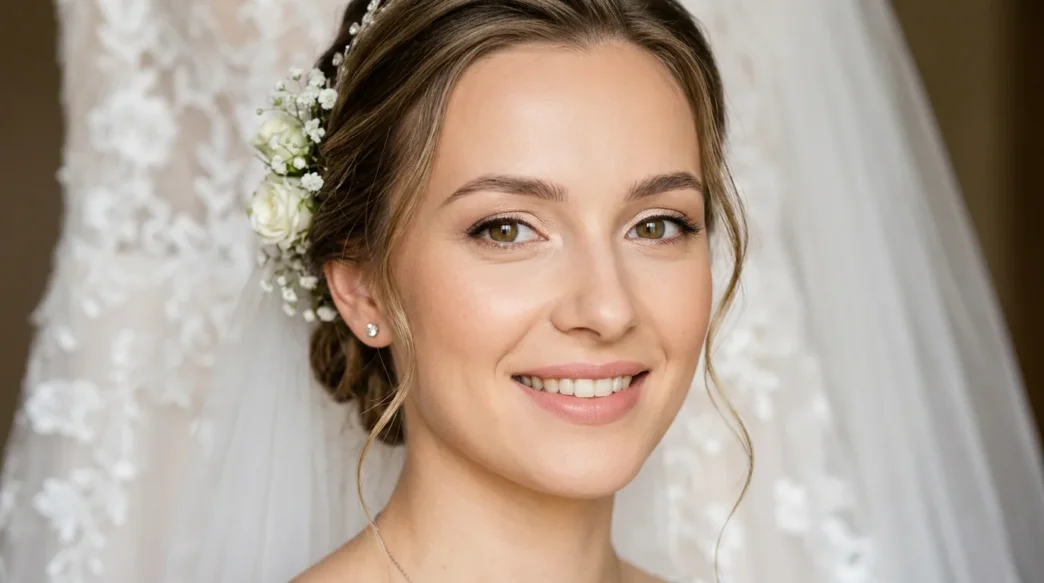
The confidence that comes from knowing your makeup won’t budge is honestly priceless on your wedding day. When my sister finally got married (with this refined technique), her makeup looked as fresh at midnight as it did at 8 AM. She spent zero time worrying about touch-ups and could focus completely on enjoying her day. And seeing her photos later, where bronzed smoky eyes looked absolutely stunning in every single shot, made all the trial and error worth it.