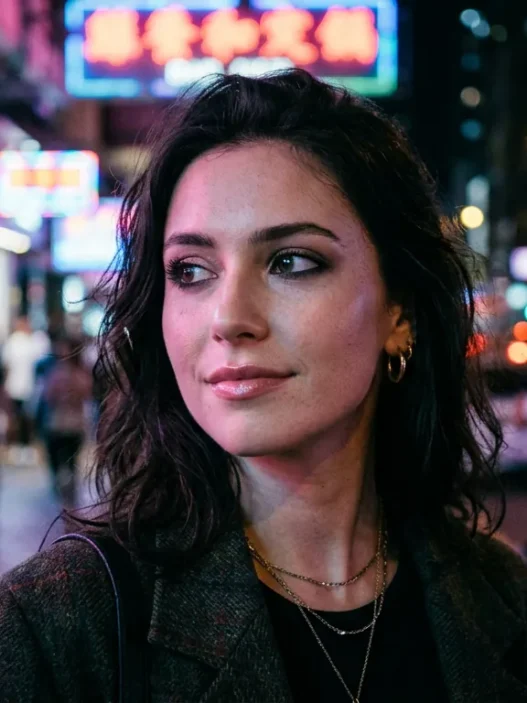




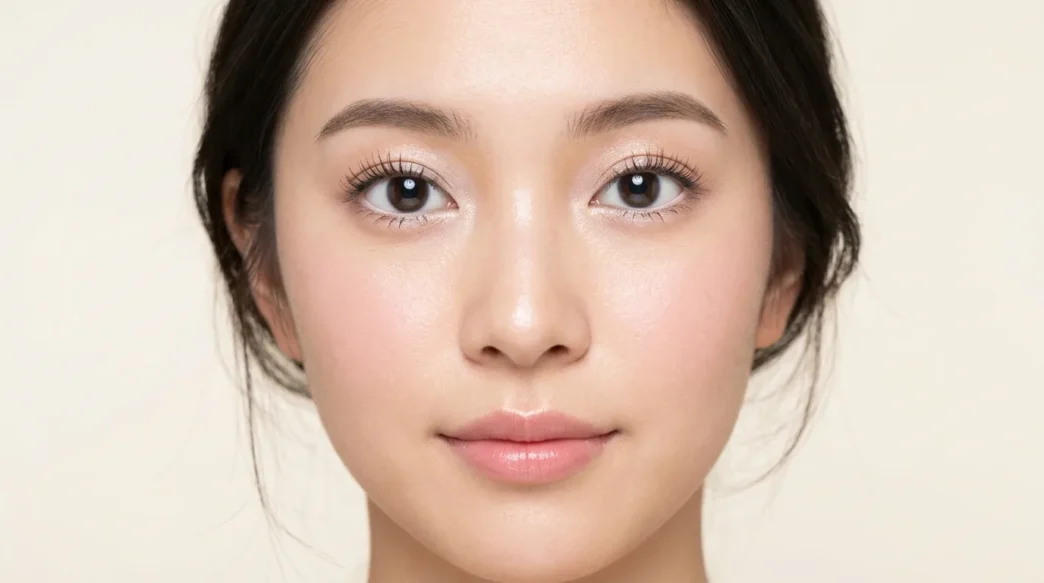
I have small, slightly downturned eyes and every wide-awake tutorial made me look surprised in the wrong way. I wanted that soft, round, almost-filter-like doll eye makeup effect for my cousin’s birthday dinner, but I kept chickening out. So I gave myself a full Sunday afternoon, good light, makeup remover on standby, and permission to redo it three times.
And honestly? The third try was the one. Once I stopped rushing the lower lash line and the center lid highlight, everything clicked into that open, bright, doe-like shape I love.
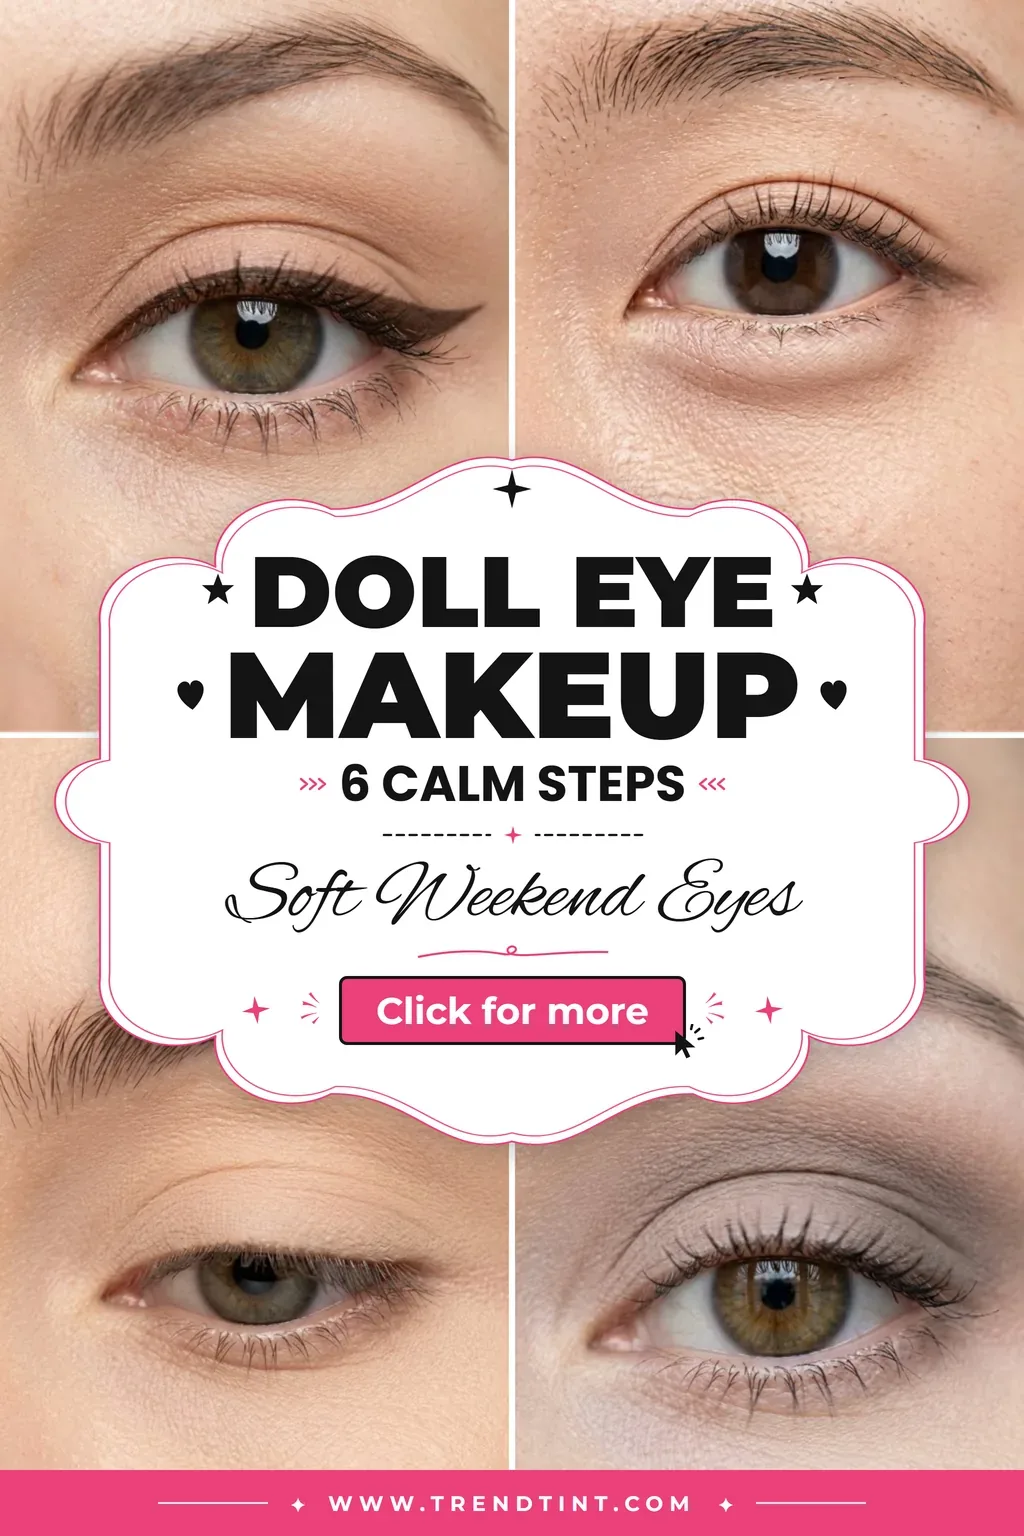
My Unhurried Doll-Eye Game Plan
What You’ll Need
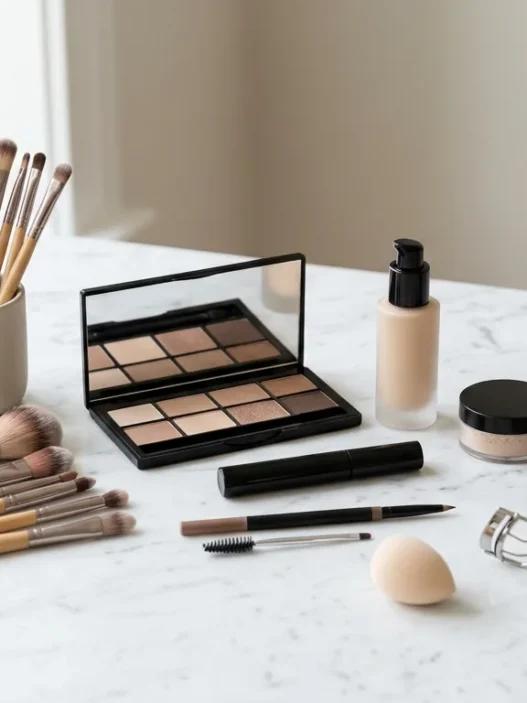
Think soft and blendable, not harsh and graphic. This is not a sharp-cat-eye day. I pulled everything onto my vanity before I started so I was not running to the bathroom with half-done eyes.
- Hydrating eye cream and a light, brightening concealer
- A small, flat eyeshadow brush, a fluffy blending brush, and a thin pencil brush
- Matte eyeshadows in cream, warm taupe, soft brown, and a shimmery champagne for the center
- A dark-brown pencil liner and a black liquid or gel pen for tight lining only
- Lengthening mascara, plus half-strip or individual false lashes for the outer-center
- Light-beige nude liner for the waterline, and a cool-toned contour shade for the aegyo-sal trick
- Cotton swabs, micellar water, and lash glue you actually trust
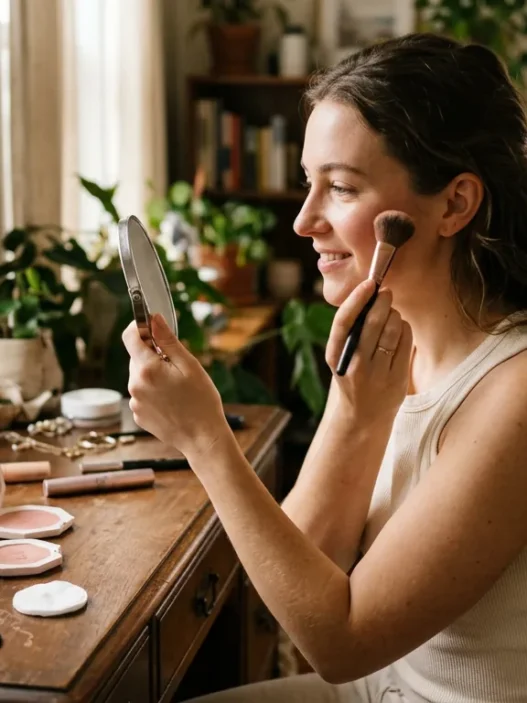
I keep my everyday eye stuff in my main Makeup Type drawer, but for this I made a little weekend kit on a tray. It sounds fussy, but it stopped me from grabbing a too-dark palette mid-blend. If you are curious about how eye placement changes a whole face, I loved reading about The Art of Eye Makeup, Explained in Detail while my eye cream sank in. And if you want more drama after this, save The Eye Makeup Transformation: From Bare Face to Full Glam for next weekend.
Step 1: Give Yourself Time For This
This first hour is all prep and soft shaping. Put on a podcast. Make tea. This doll eye makeup version needs a smooth, lifted base to look round instead of puffy, especially on round eyes or downturned eye shapes where shadow can drag down fast.
Start with a well-rested base
I pat eye cream around the whole orbital bone and wait a full five minutes. Then I press a thin layer of concealer on dark circles and on the lid itself to even things out. I set very lightly with translucent powder, just under the eye and on the lid edge. Too much powder here makes every shimmer look dry later.
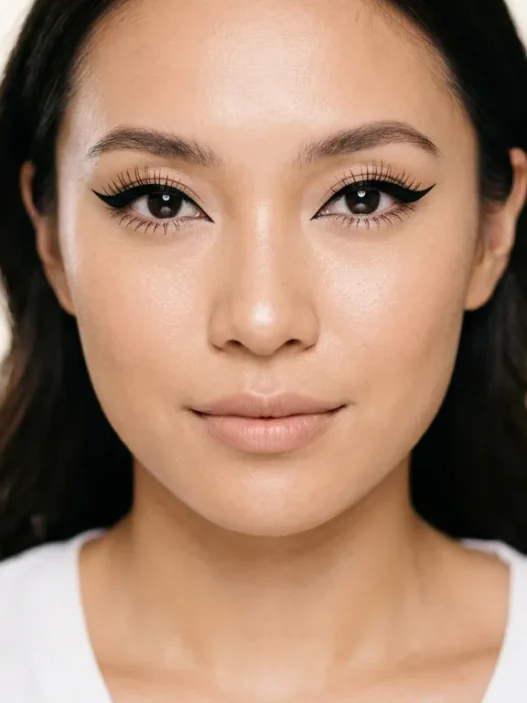
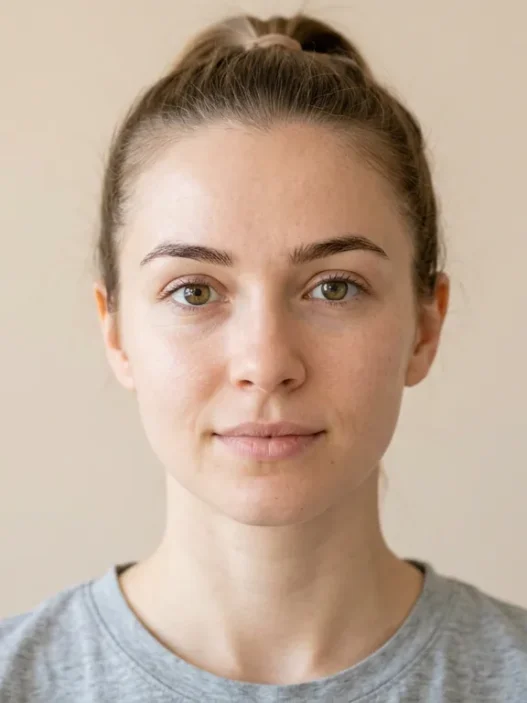
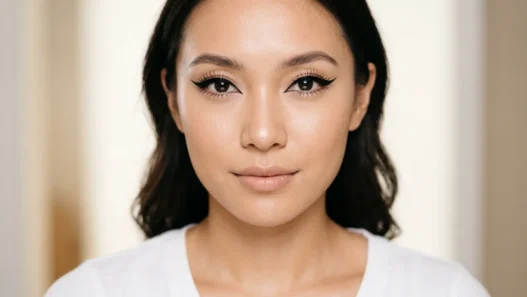
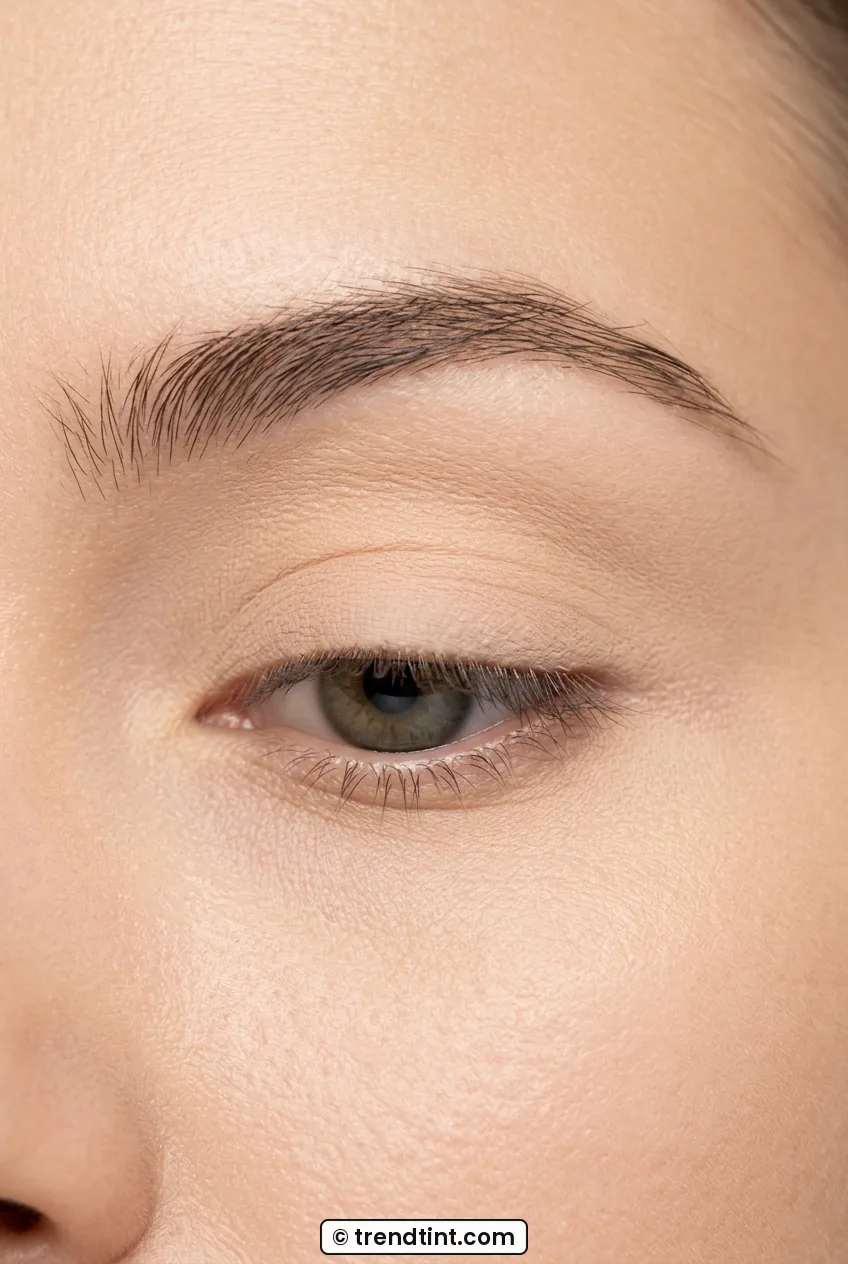
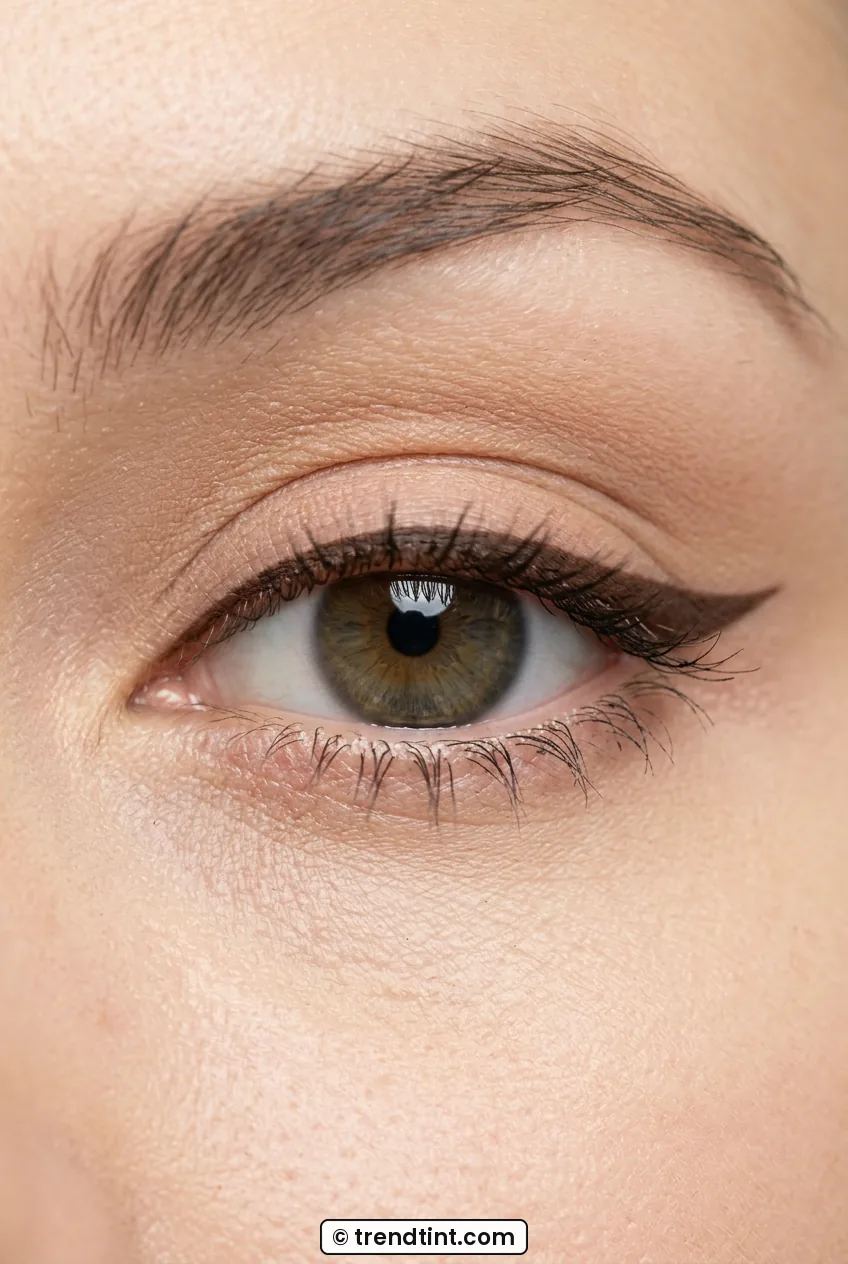
Look at how she is wearing hers in this first close-up. See that clean, even lid with no creasing? That is the canvas you want before any round-eye shading goes on. Mine creases if I skip this, especially in the inner corner.
Lay down the wide-awake gradient
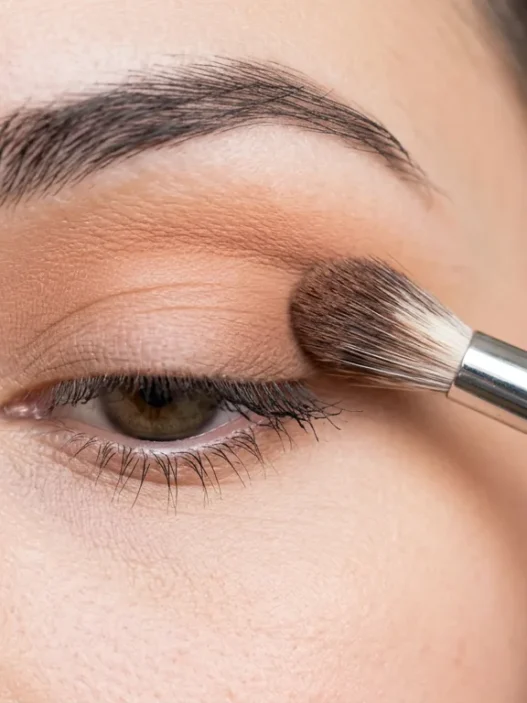
With a fluffy brush, I sweep a matte cream shadow from lash to brow as a veil. Then I take a warm, mid-tone taupe and buff it right into the crease in little windshield motions, keeping the deepest color in the center of the socket, not the outer third. That is the opposite of a lifted fox eye. We are building height in the middle to fake a rounder shape.
For my downturned corners, I stop the crease shade before it hits the outer V. If I drag it out, my eyes look sleepy. Keeping it centered is what makes eyes look bigger without eyeliner doing all the work. I learned a lot about placement from reading up on round-eye shadow placement before my second attempt, and it finally made sense why my outer-corner blending always looked heavy.
Next I add a soft, matte brown just at the lash roots on the upper lid, smudging it with a pencil brush. No wing yet. We want a thick-looking lash base first. My favorite is a chocolate brown, not black, because it keeps that sweet Korean eye makeup tutorial softness instead of going full evening glam.
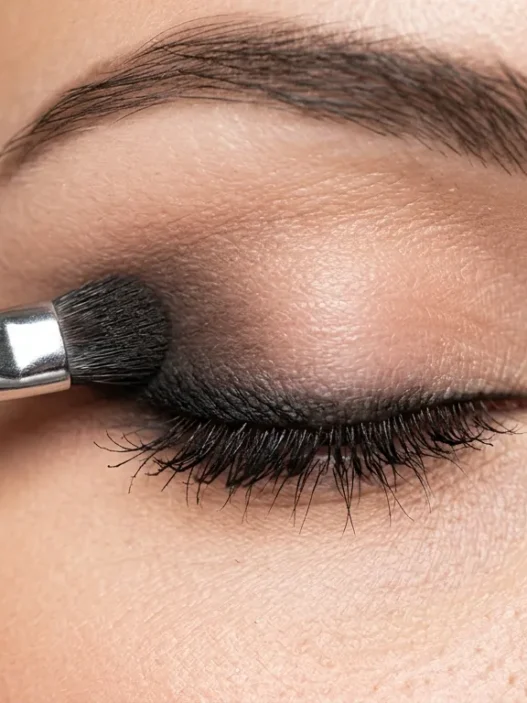
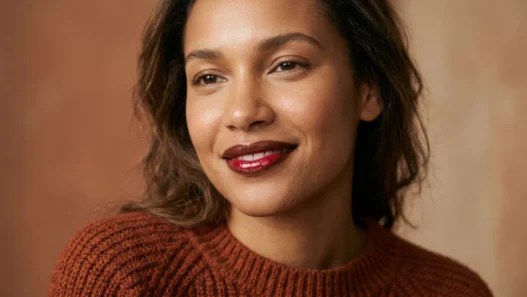
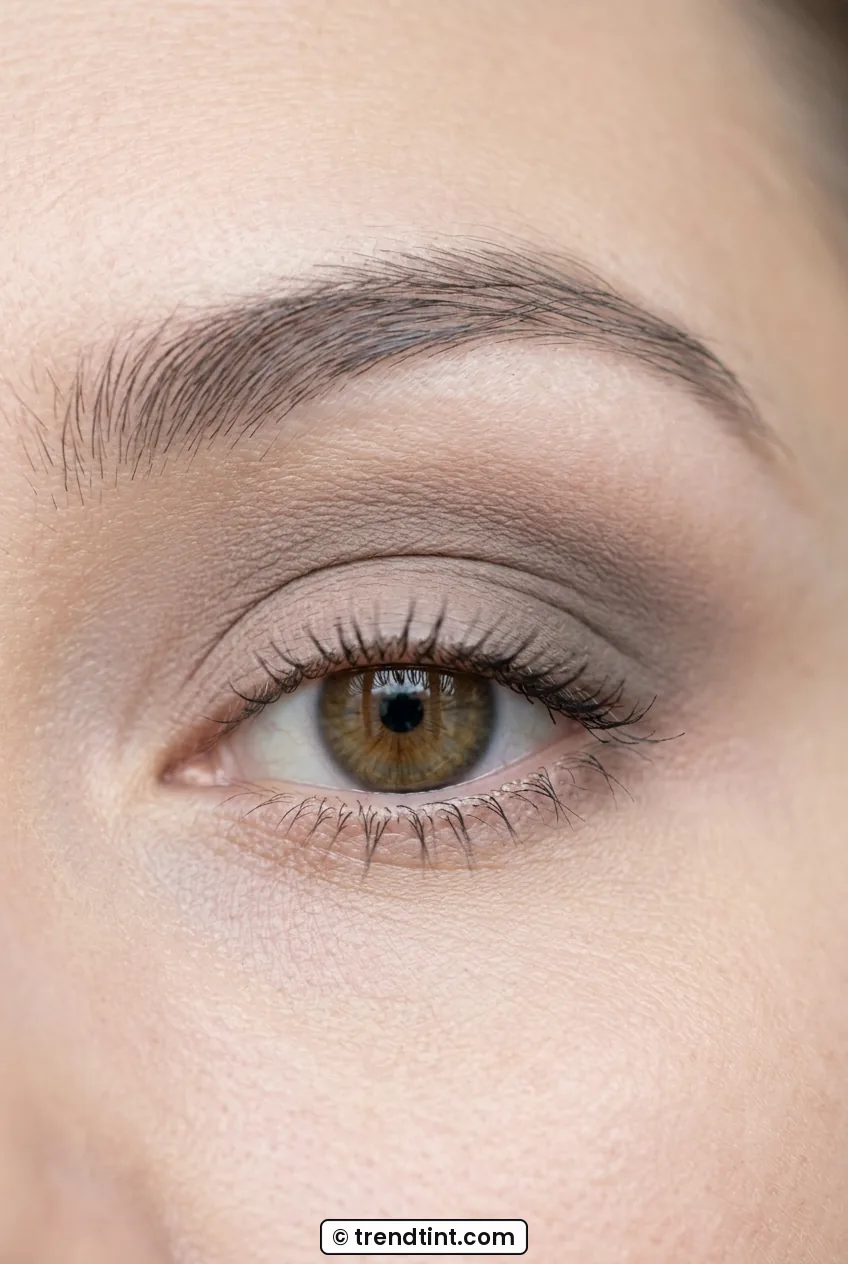
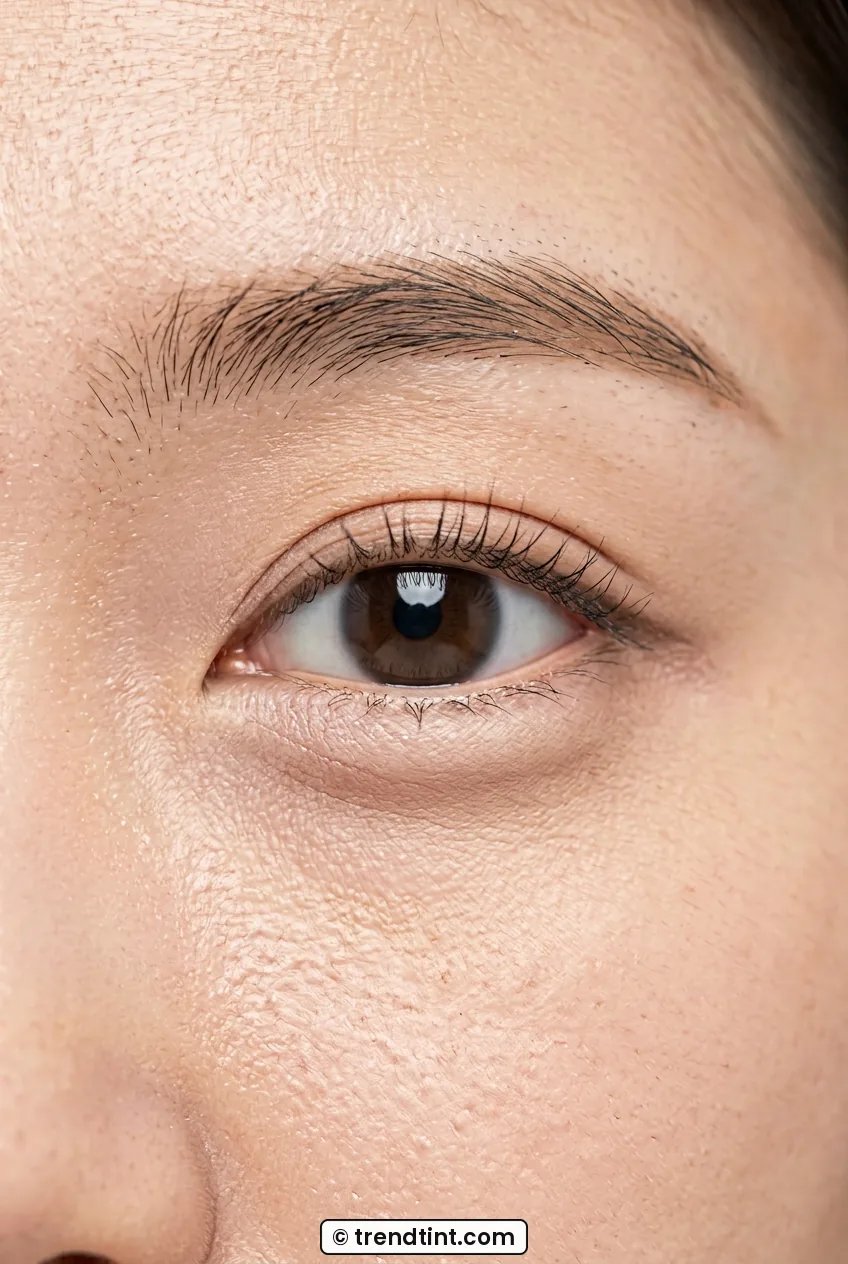
This second photo shows that mid-step haze perfectly. She has that diffused taupe sitting highest in the middle, fading clean at the edges. That is your checkpoint before shimmer.
Add the center pop
Now the fun part. I press a shimmery champagne shade right onto the center of the mobile lid with a flat brush, just over the pupil. I do not sweep it inner to outer. Patting keeps it bright. This single spot of light is what creates that curved, doll-like bulge.
I also dab a tiny bit in the inner corner, but I keep it small. A big inner-corner highlight can make close-set eyes look even closer. Just a pinprick of light is enough. If you love a full Eyes breakdown with swatches, I keep mine saved there for reference.
Mistake I made: on try one I packed glitter across my whole lid like a holiday look. It flattened everything and my small eyes looked smaller in photos. Center-only shimmer, blended edges, that is the whole trick.
Step 2: The Part Worth Slowing Down On
Okay, this is the fiddly middle where doll eye and doe eye makeup lives or dies. Give yourself 30 unhurried minutes here. This is liner, lower-lid shaping, and lashes, and each layer builds on that round base you just made.
Tightline first, then puppy line
I always tightline my upper waterline with black first. It fills gaps between lashes and makes mascara look twice as thick. I learned the cleanest method for that from a piece on tightlining techniques and now I do not skip it, even for daytime.
Then I do a short, straight-across puppy eyeliner, not a lifted wing. With a dark-brown pencil, I trace close to the upper lashes and extend straight out or even a hair downward, following my natural downturned eye makeup line instead of flicking up. The thickest part sits above the pupil, not at the outer corner. That keeps the eye looking circular and sweet.
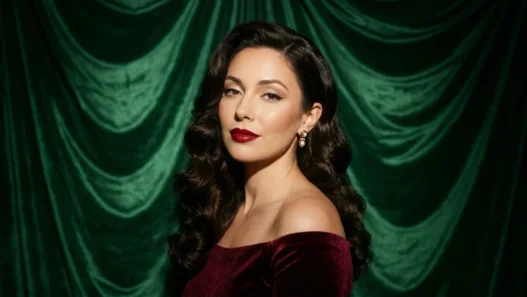
Check her upper line in this close-up. See how it is fullest in the middle and tapers to almost nothing at the corners? I stared at that shape for a good five minutes during my practice. Copy that full-in-the-middle curve and you will get that doe eye makeup tutorials promise without looking overlined.
Open up the lower lid
The lower lid is where eyes look bigger in about two minutes. I line my lower waterline with a light-beige pencil, not stark white. White looks harsh on me in daylight. Beige just wakes things up.
Then I take that thin pencil brush and a soft matte brown and draw a faint shadow about 3-4 millimeters below my actual lower lash line, from the center to the outer third. I smudge it gently. That gap between your real lashes and the drawn shadow mimics puffy aegyo-sal under-eyes from Korean makeup eyes looks, and it visually drops the lower lid to make the eye taller.
I fill that little puffy strip with a matte highlighter or light concealer and blend the lower edge. It sounds odd to add shadow to look bigger, but the contrast is what sells it. She is wearing that soft lower shadow so well here, see how her under-eye looks full but not baggy? That is the well-blended zone you are after.
Cluster lashes in the center
Full-strip lashes with long outer corners will turn this into a cat eye fast. I use either a half-strip cut to sit center-outer, or three individual clusters placed right over the pupil and just outside it. Longest in the middle equals rounder.
I curl first, add one light coat of mascara, apply the clusters, then pinch natural and false lashes together with another light coat. On the lower lashes I use only mascara, wiggling straight down, not out. A tiny separation with a metal lash comb keeps them doll-like instead of spidery. My lower lashes are stubby, so I sometimes dot a brown pencil between them for definition without clumps.
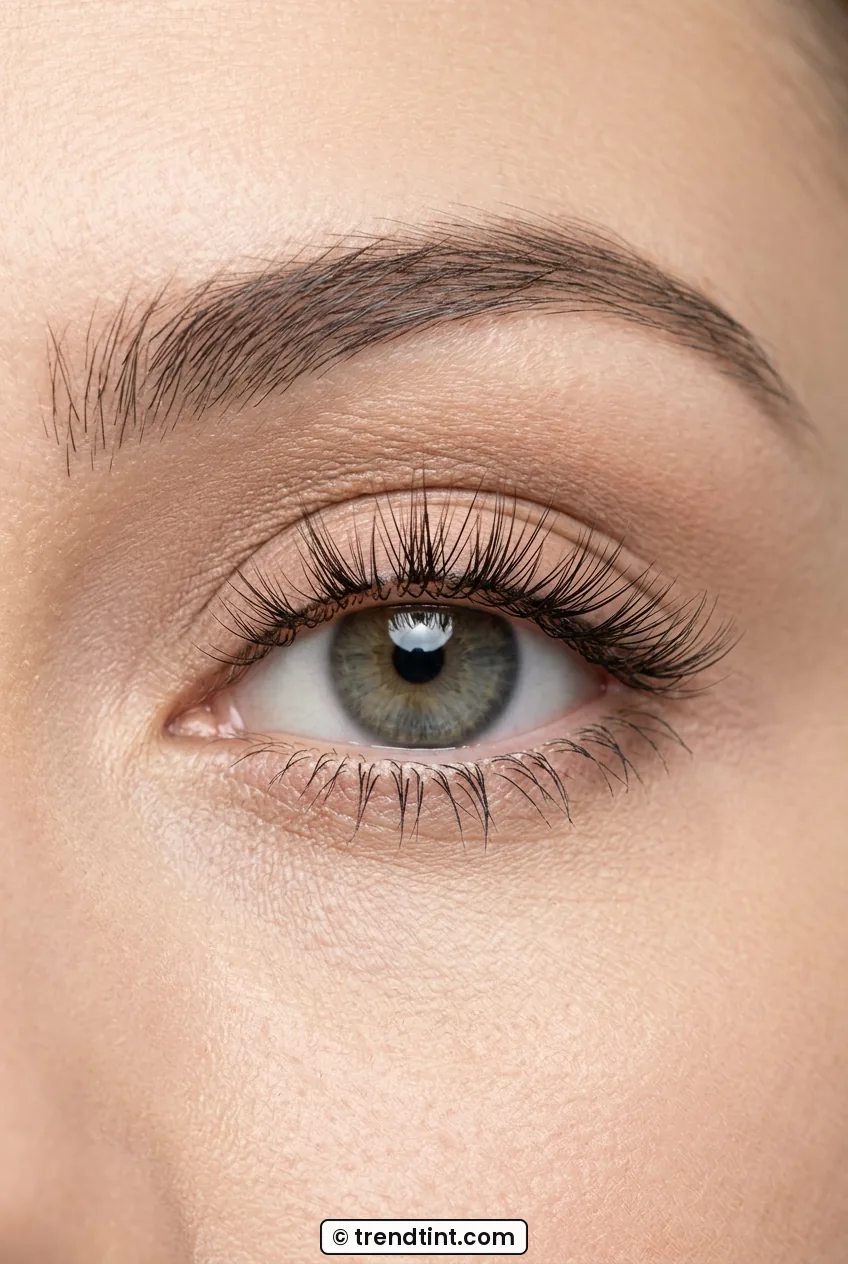
This lash close-up is my favorite reference. Her lashes fan straight up in the center, not swept to the side. That upward fan is what lifts the whole eye shape. I keep coming back to those wispy center-focused styles breakdowns when I shop, because a winged style ruins the circle effect.
See The Lower-Lid Trick Live
Step 3: When to Call It Done
This last pass is blending, balancing, and knowing when to put the brushes down. I set a timer for 10 minutes here because I will over-blend if you let me. Doll eye makeup should still look soft-focus and fresh, not overworked.
Soften and connect everything
I go back with a clean fluffy brush and soften where the crease shade meets the lower shadow at the outer corner, leaving a tiny clean gap. That little break keeps round eye makeup looks from forming a dark ring. Then I re-pat just a touch of center shimmer if liner dulled it.
I check both eyes in natural window light, not just my ring light. Ring light forgives everything. Daylight told me my left puppy line was thicker, so I smudged it out with a cotton swab. Perfection is not the goal, symmetry-ish is.
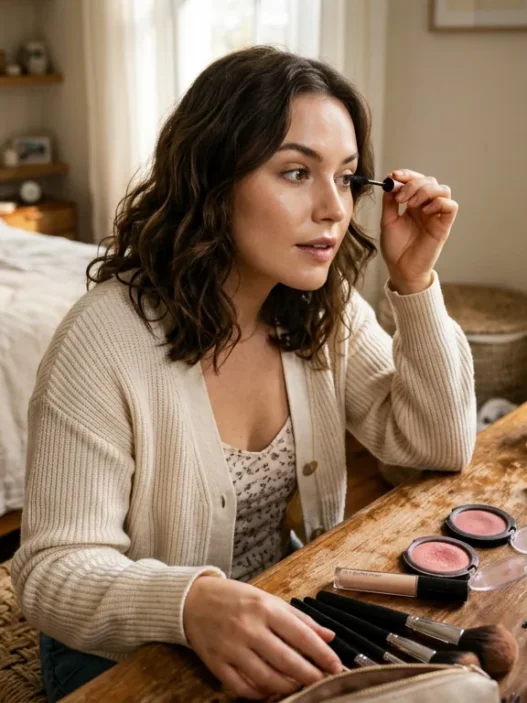
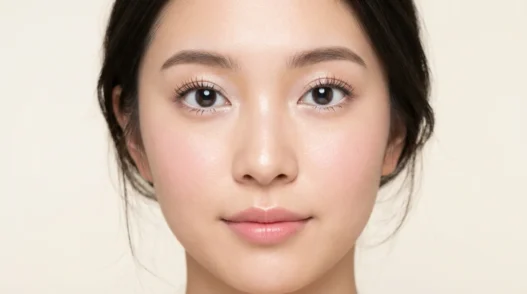
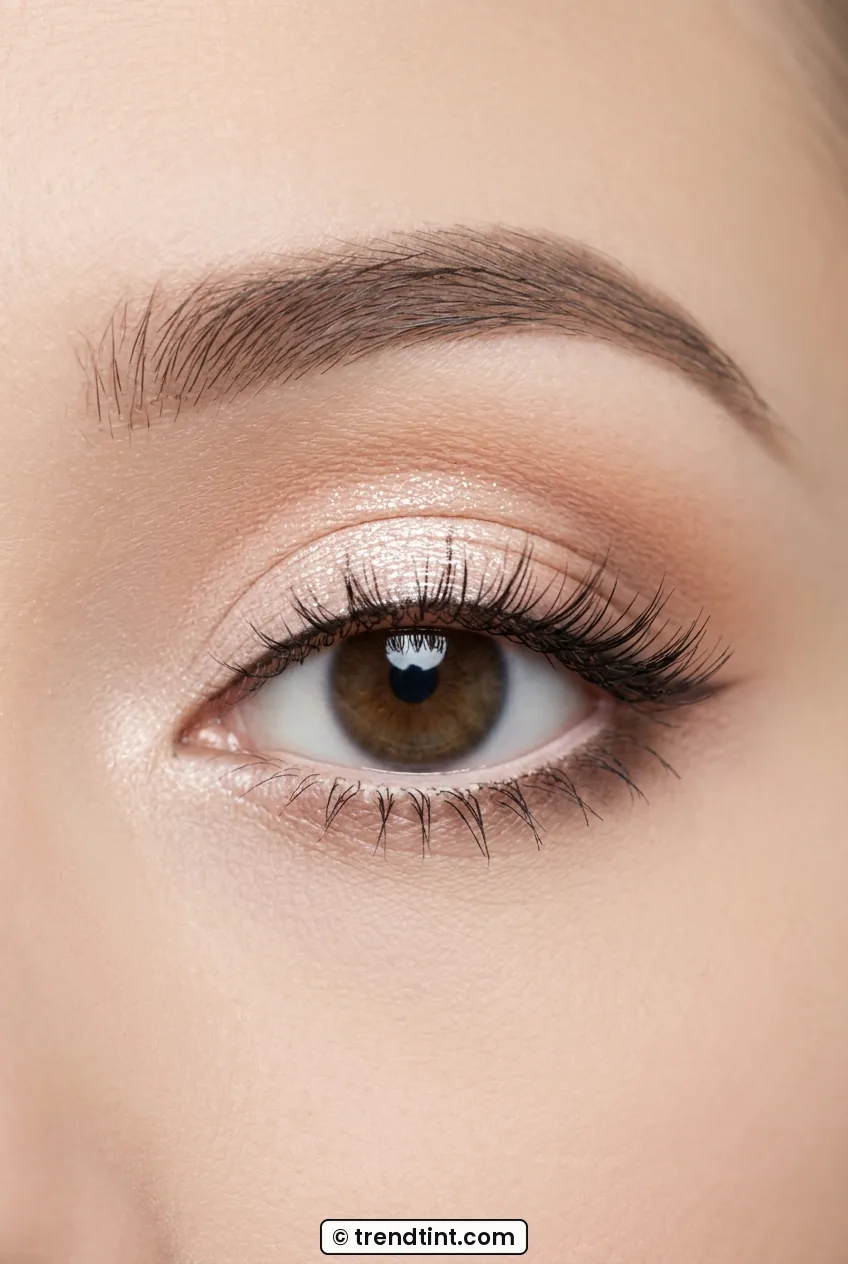
Look at her finished eye in this last image. Nothing harsh, edges melted, lower fullness still visible, center light catching right over the iris. That gentle, wide-eyed finish is your done signal. If you can still see where one shade starts and stops, keep buffing lightly.
Balance the rest of the face
Big eyes need a quiet face or the whole thing tips costumey. I do a light base, straight soft brows, a peachy-pink blush placed on the apples, not dragged back, and a blurred pink lip. It nods to that sweet gyaru makeup eyes vibe without going full circle-lens. I skipped heavy contour entirely, just a wash of bronzer. For color harmony I love staying inside one Monochrome Makeup family, pinks on eyes, cheeks, and lips so the eyes stay the star.
I set with a fine mist and I do not bake under the eyes. Baking cracked my aegyo-sal shading on attempt two and made the lower line look stripey. A light spray melts powder into skin and keeps that eye-lifting makeup glow. For staying power in heat I rely on tips I picked up about long-wear eye primers applied before shadow, and it held through dinner and a very humid walk home.
Doll-Eye Questions I Kept Googling
Will doll eye makeup work for downturned or small eyes?
Yes, that is my eye shape and this method was made for it. Keep depth centered, skip the lifted wing, and open the lower lid with beige liner and soft shading. The roundness comes from the middle, not the corners.
What is the difference between doll eyes and doe eyes?
They overlap a lot. I think of doe as soft and wide, doll as doe plus extra lower-lid fullness and center sparkle. If doe is the shape, doll is the finish with more lash and highlight.
How do I keep the lower shading from looking like dark circles?
Use a cool-light taupe, not warm brown, and place it lower than you think with concealer above it. Blend the lower edge fully and skip black liner underneath. If it still looks tired, you placed it too close to the lashes.
Do I need false lashes for this to work?
No, but center-focused lashes help a lot. A good curl, tightlining, and two light mascara coats get you 80 percent there. Add just two or three individuals in the middle when you want that full doll effect for photos.
I wore the final version to dinner and my cousin asked if I was wearing circle lenses. I was not. My eyes just looked rounder, brighter, and way more awake, and it lasted until I washed it off at midnight with no panda smudges. I am already planning to practice it once more before a wedding next month, because now I know I can do it in about 40 minutes when I am not pausing to take notes.