





I used to think clown makeup was either for kids’ birthday parties or professional performers. Then my niece asked me to help her create a character for her school’s theatrical production, and I realized I had no idea where to start. After several messy attempts and way too much YouTube scrolling, I finally figured out an approach that actually works.
What You’ll Need
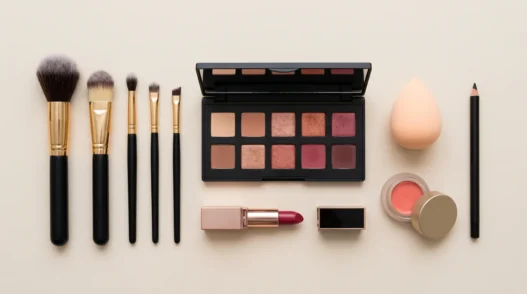
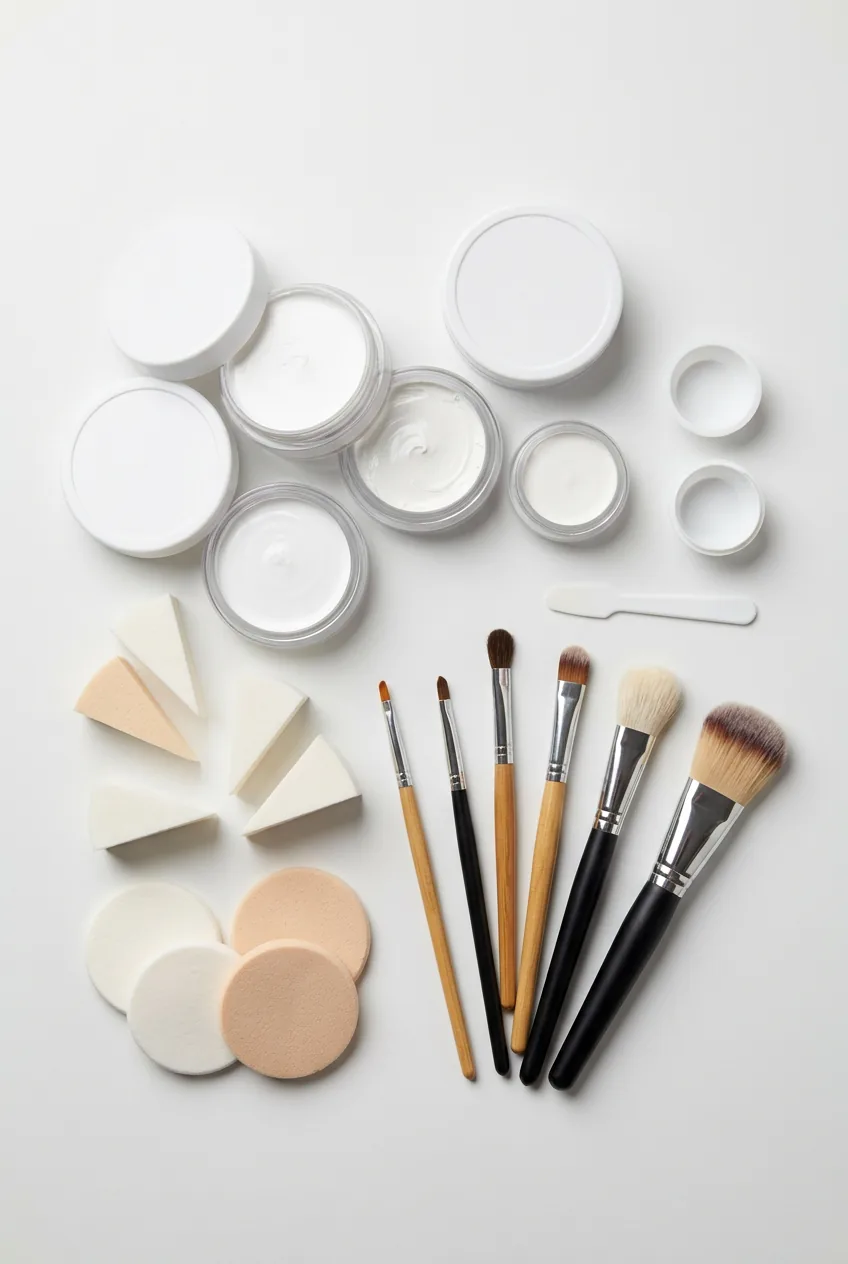
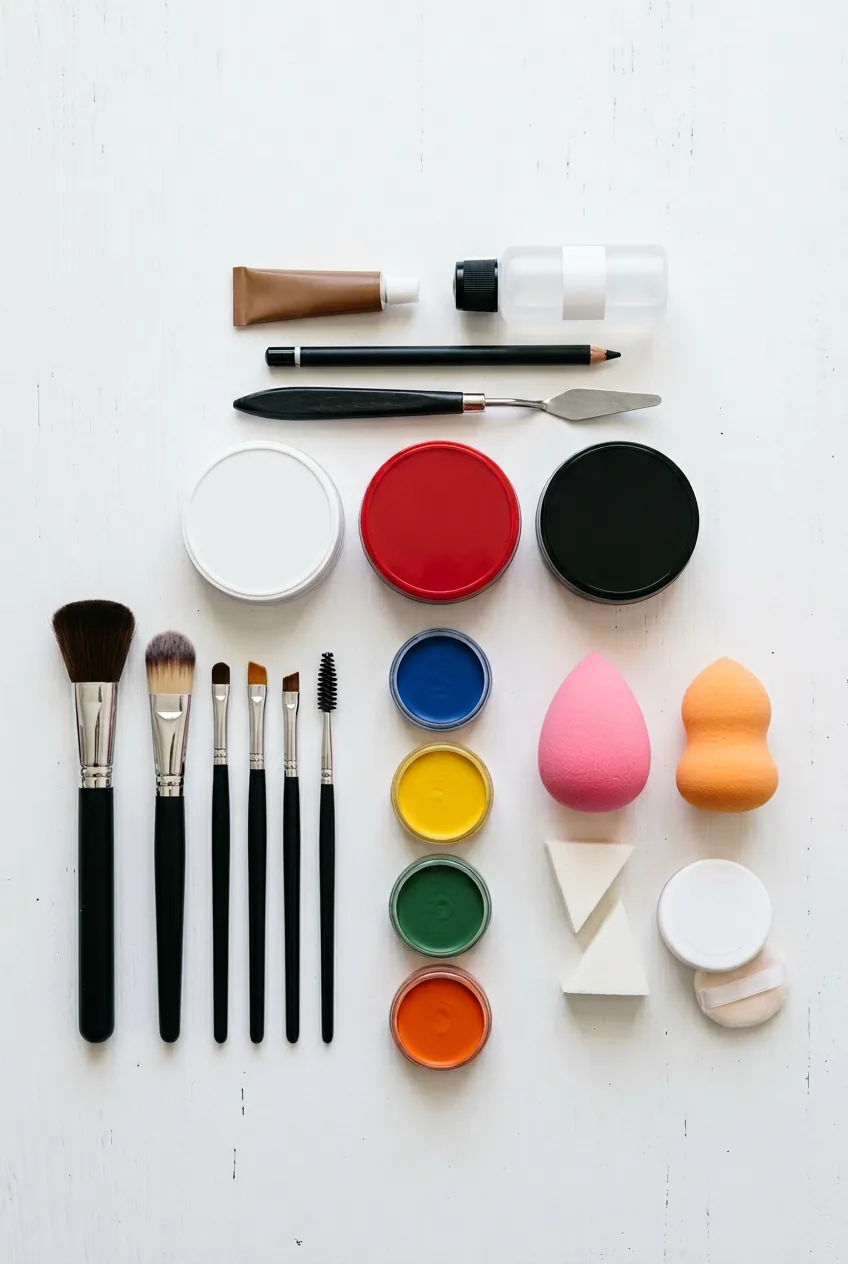
Before we dive in, let me save you from my early mistakes. You don’t need a professional theater kit, but you do need the right basics:
- White greasepaint or cream foundation (not regular foundation — trust me on this)
- Red cream makeup or lipstick
- Black eyeliner or cream makeup
- Makeup sponges (the triangular ones work best)
- Setting powder
- Baby wipes or makeup remover
- A few different brush sizes
- Colored cream makeup if you want to get fancy
I learned the hard way that regular drugstore foundation just doesn’t cut it for this. The coverage isn’t opaque enough, and it slides around when you’re trying to create clean lines.
Understanding What Makes It Work
Here’s what nobody tells you about clown makeup: it’s not about perfection. It’s about contrast and shape. The whole point is to exaggerate features in a way that’s readable from a distance.
My first attempts failed because I was trying to make everything perfectly symmetrical and smooth. Real clown makeup has character — it’s supposed to look painted on purpose. Once I stopped fighting that and started embracing the theatrical nature of it, everything got easier.
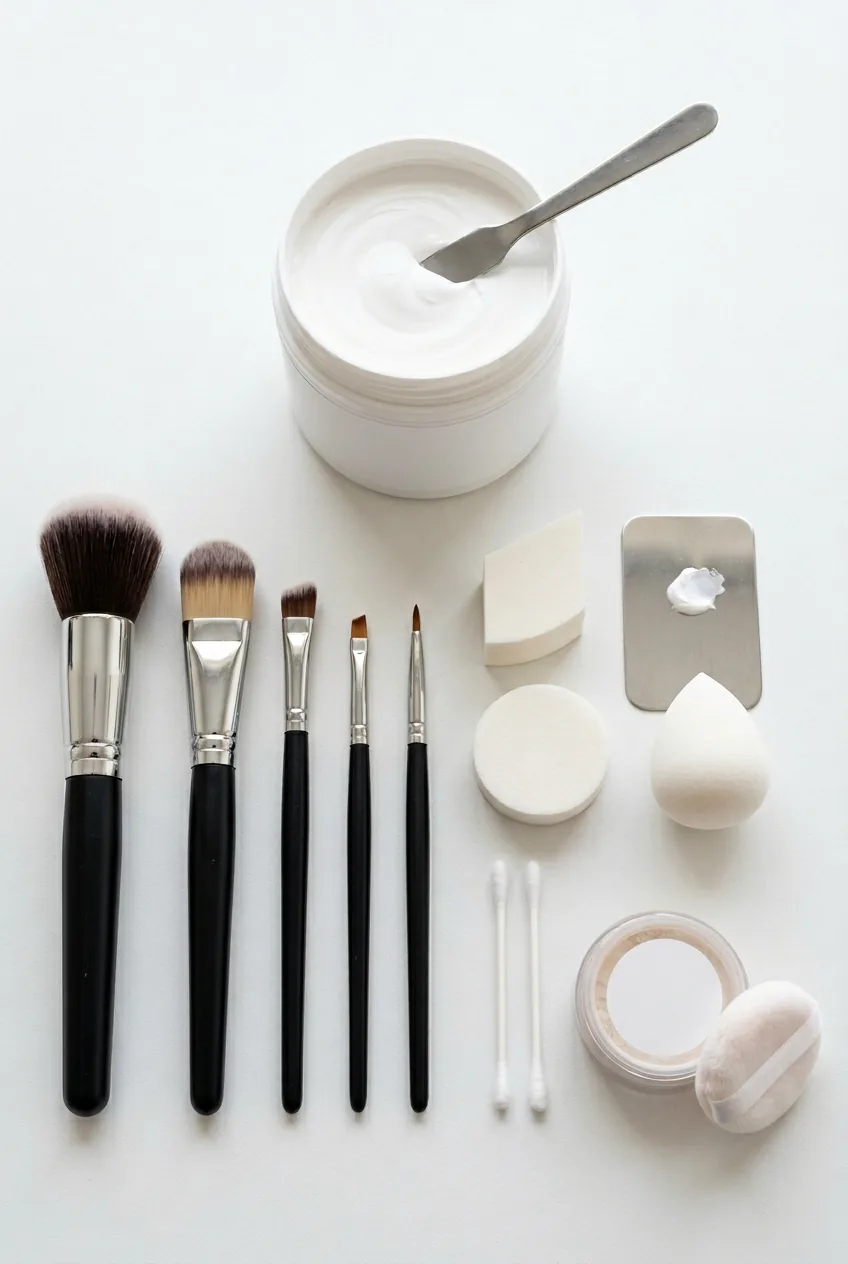
The key is understanding that you’re essentially creating a mask on top of your natural face. Think about it like monochrome makeup but taken to the extreme — you’re working with stark contrasts between white, red, and black.
Starting With the Right Base
Before touching any makeup, prep your skin properly. I use a light moisturizer and let it absorb completely. Clown makeup sits better on slightly tacky skin, but you don’t want it sliding off either.
Start with clean hands and a damp makeup sponge. The moisture helps the greasepaint spread more evenly. I learned this from watching professional makeup artists who work in theater — they always start with slightly damp tools.
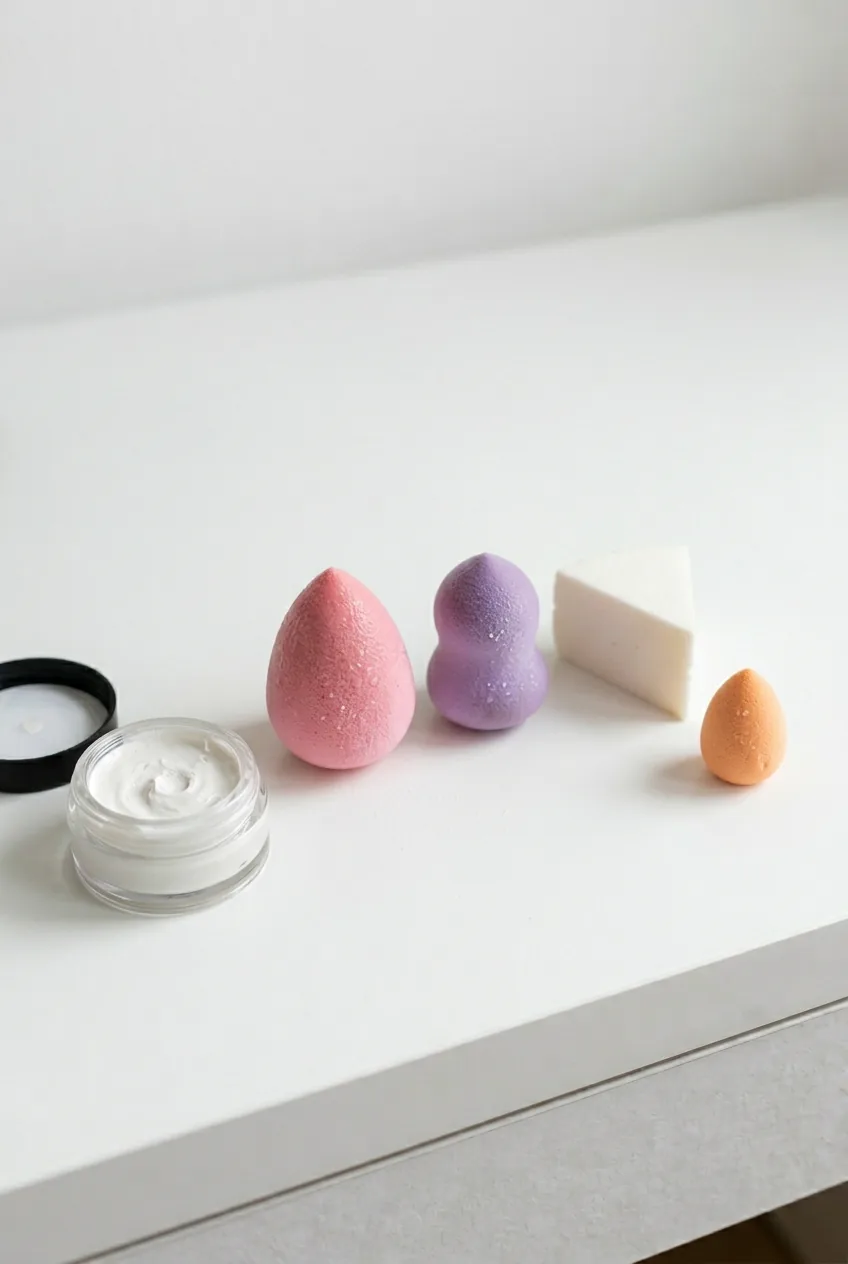
Work in small sections rather than trying to cover your entire face at once. I start with the forehead, then move to one cheek, then the other. This gives you better control over the coverage and prevents the makeup from getting patchy.
The White Foundation Reality Check
This is where most people (including me) mess up initially. White makeup doesn’t go on like regular foundation. It’s heavier, stickier, and way more pigmented than you expect.
My biggest mistake was applying white makeup like I would regular foundation — in smooth, even strokes. It looked streaky and uneven, and I kept adding more trying to fix it. The result was a cakey mess that took forever to blend out.
Instead, use a stippling motion with your sponge. Dab the makeup on in small amounts, then blend outward. It takes patience, but you’ll get much better coverage this way. The goal isn’t to cover every bit of skin perfectly — some texture and variation actually looks more natural.
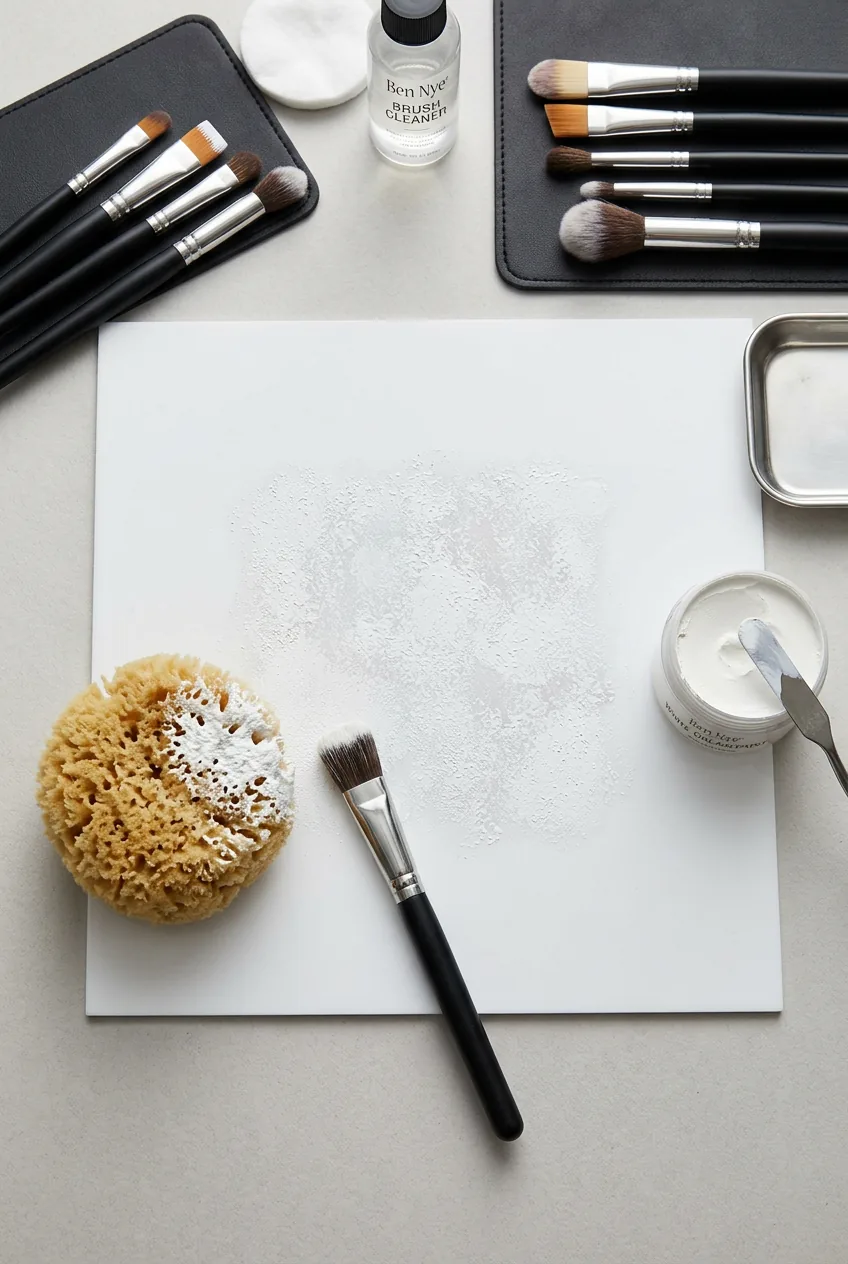
Pay special attention around the hairline and jawline. These areas need to blend smoothly into your natural skin, or the whole look falls apart. I use a clean, slightly damp sponge to feather the edges.
Where Most Attempts Fall Apart
The mouth is where things get tricky. Traditional clown makeup exaggerates the lips way beyond their natural shape, which sounds simple but requires actual technique.
First, you need to completely cover your natural lip line with the white base. This gives you a blank canvas to work with. Then, using red cream makeup or a very pigmented lipstick, you create the new mouth shape.
The classic red smile extends well beyond the corners of your actual mouth — usually up toward the cheekbones. But here’s what nobody mentions: you have to outline this shape first with a brush or liner, then fill it in. If you try to freehand the whole thing, it’ll look wonky.
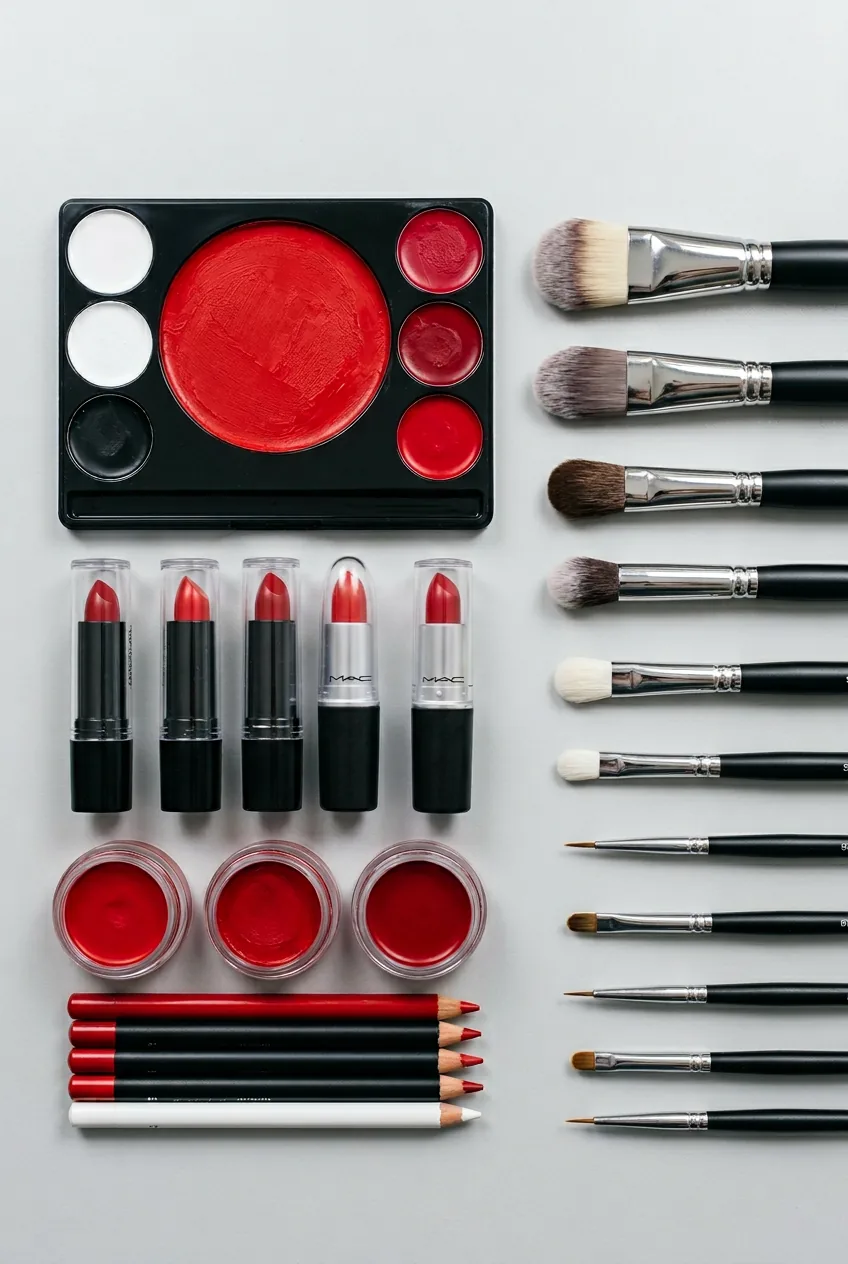
I found inspiration for different mouth shapes by looking at playful Halloween makeup tutorials. The same principles apply — you’re redesigning facial features to create a character.
The Blending Trick Nobody Mentions
Here’s the thing that changed everything for me: you don’t blend clown makeup the way you blend regular makeup. With normal makeup, you’re trying to make everything seamless. With clown makeup, you want some definition between colors.
When I add the red nose (classic clown move), I don’t try to blend the edges into the white foundation. Instead, I create a clean line between the red and white, then soften just the very edge. This maintains the graphic quality that makes clown makeup look intentional rather than messy.
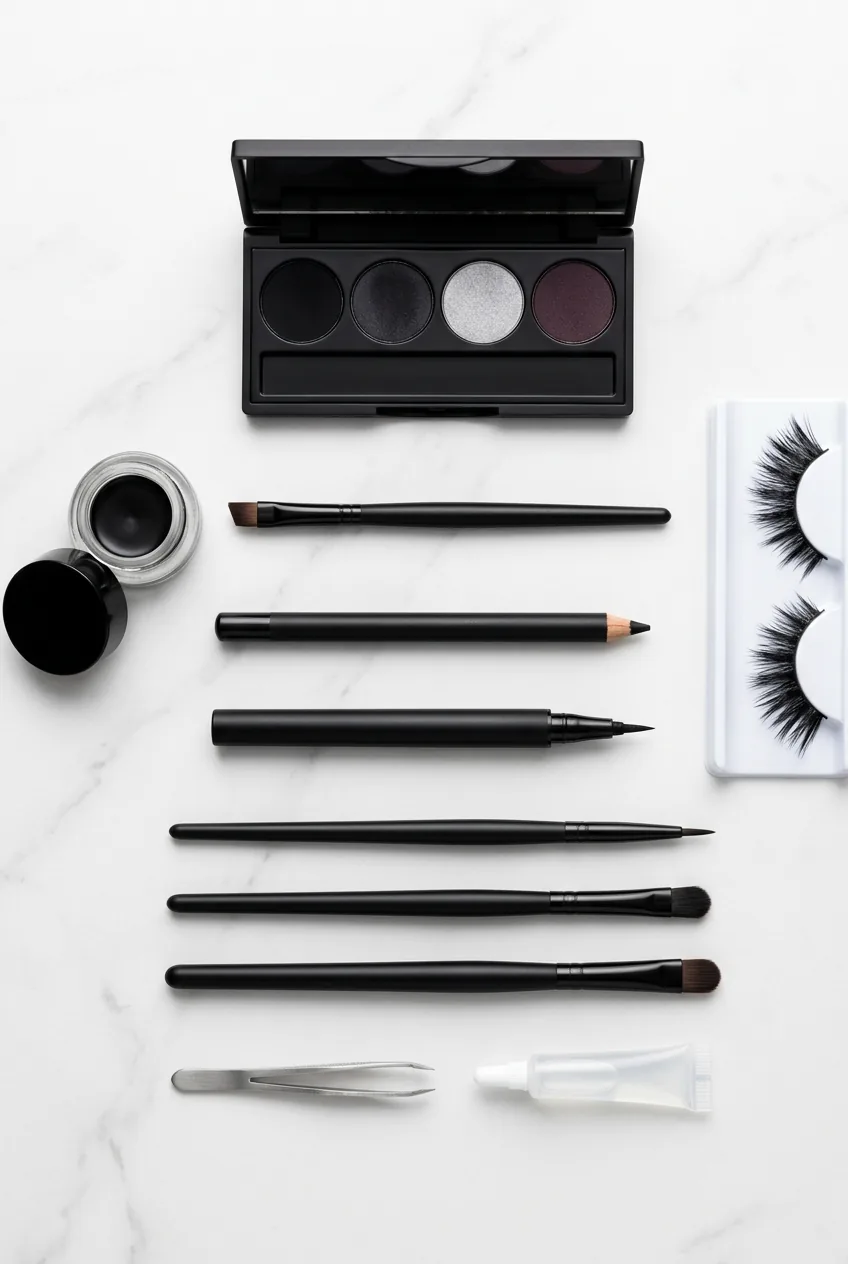
The same principle applies to eye makeup. Black circles around the eyes or dramatic eyeliner should have crisp edges, not soft blended edges like typical smoky eye looks. Think more along the lines of Halloween makeup that rewards patience — precision matters more than seamless blending.
Setting powder is crucial at this stage. I use a large fluffy brush to dust translucent powder over everything, which helps lock the colors in place and prevents smudging when you add final details.
How It Finally Clicked
The breakthrough moment came when I stopped thinking of this as “makeup” and started thinking of it as face painting. That shift in mindset made me approach the whole process differently.
Instead of trying to enhance my natural features, I was creating a completely new face. The rules are different. Colors can be bold and unnatural. Lines can be graphic and obvious. Everything can be exaggerated because that’s the whole point.
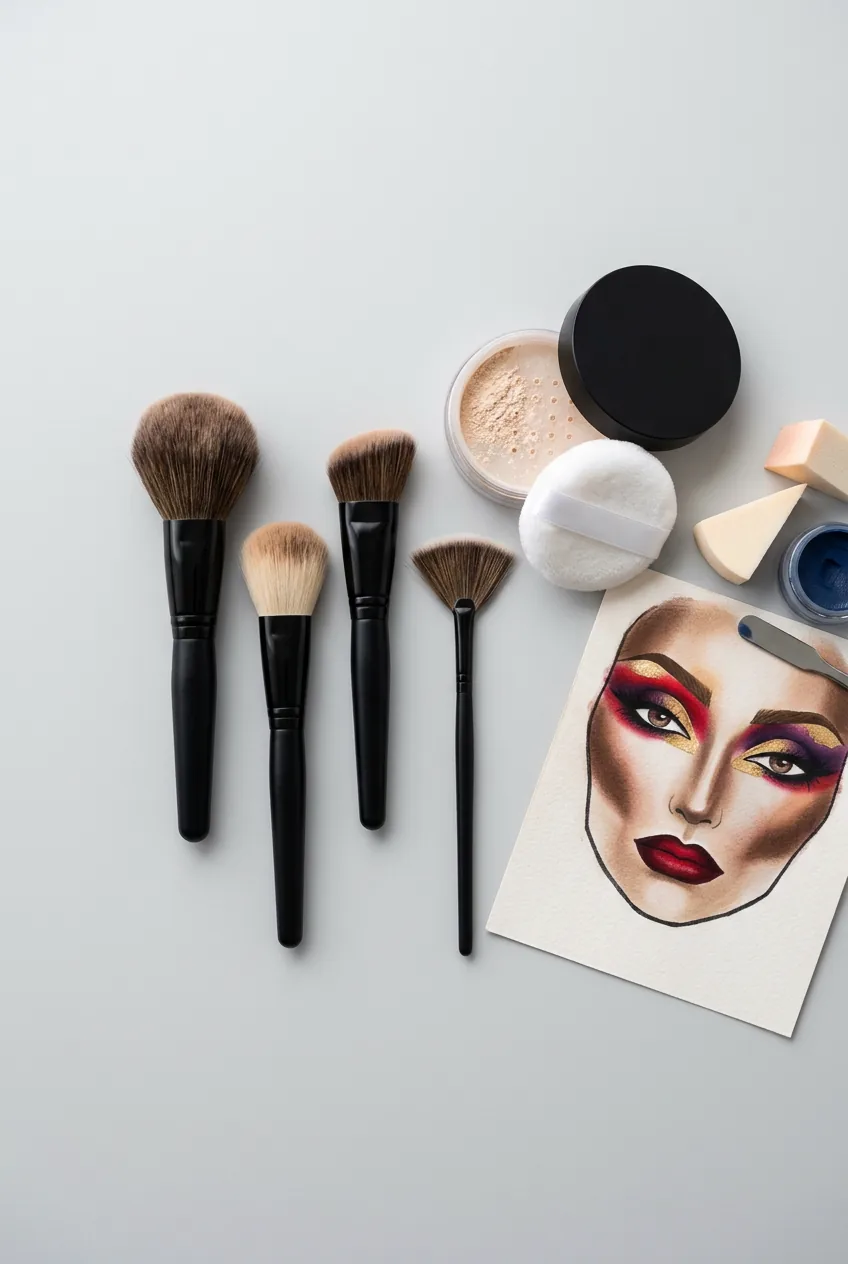
For the final details — things like decorative dots, stars, or additional color accents — I use the tips of my brushes rather than the sides. This gives me much better control over small elements. These techniques from face painting tutorials actually helped me more than traditional makeup guides.
The most important lesson? Take your time with each layer. Clown makeup looks best when it’s built up gradually rather than applied all at once. Each color needs to be set before you add the next one, or everything just turns into a muddy mess.
Working on different makeup types taught me that some techniques translate across styles, but clown makeup really is its own beast. The patience I learned here actually helped me with other Halloween makeup looks that teach technique — precision and layering are valuable skills no matter what look you’re creating.
Watch the Technique in Action
Questions I Get About This
How long does clown makeup take to apply?
Plan on at least 45 minutes to an hour for your first attempt, maybe longer. Once you get comfortable with the process, you can do a basic clown look in about 30 minutes. The key is not rushing the base layer.
Can I use regular makeup instead of theatrical makeup?
You can try, but the results won’t be as good. Regular foundation doesn’t have enough opacity for the white base, and most lipsticks aren’t bold enough for the exaggerated features clown makeup requires.
How do I remove clown makeup completely?
Start with makeup remover or cold cream to break down the greasepaint, then follow with a gentle cleanser. It takes a bit of patience, but baby wipes work well for the initial removal too.
What if I mess up halfway through?
Don’t try to fix it with more makeup on top. Use a damp cotton swab to carefully remove the mistake, let that area dry, then reapply. It’s better to start over in one small area than to keep layering and end up with a muddy mess.
Now when my niece asks for help with character makeup, I actually feel confident walking her through it. The slow, patient approach I learned has become second nature, and honestly, it’s kind of therapeutic once you get into the rhythm of building up those layers.