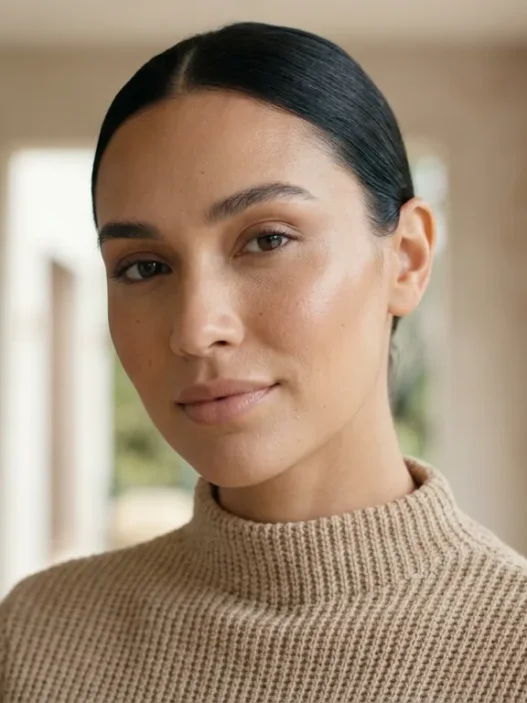





I resisted Seint makeup for longer than I’d like to admit. Everyone in my circle was talking about it, and I kept thinking it was just another MLM-adjacent hype train. Then a friend did my face with her HAC palette before a birthday dinner, and I genuinely could not stop touching my cheeks in the restaurant bathroom mirror. Something about the way the cream formula sat on my skin — dewy but not greasy, blended but not flat — completely changed my mind.
The problem? When I tried to replicate it at home, it looked nothing like what she’d done. Patchy in some spots, overdone in others. I watched about forty tutorials before I finally figured out where I was going wrong — and it came down to one specific blending technique that nobody was explaining clearly. This guide is my attempt to fix that.
Your Roadmap to the Pro Seint Application
- Why I Got Obsessed With This Method
- What You’ll Need Before You Start
- Step 1: The Prep Pros Never Skip
- Step 2: The Tool That Changes Everything
- Step 3: Placing Your IIID Foundation the Right Way
- Step 4: The Technique That Separates Amateurs From Pros
- Step 5: Building Your Contour and Highlight
- Step 6: Cream Blush — The Insider Placement Secret
- Step 7: The Finishing Step From Set
- Questions I Get About This
Why I Got Obsessed With This Method
Seint makeup — built around their IIID (Illuminate, Improve, Impress, Define) cream-based system — is genuinely different from any compact or foundation routine I’d used before. The whole philosophy is that you stack color in one palette and blend everything with your fingers or a single brush. No separate primer bottle, no three different brushes, no fifteen-step routine. That simplicity is the draw. But simplicity doesn’t mean it’s self-explanatory.
What I love about it — and what took me a while to crack — is that it rewards understanding why each step works, not just copying the motion. If you want to explore different approaches by makeup type before you even open your palette, makeup type guides are a great starting point for building that context. But if you’re ready to go step by step through this specific technique, keep reading.
What You’ll Need Before You Start
Nothing exotic here. The whole point of Seint is that you don’t need a lot. Here’s what I actually use every single time:
- Your Seint IIID palette (with your matched foundation shade, highlight, contour, and blush pans)
- The Seint IIID brush — specifically the dual-ended one with the flat foundation side and the fluffy blending side
- Clean fingers (seriously, your ring finger is a tool)
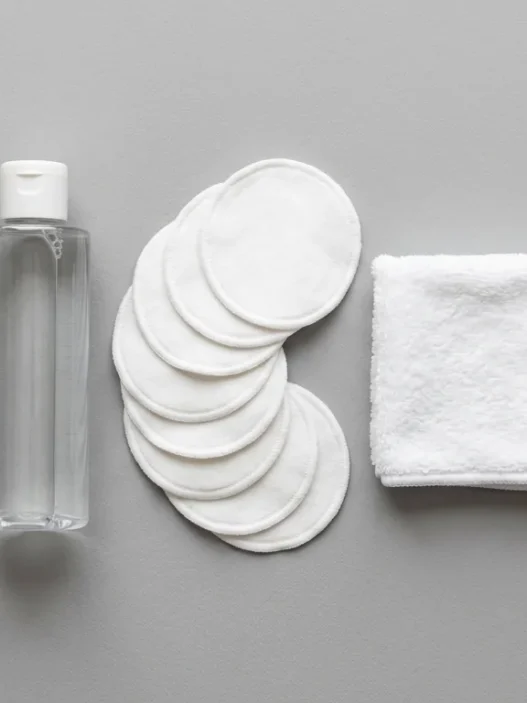
- A light facial mist or a drop of face oil — just one
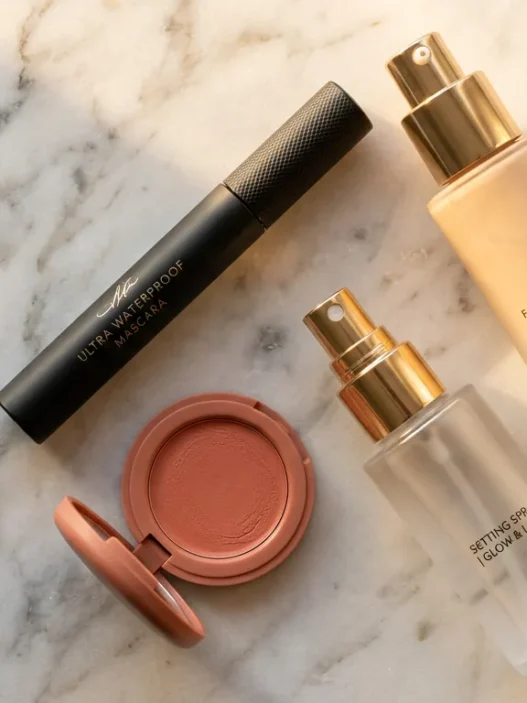
- A setting spray for the final step
- Good lighting — a ring light or a window with natural daylight, not a dim bathroom
That’s genuinely it. The restraint is the point. Resist the urge to drag in your normal powder routine — we’ll talk about why in Step 7.
Step 1: The Prep Pros Never Skip
Clean, moisturized skin. I know, I know — not the sexy answer. But with cream formulas, your skin’s surface texture is the canvas, and there’s nowhere to hide. If I skip moisturizer and my skin is even slightly dry, the foundation clings to dry patches and the contour looks muddy. Not the vibe.
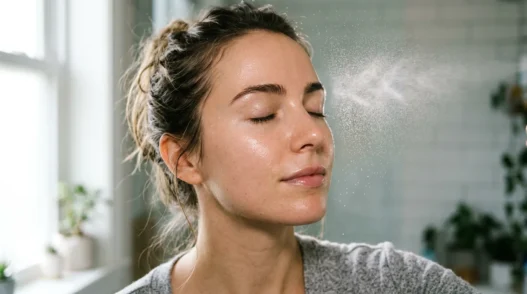
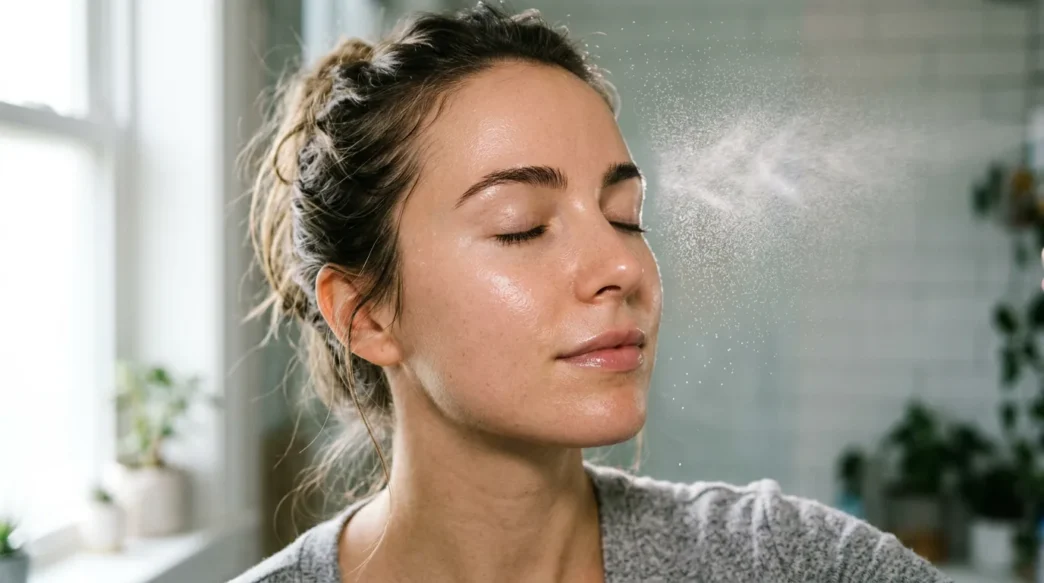
Apply your regular moisturizer and let it absorb for at least two minutes. Then here’s the move that most tutorials skip entirely: lightly mist your face with a facial spray, or press one small drop of face oil between your palms and pat it onto your cheeks and forehead. Just one drop. This creates a slightly tacky surface that helps the cream pigment grip evenly instead of sliding around. Working backstage at a small fashion event years ago, I watched a pro artist do this on every single model before touching a single product. She called it “priming the grip.” I’ve done it ever since.
Step 2: The Tool That Changes Everything
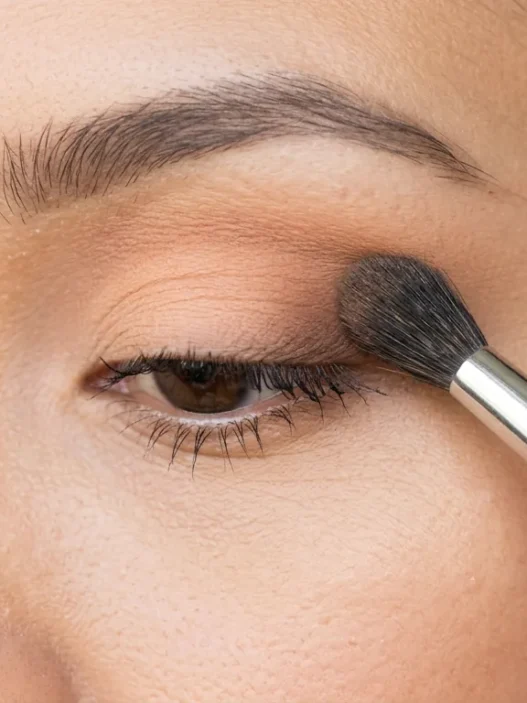
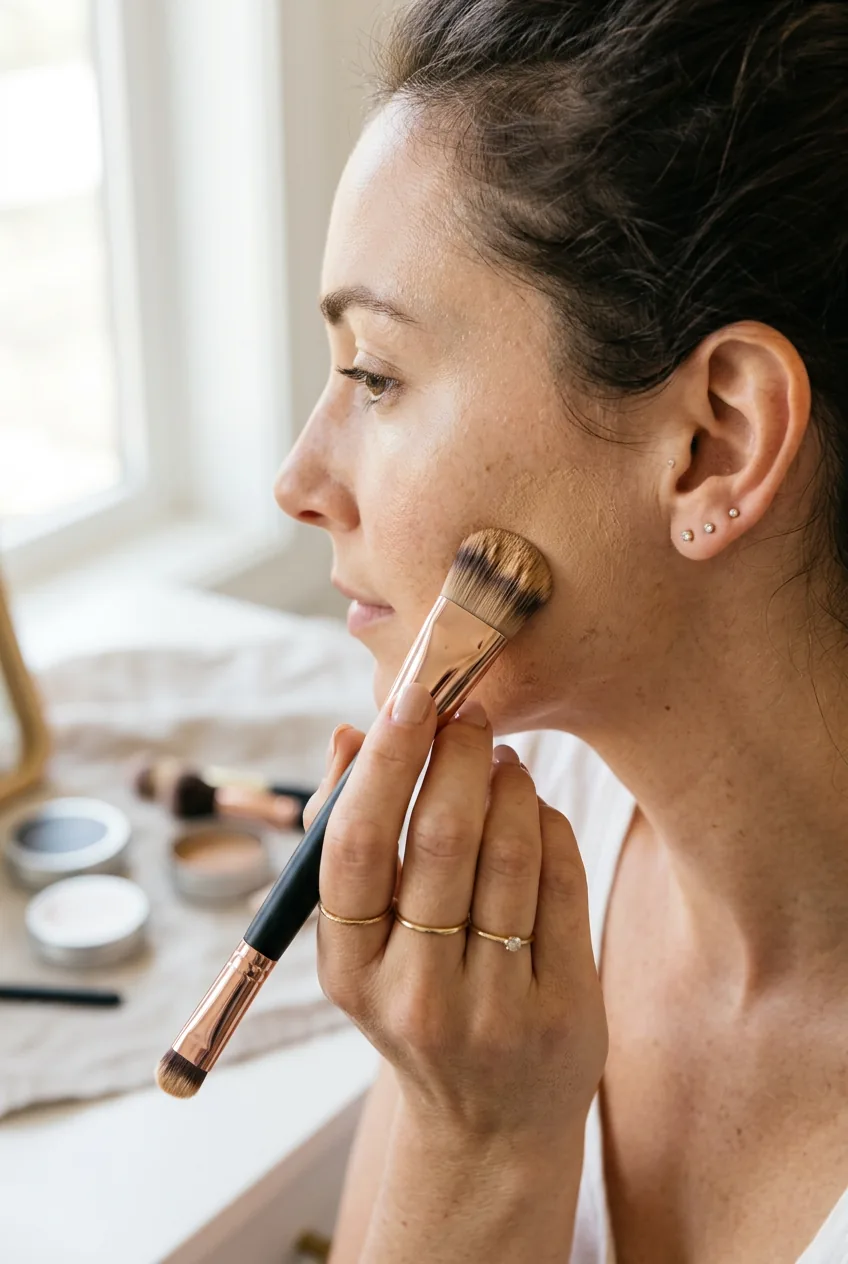
Your brush matters more than you think with Seint, and the angle matters more than the brush itself. The flat side of the IIID brush is for pressing and packing — not sweeping. This is where I went wrong for weeks. I was using it like a powder brush, sweeping back and forth, and I kept getting streaks and uneven coverage.
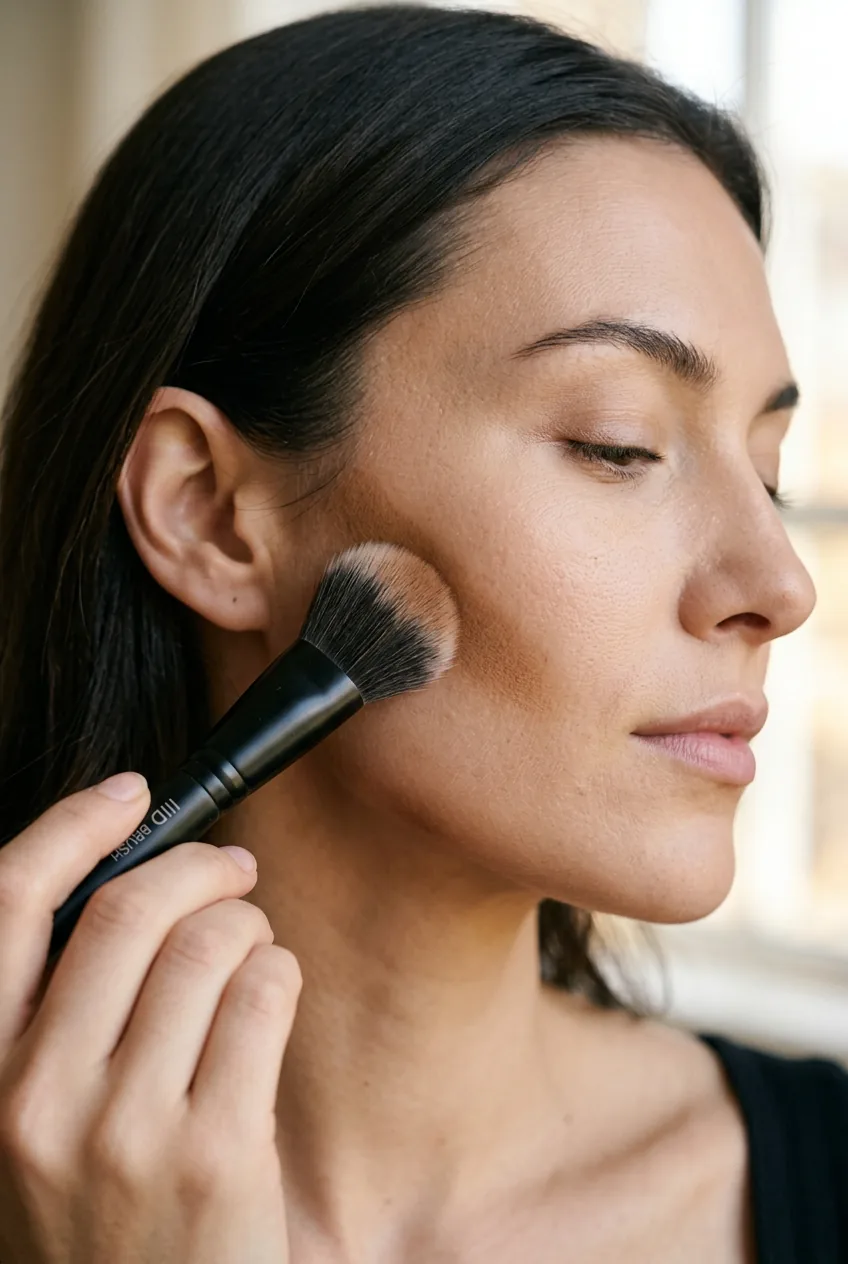
The pro move: hold the brush at about a 45-degree angle and use a stippling, pressing motion. You’re pushing the product INTO the skin, not dragging it across. Think of it like stamping rather than painting. The flat head of the brush was designed to mimic how a finger presses and warms product. And speaking of fingers — warm your ring finger on the back of your hand before touching any product. Your body heat is free and it activates the cream in a way a cold brush simply cannot.
Step 3: Placing Your IIID Foundation the Right Way
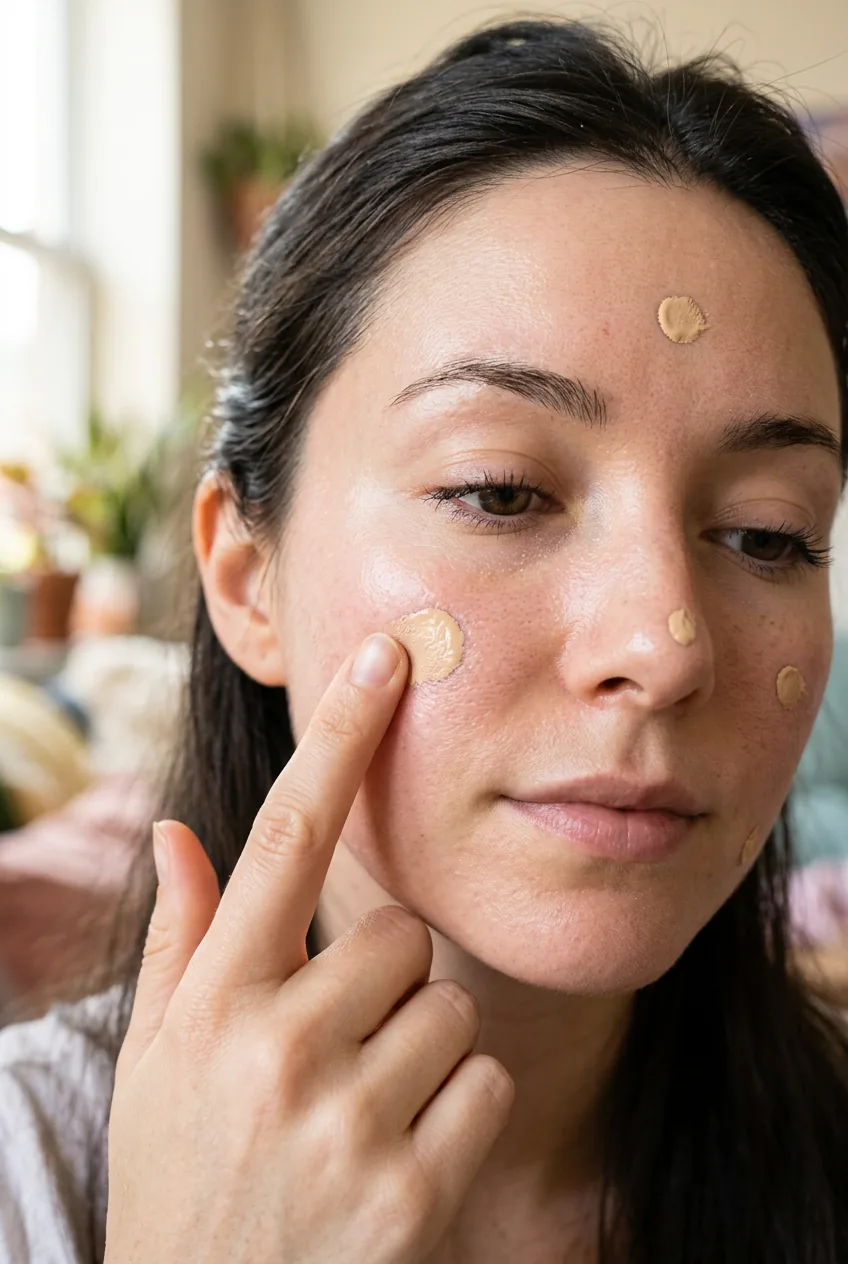
Pick up a small amount of your IIID foundation shade — smaller than you think. These formulas are pigment-dense and buildable, and starting too heavy is the most common mistake. Less is genuinely more here.
Place the product in the center of your face first: the forehead, bridge of the nose, center of the chin, and center of both cheeks. These five anchor points are your map. From each anchor point, stipple outward toward the hairline and jawline. You’re not trying to cover your entire face — just creating a base in the areas that need the most evening out. The skin at your temples and along your jaw? It often doesn’t need as much as you think. Let your natural skin show a little. That’s what gives the Seint look its skin-like quality instead of a “full coverage mask” feel.
Step 4: The Technique That Separates Amateurs From Pros
This is the step I wish someone had shown me in video format on day one. It’s called “melt and press,” and it’s the entire reason Seint looks so different from traditional makeup when it’s done right.
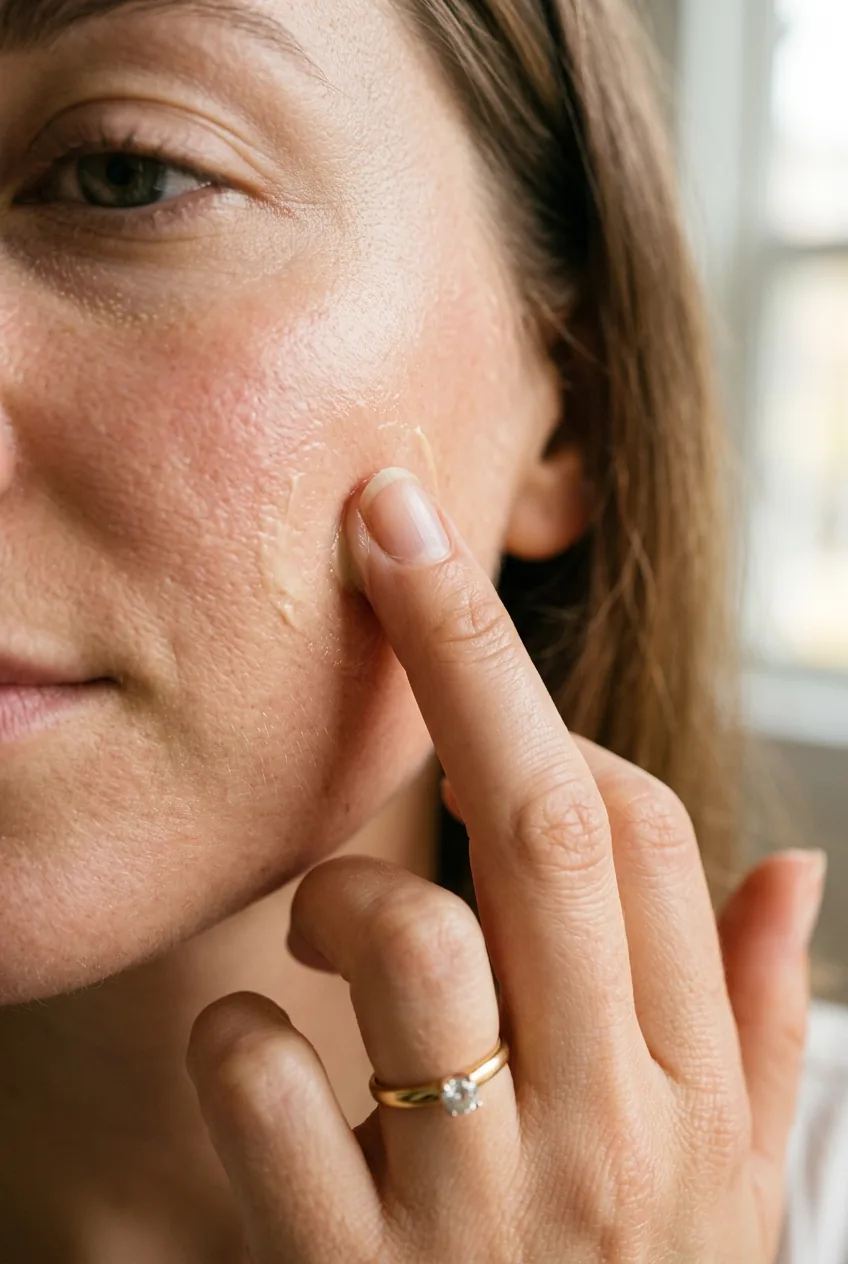
After you’ve placed your foundation anchors, you’re going to use your ring finger — warmed up — to press and hold on each spot for two to three full seconds. Not blend, not rub. Press and hold. The warmth of your finger literally melts the cream into your skin. Then use small, circular pressing motions to connect the dots between anchor points. The result is a finish that genuinely looks like your skin but better, not like makeup sitting on top of your skin. This is the moment where the formula earns its price tag. You can look up how to blend cream foundation for more technique context, but nothing replaces practicing this pressing motion on your own face a few times.
Mistake I made: I used my index finger instead of my ring finger for blending because it felt more natural. Index fingers are stronger and apply too much pressure, which actually moves the product around instead of pressing it in. The ring finger is the gentlest finger you have — that’s the whole point. Switch fingers and you’ll feel the difference immediately.
Watch the Melt-and-Press Motion in Real Time
Step 5: Building Your Contour and Highlight
Here’s where Seint’s IIID concept really clicks. Because everything is cream and in the same palette, the contour and highlight melt into the foundation you just applied — they don’t sit on top of it as separate layers. This is fundamentally different from powdering a contour over a liquid foundation.
For contour: use the flat brush side and apply a thin line underneath your cheekbones, along the sides of your nose if desired, and softly along the temples. Then immediately use the fluffy side to diffuse the edges. The key word is immediately — cream blends most easily when it’s freshly applied and still warm. Don’t let it sit for even thirty seconds before blending or it starts to set and drag.
For highlight: dot it onto the tops of your cheekbones, the bridge of your nose, the brow bone, and the cupid’s bow. Same pressing motion with the ring finger — you’re melting it into the foundation underneath, not layering it on top. The result, when done right, looks like light reflecting off your actual bone structure. Not shimmer. Not glitter. Just your face, but more defined. This approach is the backbone of what I’d call a true monochrome makeup philosophy — everything working together from one cohesive palette.
Step 6: Cream Blush — The Insider Placement Secret
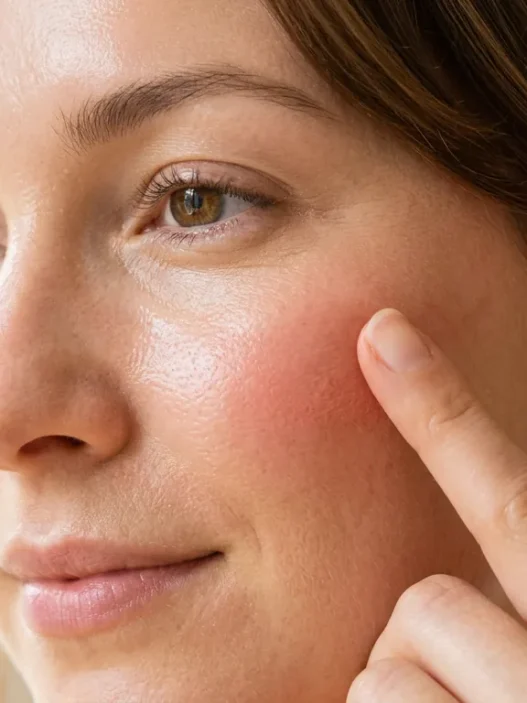
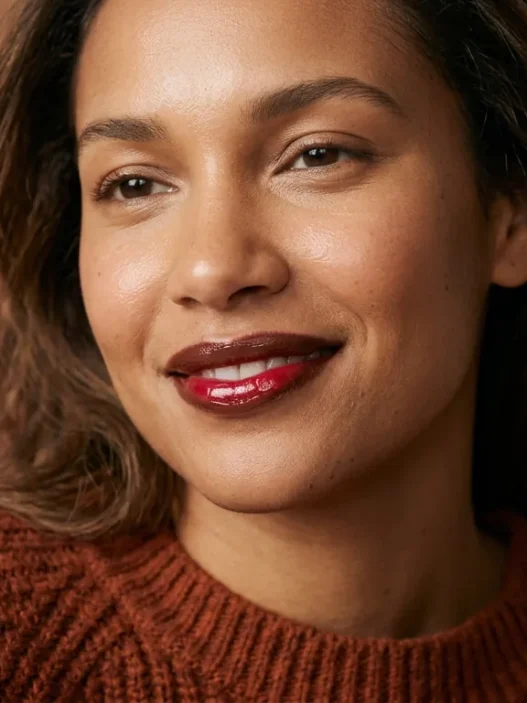
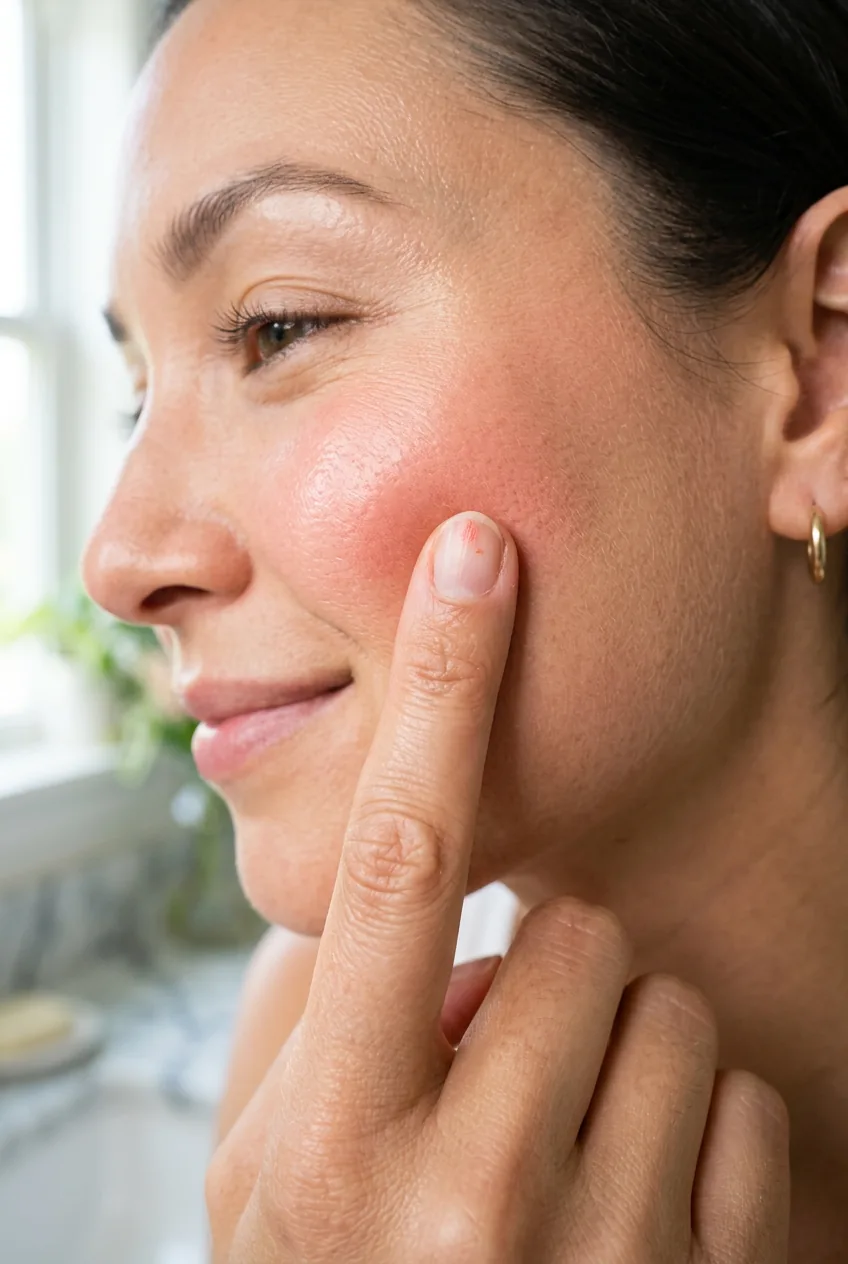
Cream blush placement is where most people get Seint wrong, and honestly it’s the most visible mistake. The instinct is to smile and apply to the apples of your cheeks — the classic round-face move. But that placement ages you and creates a doll-like effect that reads as costume-y in real life.
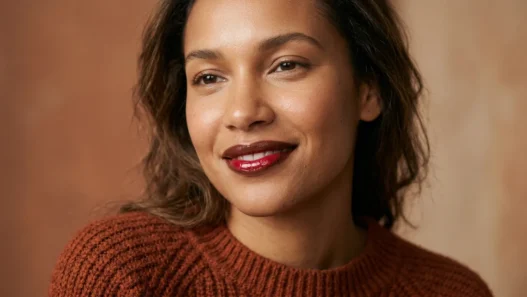
The pro placement: find the highest point of your cheekbone and place the blush on top of it, then sweep it back slightly toward your ear — following the same direction as your contour. Not downward onto the apple, but upward and backward along the bone. Look at how she’s wearing hers in this photo — notice how the color sits high on the cheekbone and creates a lift rather than a round patch. That’s exactly the difference I’m talking about.
Use your ring finger again to press and melt. Seint’s cream blush formulas are beautifully pigmented so you genuinely need a light hand. Start with less than you think, blend, then decide if you need more. It’s much easier to add than to take away. For more ideas on how blush placement can completely transform a look, the blush looks section over on Trendtint is one I keep going back to for inspiration.
Step 7: The Finishing Step From Set
This is the step that makes or breaks the entire look, and it’s the one nobody outside of a professional kit talks about honestly. Do not reach for a powder. I mean it.
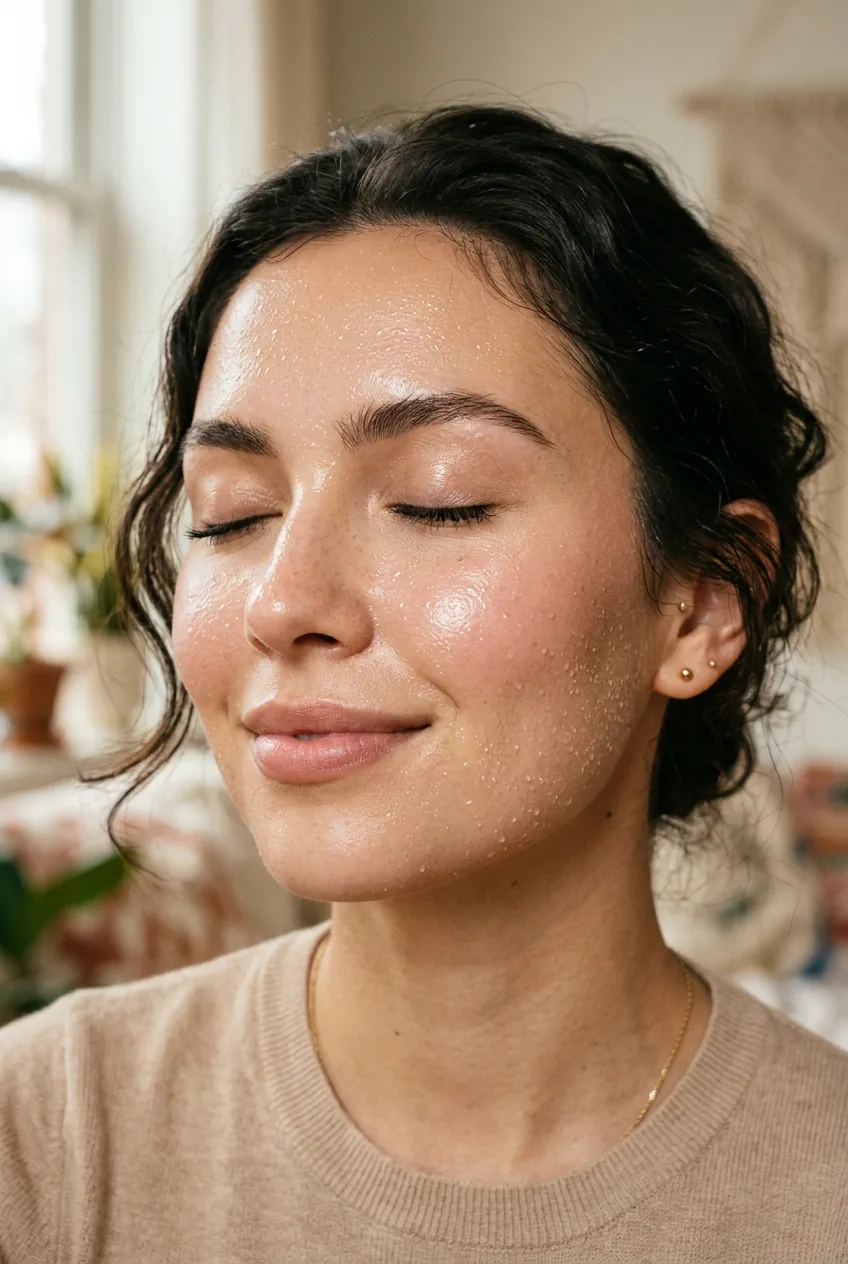
Setting a cream formula with powder immediately mattifies everything and kills the skin-like finish you just spent six steps building. Instead, set with a fine-mist setting spray held at arm’s length. Two to three light mists. Let it dry without touching your face — about sixty seconds. That’s it. The spray locks the cream down without flattening it, and the finish stays luminous and real-looking for hours.
If you have genuinely oily skin and need some oil control, the only powder move I’d endorse is a tiny bit of translucent powder pressed very lightly with a damp beauty sponge just on the T-zone — not swept, pressed. And only if you truly need it. Most people discover they don’t once the setting spray does its job. The goal with seint makeup is that dewy, second-skin finish, and powder is the fastest way to sabotage it. You can find more on making cream makeup last so your finish holds through a full day.
And that’s your complete application. What you should have now: a face that looks like you but more awake, more defined, genuinely glowing. Not “done.” Not “made up.” Just better.
Questions I Get About This
Do I need to buy the Seint brush or can I use what I already own?
You can absolutely experiment with brushes you have, but the IIID brush is genuinely purpose-built for this technique. The flat side’s stiffness and the way it stipples is hard to replicate with most standard foundation brushes. That said, your ring finger is free and does 80% of the heavy lifting — you can get surprisingly far with just that and a fluffy blending brush you already own.
How do I know which Seint shade to pick without trying it in person?
Seint has a Color Match quiz on their website that’s actually more accurate than I expected. The trick is to take the quiz in natural daylight and not indoors under warm light, which makes most people choose shades too warm for their actual undertone. When in doubt, go slightly lighter than you think — the contour adds depth and depth is easier to build than to remove.
Can I use Seint makeup over SPF?
Yes, and I’d encourage it. Let your SPF fully sink in for about three to five minutes first — cream formulas applied over wet, freshly applied sunscreen can pill. Once it’s absorbed, the IIID foundation goes on just fine. Some people find that a mineral SPF underneath gives slightly better grip than a chemical one, but honestly the difference is minor once you’ve got the melt-and-press technique down.
Is this technique suitable for mature or textured skin?
It’s one of the better cream systems I’ve seen for mature skin specifically because you’re pressing rather than dragging — which is much kinder to fine lines. The key is keeping coverage light and using the pressing motion rather than any pulling strokes. Textured skin benefits from the finger-warmth technique because the heat helps the product settle into skin instead of sitting on top of texture. If you want to explore what works across different skin concerns, the content on Trendtint covers a wide range of looks and techniques worth browsing.
Does this work for a quick everyday look or is it more of a weekend routine?
Once you’ve practiced the steps three or four times, this genuinely takes me about eight minutes. The finger technique speeds up dramatically once it’s muscle memory. I actually find myself reaching for this on weekdays more than weekends because the result looks polished without looking “done” — which is exactly what I need for video calls and low-effort mornings. There are loads of everyday cream makeup looks to try once you’ve got the base down.
The first time I got this technique right — really right — I walked past a mirror in a grocery store and did a double take. My skin looked like skin. Not like makeup. That sounds like a small thing, but it genuinely isn’t. If you’ve been frustrated with your results so far, I promise it’s almost always this melt-and-press motion and the blush placement that need adjusting. Try it once with full attention on those two steps and see what happens. I’d love to know how it goes for you.