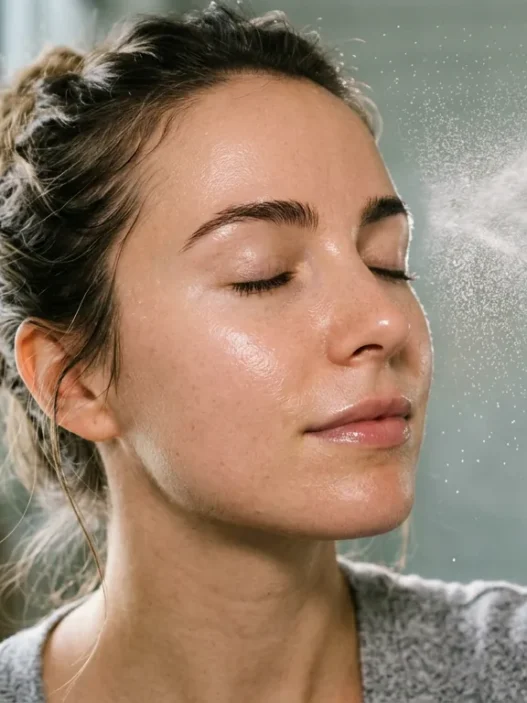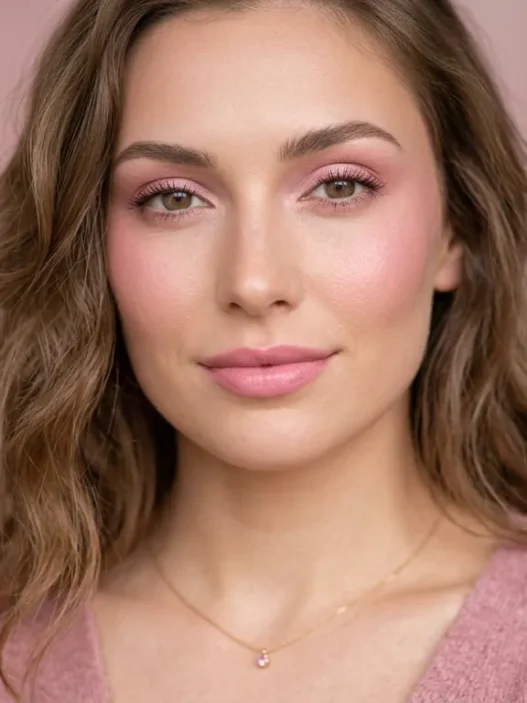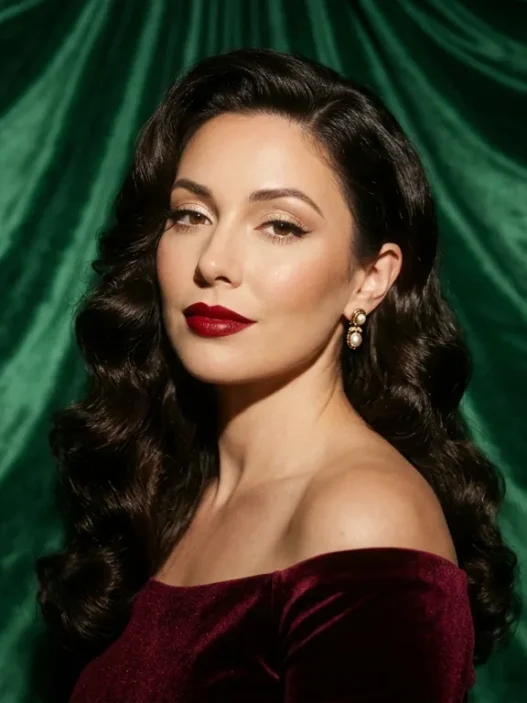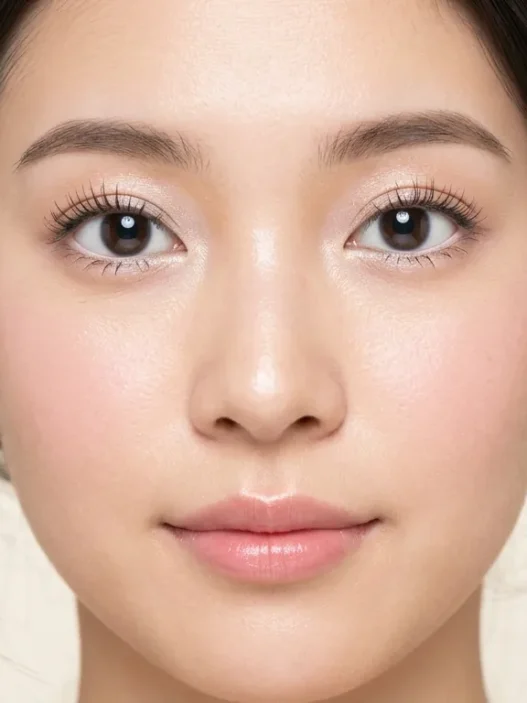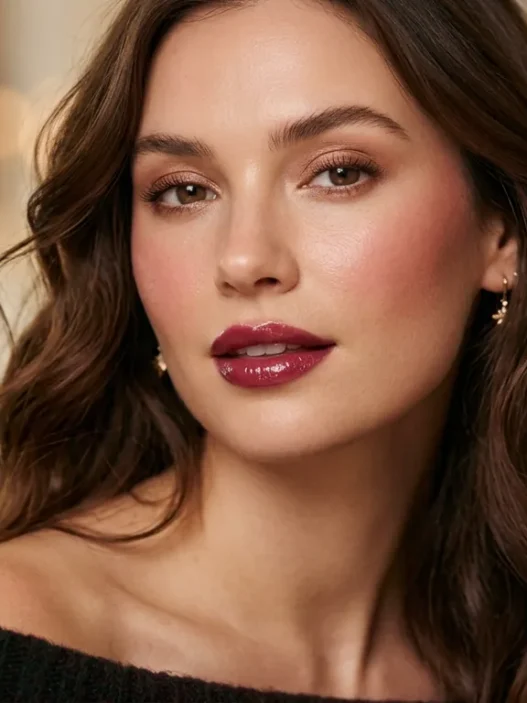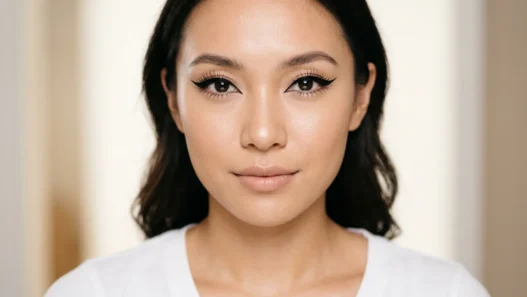

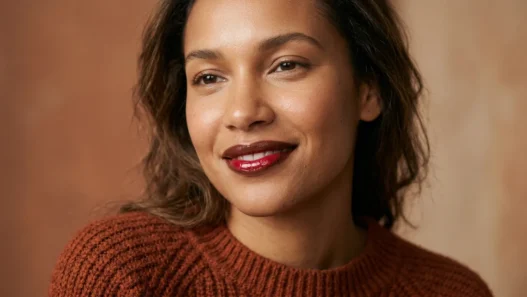




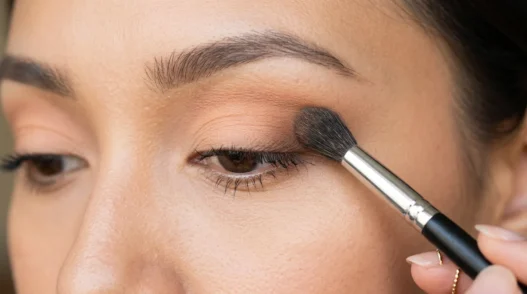
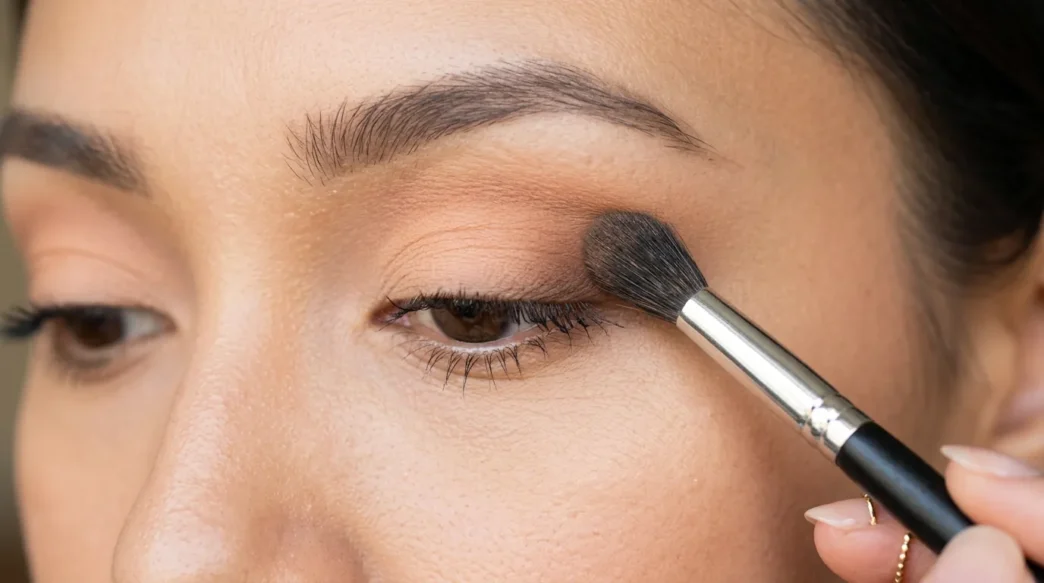
I used to think pink makeup was either bubblegum sweet or straight-up wrong on me. Every single pink I tried looked either too baby doll or weirdly ashy against my skin. Then I realized the problem wasn’t pink itself — it was that I was trying to make one-size-fits-all shades work instead of creating my own custom blend.
What You’ll Learn in This Pink Makeup Guide
What You’ll Need
Before we dive into creating your perfect pink, grab these essentials:
- At least two pink shades (one cooler, one warmer than your target)
- A small mixing palette or back of your hand
- Natural daylight or a daylight lamp
- A fluffy blending brush
- Small synthetic brush for precision
- Your usual base makeup (so you can see the true effect)
- A handheld mirror
The key here is having options to blend. I learned this the hard way when I kept buying single pink shades and hoping they’d magically work. Now I always have a slightly cooler and warmer version of any pink I want to create.
Finding Your Undertone
This step changed everything for me. Most people skip straight to color matching, but understanding your undertone is what makes the difference between a pink that looks like it belongs on your face versus one that’s just sitting on top of it.
Look at your wrist in natural light. See those veins? If they appear blue or purple, you likely have cool undertones. Green veins usually indicate warm undertones. Can’t tell or see both? You’re probably neutral, which actually gives you the most flexibility with pink shades.
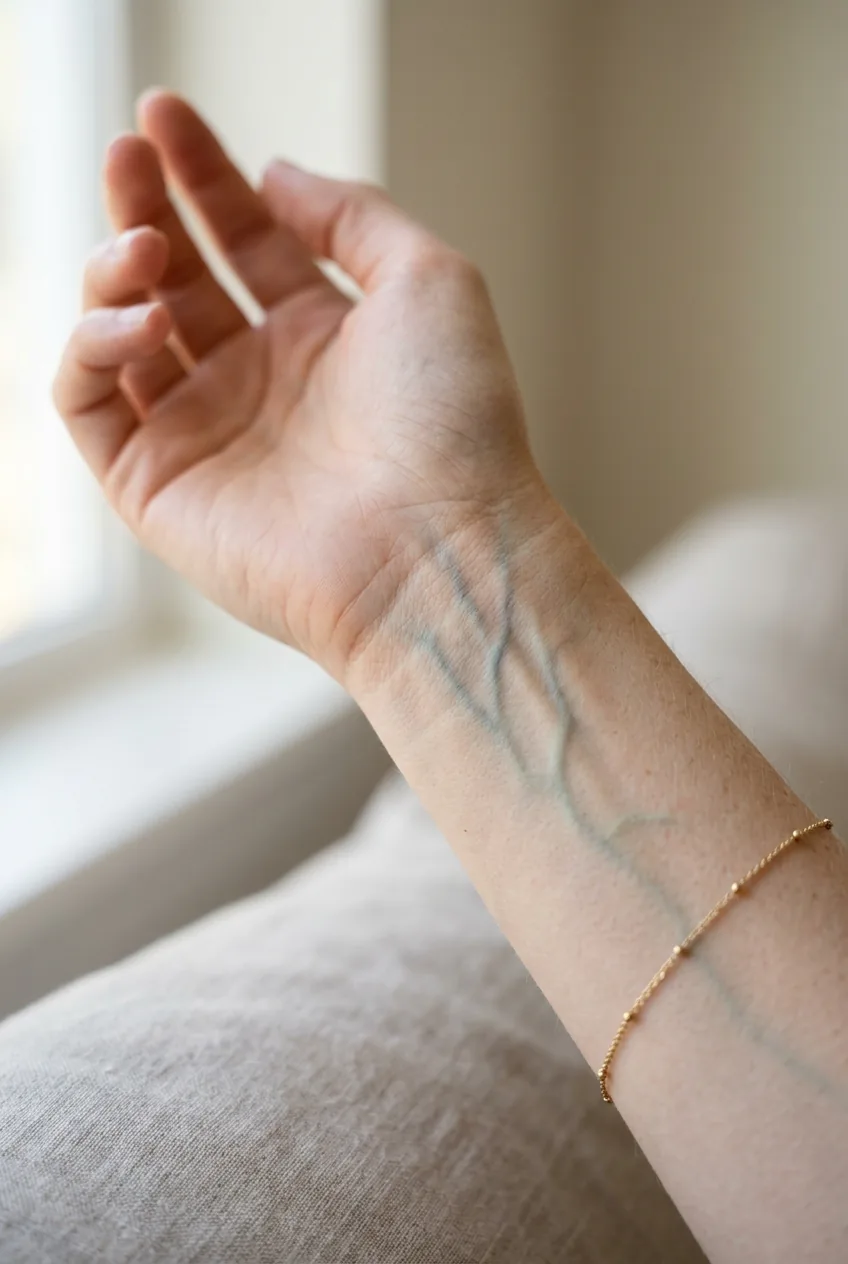
But here’s where it gets interesting — your undertone isn’t the whole story. I’m cool-toned but certain warm pinks look incredible on me when I layer them right. The undertone matching process is more about finding your starting point than limiting your options.
Pay attention to which metals look best on you too. Silver jewelry typically flatters cool undertones, while gold complements warm ones. This gives you another clue about which pink family might be your home base.
Testing Before You Commit
Never, ever test pink makeup under store lighting. I cannot stress this enough. Those fluorescent lights will lie to you every single time. I once bought what I thought was the perfect rosy pink that turned straight orange the moment I stepped outside.
Apply test swatches to your jawline — not your hand, not your wrist. Your face and your hand can have completely different undertones. I learned this when a pink that looked gorgeous on my hand made me look like I had a fever when applied to my cheeks.
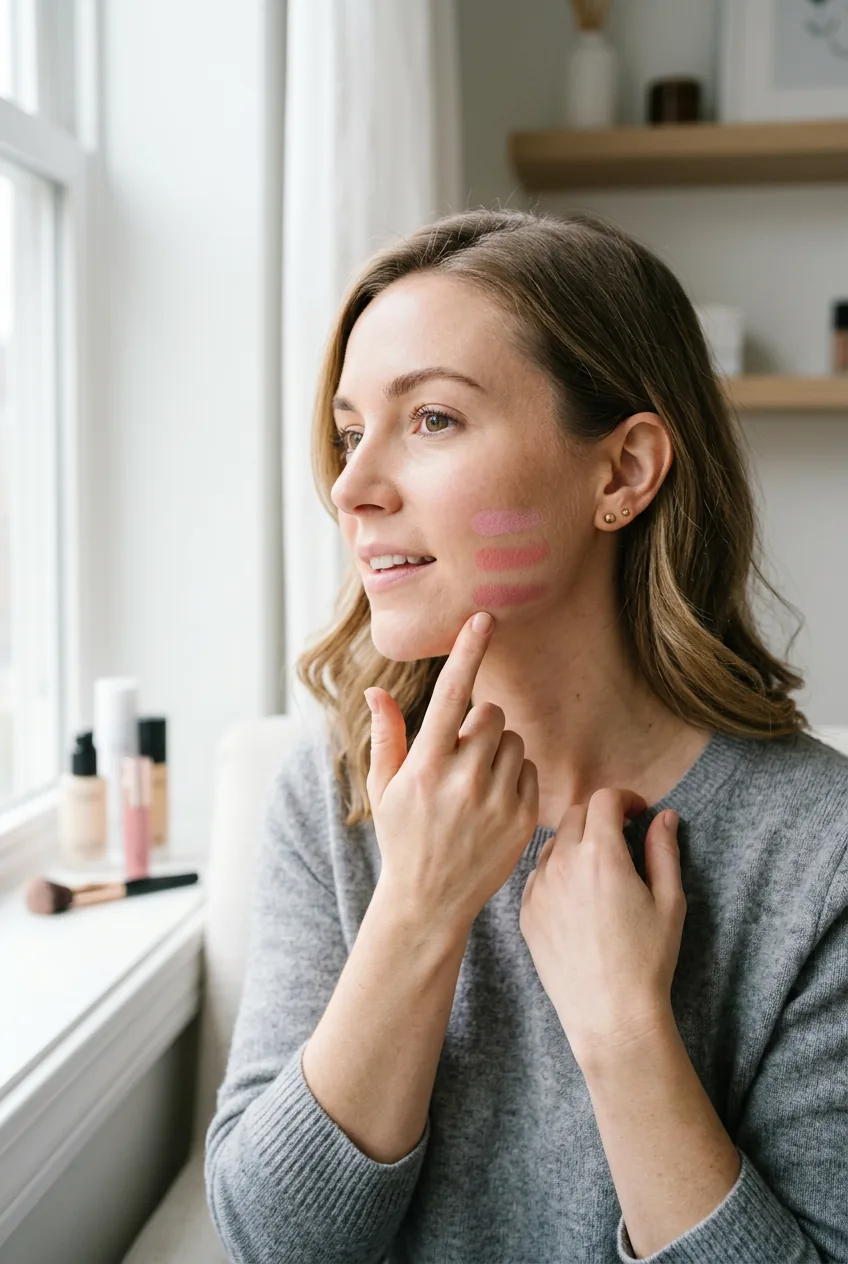
I used to test everything on the back of my hand and couldn’t figure out why nothing ever looked right once applied. Your jawline shares the same undertones as your face — that’s your real testing ground.
Wait at least five minutes after application. Some pinks oxidize and change color as they set. That pretty coral might shift peachy or that soft rose could turn more brown. Give it time to show its true colors before making any decisions.
Take photos in different lighting if possible. What looks perfect in natural light might look completely wrong under indoor evening lighting. Since you’ll wear this makeup in various settings, test it in the conditions where you’ll actually be seen.
Layering for a Custom Shade
This is where the magic happens. Instead of searching for one perfect pink shade, you’re going to create it by layering two or more existing shades. It sounds complicated, but it’s actually much easier than hunting for that mythical perfect single shade.
Start with the lighter, more neutral pink as your base layer. Apply it lightly across your entire cheek area. This creates the foundation that everything else will build on. Think of it as your canvas — you can always add more, but it’s harder to take away.
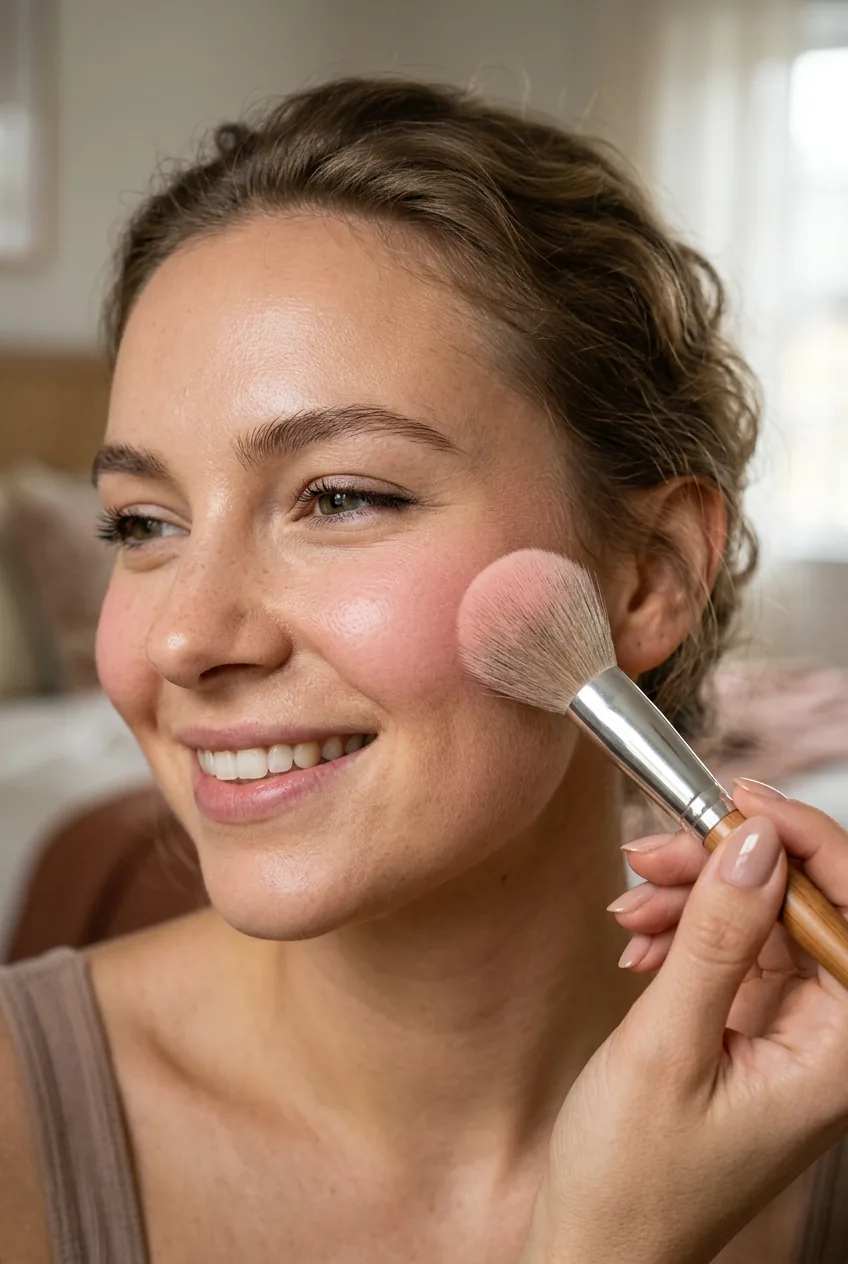
Now here’s the technique that took me forever to figure out: add your second shade only to the apples of your cheeks. This creates dimension while customizing the overall color. If your base was too cool, add a warmer pink just to the center. If it was too warm, add a cooler shade.
Blend outward from the center using a clean, fluffy brush. The key is to soften the edges so there’s no harsh line where the two colors meet. You want a seamless gradient that looks like one custom shade, not two separate colors sitting next to each other.
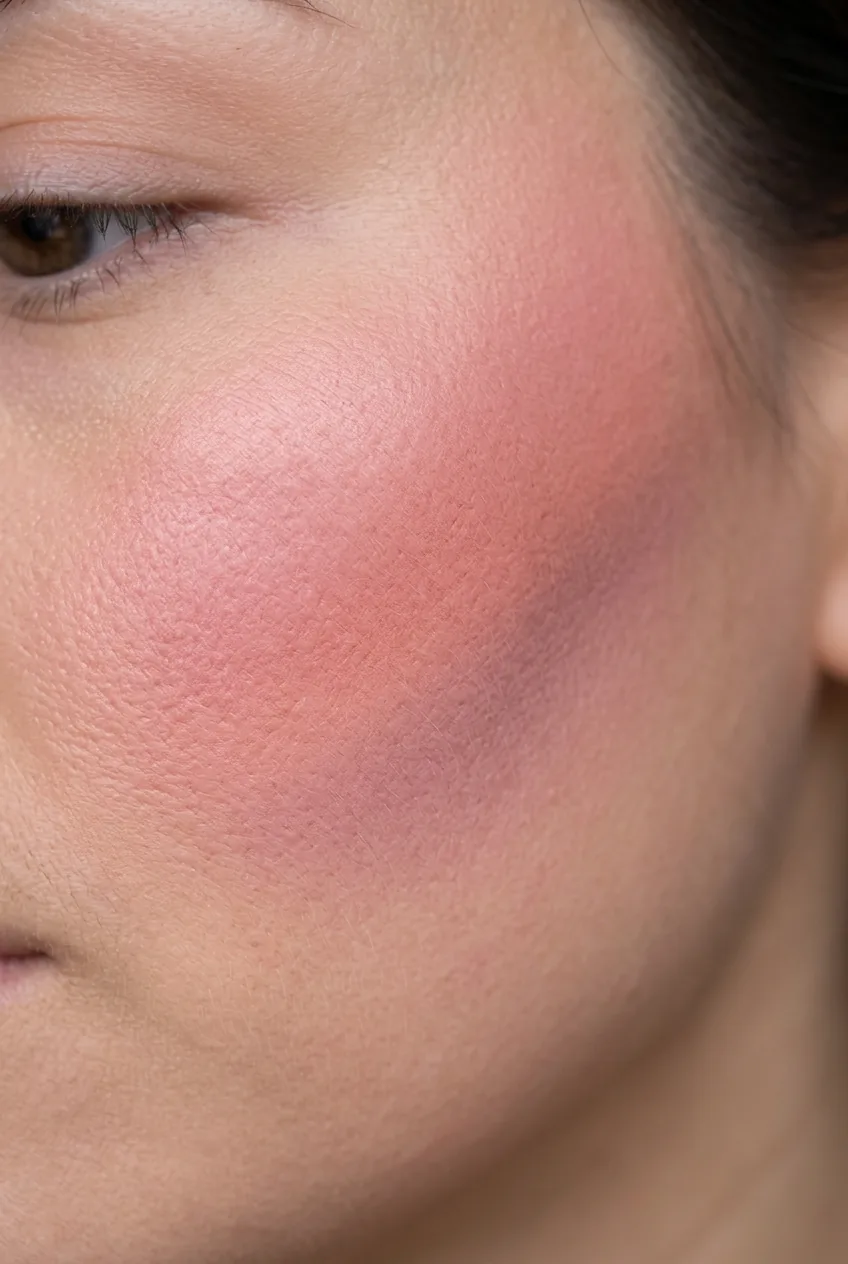
For a more sophisticated look, add a third layer — a slightly deeper pink or even a soft plum — right at the highest point of your cheekbones. This adds complexity and prevents the flat, one-note look that single-shade application often creates.
The pink makeup shade trending in 2026 is all about this kind of custom blending. It’s not about finding the exact right product — it’s about creating something uniquely yours through layering.
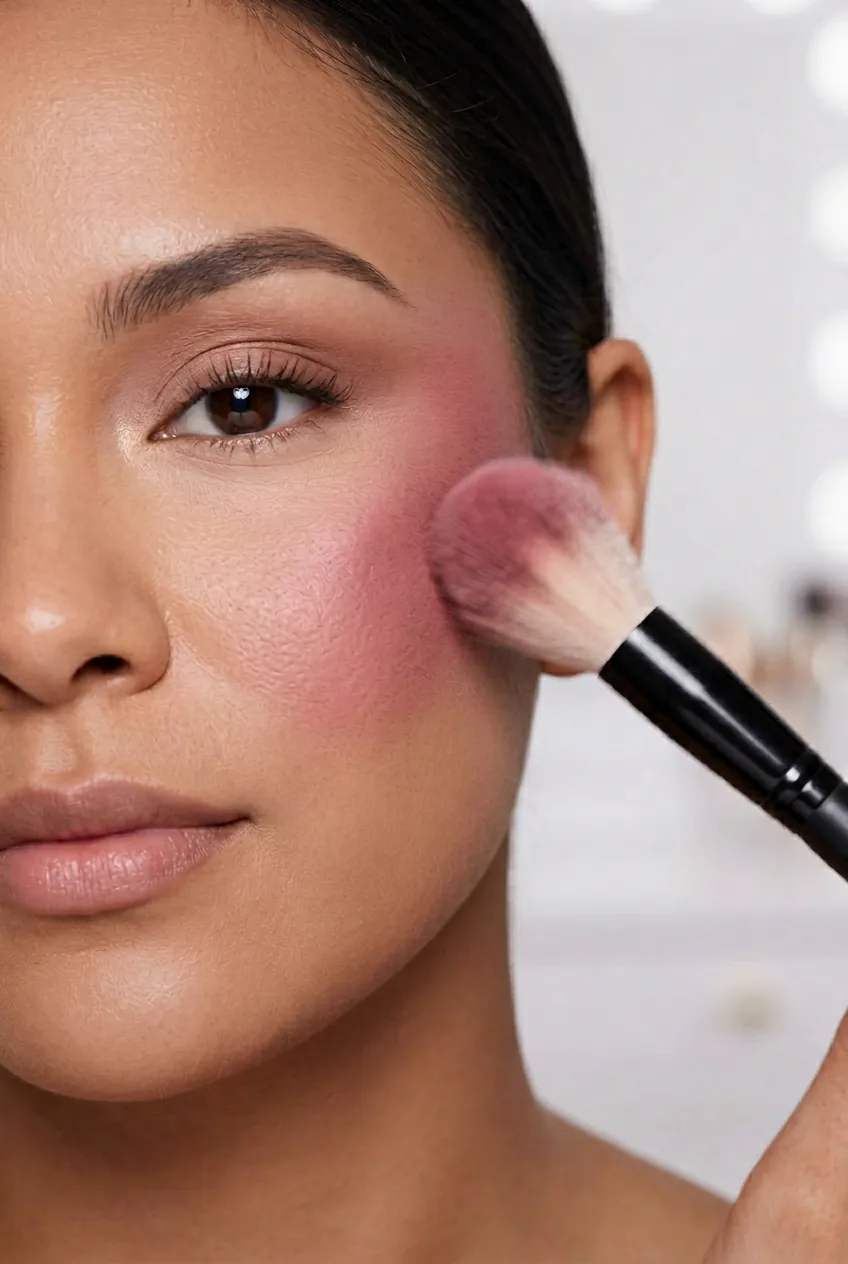
Watch This Blending Technique in Action
Adjusting Across Seasons
Here’s something nobody talks about: your perfect pink changes throughout the year. What works in winter when you’re paler might look too intense in summer when you’re tanned. Instead of buying new products every season, adjust your layering technique.
In winter, I go heavier on the cooler pink tones and lighter on application overall. Pale skin shows color more intensely, so less is definitely more. I’ll use the same products but apply them with a lighter hand and blend them out further.
Summer calls for the opposite approach. When my skin has more color, I can handle warmer, more saturated pinks. I’ll layer more product and even add a hint of coral or peach to complement the golden undertones that come with a tan.
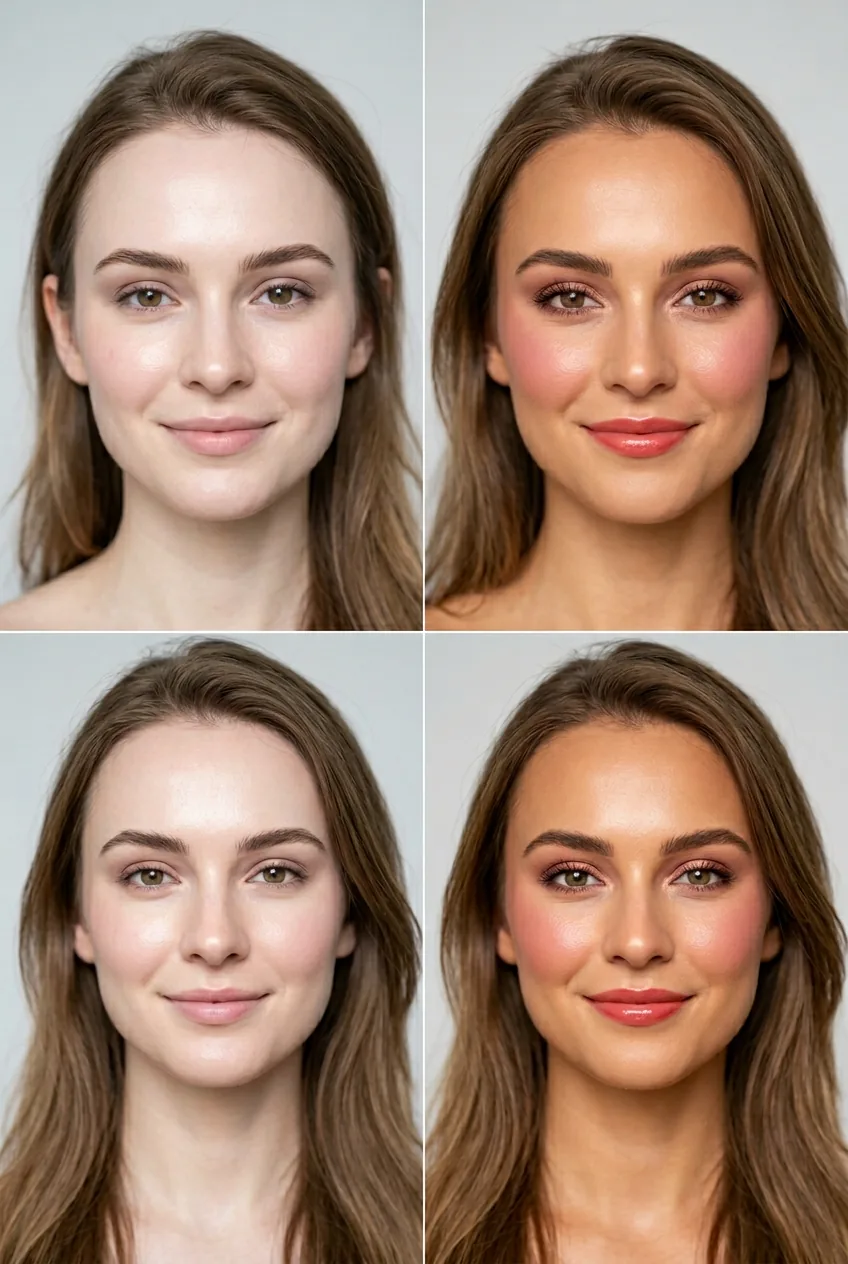
Pay attention to how your skin tone shifts with sun exposure. Even if you’re good about sunscreen, most people get at least slightly more golden in summer months. Your pink layering should shift to accommodate this change.
The seasonal adjustments become second nature once you start paying attention. It’s not about completely changing your routine — just tweaking the proportions of your custom blend.
For transitional seasons like spring and fall, I stick closer to my base formula but might swap out one of my layering shades for something slightly different. It keeps the look fresh without requiring a complete overhaul.
Quick Answers About Pink Makeup Layering
How many pink shades do I need to start layering?
Start with just two — one slightly cooler and one slightly warmer than your target shade. You can always add more options later, but two well-chosen shades will give you endless customization possibilities.
Can I layer cream and powder pink products together?
Yes, but apply cream first, then powder on top. The cream creates a base that helps the powder adhere better and blend more seamlessly. Just make sure both products are fully set before layering.
What if my layered pink looks muddy?
You’re probably using shades that are too different in undertone or applying too much product. Start over with a lighter hand and choose pinks that are closer in color family — you can always build up intensity gradually.
How do I know if I’m blending enough?
Step back and look at your face from arm’s length. If you can see distinct areas of different colors, keep blending. The goal is one seamless gradient that looks like a single custom shade, not separate patches of color.
Now I never settle for a pink that’s just “close enough.” This layering method means I can create exactly the shade I want, whether that’s a soft everyday flush or something more dramatic for evening. And honestly? The compliments I get on my “perfect” pink never get old — especially since I know it’s completely custom.