






I have a round, full-cheeked face and I wear glasses every single day, and for years I felt like makeup tutorials were not talking to me at all. I would follow a contour video exactly and end up looking muddy behind my frames, or my blush would disappear under my lenses by lunch. I finally sat down last spring and rebuilt my whole routine around my face shape plus my glasses, not in spite of them, and now I actually like photos of myself again.
This is my complete round face makeup routine, start to finish, in the order I do it. It gives soft length through the cheeks, eyes that do not get swallowed by frames, and base that does not transfer onto nose pads. If you have been frustrated for years, I get it. This one is for us.

My Glasses-Friendly Sculpting Roadmap
- What You’ll Need
- Step 1: Why Standard Advice Fails Here for Round Faces With Glasses
- Step 2: The Base Placement Adjustment for Soft Definition
- Step 3: The Contour Technique That Flatters Under Glasses
- Step 4: Blush and Highlight Placement That Lifts
- Step 5: Eye Makeup That Balances Frames and Full Cheeks
- Step 6: Making It Last on This Feature All Day
- What I Get Asked About Round Faces and Glasses
What You’ll Need
I keep this routine pretty pared down because thick layers plus glasses equals transfer city. You do not need a pro kit, just the right textures. My favorite formulas are creamy but not greasy, cool-toned for contour, and long-wearing around the nose and eyes.
- lightweight medium-coverage foundation or tinted moisturizer in your exact match
- creamy concealer one shade lighter, plus a flat small brush
- cool-toned cream contour stick or palette, not warm bronzer
- angled contour brush and a fluffy small blending brush
- matte pressed powder and a mini puff for nose pads area
- powder blush in a fresh rosewood or soft coral tone
- subtle satin highlighter, no chunky glitter
- eyebrow pencil or tinted gel to define under frames
- matte eyeshadow trio, waterproof mascara, smudge-proof pencil liner
- lip tint or satin lipstick for balance
- setting spray with a fine mist
Step 1: Why Standard Advice Fails Here for Round Faces With Glasses
Can I be honest for a second? Most contour for a round face tutorials assume a bare face with perfect light and no frames cutting right across your cheekbones. When I tried that harsh diagonal stripe from ear to mouth, my rectangular black frames chopped it in half and made my cheeks look wider, not slimmer. And the classic Instagram highlight right on the apples? Under lenses it just read as shine.
Here is what I learned after a lot of trial and error. Round faces need vertical length and soft side shadow, not a hard sideways cut. Glasses add a strong horizontal line already, so if we add another harsh horizontal contour, everything gets boxy. We need higher, shorter, more lifted placement that peeks out around the frames instead of fighting them.
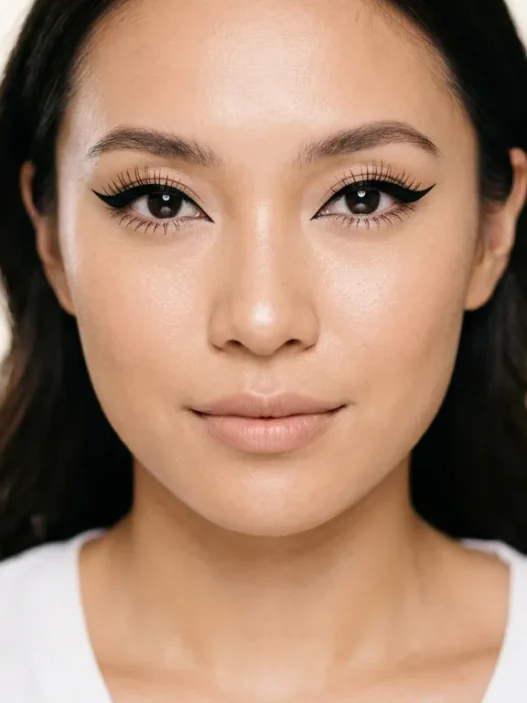
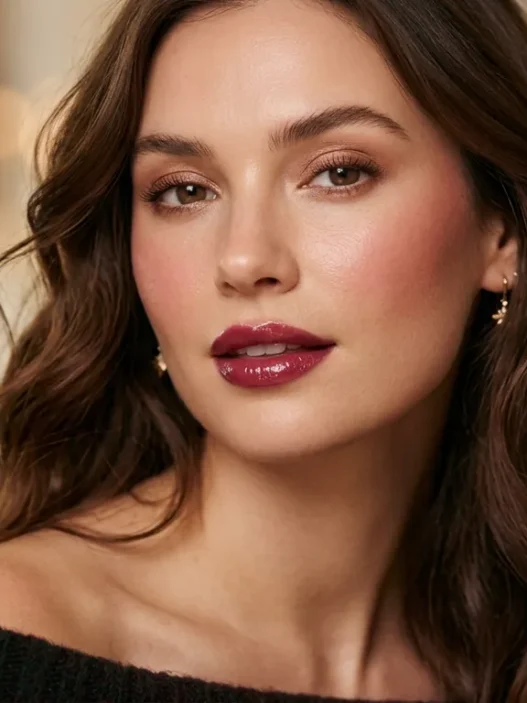
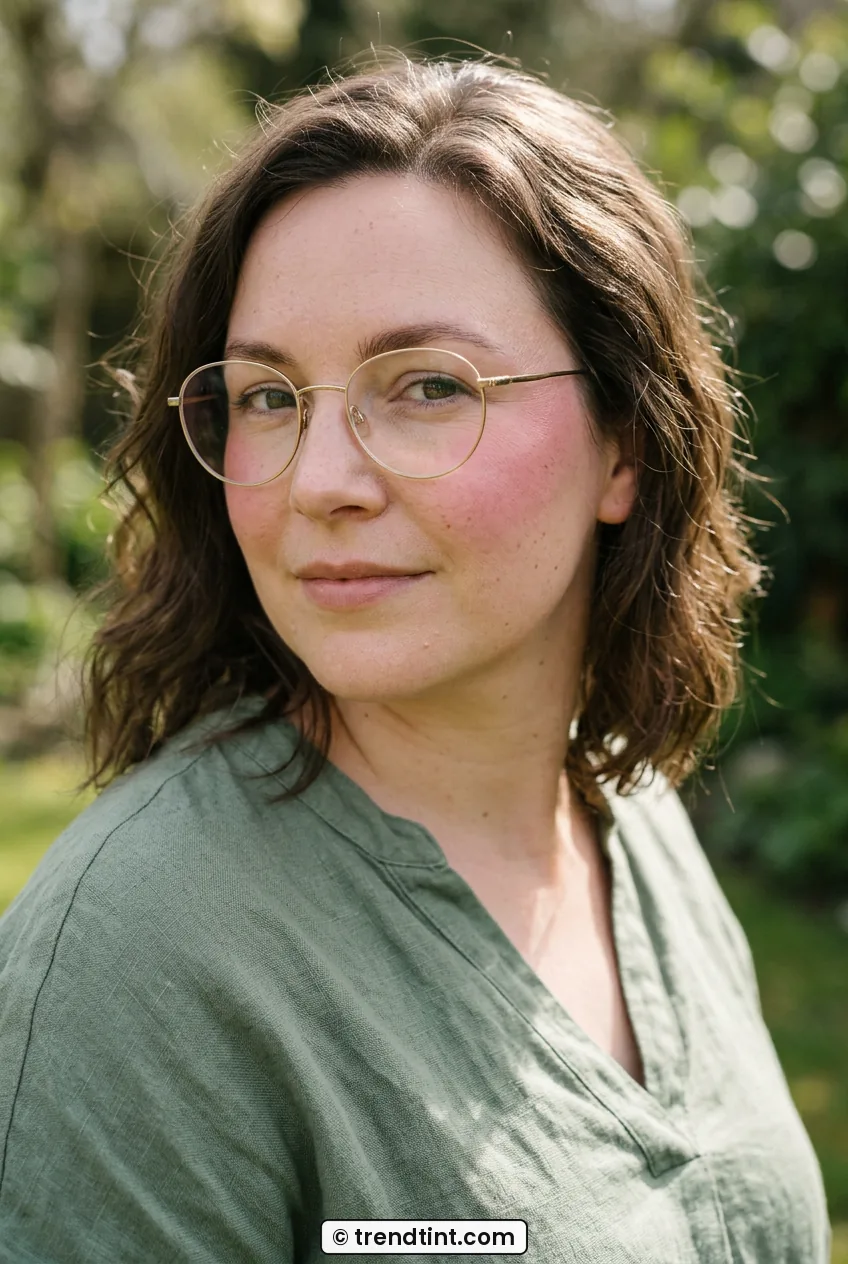
Look at how she is wearing hers in the photo below. See how the shadow sits higher and shorter, well clear of where glasses would sit? That lifted angle is exactly what I mean about working with frames. I also stopped using warm bronzer as contour because on my light-medium skin it turned orange in daylight. A true cool-toned shade mimics real shadow and actually slims without looking dirty. I read a lot about how contour differs from bronzer when I was fixing my shade, and switching to cool tones made the biggest difference for me.
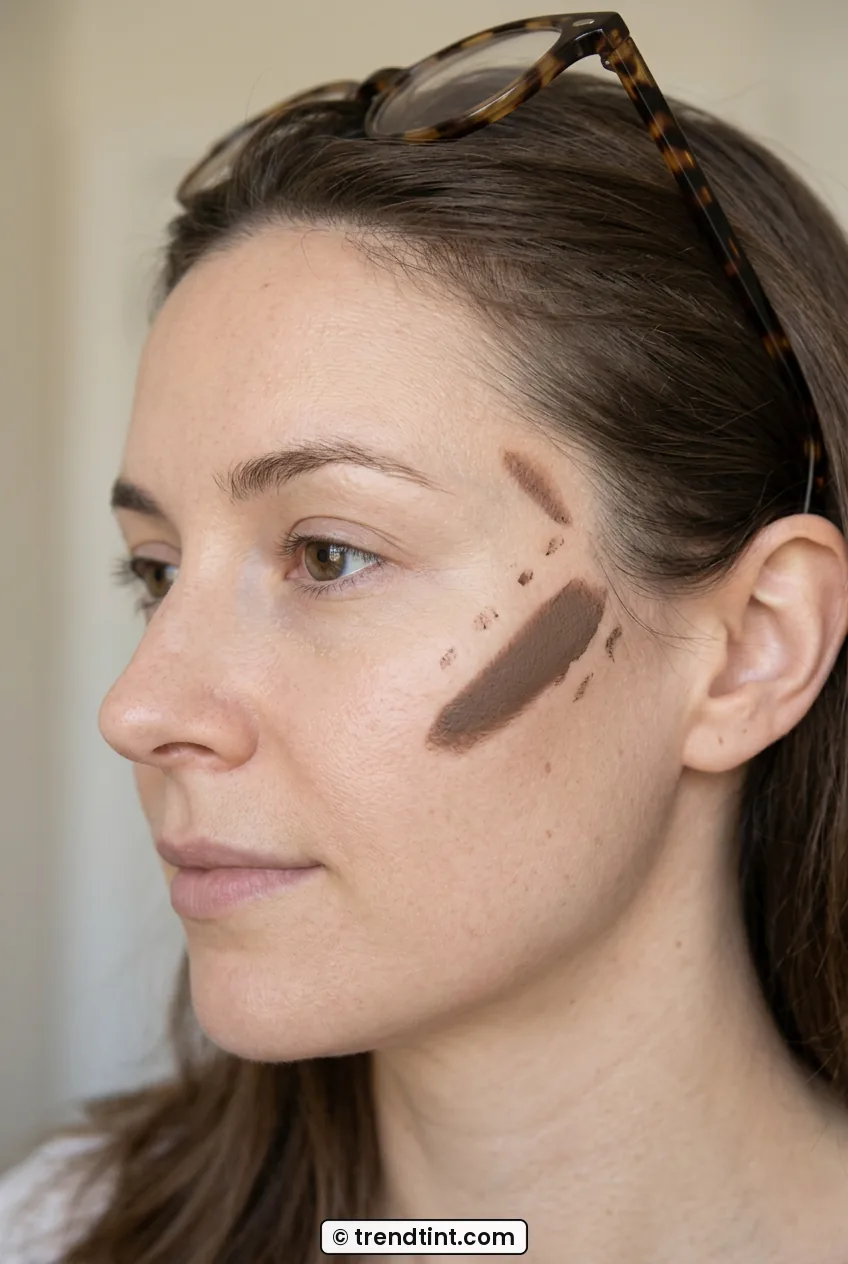
For this step, just cleanse, moisturize lightly, and put your glasses on to map where your frames hit. Seriously, do your mapping with them on. I mark mentally where my nose pads press and where the bottom rim crosses my cheek. That tells me where to keep product thin later. It feels silly, but it saves so much smudging.
Step 2: The Base Placement Adjustment for Soft Definition
I used to do full-coverage foundation all over, and by 2 p.m. my nose pads had carved little flesh-colored canals into my base. Not cute. Now I do what I call a glasses-first base. Thin where frames touch, fuller where I need evenness.
I start with a light moisturizer and let it sink in for three or four minutes while I do my hair. Then I press a pea-sized amount of foundation only through the center of my face, forehead center, around the mouth, and lightly over redness. I leave the sides of my nose almost bare, just a whisper of product patted in with fingers. That one change cut my transfer by half.
Then I take concealer and place it in a lifted triangle, but smaller and higher than YouTube tells you. Inner corner up toward the lower lash line, outer corner angled up toward the temple, never dragged low onto the apple where my frames cast a shadow anyway. I blend with a damp sponge using a bouncing motion, not swiping. Swiping always moved product right into my fine lines.
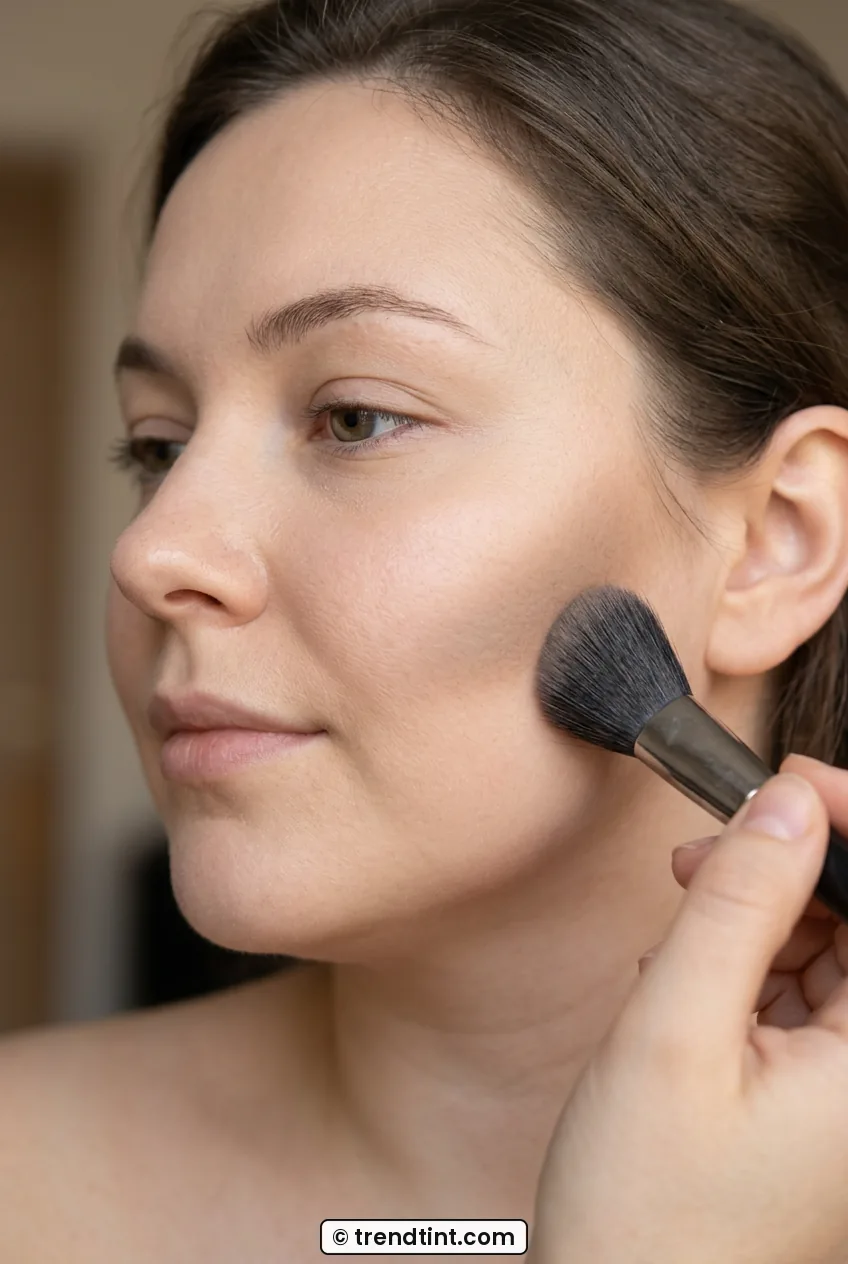
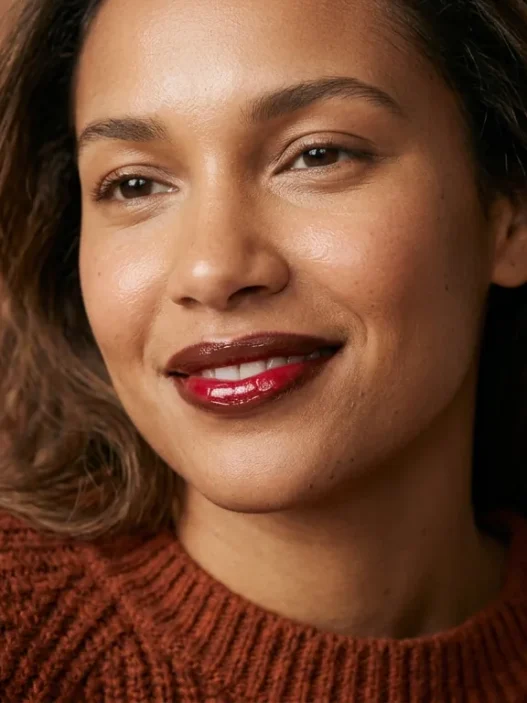
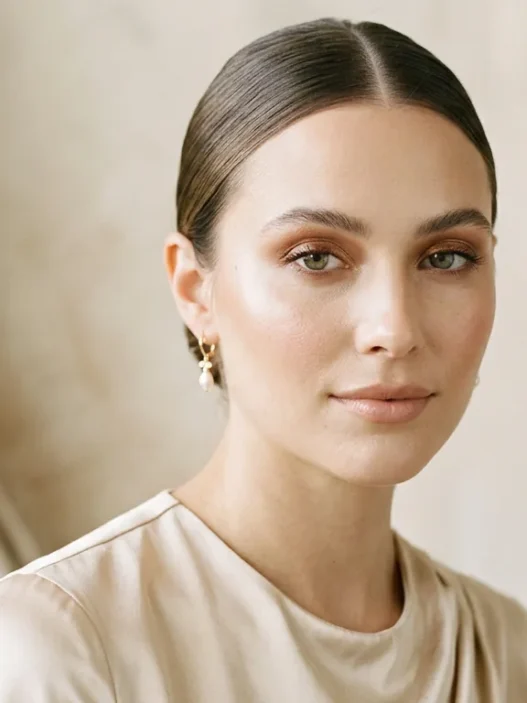
She has got a similar full-cheeked shape to mine, and honestly her base looks like skin here, not makeup. That soft-focus finish is the goal. Notice there is no heavy cake around the nose? That is because the coverage is sheer there on purpose. If you love a fuller makeup type routine with more coverage, you can still build it on the cheeks and chin, just keep that nose-bridge zone thin. I set only the T-zone with the tiniest veil of powder using a small puff. Leave the perimeter a little dewy so the face does not look flat and round.
And brows? Do them now before contour. Glasses frame your brows hard, so a patchy brow makes the whole upper face look unfinished. I fill with short hair-like strokes and brush up. My favorite is a medium-brown pencil because it reads soft behind my tortoise frames.
Step 3: The Contour Technique That Flatters Under Glasses
This is the step that changed my face the most, so take your time here. Forget the long ear-to-mouth stripe. For a round face with glasses, I do a short, high, lifted contour that creates length without a visible line under lenses.
I use a cool-toned cream and an angled brush. I smile just slightly to find the top of my cheekbone, then I place product about a finger-width above where the hollow feels, starting at the outer edge near the hairline and stopping before I hit the outer corner of my eye. The section is held at about a 30-degree upward angle, clearly lifted and diagonal, not straight across and not vertical. Short and up is the whole trick. Then I add a touch along the temples and a soft wash under the jawline to take down roundness.
Look at how she is holding that angled brush, sweeping just beneath the cheekbone with a soft diffused edge? That is exactly the pressure I use, more like dusting than drawing. I blend up and back toward the hairline with small circular buffs, never down toward the mouth. Blending down drags the face down and makes cheeks look heavier, especially in photos with glasses glare. I learned better blending from reading about cream blending techniques and practicing in my car mirror, which is embarrassing but true.
The mistake I made for months was placing contour too low and too warm, then blending it straight sideways under my frames. It left a brown stripe that my glasses подчеркивали? No, that just emphasized my fullest point. Moving it up an inch, shortening it by half, and switching to a cool tone fixed it overnight.
If you have a small face and your glasses overwhelm you, keep the contour even shorter and lighter. For long face makeup the goal is width, but for us it is the opposite. We want that subtle vertical shadow along the outer cheek to carve length. I sometimes add the tiniest line down the sides of my nose with what is left on the brush, but I skip heavy nose contour because my frames already do that job.
Step 4: Blush and Highlight Placement That Lifts
Blush placement made me want to scream for a year. Apples of cheeks? My glasses sat right on top of it. Draped high? Looked sunburned. What finally worked was a lifted L-shape that sits above and outside the frames.
I smile lightly, find the apple, then place blush about an inch above and outside it, sweeping up toward the temple in a soft C. This pulls the eye up and out, which lengthens a round face instead of widening it. I use powder blush over cream contour because it locks everything without getting patchy. A fresh rosewood shade is my most worn because it gives definition without screaming pink. In spring I switch to something peachier, and I love browsing spring makeup looks for fresh color ideas when my winter palette feels too heavy.

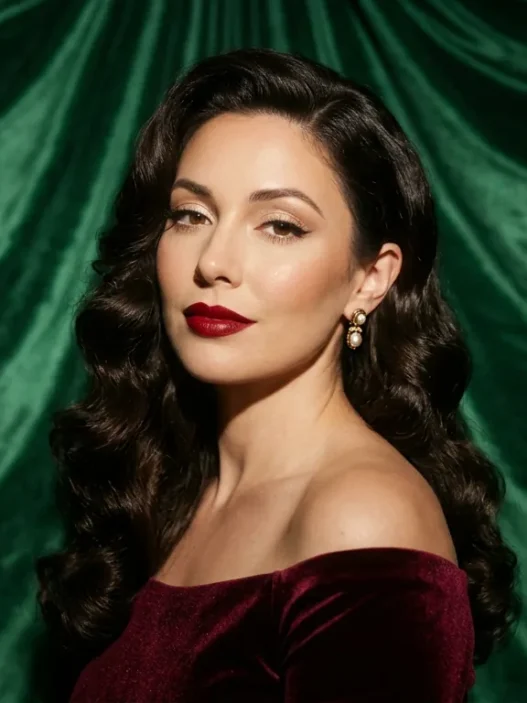
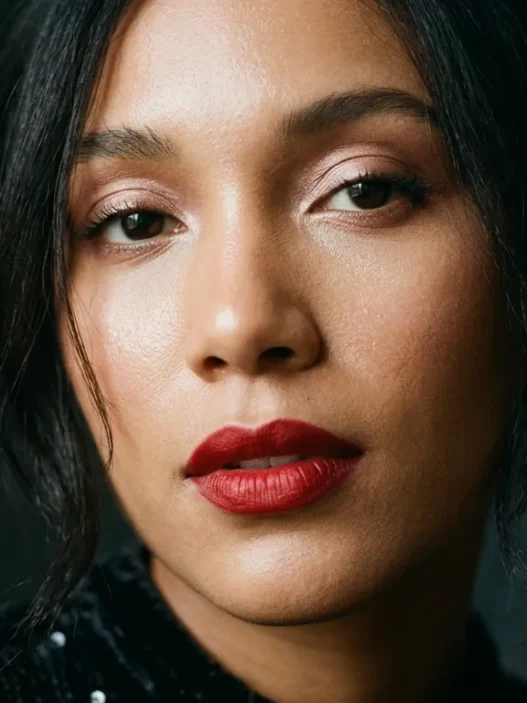
This is the glow I am talking about. See how her blush sits high on the cheekbone and melts into the temple, not low on the apple? That placement keeps color visible above the rim of glasses. I apply with a fluffy brush, tap off excess, and build in two sheer layers. One heavy layer always looked spotty on me by afternoon.
Highlight goes only where glasses will not magnify pores. That means tops of cheekbones toward the temple, a tiny dot on the brow bone, and a whisper down the center of the nose if your frames allow it. I skip the tip of the nose entirely because my pads eat it, and I skip the inner corner overload that reflects in lenses. A low-key satin finish photographs so much better than glittery sparkle behind glass. For evening I will add a little more, and I save my deeper inspo from winter makeup looks for nights out when I want a soft-glam sheen that still reads in low light.
Step 5: Eye Makeup That Balances Frames and Full Cheeks
Eyes are tricky because lenses can shrink or magnify them, and a round face already has a lot of softness. My rule is defined but open. I want lash definition and a lifted outer corner, not a heavy closed-off eye that disappears.
I start with an eyeshadow primer, always, because glasses trap warmth and crease everything. Then I sweep a matte mid-tone taupe through the crease and slightly above it so it shows above my frames. That slightly higher placement is key. If I keep shadow only on the lid, you cannot see it when I am wearing my glasses. I deepen just the outer V with a soft brown and blend outward and up, which gives length that mirrors the cheek contour.
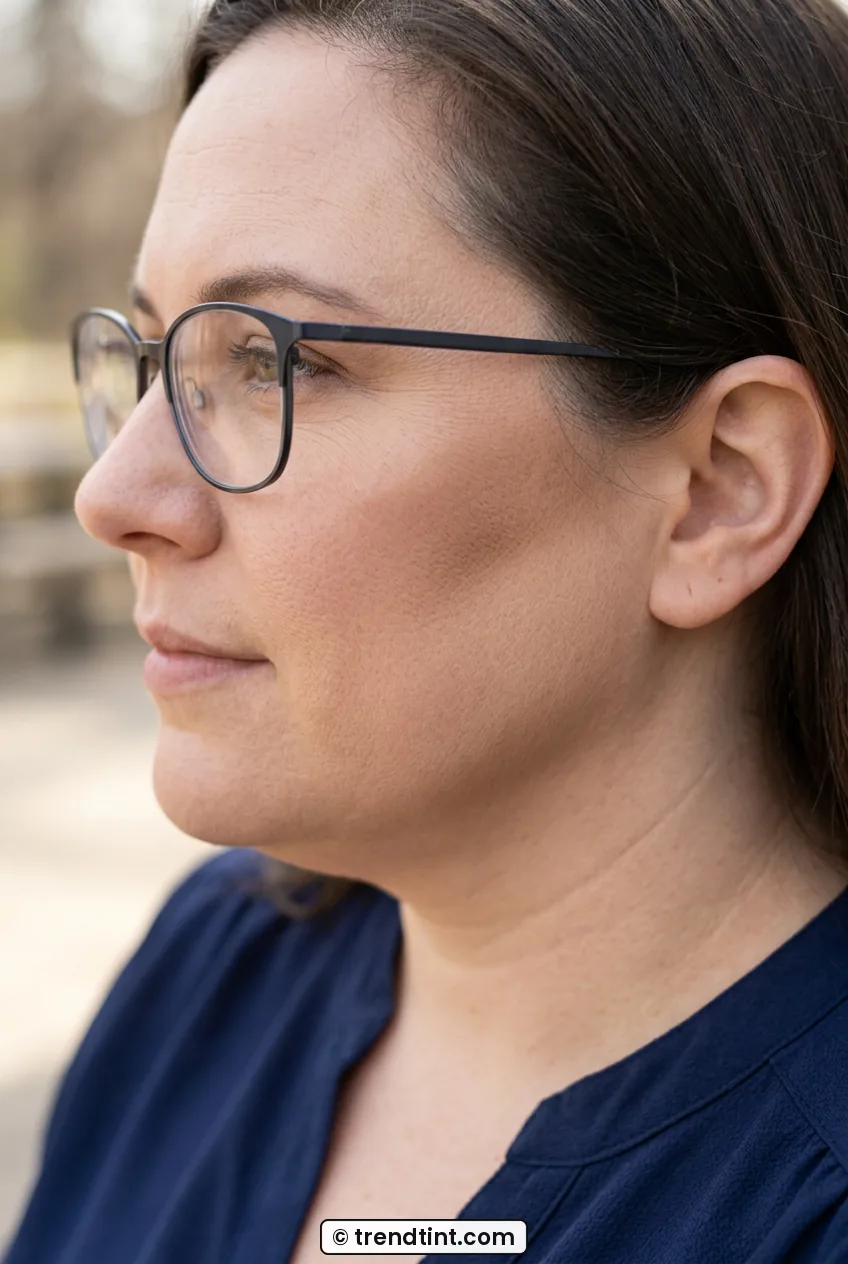
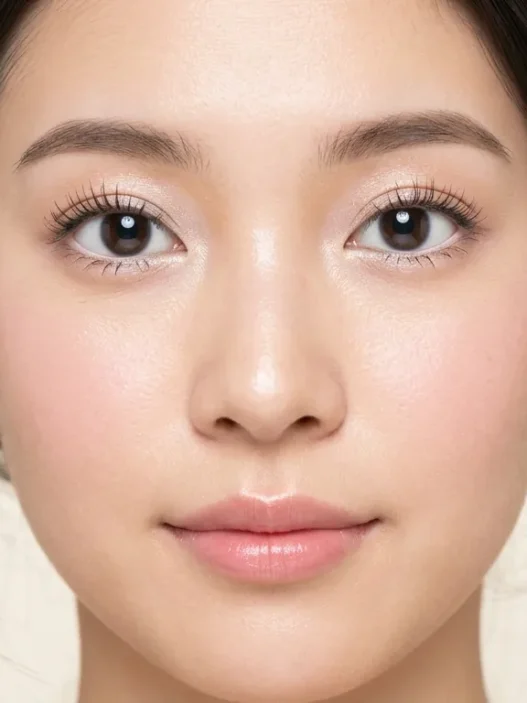
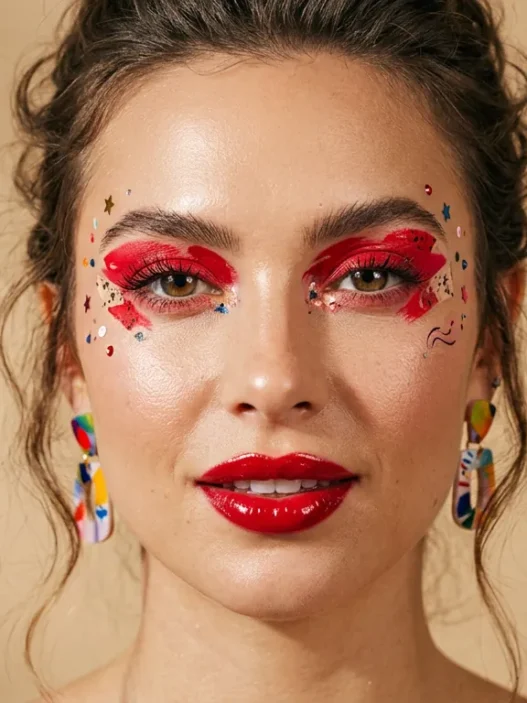
She is doing exactly what I do here, soft matte definition through the crease with the outer corner lifted. Notice how clean and open her eyes still look? No harsh black rim all the way around. I tightline my upper waterline with a dark brown pencil instead of a thick liquid wing, then I do a short, thin flick only if my frames are thin. With chunky frames I skip the wing entirely because liner plus frame equals too much line. I picked up better smudge-proof habits from reading about smudge-proof eye makeup and it stopped my midday panda eyes.
Mascara has to be waterproof for me, curled lashes first. Non-waterproof always stamped little dots on my lenses by noon. I focus on length at the center and outer lashes to open things up. And I keep lower lashes super light, just a touch of mascara on the outer third. Heavy lower liner drags a round face down fast.
Lips balance it all. Because my cheeks are full and my glasses are bold, I love a clean satin lip in berry or warm nude. It gives a vertical focal point that lengthens the face. A full monochrome makeup moment with matching lips and cheeks also looks stunning here and keeps everything cohesive behind frames. I blot once so it does not migrate while I am pushing my glasses up all day.
See Glasses Eye Makeup in Action
Step 6: Making It Last on This Feature All Day
None of this matters if it slides off by lunch, right? Glasses create heat, pressure, and friction in three spots, nose pads, temples, and where the bottom rim brushes the cheek. So my setting routine targets those zones.
First I press a tiny amount of matte powder right where my nose pads sit using a mini puff, no sweeping. Then I lightly dust where my temples touch. I leave the sculpted cheek area mostly creamy and set it with spray instead of heavy powder, because powder over contour can look cakey and emphasize roundness. I do two light mists of setting spray in an X and a T motion, let it dry with glasses off, then put them back on.

Look at her final finish here, skin-like but locked in, with definition that shows around her frames. That soft-matte center and luminous perimeter is what lasts on me through work and errands. I carry blotting papers, not more powder, for touch-ups. One blot on the nose, a tap of blush on the high cheek, done. In July I swap to even lighter layers and I steal ideas from summer makeup looks to keep everything sweat-resistant without looking flat.
A quick sanity check in natural daylight before you leave is worth it. Glasses can cast a shadow that looks like darkness under the eyes in bathroom light but disappears outside. I check in my car mirror or by a window. If the contour looks stripey, I buff once more with a clean fluffy brush. No more product, just blending.
What I Get Asked About Round Faces and Glasses
Should I contour differently if I have a round face and wear glasses every day?
Yes, in my experience you should keep it shorter, higher, and cooler. Long stripes get cut by frames and emphasize width. A short lifted shadow near the hairline gives length without fighting your lenses.
How do I stop foundation from rubbing off on my nose pads?
Keep that area super thin and powder just the contact points with a puff. I also let my base set for a minute before putting glasses on and use a fine setting spray. Blotting papers work better than adding more powder later.
Where should blush go on a round face so glasses do not cover it?
Place it above and outside the apple, sweeping up toward the temple. That keeps color visible above the rim and lifts the cheek. Low blush on the fullest part just makes the face look wider behind frames.
What eye makeup shows up best behind lenses?
Matte shadow blended slightly above the crease, a thin tightlined liner and well-curled lashes. Lenses can make eyes look a little smaller or bigger, so soft definition reads better than shimmer, which only turns into glare behind the glass.